

Ever wonder how to make an Origami water lily that actually looks like a real one? You’re not alone.
This simple yet enchanting paper flower can brighten your desk, your day, or even your party decor.
Stick with me. I’ll walk you through easy Origami water lily steps that anyone—yes, even total beginners—can follow.
What’s an Origami Water Lily?
Let’s talk about the star of today’s show: the water lily. A flower that floats with elegance on still waters. And now, one you can fold from a single sheet of paper.
In Japanese culture, paper folding (aka Origami) is not just an art—it’s a moment of calm, of focus. The Origami water lily captures all of that. It’s beautiful, balanced, and surprisingly easy to make. Think of it as a peaceful lotus you can hold.
Materials Needed
Before we dive in, let’s get everything ready. You’ll only need a few things—but they matter.
| Item | Details | Why It Matters |
|---|---|---|
| Origami Paper | Size: 10 x 10 inches | The perfect size for proportionate petals |
| Flat Surface | Clean, smooth table | Helps you fold neatly |
| Fingernail or Tool | Optional: bone folder or coin edge | For crisp creases |
| Patience | Trust me on this one | Rushing ruins the details |
Pro tip: Colored paper on one side makes the lily pop. Green for the base, pink or white for the petals? Totally your call.
Simple Water Lily Step by Step
Here’s where the magic happens. Don’t worry if you’ve never folded before—I’ll explain it like I’m sitting beside you.
Step 1: Take a Square Paper
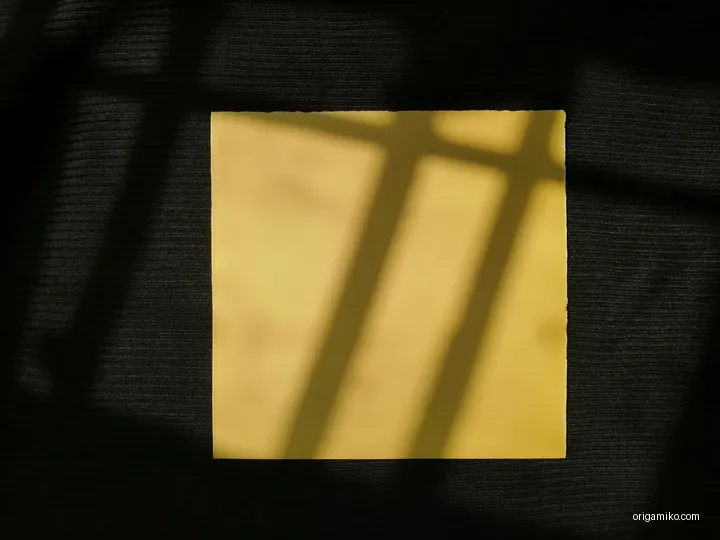
- Start with a 10×10 inch paper.
- Lay it color-side down (if one side is colored).
- Make sure it’s square—not rectangular, not kind of square. Exactly square.
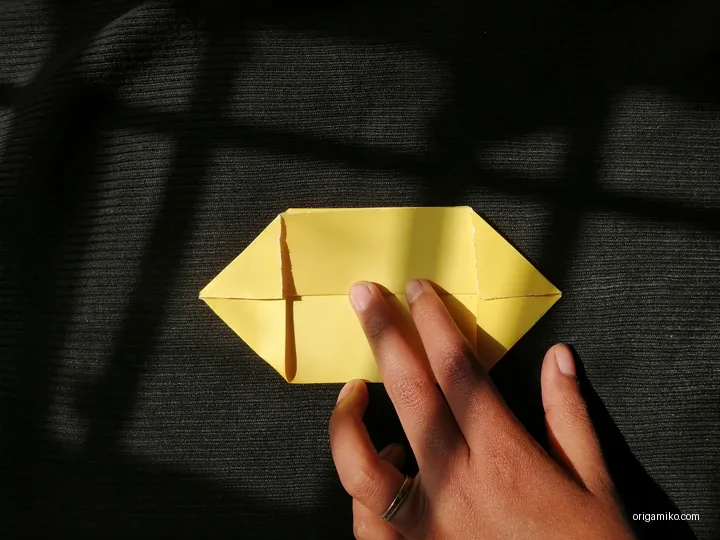
Step 2: Make a Leaf Shape
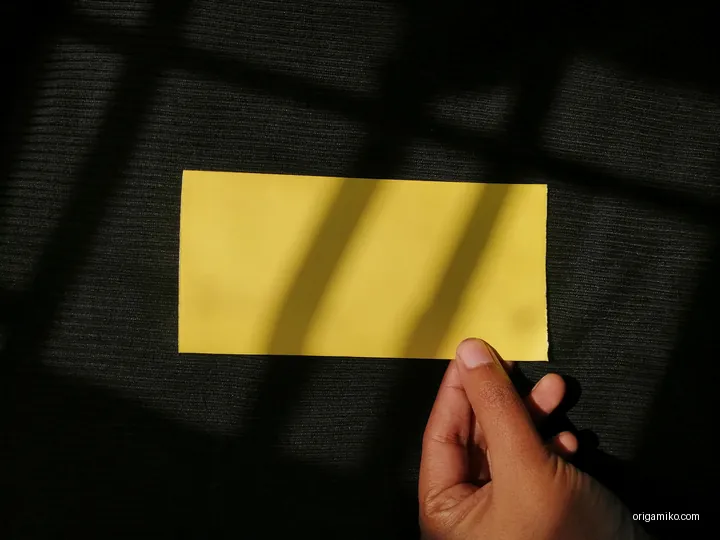
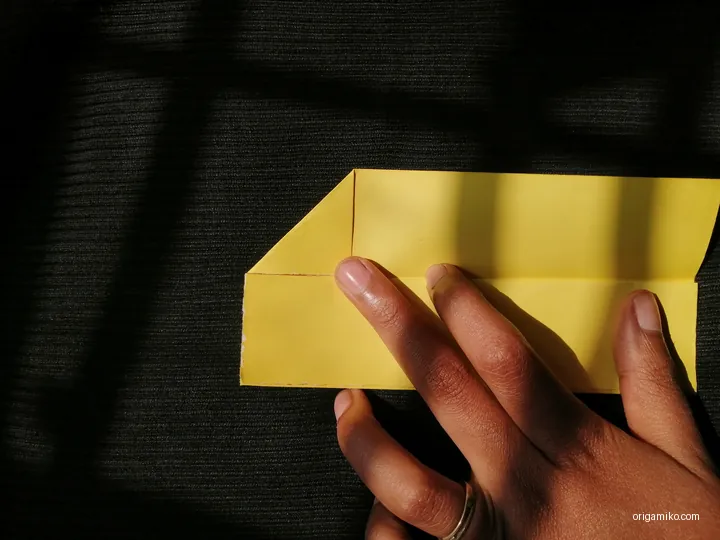

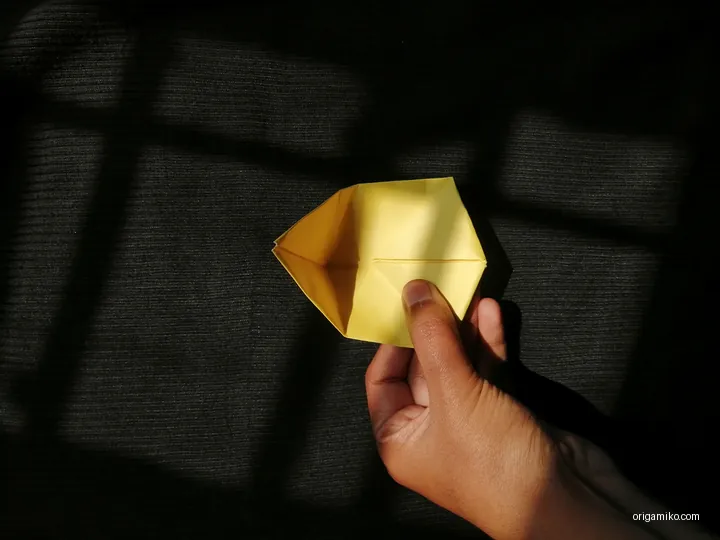
- Fold diagonally corner to corner. Then unfold.
- Fold the other diagonal. Unfold again.
- Now fold in half, edge to edge—both directions.
- You’ll now have an “X” and a “+” creased into your paper.
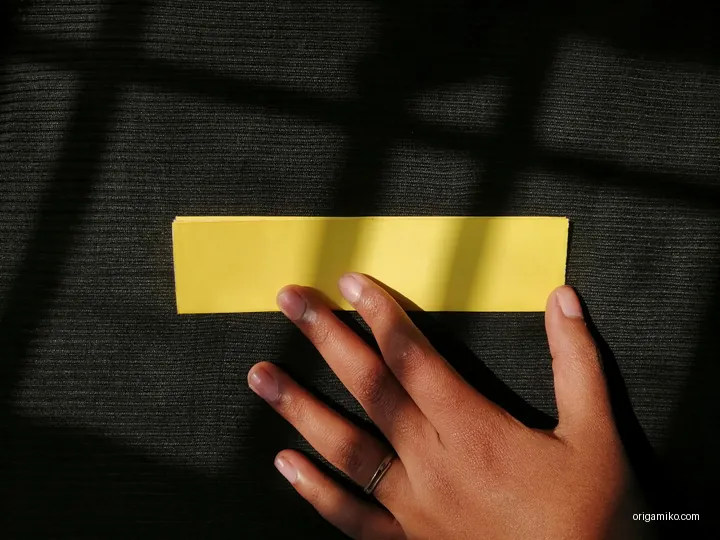
- Gently pinch the corners together and push inward. It should collapse into a triangle.
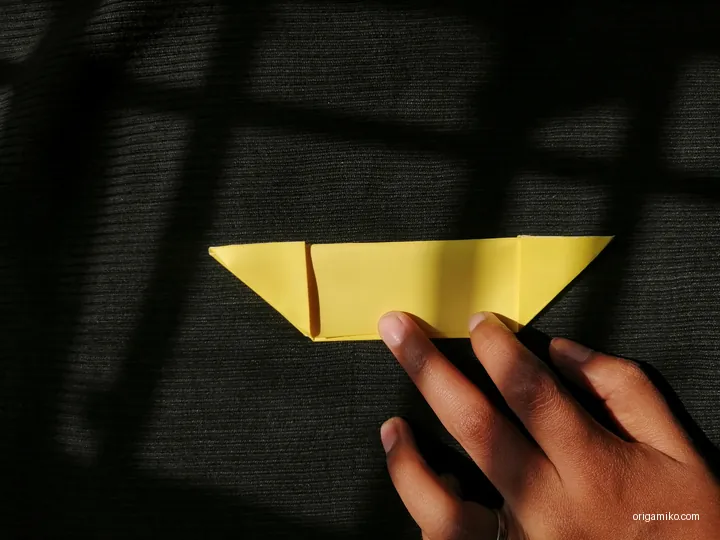
- From there, fold the bottom corners of the triangle up, creating a leaf-like shape.
Remember: Leaf folds are where the beauty begins. Take your time here.
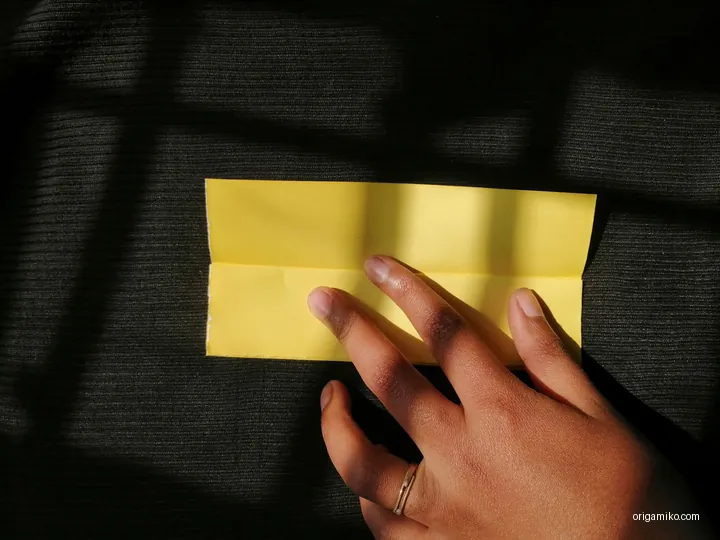
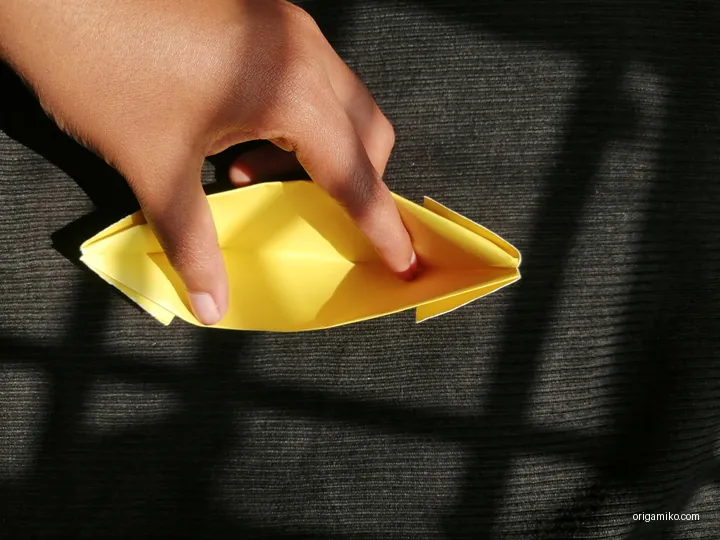
Step 3: Repeat and Stack
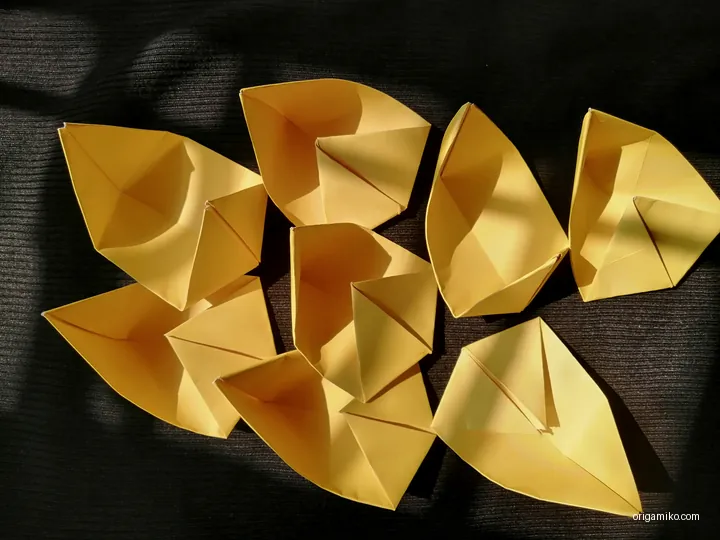

- Make four to six of those leaves. You can vary colors for a more natural look.
- Gently place one leaf inside another. Stack them concentrically like flower petals.
- Slightly rotate each new leaf so it peeks out between the previous ones.
The trick? Layer carefully. Too tight and it bunches. Too loose and it falls apart.
Step 4: Finishing Touches

- Adjust the angles so the petals open up like a blooming flower.
- Press the center gently to flatten it just a bit.
- That’s it! Your Origami water lily is ready to float—figuratively or literally, if laminated.
Origami Water Lily Instructions in Plain Terms
Let’s break down a few key concepts so we’re on the same page.
Origami
: The Japanese art of folding paper into decorative shapes and figures.
Water Lily
: A floating aquatic flower, often mistaken for a lotus, that grows in still water.
Leaf Fold
: A basic origami shape that resembles a teardrop or leaf—used here to mimic petals.
Layering
: Placing each folded leaf inside another to form the flower shape.
Tips for Success
Want your lily to look crisp and clean? Here are a few things I’ve learned from folding (and sometimes messing up) dozens of these:

- Use slightly stiff paper for structure.
- Fold on a hard surface—not your lap or a squishy notebook.
- Crease each fold tightly. Use your nail if needed.
- Work slowly—precision matters more than speed.
- Match colors or mix them—it’s your flower!
Common Mistakes (And How to Avoid Them)
Let’s save you some frustration. Here are the common slip-ups and how to dodge them:
- Wrong paper size: Stick to 10×10. Smaller gets tricky. Bigger gets floppy.
- Loose layers: Don’t just stack. Nest them. Like Russian dolls.
- Over-folding: Don’t crease where you don’t need to. Keep it tidy.
- Skipping pre-creases: That first “X” and “+” is vital. It’s like the skeleton of your lily.
Similar Variations You Can Try
Once you’ve mastered the easy Origami water lily, why stop there? Here are a few twists to try next:
- Origami Lotus Flower: More petals, more layers—super pretty.
- Water Lily with Stem: Add a green stalk to display in a vase.
- Mini Lilies: Use 5×5 inch paper and make a whole pond of them!
- Floating Paper Lily: Use waxed or laminated paper and let it drift in water.
FAQs
Q: Can I use printer paper?
A: Sure! Just cut it into a perfect square first.
Q: Does the type of paper really matter?
A: Yes. Thin, crisp paper works best. Too thick and folds get bulky.
Q: How long does one lily take?
A: About 5–10 minutes, once you get the hang of it.
Q: Is this good for kids?
A: Absolutely. Just help them with sharp folds or cutting the square.
Let’s Wrap It Up
Making an easy Origami water lily is not just about paper—it’s about patience, creativity, and joy. You started with a flat sheet and ended up with a delicate bloom.
Try it with friends, kids, or even in a quiet moment alone. It’s a simple but satisfying way to enjoy the timeless beauty of Origami.
And the best part? You now know how to make Origami water lily from scratch.
Your turn. Got a favorite paper color combo or lily folding trick? Drop it in the comments or tag us in your next craft post. Let’s keep folding!