

Ever folded a paper plane that nose-dived in seconds? Yeah, me too.
What if I told you there’s a way to build a sleek, fast-flying model with just a single sheet of paper?
You’re about to learn a simple high performance airplane step by step—no fuss, just awesome flight.
Meet Your Model: The Origami High Performance Airplane
So, what makes this paper plane “high performance”? It’s the shape. The folds. The aerodynamics.
I remember the first time I made this. It felt like I’d built a jet out of thin air—and it soared.
We’re not just folding a basic dart here. This origami high performance airplane has extra folds that give it stability and speed. The cool part? Anyone can make it.
Materials Needed
Let’s talk tools. You only need one main material, but here’s everything that helps:
| Material | Description | Why You Need It |
|---|---|---|
| A4 Paper | Standard printer paper (8.3″ × 11.7″) | The foundation of your airplane |
| Flat Surface | Any smooth tabletop or desk | For precise folds |
| Fingernail or Ruler | Optional, for sharper creases | Helps make your plane glide straighter |
| Patience | Yes, this counts | Precision pays off |
Key Terms to Know
Here’s a quick cheat sheet to keep things simple:
- Fold Line: Where the paper bends.
- Corner to Corner: Diagonal folds across the paper.
- Edge Fold: Folding one flat side of the paper inward.
- Midpoint: The center of a fold or the page.
Step-by-Step Instructions
Simple high performance airplane step by step
Ready? Let’s get to the fun part.
Step 1: Take a Piece of A4 Paper
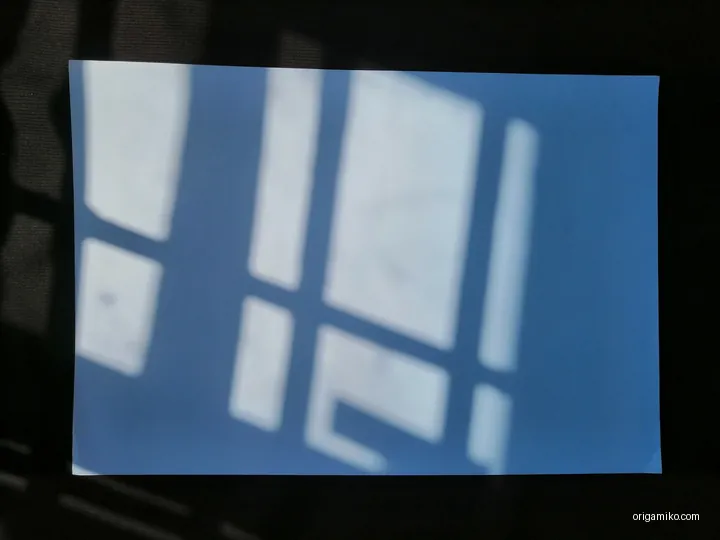
Place it portrait-style (longer sides vertical). That’s our canvas.
Step 2: Fold One Corner to the Opposite Corner
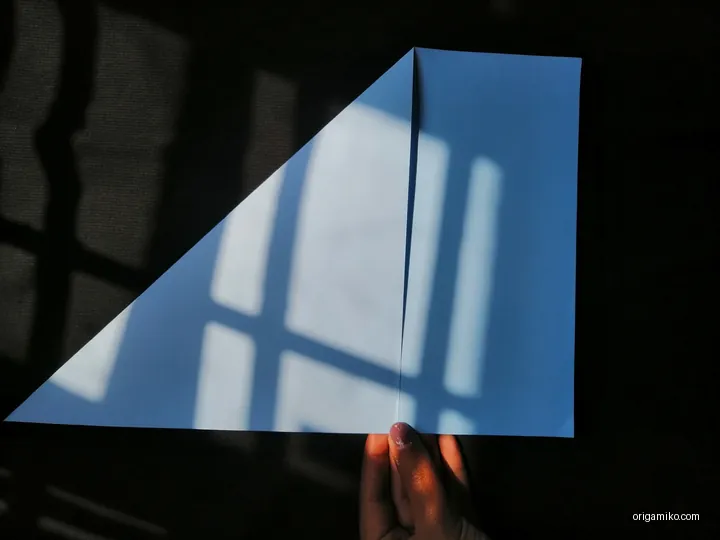
Make a neat triangle. This helps us find the center.
Unfold it—you’ll see a diagonal crease with a middle point.
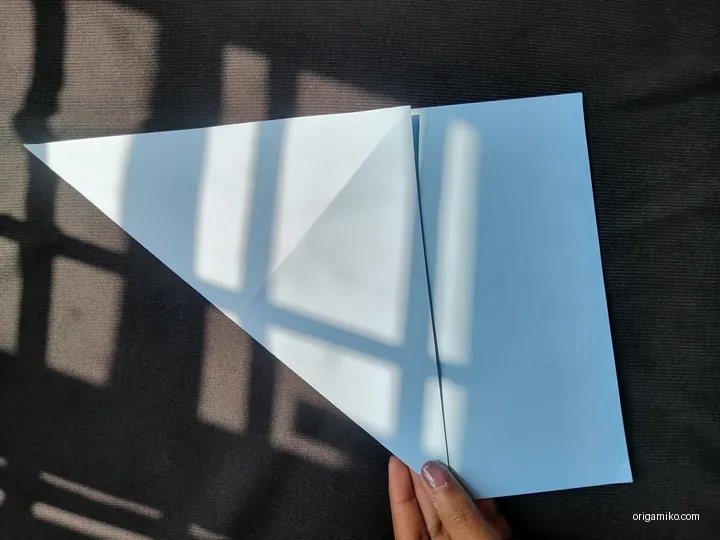
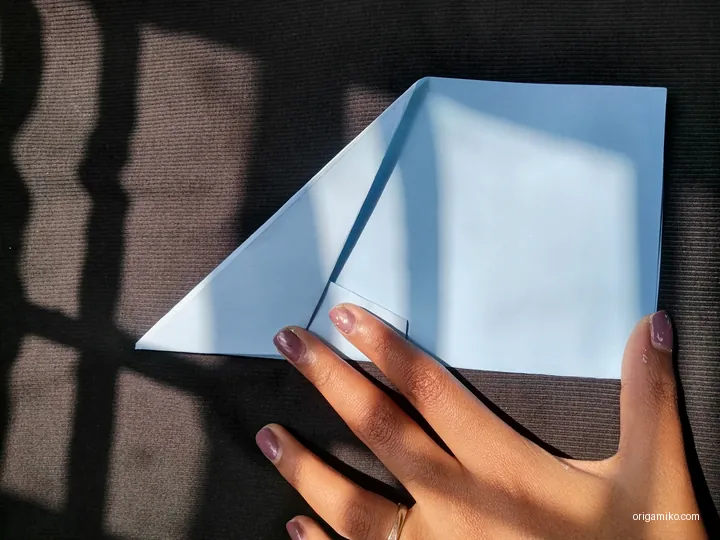
Step 3: Fold One Corner to That Middle Point
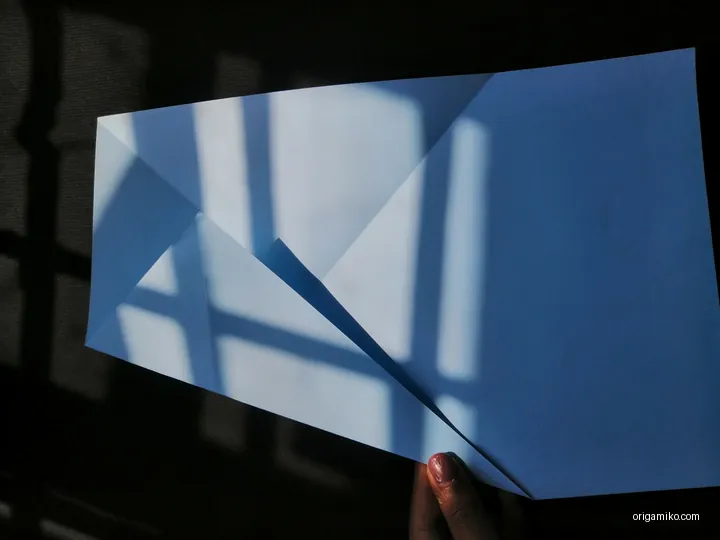
Take the right corner and bring it up to the center crease.
Flatten it. This gives us the base for the nose.
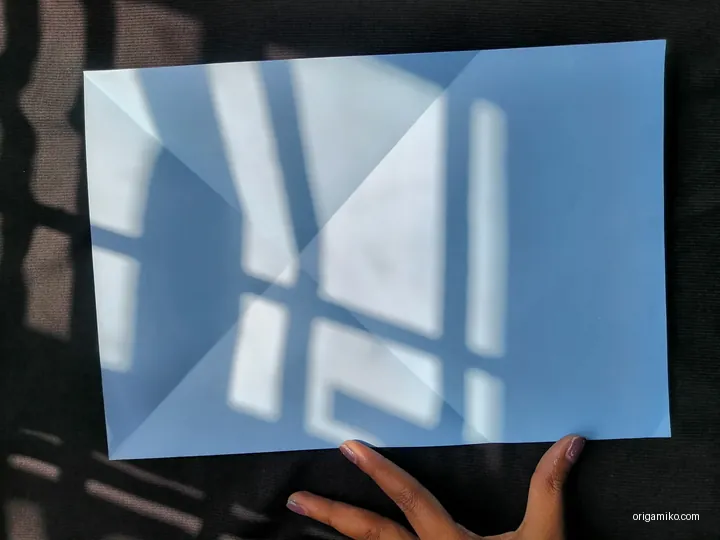
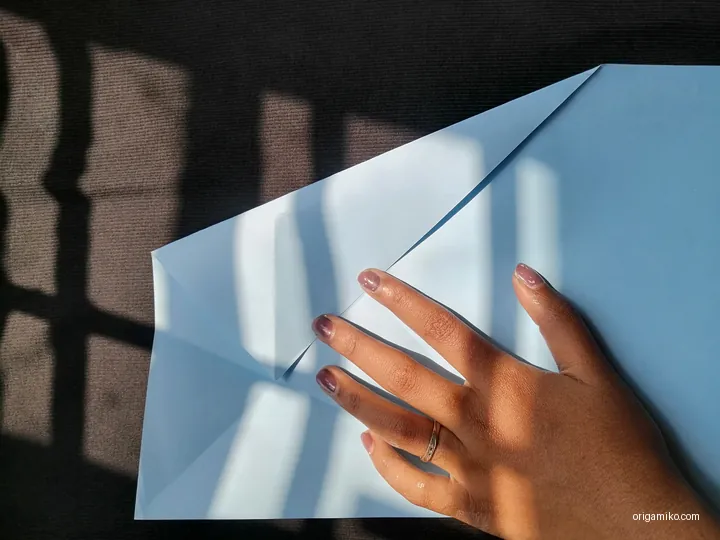
Step 4: Fold the Top Edge to the Center
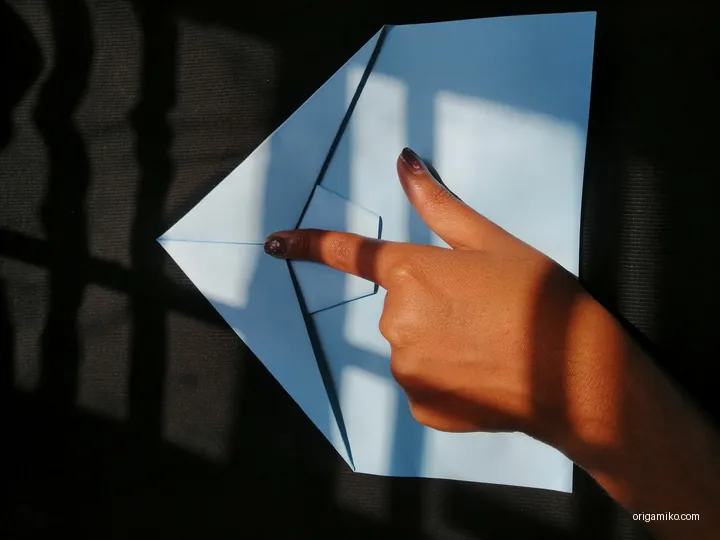
Now fold the top straight edge down so it meets that middle line.
Next, fold in the two side edges to meet the same line.
It should start looking sleek—almost like a rocket.
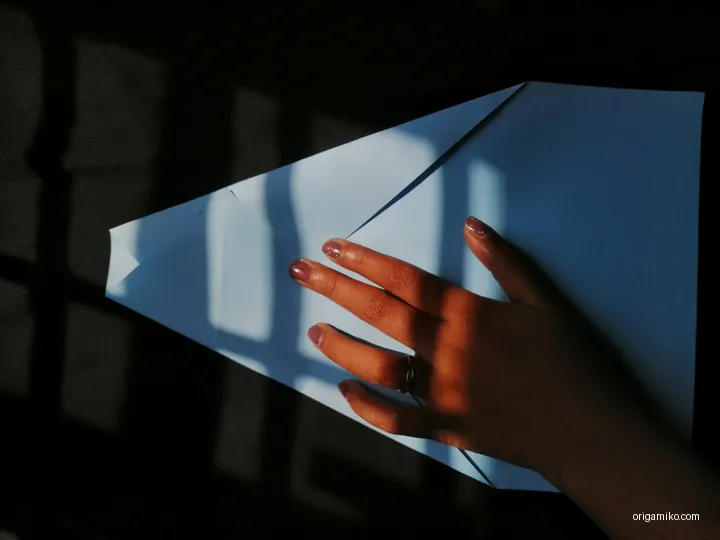
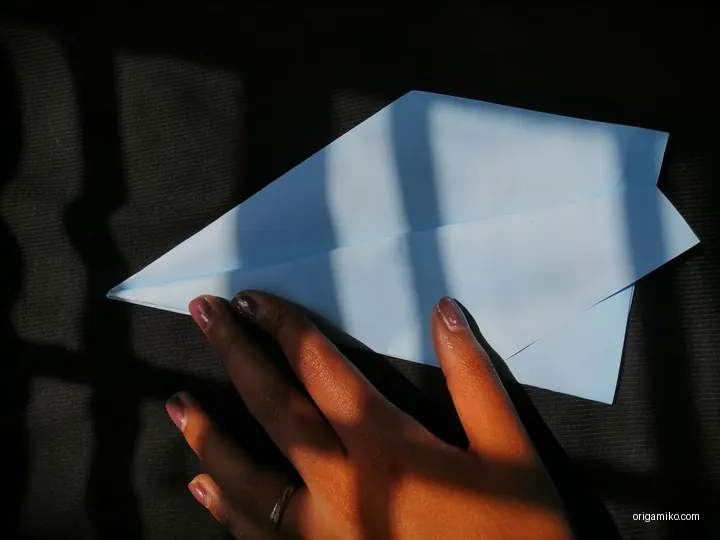
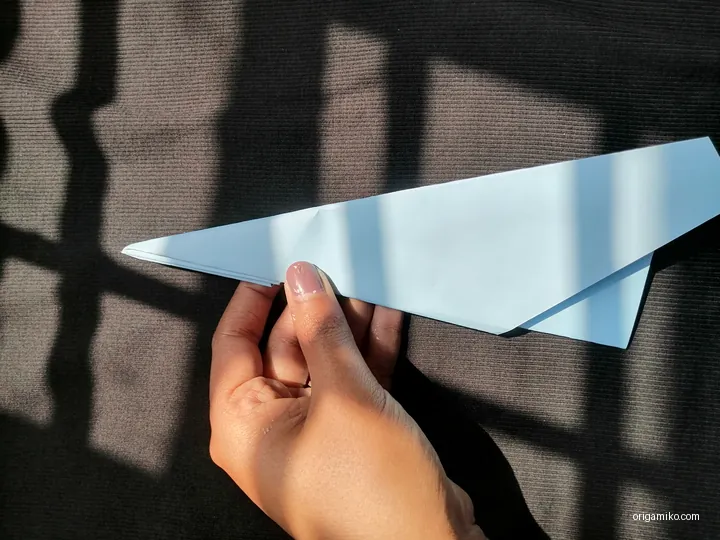
Step 5: Final Fold—The Wings
Take the top and fold it in half, lengthwise.
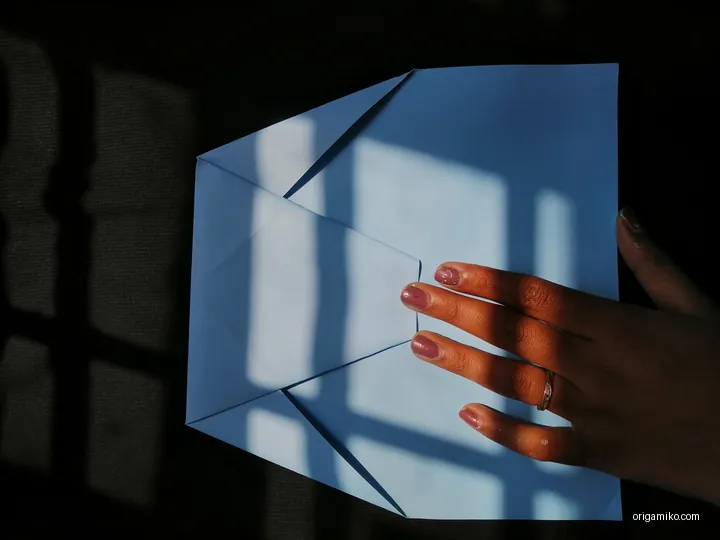
Now fold each side downward to form the wings.
Flatten everything. Adjust to balance if needed.
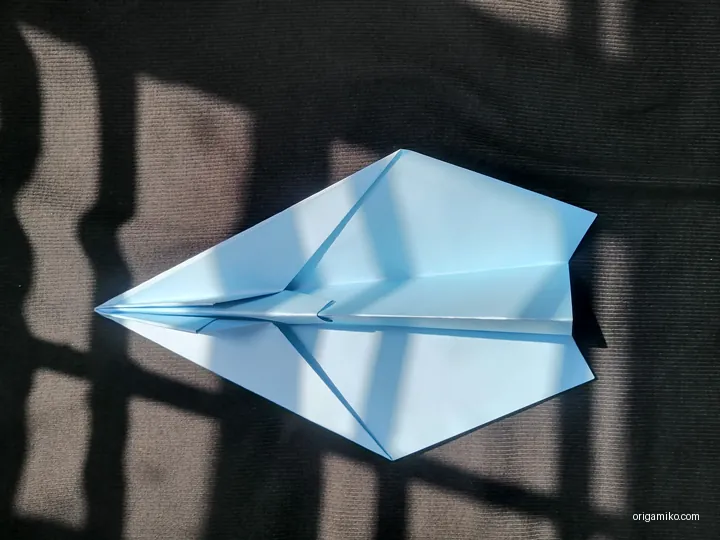
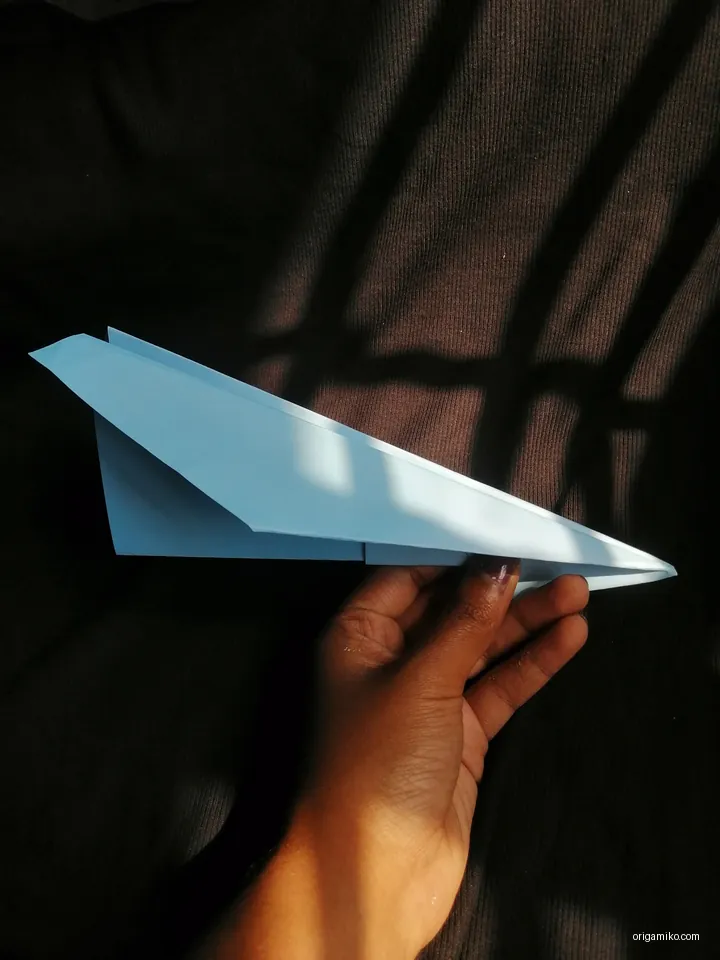
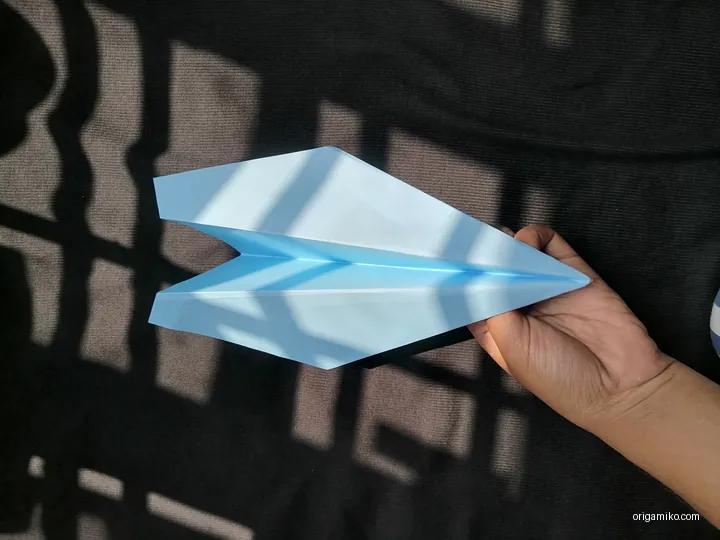
Boom. Your origami high performance airplane is ready to fly.
Tips for Success
Want it to fly farther and straighter? Keep these in mind:
- Use fresh, crisp paper—wrinkled sheets mess with aerodynamics
- Fold sharply—use your fingernail or a ruler
- Adjust wing angles slightly upward
- Test launch indoors first—then take it outside
Common Mistakes and How to Avoid Them
Even I’ve messed this up plenty. Here are a few watch-outs:
- Uneven folds: Use the table edge to line things up
- Thick paper: Stick to standard A4—it’s easier to control
- Rushed folds: Go slow. This isn’t a race
- Loose creases: Sharper folds = longer flight time
Variations You Can Try
Want to switch it up? Check these out:
- Origami Jet Fighter – sharper angles, faster spin
- Classic Dart Plane – great for indoor races
- Glider Style – longer wings for smoother descent
- Mini Versions – fold smaller sheets for indoor flights
Each has its charm, but the high performance one? It’s my favorite for distance and style.

FAQs
Q: Can I use any type of paper?
A: Stick with A4 for best results. Heavier paper might not fold well.
Q: How do I fix a plane that turns sharply to one side?
A: Adjust the wing tips slightly. One side may be folded tighter than the other.
Q: Can kids make this?
A: Absolutely. I recommend helping younger ones with the sharper folds.
Summary
So there you have it—how to make origami high performance airplane instructions that even a beginner can follow.
From a blank A4 sheet to a powerful flyer, this little project brings big fun.
I’ve folded dozens of these over the years, and every time it flies well, I still feel like a kid again.
Give it a try—and let your imagination take off.
Now go fold your own easy origami high performance airplane and see how far it flies.
Want more origami guides like this one? Let me know which design you want next—I’m always folding something new.