

Ever wondered how to transform something as simple as a gum wrapper into art? You’re about to discover the magic.
Today I’ll show you exactly how to create stunning butterflies from everyday gum wrappers. This Easy Gum Wrapper Origami butterfly project will amaze you.
The Enchanting World of Gum Wrapper Origami Butterflies
I remember the first time I saw someone make a butterfly from a gum wrapper. My mind was blown. How could something so ordinary become so beautiful?
Gum wrapper origami butterflies represent the perfect blend of accessibility and artistry. Unlike traditional origami paper, gum wrappers are everywhere. They’re free, colorful, and surprisingly perfect for folding.
The best part? You don’t need years of experience to create something stunning. This Simple Gum Wrapper Origami butterfly Step by step guide will have you folding like a pro in minutes.
What makes gum wrapper butterflies special:
- Accessibility – Materials are literally everywhere
- Portability – Fold anywhere, anytime
- Durability – The foil backing makes them last longer
- Variety – Different gum brands offer unique colors and patterns
Materials Needed
Here’s everything you’ll need for your Origami Gum Wrapper Origami butterfly project:
| Item | Quantity | Purpose | Where to Find | Cost |
|---|---|---|---|---|
| Gum Wrapper | 1 piece | Main folding material | Any gum pack | Free |
| Clean Hands | 2 | Precise folding | Your body | Free |
| Flat Surface | 1 | Work area | Table, book, desk | Free |
| Good Lighting | Adequate | See fold lines clearly | Window, lamp | Free |
| Patience | Unlimited | Success guarantee | Within yourself | Free |
Optional Enhancement Materials:
| Item | Purpose | Notes |
|---|---|---|
| Tweezers | Precise small folds | For detailed work |
| Bone folder | Sharp creases | Professional touch |
| Magnifying glass | Better visibility | For intricate details |
Step-by-Step Instructions: How to Make Origami Gum Wrapper Origami Butterfly
Now let’s dive into the actual folding process. I’ll walk you through each step with clear explanations.
Step 1: Prepare Your Gum Wrapper
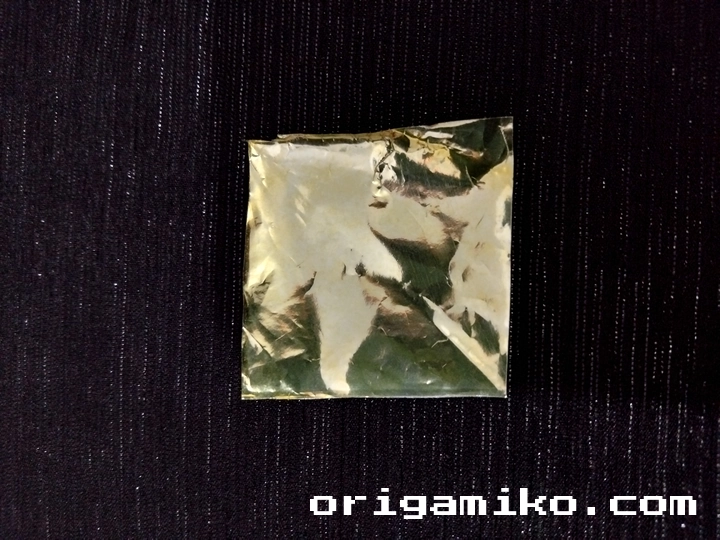
Take your gum wrapper and lay it flat on your work surface. Make sure it’s clean and free from any sticky residue. The foil side should face down.
Pro tip: If your wrapper is crumpled, gently smooth it out with your fingernail.
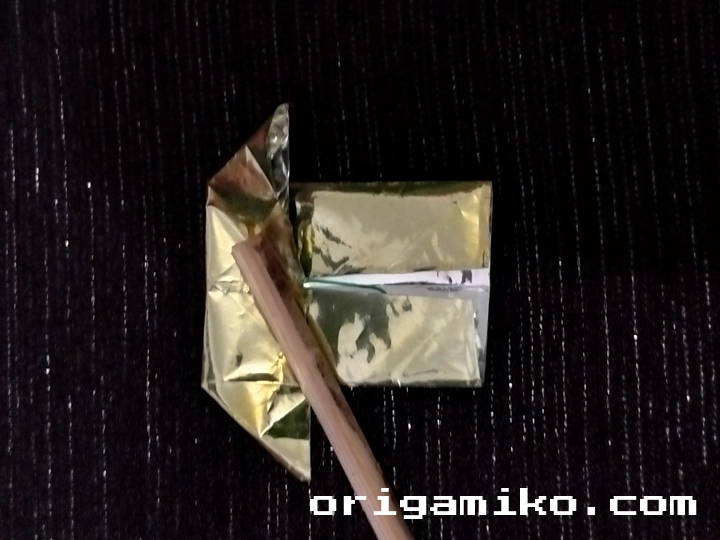
Step 2: Create the Foundation Fold
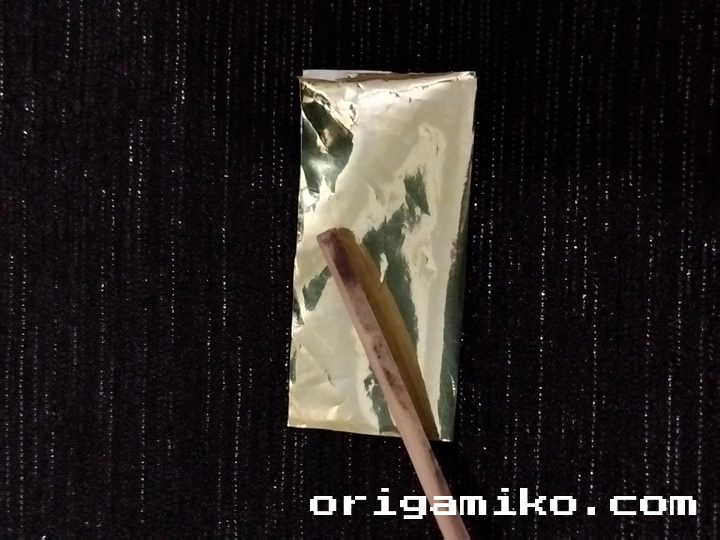
Fold the wrapper from the middle, bringing the two shorter ends together. Press down firmly to create a sharp crease. This creates your center line.
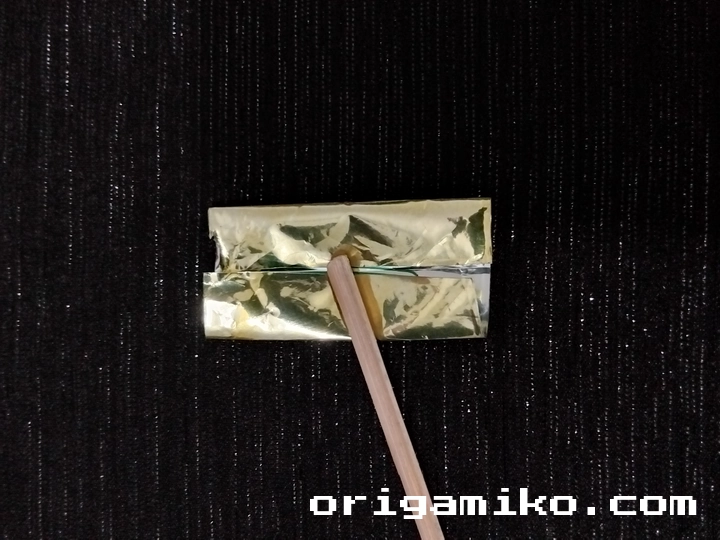
Now fold it in half again, making it even smaller. You’re creating multiple layers that will give your butterfly structure.
Finally, fold from the middle one more time. This triple-fold technique creates the perfect foundation for your butterfly’s body.
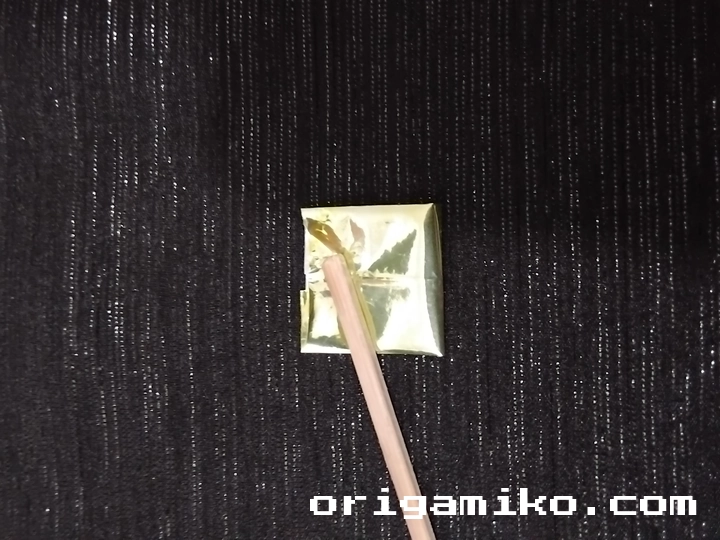
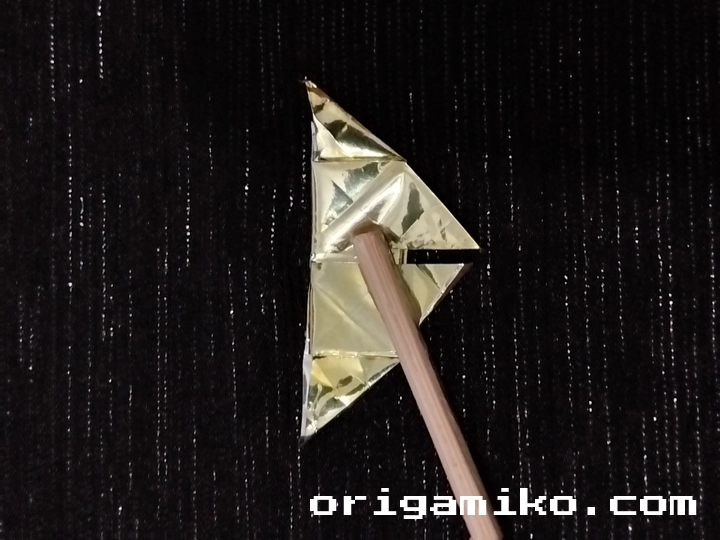
Step 3: Shape the Wing Corners

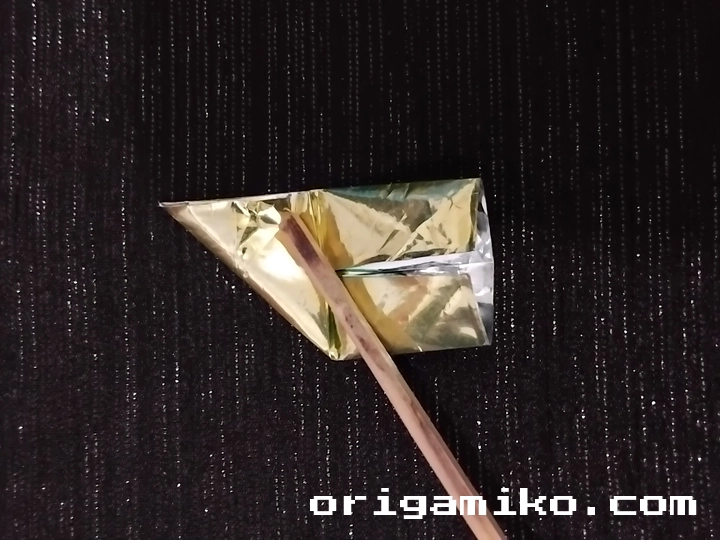
Take both corners at the top of your folded wrapper. Fold these corners down and inward, creating triangular shapes. These will become your butterfly’s upper wings.
The angle matters here. Don’t make them too sharp or too rounded. Aim for a gentle slope that mimics real butterfly wing proportions.
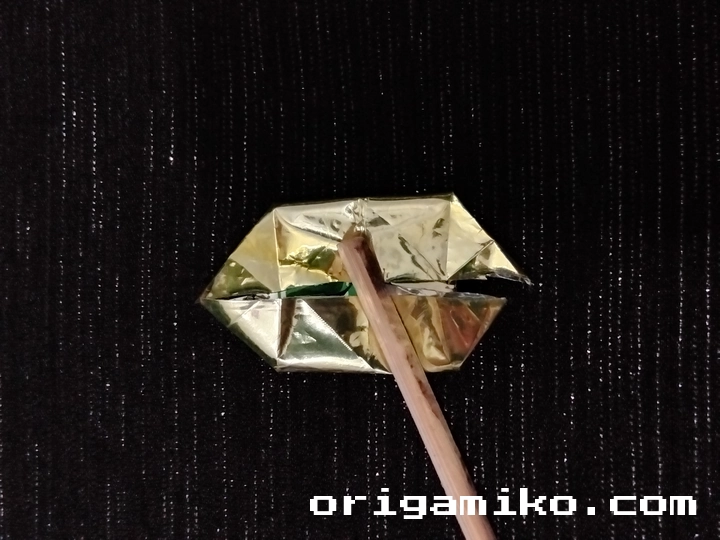
Step 4: Create the Wing Details
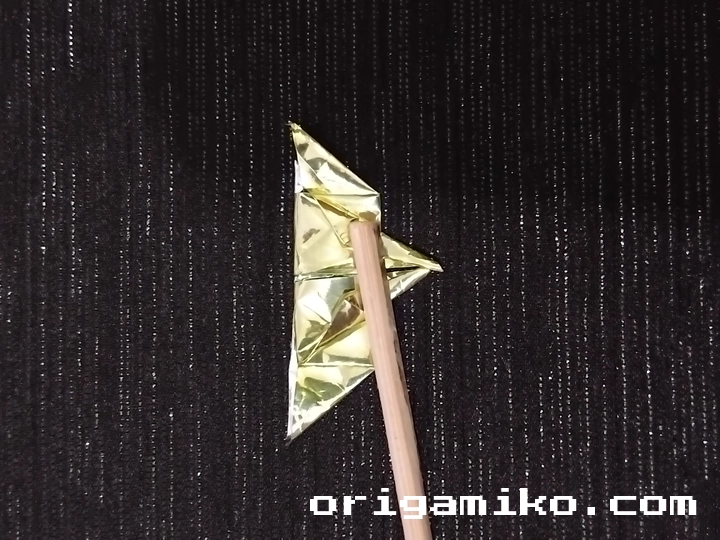
Here’s where the magic happens. Make small accordion-style folds following the natural lines of your wrapper. These tiny pleats will give your butterfly realistic wing texture.
Work from the center outward, creating symmetrical patterns on both sides. Take your time here – this step separates good butterflies from great ones.
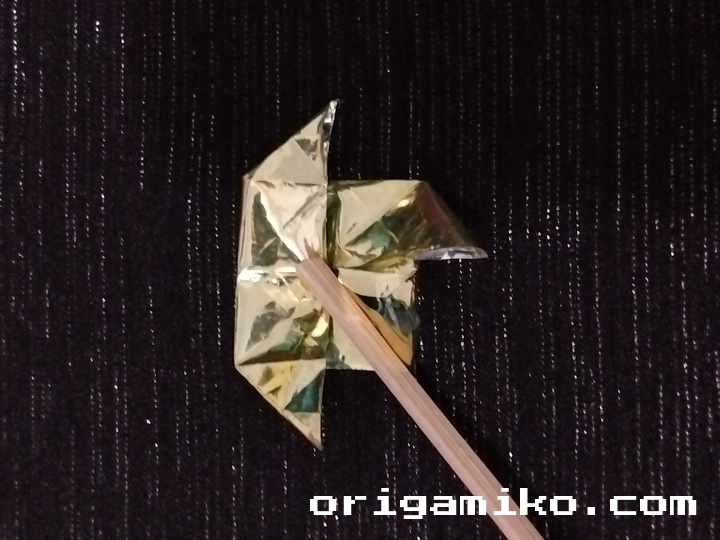
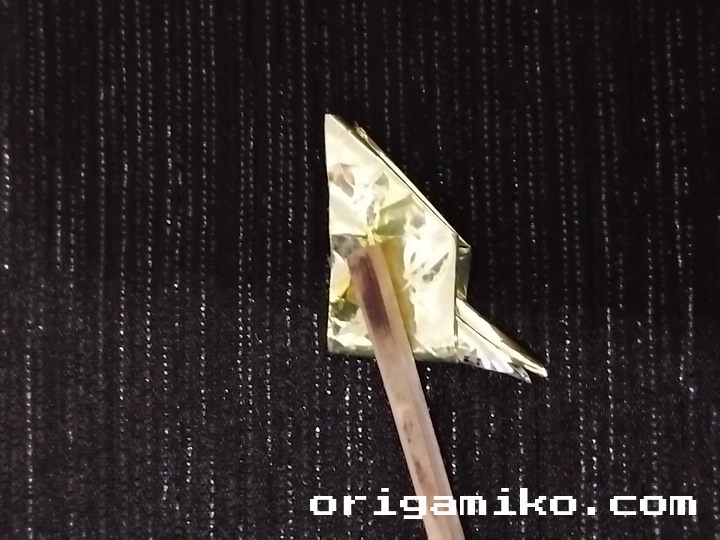
Step 5: Final Assembly
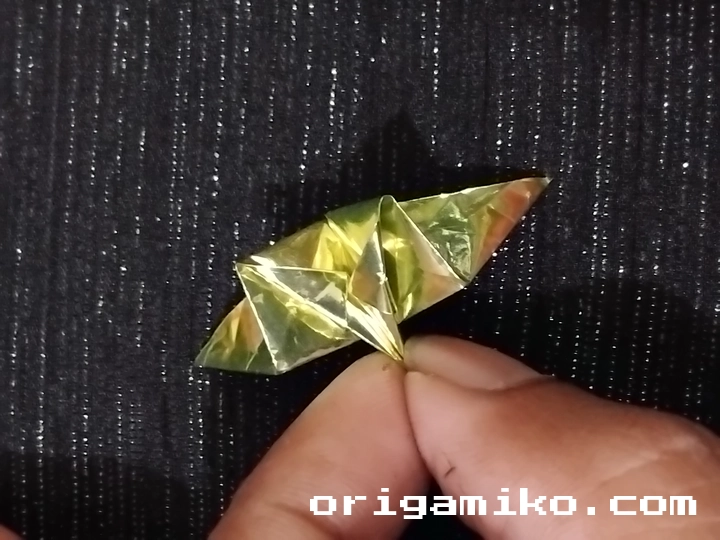

Gently open your butterfly while maintaining the central fold. Adjust the wings until they sit at natural angles. Your Easy Gum Wrapper Origami butterfly is now complete!
The wings should have a slight upward curve, just like a real butterfly about to take flight.
Tips for Success
After folding hundreds of gum wrapper butterflies, I’ve learned some tricks that make all the difference:
Preparation Tips:
- Choose wrappers with vibrant colors for visual impact
- Work on a hard, smooth surface for crisp folds
- Keep your hands clean to avoid transferring oils to the wrapper
Folding Techniques:
- Always fold away from yourself for better control
- Use your fingernail to create sharp, precise creases
- Work slowly – rushing leads to uneven folds
Finishing Touches:
- Gently curve the wings for a more natural look
- Adjust the antenna (if your design includes them)
- Display your butterfly in good lighting to show off the foil’s shine
Common Mistakes and How to Avoid Them
Let me share the most frequent errors I see beginners make:
Mistake #1: Using Damaged Wrappers Problem: Tears or holes ruin the final appearance Solution: Always inspect your wrapper before starting
Mistake #2: Inconsistent Pressure Problem: Some folds are sharp while others are soft Solution: Apply consistent, firm pressure for all creases
Mistake #3: Rushing the Process Problem: Uneven wings and poor symmetry Solution: Take your time, especially with the wing details
Mistake #4: Ignoring the Grain Problem: Fighting against the wrapper’s natural fold lines Solution: Work with the material, not against it
Mistake #5: Over-handling Problem: The foil becomes dull and creased Solution: Minimize unnecessary touching once folds are set
Similar Variations You Can Create
Once you’ve mastered the basic butterfly, try these exciting variations:
Mini Butterfly Collection: Create multiple small butterflies from different gum wrapper brands. Each type has unique characteristics:
- Trident wrappers: Sturdy and colorful
- Extra wrappers: Larger size, more folding room
- 5 Gum wrappers: Sleek, modern appearance
Advanced Wing Patterns:
- Monarch Style: Use orange and black wrappers
- Swallowtail Design: Extend the lower wing points
- Peacock Pattern: Incorporate eye-spot details
Functional Variations:
- Bookmark Butterflies: Flatten completely for book marking
- Mobile Elements: Attach thread for hanging displays
- Jewelry Pieces: Miniaturize for unique accessories
The Science Behind the Art
Understanding why gum wrapper origami works so well helps improve your technique:
Material Properties: The combination of paper and foil creates ideal folding conditions. The paper provides flexibility while the foil adds structure and visual appeal.
Geometric Principles: Butterfly origami relies on symmetry and proportion. The golden ratio naturally appears in wing relationships, making pleasing designs almost automatic.
Psychological Benefits: Folding activates the same brain regions involved in meditation. It’s literally therapeutic crafting.
Troubleshooting Guide
Problem: Wings won’t stay positioned Solution: Reinforce the center fold and adjust wing angles gradually
Problem: Butterfly looks flat Solution: Create more dimensional folds in the body section
Problem: Colors don’t show well Solution: Position your butterfly to catch light on the foil surfaces
Problem: Wrapper keeps tearing Solution: Use gentler pressure and check for sharp fingernails
Displaying Your Creations
Your finished butterflies deserve proper presentation:
Shadow Box Displays: Mount butterflies at different heights for a 3D garden effect
Window Hangings: The foil catches sunlight beautifully when suspended
Gift Presentations: Attach to gift packages instead of traditional bows
Educational Projects: Use for science displays about butterfly species and metamorphosis
Taking Your Skills Further
Ready to expand beyond the basic Origami Gum Wrapper Origami butterfly instructions? Here are your next challenges:
Intermediate Projects:
- Dragons from candy bar wrappers
- Flowers from tissue paper
- Birds from magazine pages
Advanced Techniques:
- Wet-folding for curved surfaces
- Modular origami combinations
- Mixed-media incorporations
Cultural Connections
Origami isn’t just about folding – it’s about connecting with centuries of artistic tradition. When you create gum wrapper butterflies, you’re participating in a practice that spans cultures and generations.
The butterfly specifically symbolizes transformation and renewal in many traditions. Your simple gum wrapper literally transforms into something beautiful and meaningful.
Environmental Impact
One of my favorite aspects of gum wrapper origami is its environmental friendliness. Instead of throwing wrappers away, you’re giving them new life as art pieces.
This practice embodies the “reduce, reuse, recycle” philosophy perfectly. You’re taking waste and creating beauty.
FAQs
Q: Can I use any type of gum wrapper? A: Yes! Different brands offer various colors and sizes, each creating unique butterfly characteristics.
Q: How long does a gum wrapper butterfly last? A: With proper handling, they can last for years. The foil backing provides surprising durability.
Q: Is this suitable for children? A: Absolutely! It’s perfect for developing fine motor skills and creativity. Supervise younger children with small pieces.
Q: Can I make larger butterflies? A: Try using larger wrappers from king-size gum packages or candy bars for bigger creations.
Q: What if my wrapper tears during folding? A: Small tears can often be incorporated into the design as natural wing patterns. Embrace the imperfection!
Q: How can I make my butterfly more three-dimensional? A: Focus on creating depth in the body section and gentle curves in the wing positioning.
Building Your Origami Journey
Starting with this Simple Gum Wrapper Origami butterfly Step by step process opens doors to endless creative possibilities. Each fold teaches you something new about paper manipulation and artistic vision.
I encourage you to experiment with different wrappers, try various folding sequences, and develop your own signature style. The beauty of origami lies not just in following instructions, but in discovering your own creative path.
Remember, every expert was once a beginner. Your first butterfly might not be perfect, but it’s the start of something beautiful.
Conclusion
Creating an Easy Gum Wrapper Origami butterfly transforms ordinary waste into extraordinary art. Through this step-by-step journey, you’ve learned not just how to fold paper, but how to see beauty in unexpected places. The next time you unwrap a piece of gum, you’ll see not just trash, but potential for something magical. Keep folding, keep creating, and remember that the most beautiful butterflies often come from the simplest beginnings.