

Ever wonder how something as simple as a gum wrapper can become stunning jewelry? This ancient Japanese art meets modern creativity in the most delightful way. Today I’ll show you exactly how to transform that discarded wrapper into something magical.
Paper folding has never been more accessible or rewarding. You’re about to discover the joy of creating beautiful accessories from everyday items. Get ready for a fun-filled journey that’ll have you hooked on this amazing craft.
The best part? You probably have everything you need sitting right in your pocket or purse. Let’s dive into this enchanting world of Simple Gum Wrapper Origami Ring Step by step creation together.
What is a Gum Wrapper Origami Ring?
A gum wrapper origami ring is exactly what it sounds like – a beautiful ring crafted from the foil or paper wrapper that comes with your favorite chewing gum. I’ve been making these little treasures for years, and they never fail to impress people.
The beauty of this project lies in its simplicity and accessibility. You don’t need expensive materials or fancy tools. Just a used gum wrapper and your hands. These rings make perfect gifts, conversation starters, or just fun accessories for yourself.
What I love most about gum wrapper rings is how they transform something destined for the trash into something genuinely beautiful. It’s recycling at its most creative. Plus, you can make them anywhere – on the bus, during lunch breaks, or while watching TV.
Materials Needed
Here’s everything you’ll need for your Origami Gum Wrapper Origami Ring instructions project:
| Material | Quantity | Type/Brand | Purpose | Where to Find |
|---|---|---|---|---|
| Gum Wrapper | 1 piece | Any foil-backed wrapper (Wrigley’s, Trident, etc.) | Main construction material | After chewing gum |
| Clean Hands | 2 | Your own | Folding and shaping | Attached to your arms |
| Flat Surface | 1 | Table, desk, or book | Workspace for precise folds | Any hard, level area |
| Good Lighting | Adequate | Natural or lamp light | Clear visibility of fold lines | Window or lamp |
| Patience | Unlimited | Your natural supply | Success in paper folding | Deep within yourself |
Paper Size: Standard gum wrapper (approximately 2.5″ x 5″)
The wrapper type matters more than you might think. Foil-backed wrappers work best because they hold creases well and have that shiny finish that makes your ring look more jewelry-like. Paper-only wrappers can work too, but they’re not as durable.
Step-by-Step Instructions: How to Make Origami Gum Wrapper Origami Ring
Now comes the fun part! I’ll walk you through each step of creating your masterpiece. Take your time with each fold – rushing leads to crooked rings.
Step 1: Prepare Your Wrapper
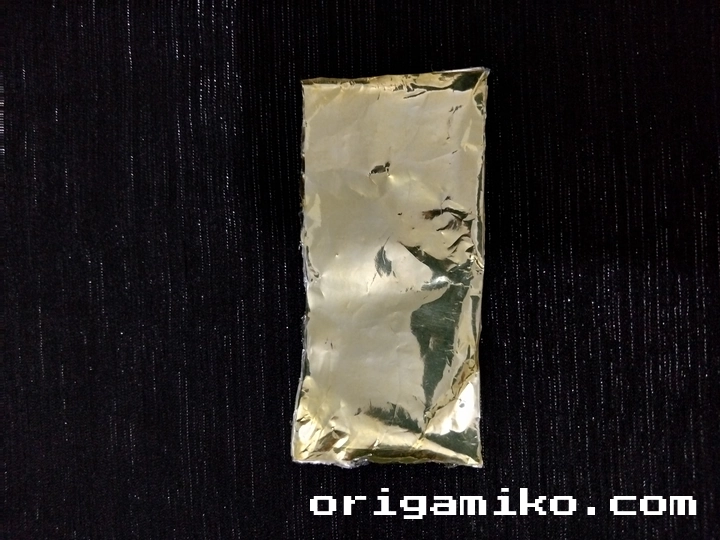
Take your gum wrapper and smooth it out completely. Remove any sticky residue if there’s any left. The cleaner your starting material, the better your final result will be.
Step 2: Initial Corner Folds
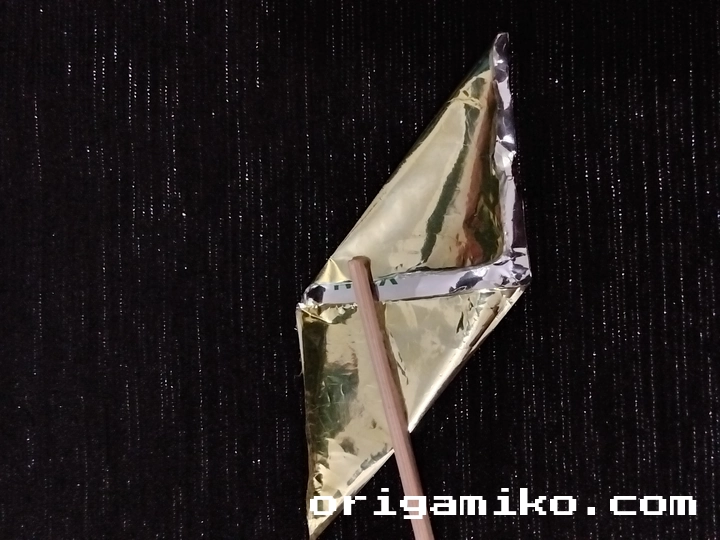
Fold the wrapper from both corners diagonally. You’re creating triangle shapes at each end. Press firmly to make sharp creases. These initial folds set the foundation for your entire ring.
Step 3: Second Corner Folds
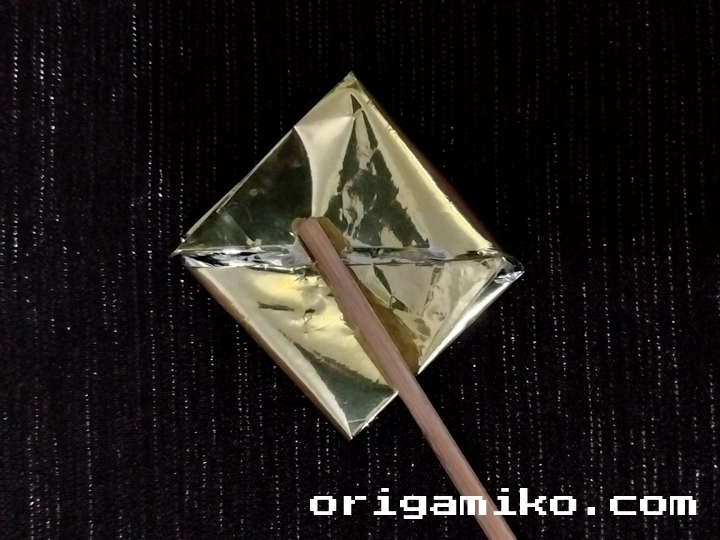
Again fold both corners, but this time you’re folding the triangular flaps you just created. This creates smaller triangles and starts to give your wrapper that distinctive pointed look.
Step 4: The Critical Unfolding and Reshaping
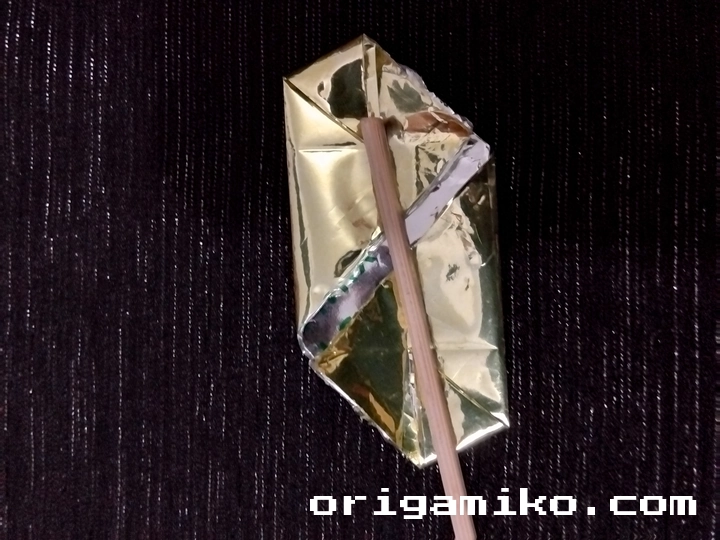
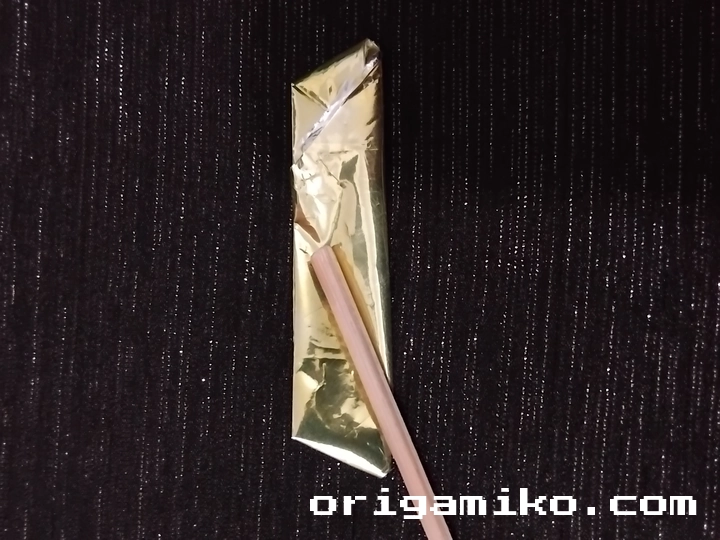
Unfold your wrapper carefully. Now slightly fold both corners – not as much as before, just a gentle fold. Then fold from the middle lengthwise. This is where the magic happens and your ring shape begins to emerge.
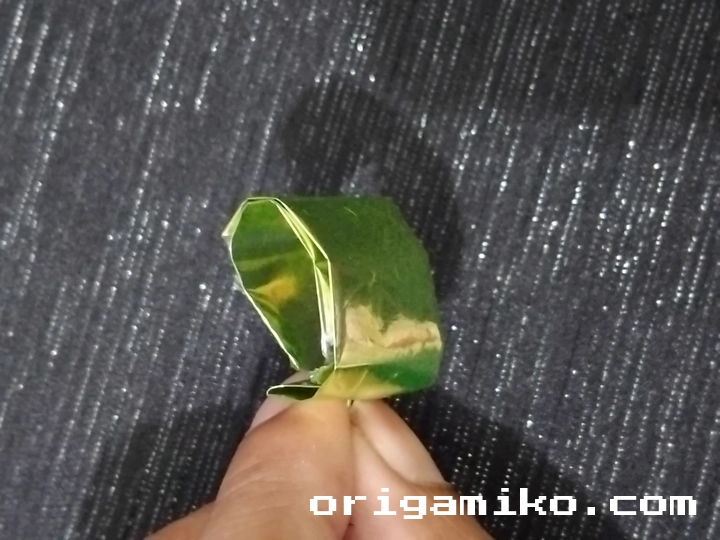
Step 5: Final Ring Formation
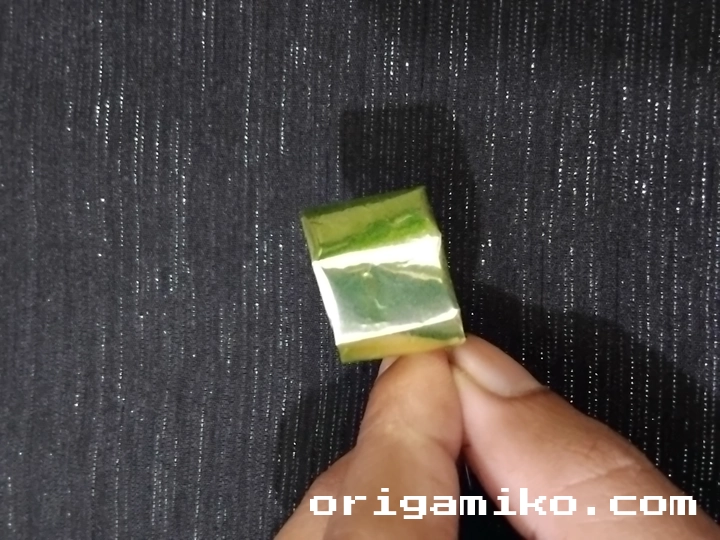
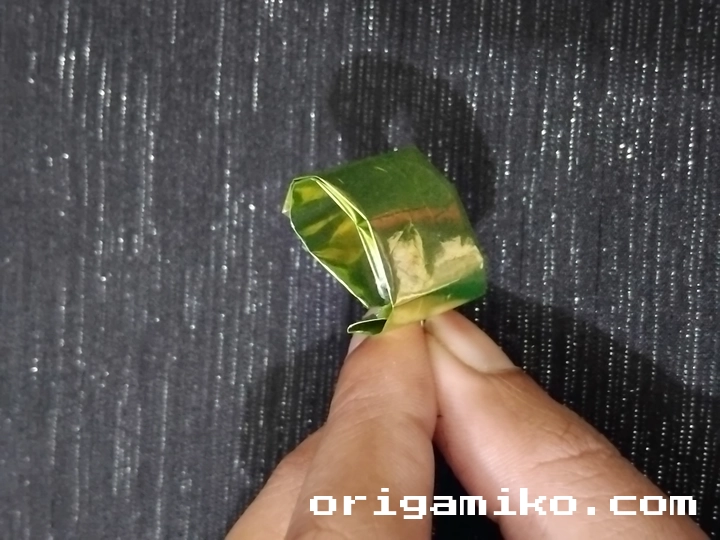
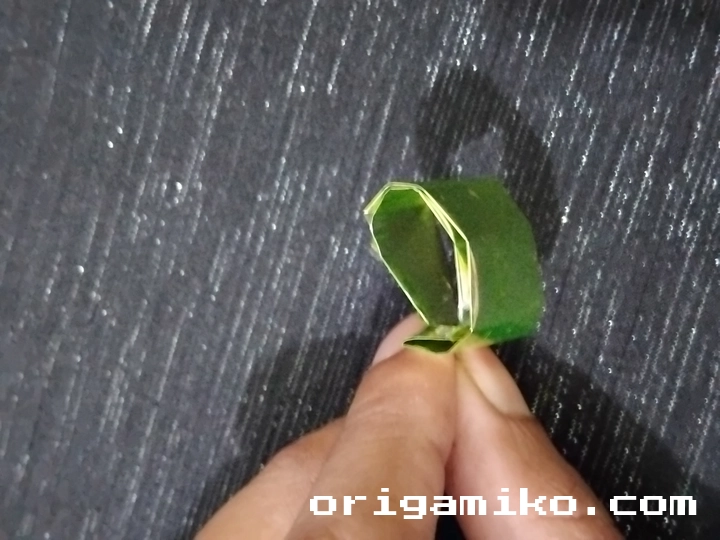
Now form your ring shape by bringing the ends together. The pointed ends should tuck into each other or overlap neatly. Adjust until you have a comfortable fit.
Your Easy Gum Wrapper Origami Ring is now complete!
Tips for Success
I’ve made hundreds of these rings over the years. Here are my best tips:
Work with fresh wrappers. Old, crumpled wrappers don’t fold as cleanly. The fresher the wrapper, the sharper your creases will be.
Make crisp folds. Use your fingernail to really press down those creases. Weak folds lead to rings that fall apart.
Size matters. Different gum brands have different wrapper sizes. Experiment to find which works best for your finger size.
Practice makes perfect. Your first ring might look wonky. That’s totally normal. I remember my first attempt looked more like abstract art than jewelry.
Keep it clean. Wash your hands before starting. Clean hands make cleaner-looking rings.
Common Mistakes and How to Avoid Them
Mistake #1: Rushing the folds I see this all the time. People get excited and fold too quickly. Take your time with each crease. A well-made fold is worth three rushed ones.
Mistake #2: Using damaged wrappers Torn or heavily wrinkled wrappers rarely make good rings. Choose your wrapper carefully – it’s your raw material.
Mistake #3: Making folds too deep When you’re doing that final “slight fold” of the corners, don’t overdo it. Too much folding makes the ring too thick and uncomfortable.
Mistake #4: Not pressing creases firmly Weak creases mean a weak ring. Really press those folds down. Your ring needs to hold its shape.
Mistake #5: Wrong ring sizing Test the size before you finish. Nothing’s worse than a beautiful ring that doesn’t fit.
Similar Variations You Can Make
Once you’ve mastered the basic ring, try these variations:
Double-wrapper rings: Use two wrappers for a thicker, more substantial ring. The process is similar but requires more careful planning.
Twisted rings: Before forming the ring shape, give your wrapper a gentle twist. This creates a spiral effect that looks really cool.
Braided rings: Use three thin strips cut from larger wrappers. Braid them together before forming the ring.
Colored rings: Some gums come with colored wrappers. Collect different colors to make matching sets.
Multi-band rings: Make several thin rings and wear them together for a stacked look.
Troubleshooting Your Ring
Ring too loose? Overlap the ends more or fold the band slightly to make it smaller.
Ring too tight? Gently stretch the band or reduce the overlap at the connection point.
Falls apart easily? Your creases probably aren’t sharp enough. Start over with firmer folds.
Looks messy? Practice makes perfect. Keep trying – your technique will improve with each ring.
The History and Culture Behind Paper Folding
Origami, the art of paper folding, has roots stretching back over 1,000 years. While traditional origami uses special paper, the principles apply perfectly to our gum wrapper project.
What I find fascinating is how this ancient art form adapts to modern materials. Japanese monks and nobles never imagined their techniques would work on candy wrappers, but here we are.
The beauty of origami lies in transformation – taking something flat and making it three-dimensional. Our rings embody this principle perfectly.
Environmental Benefits
Every time you make a gum wrapper ring instead of throwing that wrapper away, you’re doing something good for the planet. It’s a tiny act, but tiny acts add up.
I’ve calculated that I’ve kept hundreds of wrappers out of landfills over the years. That might not sound like much, but imagine if everyone did this.
Plus, you’re extending the life cycle of that piece of foil or paper. Instead of 30 seconds of usefulness, it becomes something you might wear for weeks.
Frequently Asked Questions
How long does a gum wrapper ring last? With normal wear, about 2-3 weeks. Foil wrappers last longer than paper ones.
Can I make rings from other wrappers? Absolutely! Candy bar wrappers work great. So do some food packaging materials.
What if I don’t have a gum wrapper? Any rectangular piece of foil or flexible material works. Even aluminum foil cut to size.
Can kids make these? Yes! It’s a great project for kids 8 and up. Younger children might need help with the precise folds.
How do I clean my ring? Gently wipe with a damp cloth. Don’t soak it – the wrapper might come apart.
Taking Your Skills Further
Once you’ve mastered the basic how to make Origami Gum Wrapper Origami Ring, consider exploring other origami projects. The folding techniques you’ve learned here apply to many other creations.
Try making origami flowers, animals, or decorative boxes. The same patience and precision that makes great rings makes great origami in general.
Join origami communities online or in person. You’ll be amazed at what other people create from simple materials.
Summary
Creating an Easy Gum Wrapper Origami Ring is more than just a craft project – it’s a meditation, a way to transform waste into beauty, and a skill that never fails to impress. The simple steps I’ve shared transform ordinary gum wrappers into extraordinary accessories.
Remember, every expert was once a beginner. Your first ring might not be perfect, but with practice, you’ll be creating beautiful jewelry from everyday materials. Keep folding, keep creating, and most importantly, have fun with this wonderful Simple Gum Wrapper Origami Ring Step by step process.