

Ever tried folding a piece of paper into something magical?
Not just a shape—but a story?
Well today, you’re about to set sail.

Meet the Origami Sailboat
Let me introduce you to one of the most charming and rewarding paper folding projects out there—the Origami Sailboat. Whether you’re totally new to origami or you’ve got a few folds under your belt, this one is perfect. It’s simple, quick, and honestly… kind of enchanting.
Why? Because something about the clean lines of the sails and the balance of the boat just clicks. It gives you that “aha!” moment when the final shape appears. Trust me, you’ll want to make a fleet.
And don’t worry—I’ll walk you through every fold. Step-by-step. We’ll go slow, keep things friendly, and make sure that by the end, you’ll be looking at your very own sailboat made entirely from a square sheet of paper.
What Is an Origami Sailboat?
An Origami Sailboat is a paper model of a small sailing boat, created through folding techniques from the Japanese art of origami. It captures the look of a boat with upright sails and a symmetrical hull using a single sheet of paper—no cuts, no glue, just folds.
It’s great for:
- School projects
- DIY decor
- Craft time with kids
- Relaxing solo sessions
Plus, once you know the basics, it’s easy to customize. Color it. Scale it up. Turn it into a mobile. The options are wide open.
Materials Needed
Here’s exactly what you’ll need before we dive into the simple sailboat step by step.
| Item | Description | Why It’s Important |
|---|---|---|
| Origami Paper | One 15″ × 15″ square sheet | Standard size that’s ideal for beginners |
| Flat Surface | Clean, firm table or desk | Keeps your folds crisp and accurate |
| Patience | Trust me—you’ve got this | Because we’re learning something new |
| Optional: Ruler | For aligning edges or smoothing creases | Helps with precision (especially for kids) |
| Optional: Pencil | Lightly mark reference points (if needed) | Useful for very young folders |
Key Terms to Know
Here are a few origami terms you’ll hear me use. Don’t worry—they’re super simple:
- Valley Fold: Folding the paper towards you, creating a valley.
- Mountain Fold: Folding the paper away from you, forming a peak.
- Crease: The line that forms after you fold and then unfold.
- Unfold: Gently open the paper after a fold—creases are key reference lines.
Easy Origami Sailboat Instructions
Alright, let’s get into it. These origami sailboat instructions are beginner-friendly and follow a reliable process. Keep your 15″ × 15″ square paper ready!
Step-by-Step Guide: Simple Sailboat Step by Step
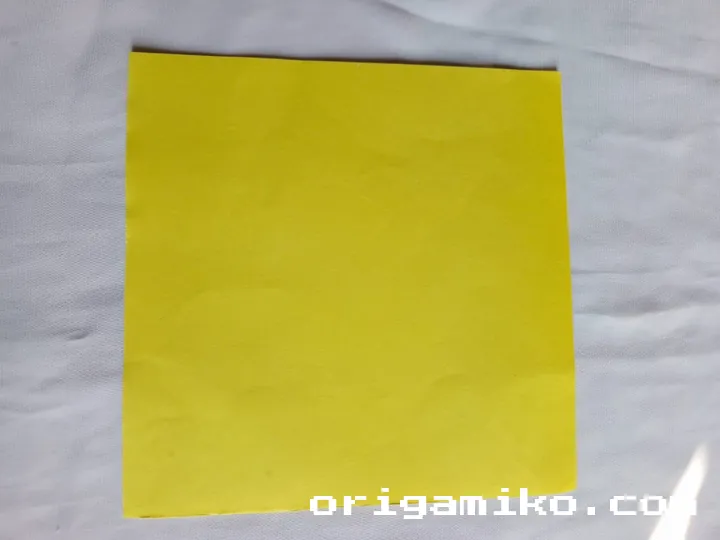
- Step 1: Start with a square piece of paper (15 inches by 15 inches works great). Place it flat on your work surface with the color side facing down (if your paper has a color).
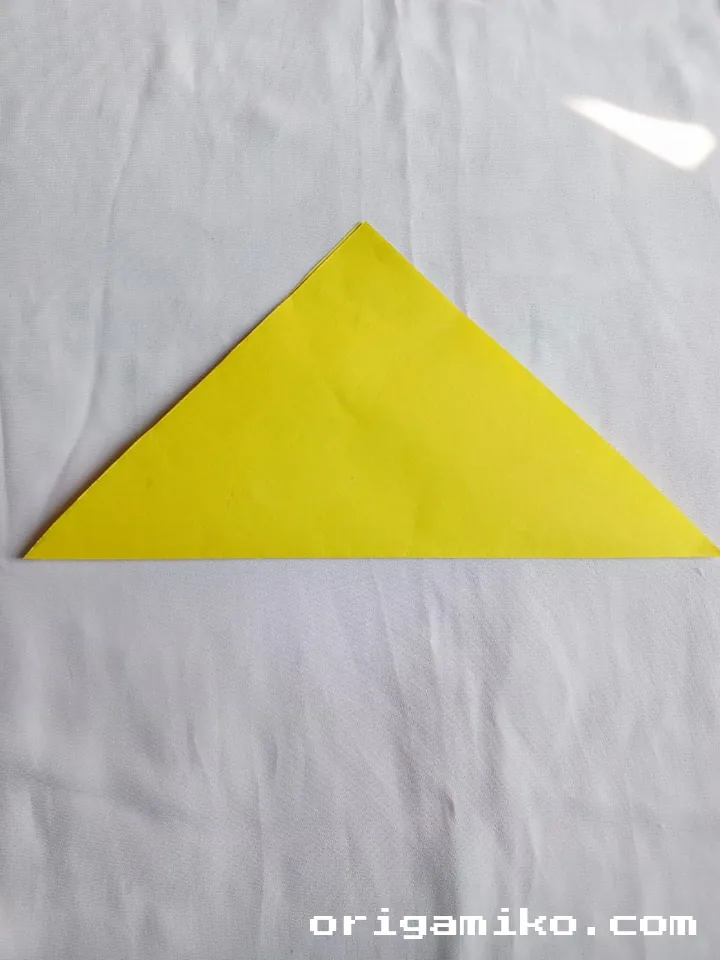
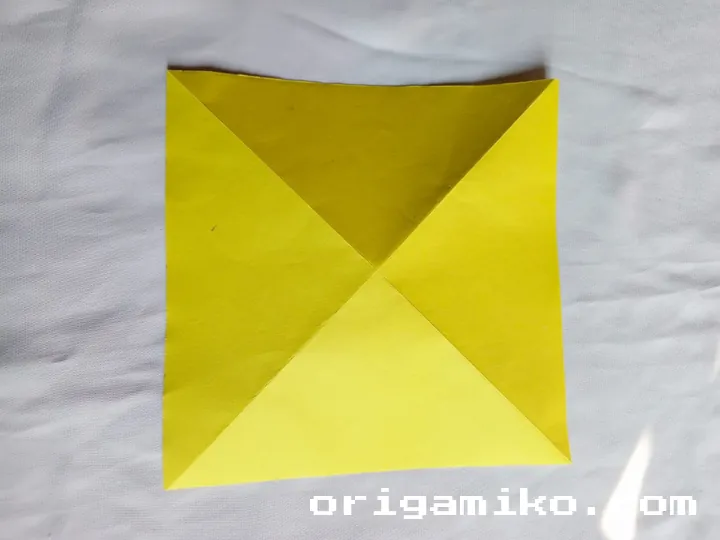
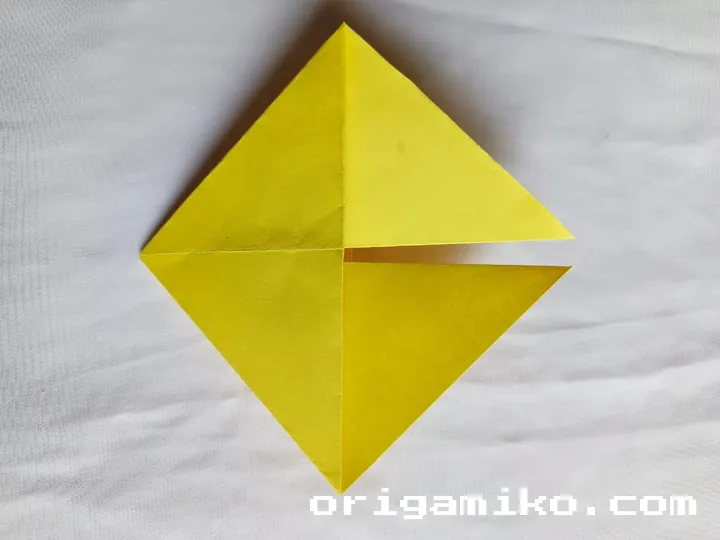
- Step 2: Fold each corner to the opposite corner to create diagonal creases. That means fold one corner across to form a triangle, press down, then unfold. Do this for both diagonals.
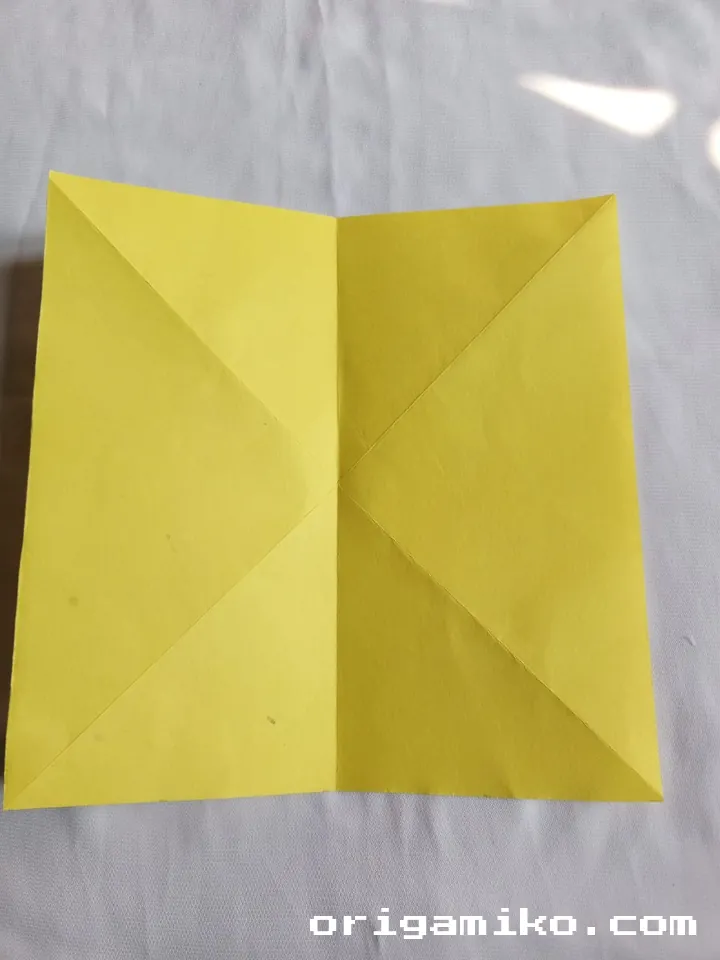
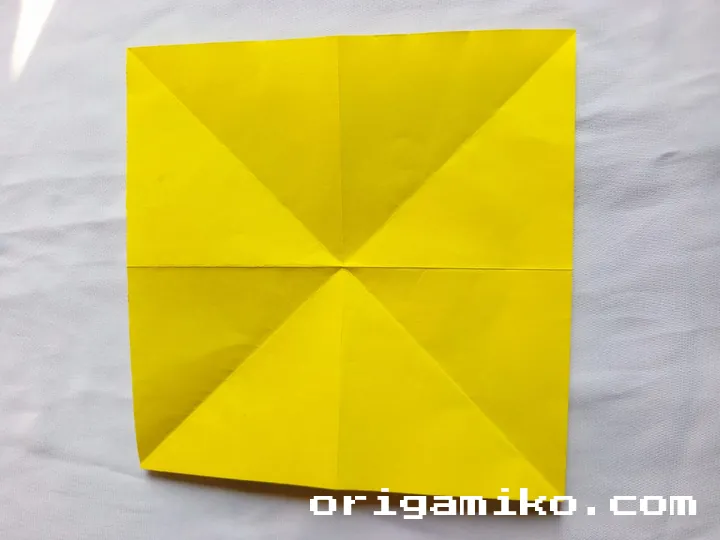
- Step 3: Now fold it vertically (top to bottom), crease it, then unfold. Then fold it horizontally (left to right), crease, and unfold again. You’ll now see a grid of creases that help guide the boat’s shape.
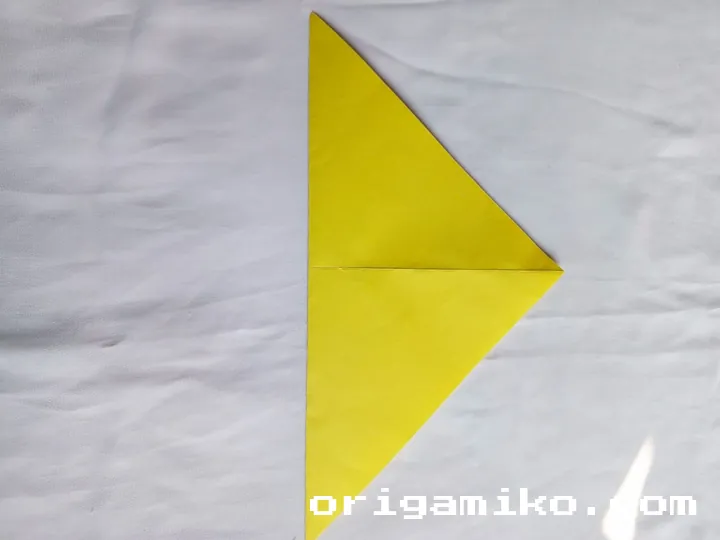
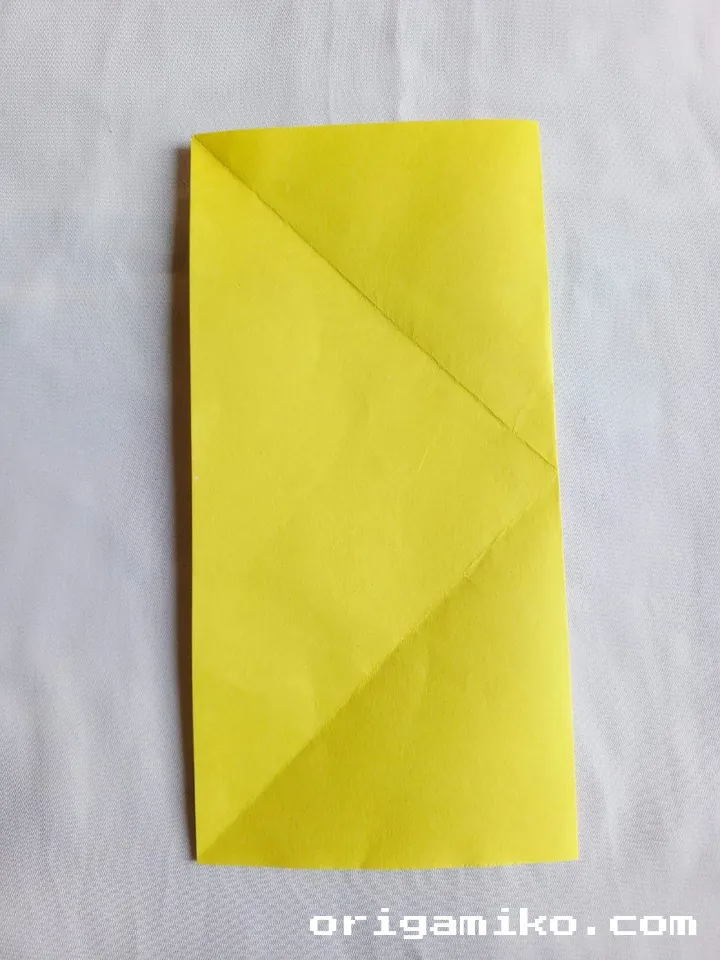
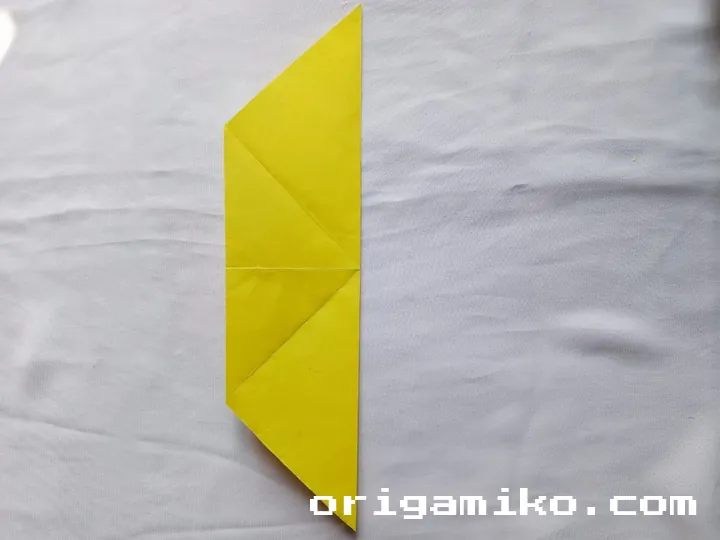
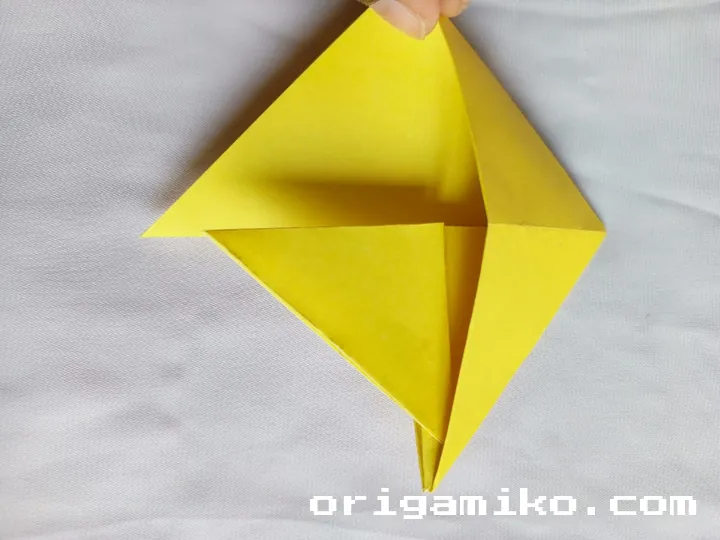
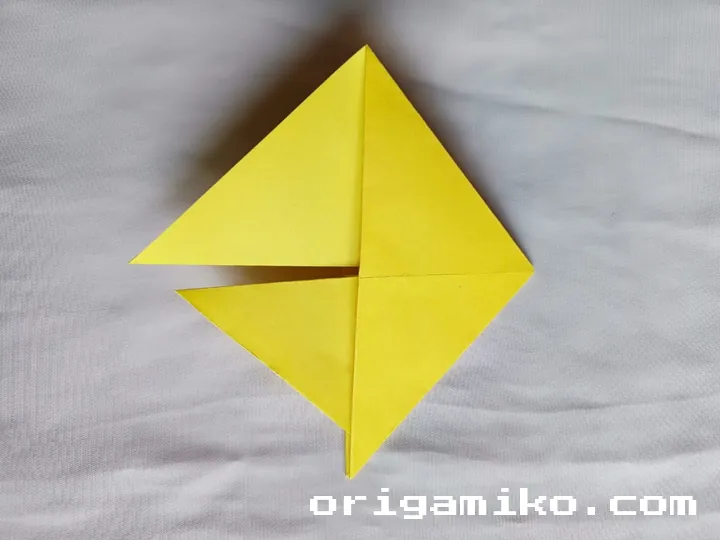
- Step 4: Fold two opposite corners inward so their tips meet at the center. Then fold the entire sheet in half from top to bottom. After that, fold both sides inward (from the left and right edges) toward the middle fold. You’re creating the base of the boat here.
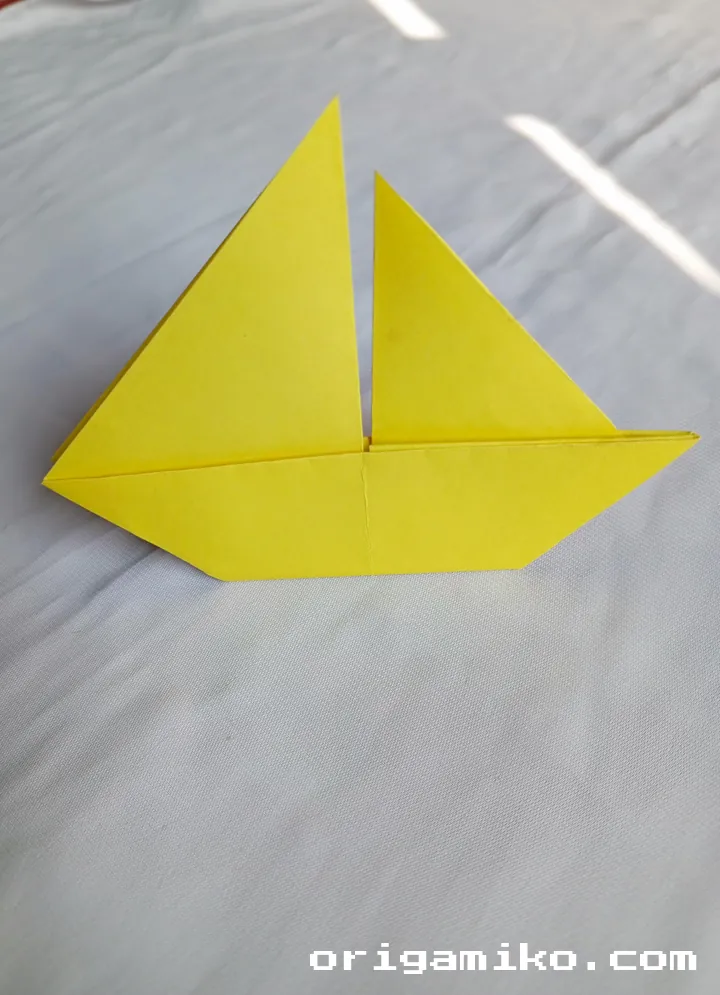
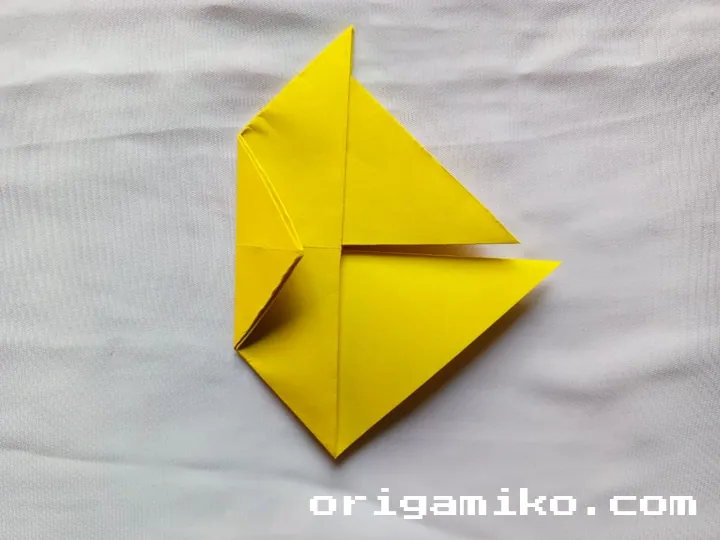
- Step 5: Now here’s the magic part—make the final folds as shown in most traditional Origami Sailboat diagrams (or if you’ve seen an image tutorial). You’ll notice the sails take shape as you collapse certain folds inward. The base tucks nicely underneath. And that’s it!


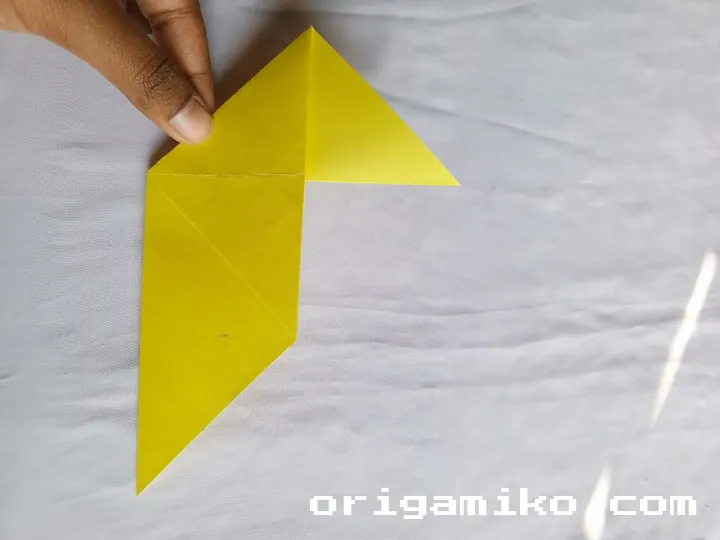

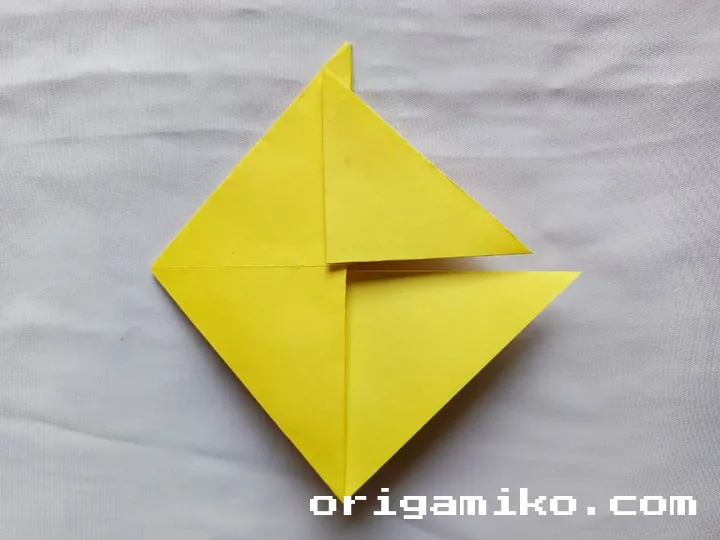
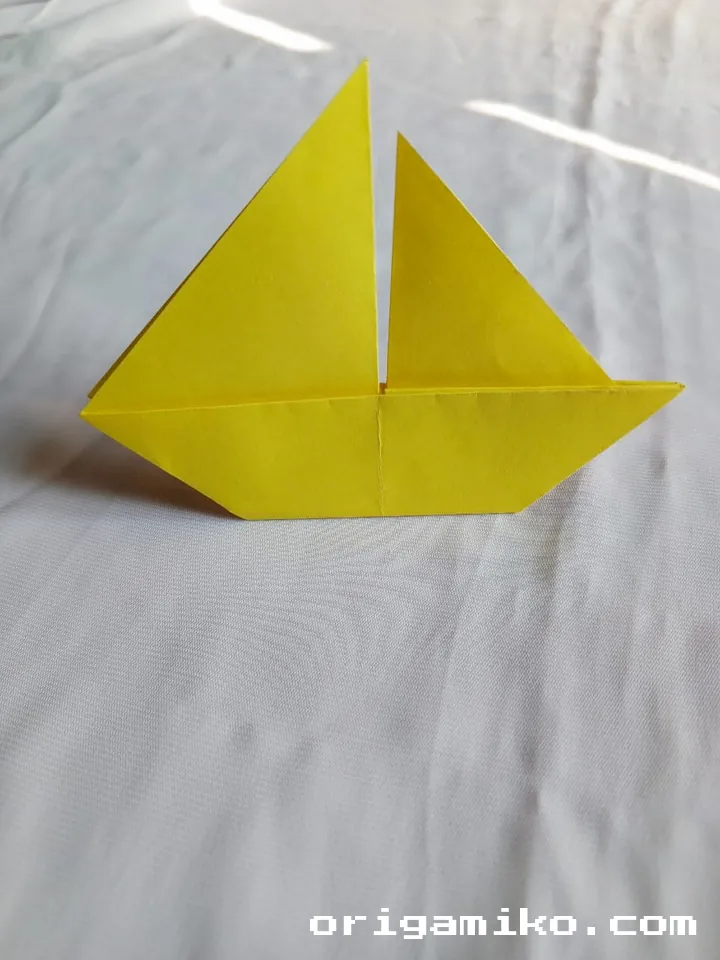
You’ve just folded your very own easy origami sailboat.
Tips for Success
Some handy pointers to keep things smooth:
- Use larger paper if you’re a beginner—it’s easier to fold and see what’s happening.
- Press creases firmly for clean, sharp lines.
- Take your time—this isn’t a race.
- Practice on scrap paper if you’re nervous to use fancy origami paper.
- Refer to diagrams or photos if you get stuck on the final shape.
Common Mistakes and How to Avoid Them
Even I made these when I was learning:
- Wrong paper size
Fix: Stick with 15″ × 15″ for now. It gives you enough room to fold neatly. - Forgetting to unfold between steps
Fix: The unfolding creates guidelines. Don’t skip it. - Crooked folds
Fix: Take time to line up edges perfectly before pressing down. - Trying to rush
Fix: Breathe. Enjoy the process—it’s half the fun.
Similar Variations You Can Try
Once you master the sailboat, here are a few other models to explore:
- Origami Canoe – Sleek and narrow, good for themed projects.
- Sailboat with Double Sails – A more advanced version with two visible sails.
- Paper Yacht – Fancy! Looks elegant on a desk.
- Floating Paper Boat – Made to float in water (though not always origami-pure).
Try folding different colored papers to make a whole regatta.
FAQs
Q: Can I use printer paper instead of origami paper?
A: Yes! Just cut it into a square. The folds might be a bit bulkier, but it works.
Q: How long does it take to make one?
A: About 5 to 10 minutes for your first try. After that, you’ll fly through it in under 3.
Q: What can I do with my origami sailboats?
A: Decorate your desk, hang them from the ceiling, or gift them with a message written inside.
Q: Can I teach this to kids?
A: Absolutely. It’s one of the best beginner projects out there.
Let’s Wrap This Up
So there you have it—the complete guide on how to make origami sailboat models with nothing but your hands and a square sheet of paper. It’s a simple, satisfying craft that feels timeless.
The best part? Every sailboat is a little different. Yours will have character. Keep folding, try new variations, and maybe—just maybe—you’ll get hooked like I did.
Ready to fold your first easy origami sailboat? Grab that paper and set sail.