Ever wonder how to make an Origami Leaf Wreath that looks stunning, feels handmade, and doesn’t take forever to fold?
You’re in the right place. Today, I’m going to walk you through a simple Leaf Wreath step by step—no fancy tools, no complicated patterns.
Just paper, patience, and a few fun folds. Let’s get into it.
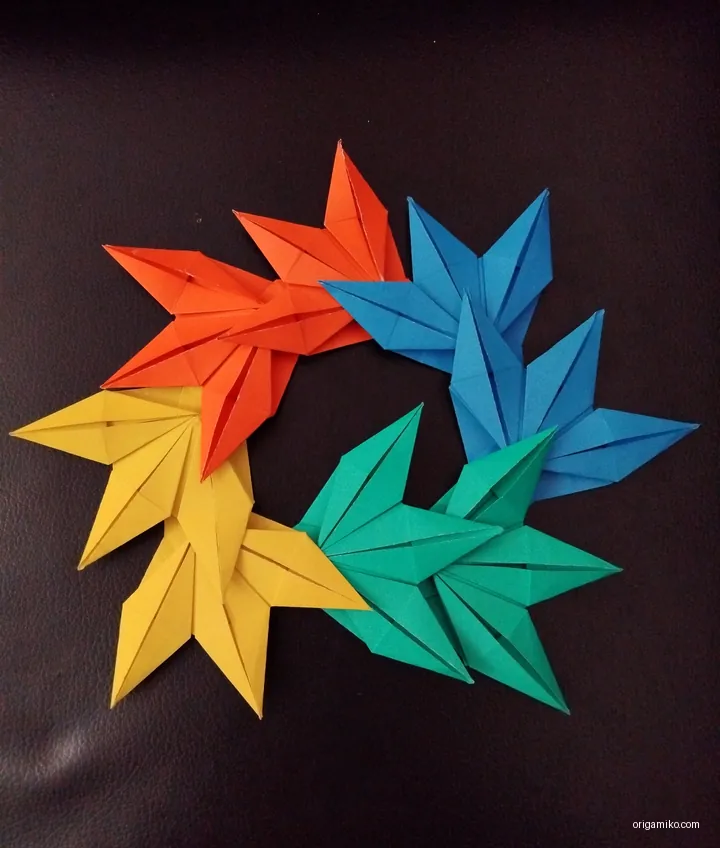
What Are We Making?
We’re creating an Origami Leaf Wreath—a circular arrangement of folded paper leaves that looks like it came out of a design magazine, but can be made right at your table.
Each leaf folds up like magic, and when you connect them, it forms a complete wreath. It’s lightweight, colorful, and makes a perfect handmade decoration.
Whether you’re looking to spruce up your space or just want a relaxing craft, this easy Origami Leaf Wreath is a perfect weekend project.
Key Terms You Should Know
Let’s clarify some basic terms before we fold:
Origami
The Japanese art of paper folding. No glue, no scissors—just your hands and paper.
Wreath
A circular arrangement, often used for decoration. In this case, we’re building one with folded leaves.
Petals
The curved leaf shapes we’ll fold and assemble to form the wreath.
Materials Needed
You don’t need a whole craft store to make this. Just a few items:
| Item | Description | Quantity |
|---|---|---|
| Origami Paper | Square, 15×15 cm, single-sided color | 8 sheets |
| Flat Surface | A clean table to fold on | 1 |
| Bone Folder (optional) | Helps make sharp folds | 1 |
| Patience & Time | Because folding is a journey | Unlimited |
Simple Leaf Wreath Step by Step
Let me show you how to make an Origami Leaf Wreath using clear, beginner-friendly steps. These instructions are perfect even if you’ve never folded before.
Step 1: Start with the Paper
- Take one sheet of square paper.
- Make sure it’s 15×15 cm for balance and symmetry.
- If your paper is colored on one side, place the color side down.
Step 2: Fold It In Halves
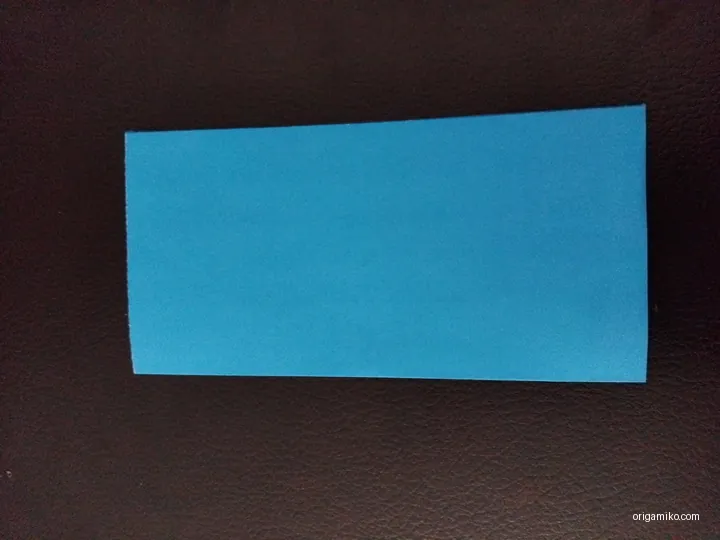
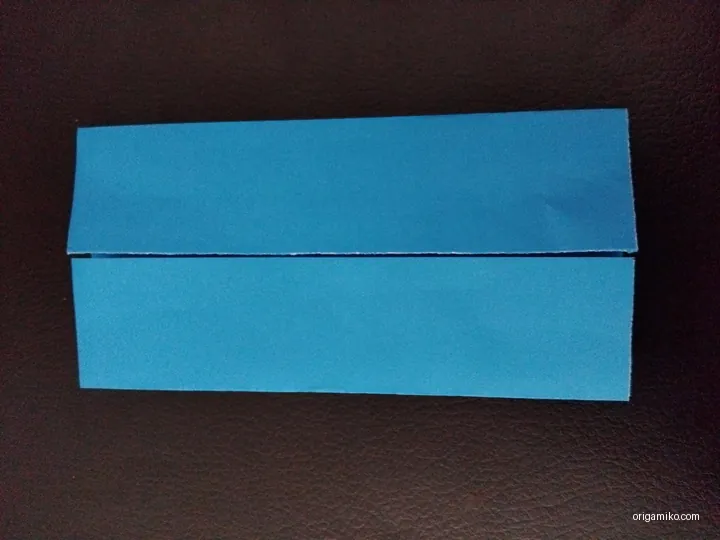
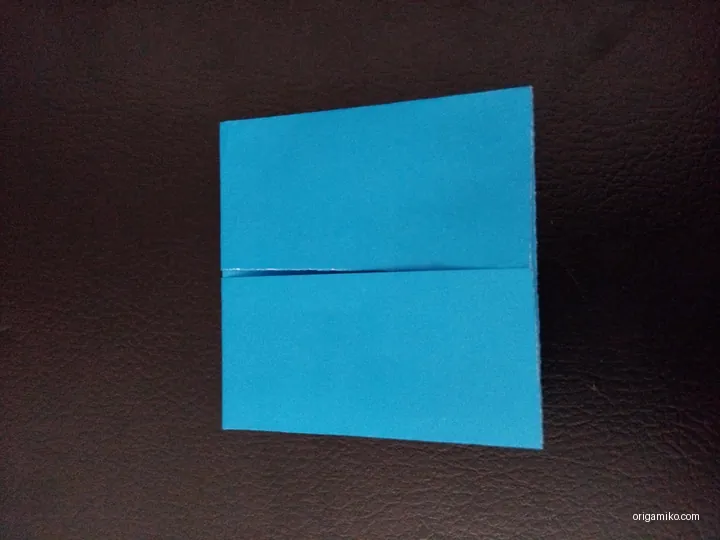
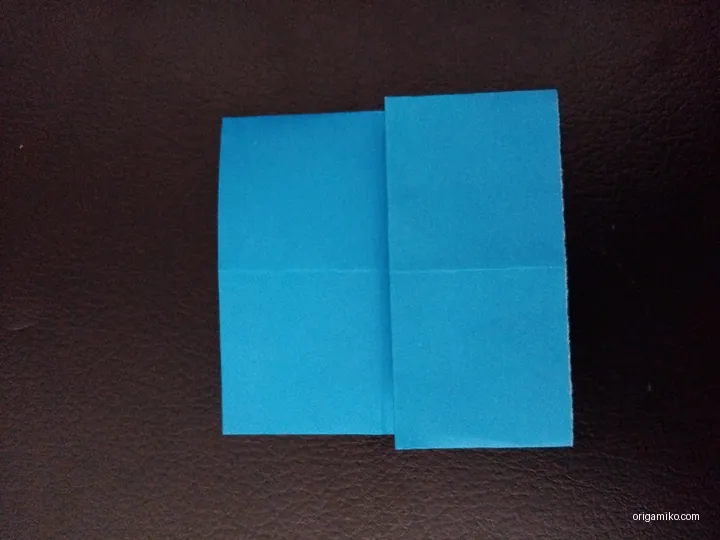
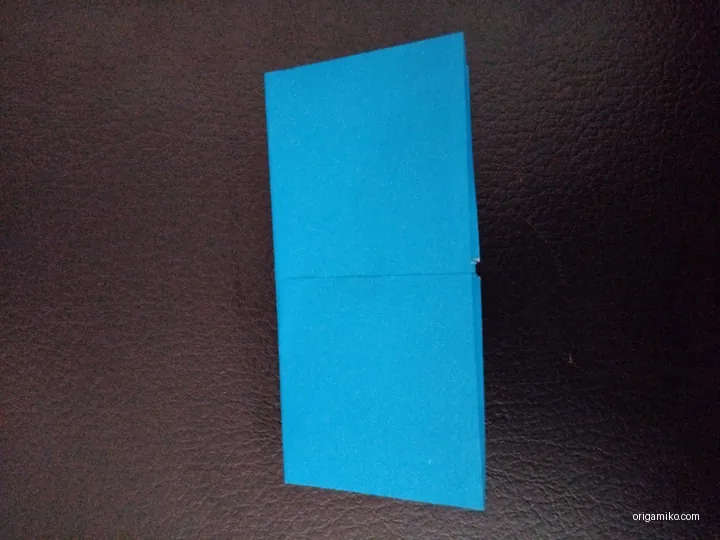
- Fold the paper in half vertically, then unfold.
- Fold it in half horizontally, then unfold again.
- Now fold both edges inward to the center crease (like closing double doors).
- Unfold everything—you’ll see a grid of creases. That’s your guide.
Step 3: Make the Boat Base

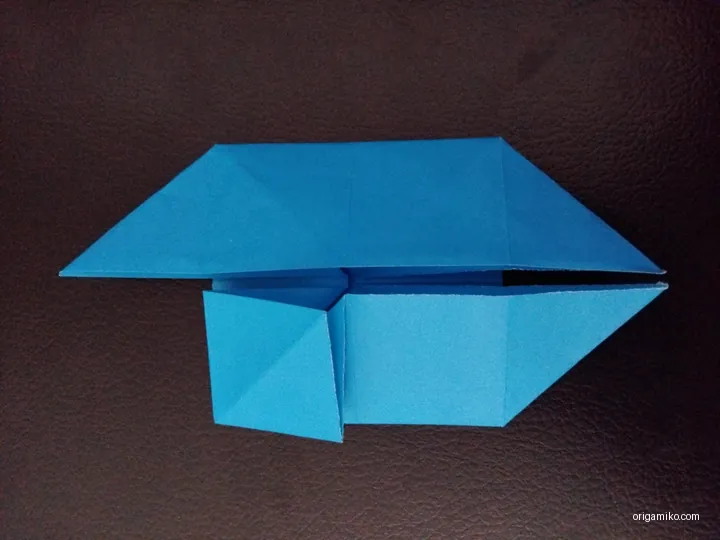
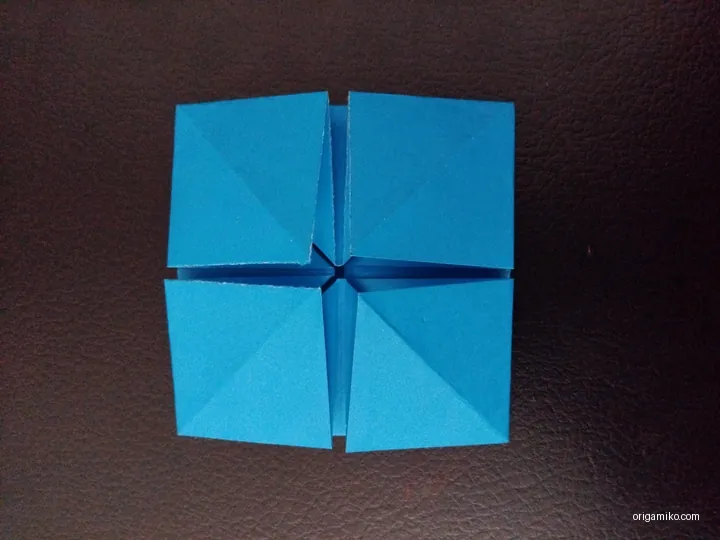
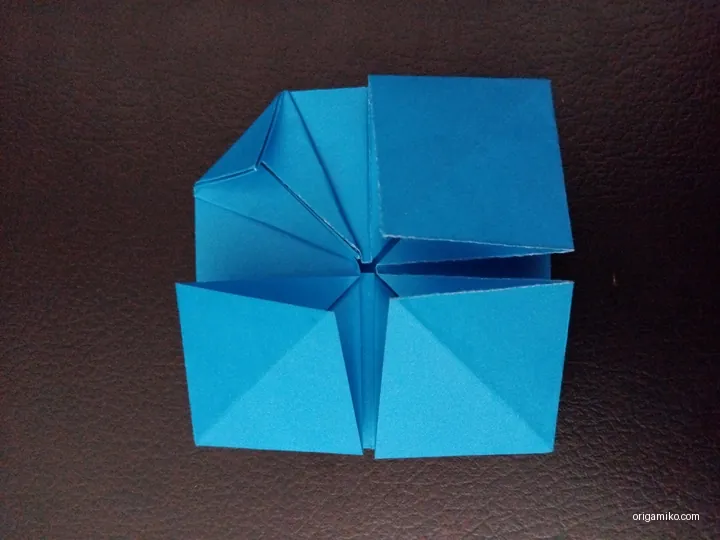
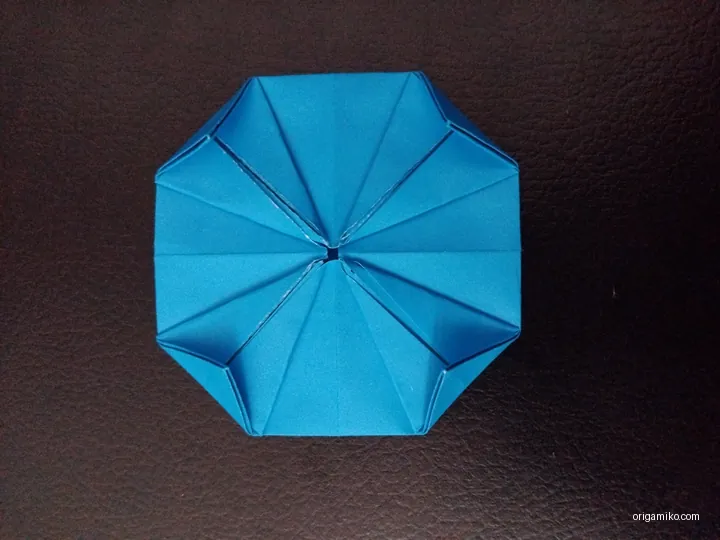
- Fold two opposite corners inward to form a diamond shape.
- Then fold the sides inward again—it’ll start to look like a small boat.
- Sharpen those creases.
- Now, fold the tips of all four corners slightly inward to soften the points.
Step 4: Create the Petals

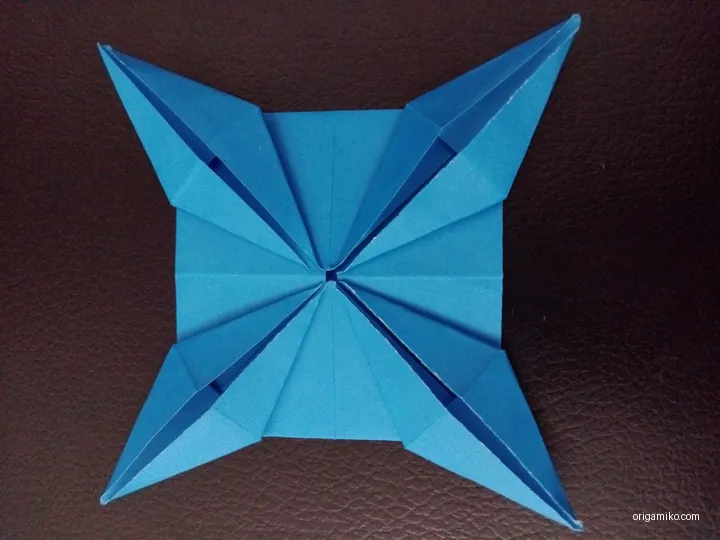
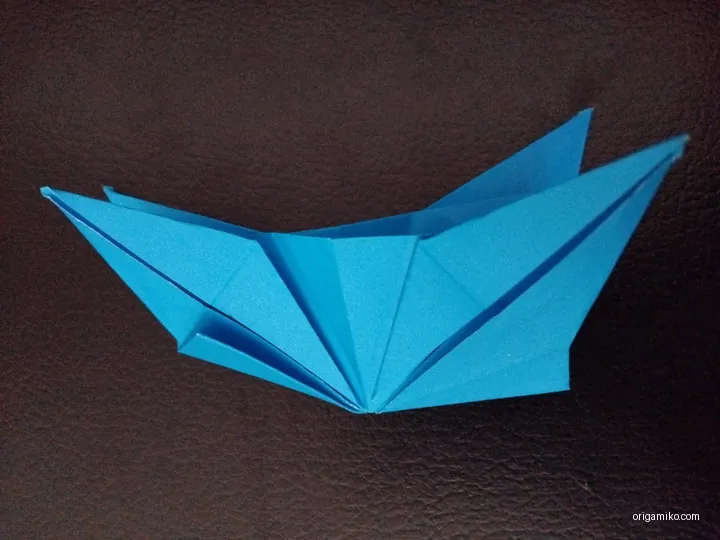
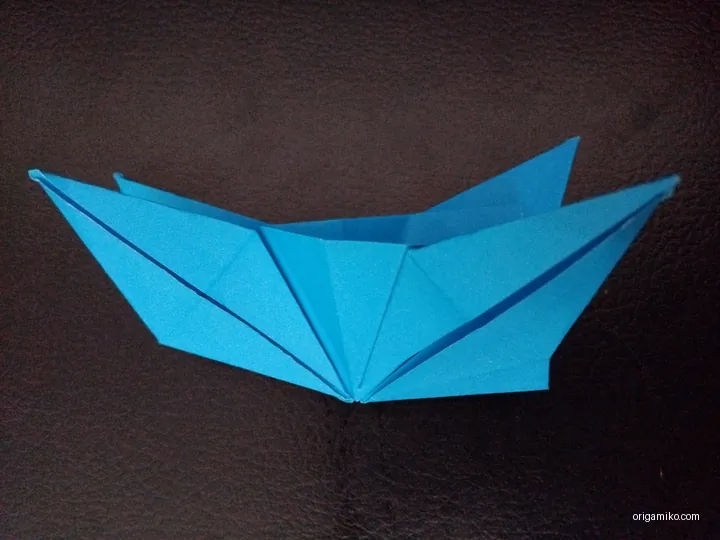

- Fold each of the four outer flaps inward to form four distinct petals.
- Then, fold the whole thing in half so you get a petal that resembles a soft curve.
- Refer to any photo or diagram if needed—but trust your hands; they’ll get used to it.
Step 5: Shape the Leaf


- Fold the petal in half again, vertically.
- Use your fingers to gently puff out the shape so it looks rounded.
- You now have one completed leaf.
Step 6: Repeat and Connect
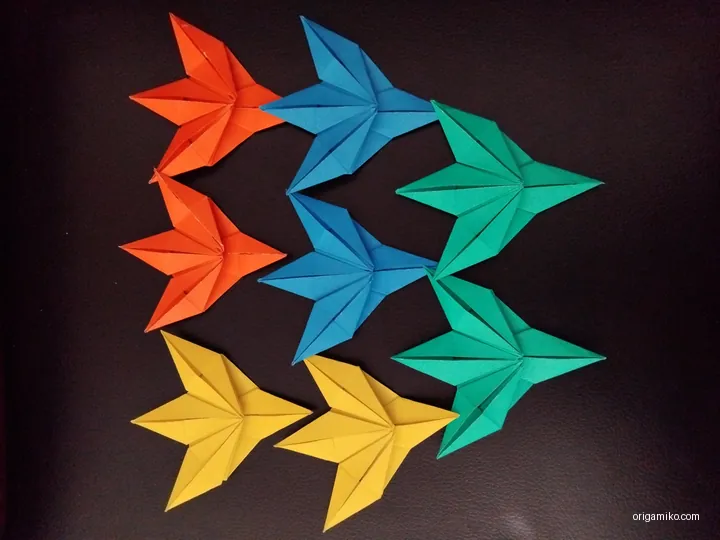
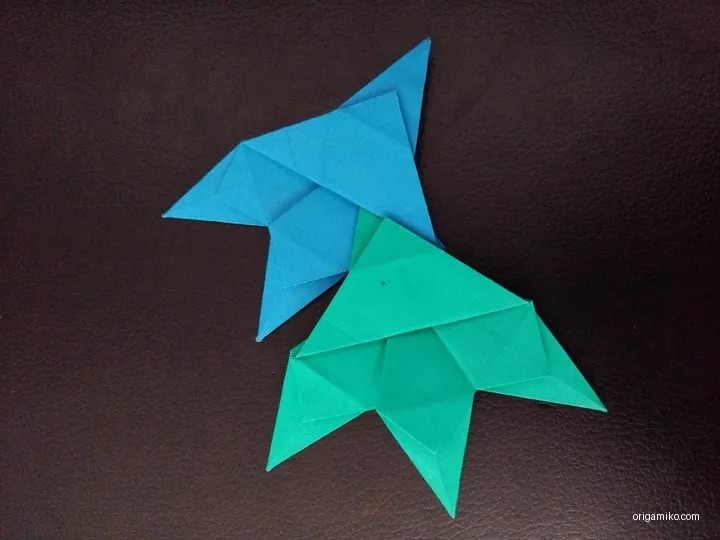
- Make eight leaves in total by repeating steps 1–5.
- Now take one leaf and insert its tip into the pocket of another leaf.
- Continue connecting them one by one, forming a circle.
- Once the last one clicks in—boom! You’ve got your wreath.
Step 7: Finishing Touches
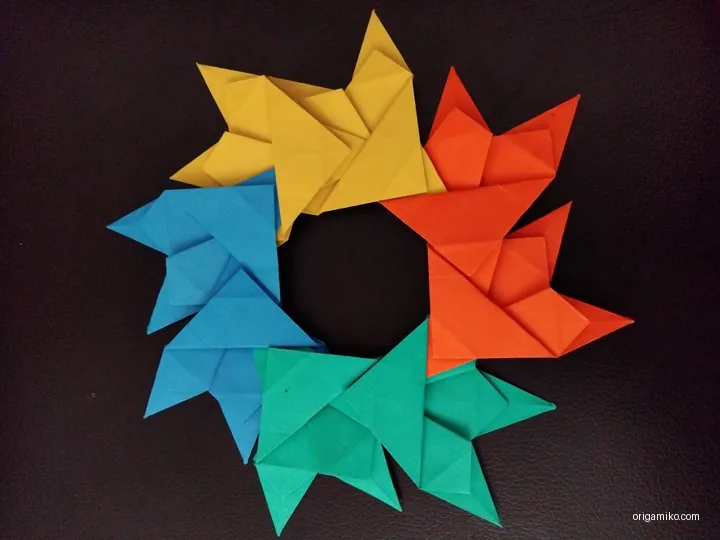
- Press the joins gently to hold them in place.
- Smooth the shape.
- Your Origami Leaf Wreath is ready to shine.
Tips for Success
Want your wreath to look crisp and clean? Try these:
- Use thin origami paper – thick paper won’t fold well.
- Sharp creases are key – use a ruler or bone folder.
- Consistent folding – make sure all leaves are identical in shape.
- Color matters – consider alternating colors for a more vibrant look.
Common Mistakes (And How to Avoid Them)
Here’s what often goes wrong, and how you can fix it:
- Paper rips while folding
Solution: Use lighter pressure and avoid thick paper. - Leaves don’t fit together
Solution: Double-check your creases and sizing. - Wreath won’t stay together
Solution: Tuck leaf tips deeper and sharpen the joins.
Similar Variations You Can Try
If you enjoyed this project, you’ll love these twists:
- Mini Origami Wreaths – Use 7.5×7.5 cm squares for a smaller version.
- Color Fade Wreath – Arrange colors from dark to light in a gradient.
- Holiday Edition – Use red and green paper for Christmas or orange and brown for autumn.
The method stays the same. Only the vibe changes.
FAQs
How long does it take to make an Origami Leaf Wreath?
About 45–60 minutes depending on your pace.
Can I use regular printer paper?
You can, but it’s harder to fold and may not hold shape as well.
Do I need glue?
Nope. True to origami style, it’s all about the folds.
What if my leaves don’t look the same?
That’s okay. Keep practicing. Uniformity comes with repetition.
Can kids try this?
Yes! With supervision, it’s a fun craft for all ages.
Wrapping It Up
There you go—easy Origami Leaf Wreath, step by step. You took a flat piece of paper and turned it into a beautiful handmade wreath. That’s pretty cool, right?
Whether it’s your first time folding or your fiftieth, this simple project is all about slowing down and creating something with your hands. And honestly? That’s the best kind of magic.
Let me know if you tried this—or tag me if you’ve got other origami ideas you love!
Final thought: If you’re ever stuck on Origami Leaf Wreath instructions, come back to this guide. It’s here to help.
And now you know exactly how to make an Origami Leaf Wreath from start to finish.

