

Have you ever felt the joy of turning a plain sheet of paper into something truly meaningful? Origami has that magical charm.
Today, I’ll guide you step by step to create a Simple Heart. It’s perfect for beginners and just as delightful for seasoned origami enthusiasts.
Let’s dive into this enchanting project and make an easy origami simple heart that will leave you smiling.
What Is an Origami Simple Heart?
An Origami Simple Heart is a charming paper creation that symbolizes love and care. It’s not only easy to make but also versatile. Use it as a gift topper, a heartfelt note, or even a decoration. This project is perfect for anyone looking to explore the art of paper folding.
Here’s why it’s a great project:
- Beginner-Friendly: Requires only basic folding skills.
- Time-Saving: Can be completed in minutes.
- Versatile: Great for gifts, notes, and crafts.
Key Terms
- Origami: The Japanese art of paper folding.
- Fold Line: The crease created when folding paper.
- Reverse Fold: A technique used to fold paper in the opposite direction.
Materials Needed
Here’s what you’ll need to get started:
| Material | Specification | Purpose |
|---|---|---|
| Square Paper | 10″ × 10″ | For folding the heart |
| Flat Surface | Clean and even | Ensures precise folds |
| Optional Tools | Bone folder, ruler | Helps create sharp creases |
Simple Heart Step-by-Step Instructions
Follow these steps to create your Origami Simple Heart. Grab your paper and let’s begin!
Step 1: Prepare the Paper
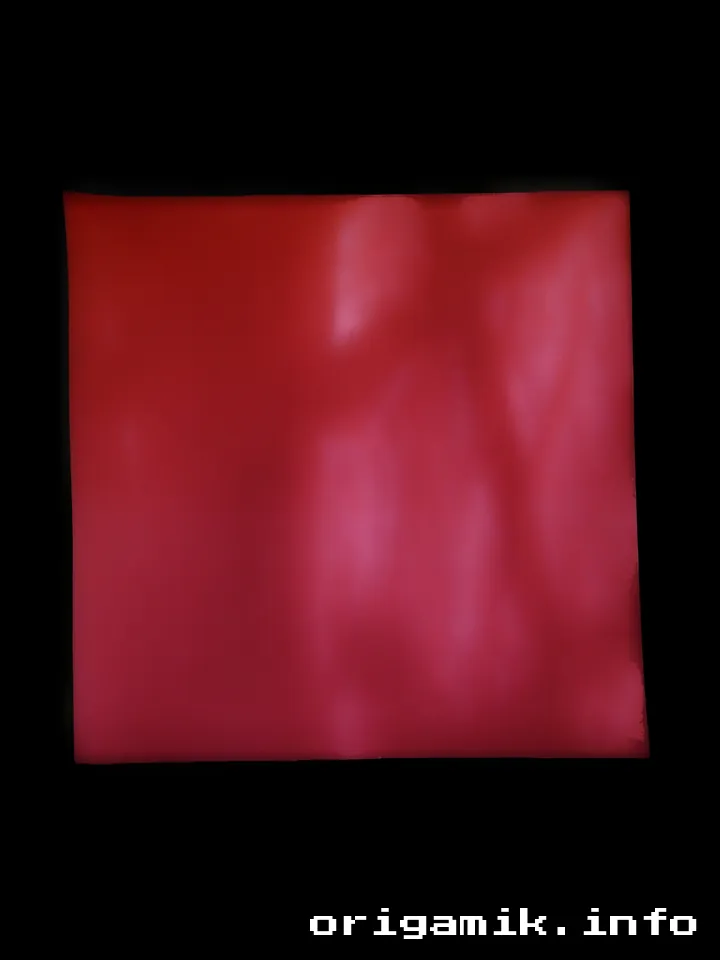
Take a square sheet of paper, 10” × 10”. Choose a color or pattern you love for a personal touch.
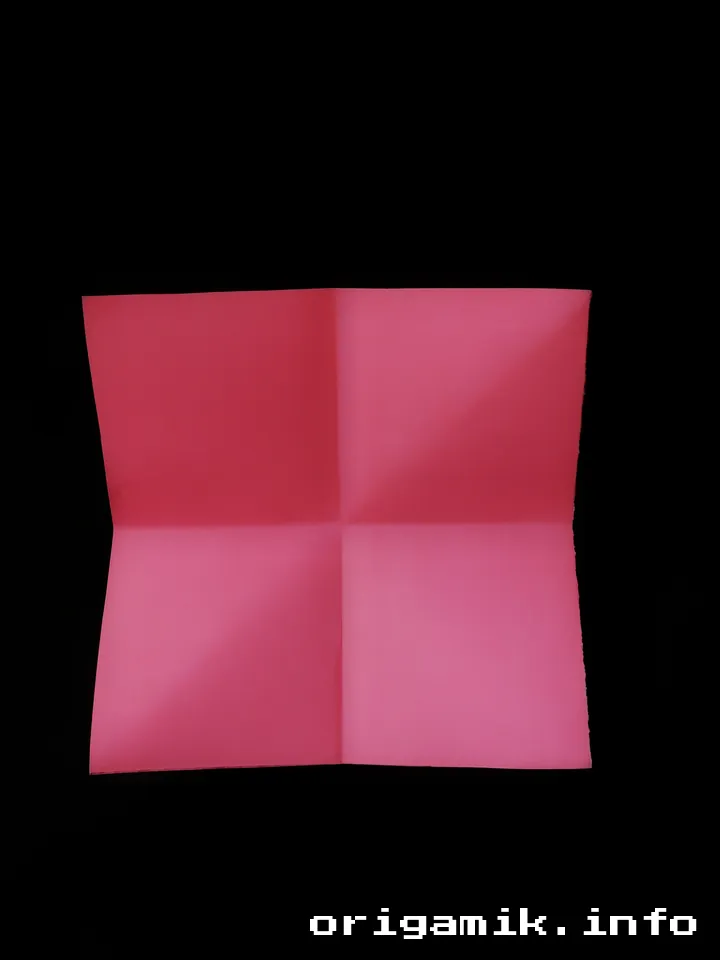
Step 2: Fold the Paper in Half
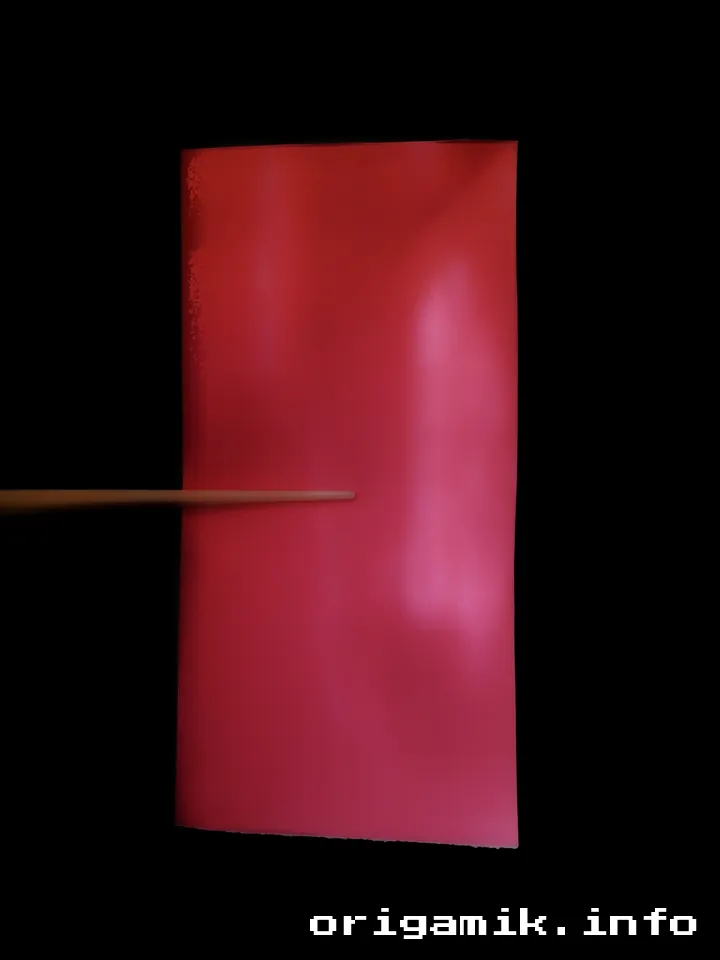
Fold the paper from top to bottom. Align the edges carefully to create a clean crease, then unfold it.
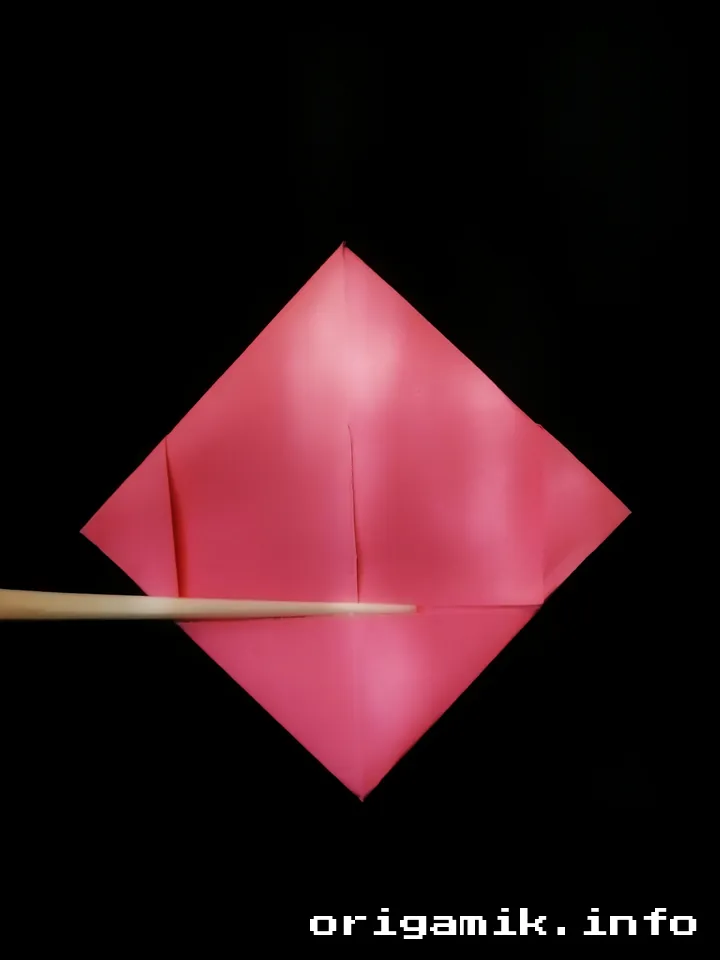
Step 3: Create the Quarter Fold
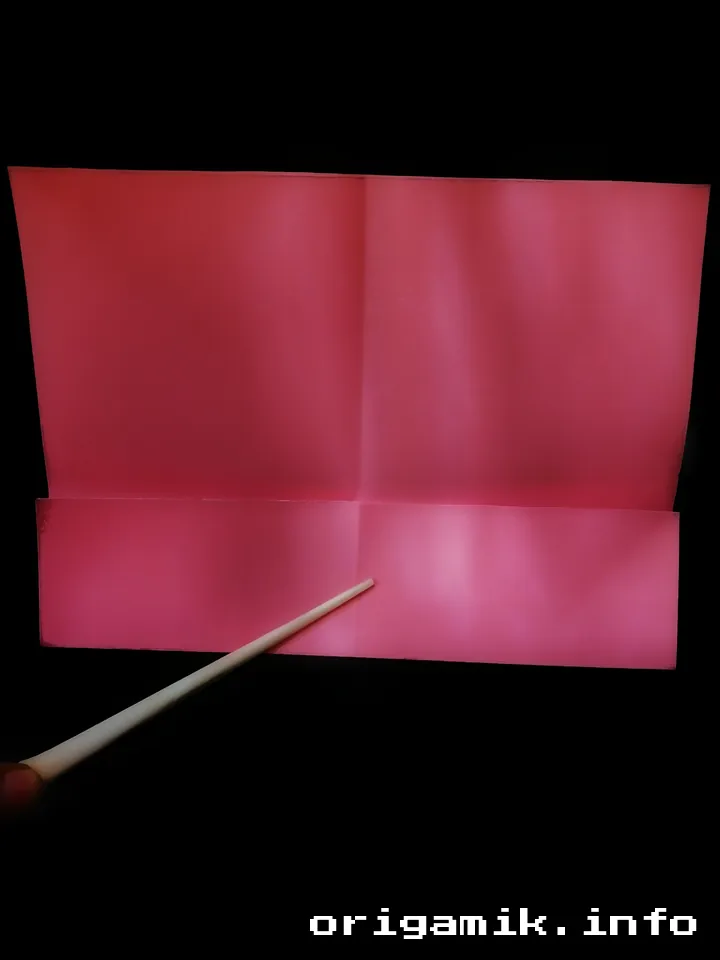
Fold the bottom edge upward to meet the crease you just made. This will create a quarter fold.
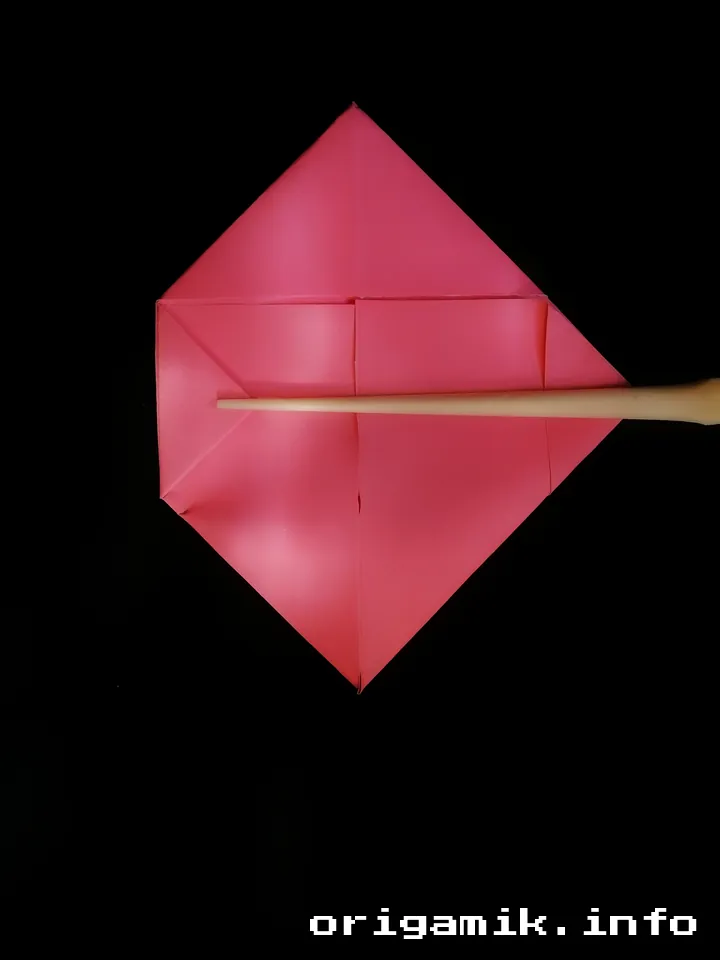
Step 4: Flip and Fold the Top Edge
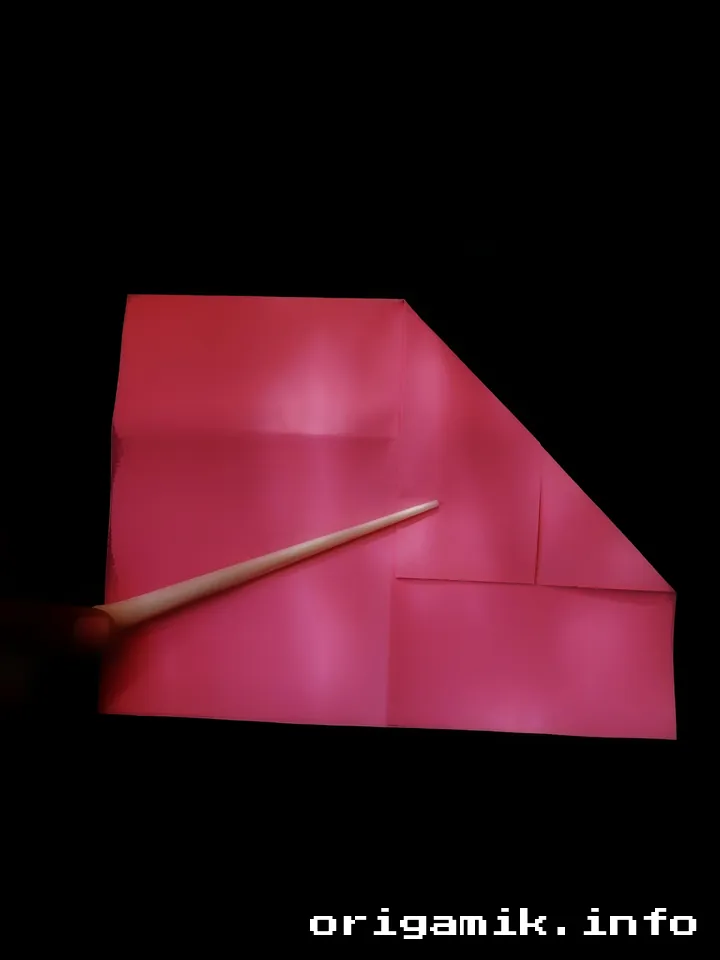
Flip the paper over. Now fold the top edge downward, repeating the same action on both sides.
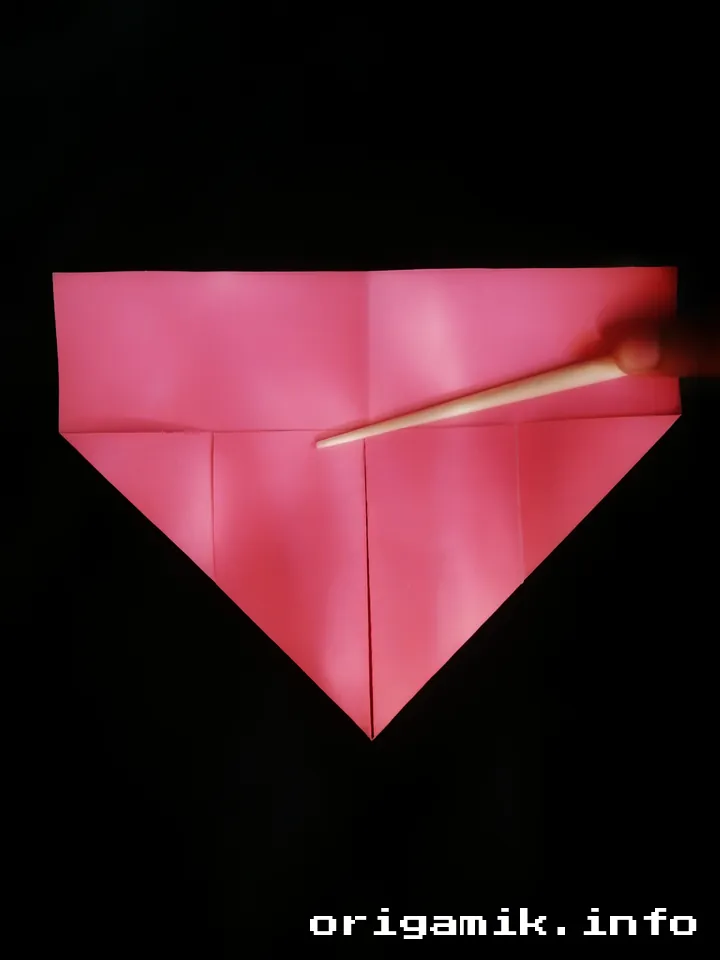
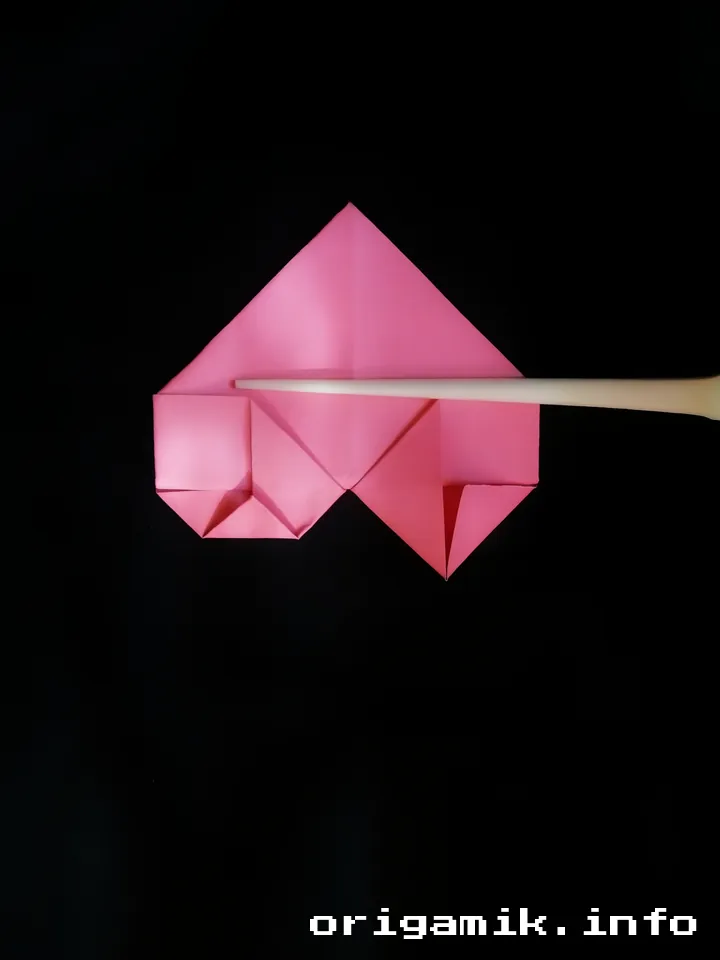
Step 5: Fold the Back Side

Turn the paper over again. Make sure your creases are neat and firm.
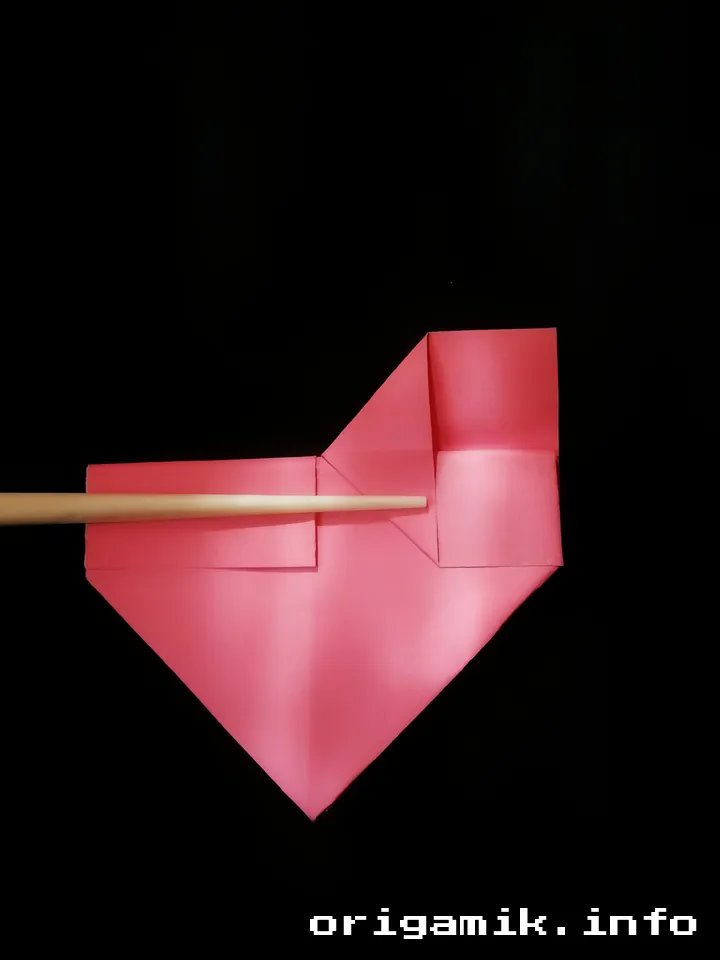
Step 6: Shape the Corners
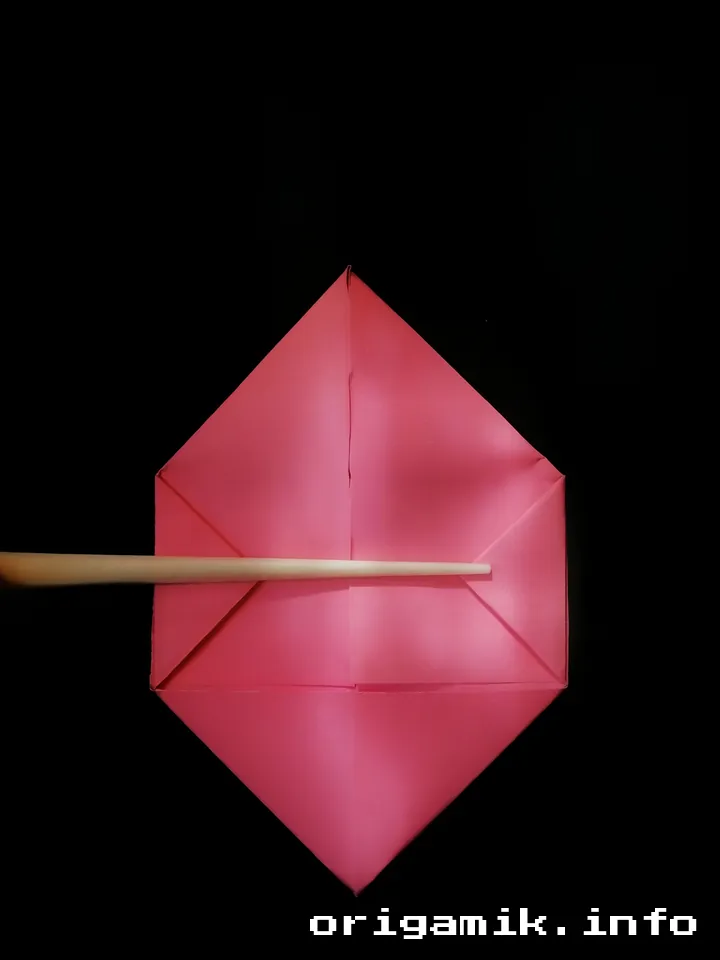
Fold the two upper corners inward, creating the heart’s curved top edges.
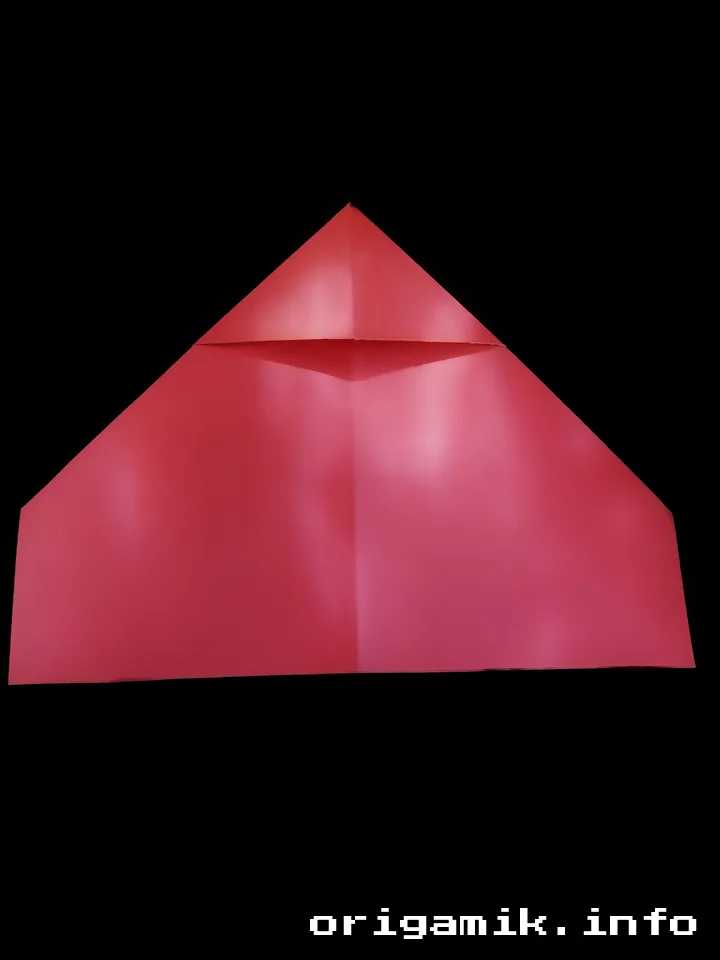
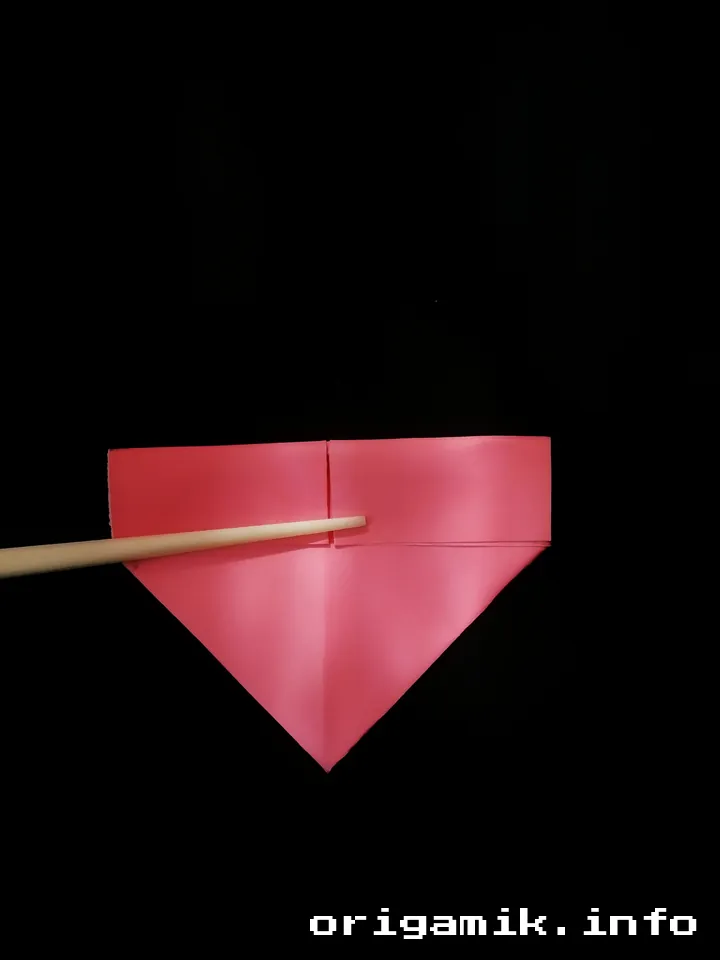
Step 7: Final Adjustments
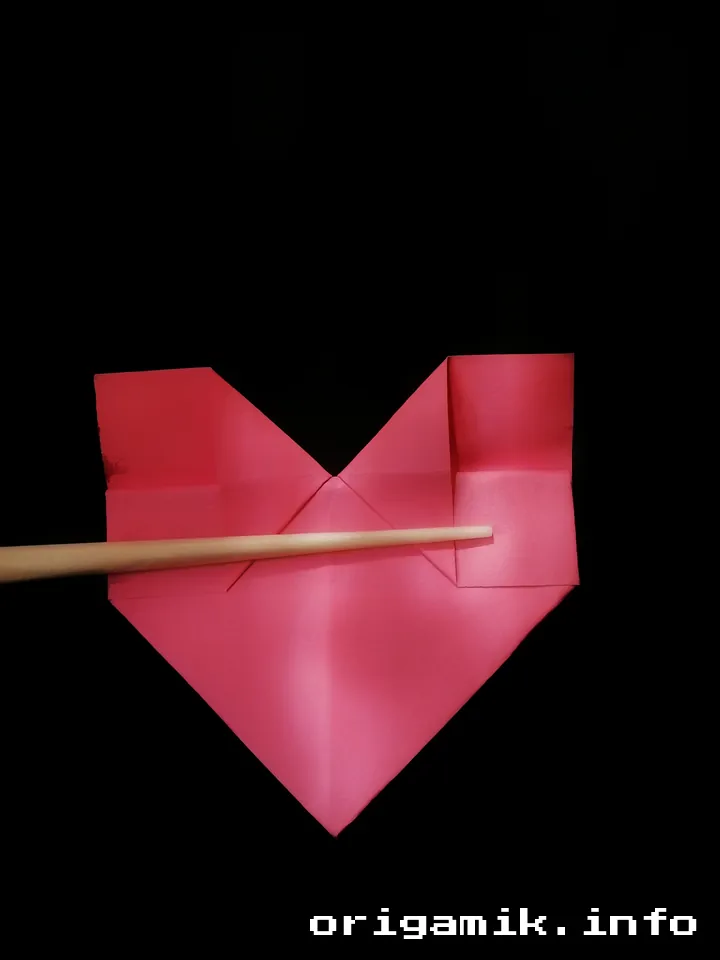
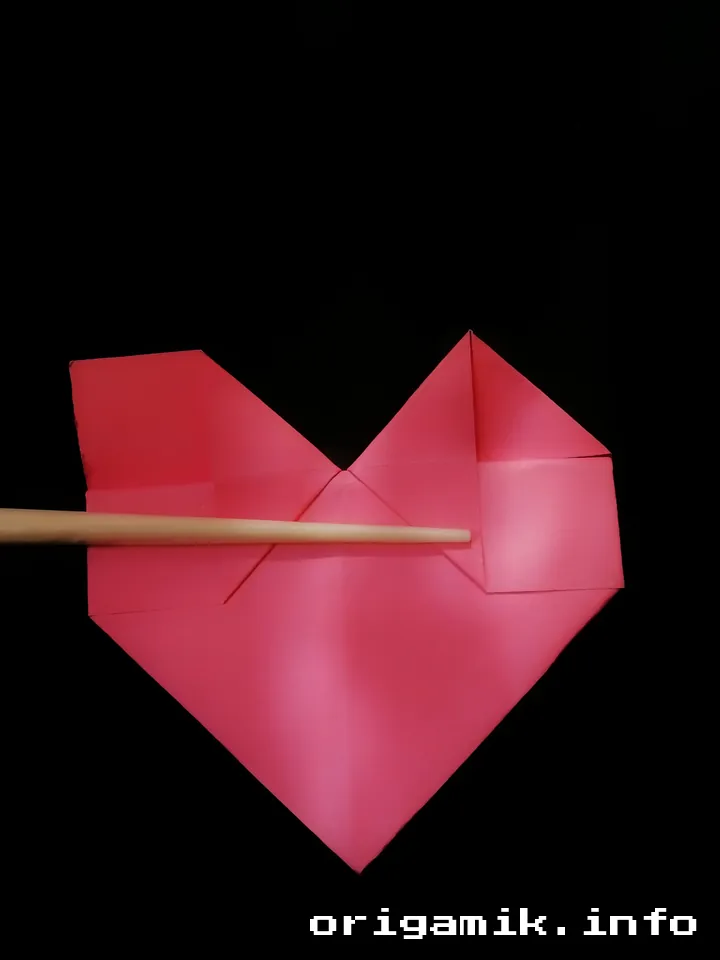

Open the upper part slightly and fold each sheet inward to refine the shape. This step adds detail and depth.
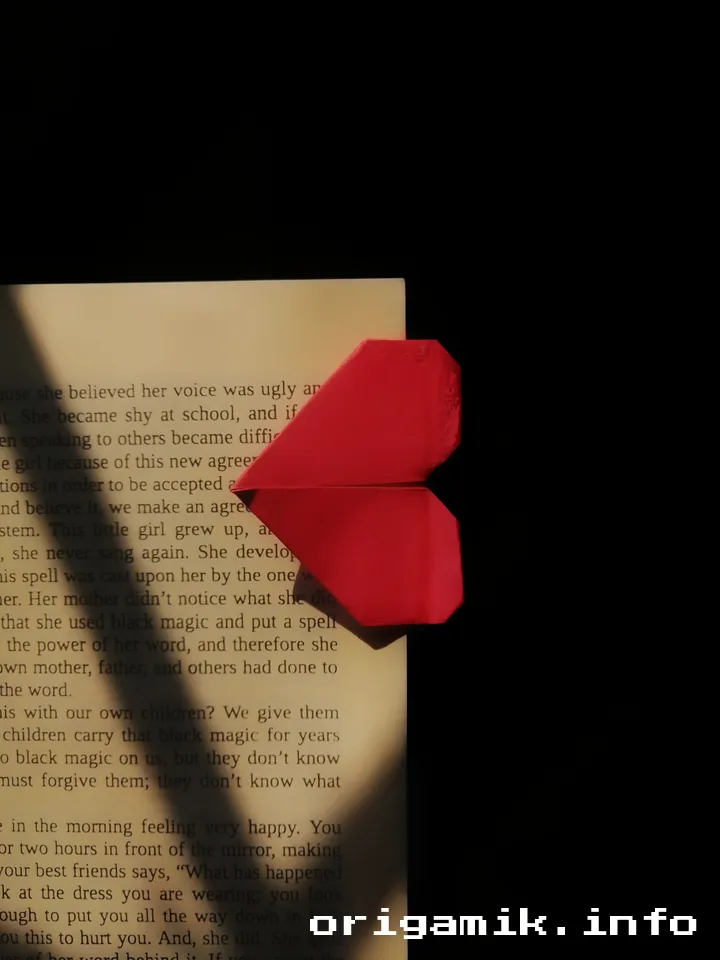
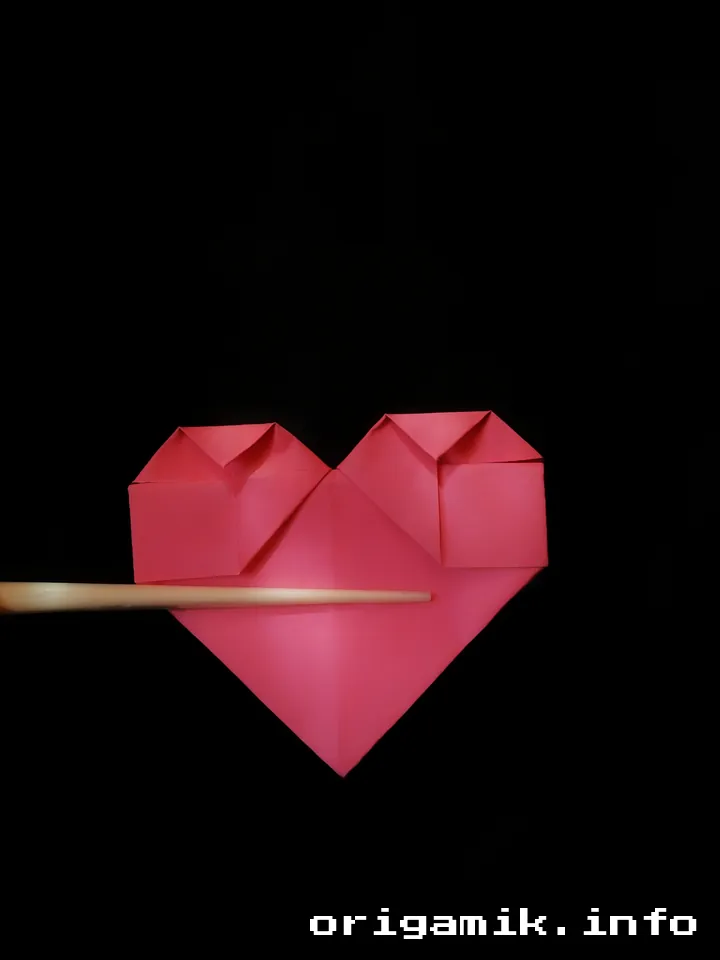
Step 8: Admire Your Creation


Your Easy Origami Simple Heart is ready! Smooth out any uneven creases for a polished look.
Tips for Success
Here are some tips to ensure your heart turns out beautifully:
- Use Quality Paper: Thicker paper holds its shape better.
- Work Slowly: Rushing can lead to uneven folds.
- Use a Bone Folder: This helps create sharp, precise creases.
Common Mistakes and How to Avoid Them
Mistake 1: Misaligned Edges
- Problem: Edges don’t line up perfectly.
- Solution: Take your time to align edges before folding.
Mistake 2: Weak Creases
- Problem: The heart doesn’t hold its shape.
- Solution: Reinforce folds with a ruler or bone folder.
Mistake 3: Overcomplicated Folds
- Problem: Adding unnecessary folds makes the heart uneven.
- Solution: Stick to the steps provided.
Variations You Can Try
Want to get creative? Here are some variations:
- Double Heart: Fold two hearts and layer them for a unique design.
- Miniature Hearts: Use smaller paper for tiny hearts perfect for crafts.
- Decorative Patterns: Choose patterned paper for a vibrant look.
FAQs
Q: Can I use any paper size?
A: While 10” × 10” works best, you can experiment with different sizes. Just ensure the paper is square.
Q: How long does it take to make?
A: On average, it takes about 5–10 minutes, depending on your skill level.
Q: What can I use these hearts for?
A: They’re great for gifts, decorations, or even bookmarks.
Summary
Creating an Origami Simple Heart is a fun and rewarding experience. With clear Simple Heart instructions, this project is perfect for anyone eager to explore the world of origami.
Now that you know how to make a Simple Heart, grab some paper and start folding. You’ll love the results, and so will anyone who sees your creation!