

Folding paper into something beautiful is pure magic. And today, I’m sharing a special project: the easy Origami Tree Topped with Lucky Star.
It’s a fun and rewarding creation, blending simplicity with charm. If you’ve ever wanted to fold something unique, this is it.
Follow my step-by-step guide for a delightful origami journey. Let’s bring this paper masterpiece to life!
What is an Origami Tree Topped with Lucky Star?
An Origami Tree Topped with Lucky Star is exactly what it sounds like: a beautifully folded paper tree with a tiny star resting on top. This craft combines the elegance of an origami tree with the charm of a lucky star, symbolizing hope and good fortune.
Why is this Origami Special?
- Simple yet elegant – A perfect mix of art and minimalism.
- Great for decoration – Looks fantastic on desks or gift packages.
- Symbolic – Represents growth, wishes, and positivity.
Whether you’re a beginner or an origami enthusiast, this SimpleTree Topped with Lucky Star Step by Step guide will make the process fun and easy.
Materials Needed
Before we start, gather the following supplies. Here’s a handy table to keep things clear:
| Material | Details | Alternative Options |
|---|---|---|
| Long Paper | A rectangular strip (colored or plain) | Any origami paper |
| Square Paper | For making the lucky star | Any scrap paper |
| Scissors | Optional (for precise edges) | Tear by hand |
| Glue | Optional (for securing parts) | Double-sided tape |
| Ruler | Helps with folding accuracy | Freehand if confident |
Now that we have everything, let’s begin!
How to Make Tree Topped with Lucky Star
Follow these Tree Topped with Lucky Star instructions carefully to achieve the best results.
Step 1: Take a Long Paper
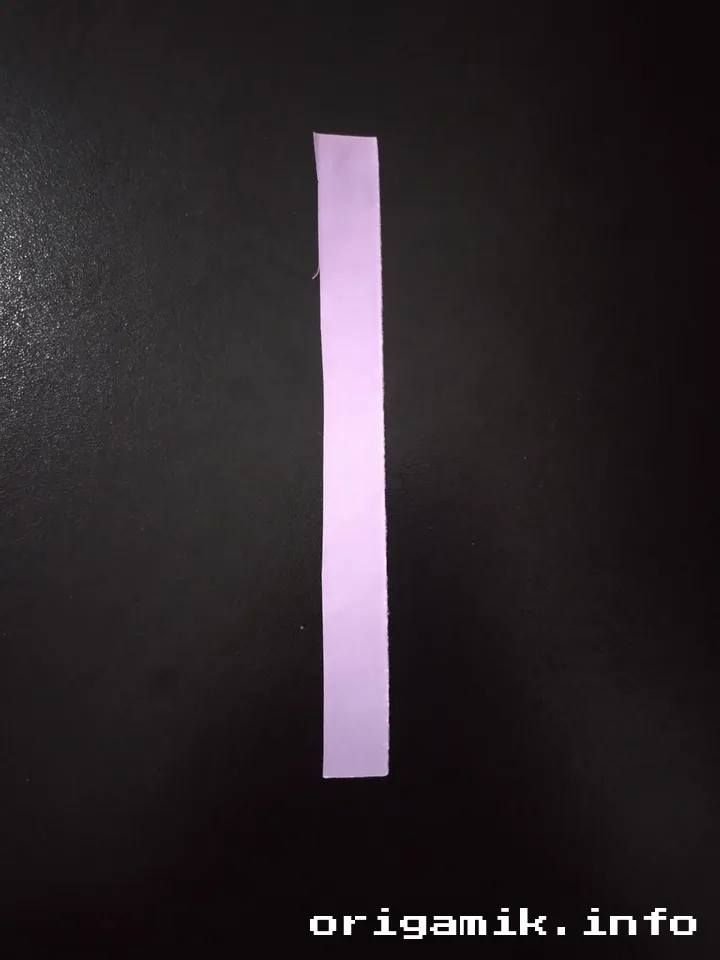
Choose a long, thin strip of paper. The length should be at least five times its width for easy folding.
Step 2: Now Fold Like the Picture
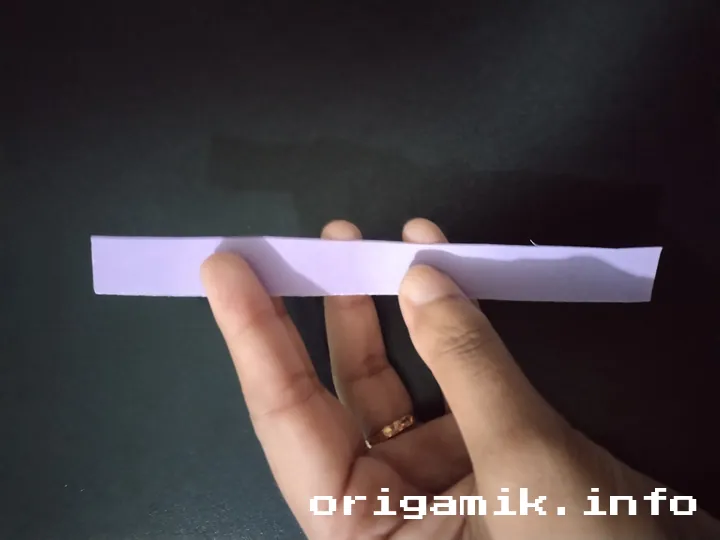
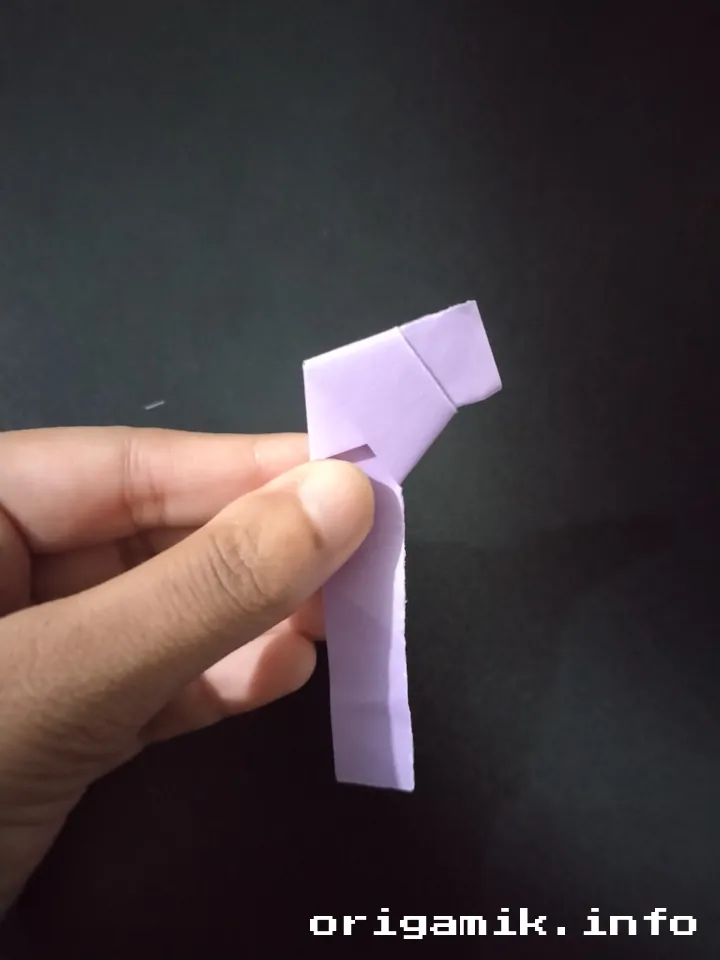
- Start by folding one end over diagonally.
- Continue folding in a zigzag pattern until the whole strip is layered neatly.
- You should get a triangle-like shape forming as you go.
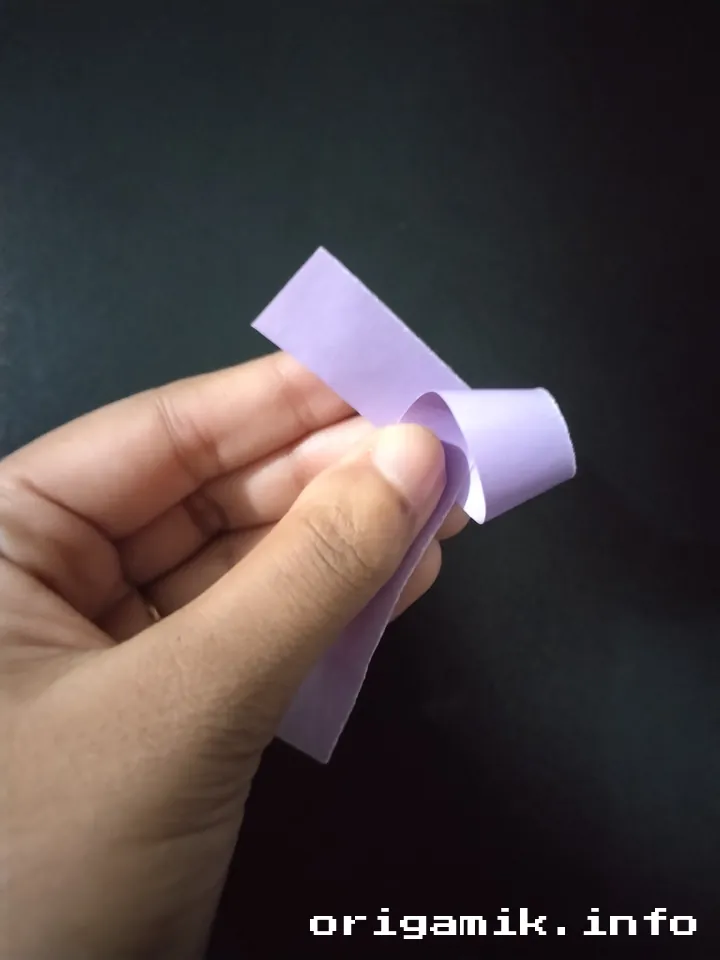
Step 3: Let’s Put the Last Part Inside
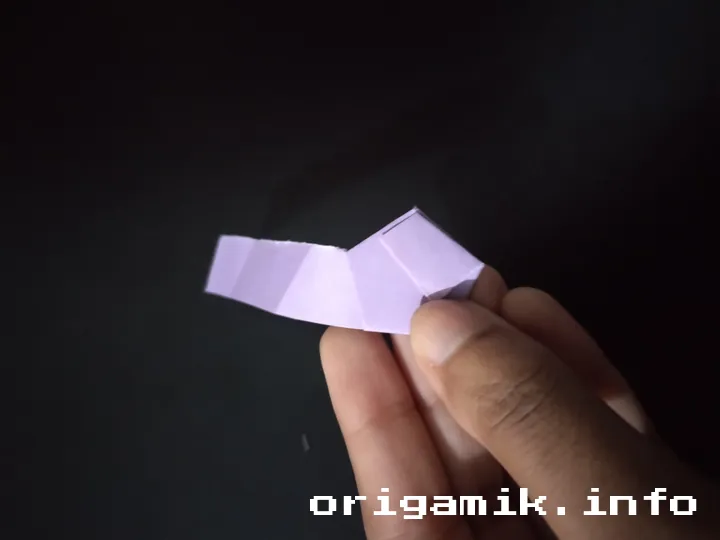
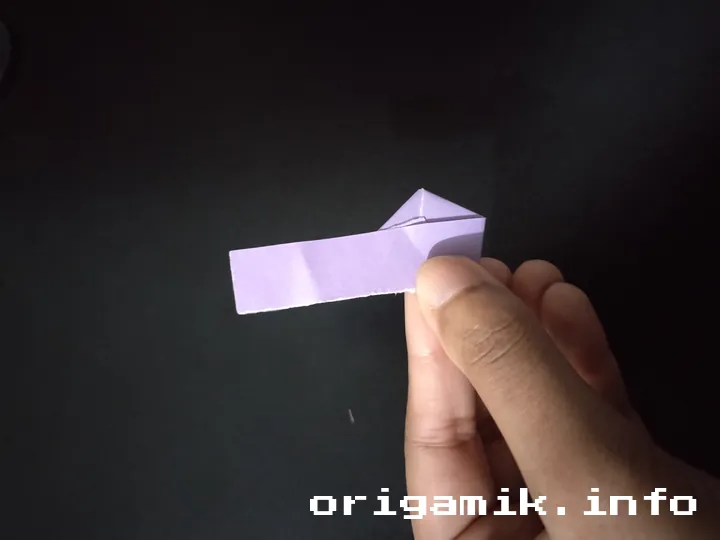

- Tuck the last piece of the strip into one of the folds to secure the shape.
- If it’s loose, press gently to make it firm.
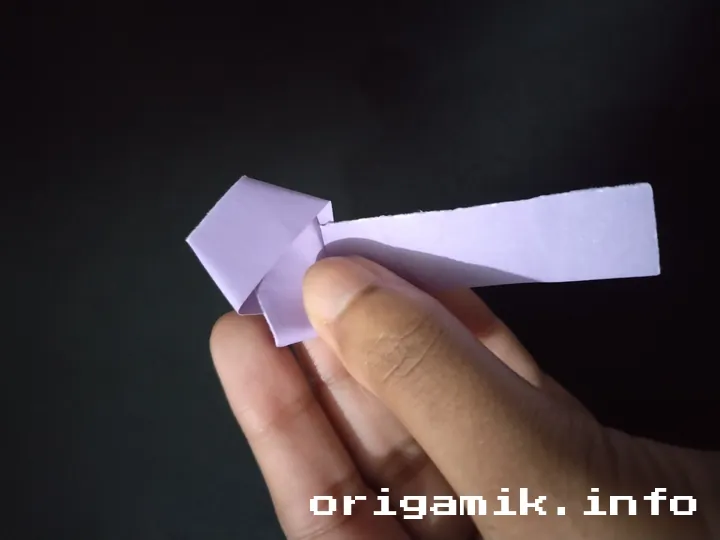
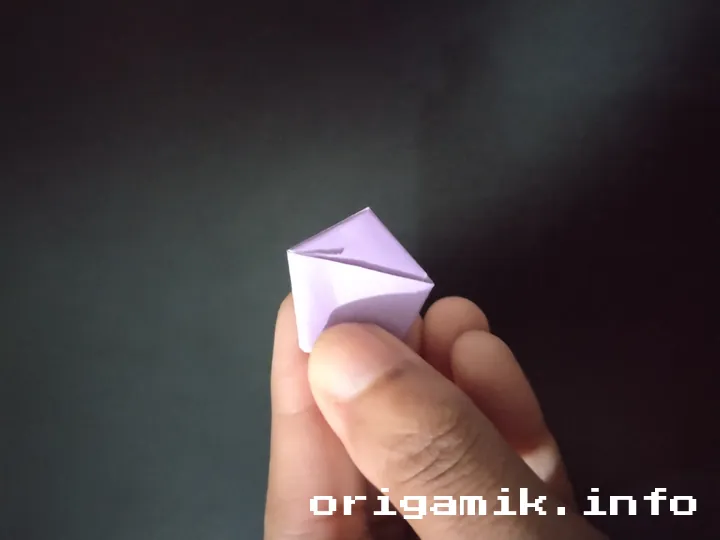
Step 4: Press Around to Complete the Tree
- Carefully press along the folds to make sure the structure holds.
- You now have an Origami Tree!
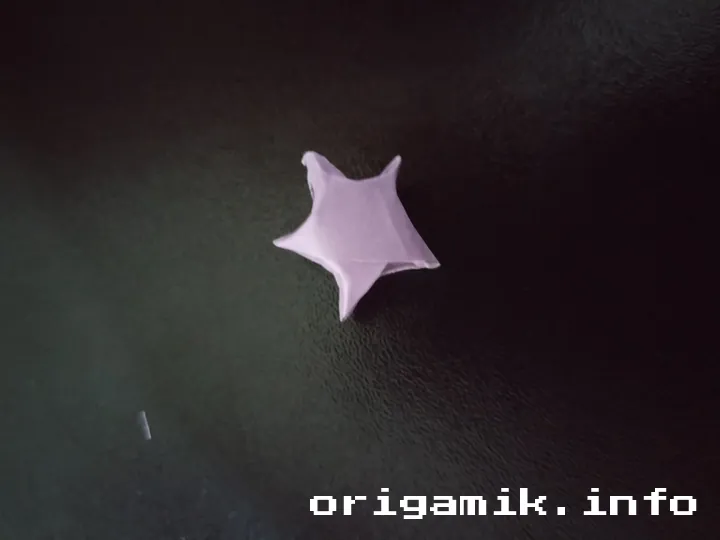
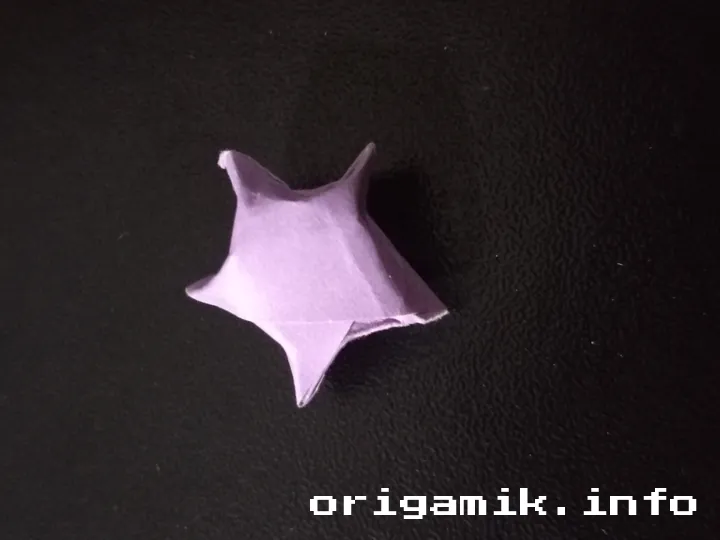
- Top it off with a Lucky Star by placing a small folded star at the tip.
And there you have it—your very own Origami Tree Topped with Lucky Star!
Tips for Success
To make your origami tree stand out, keep these tips in mind:
- Use crisp paper – Thin origami paper works best for clean folds.
- Take your time – Rushing can lead to messy results.
- Practice makes perfect – If your first tree isn’t perfect, try again!
- Decorate creatively – Add color or small patterns for a personal touch.
Common Mistakes and How to Avoid Them
Here are some frequent mistakes people make and how to fix them:
| Mistake | Solution |
| Uneven folds | Use a ruler for sharp creases |
| Paper tearing | Choose a sturdier material |
| Loose tree structure | Press folds firmly |
| Star won’t stay on top | Secure with a dab of glue |
Similar Variations You Can Try
Want to experiment? Here are some variations to try:
- Mini Origami Tree – Use smaller paper for a tiny version.
- Christmas Edition – Decorate with glitter or tiny ornaments.
- Layered Tree – Stack multiple trees for a 3D effect.
FAQs
Q: Can I use regular printer paper for this project?
Yes! Just cut it to the right size and it works fine.
Q: How small can I make the tree?
As small as your fingers can fold! Miniature versions look adorable.
Q: Do I need glue for this?
Not necessarily, but it helps keep the star secure on top.
Conclusion
Folding an easy Origami Tree Topped with Lucky Star is an enjoyable and rewarding experience. With Tree Topped with Lucky Star instructions, you now have a beautiful handmade piece of art. Try making a few and experiment with different styles. Happy folding!