


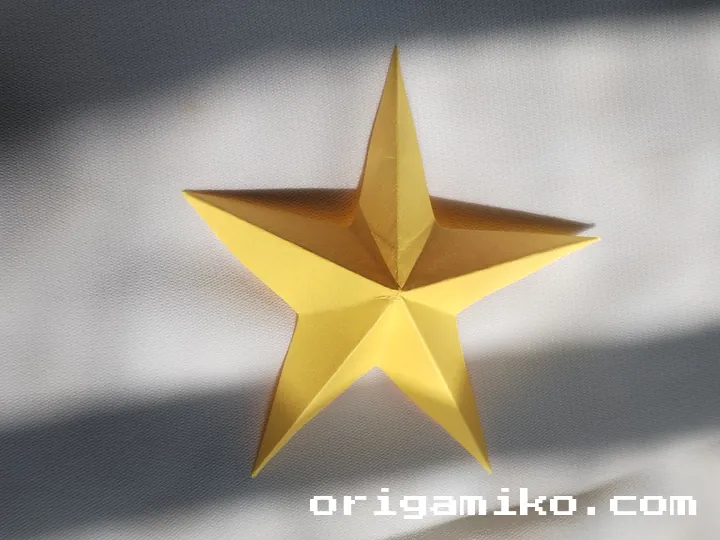
Ever felt the itch to fold something fun when all you had was a sticky note?
This magical little star is charming, simple, and oh-so-satisfying.
Follow me step-by-step and I promise—you’ll finish with a star worth showing off.
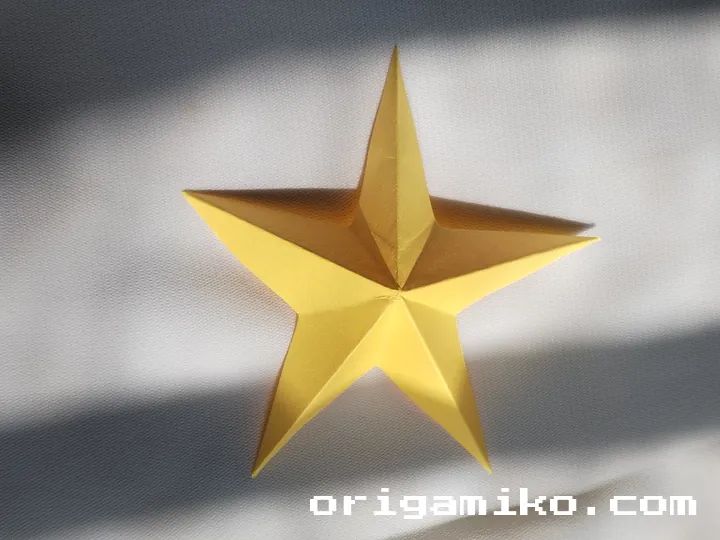
The Origami Sticky Note Star: Small but Magical
Let me tell you—this Origami Sticky Note star may look tiny, but it packs a punch. It’s not just a folded piece of paper. It’s a creative escape.
You don’t need fancy supplies or hours of free time. Just a humble sticky note and a few simple folds. It’s perfect for beginners and relaxing even for seasoned paper folders like me.
And here’s the kicker—despite how easy it is, the final star looks impressive. Fold it once, and you’ll want to make a dozen. Trust me, I’ve been there.
Materials Needed
Before we start, let’s make sure you’ve got everything you need. Here’s a simple, data-rich table to help you out:
| Item | Details | Why It’s Important |
|---|---|---|
| Sticky Note | 3 x 3 inch (standard size), any color | This is your only required material |
| Scissors (optional) | Any small, sharp pair | Helps with trimming the excess paper |
| Flat Surface | Table, desk, or any hard surface | Makes folding cleaner and more accurate |
| Good Lighting | Natural light or desk lamp | Helps you see creases clearly |
| Patience | Yep, bring this too | A calm attitude makes folding more enjoyable |
Key Terms to Know
Here’s a quick breakdown of some origami lingo you’ll see in the steps:
Crease
A sharp fold in the paper, made by pressing firmly along a fold.
X Crease
Two diagonal folds that cross each other, forming an X pattern.
Excess Paper
The part of the sticky note that needs trimming to form the star shape.
Middle Fold
Folding the paper in half either horizontally or vertically.
Simple Sticky Note Star Step by Step
Now for the fun part! Here’s exactly how to make Sticky Note star origami using an everyday sticky note.
Step 1: Take a sticky note
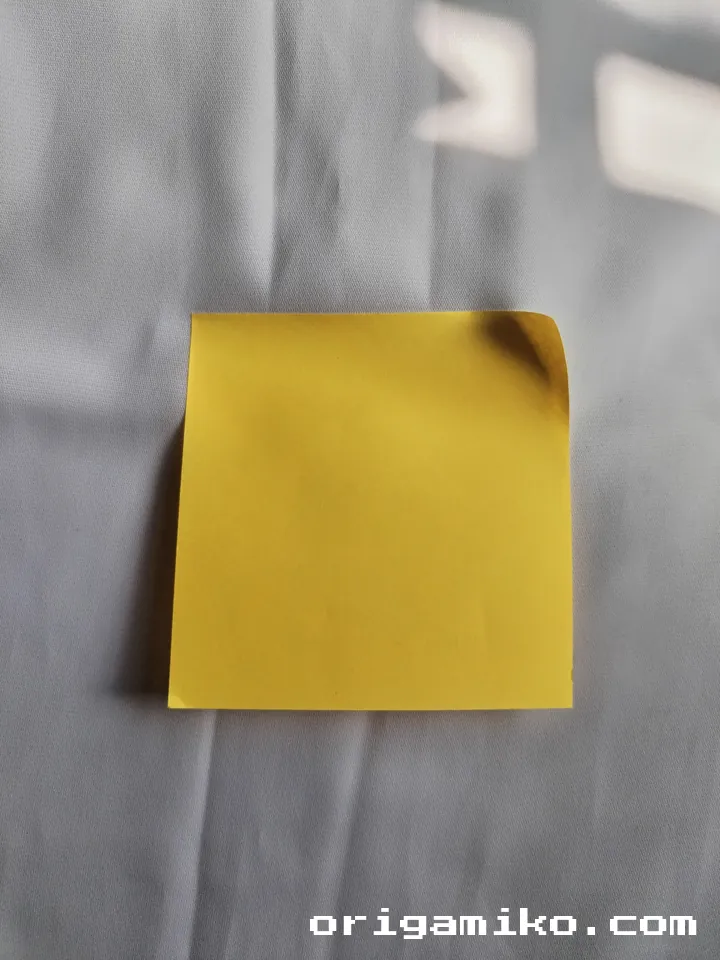
- Start with a 3 x 3 inch sticky note.
- Sticky side up or down? Doesn’t matter—it’ll disappear into the folds.
Step 2: Fold it horizontally.
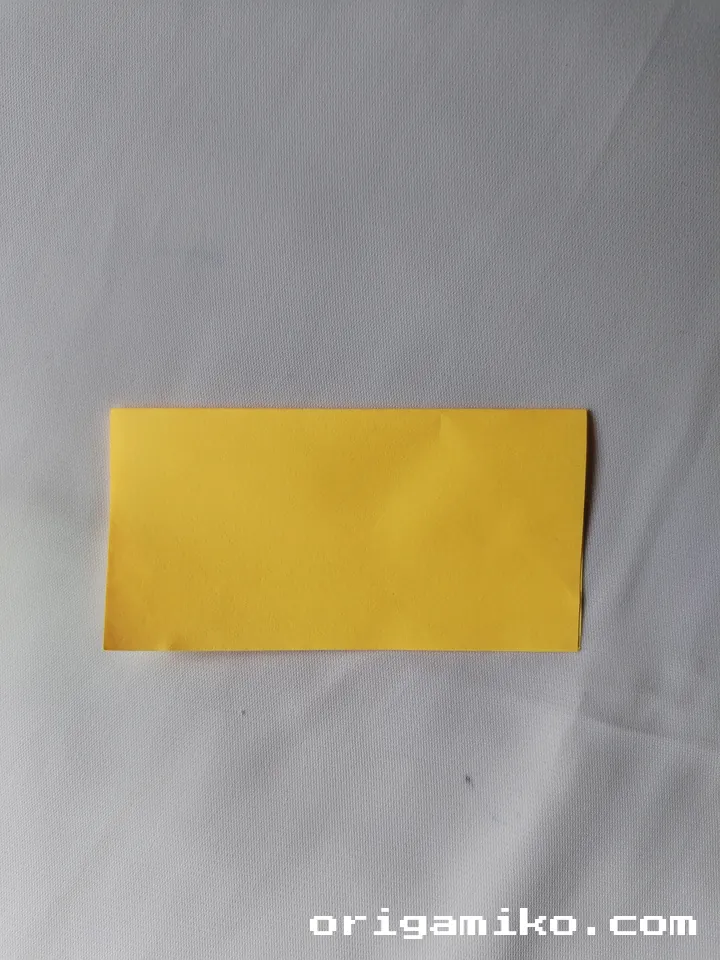
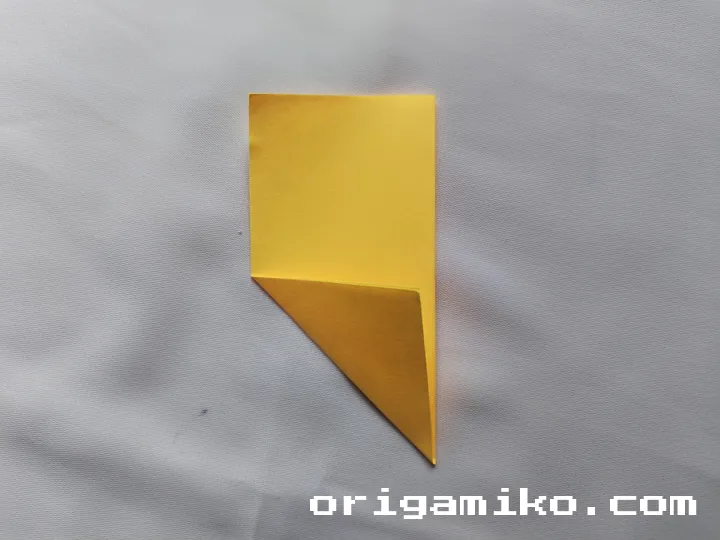
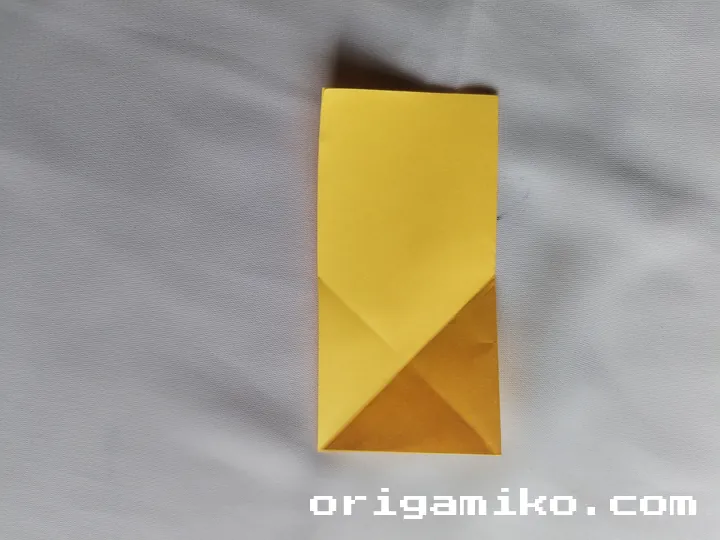
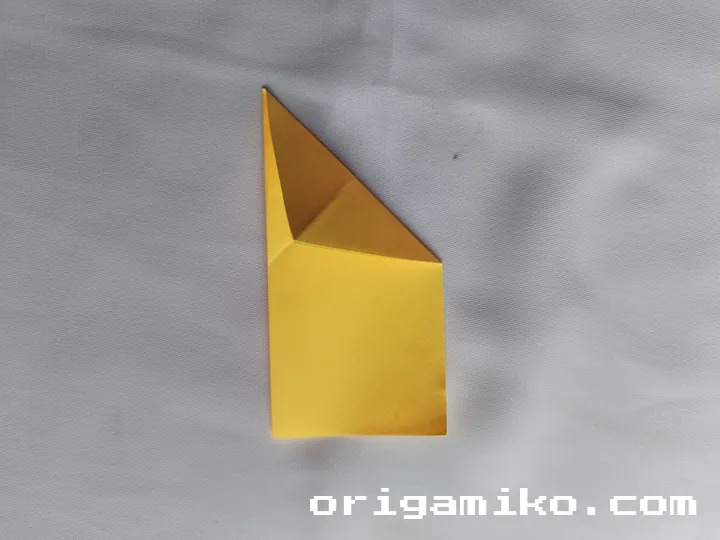
- Fold the sticky note in half horizontally (like a sandwich).
- Unfold it—this creates your central crease.
- Now, fold two opposite corners on one side to meet the center, forming an “X” shape.
Step 3: Work on the other side.
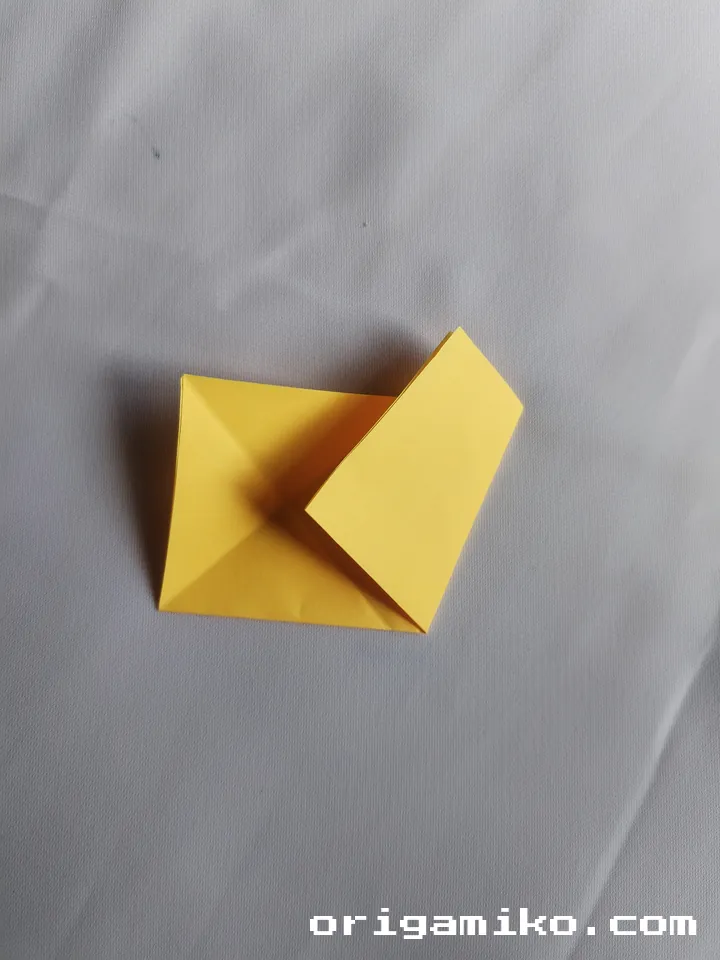
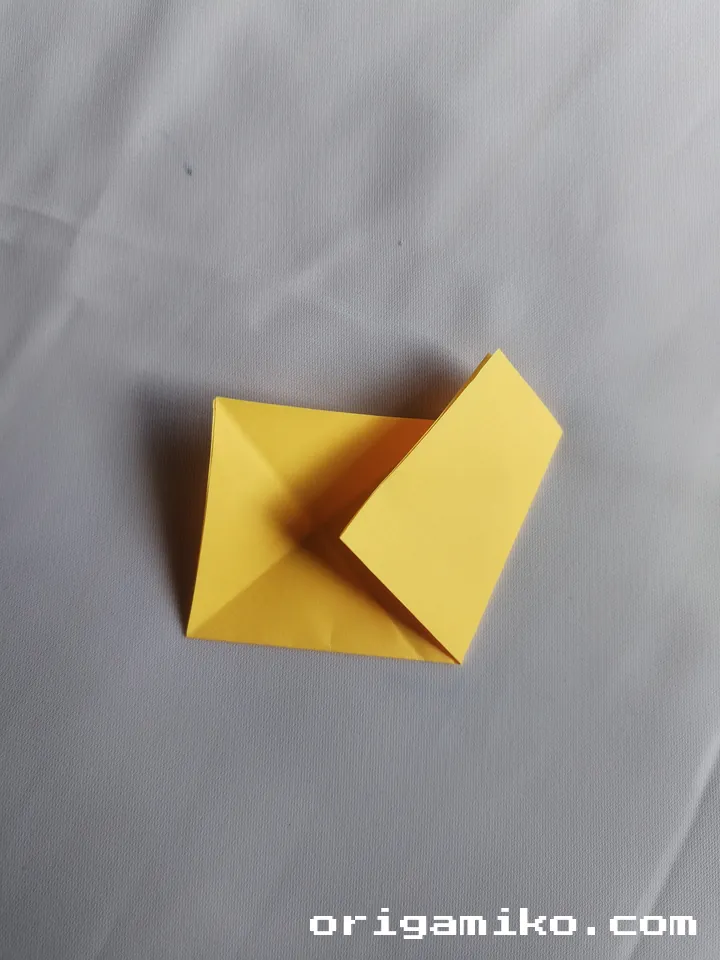
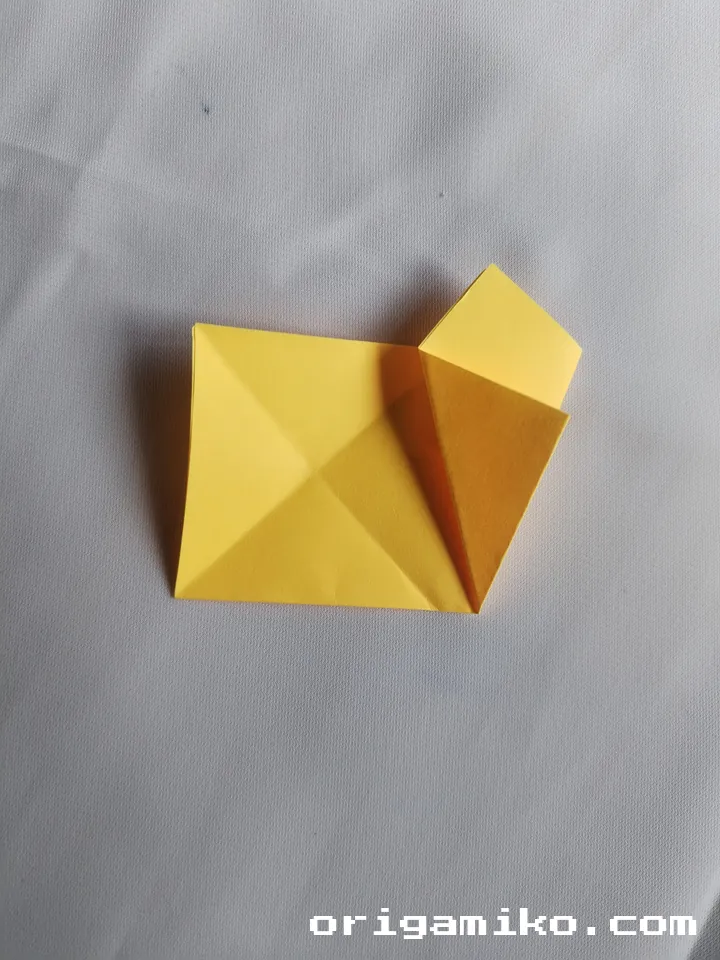
- Flip the sticky note over.
- Fold the opposite two corners into the center so you’ve got another “X” on this side too.
- Then fold that side in half again, matching edge to edge.
Step 4: Trim and fold.
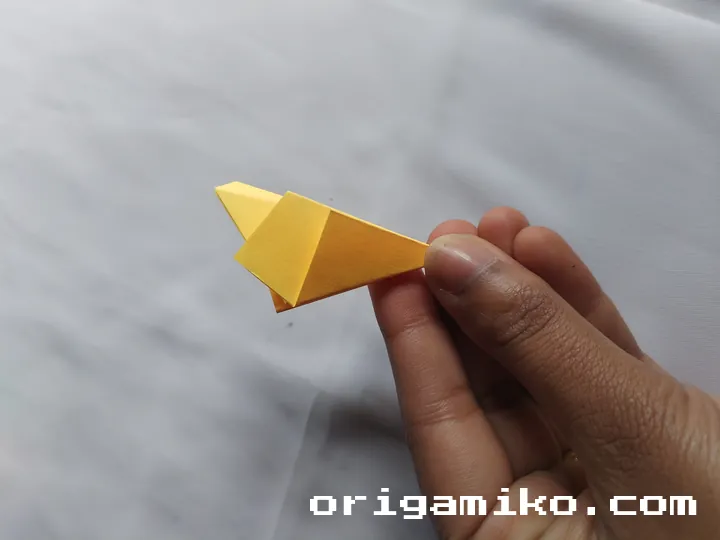
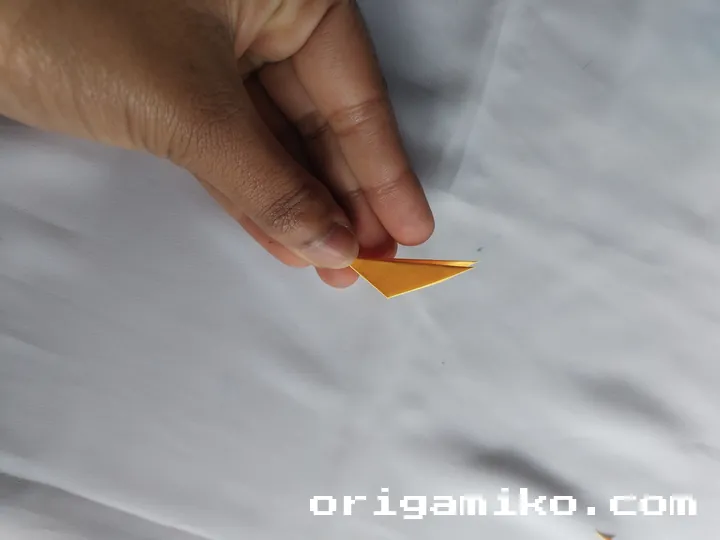
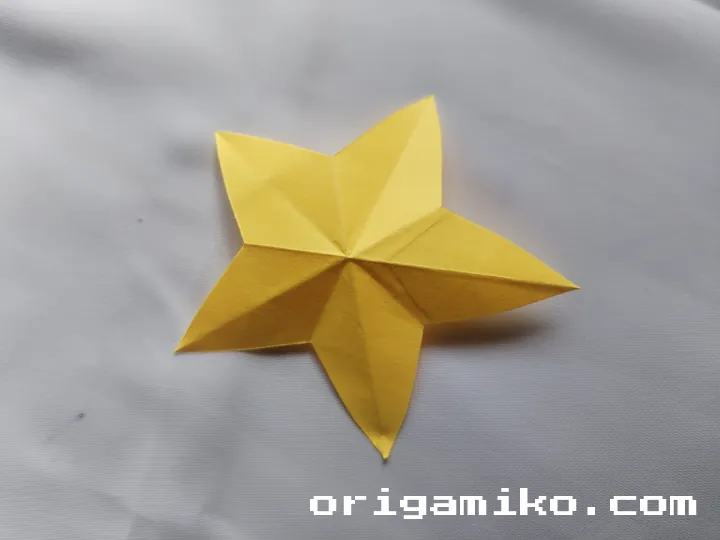
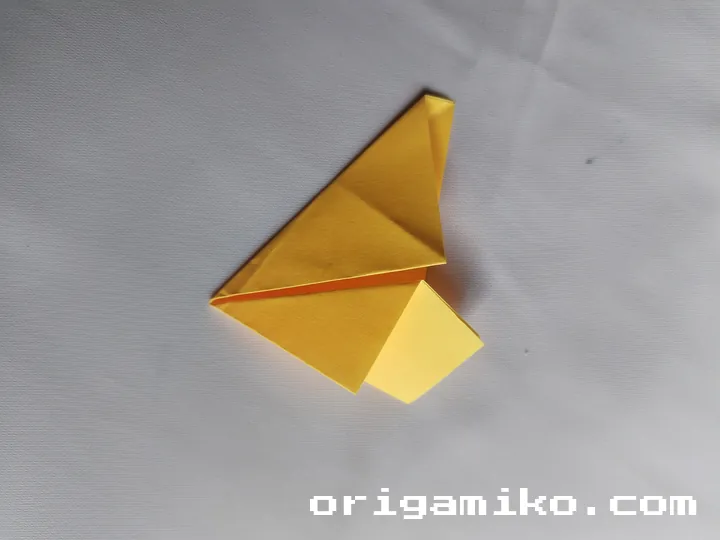
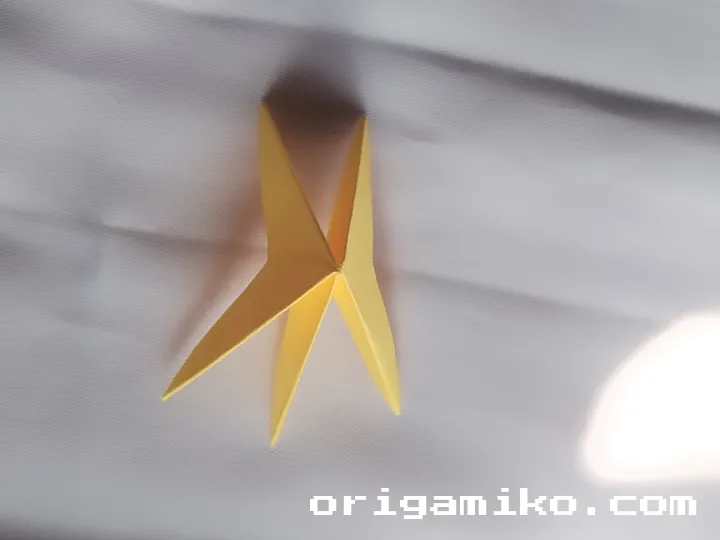
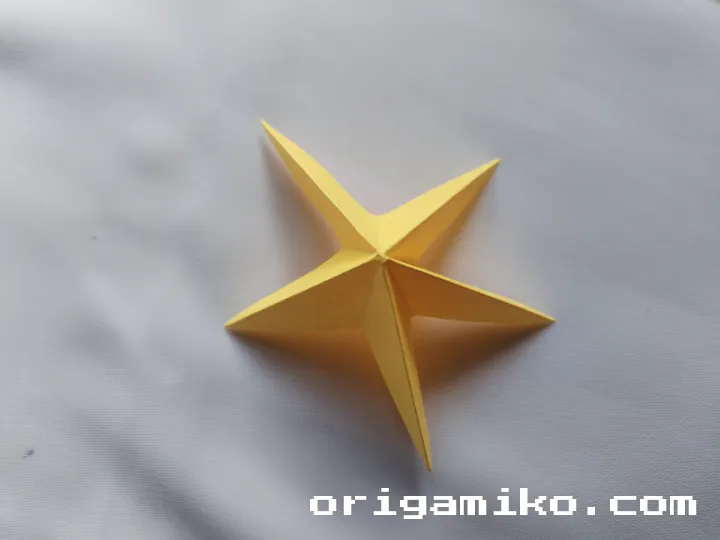
- Cut off the upper part where the excess paper sticks out above your fold.
- Now refold the rest so it collapses neatly into a star.
- Push in the sides gently to shape it.
Step 5: You’re done!
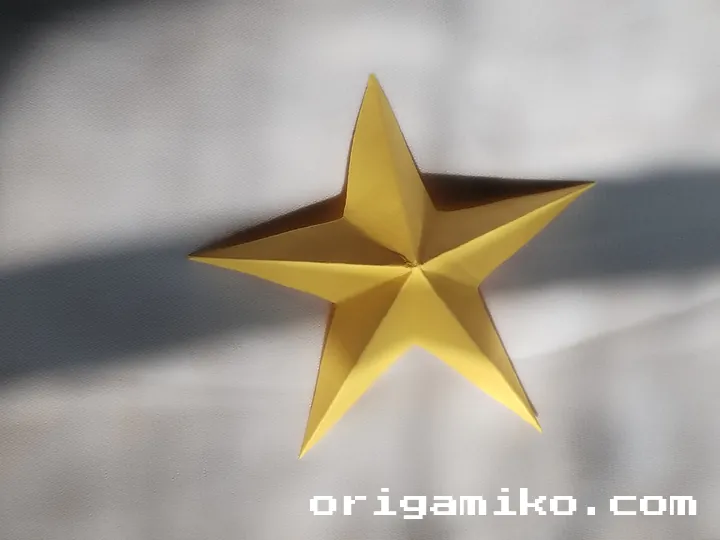
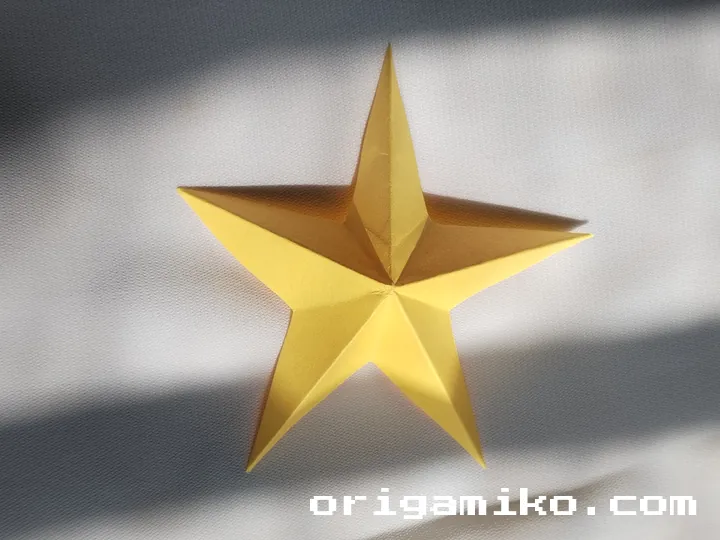
- Boom! Your easy Origami Sticky Note star is complete.
- Admire it, spin it in your palm, and make another one!
Tips for Success
Want your stars to look crisp and clean? Follow these pro tips:
- Use fresh, flat sticky notes – Curled or wrinkled ones don’t fold cleanly.
- Press your creases firmly – Use your fingernail or even a ruler edge.
- Don’t rush – Take your time with each fold to keep symmetry.
- Practice on scrap paper first – Get the hang of folds before trying your best sticky notes.
- Light matters – Natural sunlight works wonders for spotting folds.
Common Mistakes and How to Avoid Them
We all mess up sometimes. Here’s what to watch out for:
- Folds not lining up
Fix: Always check your alignment before pressing the crease. - Paper tearing or cracking
Fix: Fold slowly, especially near corners. Don’t force it. - Star not forming properly at the end
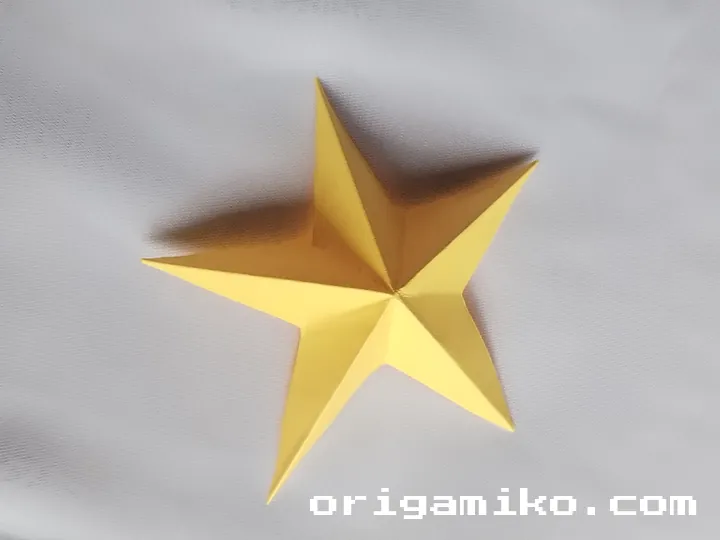
Fix: Go back and double-check your X creases—they’re key to structure. - Sticky edge showing
Fix: Try flipping the note at the beginning. Sticky side orientation can affect it.
Similar Variations You Can Try
Got the hang of this one? Here are some fun alternatives:
- Mini Stars – Use smaller sticky notes for tiny stars. Super cute!
- Double-Layer Stars – Stack two stars, glue them at the center for a 3D look.
- Glow-in-the-Dark Stars – Use glow sticky notes or paint over with glow paint.
- Message Stars – Write a little message before folding. Surprise note inside!
FAQs
Q: Can I use any size sticky note?
Yes, but 3 x 3 inches works best. Larger notes are easier for beginners.
Q: Do I need scissors?
Optional! You can fold and tear by hand, but scissors give a cleaner cut.
Q: How long does it take to make one?
First one might take 5–10 minutes. After that? Under 2 minutes, easy.
Q: Can kids try this?
Absolutely! Great for ages 8 and up with a bit of guidance.
Final Thoughts
That’s it—your guide to making an easy Origami Sticky Note star from start to finish. Simple, fun, and kind of addicting, right?
Whether you’re decorating your desk, passing notes in a creative way, or just enjoying a mindful break, this little star has a place in your day. I’d love to hear how yours turned out!
Now it’s your turn. Try it out, tweak it, and share it with someone. And don’t forget—folding paper is never just folding paper. It’s folding time, creativity, and a little bit of joy.
Ready to try another one? I’ve got more origami projects you’ll love.