

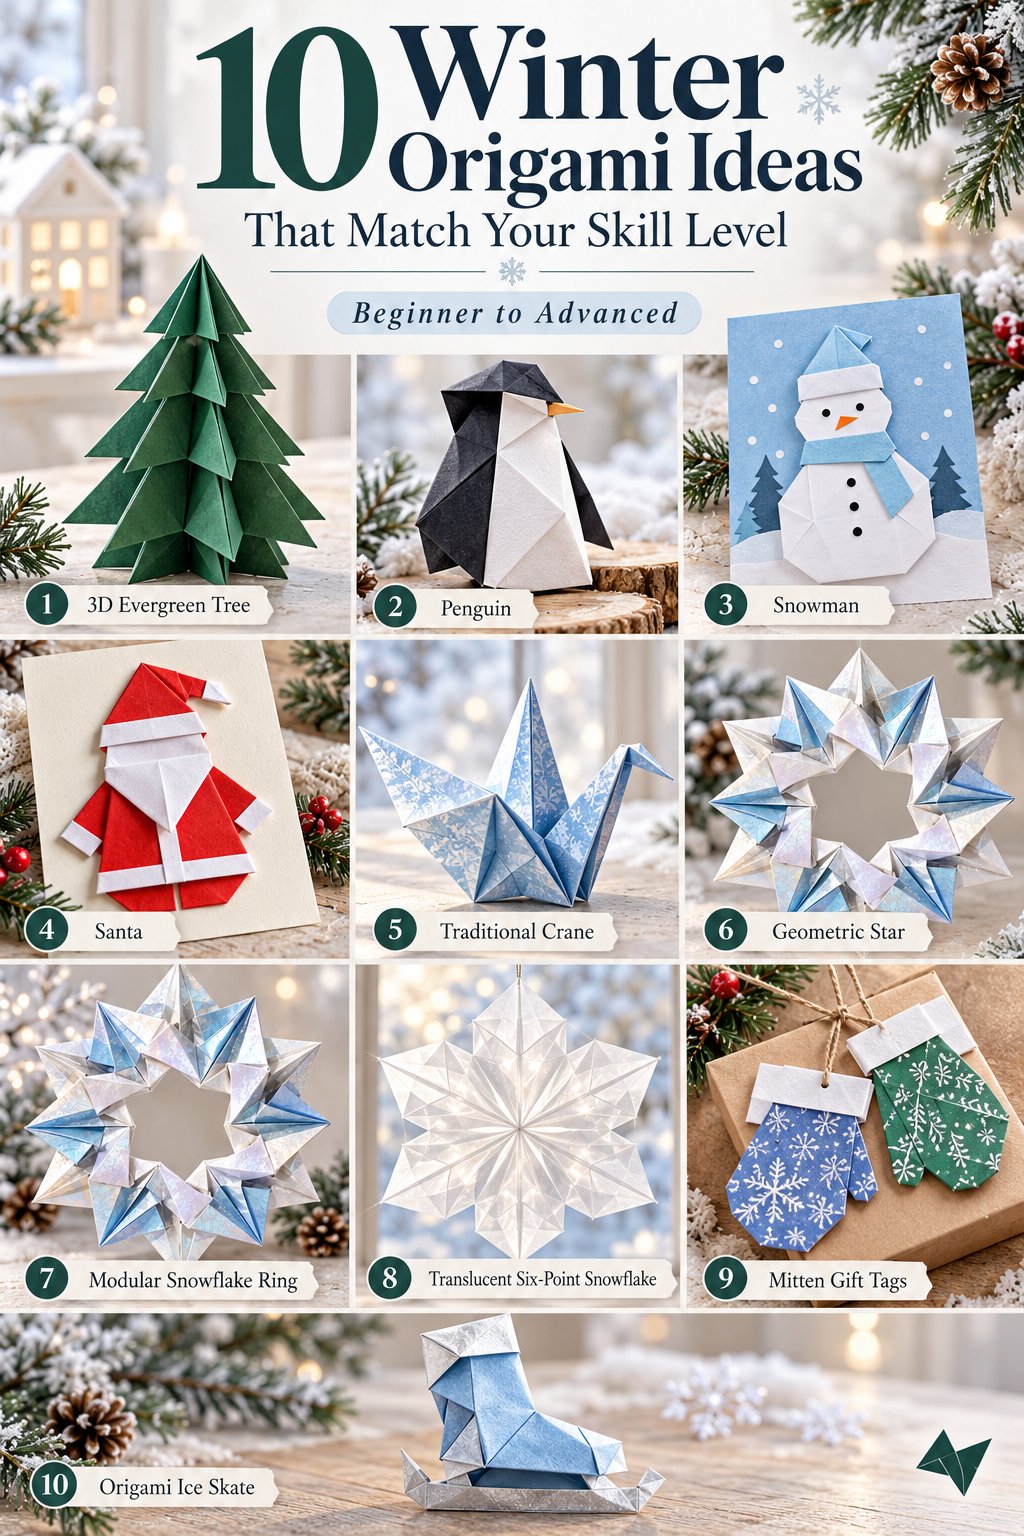
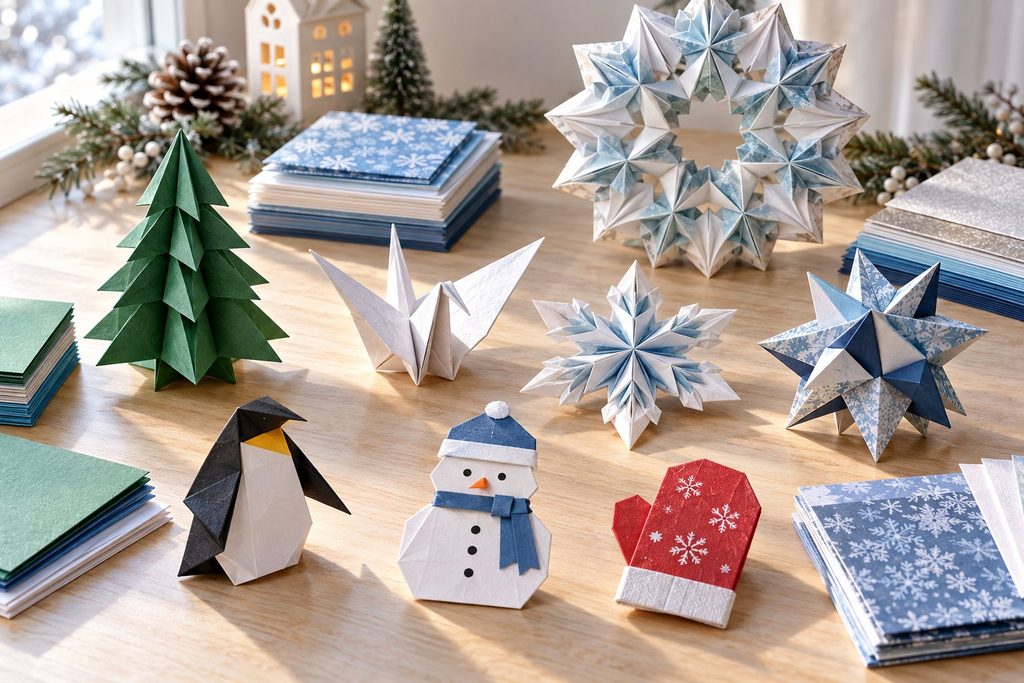
The 3D Evergreen Tree is the strongest all-purpose winter origami project because it is inexpensive, upright, seasonal, and achievable in under ten minutes. I evaluated all ten ideas for effort, paper requirements, error tolerance, display value, and audience fit, rather than treating visual complexity as automatic quality.
Our Top Picks
Best overall: 3D Evergreen Tree, because it balances speed, stability, and decoration.
Best budget: Origami Penguin, because it costs about $0.02-$0.05 and takes 3-5 minutes.
Best for children: Origami Snowman, because its flat shape works well on cards and classroom displays.
Best for ornaments: Geometric Star, because heavyweight paper gives it reliable rigidity.
Best for advanced folders: Modular Snowflake Ring, because its interlocking units demand accurate assembly.
Best for gift tags: Winter Mittens, because two tiny flat models add seasonal detail without bulk.
How We Chose
A winter model should give the folder a clear result without hiding its material or skill demands. I weighted practical use and error recovery slightly more heavily than novelty, since a beautiful project that tears or collapses is a poor recommendation for a first attempt.
- Time and paper cost
- Skill level and crease precision
- Stability and display format
- Suitability for children or classrooms
- Decorative longevity
- Preparation and recovery from mistakes
1. 3D Evergreen Tree: Best for First-Time Decorators
The 3D Evergreen Tree is the best starting point for winter décor because it folds quickly, stands upright, and uses ordinary green kami paper. Typical specifications are beginner difficulty, 5-10 minutes, 15-20 cm finished height from a 15 cm square, and $0.02-$0.05 per tree.
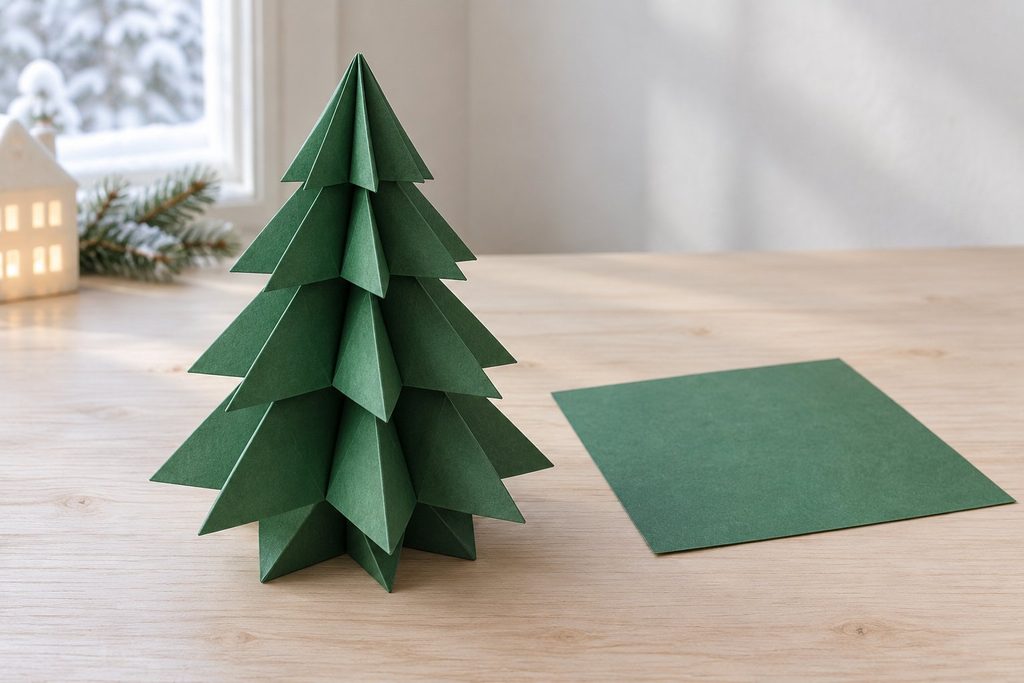
The tree wins through balance. It looks more dimensional than a flat card model, but it does not demand the repeated unit assembly used by the geometric star or snowflake ring. A square base, layered flaps, and a folded lower section create a compact silhouette that works on a mantel, desk, or classroom table.
Crisp creases matter more here than difficult geometry. If the folds are soft, the lower section spreads and the tree leans. Kami paper around 50-60 gsm is easier to shape than thick cardstock, while a slightly larger 20 cm sheet gives children more room for alignment.
The supplied instructions mention cutting away excess paper, but a no-cut version can fold the excess inside. That choice preserves the no-cut character of traditional origami.
Limitation: The tree is less forgiving when the initial diagonal and horizontal creases do not meet precisely.
Choose this if… you want an inexpensive standing decoration. Skip it if… you need a completely flat project for a card.
2. Origami Penguin: Best for Young Children
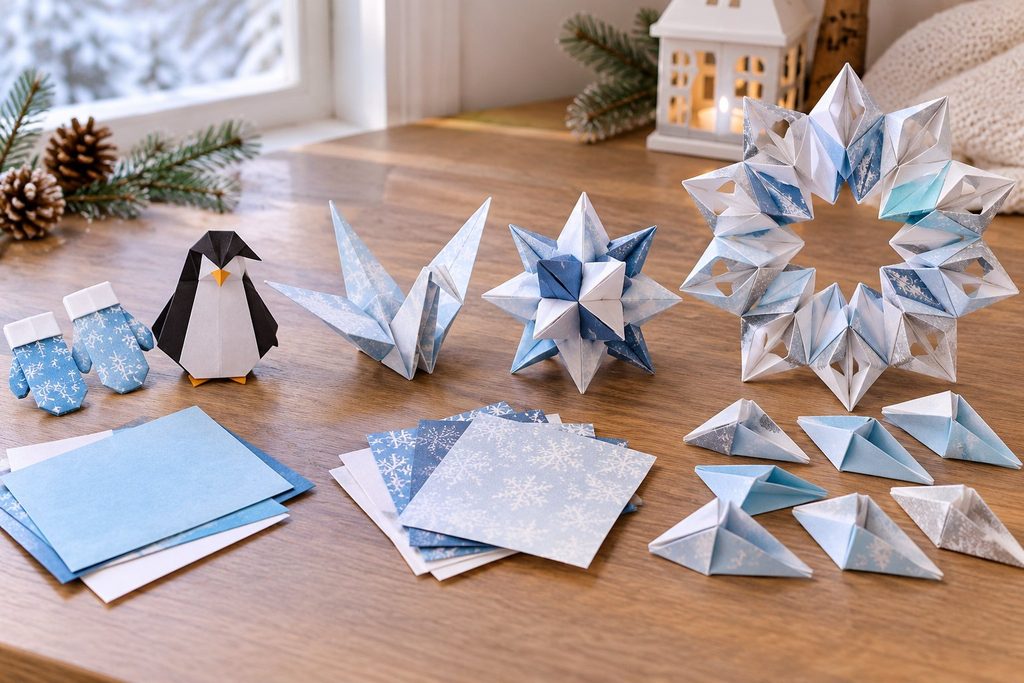
The Origami Penguin is the quickest recognizable winter animal, requiring about 3-5 minutes, beginner skill, and black-and-white dual-sided paper at roughly $0.02-$0.05 per model. A 15 cm square typically creates a 7-9 cm flat figure.
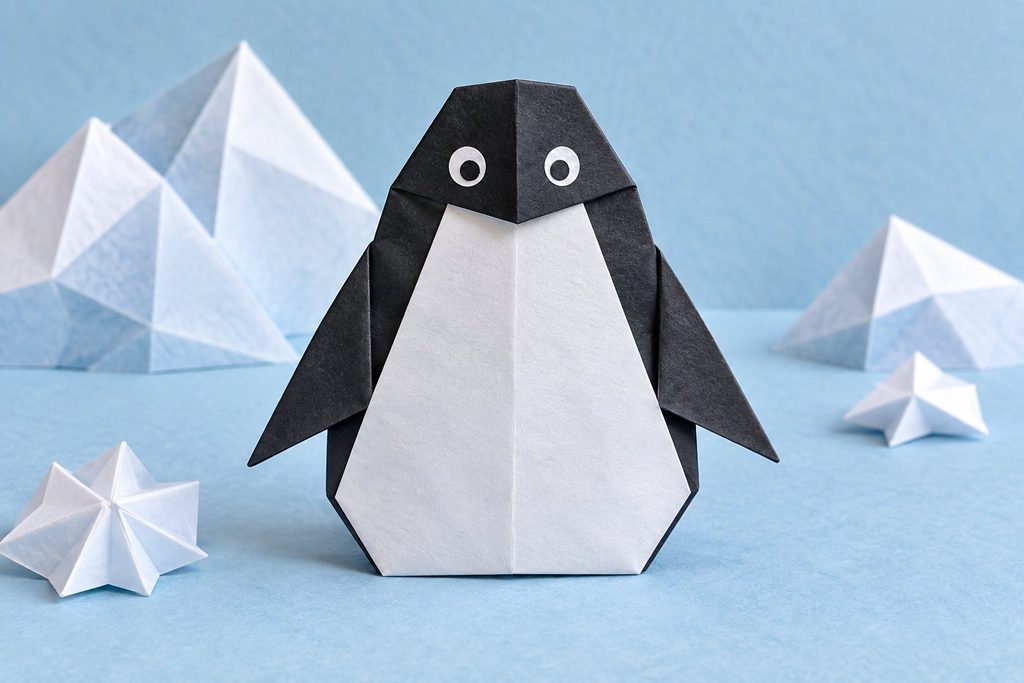
Few folds produce such a clear result. The black body, white face, and simple profile allow children to understand the design before every crease is perfect. That makes the penguin more forgiving emotionally, even though asymmetry can make its head or body look tilted.
It works well in a classroom because students can finish one model during a short activity period. Teachers can arrange several penguins into a polar scene, add them to folded blue backgrounds, or use them as name-card decorations. Dual-sided paper saves coloring time, although a black marker can repair small gaps in the white belly.
The penguin remains mostly two-dimensional. It will not replace the evergreen tree as a tabletop sculpture, and thin paper may curl after handling.
Limitation: Uneven left and right folds are highly visible around the face and flippers.
Choose this if… you need fast, recognizable results for children. Skip it if… you want a freestanding model.
3. Origami Snowman: Best for Cards and Classroom Scenes
The Origami Snowman is the most practical flat winter design for cards, wall displays, and children’s activities. It is beginner-level, takes 5-7 minutes, uses dual-sided white and colored paper, and usually costs $0.02-$0.05 per 15 cm model.
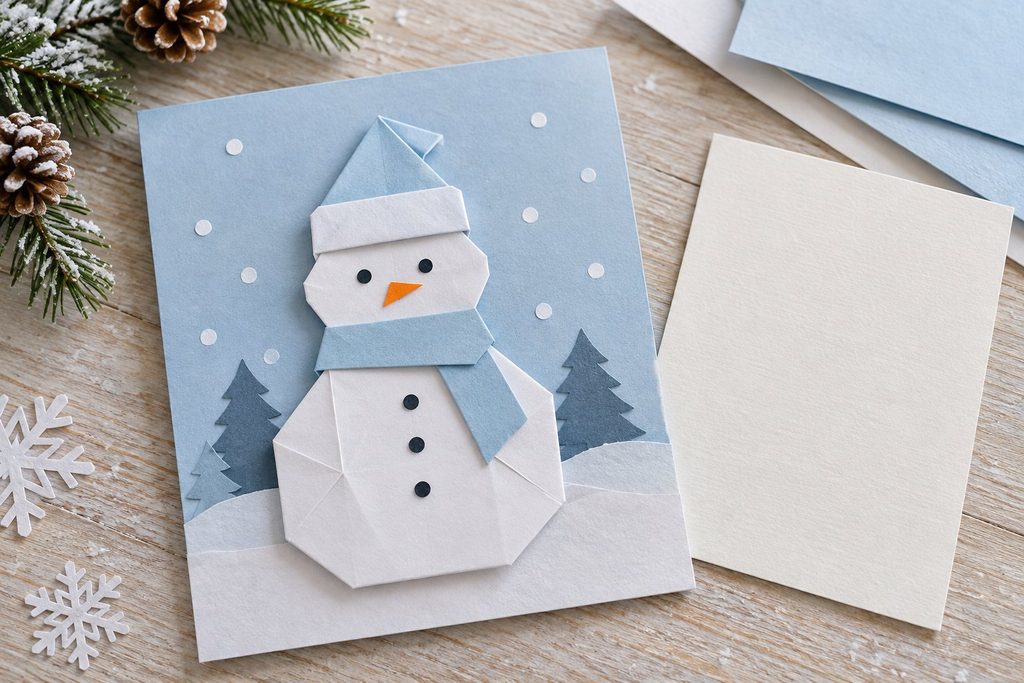
The snowman has a useful visual advantage: its flat profile is a feature rather than a defect. Glue is not required for the folding itself, but the finished figure can be placed on cardstock with a message, scarf drawing, or paper hat. White paper with a colored reverse creates contrast without painting.
The design tolerates moderate variation in body proportions. A slightly uneven fold can look like a character pose, which is valuable when several children produce different results. Larger sheets make the face and buttons easier to decorate, while smaller sheets create useful gift-card accents.
Unlike the penguin, the snowman usually needs drawn details to become expressive. That adds a short coloring step and may not suit purists seeking a paper-only finish.
Limitation: It generally lies flat and needs drawing or added paper details for a finished character.
Choose this if… you are making cards or a winter bulletin board. Skip it if… you want a sculptural centerpiece.
4. Geometric Star: Best for Durable Hanging Ornaments
The Geometric Star is the strongest ornament choice because six to eight folded units create a rigid, symmetrical form. Expect intermediate difficulty, 20-30 minutes, heavyweight Tant paper, a $0.20-$0.50 paper cost, and a finished diameter of about 12-18 cm from 7.5 cm units.
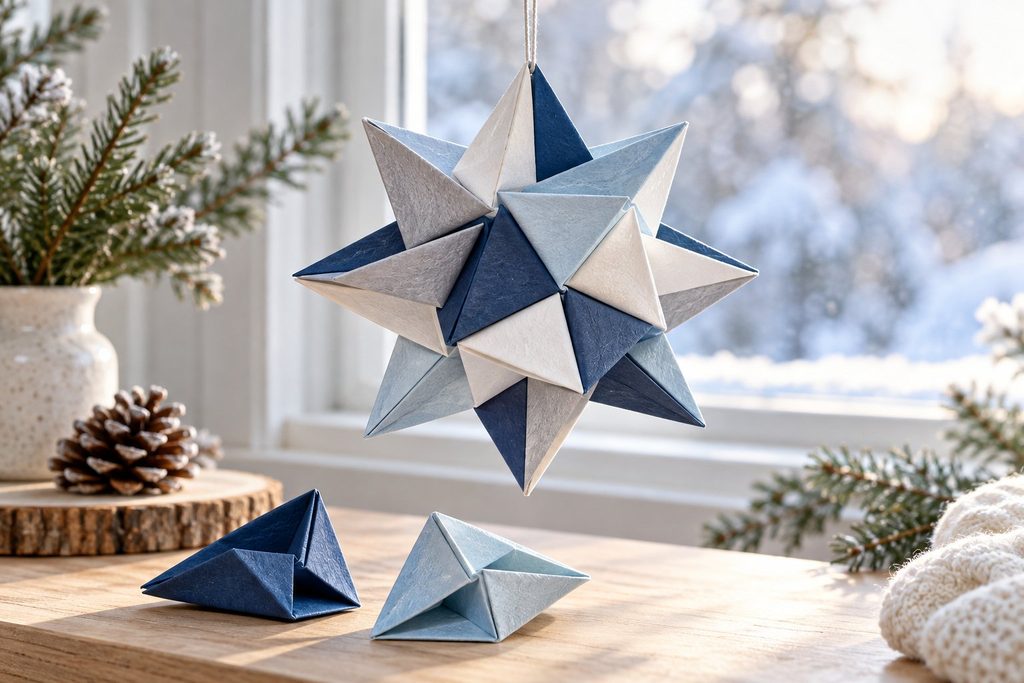
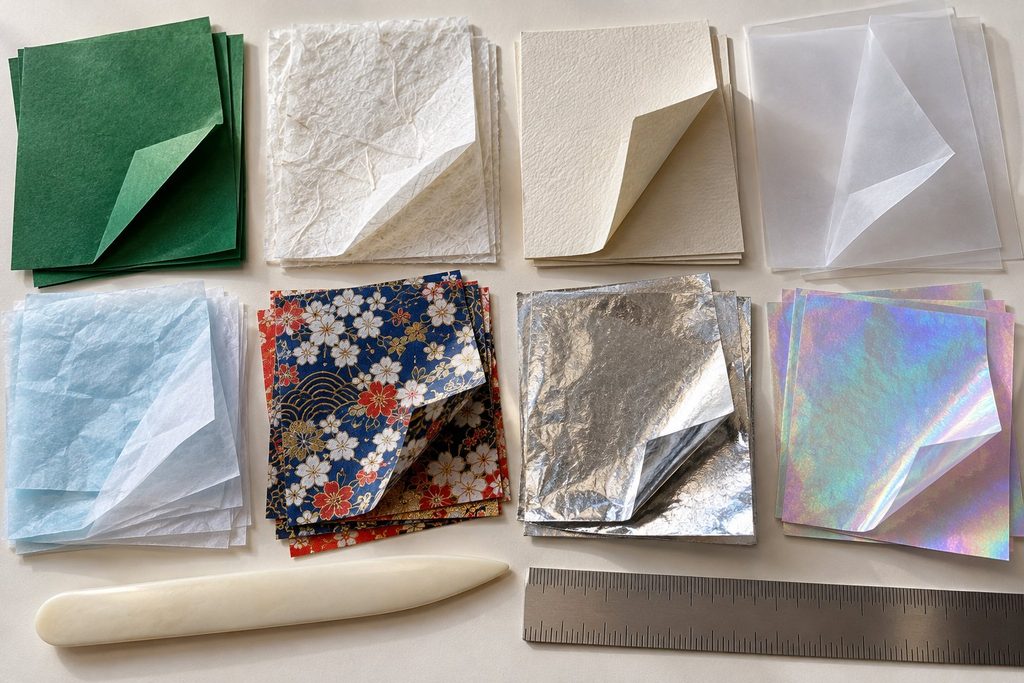
This project rewards patience rather than speed. Each unit is simple enough on its own, but the final lock exposes differences in crease depth and paper size. Tant paper, which is heavier and more structured than basic kami, helps the star keep its points after assembly.
The finished star has better hanging durability than tissue-based snowflakes. A thread can pass through one module or a small punched opening, although punching changes the strict no-cut process. The star also works as a table decoration because its geometry remains visible from several angles.
The repeated units create a predictable rhythm for experienced folders. Beginners may find that rhythm tedious, particularly when the sixth unit reveals that the first five were not identical.
Limitation: Assembly takes longer than the individual folds suggest, and mismatched units produce a twisted star.
Choose this if… you want a reusable paper ornament. Skip it if… repetitive folding makes you lose interest.
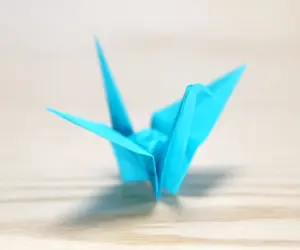
5. Traditional Crane: Best for Elegant Minimalist Décor
The Traditional Crane is a refined winter accent for folders who already know a bird base. It takes about 5-8 minutes, uses washi or standard kami, costs $0.02-$0.10, and produces a roughly 7-10 cm figure from a 15 cm square.
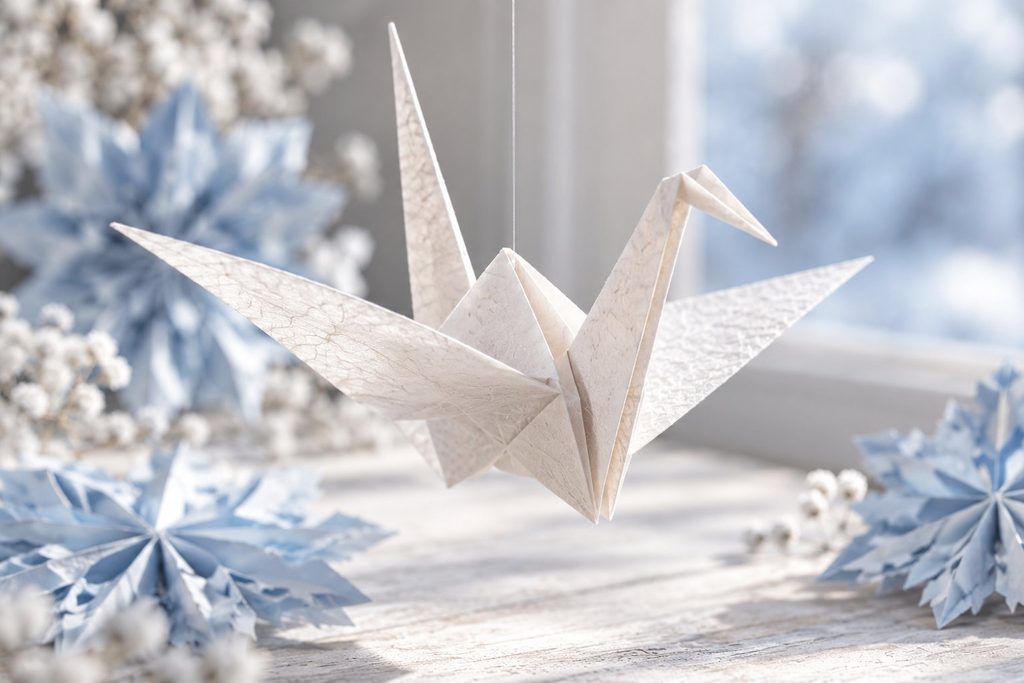
A white crane fits winter displays without becoming an explicitly Christmas-themed object. It can hang in a window, accompany paper snowflakes, or form a small flock above a dinner table. Washi gives the model surface character and moderate fiber strength, while ordinary kami makes practice inexpensive.
The crane’s value is cultural and visual restraint. It does not need drawn eyes, glitter, or extra accessories to look complete. A crisp neck and balanced wings matter more than decorative additions.
However, the traditional bird base introduces several layers and reverse folds that can feel abrupt to someone who has only made simple animals. The crane also lacks a winter-specific silhouette, so its seasonal connection depends on the display around it.
Limitation: It is elegant but not immediately winter-themed, and the bird base can frustrate absolute beginners.
Choose this if… you prefer quiet, reusable decoration. Skip it if… children need instant character recognition.
6. 6-Pointed Snowflake: Best for Window Light
The 6-Pointed Snowflake is the best translucent window decoration for an intermediate folder willing to prepare a hexagon. It takes 15-20 minutes, uses glassine or tissue paper, costs about $0.05-$0.15, and typically measures 12-16 cm across from a 15 cm starting square.
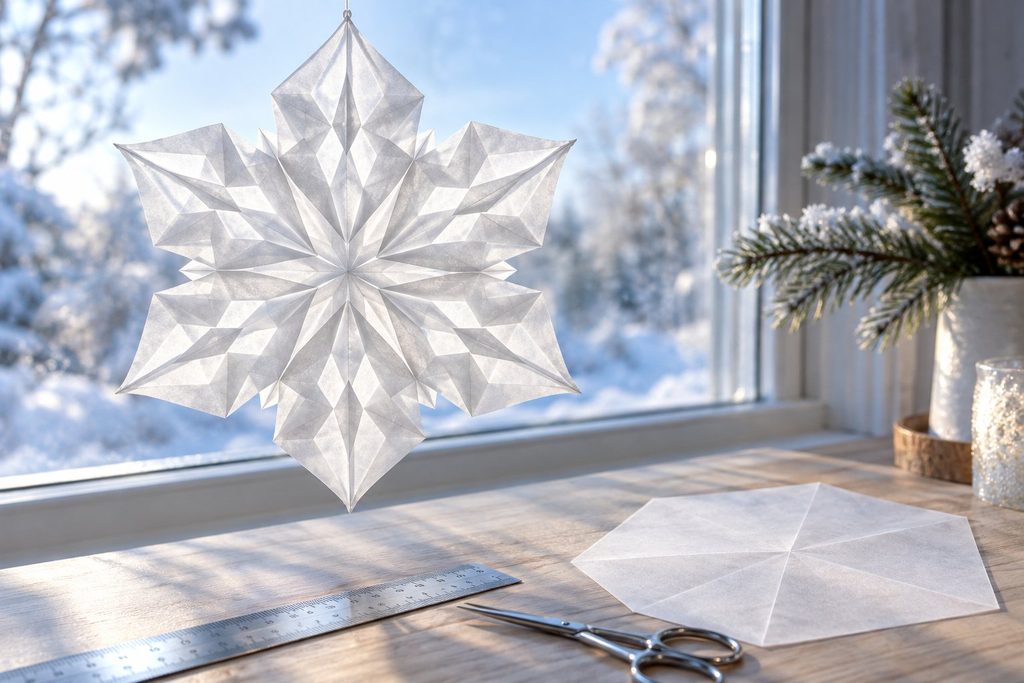
The translucent paper changes the result dramatically. In a window, lamp, or string-light display, thin glassine catches light and makes the facets visible. Tissue paper creates a softer appearance but tears more readily when several folds converge.
The central challenge is preparation. The supplied method begins by cutting a square into a perfect hexagon, so this is a hybrid folding project rather than a purely no-cut design. A ruler, pencil, and sharp scissors improve the starting shape. Misalignment of even a small amount becomes obvious when six points meet at the center.
The snowflake offers more geometric satisfaction than the simpler tree or snowman. Its six repeated facets reward precise squash folds and careful edge alignment.
Limitation: The hexagonal preparation and delicate paper make it unsuitable for rushed classrooms or rough handling.
Choose this if… you want a light-catching window piece. Skip it if… you need a no-cut project with forgiving paper.
7. Winter Mittens: Best for Gift Tags
Winter Mittens are the most efficient gift-tag accent, taking 3-4 minutes with patterned chiyogami paper and costing approximately $0.03-$0.08 per pair. Each mitten is usually 5-7 cm tall from a 7.5-10 cm square, so the design stays light and flat.
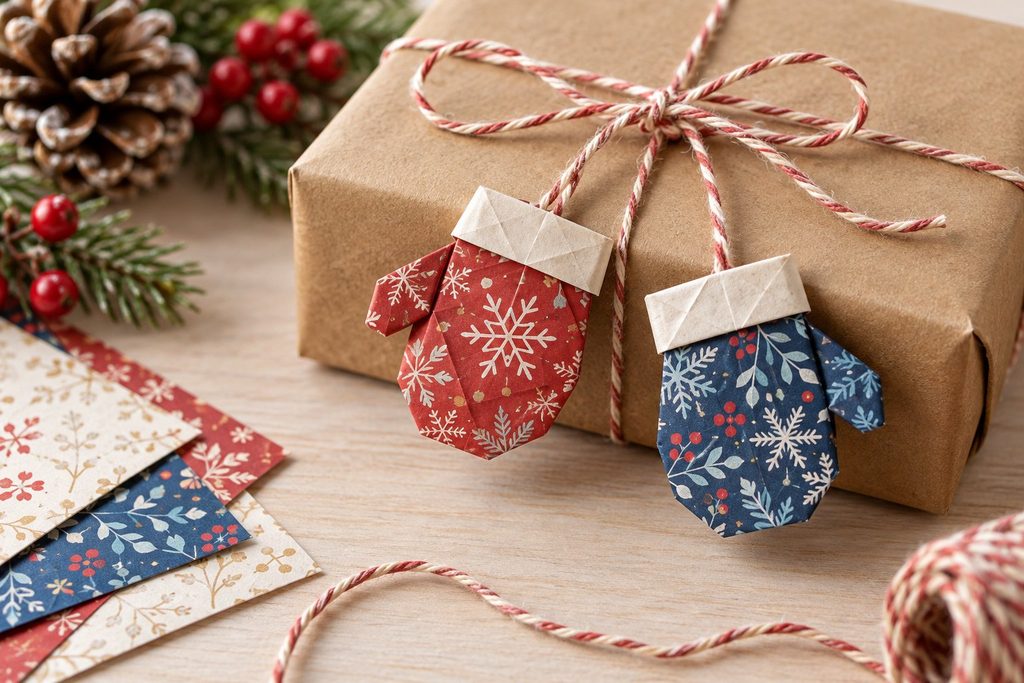
The mitten’s appeal lies in scale. A pair can sit beside a handwritten name, on a wrapped parcel, or along a winter garland without making the package bulky. Chiyogami adds pattern and color immediately, which removes the need for painting or detailed drawing.
This is a strong choice when the folding activity is secondary to the final craft. Children can make several pairs quickly, while adults can coordinate paper colors across a set of gifts. The model also uses less paper than the tree, snowflake, or star.
Its limitations are structural rather than technical. The mitten does not stand, and the flat silhouette has little visual depth. It is an accent, not a centerpiece.
Limitation: The small size makes finger control difficult for very young children, even though the fold sequence is short.
Choose this if… you need a quick paper embellishment. Skip it if… you want a substantial origami sculpture.
8. Origami Santa Claus: Best for Traditional Christmas Cards
Origami Santa Claus is the most immediately festive character for cards and gift packaging, with beginner difficulty, a 5-8 minute folding time, dual-sided red-and-white paper, and a typical cost of $0.02-$0.05. A 15 cm square usually creates a 9-12 cm flat figure.
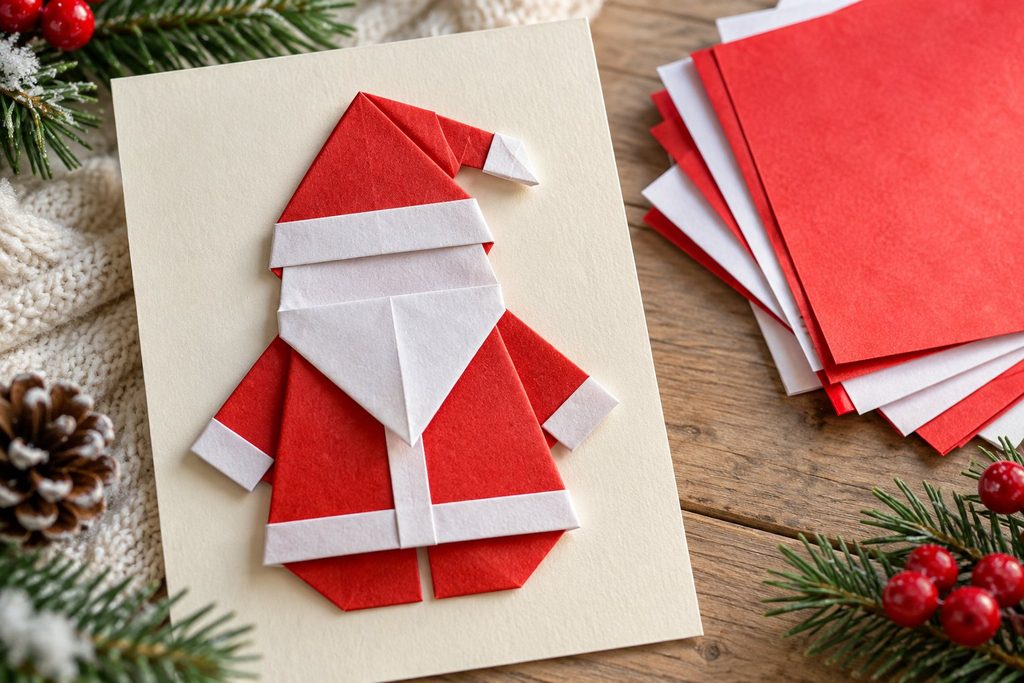
The red-and-white paper does most of the visual work. The hat, beard, and coat read clearly without extensive coloring, making Santa more satisfying than a blank character that needs several drawn details. The model fits cards, classroom displays, and small labels.
The thick hat layers are the technical issue. Repeated folds can split low-quality paper, especially when a child presses too hard with a thumbnail. Kami is preferable to copier paper because it handles compact layers with less cracking, while foil can make the face and hat difficult to flatten.
Santa is more seasonal than the crane, but less broadly useful after the holidays. That narrow timing is worth accepting when the goal is a Christmas craft rather than general winter decoration.
Limitation: Thick hat layers can tear, and the design has limited use after December.
Choose this if… you want a recognizable holiday card element. Skip it if… you need a neutral winter theme.
9. Origami Ice Skate: Best for Sports-Themed Displays
The Origami Ice Skate is the most distinctive project for a skating rink, sports display, or winter card. It is intermediate, takes 10-12 minutes, costs $0.10-$0.25 with silver foil or dual-sided paper, and usually measures 8-11 cm long from a 15 cm square.
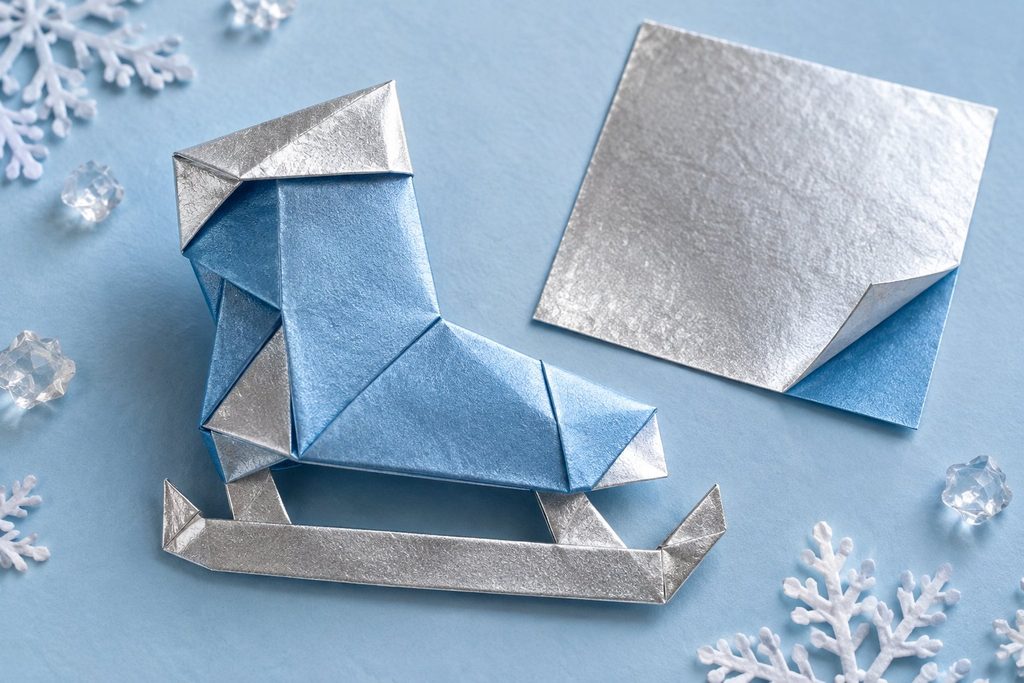
The skate has more structural personality than a flat mitten. The blade creates a narrow visual line beneath the boot, while silver foil gives the model an appropriate metallic accent. Dual-sided paper is easier to control because foil can crease sharply and reveal every unintended mark.
The inside-reverse fold at the blade is the key difficulty. It requires accurate pre-creasing and careful pressure, especially where multiple layers meet. If the blade becomes too thick, it may not lie straight, which weakens the recognizability of the final model.
This design earns its place because it serves a specific audience that the tree and snowman cannot. It works especially well in a winter sports collage or as a repeated border on a handmade card.
Limitation: The blade is technically awkward and may collapse when thick paper is used.
Choose this if… your project has a skating or winter-sports theme. Skip it if… you want the easiest intermediate model.
10. Modular Snowflake Ring: Best for Experienced Folders
The Modular Snowflake Ring is the most ambitious winter centerpiece, requiring advanced skill, 40-60 minutes, foil or iridescent paper, and about $0.50-$1.20 in material. A completed ring commonly reaches 18-25 cm across when six to eight units use 7.5-10 cm squares.
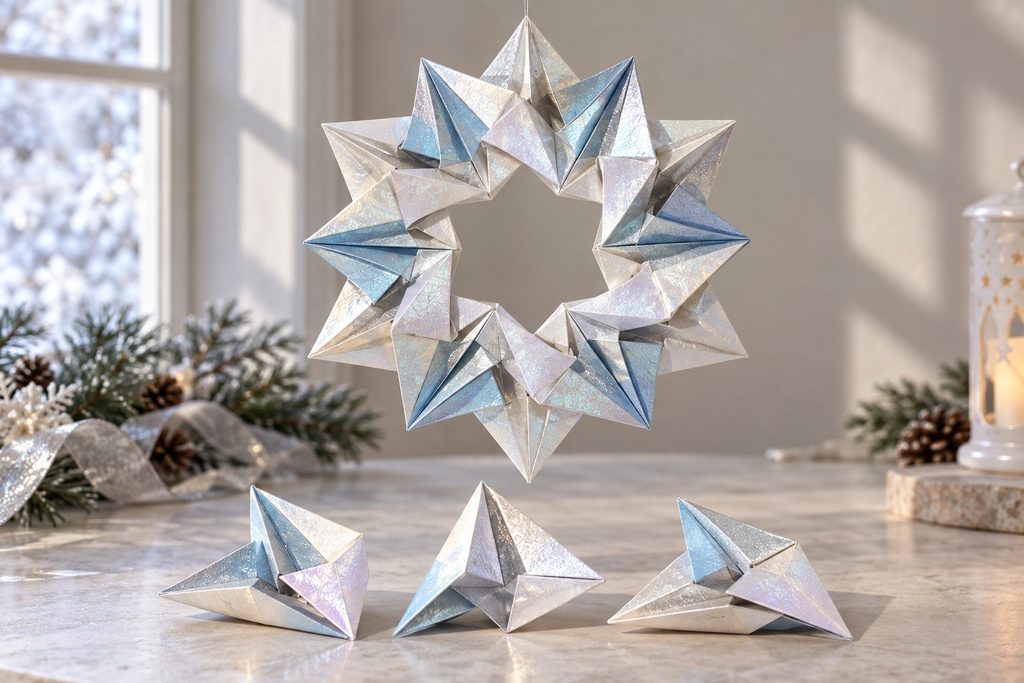
The ring creates the strongest visual impact in the group. Interlocking modules form an open circular structure that can hang from a ceiling, frame a candle-free centerpiece, or decorate a large window. Iridescent film changes color as the viewing angle moves, while foil emphasizes the geometric edges.
Its cost is not the main concern. Assembly reliability is. A loose crease can prevent the final lock from holding, and one inconsistent module can distort the entire ring. Bone folders help create sharp lines, but a folder still needs to understand which pockets receive the neighboring points.
The project is valuable for advanced folders because it makes precision measurable. It also provides a longer activity for an adult craft session.
Limitation: The slippery paper and high number of connections create the highest failure risk on this list.
Choose this if… you want a challenging centerpiece. Skip it if… you need a guaranteed first-attempt result.
Paper and Material Comparison
| Project | Recommended paper | Starting format | Typical cost | Extra preparation |
|---|---|---|---|---|
| 3D Evergreen Tree | Green kami, 50-60 gsm | 15-20 cm square | $0.02-$0.05 | None, unless trimming the base |
| Origami Penguin | Black-and-white dual-sided | 15 cm square | $0.02-$0.05 | None |
| Origami Snowman | White and colored dual-sided | 15 cm square | $0.02-$0.05 | Optional drawing |
| Geometric Star | Heavyweight Tant | Six to eight 7.5 cm squares | $0.20-$0.50 | Unit cutting or measuring |
| Traditional Crane | Kami or washi | 15 cm square | $0.02-$0.10 | None |
| 6-Pointed Snowflake | Glassine or tissue | Hexagon from 15 cm square | $0.05-$0.15 | Hexagon preparation |
| Winter Mittens | Patterned chiyogami | Two 7.5-10 cm squares | $0.03-$0.08 | Pairing colors |
| Origami Santa Claus | Red-and-white dual-sided | 15 cm square | $0.02-$0.05 | None |
| Origami Ice Skate | Silver foil or dual-sided | 15 cm square | $0.10-$0.25 | None |
| Modular Snowflake Ring | Foil or iridescent paper | Six to eight 7.5-10 cm squares | $0.50-$1.20 | Accurate unit sizing |
Time, Skill, and Display Comparison
| Project | Skill | Time | Final form | Error tolerance | Display life |
|---|---|---|---|---|---|
| 3D Evergreen Tree | Beginner | 5-10 min | Freestanding | Medium | High indoors |
| Origami Penguin | Beginner | 3-5 min | Flat | Medium-high | Medium |
| Origami Snowman | Beginner | 5-7 min | Flat | High | Medium |
| Geometric Star | Intermediate | 20-30 min | Hanging or tabletop | Low-medium | High |
| Traditional Crane | Intermediate | 5-8 min | Hanging or flat | Medium | High |
| 6-Pointed Snowflake | Intermediate | 15-20 min | Hanging or window | Low | Low-medium |
| Winter Mittens | Beginner | 3-4 min | Flat | Medium-high | Medium |
| Origami Santa Claus | Beginner | 5-8 min | Flat | Medium | Short seasonal use |
| Origami Ice Skate | Intermediate | 10-12 min | Flat accent | Low-medium | Medium |
| Modular Snowflake Ring | Advanced | 40-60 min | Hanging centerpiece | Low | High if stored carefully |
Cost Tiers for Winter Origami
| Cost tier | Projects | What the price covers | Best audience |
|---|---|---|---|
| $0.02-$0.05 | Tree, penguin, snowman, Santa | Standard kami or dual-sided paper | Children and classrooms |
| $0.03-$0.10 | Mittens and crane | Chiyogami, kami, or washi | Cards and simple décor |
| $0.05-$0.15 | 6-pointed snowflake | Tissue or glassine | Window decorators |
| $0.10-$0.50 | Ice skate and geometric star | Foil, Tant, or heavier sheets | Hobbyists |
| $0.50-$1.20 | Modular snowflake ring | Specialty foil or iridescent units | Advanced folders |
Paper prices are typical per project estimates, not fixed retail prices. Specialty packs, shipping, and tools can raise the total.
Which Winter Origami Ideas Should You Pick?
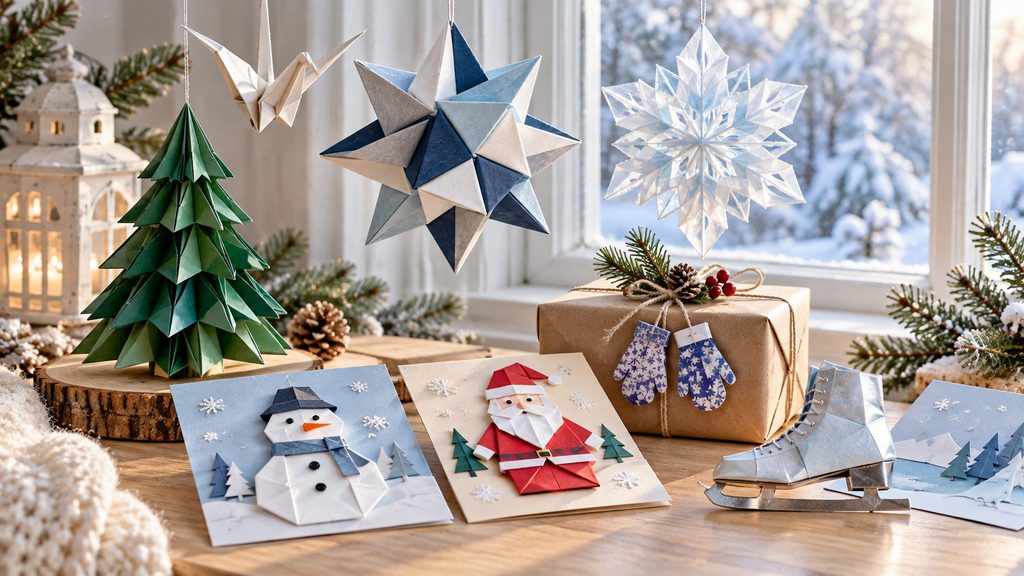
- For a first-ever project: Choose the 3D Evergreen Tree if you want décor, or the Origami Penguin if speed matters more than dimensional form.
- For a classroom of young children: Choose the Origami Snowman. Its flat shape is easy to display, and imperfect proportions remain charming.
- For handmade cards: Choose the Origami Snowman for a neutral winter card, Santa Claus for Christmas, or Winter Mittens for a small accent.
- For a window: Choose the 6-Pointed Snowflake with glassine or tissue paper, but prepare the hexagon before the folding session.
- For a durable ornament: Choose the Geometric Star with Tant paper. It takes longer but holds its geometry better than tissue.
- For an advanced challenge: Choose the Modular Snowflake Ring. Use identical paper squares and reinforce every crease before assembly.
- For a skating theme: Choose the Origami Ice Skate, especially when a card or display already includes rink imagery.
- For understated décor: Choose the Traditional Crane in white washi and combine it with blue or silver accents.
Winter Origami Alternatives Outside the Main List
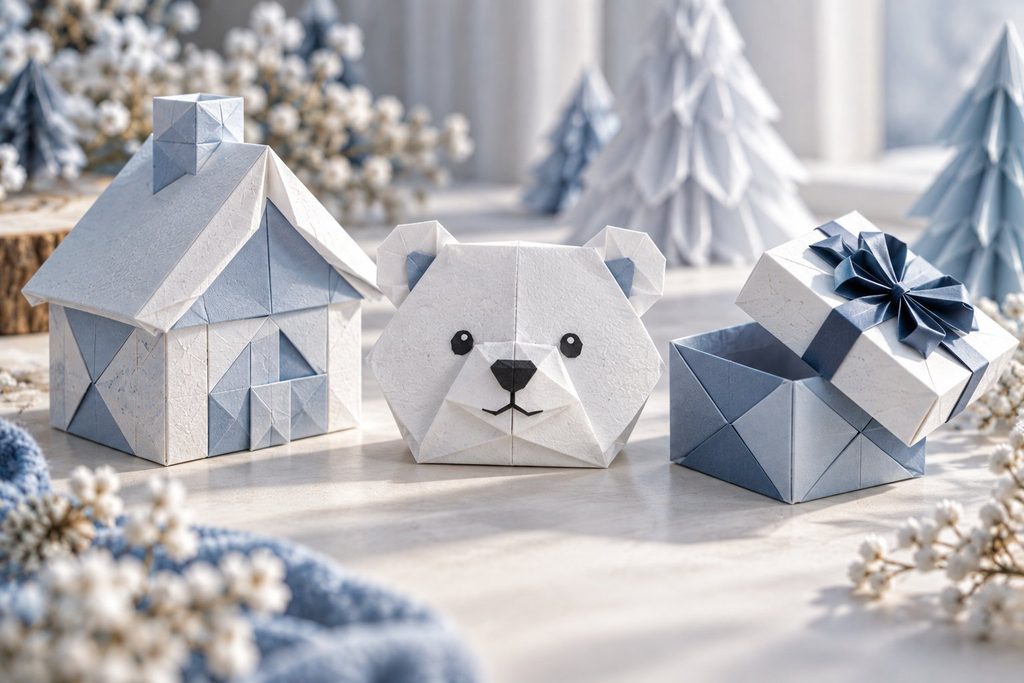
A folded winter house is a useful alternative when the goal is a village scene, because its broad surfaces accept windows, doors, and drawn snow. A polar bear face is another child-friendly option with stronger Arctic imagery than the crane, while a folded gift box adds practical value because the finished model can hold a lightweight paper note or small object.
These alternatives were not ranked in the main ten because their winter identity depends more on drawing or assembly. They become worthwhile when the project needs a scene, a character set, or a functional container rather than a single seasonal silhouette.
Winter Origami FAQ
What is the easiest winter origami idea?
The Origami Penguin is usually the fastest, at about 3-5 minutes, and its black-and-white silhouette remains recognizable even when folds are slightly uneven. The 3D Evergreen Tree is a better first choice when the finished model must stand upright, because it offers more display value with only a few additional folds.
Which winter origami project is best for kids?
The Origami Snowman is the safest classroom recommendation because it is flat, inexpensive, and tolerant of small proportion errors. The Penguin also works well for young children who need a shorter activity. Use 15-20 cm paper, since larger sheets make alignment and pressing easier.
What paper works best for complex winter origami?
Use thin kami for the evergreen tree and crane, glassine or tissue for the translucent snowflake, and Tant for the modular star. Foil or iridescent paper suits the snowflake ring, but its slippery surface demands careful crease control. Avoid thick copier paper when many layers converge.
Which models can stand up?
The 3D Evergreen Tree is the most reliable freestanding model in this list. The Geometric Star may sit on a table depending on its unit arrangement, while the snowman, penguin, Santa, mitten, skate, and crane are primarily flat or hanging designs. The snowflake ring is intended as a hanging centerpiece.
Is the six-pointed snowflake traditional origami?
The listed six-pointed snowflake is a hybrid paper-folding project because it begins with a square cut into a hexagon. Traditional origami generally avoids cutting and gluing, although modern practice includes models and variations that use limited cuts. Prepare the hexagon accurately for balanced points.
How can I stop paper from tearing?
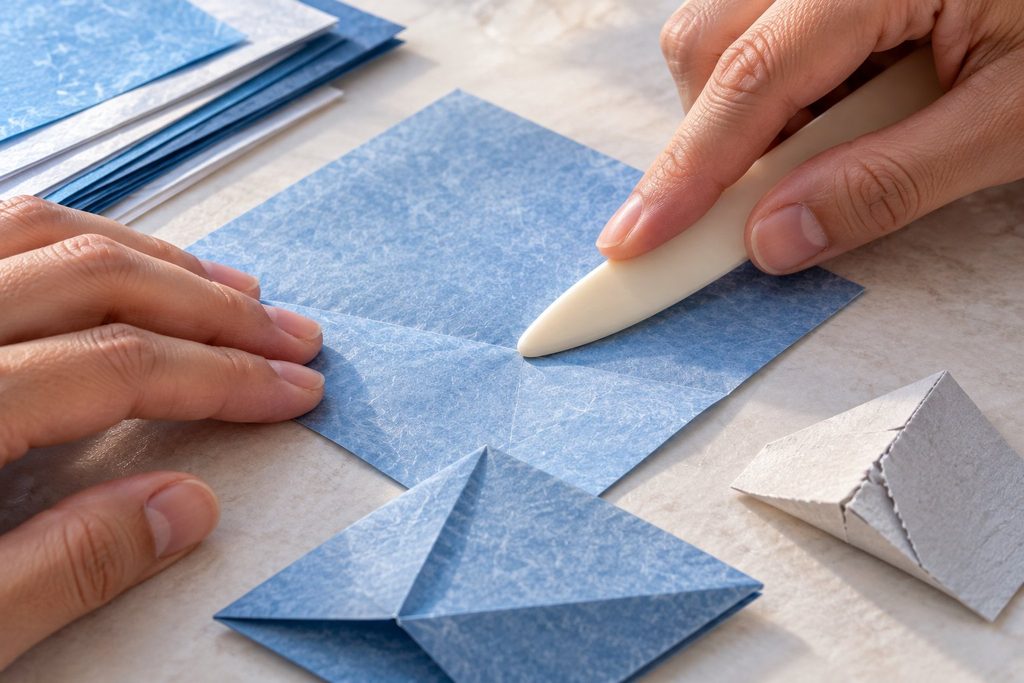
Use thinner paper for layered folds, reduce pressure near already-thick sections, and crease with a bone folder or thumbnail only after alignment is correct. For Santa’s hat and the ice skate blade, unfold and reposition instead of forcing a crowded fold. Practice once with inexpensive kami before using specialty paper.
