


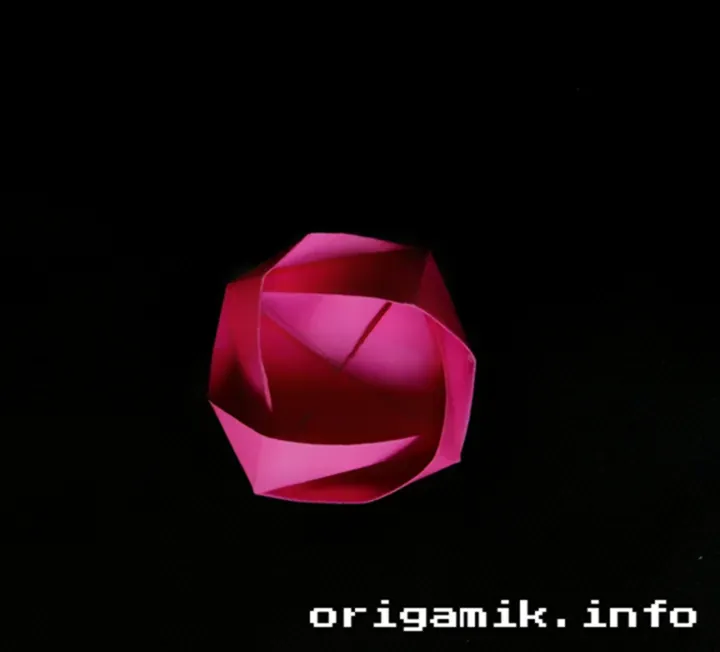
Origami is pure magic. You start with a simple piece of paper and, with a few folds, transform it into something beautiful.
Today, I’ll show you how to make an easy Origami Camelia Flower step by step. It’s simple, fun, and perfect for beginners.
By the end of this guide, you’ll have a delicate paper flower that looks stunning. Ready to fold? Let’s begin!
What is an Origami Camelia Flower?
The Origami Camelia Flower is a lovely paper flower inspired by the real-life camellia blossom. It’s known for its rounded, layered petals that create a soft, elegant look. Whether you want to use it for decoration, gift wrapping, or simply enjoy the process, this flower is a great project for all skill levels.
Why Make an Origami Camelia Flower?
- Beginner-Friendly: Easy folds, no complex techniques required.
- Beautiful & Versatile: Perfect for greeting cards, home decor, and handmade gifts.
- No Special Materials Needed: All you need is a square piece of paper!
Materials Needed
Before we start, let’s gather everything you need. Below is a data-rich table with detailed specifications for each item.
| Material | Description | Recommended Size |
|---|---|---|
| Origami Paper | Lightweight and easy to fold | 10×10 cm |
| Flat Surface | Helps with precise folds | Any table or desk |
| Bone Folder (Optional) | Helps create crisp folds | Standard size |
| Tweezers (Optional) | Helps adjust small folds | Standard size |
Step-by-Step Instructions
Step:1 Take a Paper
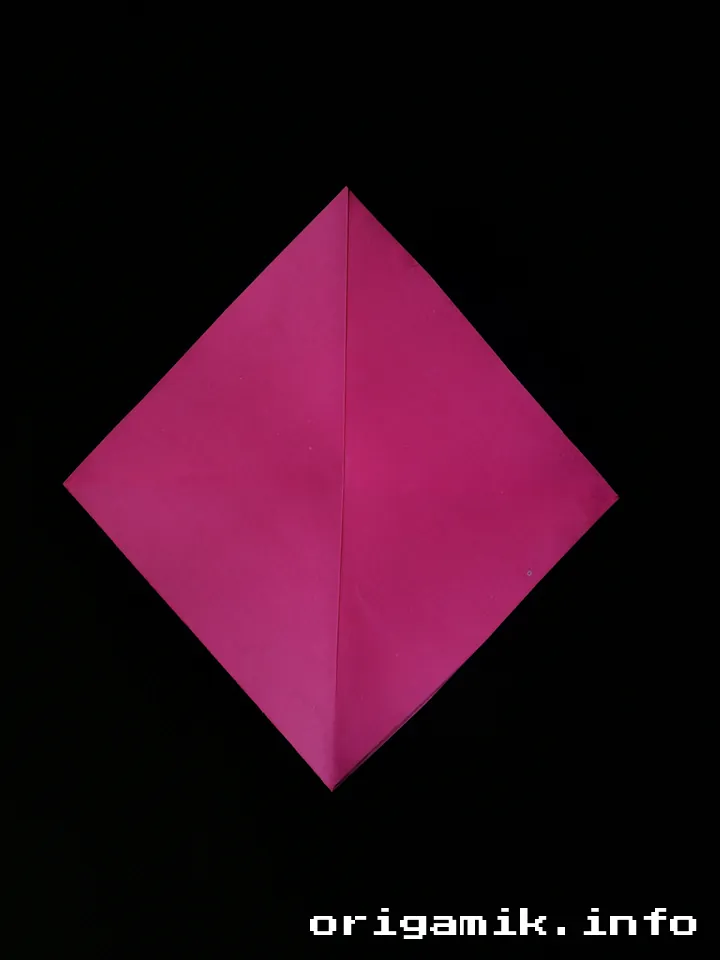
Start with a 10×10 cm square piece of origami paper. You can choose any color, but soft pastels look amazing for flowers.
Step:2 Make Preliminary Folds
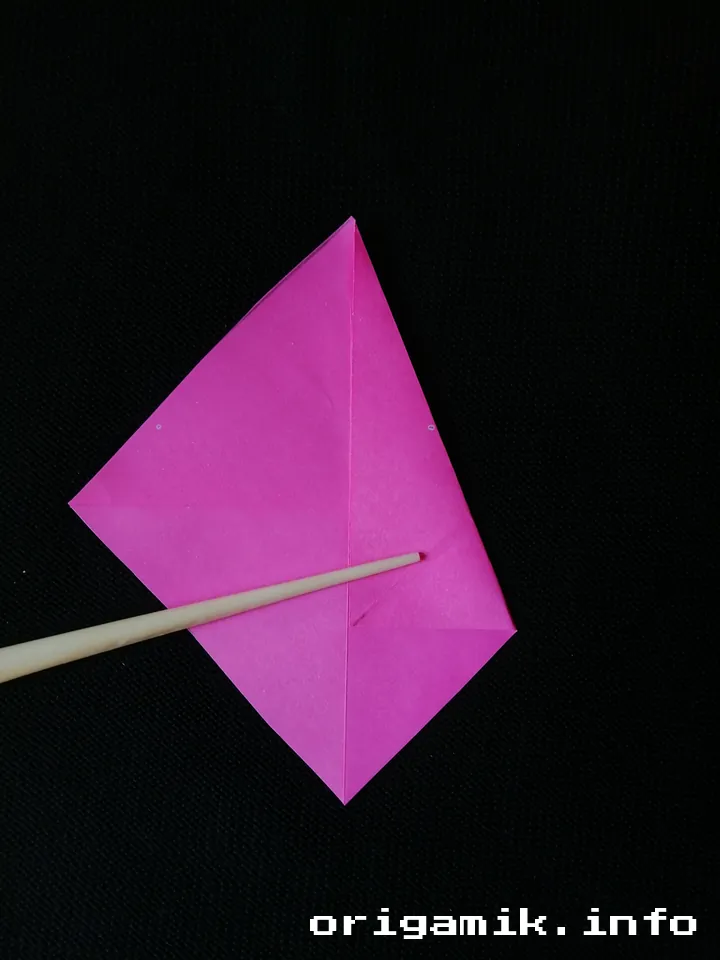
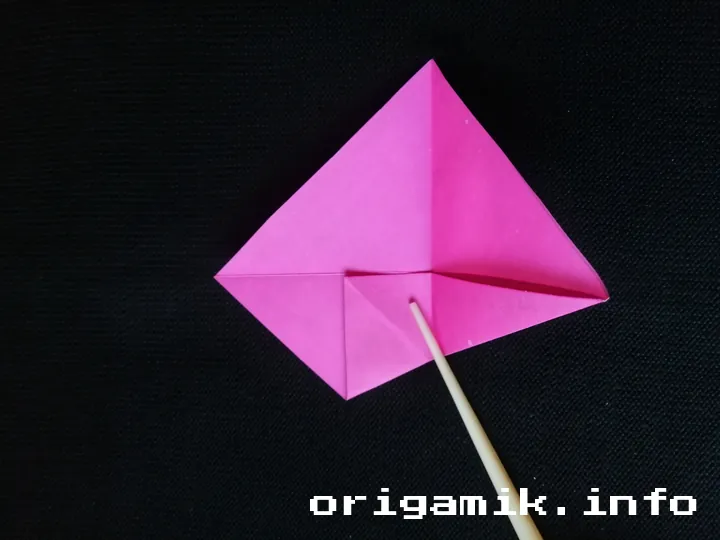
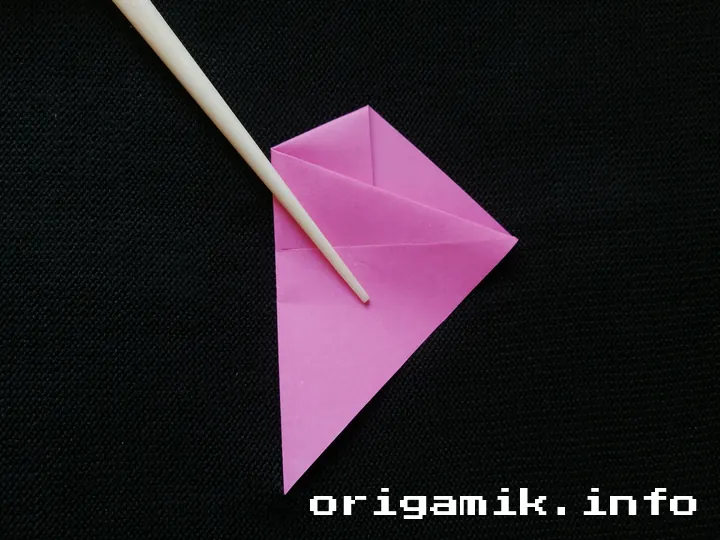
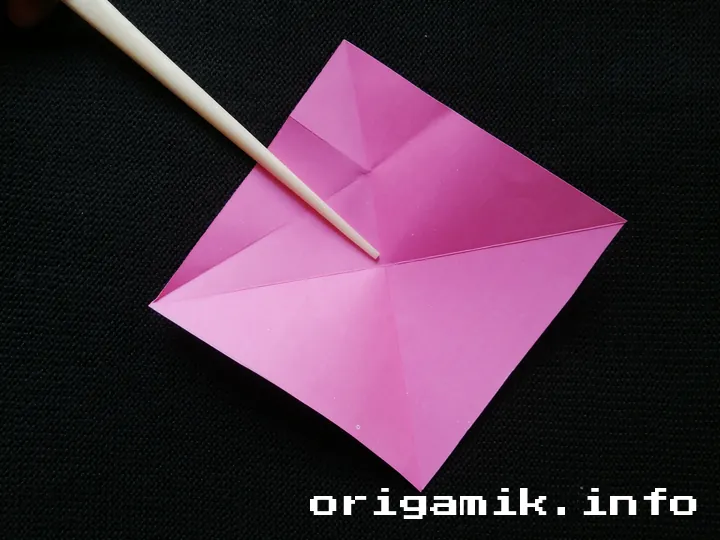
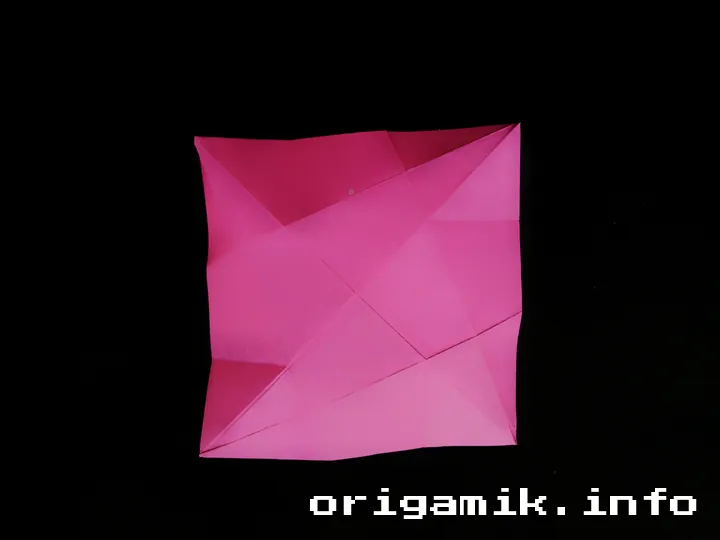
- Fold the paper horizontally in half, then vertically in half. Unfold.
- Now, fold each side to meet the middle crease. Unfold again.
- These creases will guide you in the next steps.
Step:3 Form the Base Shape
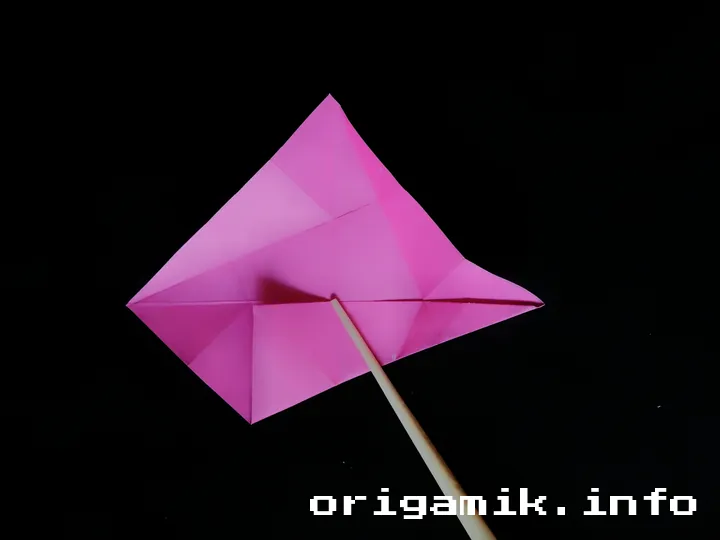
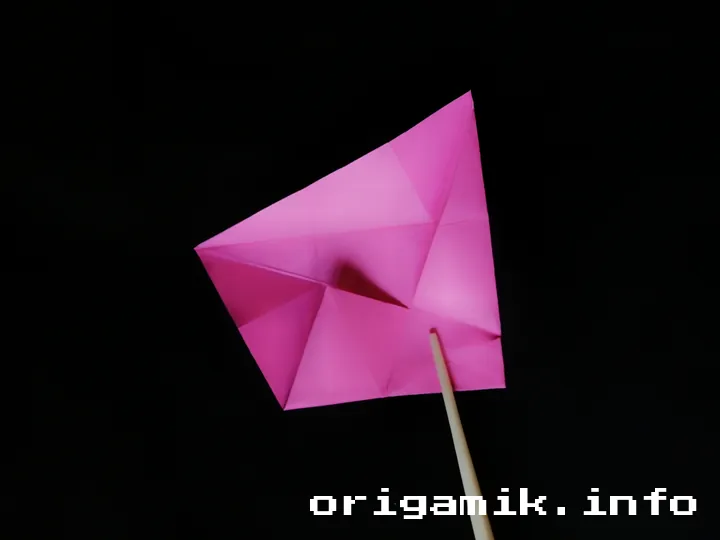
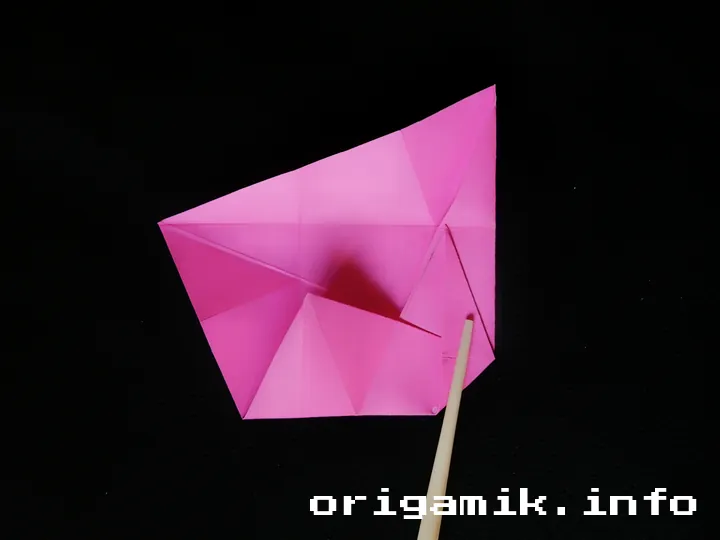
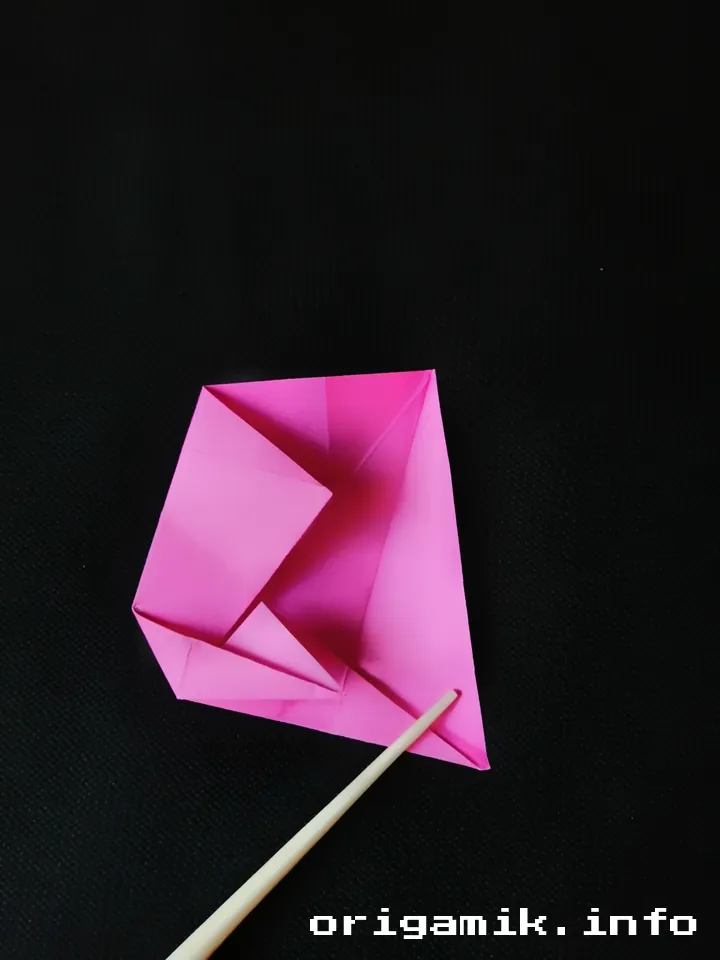
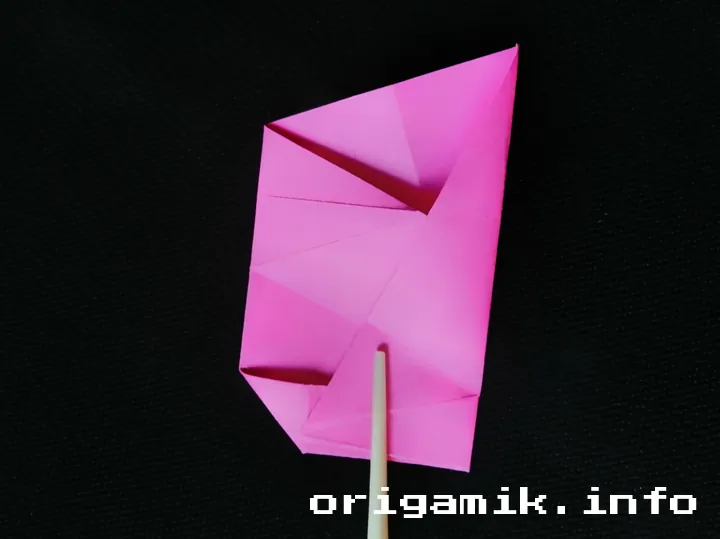
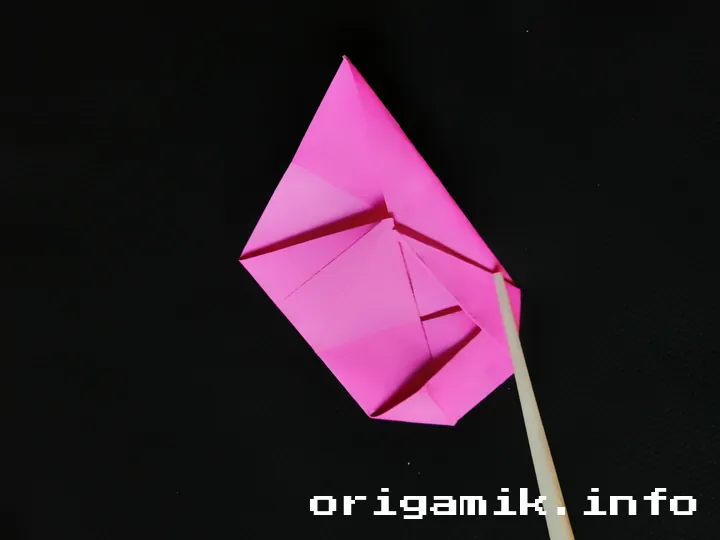
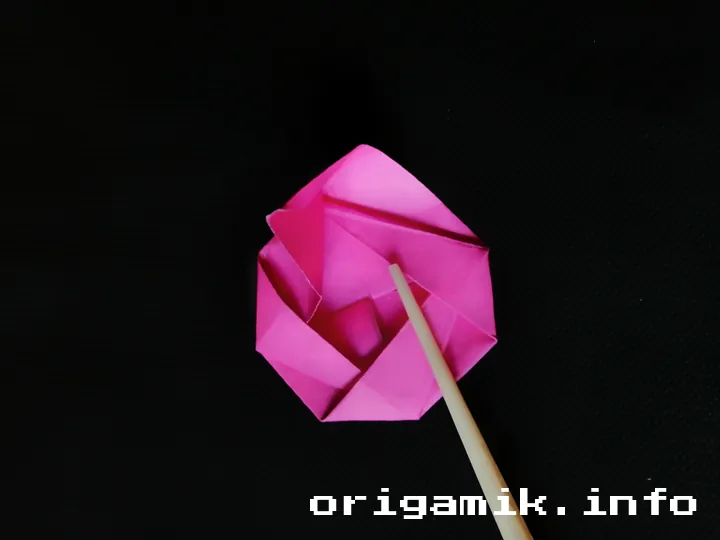
- Fold each side inward again, just as you did before.
- This time, press down firmly to keep the shape.
- You’ll start seeing the flower take shape.
Step:4 Final Touches – Your Camelia Flower is Ready!
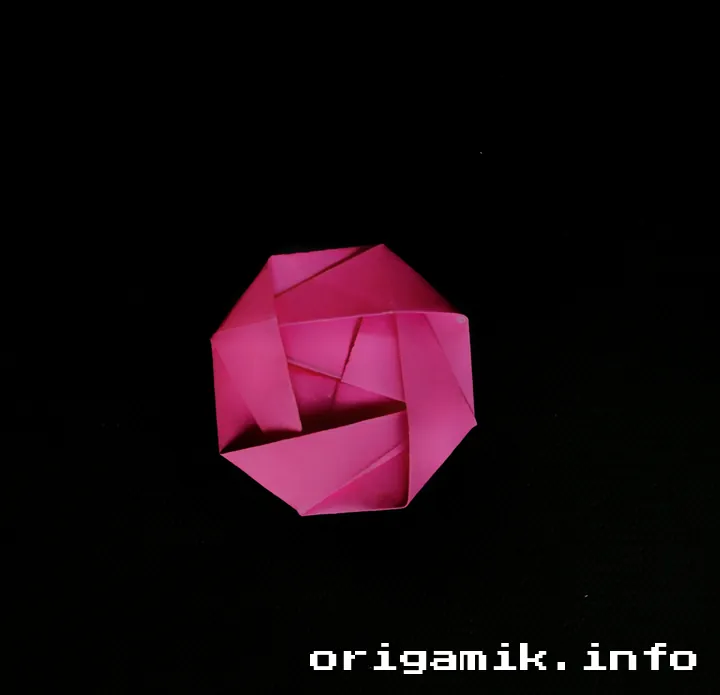
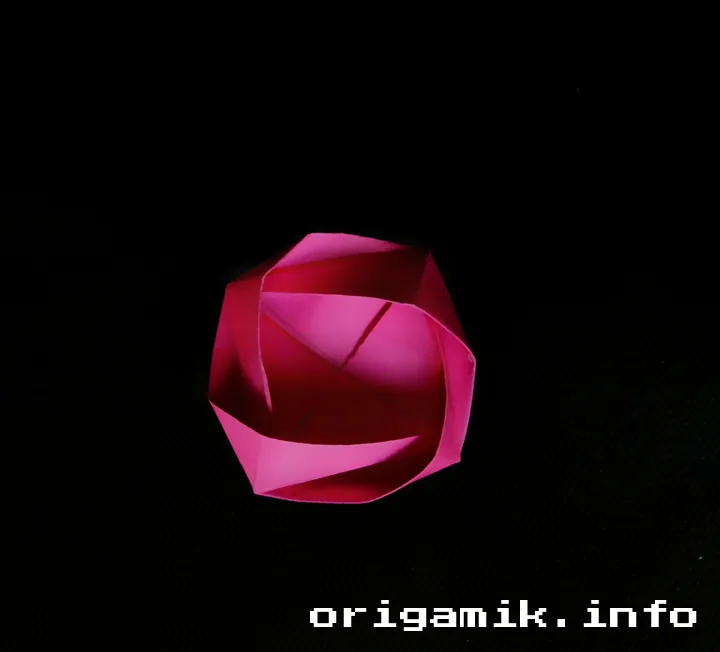
- Gently adjust the folds to create a rounded petal effect.
- If needed, tweak the edges slightly to refine the shape.
- That’s it! Your simple camelia flower step by step is complete.
Tips for Success
- Use Thin Paper: Thick paper makes folding harder and less precise.
- Take Your Time: Don’t rush—each fold affects the final look.
- Experiment with Colors: Try mixing different paper colors for a vibrant effect.
Common Mistakes and How to Avoid Them
- Paper Tearing? Use gentler pressure and fold slowly.
- Crooked Folds? Align the edges properly before pressing down.
- Not Holding Shape? Use a bone folder or a hard object to sharpen creases.
Similar Variations You Can Try
- Layered Camelia Flower: Add extra folds to create multiple layers.
- Mini Camelia: Use a smaller paper size for a tiny version.
- Two-Toned Camelia: Use dual-colored paper for contrast.
FAQs
How long does it take to make an Origami Camelia Flower?
It takes about 5–10 minutes, depending on your experience level.
Can I use regular printer paper?
Yes, but origami paper works best as it’s thinner and easier to fold.
What can I use these flowers for?
Decorate greeting cards, use them in DIY projects, or create a bouquet!
Conclusion
Creating an Origami Camelia Flower is a fun and rewarding experience. With just a few folds, you can craft a delicate paper blossom that looks stunning.
Now that you know how to make a camelia flower, grab some paper and start folding! Let me know how it turns out!
