


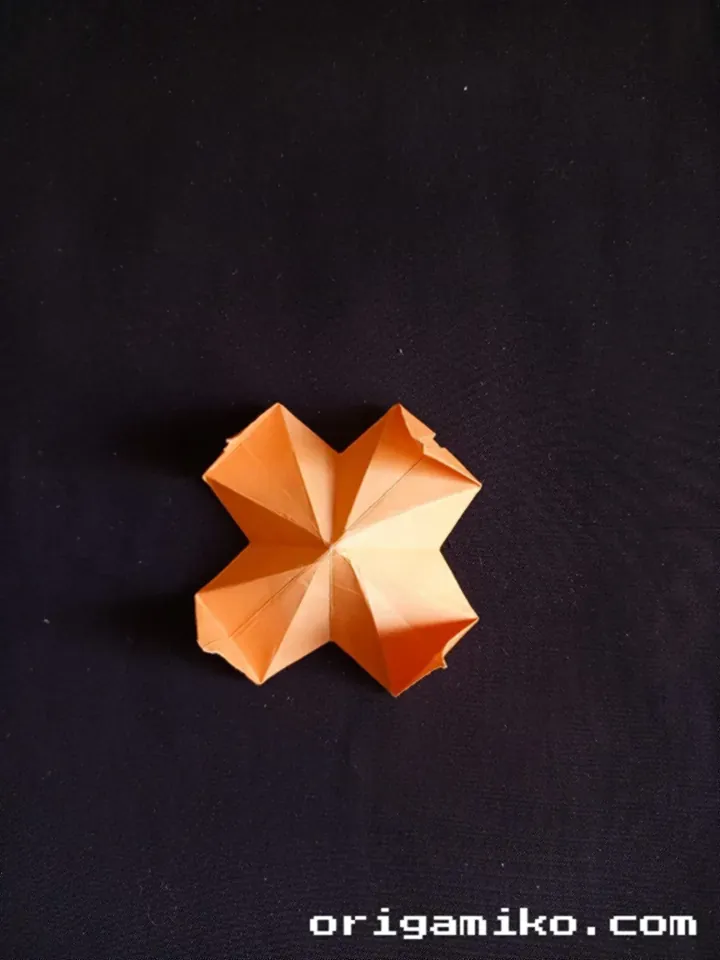
Origami has always been a fascinating art form for me, and today, I’m excited to show you how to make a simple finger trap. This classic piece of paper folding magic is both fun and easy to create. By following my Origami finger trap instructions, you’ll not only make something cool but also sharpen your paper-folding skills. Ready to start? Let’s dive in!
What is an Origami Finger Trap?
An Origami finger trap is a traditional Japanese puzzle made from a square piece of paper. It’s called a finger trap because, once your fingers are inside, you’ll get stuck unless you figure out how to escape. Think of it as a tiny, portable puzzle that tests your patience and cleverness. It’s a fun project, and I promise, when you figure it out, you’ll feel like an Origami genius!
This is one of those projects that is perfect for both beginners and seasoned paper artists. Whether you’re crafting for fun or just want to challenge yourself, the Origami finger trap is a rewarding journey. It’s simple yet effective, and when finished, it’s a great conversation starter!
Materials Needed
Here’s what you’ll need to create your own easy Origami finger trap:
| Material | Size | Quantity |
|---|---|---|
| Square Paper | 15″ x 15″ | 1 |
| Scissors (optional) | N/A | 1 |
Step-by-Step Process
Now that we have our materials, let’s get started with this simple finger trap step by step! Grab your square paper and follow these easy-to-understand steps.
Step 1: Take a Square Piece of Paper
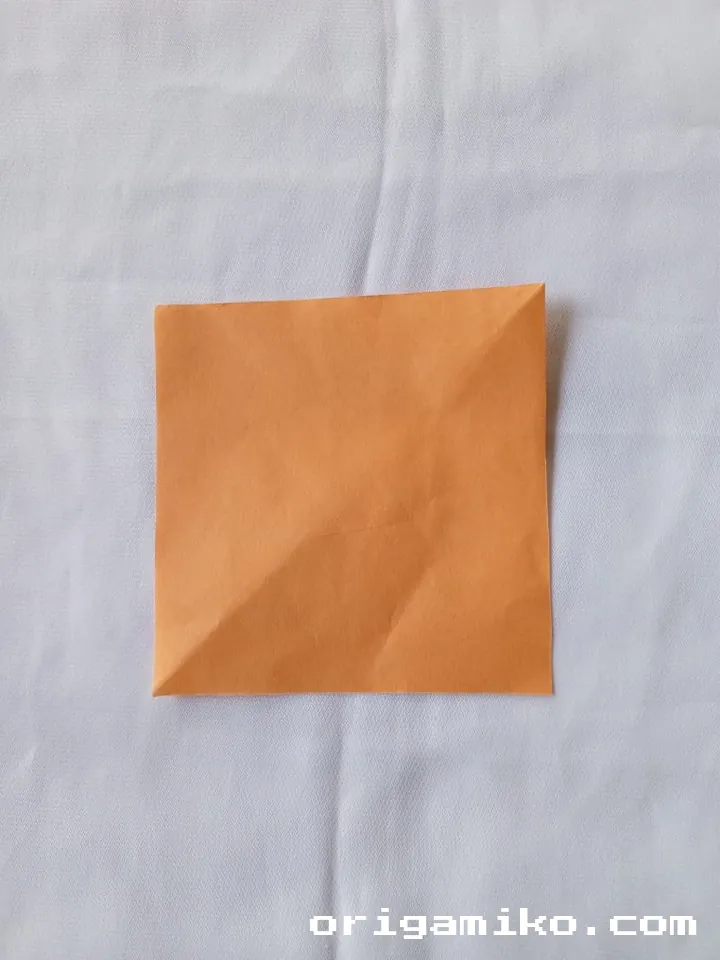
Start with a square piece of paper. The dimensions for this project are 15″ x 15″. If you don’t have square paper, it’s easy to cut a regular sheet of paper into a square.
Step 2: Fold the Paper Horizontally and Vertically
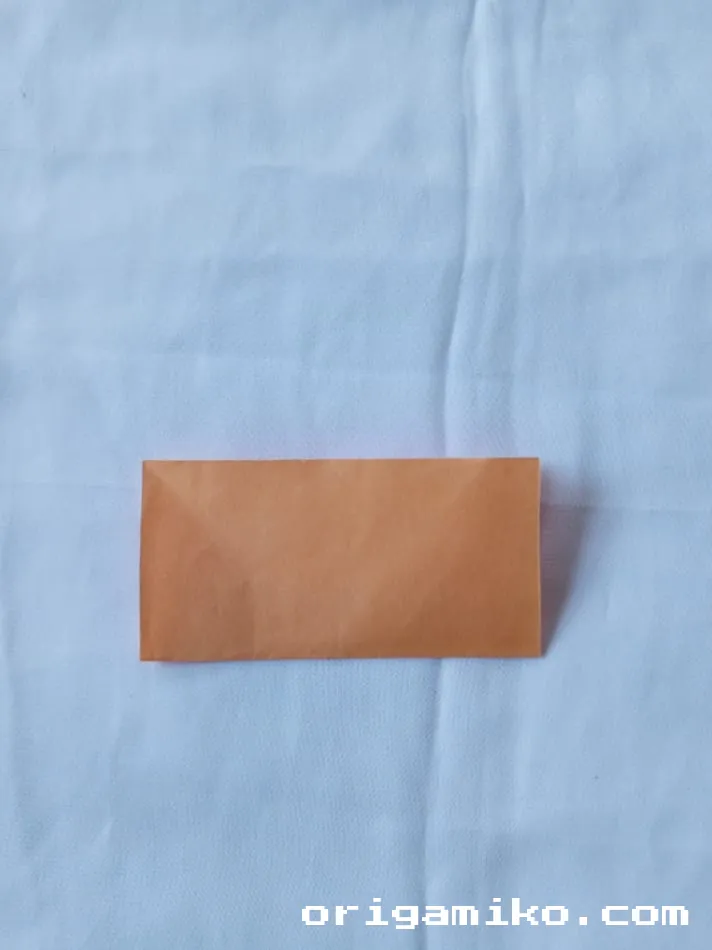
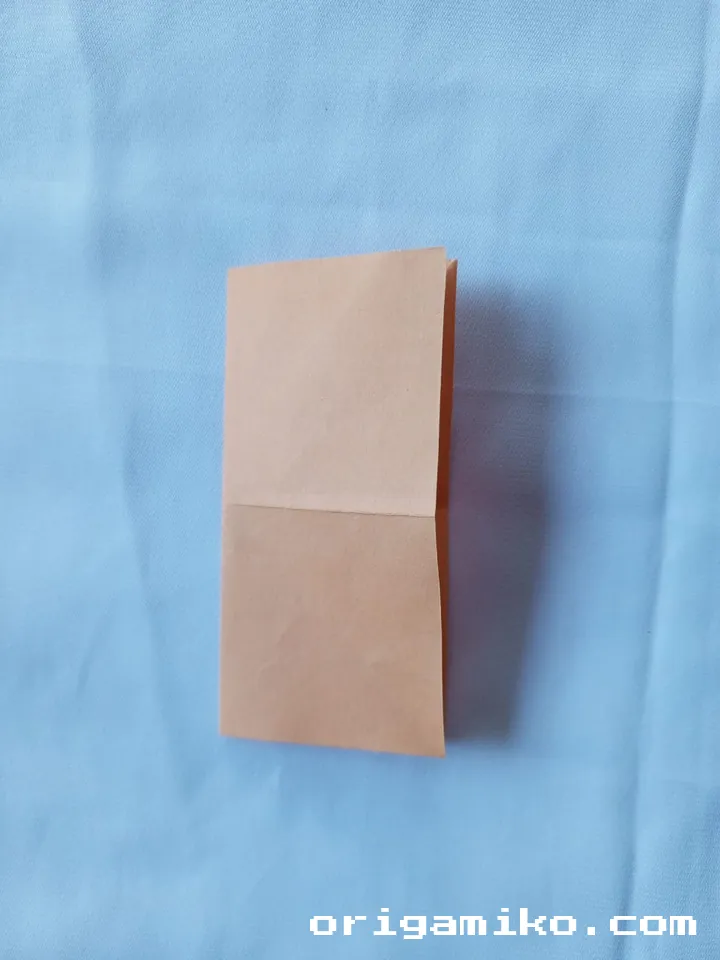
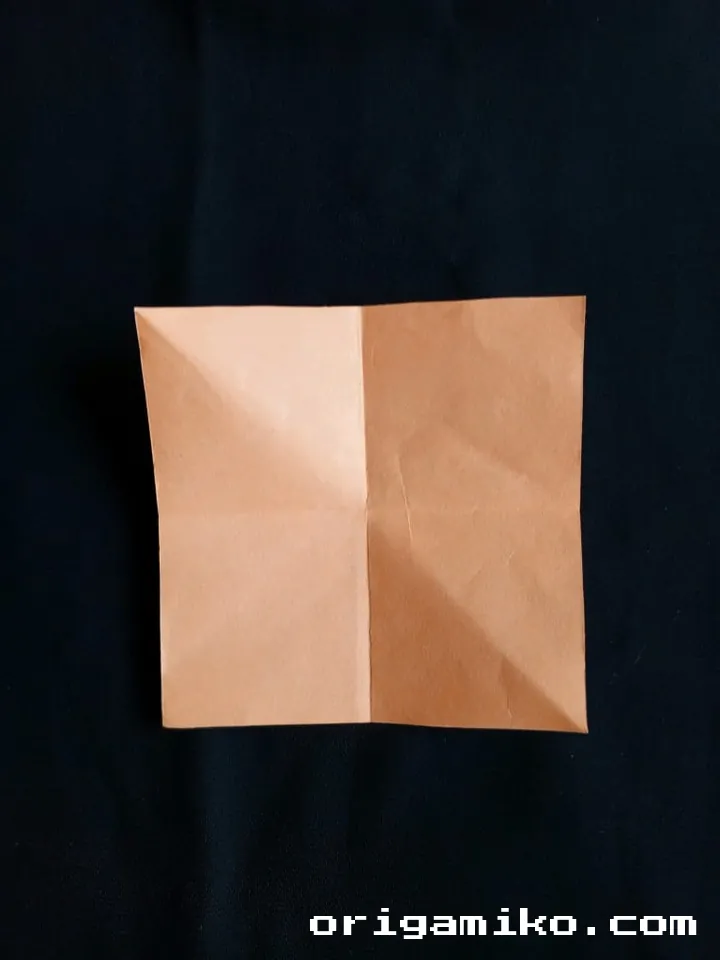
Take the square paper and fold it horizontally in half, then unfold it. Repeat the same process vertically. These folds will help you understand the center of your paper, making the next steps easier.
Step 3: Fold and Unfold the Corners

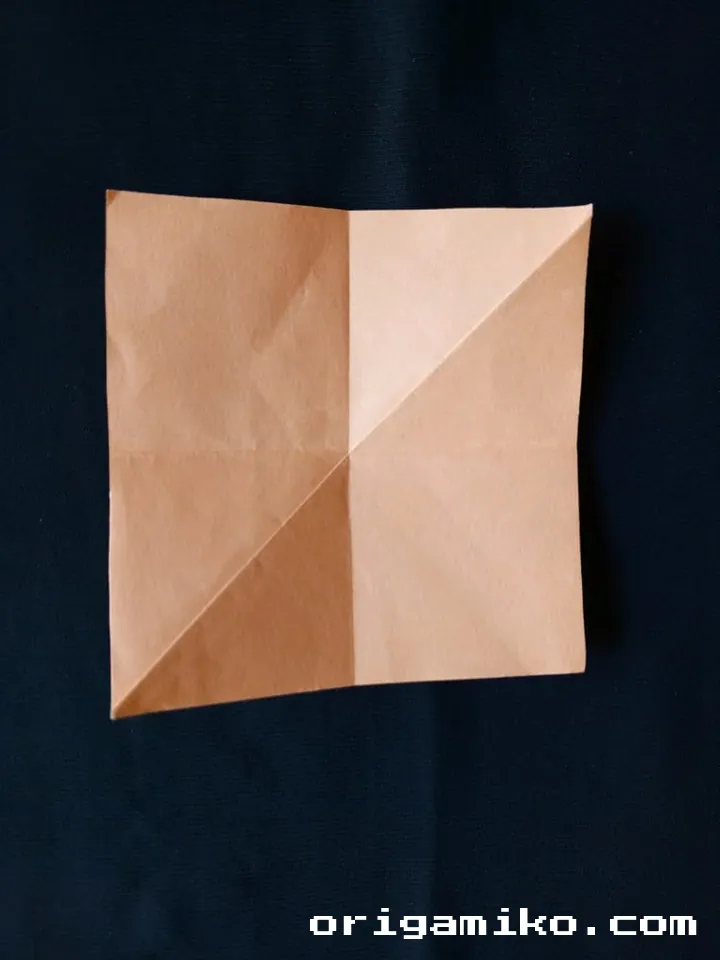
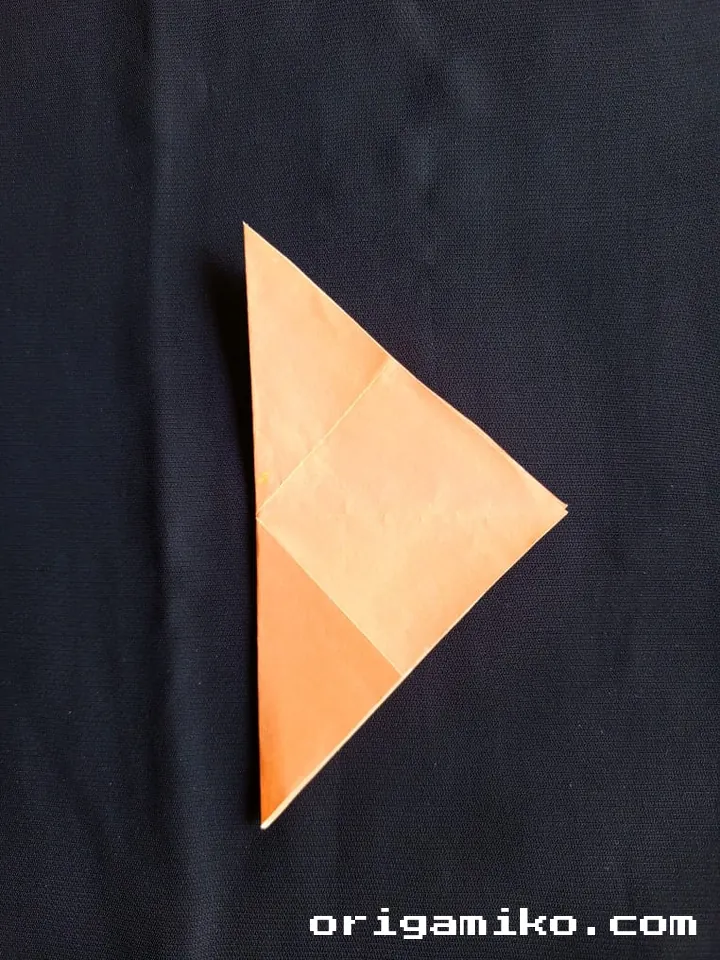
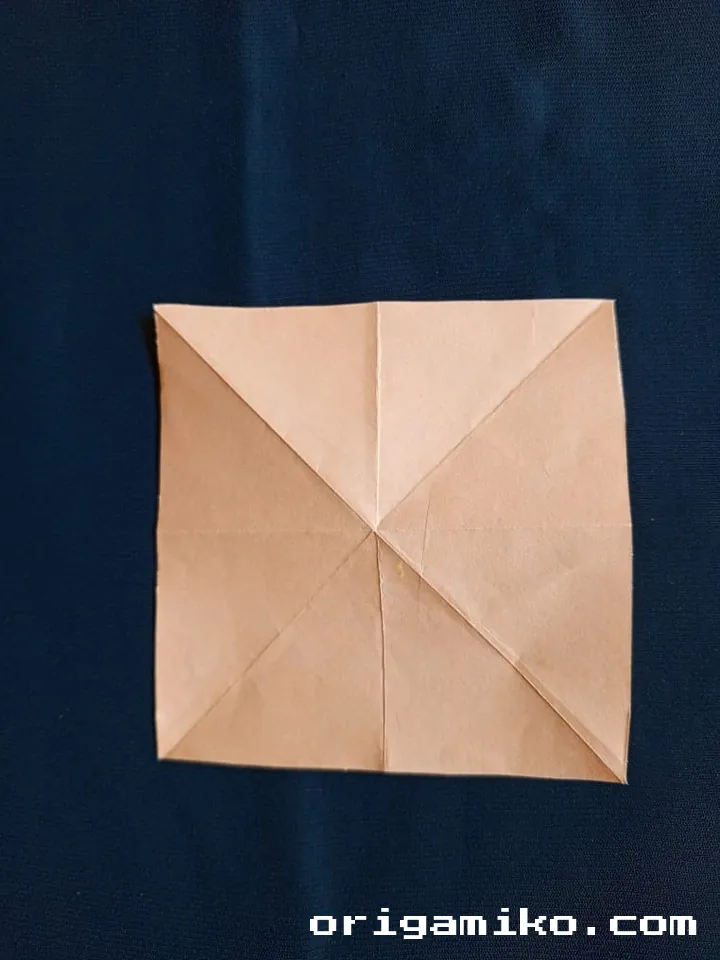
Now, fold each of the four corners of your square paper towards the center. Unfold them once you’ve made the creases. These folds will give the paper its initial shape.
Step 4: Fold the Sides Inward
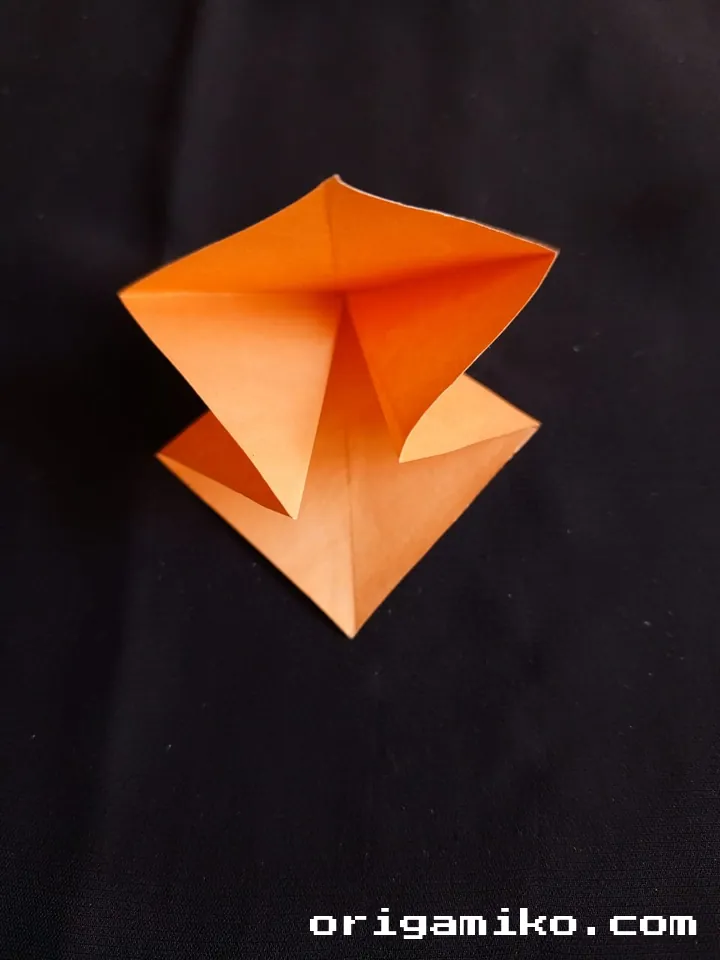
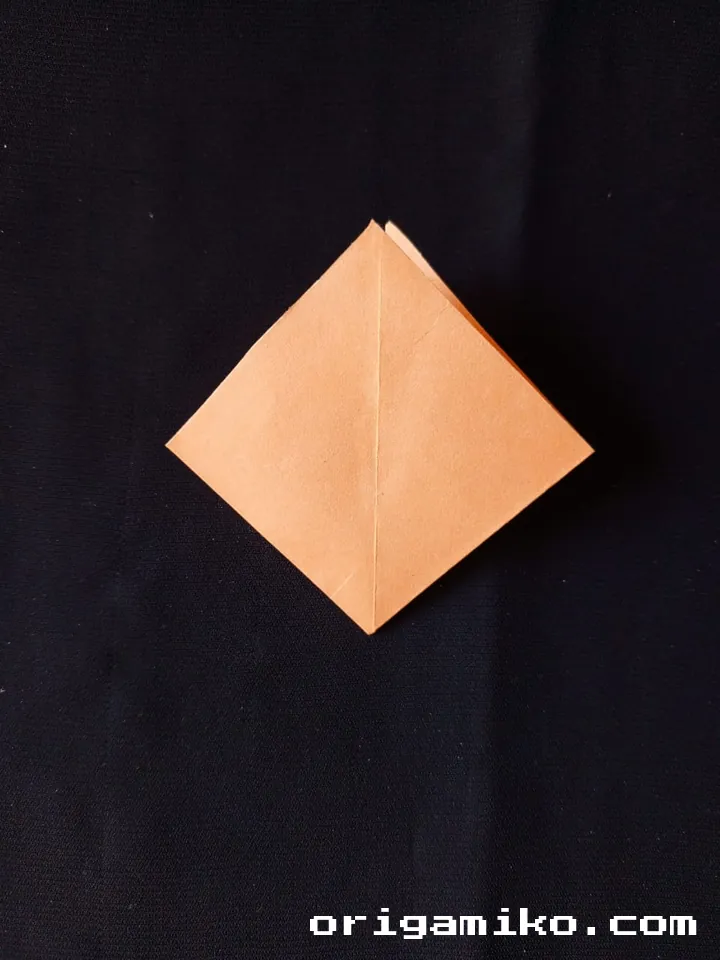
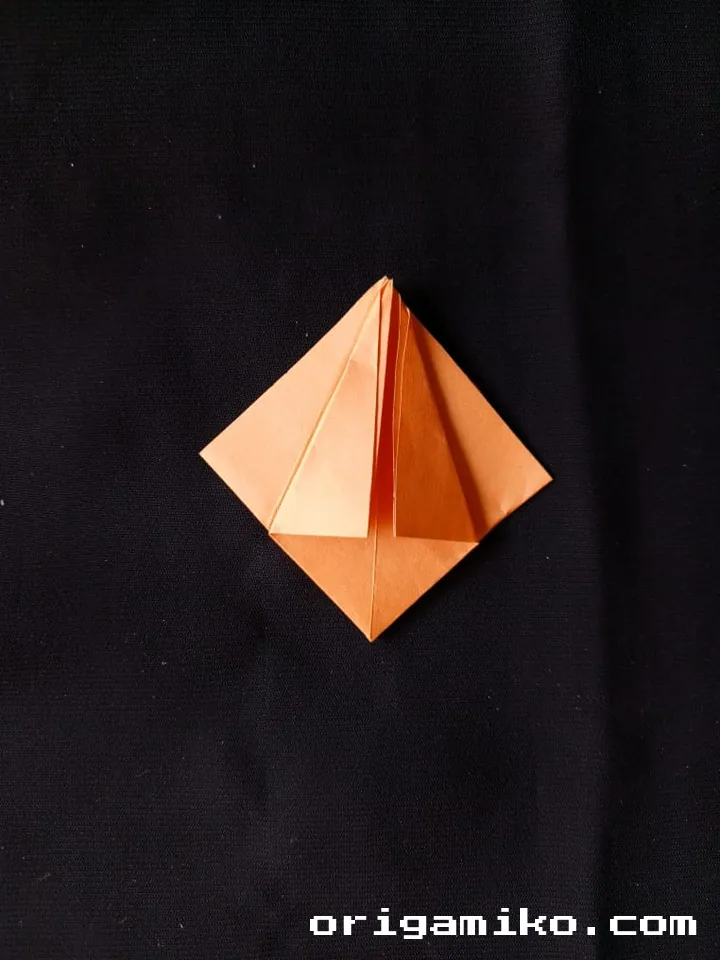
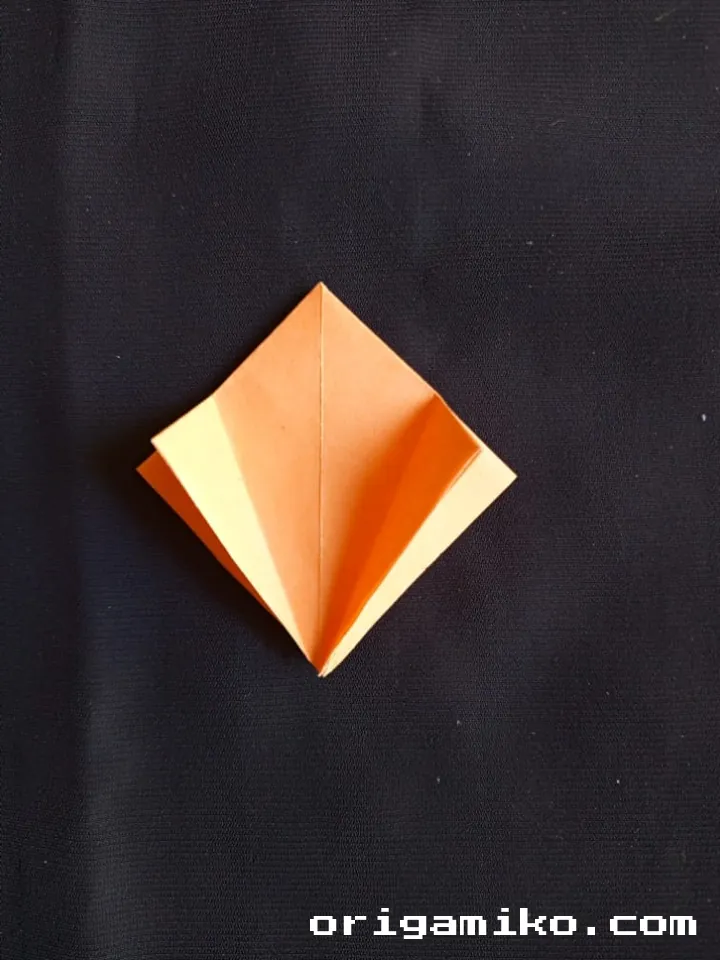

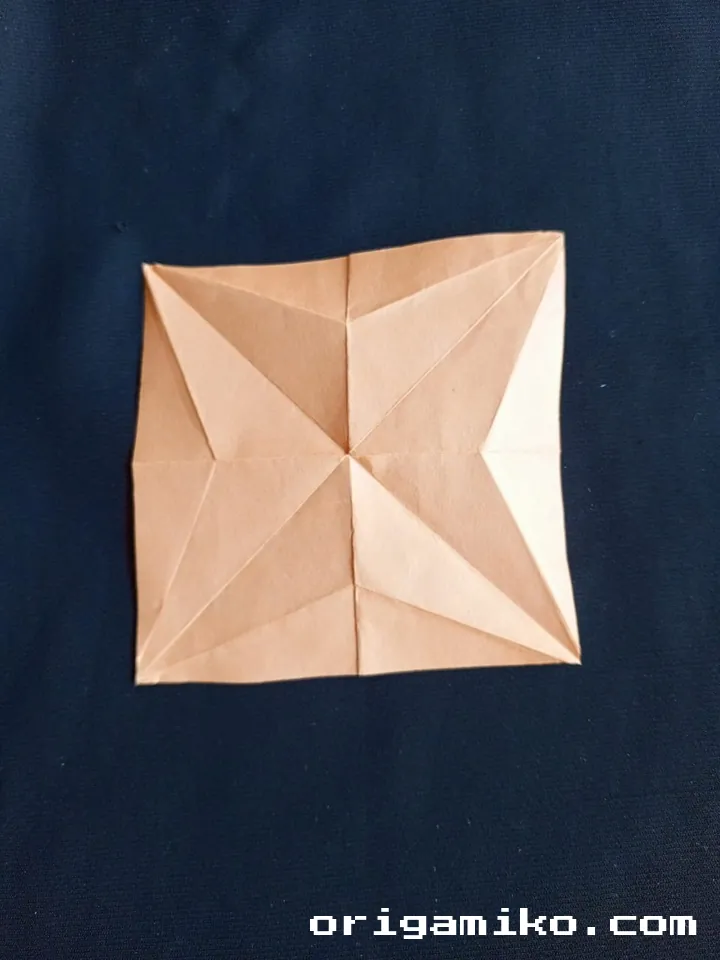
Fold the left and right sides of the paper towards the center line. After making the folds, unfold them. Repeat the same process with the other two sides. This helps shape the paper for the next set of folds.
Step 5: Cut and Fold the Paper
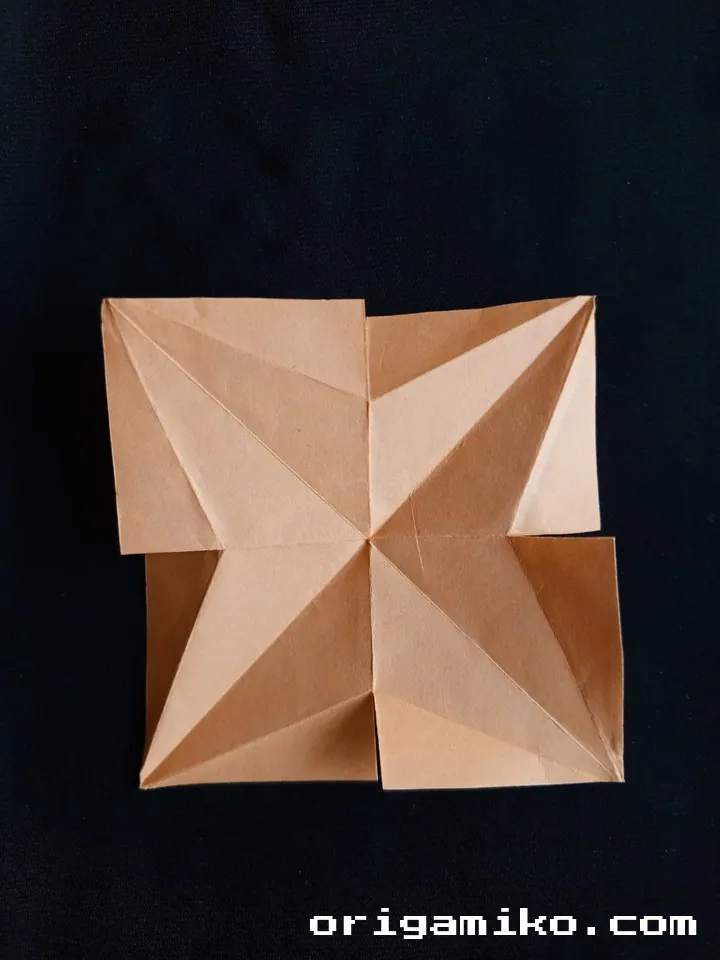
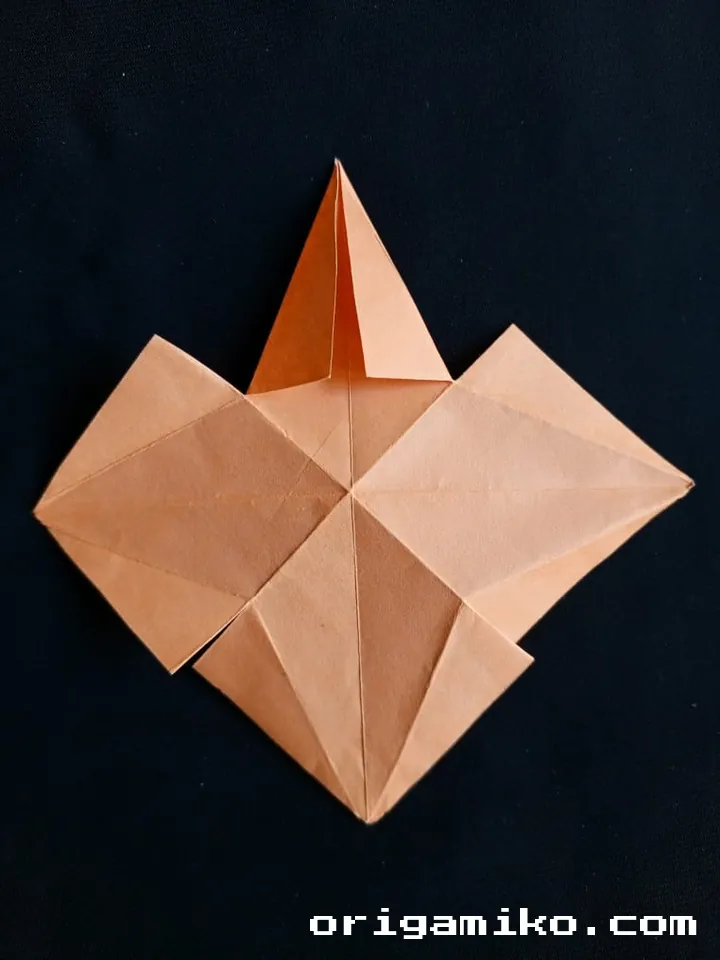

At this point, you’ll need to make cuts and folds. Cut each side of the paper in a way that allows for flexibility. The cuts should be neat, as they will help the paper form the shape of the Origami finger trap.
Step 6: Complete the Origami Finger Trap
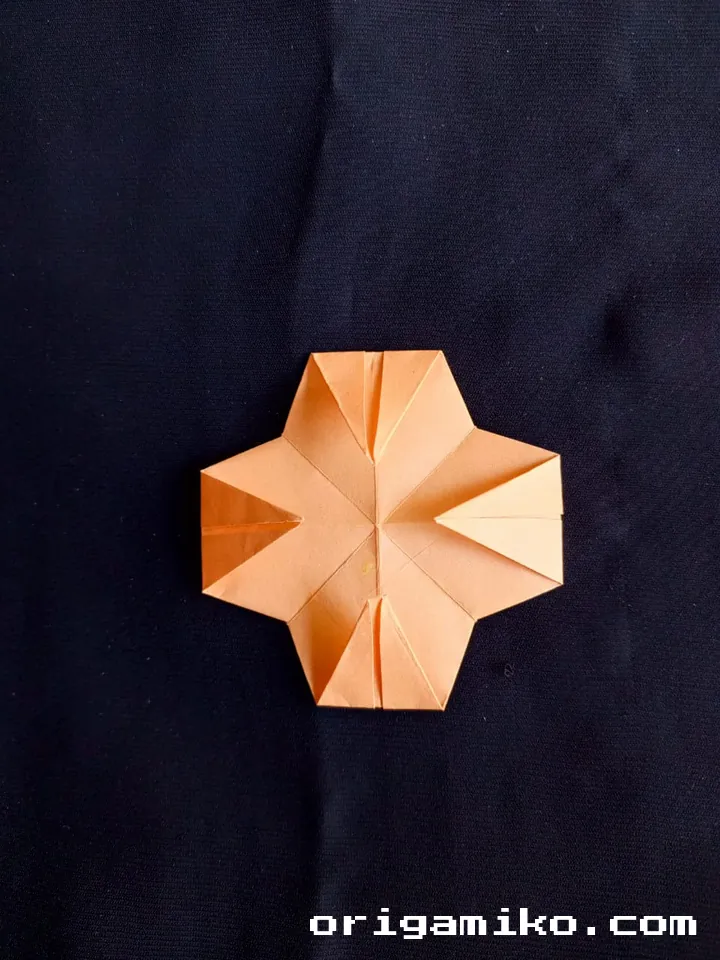
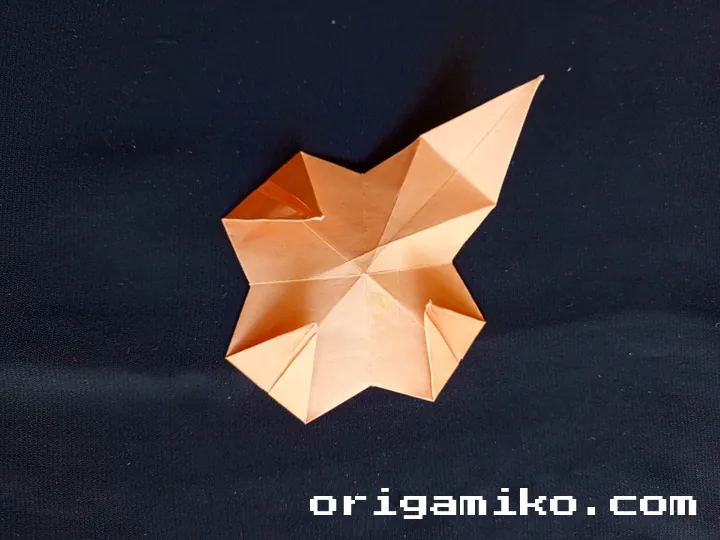
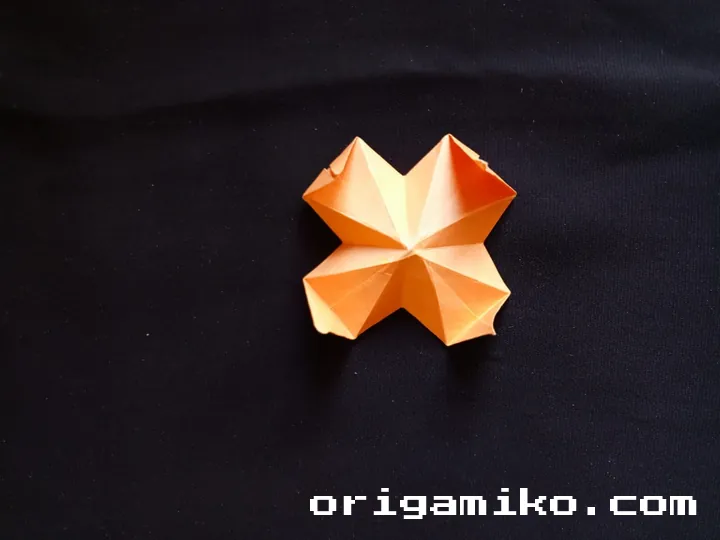
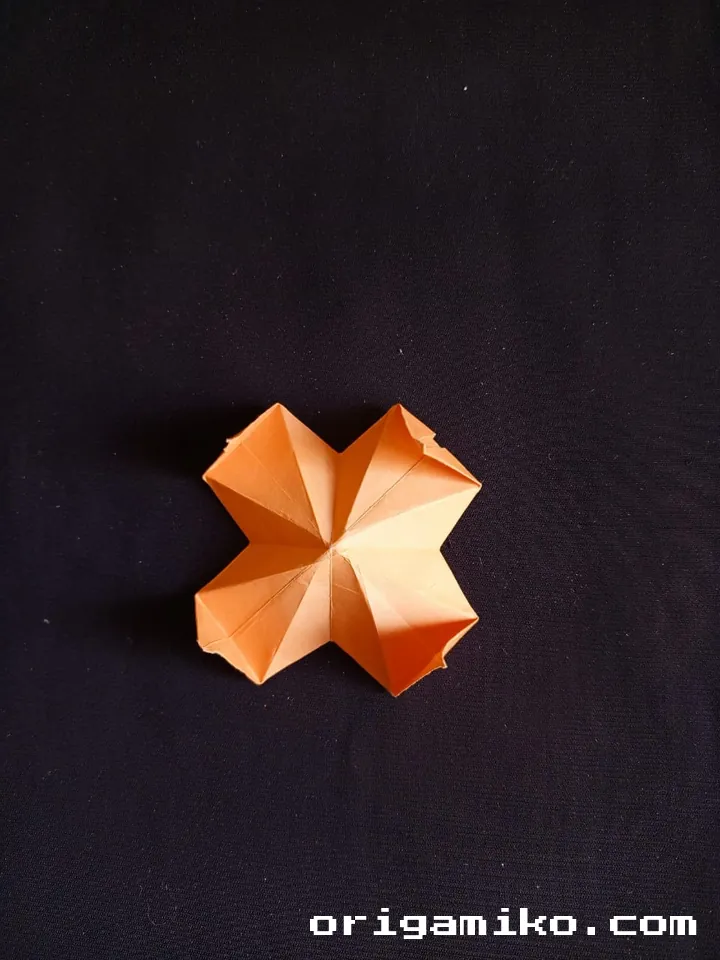
Finally, fold the four sides of the paper to complete your Origami finger trap. The paper should now form a small, square shape with gaps on all sides. You can insert your fingers into the gaps to test your finger trap.
Tips for Success
- Use Crisp Folds: The key to making a clean finger trap is crisp, neat folds. Take your time to fold the paper as sharply as possible.
- Paper Choice: If you’re new to Origami, use thicker paper like construction paper. It’s easier to handle and folds better.
- Use Patience: Like all Origami projects, it’s important to go slowly and follow the steps precisely.
Common Mistakes and How to Avoid Them
- Messy Cuts: Cutting the paper too haphazardly can cause your finger trap to fall apart. Use sharp scissors and make straight cuts.
- Not Unfolding Enough: Skipping the unfolding steps could make the paper too stiff. Make sure to unfold after each fold to create proper creases.
- Incorrect Size Paper: Using the wrong size paper can make the folds misalign. Stick to the 15″ x 15″ square for best results.
Similar Variations You Can Make
If you enjoyed making this Origami finger trap, you can try out some similar paper folding projects:
- Origami Boomerang: Another fun project that involves folding techniques similar to the finger trap.
- Origami Balloon: A quick and satisfying project that also uses square paper.
- Origami Box: A great way to use basic folding techniques to create something useful!
FAQs
Can I use smaller paper for the Origami finger trap?
Absolutely! You can experiment with smaller sizes, but I recommend starting with 15″ x 15″ to get a feel for the folds before trying different sizes.
Is this project good for beginners?
Yes, it’s a fantastic beginner-friendly Origami finger trap. The steps are simple and easy to follow, but it still provides a rewarding challenge.
Conclusion
Creating an Origami finger trap is a fun, simple, and rewarding project for anyone interested in paper folding. By following the Origami finger trap instructions, you’ll be able to make your own with ease and impress your friends. I hope you enjoyed this step-by-step guide and found it helpful. Don’t forget to experiment with different variations to keep your paper folding journey exciting!
Happy folding, and I’ll see you in the next origami project!
