


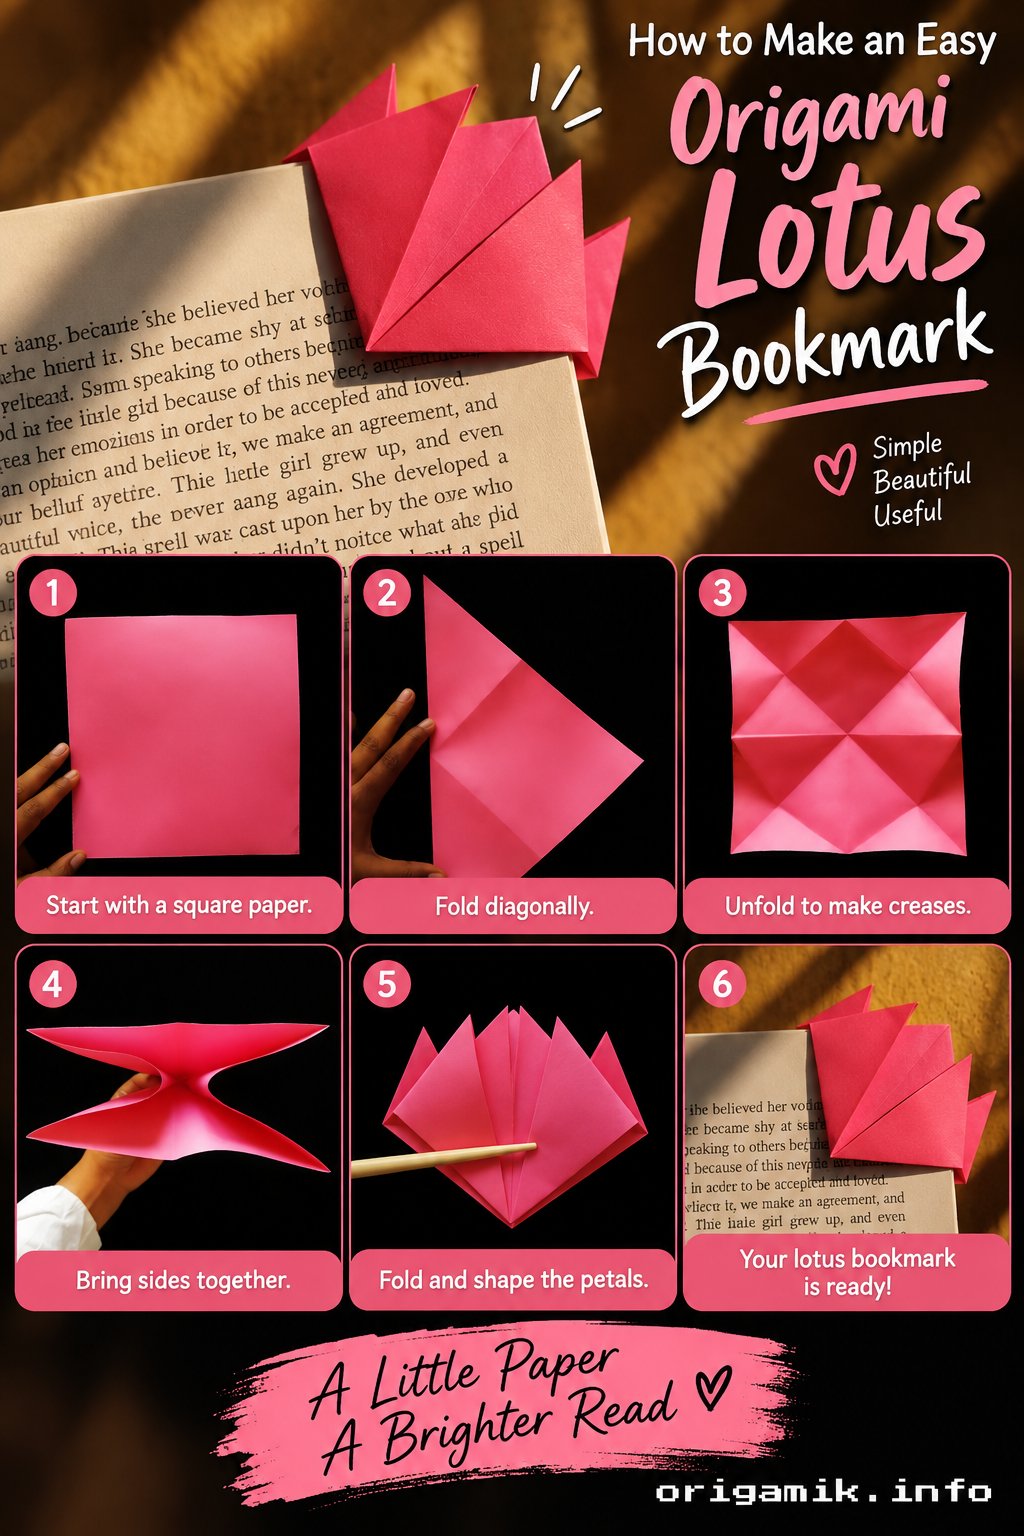
Have you ever wondered how to turn a simple square of paper into something magical? Origami can make that happen, and it doesn’t take years of practice to get there. Just a few folds, a little patience, and a piece of paper you probably already have at home.
Today, I’ll guide you through creating an easy Origami Lotus Bookmark, a project that’s as enchanting as it is practical. Unlike origami pieces that sit on a shelf and collect dust, this one earns its keep every time you sit down with a book. It slips over a page corner, holds your place, and adds a small burst of color and craftsmanship to whatever you’re reading.
With step-by-step guidance and photos for every stage, you’ll fold a beautiful lotus bookmark in about 10 to 15 minutes, even if this is your first time trying origami. Let’s begin this rewarding paper-folding journey!
What is an Origami Lotus Bookmark?
An Origami Lotus Bookmark is a delicate and functional creation that holds your place in a book while showcasing a beautiful lotus-inspired design. It’s built from the classic “corner bookmark” fold that origami folders have used for decades, but instead of ending in a plain triangle, the extra layer of folds opens the corners outward so they fan out like petals, giving you the look of a blooming flower wrapped around the page.
This small, elegant craft combines artistic beauty with everyday usefulness, making it perfect for readers and crafters alike. It’s also a favorite for teachers and parents, since it uses a single sheet of paper, needs no glue or scissors, and reinforces basic folding and geometry skills in a way that feels more like art than math.
The origami lotus bookmark isn’t just about aesthetics. It’s a satisfying project that brings joy and calm as you fold. Many folders find the repetitive, precise motion genuinely relaxing, which is part of why origami is often recommended as a low-pressure mindfulness activity. And because the finished bookmark is small and flat, it travels well, fits in almost any book, and makes an easy handmade gift for the reader in your life.
Materials Needed
To create this stunning bookmark, you’ll need just a few items: no special tools, no trip to the craft store required. Here’s everything you’ll want on hand before you start:
| Material | Details |
|---|---|
| Paper | 10″ x 10″ square, any color or pattern you prefer. |
| Flat Surface | A clean, flat area for easy folding. |
| Optional: Bone Folder | For sharp, precise creases. |
A quick note on paper: if you don’t have a perfect square, you can easily make one from any rectangular sheet (like standard printer paper) by folding one corner over to the opposite edge, creasing the diagonal, and trimming off the leftover strip. This is a handy trick to know for almost any origami project, not just this one.
Origami Lotus Bookmark Instructions
Follow these simple steps to craft your bookmark. Work slowly on your first attempt. The shape comes together quickly once the base is formed, so getting the early creases sharp and centered makes every later step easier.
Step 1: Prepare Your Paper
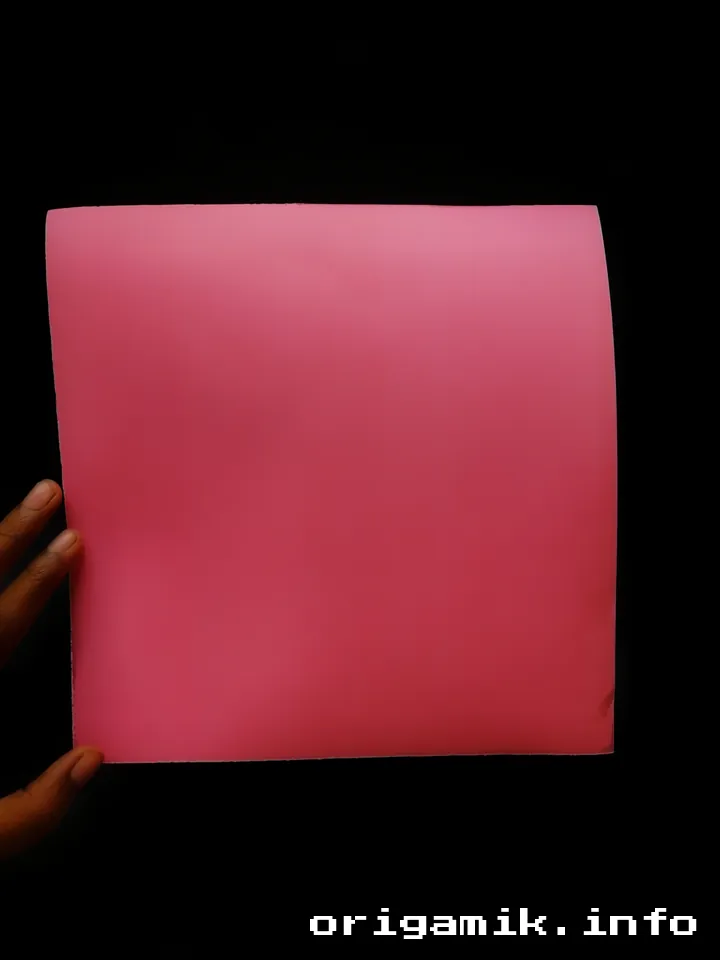
Take a 10″ x 10″ square sheet of paper. Ensure it’s clean and crisp, as folds work best with smooth edges. If your paper has a front and back color, decide now which side you want facing outward on the finished bookmark, since that will affect which side faces up as you begin folding.
Step 2: Initial Folds
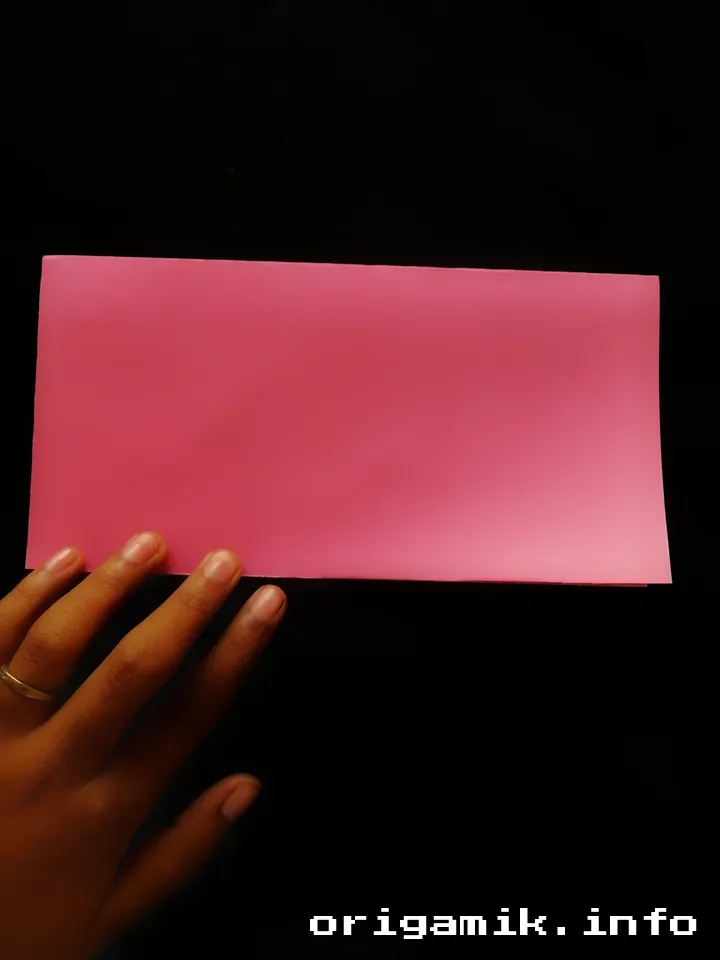



- Fold the paper in half from one side to the other (top to bottom). Crease well, then unfold; this line is just a guide for later.
- Turn the paper over. Fold one corner to the opposite corner, creating a triangle. Run your finger or bone folder along the crease to make it sharp.
- Repeat the diagonal fold with the other corners, then unfold everything flat again. You should now have a grid of intersecting crease lines running through the center of the square, which is what makes the next step possible.
Step 3: Form the Base



Open the paper and fold it along the creases to form a triangle base, as shown in pictures of lotus bookmarks. This is sometimes called a “preliminary base” in origami, the same starting shape used for many classic origami models, from cranes to waterbombs. Take a moment here to make sure all four points meet neatly at the top; a well-aligned base makes every remaining fold far more accurate.
Step 4: Fold the Corners
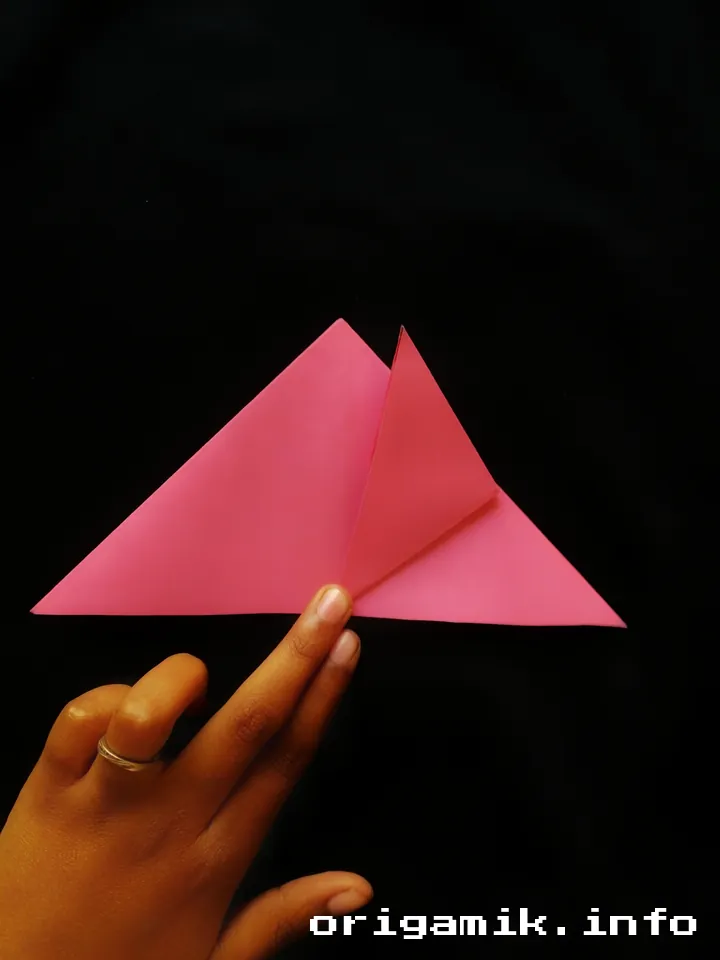
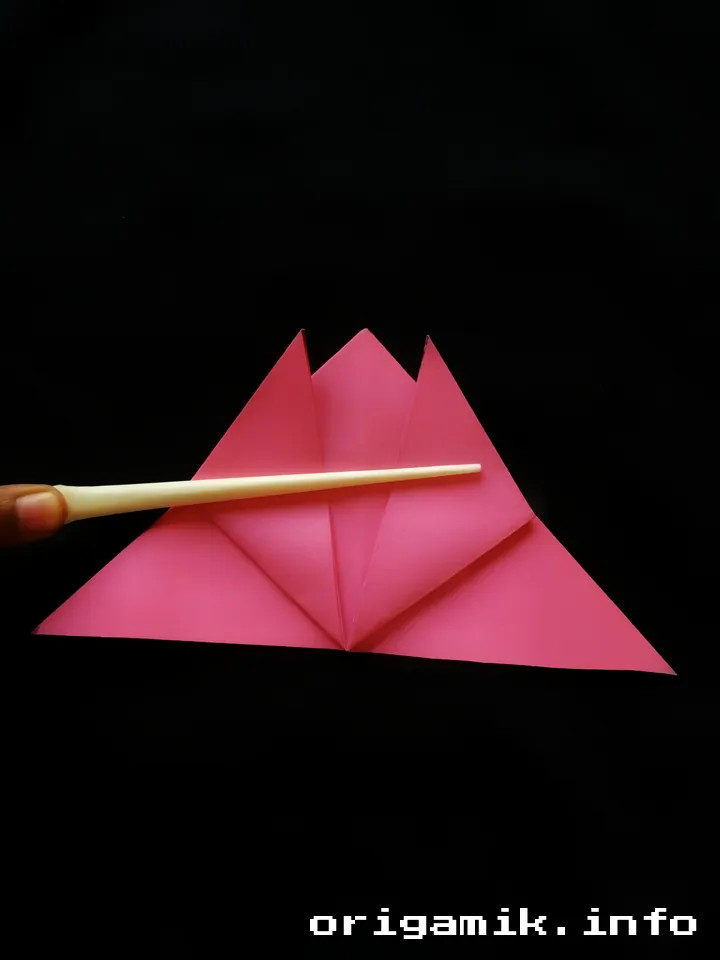
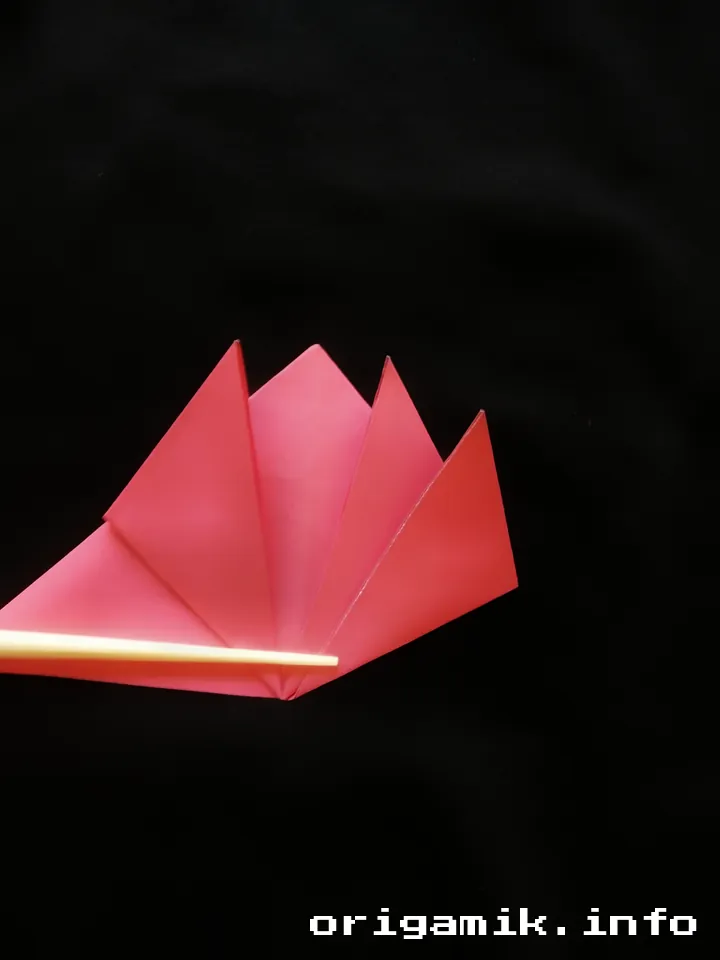
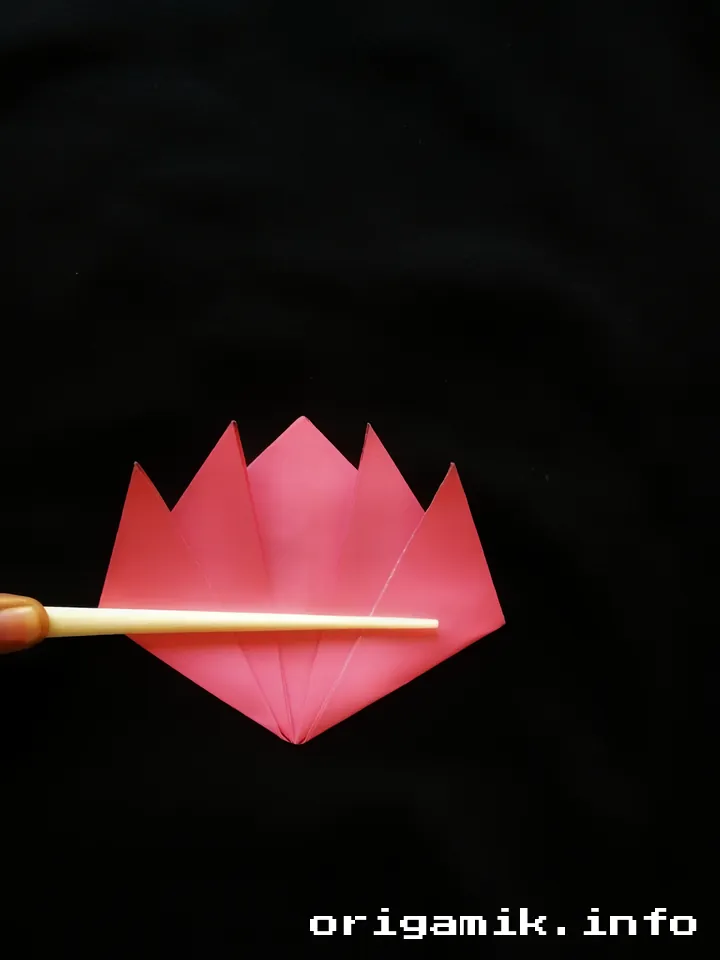
- Take the bottom corners of the triangle and fold them up to meet the top corner.
- Repeat this step for all corners until you see the lotus-like shape forming. Work around the model corner by corner rather than trying to fold everything at once; it keeps the layers even and prevents the paper from shifting out of alignment.
Step 5: Reverse the Folds


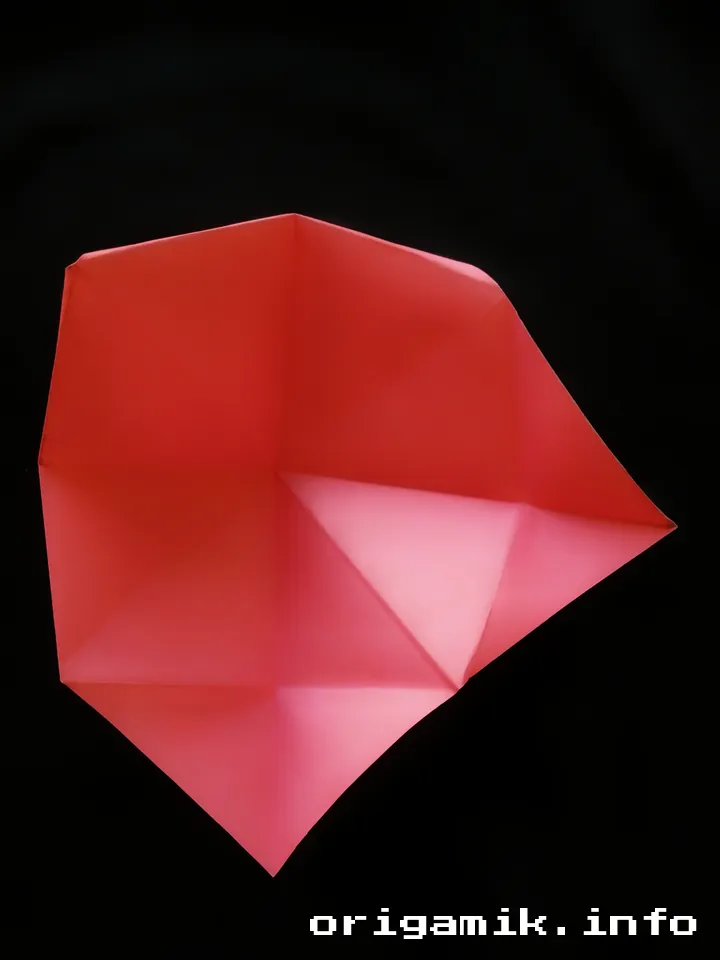
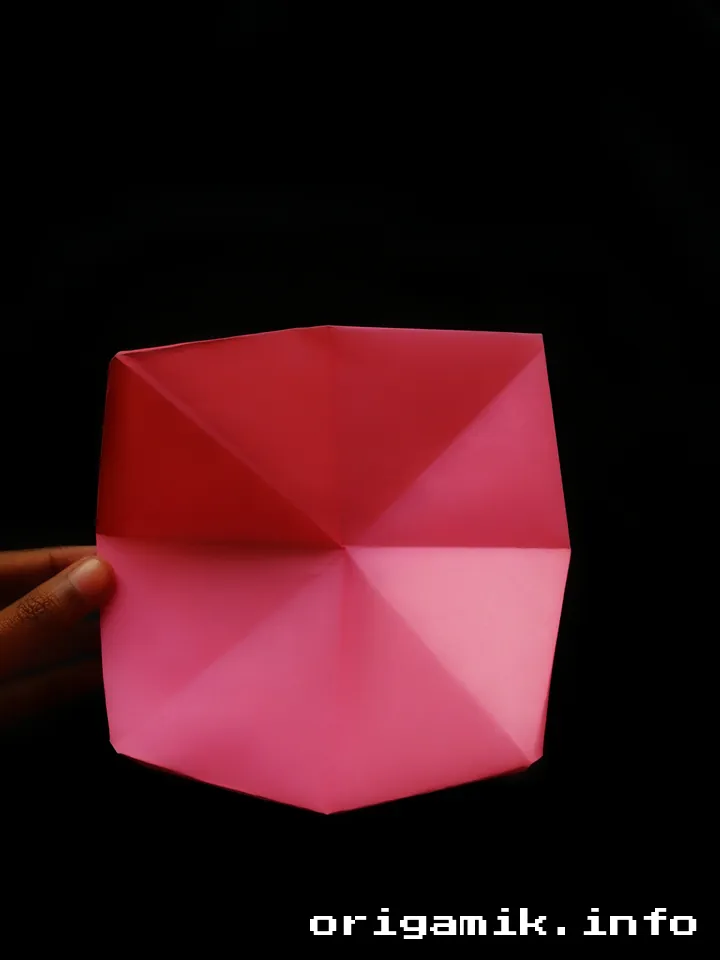
Open the paper slightly, then fold the corners backward. This step refines the design, adding dimension to your lotus, and is what separates a flat triangle from a bookmark with real petal-like texture. Take your time here, since this is the step most beginners rush. A slower, more deliberate fold gives the lotus its characteristic layered look.
Step 6: Final Touches

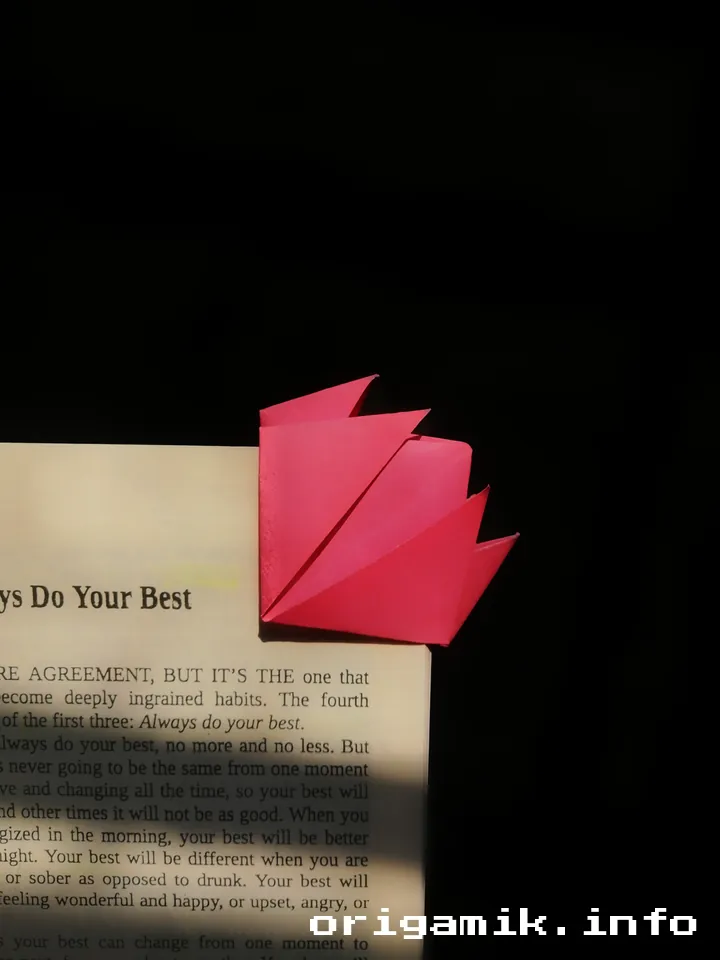
Fold each corner one last time for a detailed finish, pressing each crease firmly so the shape holds its form once it’s slipped onto a page. Your Origami Lotus Bookmark is now complete! Slide it over the corner of any page, with the pocket tucked snugly around the paper, and it’s ready to use.
Tips for Success
- Choose the Right Paper: Lightweight paper folds easily and creates crisp petal details, while thicker paper adds durability and holds its shape better over repeated use, a good trade-off if the bookmark will travel in a bag every day.
- Sharp Folds: Use a bone folder or the edge of a ruler for precise creases. Crisp folds not only look neater, they also help the bookmark grip the page corner more securely.
- Take Your Time: Rushing may lead to uneven folds, so enjoy the process! Origami rewards patience more than speed, and a slower first attempt usually means a sturdier, better-looking result.
- Practice on Scrap Paper First: If you’re new to origami, try the sequence once on a plain sheet before using your good decorative paper. It only takes a few extra minutes and helps you spot tricky steps in advance.
- Match Paper to Occasion: Solid colors give a clean, classic look, while patterned or metallic paper makes the bookmark feel more like a keepsake, a nice touch if you’re making one as a gift.
Common Mistakes and How to Avoid Them
- Paper Tearing: Avoid sharp pulls; make folds gently, especially near the center point where multiple layers of paper overlap and the material is under the most stress.
- Misaligned Folds: Double-check crease lines before folding further. A small offset early on tends to grow more noticeable with each following step, so it’s worth pausing to line up corners exactly.
- Skipping Steps: Follow the sequence carefully to maintain the design. It can be tempting to jump ahead once you see the shape forming, but each fold sets up the one after it.
- Using Paper That’s Too Thick: Cardstock or heavy paper can be hard to crease cleanly through several layers, which flattens the lotus’s petal effect. If your paper feels stiff, switch to a lighter weight for this particular design.
- Losing the Crease Lines: If you unfold the paper and can’t see the guide creases from Step 2, refold them more firmly before moving on. Faint creases make the base in Step 3 much harder to shape accurately.
Similar Variations
- Flower Bookmark: Use a floral-patterned paper for a unique twist that plays up the lotus’s natural, botanical feel.
- Heart Bookmark: Replace the lotus design with a heart for a romantic touch, a nice option for anniversaries, Valentine’s Day, or a handmade card insert.
- Custom Sizes: Experiment with smaller or larger paper to adjust the bookmark size. A mini 6″ version makes a sweet addition to a gift envelope, while a larger 12″ square creates a bolder statement piece for oversized books.
- Two-Tone Paper: If your paper is a different color on each side, the reverse folds in Step 5 will reveal flashes of the second color between the petals, giving the finished lotus extra depth.
FAQs
Can I use any paper for this bookmark?
Yes! However, thinner paper works best for intricate folds, while thicker paper adds durability. If you’re a beginner, standard origami paper (which is thin but still crisp) is usually the easiest to work with.
How long does it take to make this bookmark?
Around 10 to 15 minutes, depending on your experience level. Once you’ve made a couple, the folding sequence becomes familiar and you can usually finish a new one in under 10 minutes.
Do I need special origami paper, or will regular paper work?
Regular printer paper or scrapbook paper works fine as long as you trim it into a square first. Origami-specific paper is thinner and easier to crease through multiple layers, but it isn’t required to get a good result.
Can kids make this bookmark too?
Yes, it’s a great project for older kids and beginners with adult guidance on the trickier reverse folds in Step 5. Younger children may find it easier to start with a simpler corner-bookmark fold before attempting the full lotus design.
How do I store or protect the bookmark so it keeps its shape?
Keep it inside a book when not in use, and avoid pressing heavy objects on top of it. If the folds loosen over time, you can re-crease them gently with a bone folder to restore their shape.
Conclusion
Crafting an Origami Lotus Bookmark is a delightful way to combine creativity and practicality. This easy project transforms a simple sheet of paper into a stunning lotus that will make your reading time extra special. And because it takes just one sheet and about ten minutes, it’s an easy craft to return to again and again, whether you’re making one for yourself or a small batch as gifts.
Try it today. You’ll love the process, and your books will thank you!
