


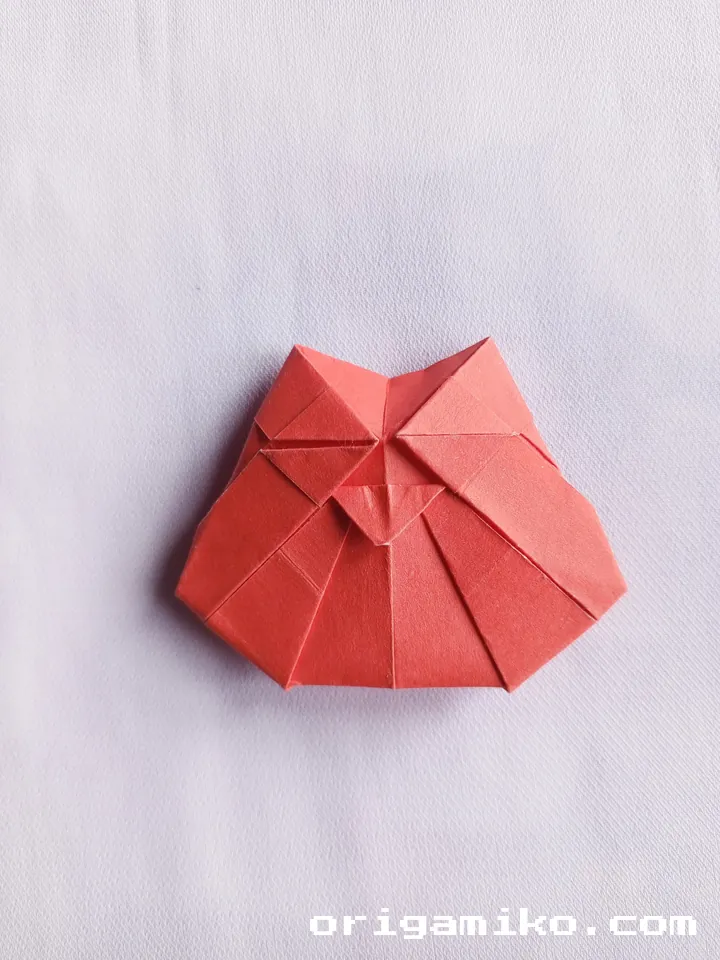
Have you ever wished you could turn a simple square of paper into a magical creature?
The Origami Owl is a perfect blend of charm, mystery, and creativity.
With each fold, you embark on a rewarding journey of transformation and joy.
Why Origami Owls Are So Captivating
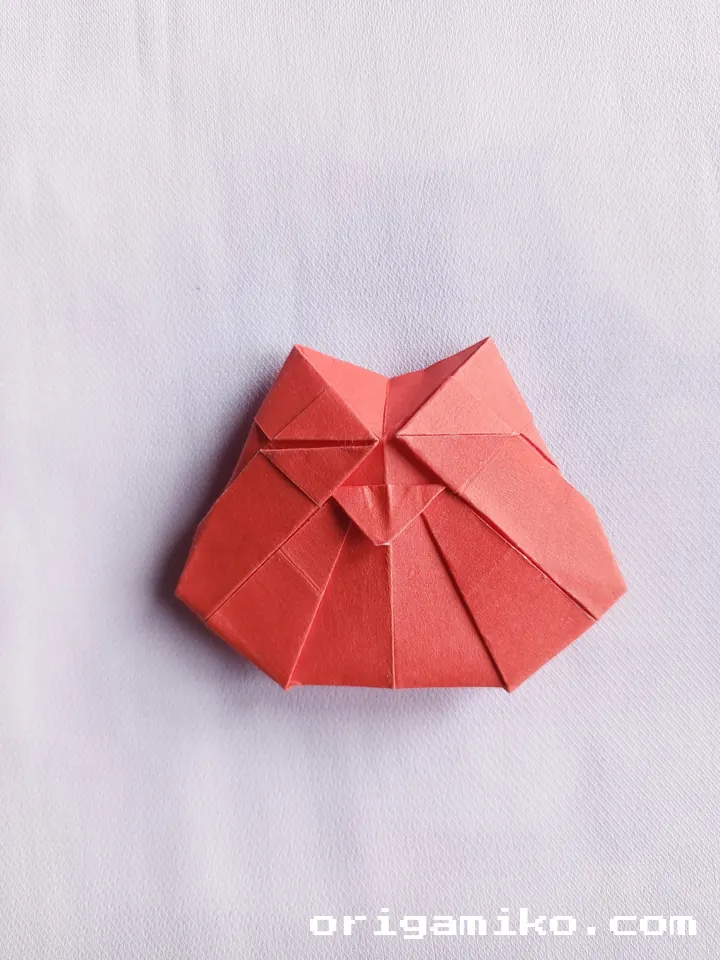
Owls have long been symbols of wisdom and mystery, making them a favorite subject in the world of origami. There’s something truly enchanting about seeing an owl slowly emerge from a blank sheet of paper. With every fold, you breathe life into something delicate yet full of character.
Origami, at its heart, is not just about folding paper — it’s about patience, creativity, and wonder. Whether you’re just starting your origami adventure or you’re a seasoned folder looking for a new delight, crafting an origami owl offers a perfect balance of challenge and reward.
Ready? Grab your 9″ × 9″ square paper, and let’s begin this beautiful journey together.
Materials You’ll Need
- A square sheet of paper (9 inches × 9 inches recommended)
- A flat surface to work on
- Patience and excitement!
Step-by-Step Instructions to Make an Origami Owl
Step 1: Start With a Square Sheet of Paper
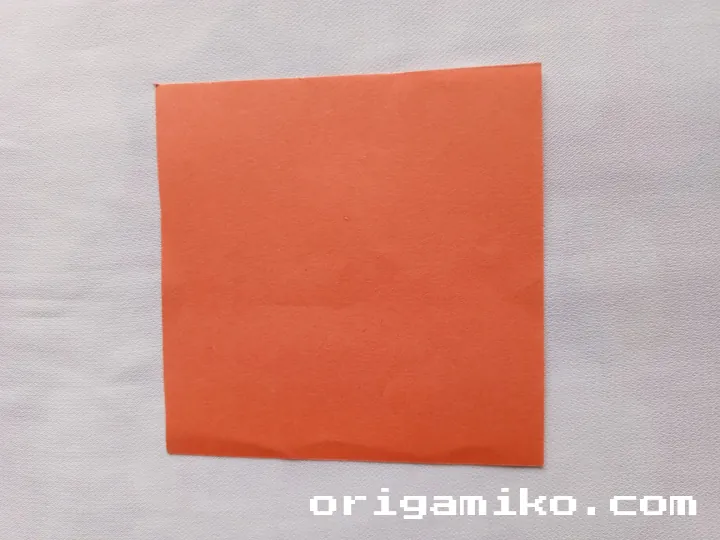
Begin with your 9″ × 9″ square paper, placing it flat on your work surface.
Make sure the paper is perfectly square — even edges will make all the difference later.
Take a moment to center yourself; this simple sheet will soon transform into a wise little owl.
Step 2: Create Guiding Folds
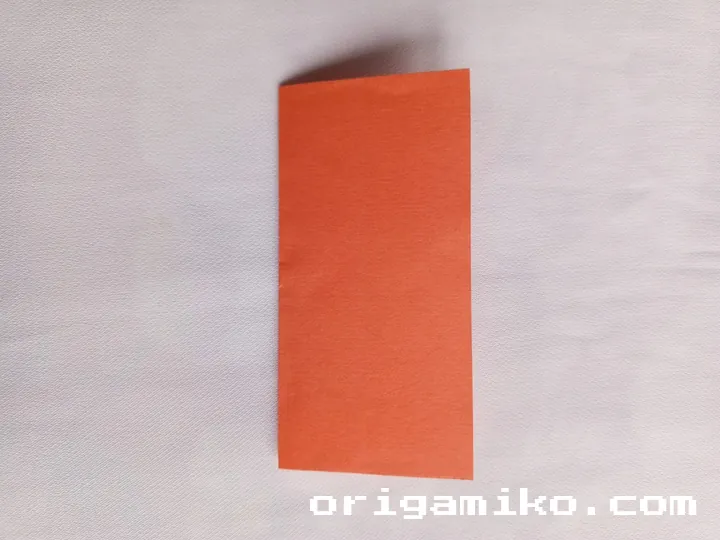
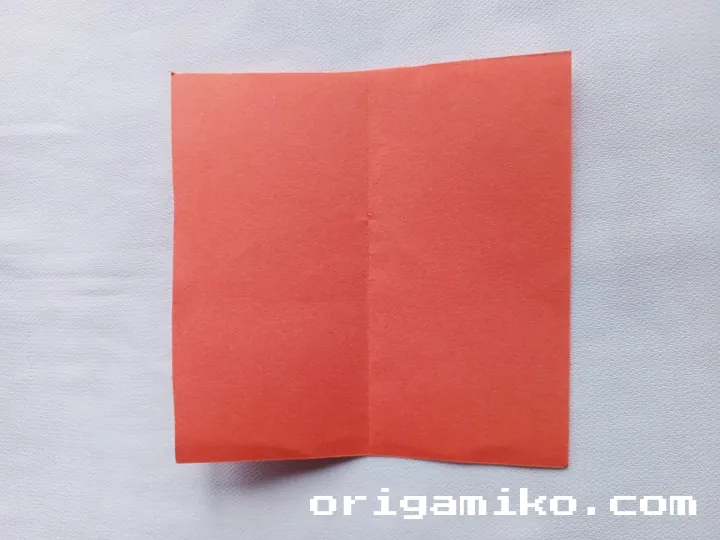
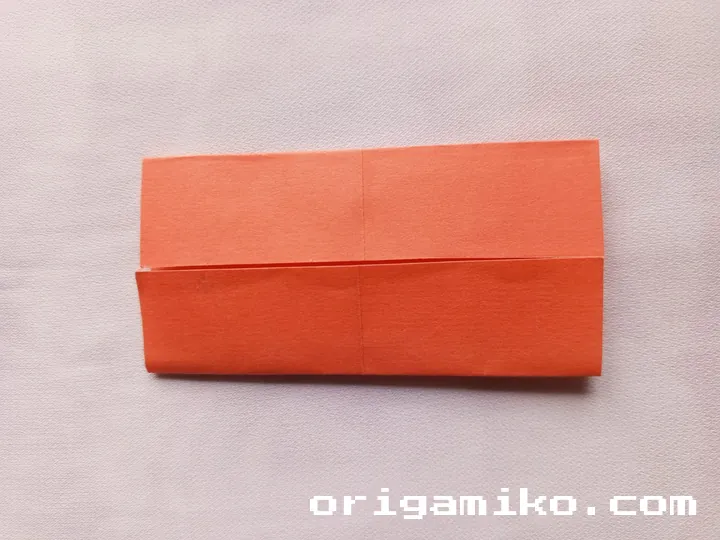
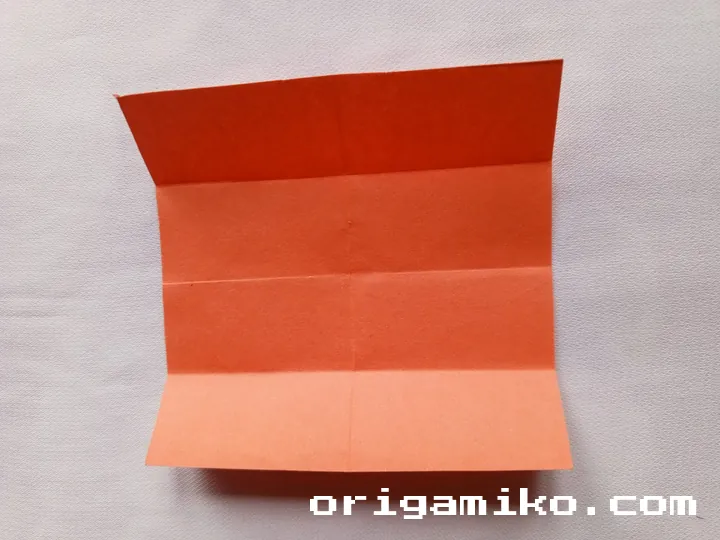
First, fold your paper vertically in half (bringing the right edge over to meet the left) and then unfold it.
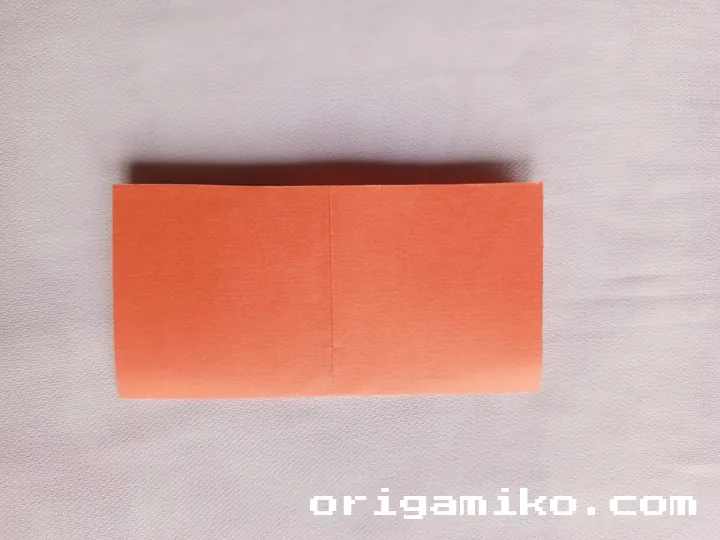
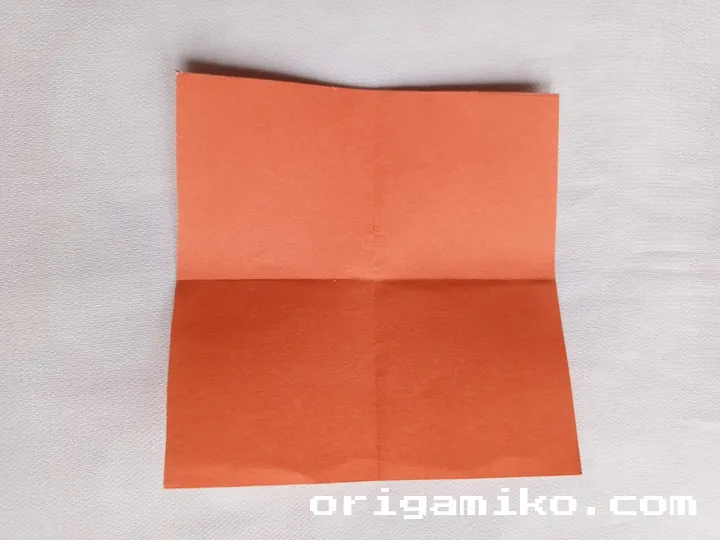
Next, fold it horizontally (bottom edge up to top edge) and unfold again.
Now, make a housefold: fold the bottom edge up toward the center horizontal crease, forming a rectangle, and unfold once more — these guidelines will help structure your owl.
Step 3: Form the Owl’s Base Shape
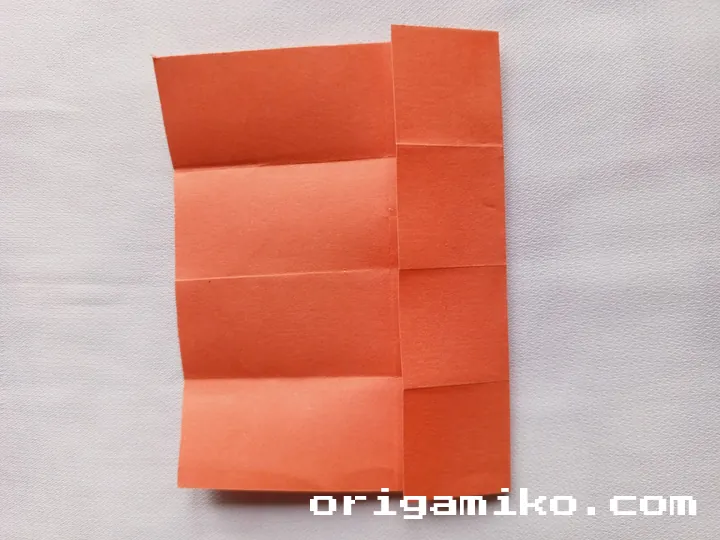
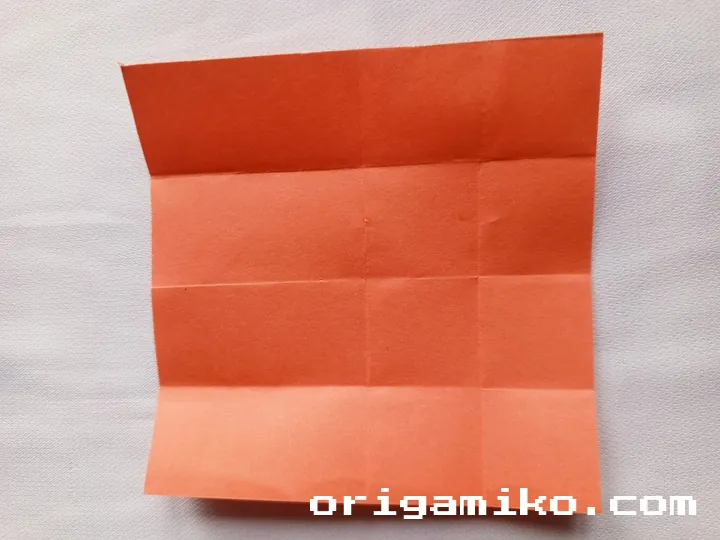
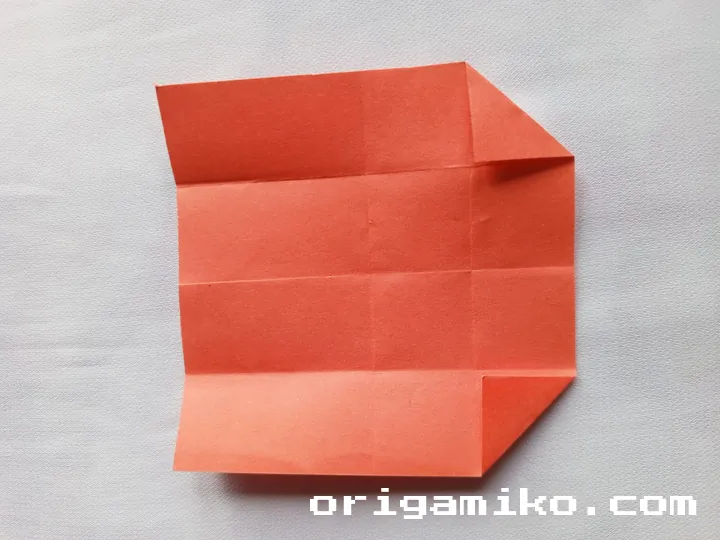
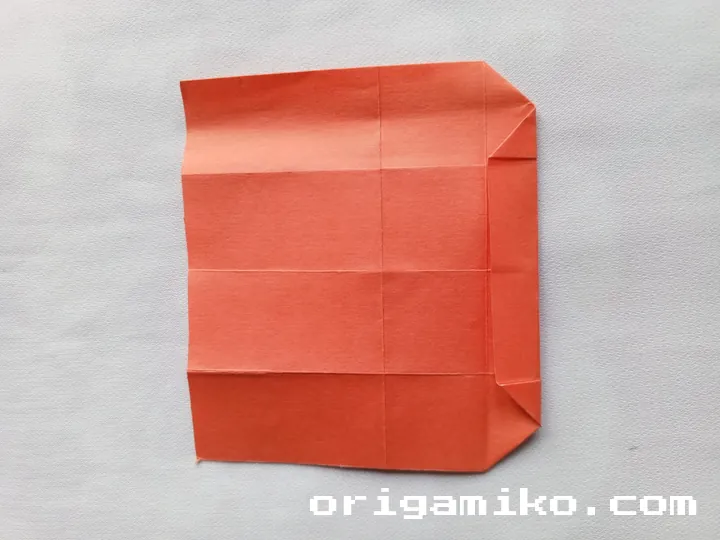
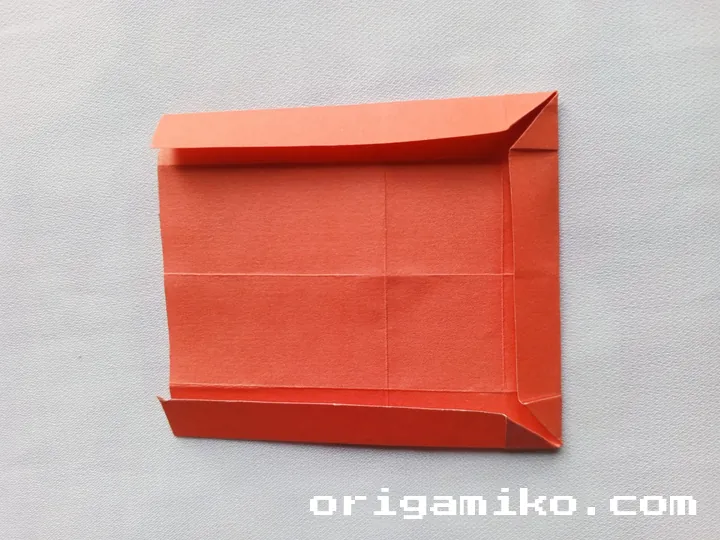
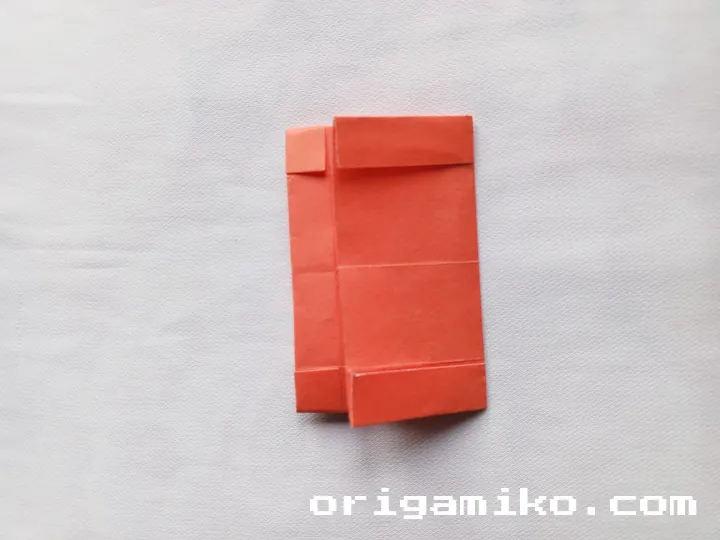
Fold the bottom edge upward again, aligning it neatly with the nearest crease you made earlier.
Now, focus on the two bottom corners — fold each one diagonally inward toward the center line, creating triangular flaps.
Once those are tucked in, fold the bottom portion up again, locking those corners into place.
Bring both sides (left and right edges) inward toward the center, and finally, make a fold down the centerline to create a strong base for the owl’s body.
Step 4: Shape the Owl’s Features
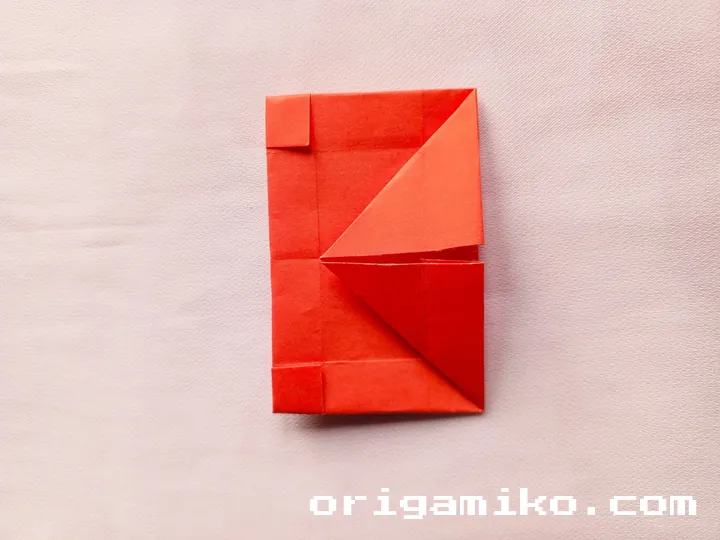
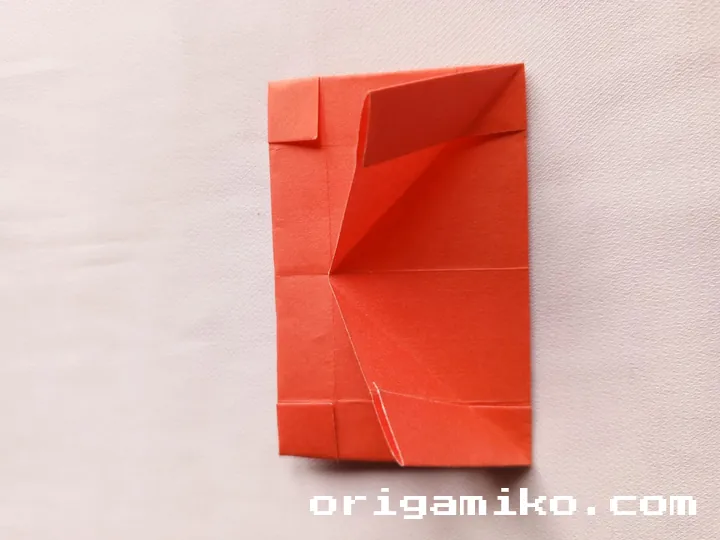
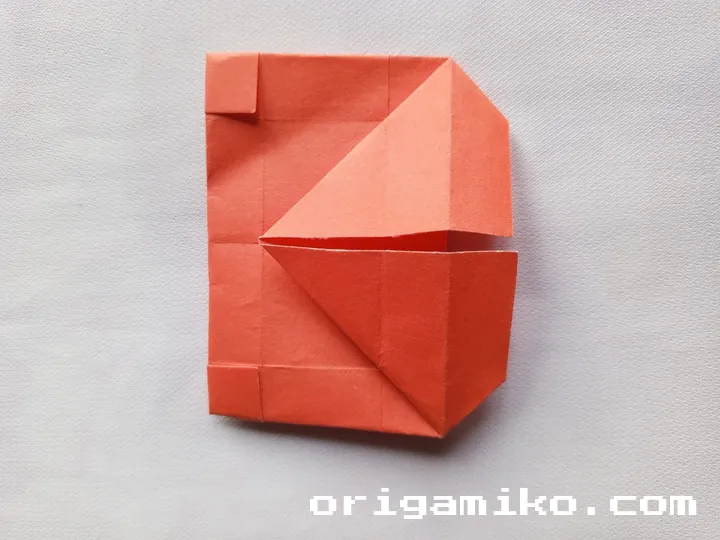
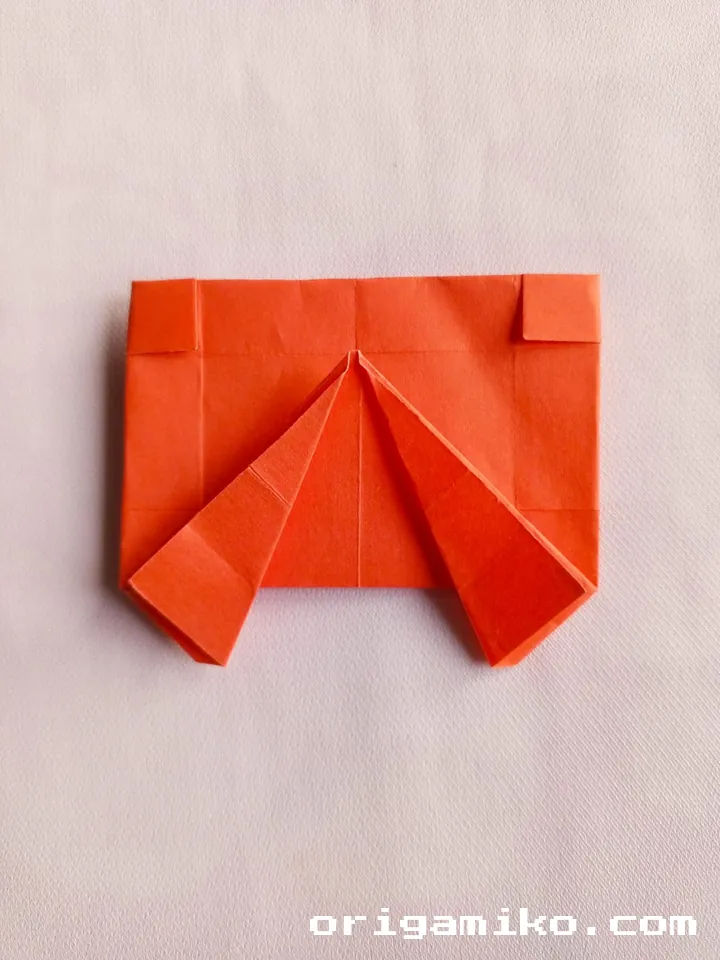
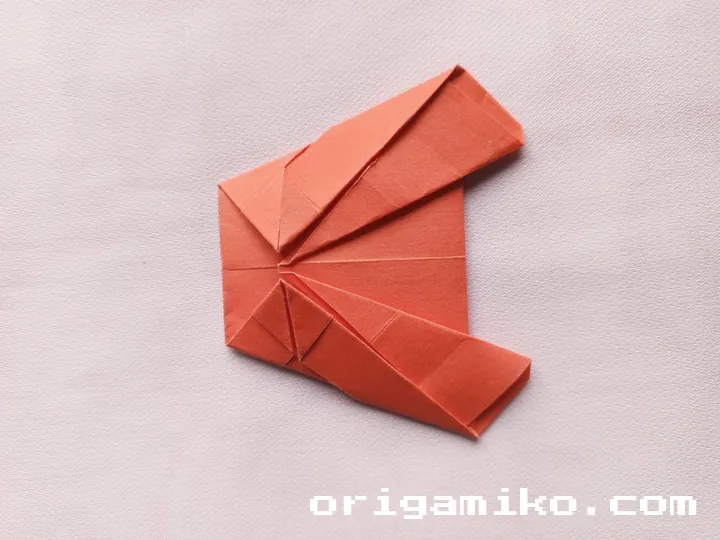
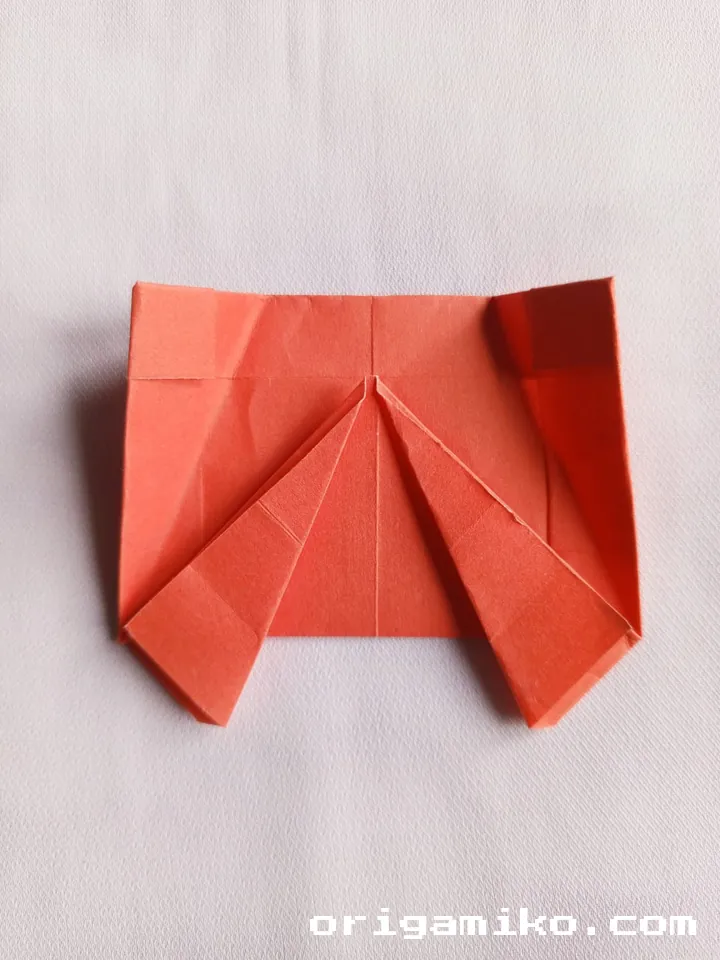
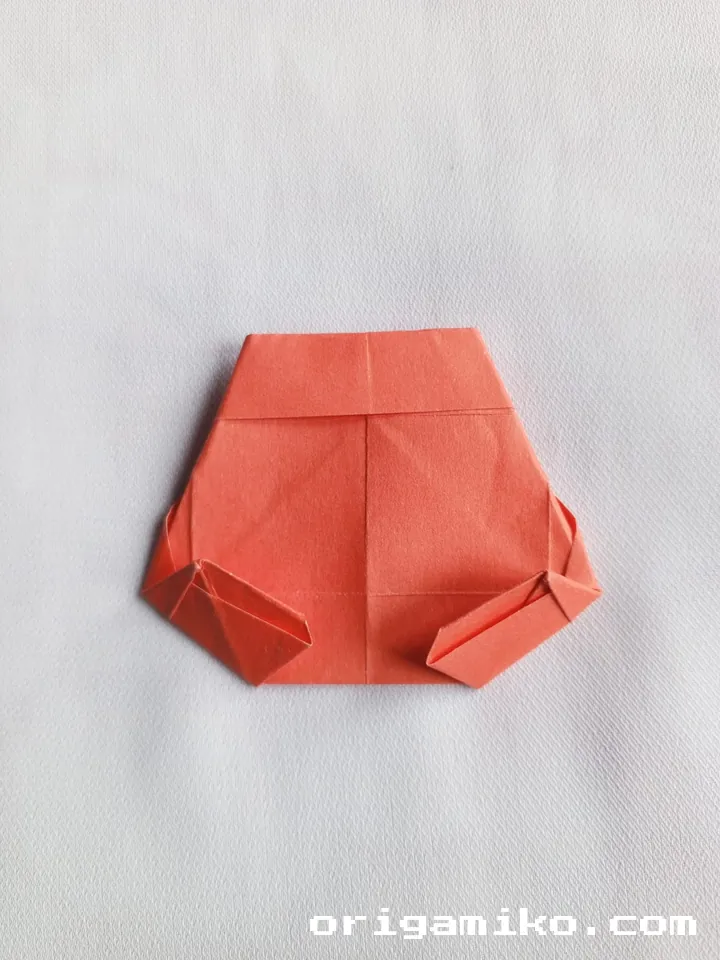
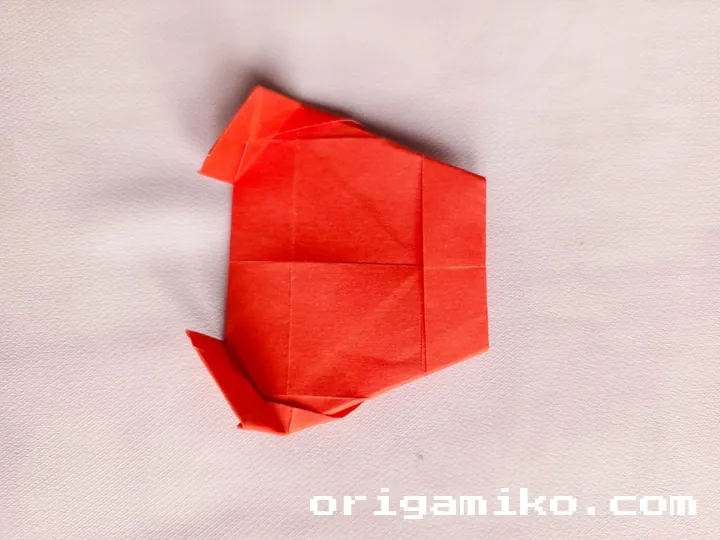
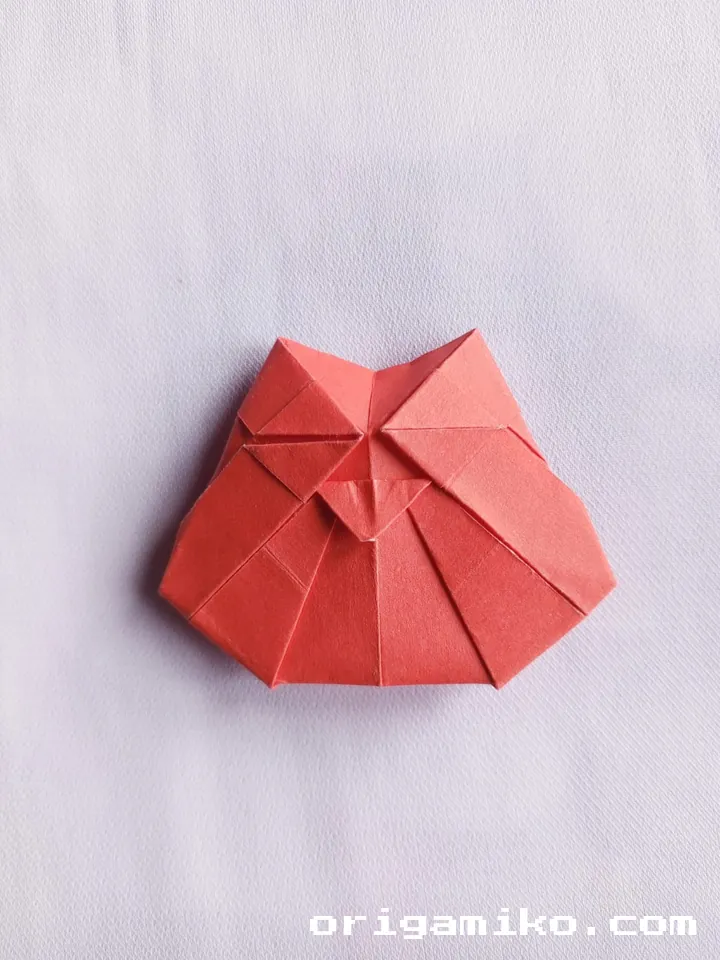
Fold both of the top corners inward slightly, creating the start of your owl’s head.
After you fold those corners, unfold them gently — you’ll need those creases.
Now, carefully fold the top portion of the paper slightly backward, giving your owl some dimensional flair.
Find the first layer at the top and pull it outward slightly, using a squash fold to flatten it into a broader shape for the face.
Finally, take the pointed tip at the top and fold it downward — this becomes your owl’s charming beak!
Final Touches: Bringing Your Owl to Life
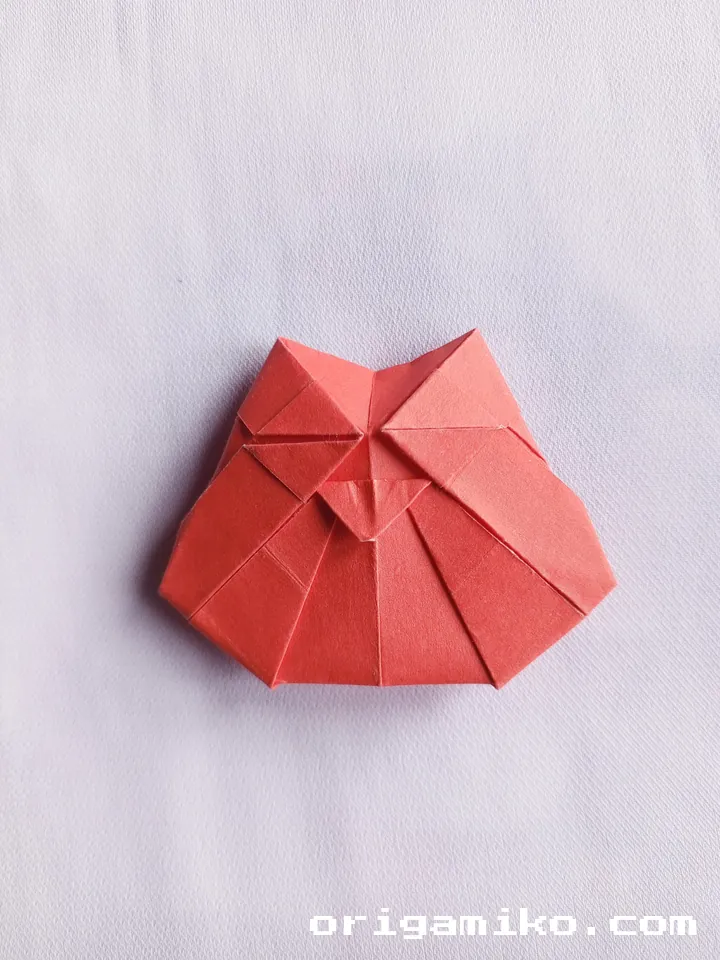
Once you complete these steps, your owl will already look quite charming!
You can gently shape the wings by adjusting the side flaps or tilt the head for a cute, curious look.
If you’d like, use a fine-tip pen to draw expressive eyes or tiny feathers — but even in its pure folded form, the origami owl stands proudly as a symbol of your craftsmanship.
Tips for an Even More Beautiful Origami Owl
- Use thicker origami paper if you want your owl to feel sturdier.
- Practice the squash fold separately if you’re new — mastering it makes a big difference!
- Try different paper colors like deep brown, snowy white, or even gold to give your owl different personalities.
Final Thoughts
Creating an origami owl is more than just a craft — it’s an experience full of magic, patience, and discovery.
Whether your owl is simple or detailed, every fold you make brings it closer to life.
So take a breath, enjoy every step, and watch your paper transform into something truly enchanting.
