


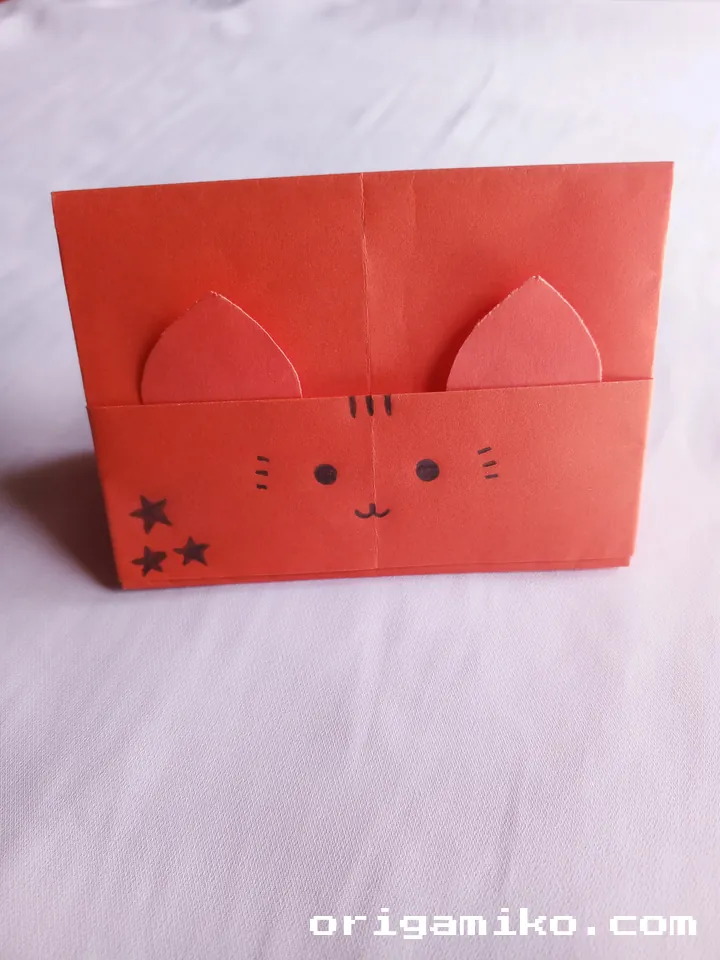
Origami, the Japanese art of paper folding, is both relaxing and rewarding. Today, I’ll show you how to make an easy origami holder, perfect for organizing your desk or simply adding a personal touch to your space. With clear, step-by-step instructions, you’ll find this project enjoyable and manageable for both beginners and experienced artists alike.
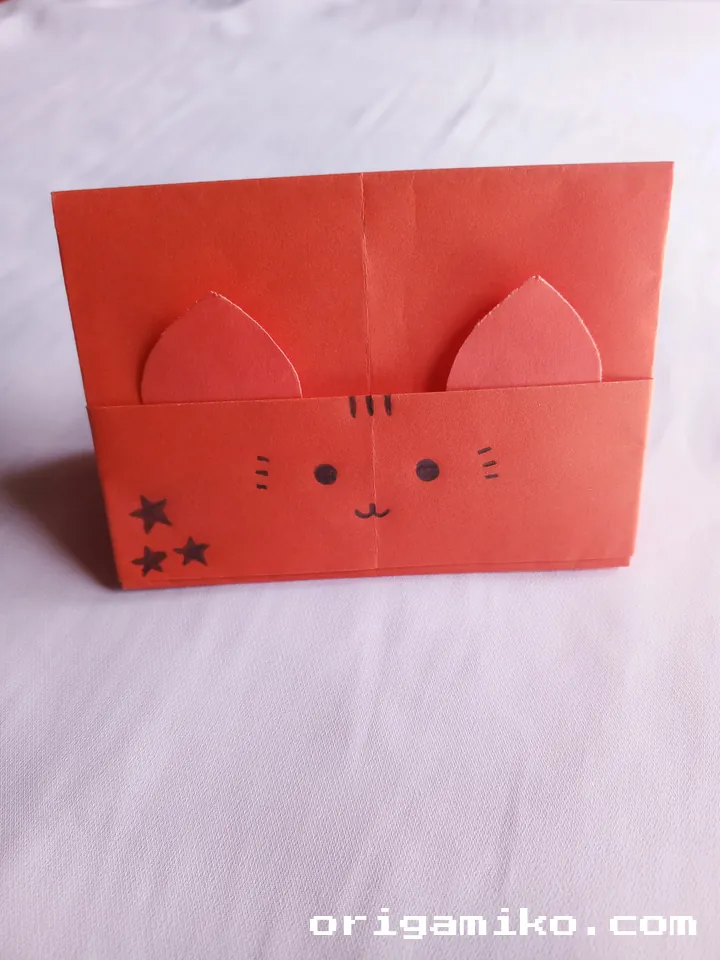
What is an Origami Holder?
An origami holder is a simple yet functional paper craft project that involves folding paper into a small, sturdy container. It’s a fantastic way to practice the fundamentals of origami while creating something useful. Whether you’re looking to organize pens, clips, or just need a decorative paper holder, this project offers a practical and fun solution.
Materials Needed
| Material | Quantity | Notes |
|---|---|---|
| A4 Size Paper | 1 sheet | Standard size paper, can be any color |
| Scissors | 1 | For cutting along the folds |
| Ruler (optional) | 1 | To help with straight folds |
| Pencil (optional) | 1 | To mark folds if needed |
How to Make an Origami Holder: Step-by-Step Instructions
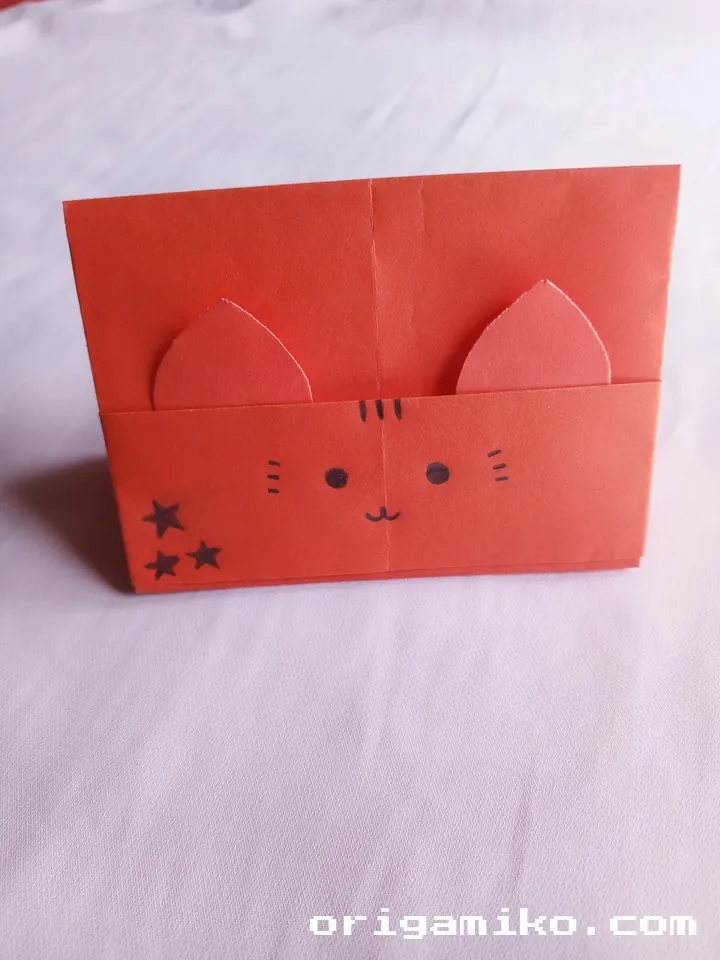
Ready to get started? Let’s dive into the steps for creating your origami holder.
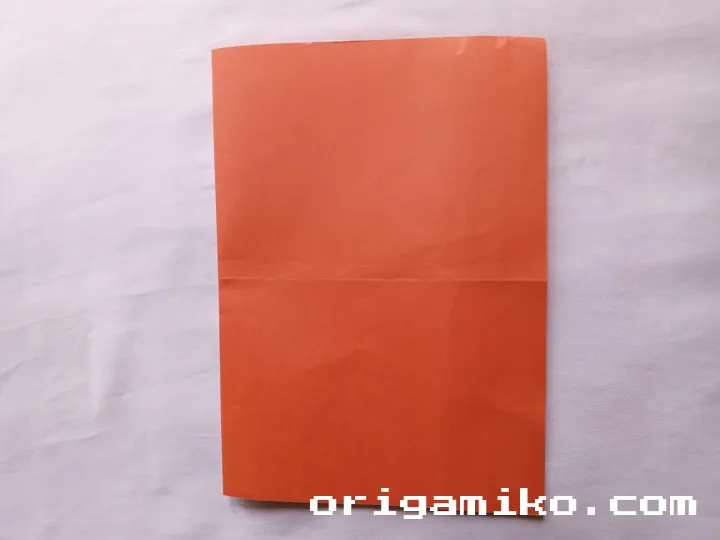
1. Take A4-shaped paper
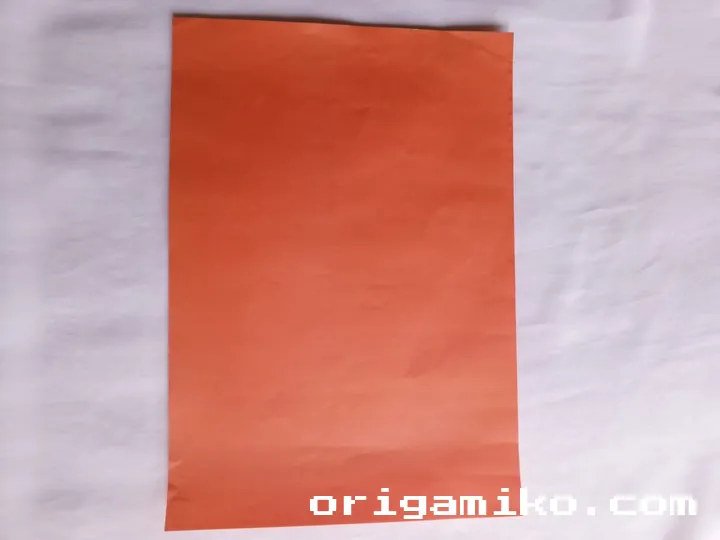
Begin with a standard A4-sized sheet of paper. If you’re using colored paper, choose a color that suits your style or the purpose of your holder.
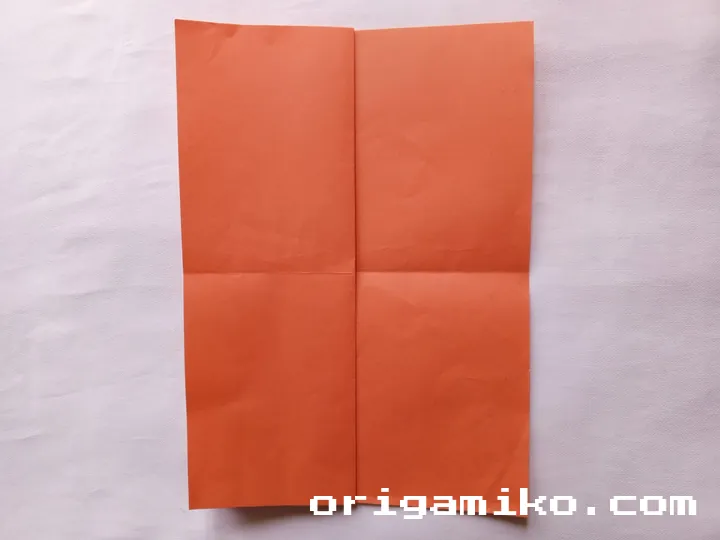
2. Fold it horizontally and unfold, fold it vertically and unfold
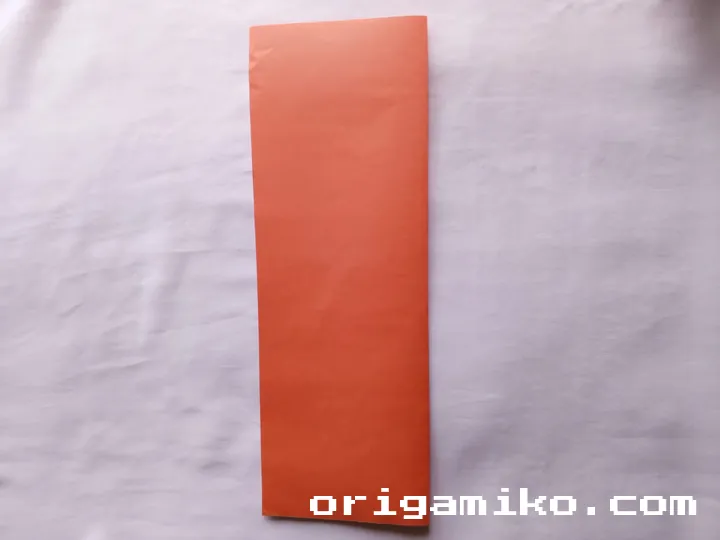
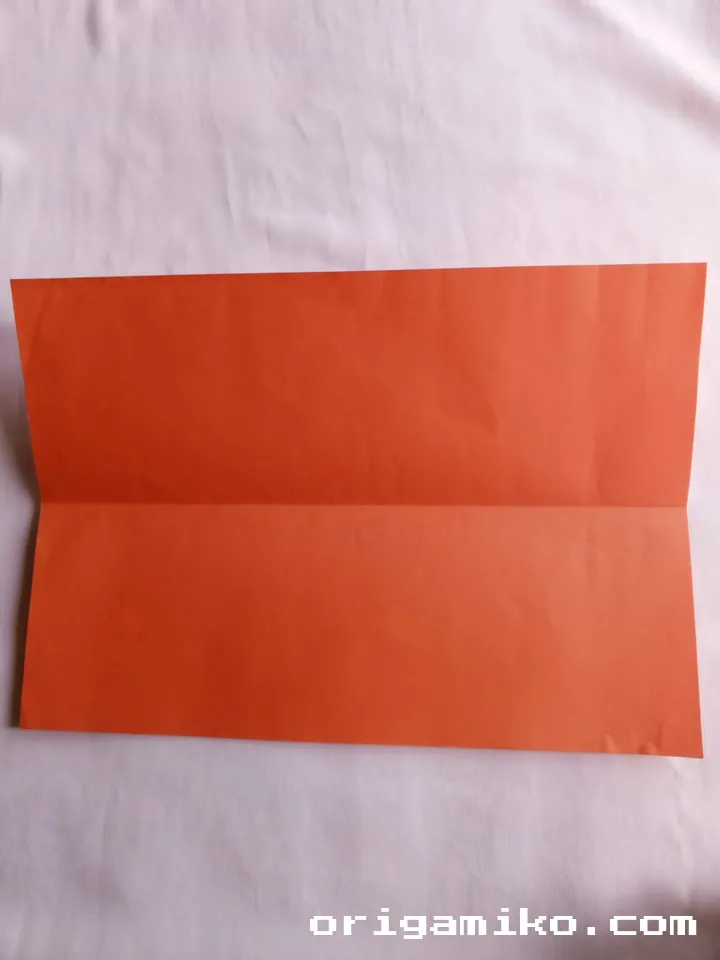
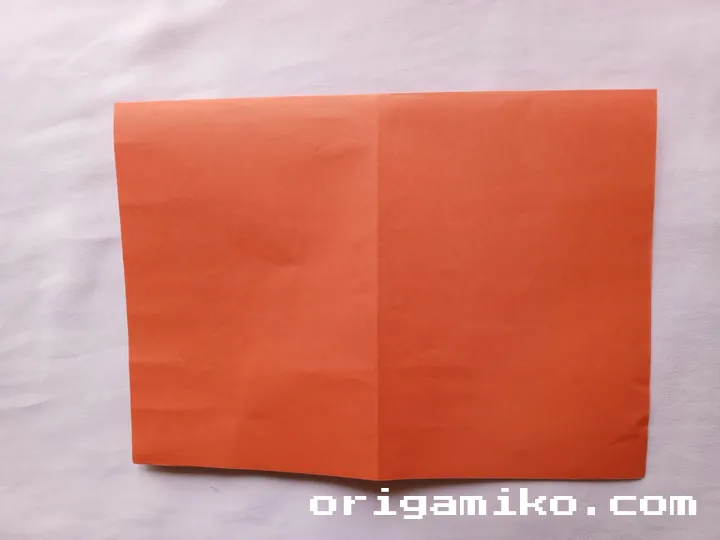
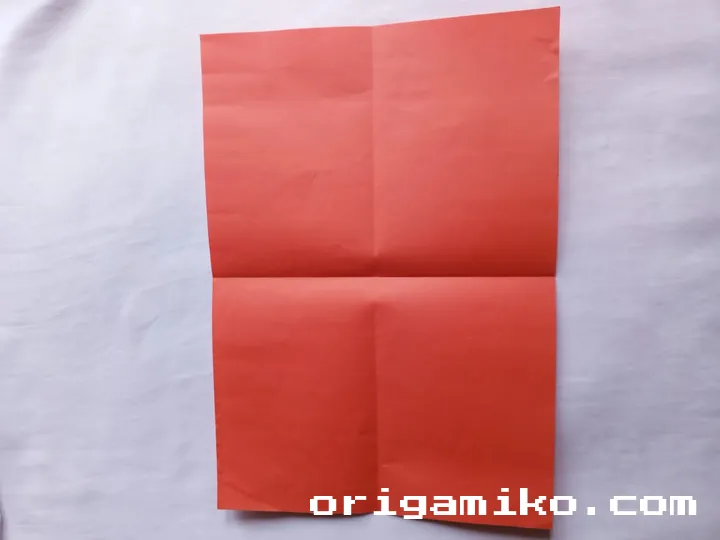
Fold your paper in half horizontally and then unfold it. Repeat the process by folding it vertically and unfolding again. This creates creases to guide your next steps.
3. Fold from top to bottom and fold that fold again
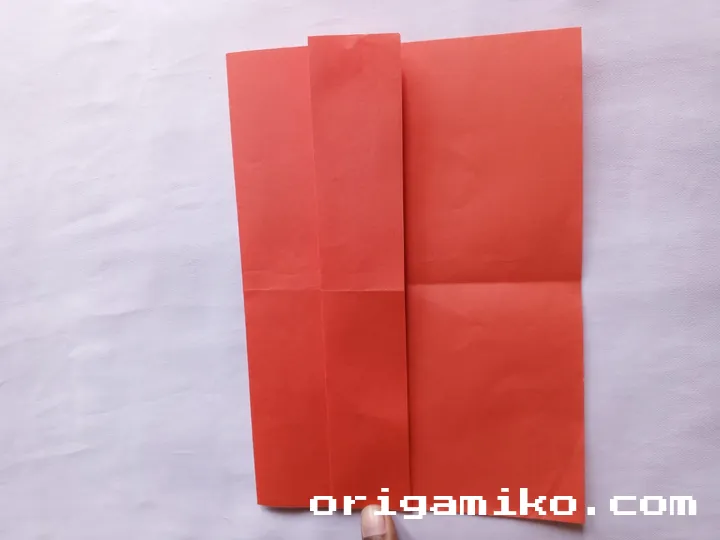
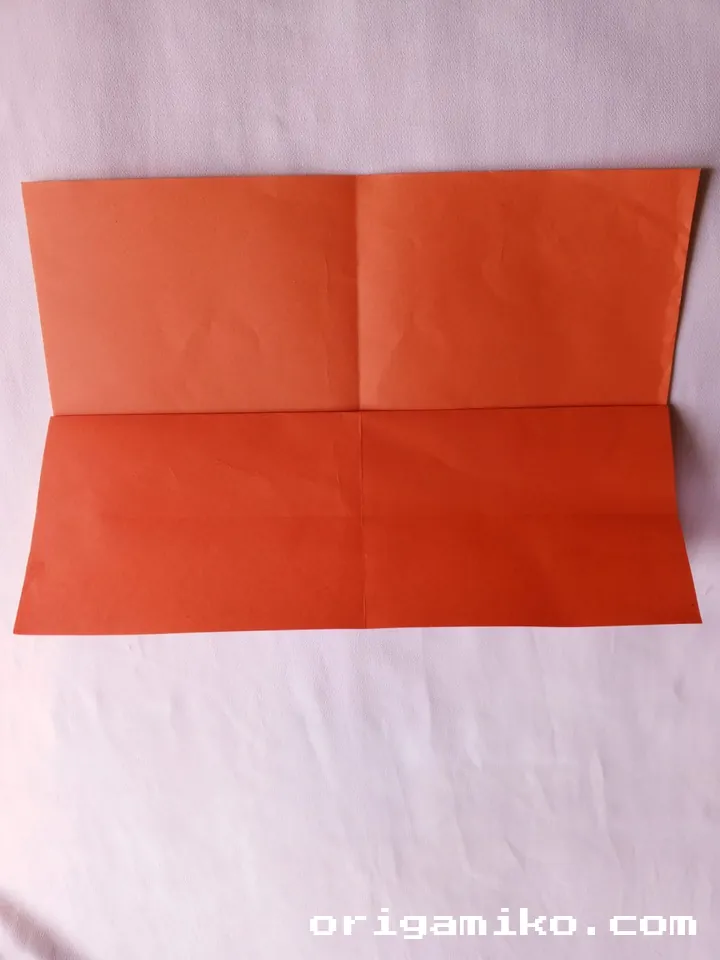
Now, take the top edge of the paper and fold it down towards the bottom. Unfold and then fold it again, making the fold even more defined. This step is essential for creating the base of your holder.
4. Housefold now and fold to the middle and unfold
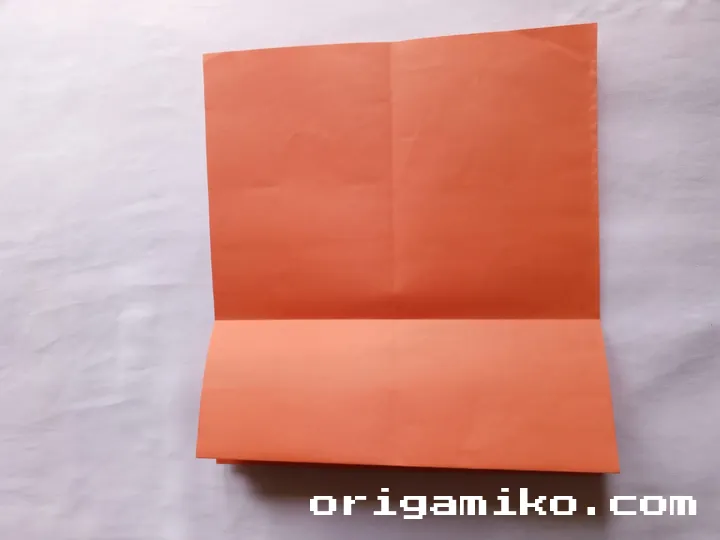
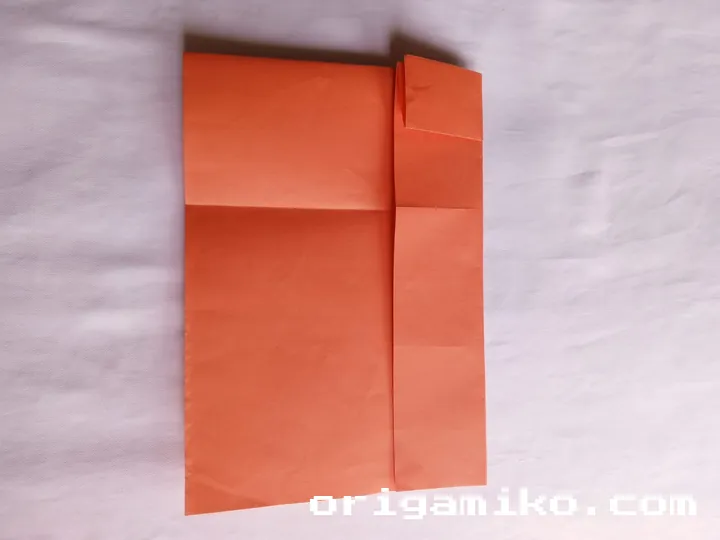
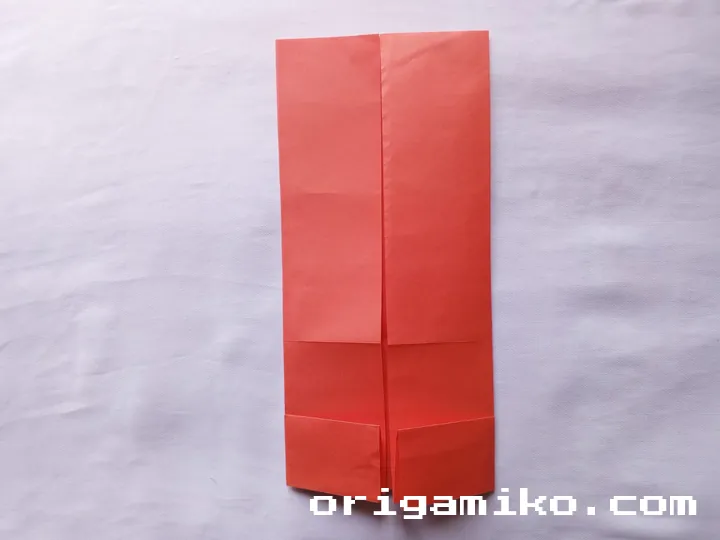
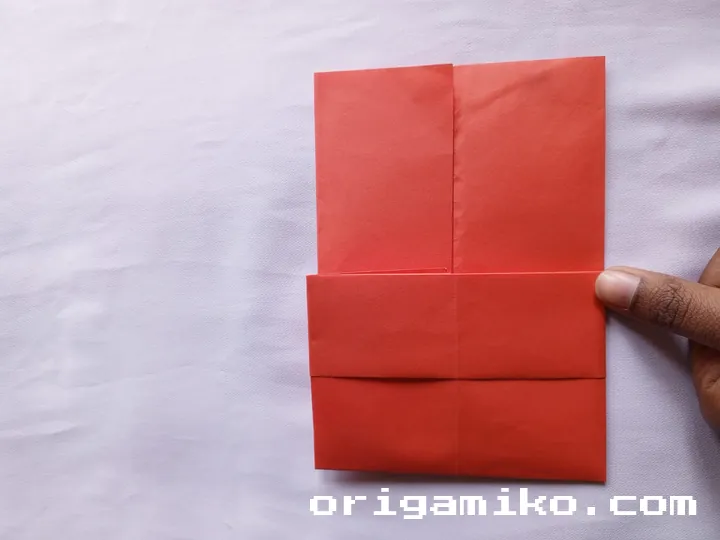
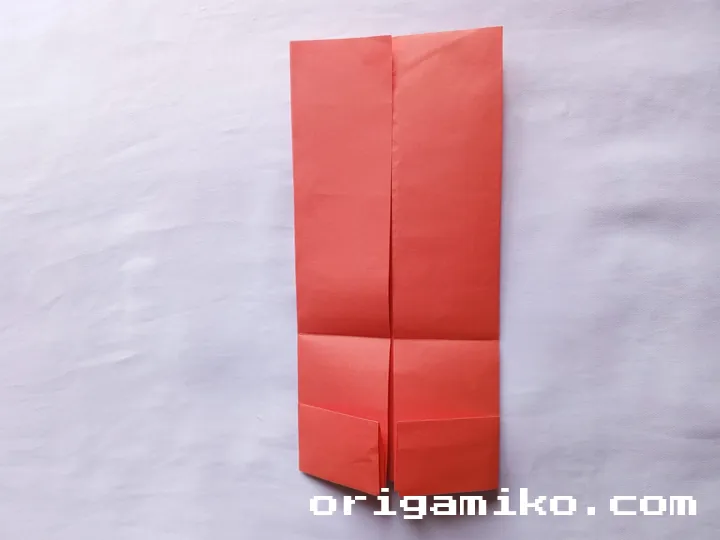
Perform a “house fold” by bringing the two top corners of your paper down towards the center, creating a triangle shape at the top. Unfold these folds as you will be using them for further shaping.
5. Fold it as shown in the picture and cut the two papers
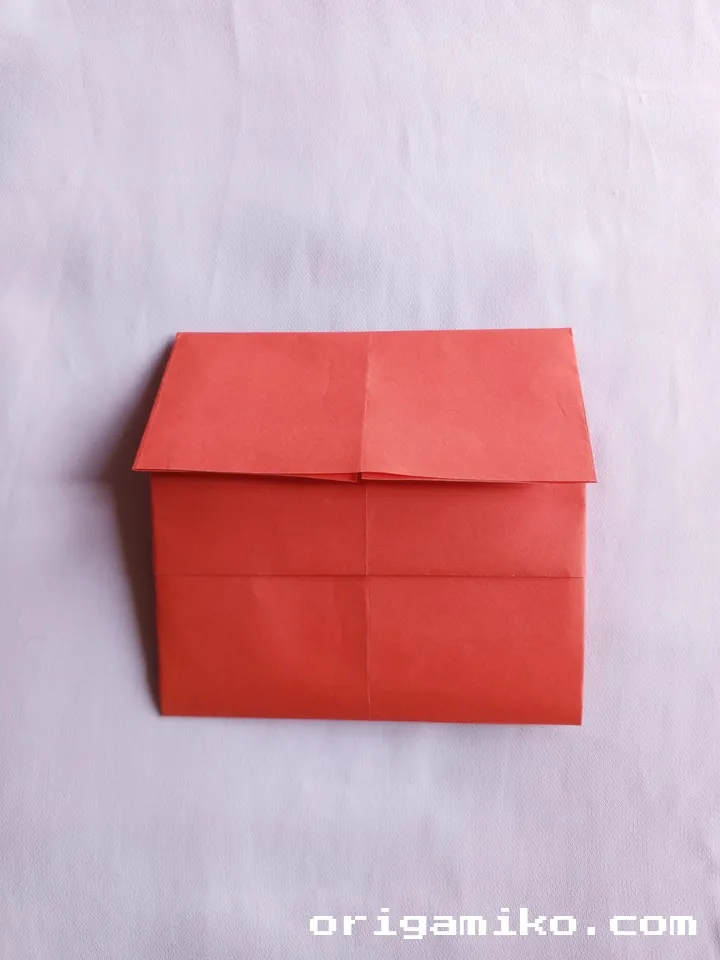
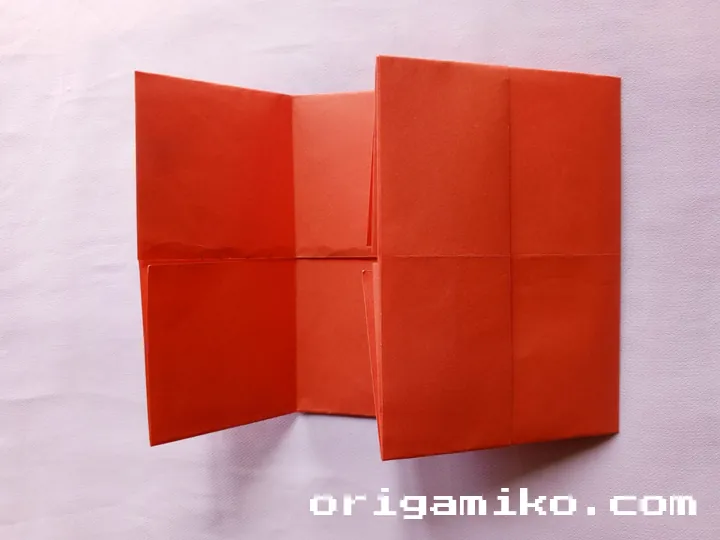
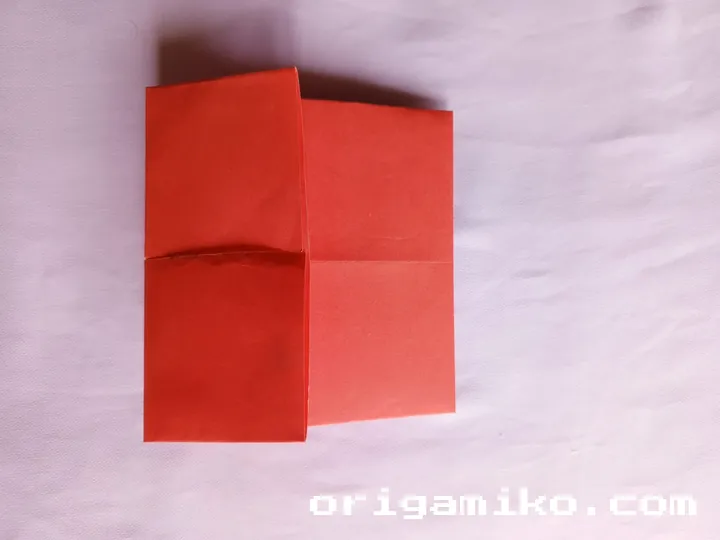
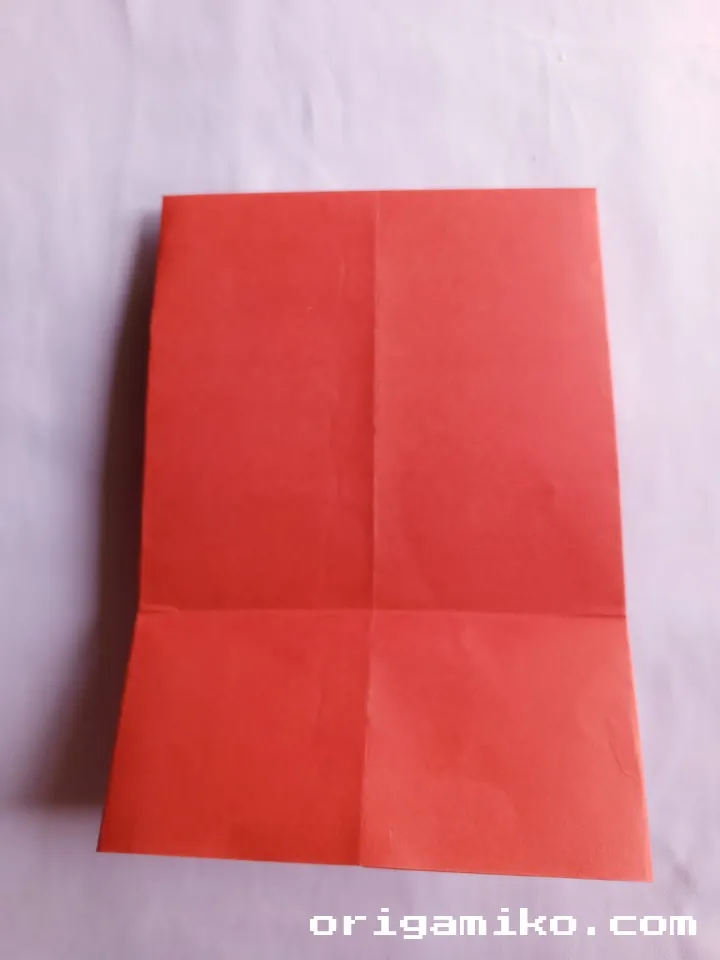
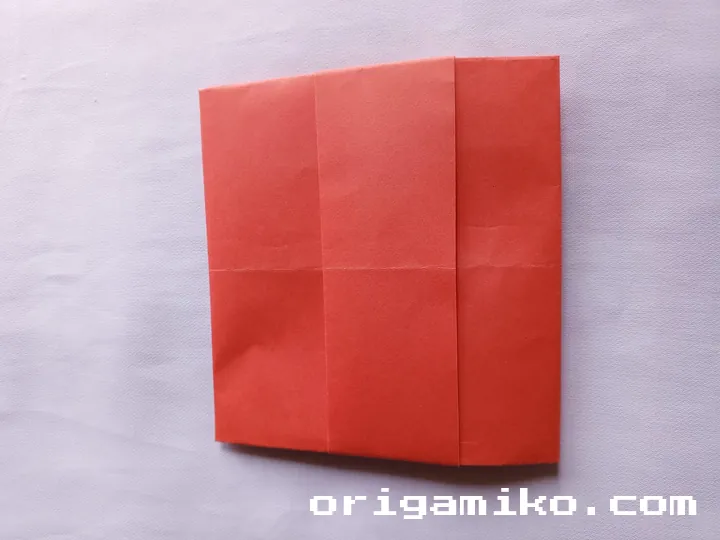
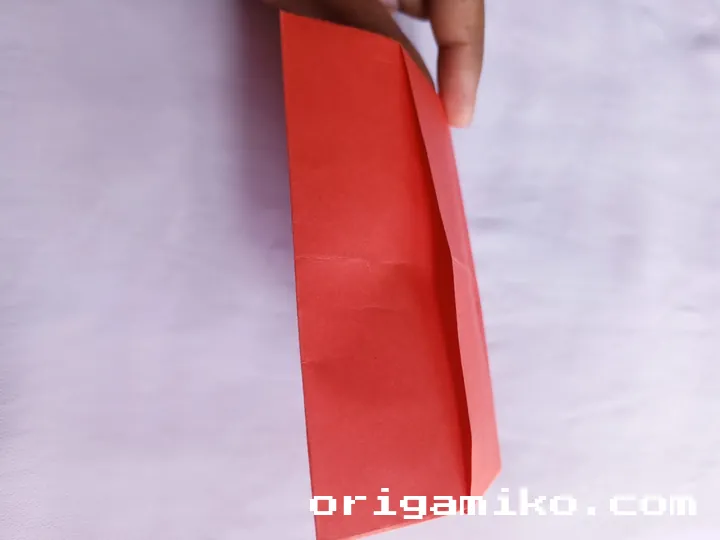
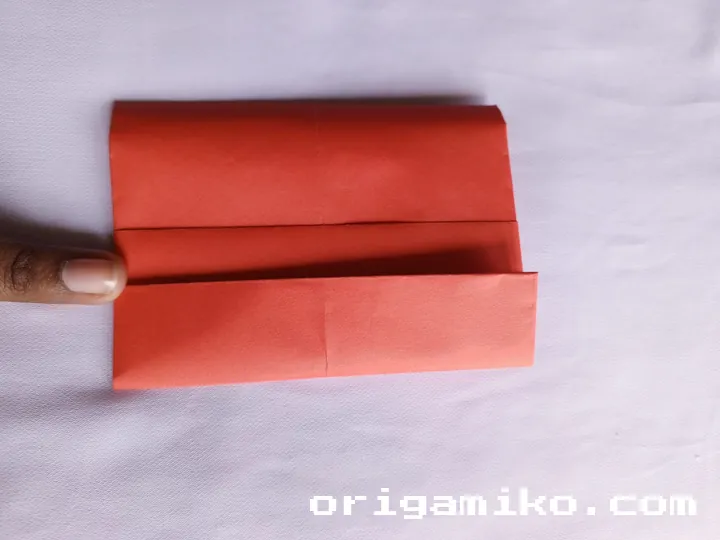
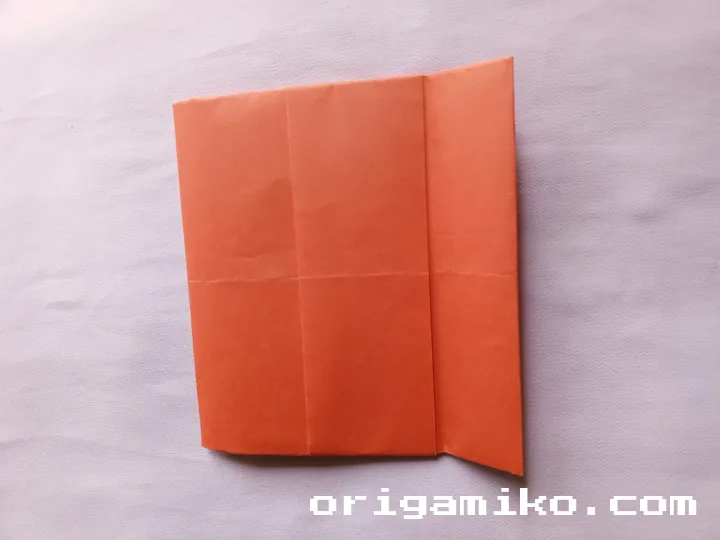
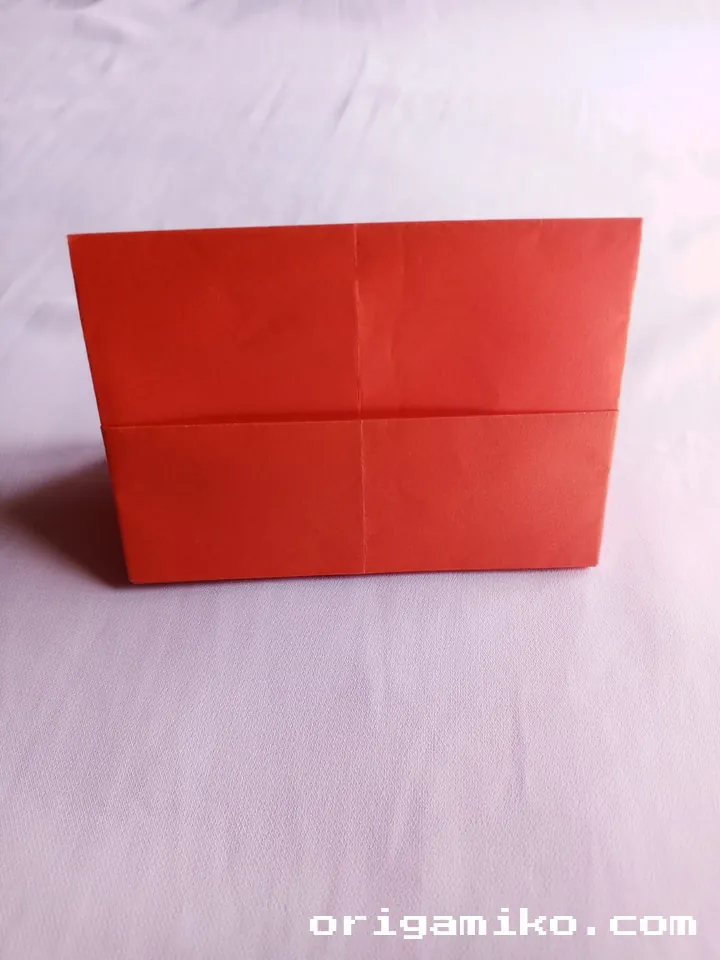
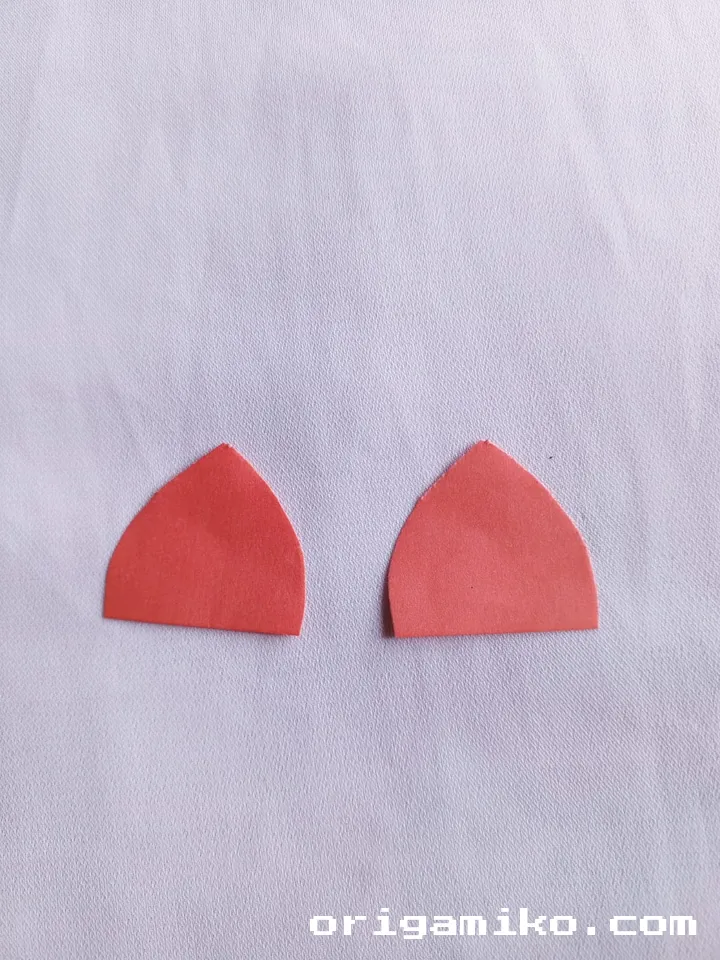
At this point, fold the paper according to the visual instructions you’re following (or according to your own fold pattern). You may need to cut two sections of the paper to finalize the origami holder’s structure. Once you’re done, you’ll have a compact, sturdy holder!
Tips for Success
- Keep your folds sharp and precise. The cleaner the folds, the better your origami holder will look. A ruler can help for straight folds.
- Use a firm, smooth paper. If your paper is too flimsy, the holder may not hold up as well. Opt for a sturdier sheet if possible.
- Experiment with different sizes. While A4 paper works well, you can try different sizes depending on what you’re organizing.
Common Mistakes and How to Avoid Them
- Mistake: Not aligning folds properly
Solution: Always ensure that your folds are aligned precisely. If they’re off-center, it will affect the structure of the holder. - Mistake: Rough creases
Solution: Smooth out your creases as you fold. A clean fold is crucial for the final look and functionality. - Mistake: Skipping folds
Solution: Follow each step carefully to ensure the holder’s shape and sturdiness. Skipping a fold can make the project fall apart.
Similar Variations That Can Be Made
- Small Origami Box: A variation where you create a more box-like shape, perfect for storing smaller items.
- Decorative Holder: Add extra touches like coloring, patterns, or embellishments to personalize your origami holder.
- Larger Holders: Use larger paper (like A3 size) to make bigger, more spacious holders for larger items.
Conclusion
Making an easy origami holder is a simple and rewarding craft that anyone can enjoy. By following the simple holder step-by-step process, you’ll have a functional and personalized piece of art in no time. So, grab your paper, fold away, and let the creativity flow!
