

Ever wonder how to make mango using just one sheet of paper?
I’ve got a fun little project for you—one that looks great and doesn’t take much time. Seriously, it’s easier than folding your laundry.
Stick with me. I’ll walk you through every step. This easy Origami mango is perfect for beginners and surprisingly satisfying for seasoned folders too.
What Are We Making Today?
Today, we’re creating an Origami mango—a playful and colorful paper version of the tropical fruit. It’s round, vibrant, and surprisingly elegant when finished. Whether you’re making it for decoration, a school project, or just to unwind, it’s a fun way to dive into paper folding.
The cool part? You can even add two tiny leaves to complete the look. And the whole thing is done with a single square of paper. Let’s dig in!
Materials Needed
Before we start folding, make sure you have everything on this list. You don’t need much—just the basics. But having the right size and shape of paper makes a difference.
| Item | Details | Why It Matters |
|---|---|---|
| Origami Paper | 12″ × 12″, round shape | This is the base. Mangoes are rounded! |
| Pencil (Optional) | For lightly tracing folds if needed | Helps with precision if you’re a beginner |
| Flat Surface | A table or clean desk | Ensures neat and crisp folds |
| Leaf-Colored Paper | Small green square (optional for leaves) | Adds detail and charm to the final piece |
| Craft Glue (Optional) | To attach the leaves if desired | Keeps leaves in place permanently |
Let’s Talk About Key Terms
Here are a few terms that’ll help you follow along more easily:
Origami:
The Japanese art of paper folding. It turns a simple sheet of paper into intricate forms.
Valley Fold:
When the paper is folded toward you, forming a valley shape.
Mountain Fold:
When the paper is folded away from you, like a mountain peak.
Inward Fold:
Folding the paper toward the inside, tucking it into the model.
Simple Mango Step by Step
Ready to start folding? This Simple mango step by step guide will walk you through each part. I’ll reword and explain each fold in plain, friendly terms.
Step 1: Start with a Round-Shaped Paper
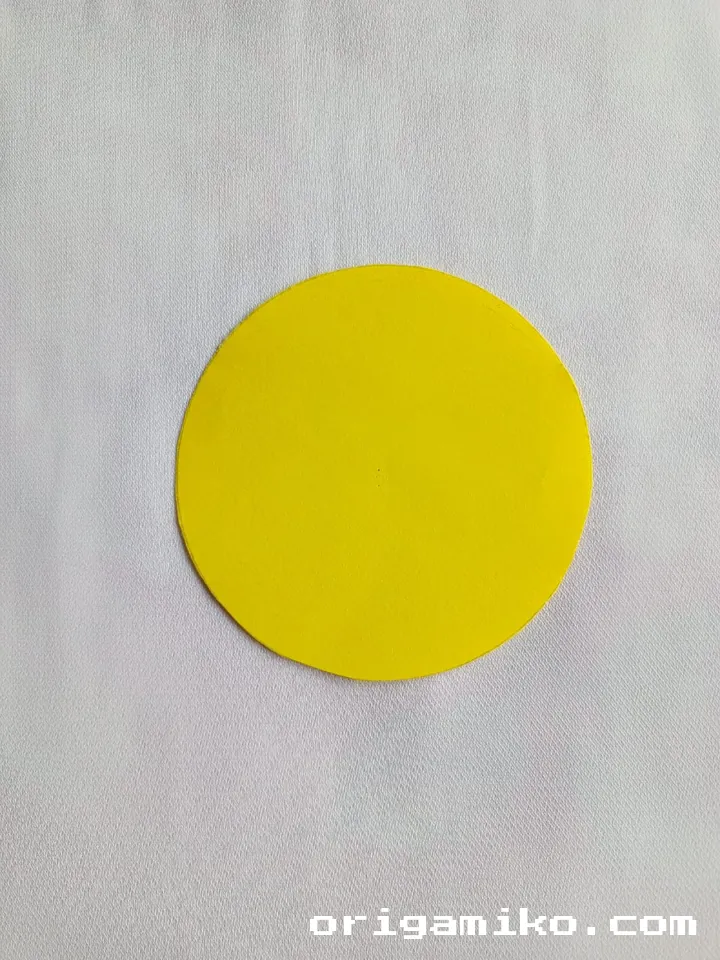
Take your 12″ × 12″ origami paper and trim it into a neat circle if it’s not already. Think of it like prepping the canvas for your masterpiece.
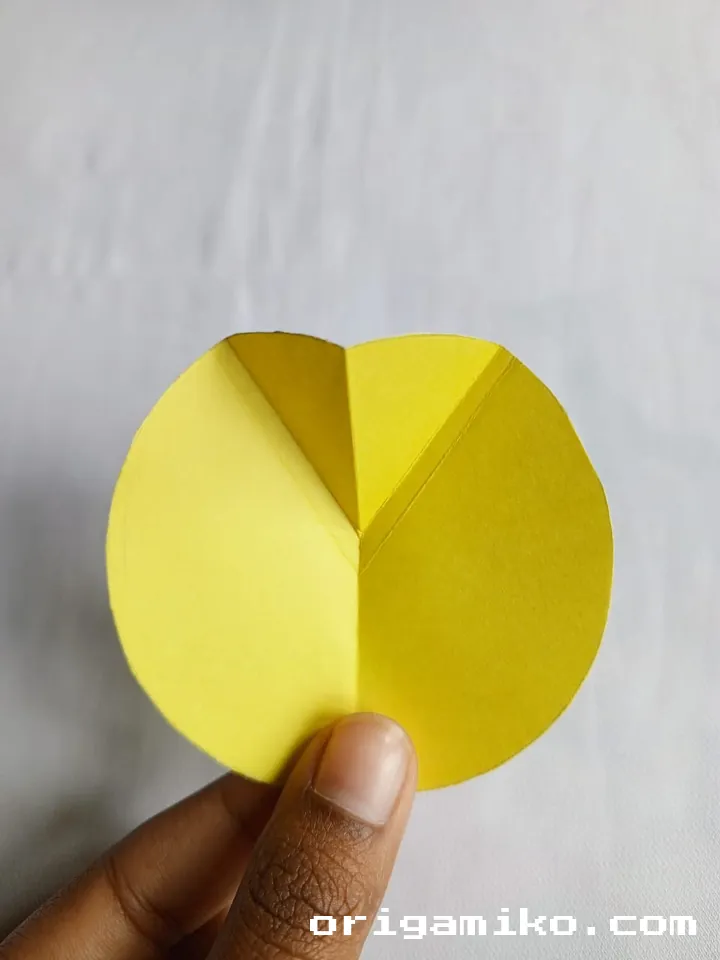
Step 2: Fold Across the Center
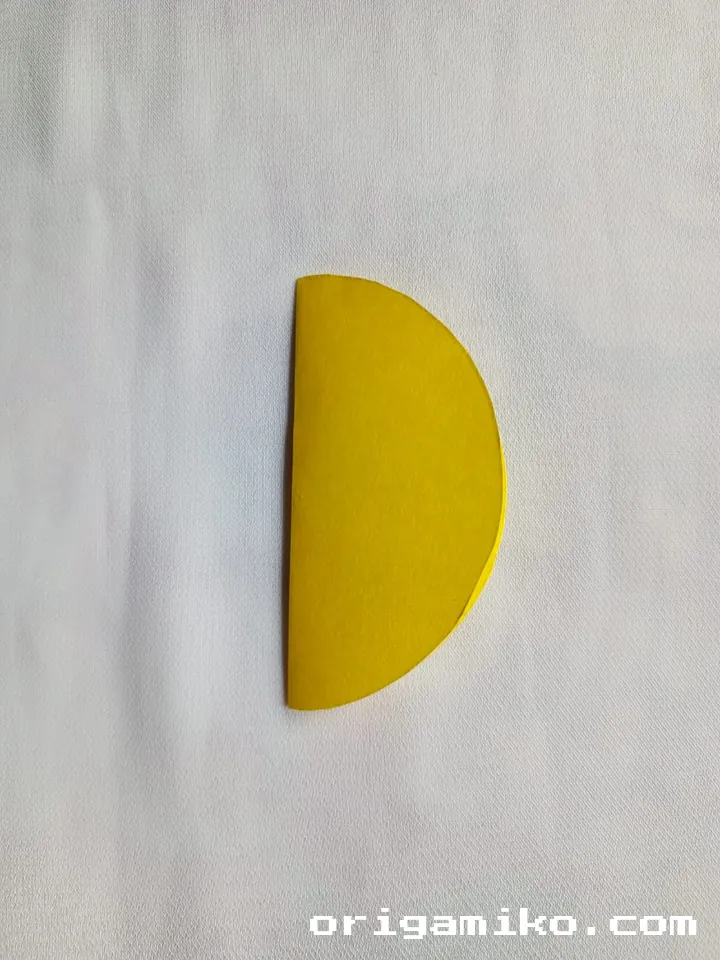
Fold the circle in half to create a middle line. Then unfold it. This gives us a helpful crease right down the middle to guide future folds.
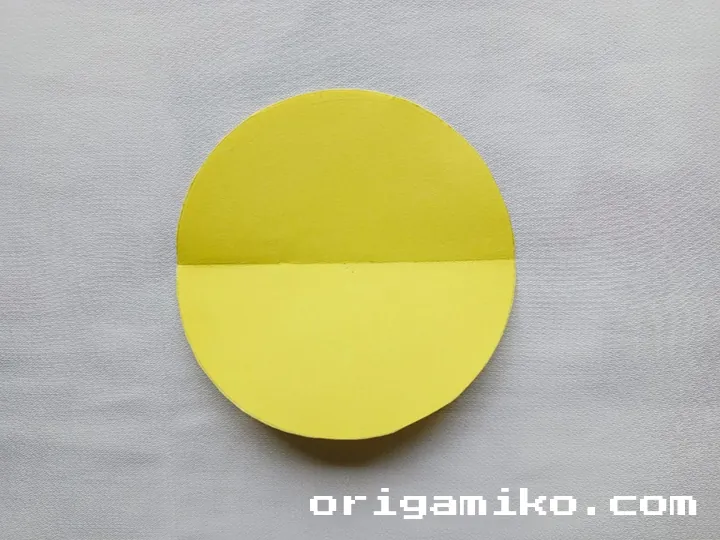
Step 3: Fold the Top, Then Inward
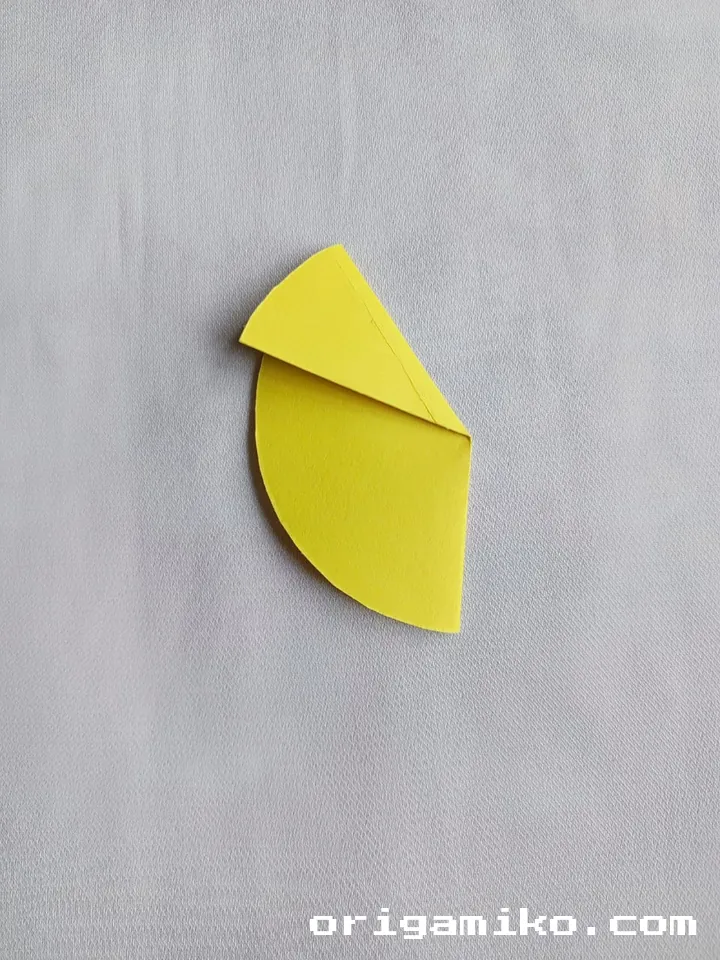
Take the top edge and fold it downward—just about a third of the way. Unfold it again. Now, take that same flap and tuck it inward, almost like hiding a flap in your shirt.
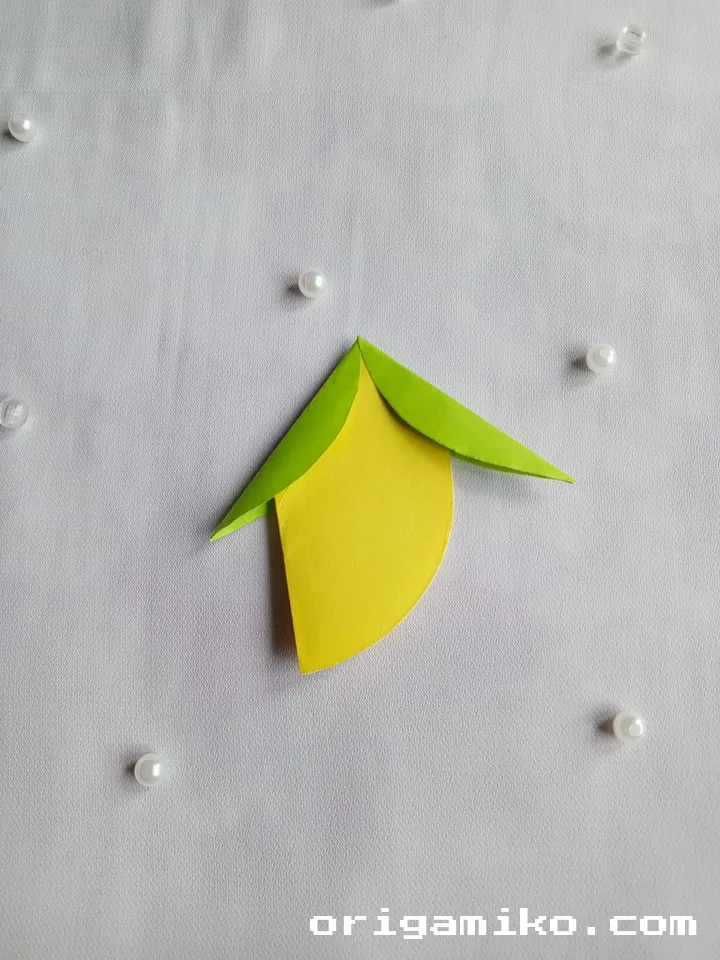
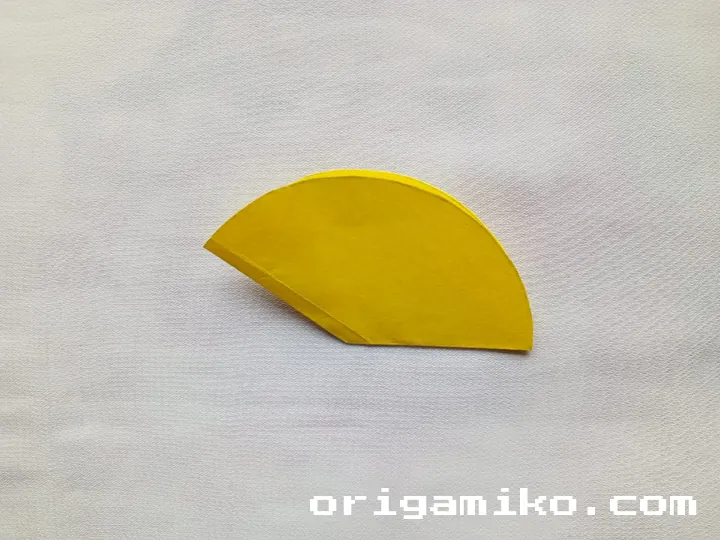
Step 4: Add the Final Touch – Leaves!
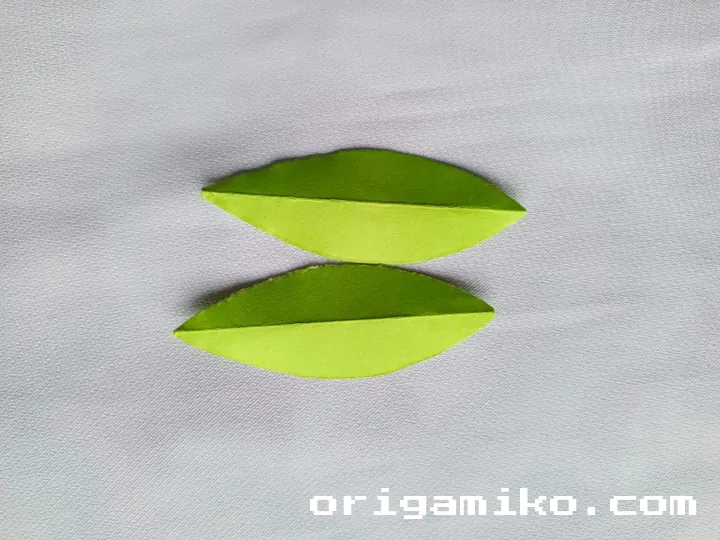
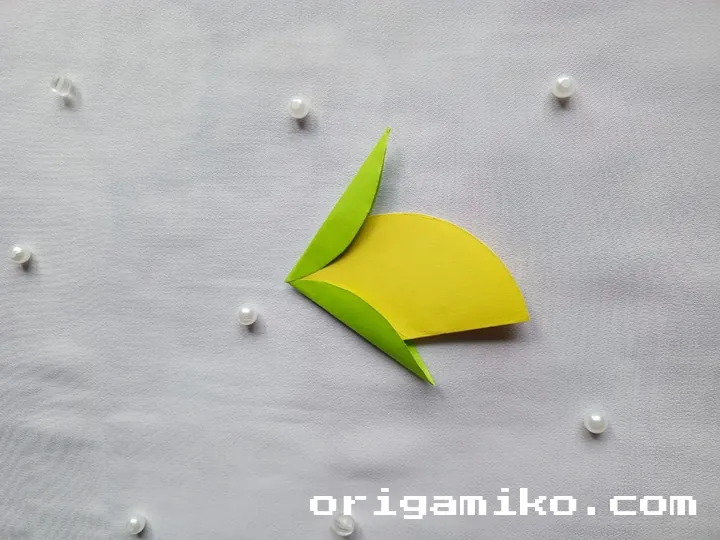
Cut or fold two tiny leaf shapes from green paper. Glue or attach them at the top of your mango. Voilà—Origami mango is made!
Tips for Success
Here are a few things I’ve learned from folding lots of mangoes (yes, that’s a thing!):
- Use thinner paper. It folds more cleanly and keeps its shape better.
- Pre-crease your folds. Gently run your nail or a flat tool over the fold before pressing.
- Don’t rush. Slower folds mean cleaner lines.
- Customize. Try colored or patterned paper for a more playful mango.
Common Mistakes and How to Avoid Them
Let’s keep your mango from going sideways. These are some common hiccups:
- Mistake: Paper tears while folding
Fix: Use thinner, smoother paper and crease gently. - Mistake: Uneven leaf attachment
Fix: Fold and glue one leaf at a time, and use a mirror line. - Mistake: The shape looks too oval or flat
Fix: Ensure your folds follow the central crease exactly.
Similar Variations You Can Try
Once you’ve nailed this one, try branching out:
- Origami Apple: Start with a round base, then add a tiny stem instead of leaves.
- Origami Peach: Use light pink paper and adjust the curves to make a rounder body.
- Origami Pineapple: Try a textured pattern and make vertical creases before folding.
These variations use similar base folds but give you new ways to experiment with fruit designs!
FAQs
Q: Can I use square paper instead of a circle?
A: You can, but you’ll need to cut it into a circle for the mango’s rounded shape.
Q: Is glue necessary?
A: Only if you’re adding leaves. The mango itself is held together with folds.
Q: How long does it take to make one?
A: About 10–15 minutes for your first one. After that, even quicker!
Q: Is this good for kids?
A: Absolutely! Just supervise younger kids with scissors or glue.
Final Thoughts
That’s it! You’ve now learned how to make mango from a simple sheet of paper. It’s quick, colorful, and just plain fun.
Whether you’re new to folding or a seasoned paper artist, this easy Origami mango is a delightful addition to your collection. Try it today, and let your creativity bloom—one fold at a time.
Feel free to share your creations or ask questions—I’m always happy to chat about paper folding!