
")
Ever wondered if you could make a box with neat little compartments from just one sheet of paper? Good news: you totally can—and it’s easier than you think.
You don’t need glue. You don’t need scissors. Just your hands, a square paper, and some chill time to fold magic into place.
This is more than just crafting. This is the art of origami, where every crease creates purpose—and trust me, the final result feels like a reward in itself.
What We’re Making: The Origami Divider Box
Let’s talk real quick about what we’re building.
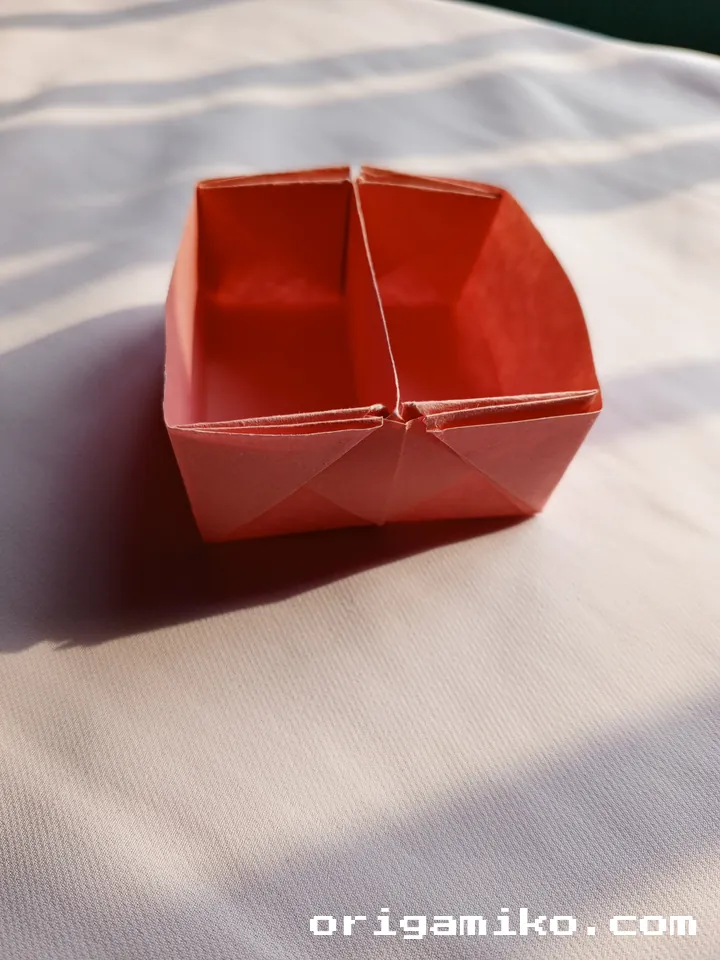
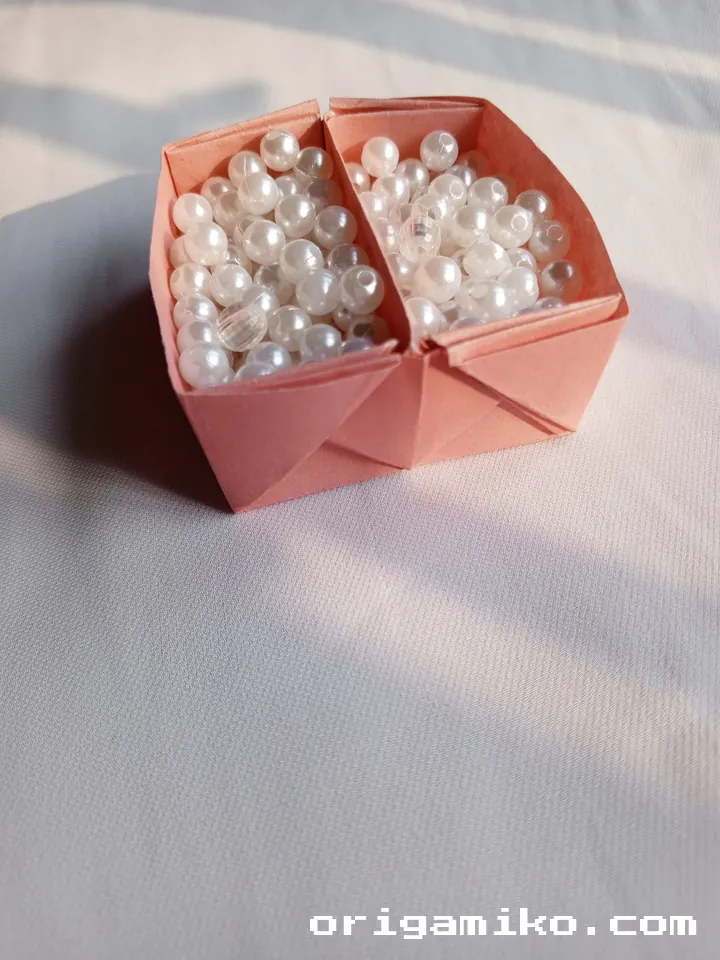
This is an easy Origami divider box—a compact, square-shaped box with dividers inside. Think of it like a paper organizer with built-in sections. It’s not just cute; it’s incredibly functional.
I’ve used mine to sort beads, store paper clips, and even serve candy. The best part? It all comes from one single square sheet of paper.
It’s a great project for both beginners and experienced origami lovers. Whether you’re teaching kids or crafting on your own, this one ticks all the right boxes (pun intended).
Materials Needed
Here’s what you’ll need before you start folding:
| Item | Description | Notes |
|---|---|---|
| Origami Paper | 12 inches × 12 inches (30.5 cm × 30.5 cm) | Must be square and strong enough to hold shape |
| Flat Surface | Clean and solid table or desk | Smooth surface makes creases neater |
| Bone Folder (optional) | Tool to sharpen folds | Not necessary, but helpful |
| Ruler (optional) | For checking symmetry | Only if you’re a perfectionist |
Key Terms You’ll Hear Me Use
Fold
Bending the paper to create a crease.
Unfold
Opening the paper back up after a fold.
Housefold
A style of folding where corners are brought to the center like forming a rooftop or house shape.
Crease Line
The visible line made from a fold.
Corner Tuck
Tucking one corner behind another to form a secure shape.
Simple Divider Box Step by Step
Let’s get right into how to make a divider box. Follow along slowly—no rush. You’ve got this!
1. Start with a square sheet of paper
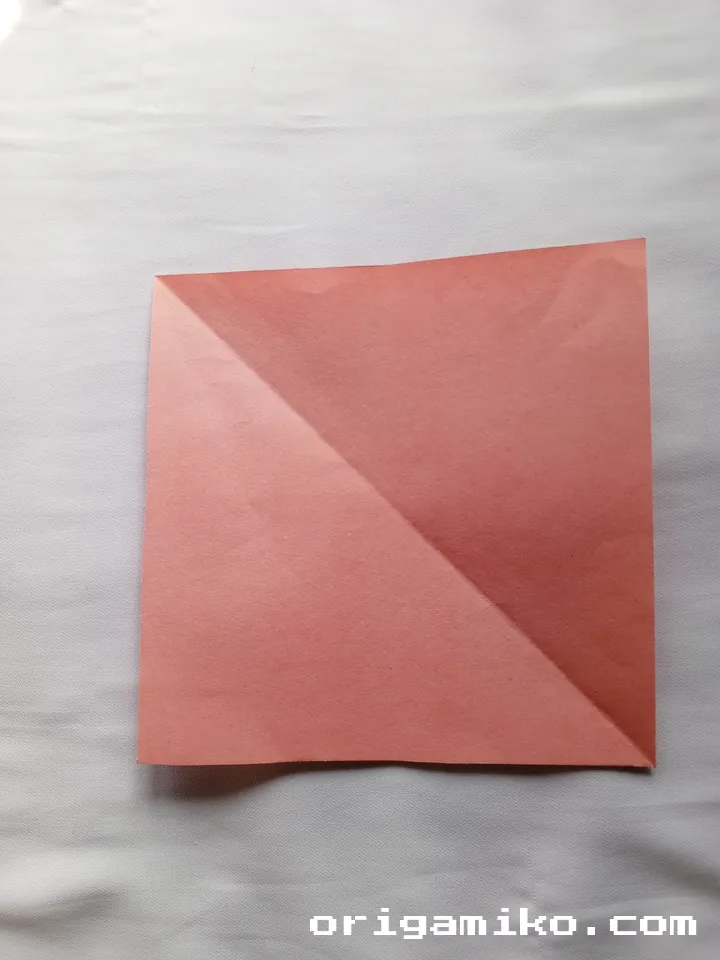
Lay your 12″ x 12″ sheet flat on the table. Colored side down if using patterned paper.
2. Fold vertically, unfold. Fold horizontally, unfold.
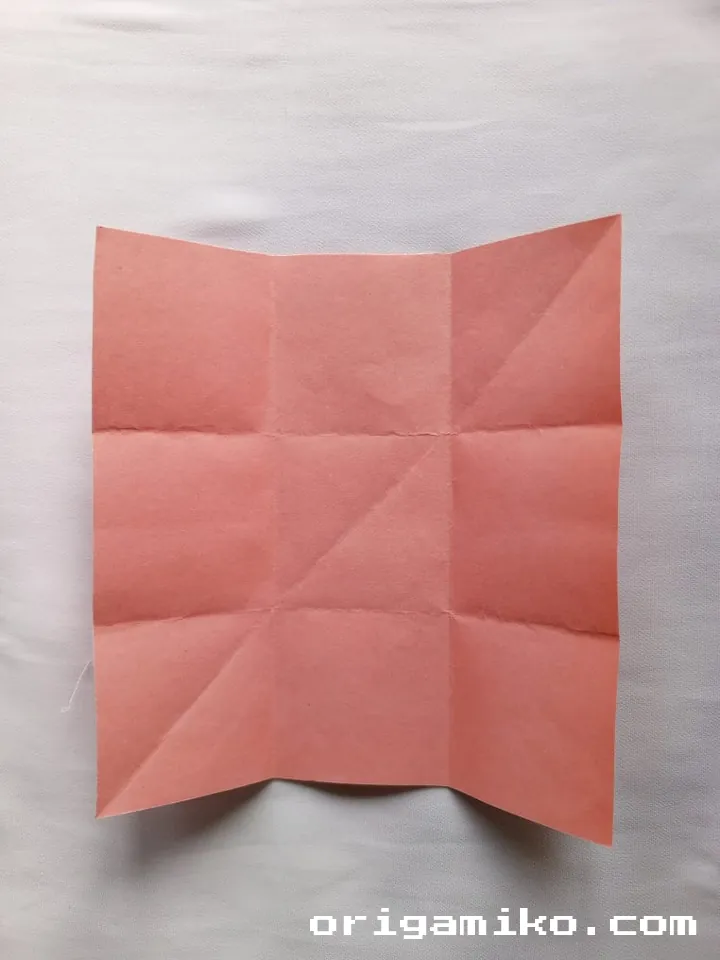
You should now see two creases forming a “plus sign” in the center. These are your base guidelines.
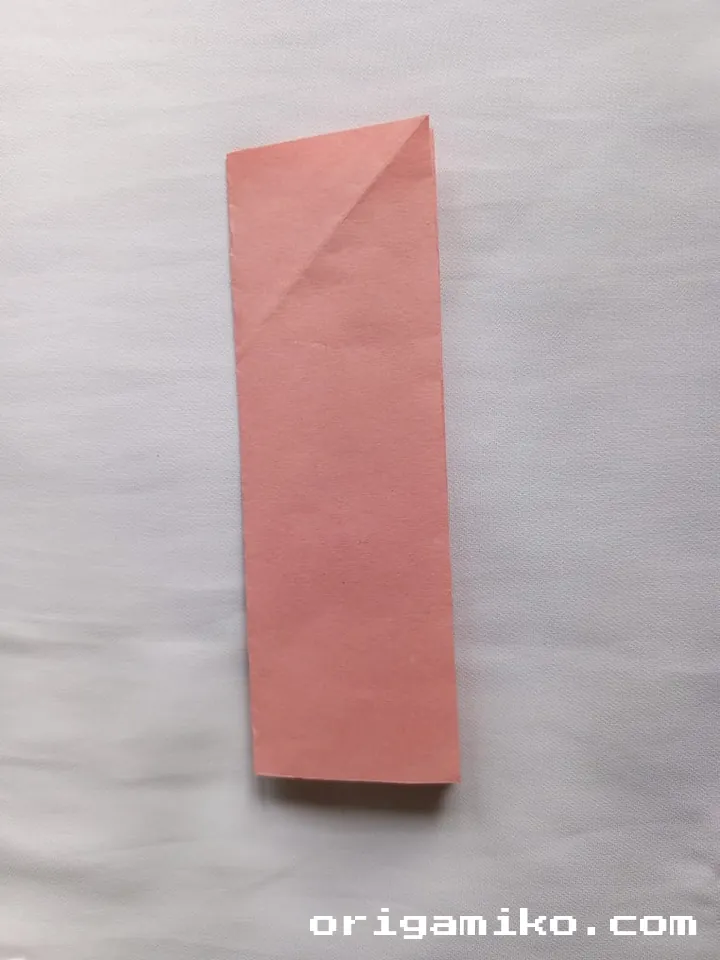
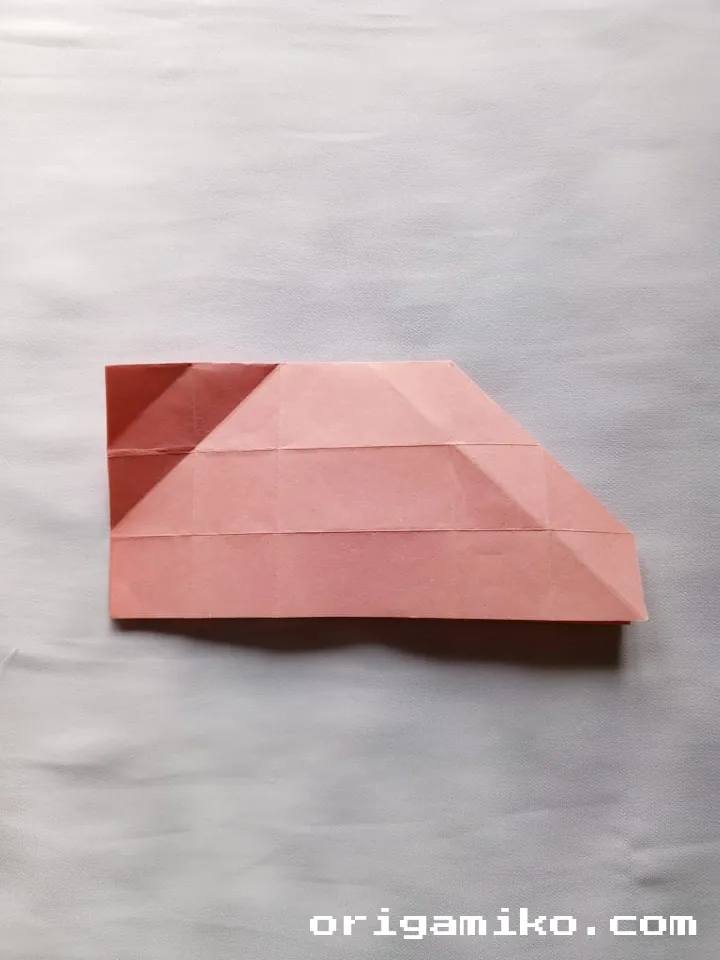
3. Now fold vertically and horizontally again—but into quarters this time.
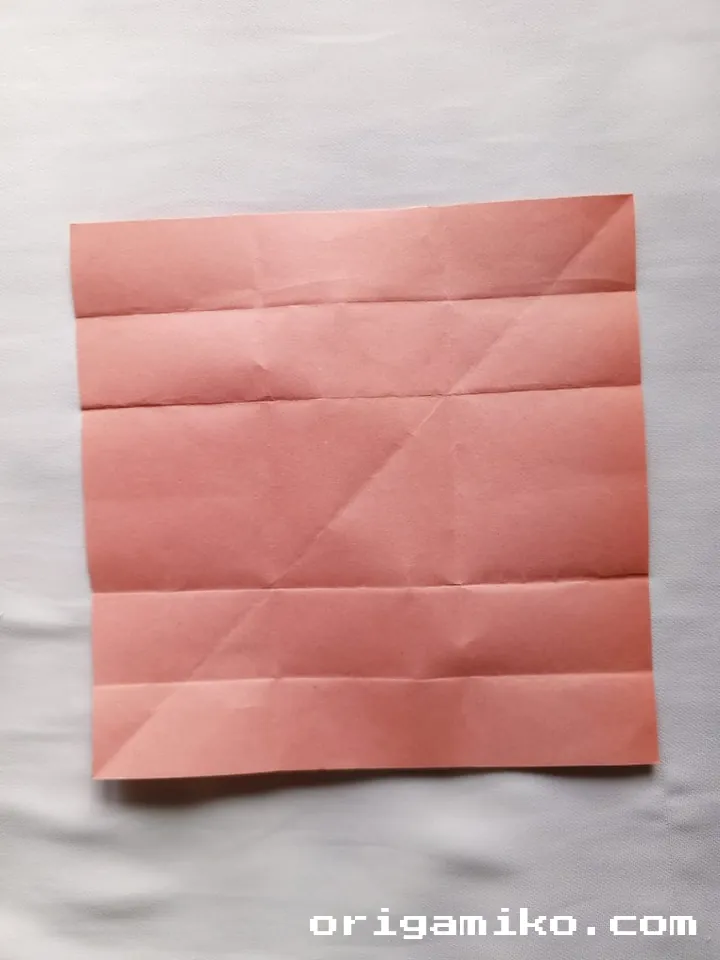
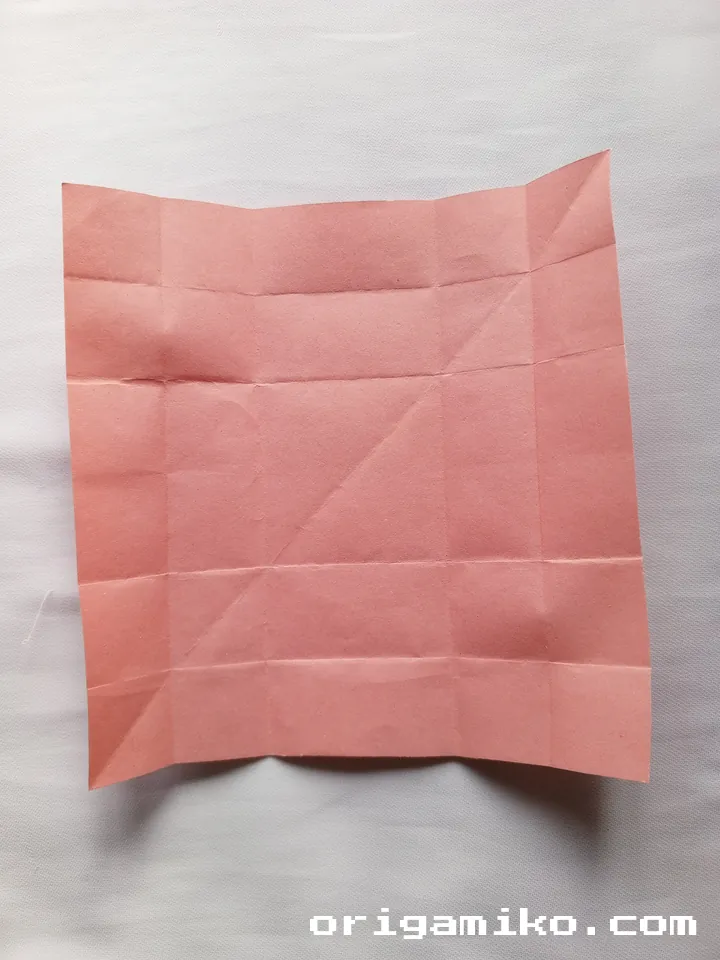


Then go smaller. Fold those quarters in half. You should now have a grid of small squares. These tiny folds make up the blueprint of your divider box.
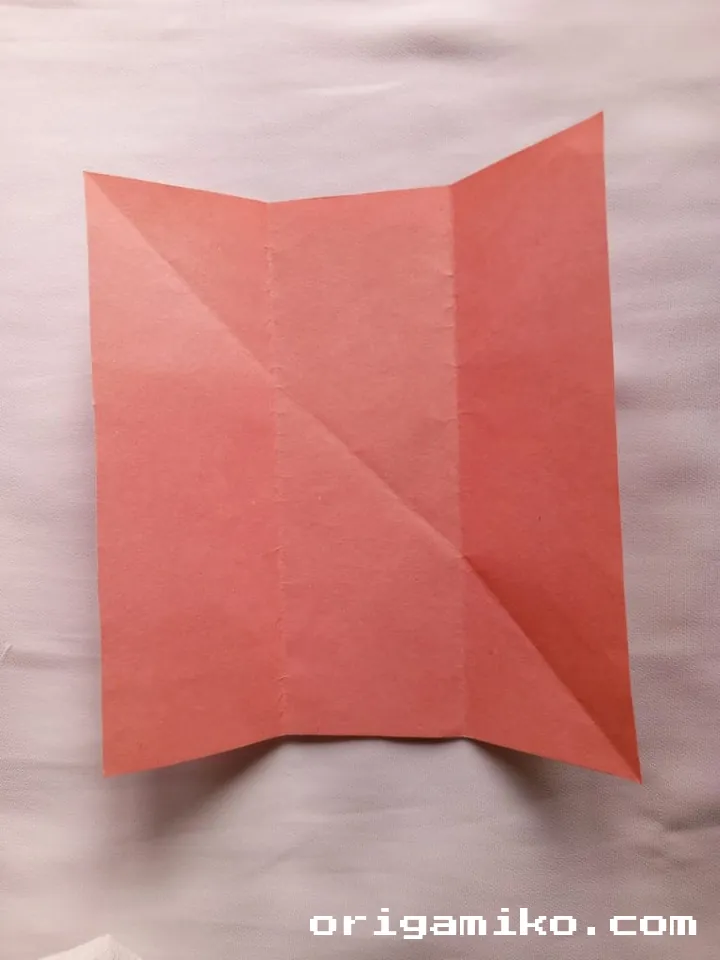
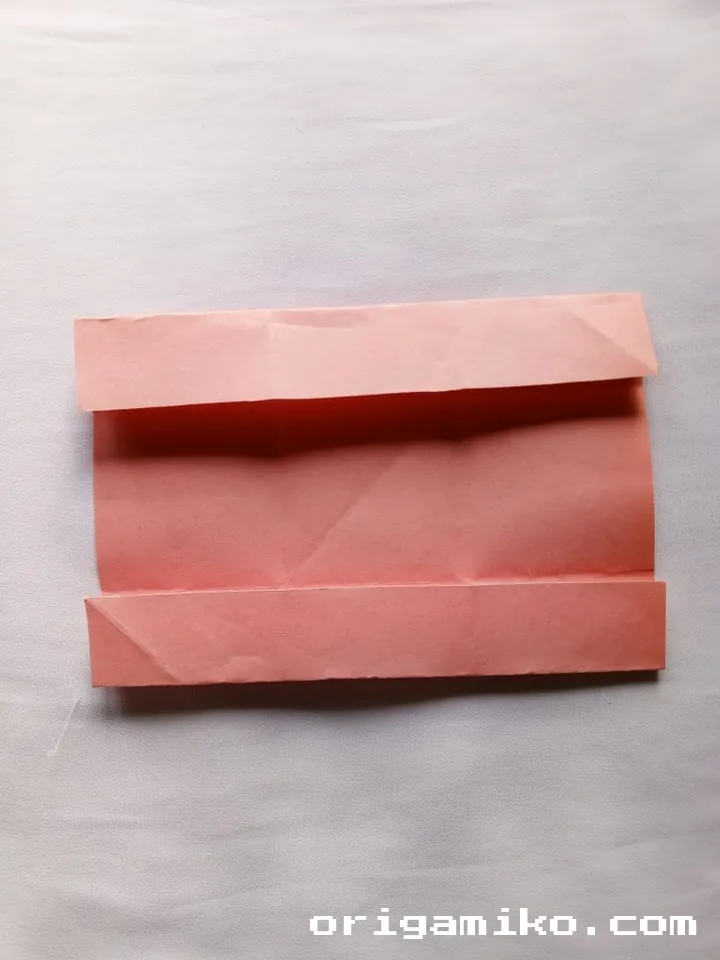
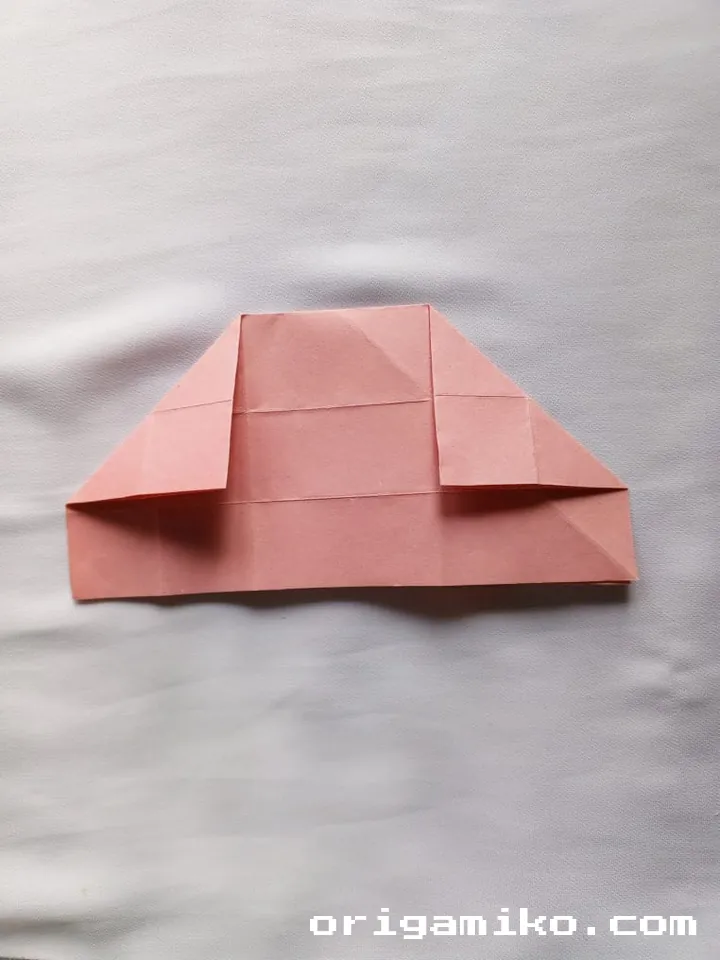
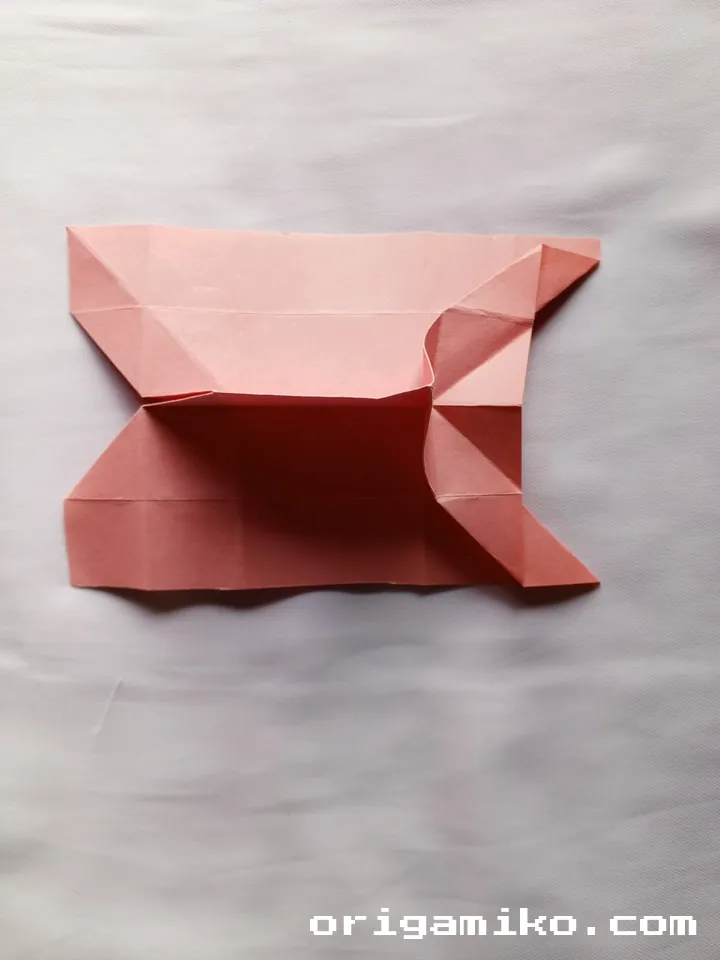
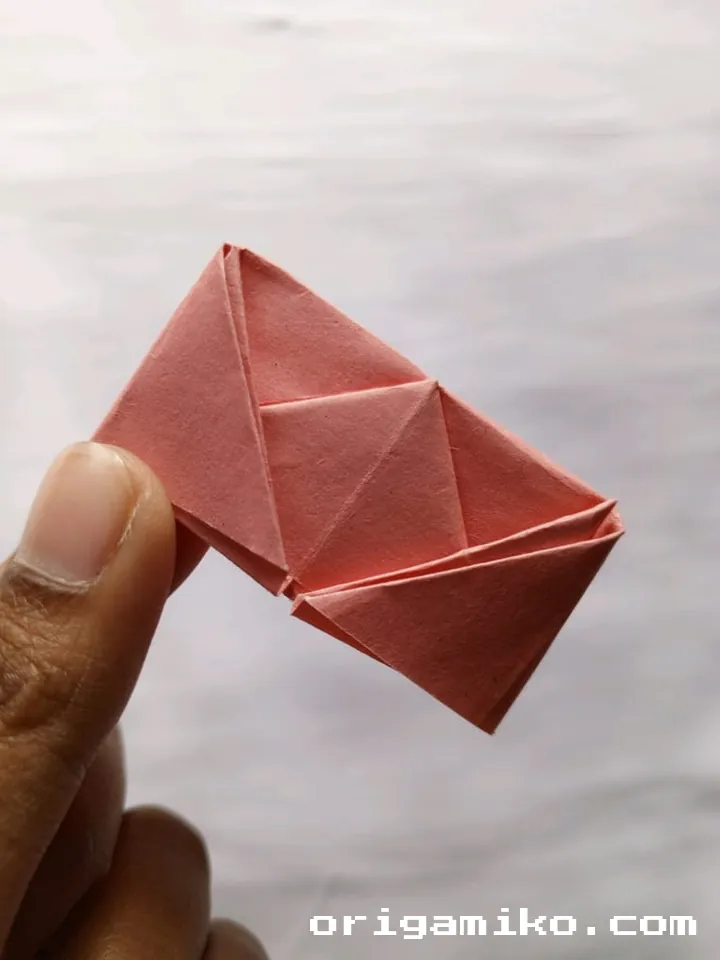
4. Fold both sides inward like shown in diagrams.

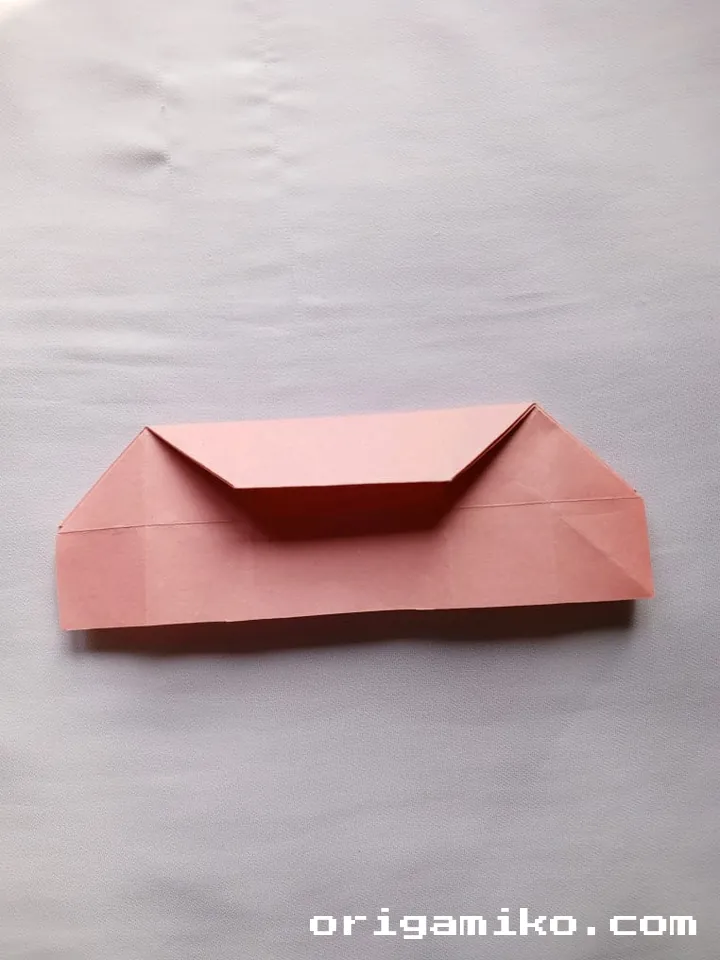
Fold from the top, bringing the edge downward and behind. Think of it like folding flaps toward the back of a book cover.
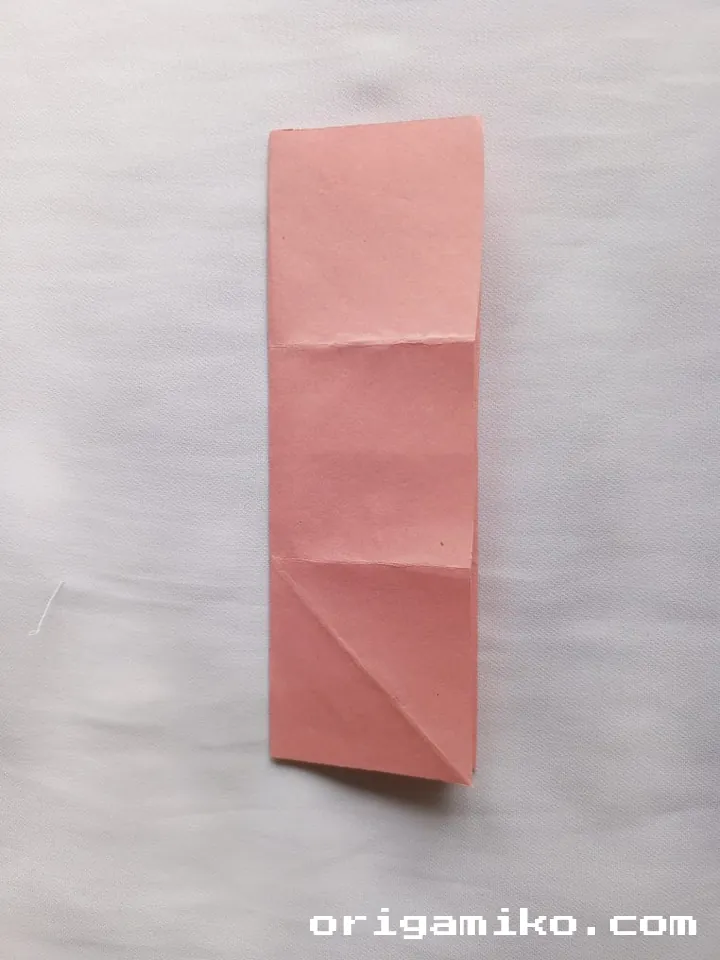
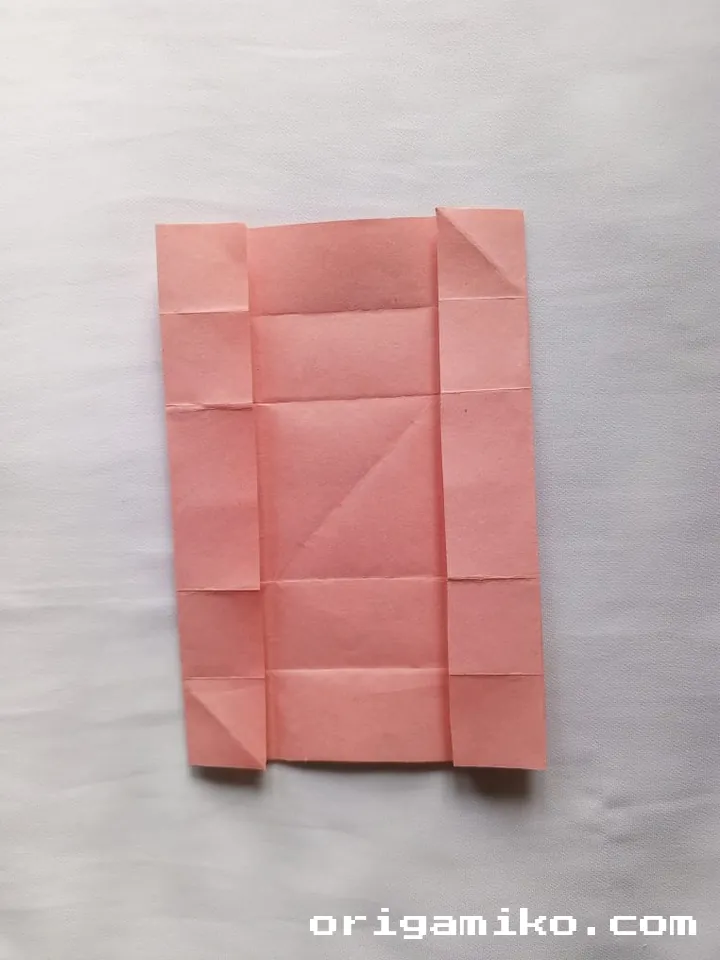
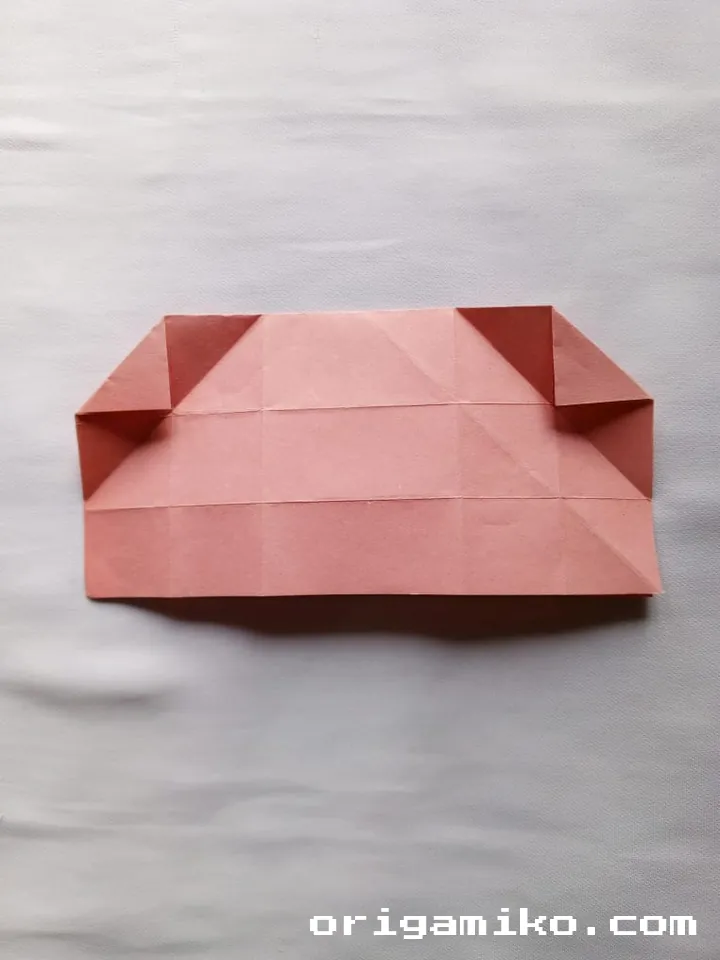
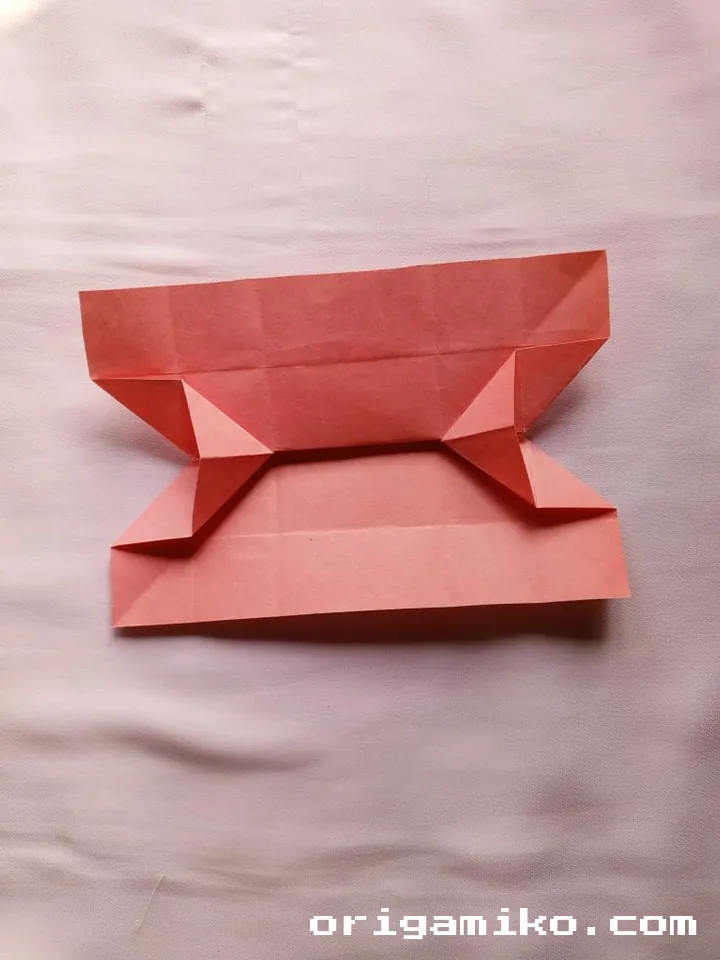
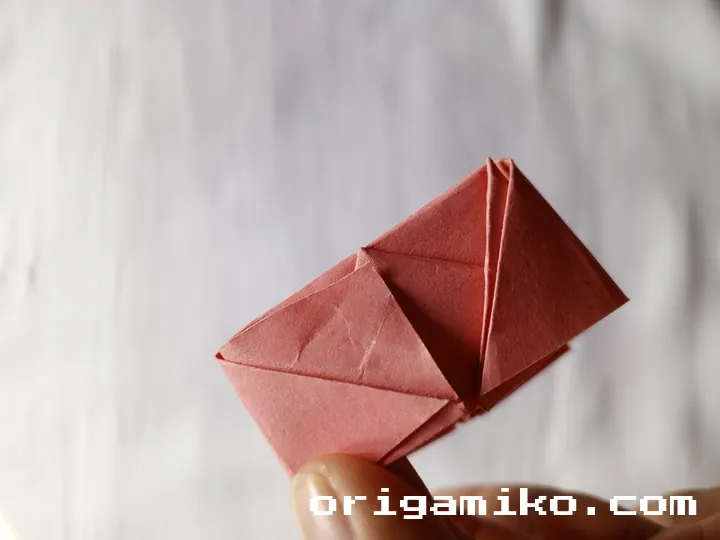
5. Make four more folds—one on each side.
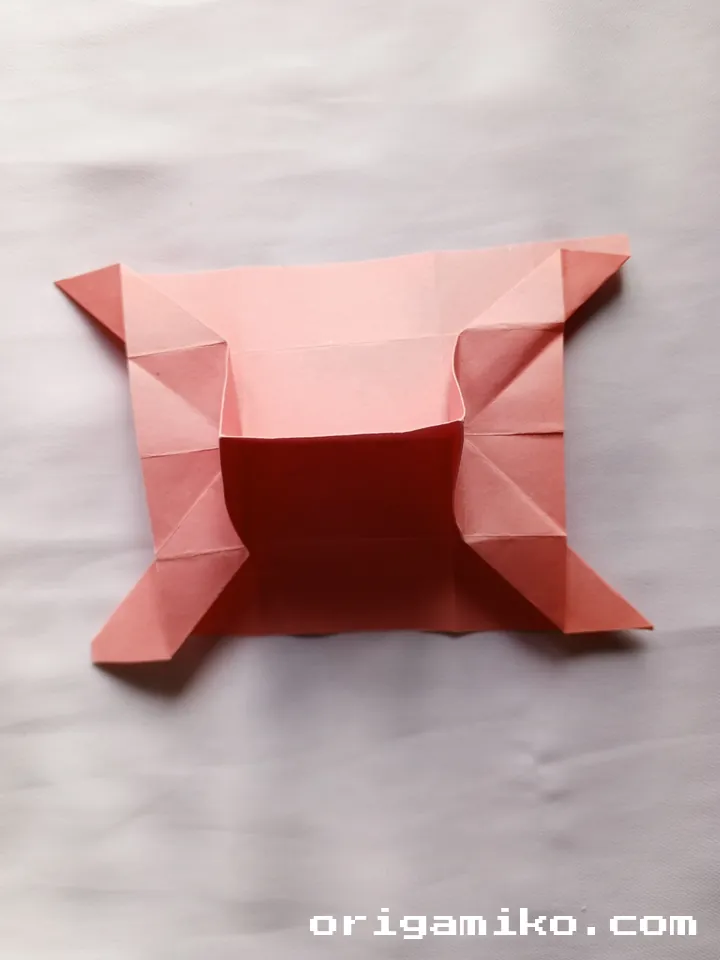
These folds create the side walls and inner structure of your box. Make sure you press each crease firmly. This is where the box starts to take shape.
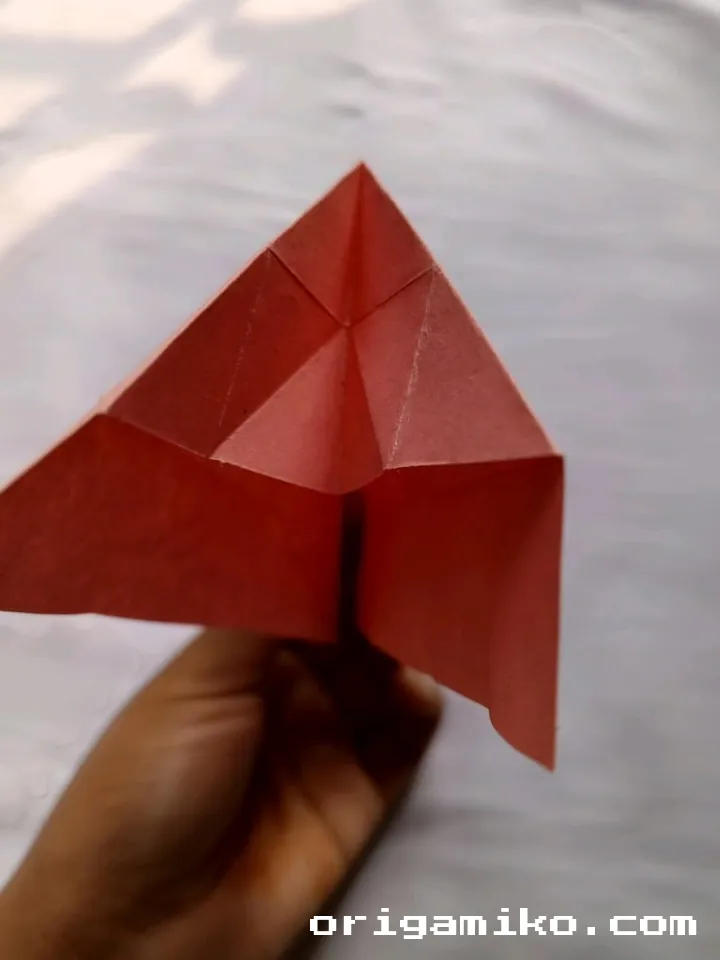
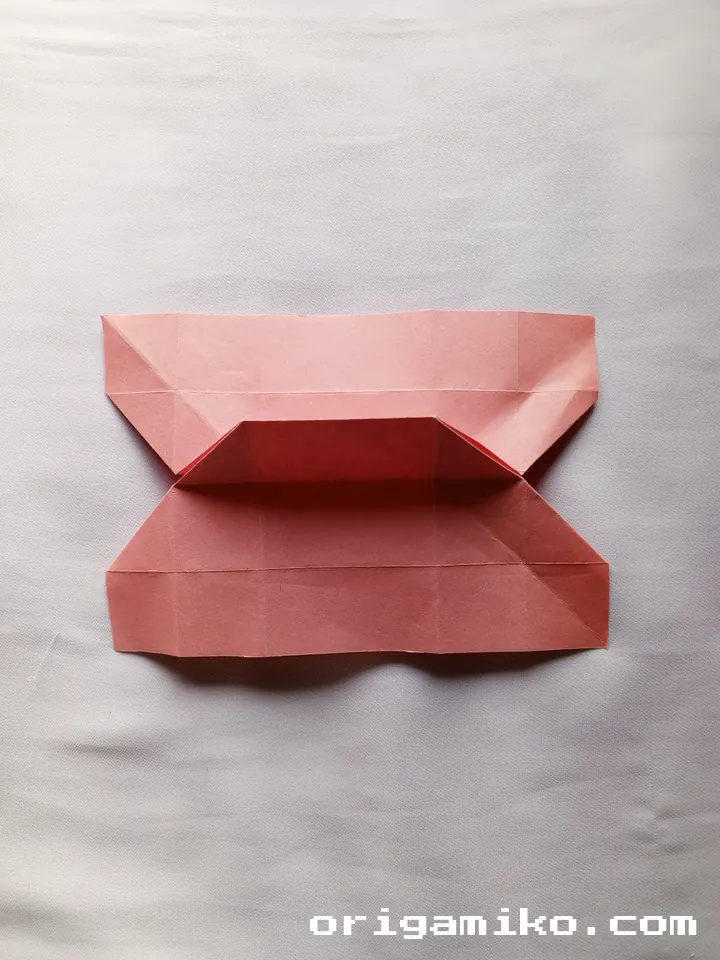
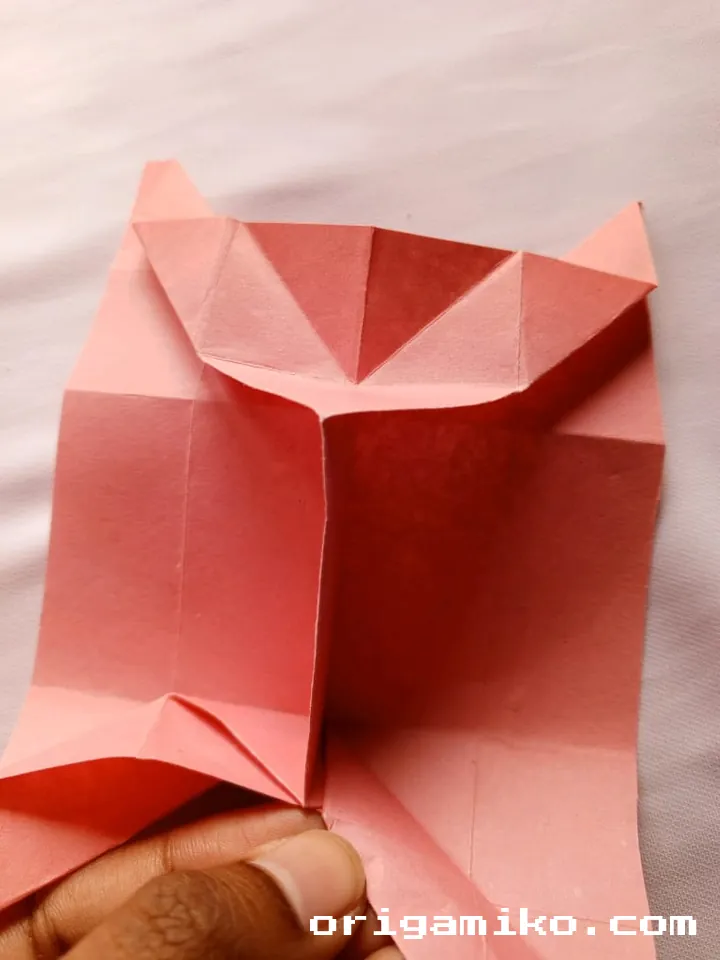
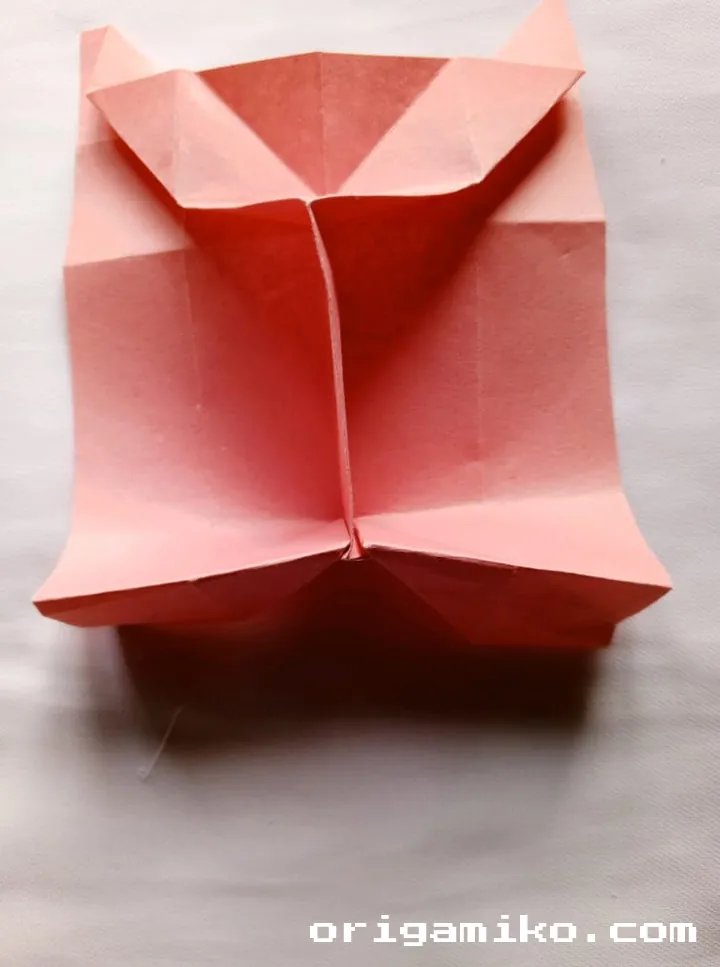
6. Now here comes the magic: fold each corner inward, and tuck it into the opposite side.
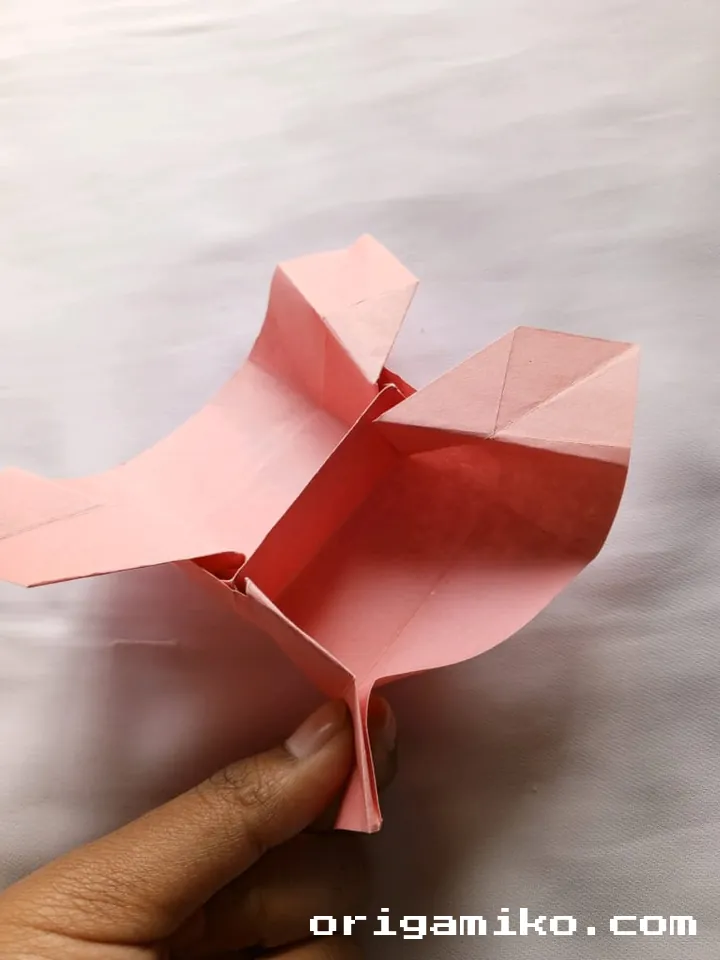

Once you’ve folded all four corners, the box will naturally stand up—and voilà, you’ve made a box with dividers inside!
Tips for Success
These will help your Origami divider box come out super crisp and functional:
- Pre-crease carefully: Every fold counts. Take your time in the beginning to make precise base folds.
- Use thicker origami paper: The stronger the paper, the sturdier your final box.
- Sharpen your folds: Use a ruler or bone folder to press creases if needed.
- Start fresh if needed: If your folds go wrong early, it’s okay to start over. That’s part of learning.
Common Mistakes and How to Avoid Them
- Crooked base folds?
That’ll throw everything off. Line up the corners perfectly every time. - Paper tearing?
You’re probably using thin paper or pressing too hard. Switch to quality origami paper and be gentle. - Box won’t stay up?
Maybe the folds aren’t crisp enough. Go back and reinforce each crease firmly.
Similar Variations You Can Try
Once you’ve got the hang of this easy Origami divider box, try branching out:
- Origami pencil tray – Long, narrow box for your pens.
- Six-part divider box – For more compartments.
- Origami stacking boxes – Make several of these and stack them up.
These projects build on the same skills—folds, symmetry, patience.
FAQs
Q: Can I use smaller paper?
Yes, but your box will be tiny. Stick to 12″x12″ if you’re just learning.
Q: Do I need glue?
Nope! The folds are designed to lock the box together naturally.
Q: What’s the paper folding style called?
This one’s a form of modular origami—but we do it with a single sheet, so it’s beginner-friendly.
Q: Can I decorate it afterward?
Absolutely! Washi tape, stickers, or even markers work great once it’s folded.
Final Thoughts
Making an Origami divider box is way more satisfying than you’d expect. It’s simple, clean, and honestly—pretty relaxing. You fold, you focus, and before you know it, you’re holding something useful in your hands.
Whether you’re here for fun, stress relief, or organizing your desk, this simple divider box step by step tutorial gives you everything you need. So grab that square sheet and start folding—you’ve got a box to make!
And remember—the next time someone asks how to make a divider box, you’ll already have the answer (and maybe a folded sample to show off).