

Ever wonder how to make a Minecraft Creeper out of paper that actually looks cool? I did too—and I was surprised how fun (and simple!) it turned out to be. Stick with me, and we’ll turn flat paper into a pixelated 3D legend.
This isn’t just any fold-and-forget kind of craft. We’re talking about the iconic Minecraft Creeper, brought to life using origami. And trust me—it’s easier than beating the Ender Dragon without armor.
The best part? You don’t need fancy tools or secret skills. Just follow my step-by-step guide and let your fingers do the folding.
What Are We Making?
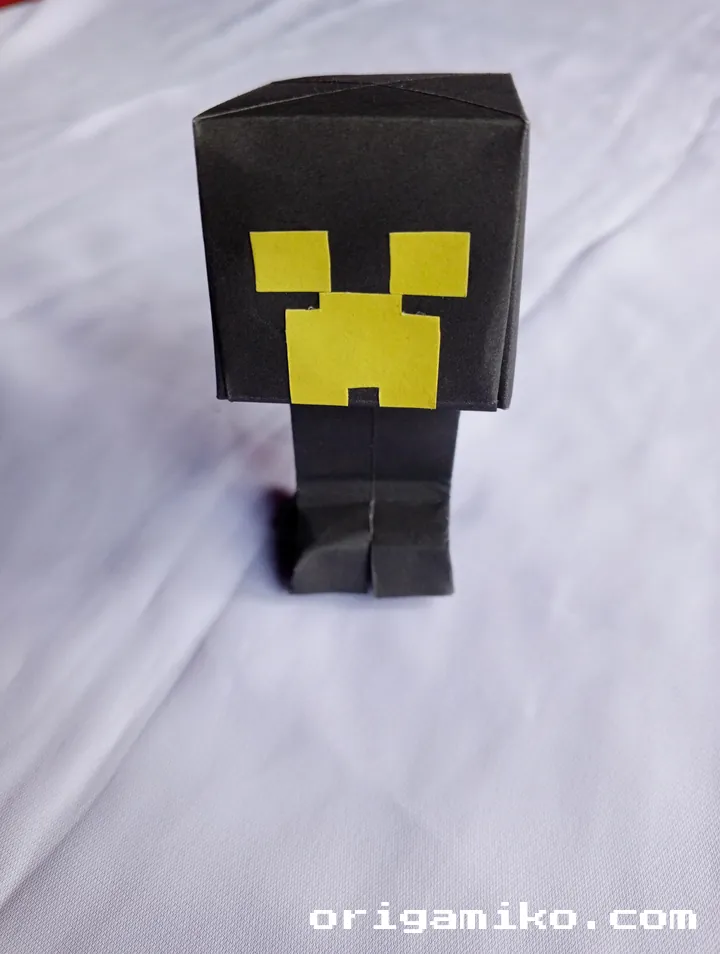
We’re creating an easy Origami Minecraft Creeper—yep, the classic green menace from the pixelated universe. Only this time, it’s made from paper and tape, not TNT.
What’s cool about this?
- It’s 3D.
- You can stand it up on your desk.
- It’s a fun paper folding challenge for beginners and pros alike.
If you’re new to origami or just a Minecraft fan looking for a creative project, this one hits the sweet spot. Plus, when you’re done, you’ve got a Creeper that won’t blow up your room.
Materials Needed
Let’s get the gear right before we dive in. Here’s a detailed breakdown of what you’ll need:
| Material | Details | Why It Matters |
|---|---|---|
| Square Paper | 15″ × 15″, green colored or Creeper patterned | Forms the body of the Creeper |
| Rectangular Paper | Roughly half of the square sheet size | Used for the legs and lower section |
| Scissors | Any regular pair | For a quick bottom cut at the final step |
| Tape | Transparent tape or origami glue | Helps hold parts together cleanly |
| Flat Surface | Table, desk, or craft board | Ensures crisp, accurate folds |
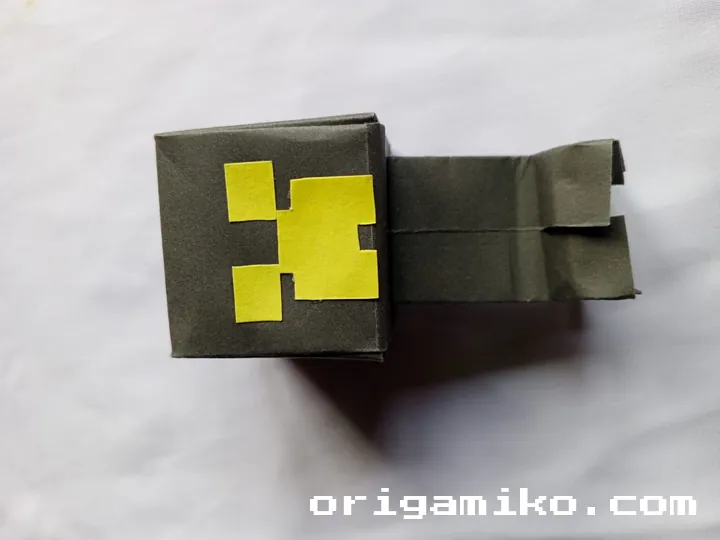
Pro tip: If you’re going for that true pixel look, print a creeper face on the paper before you fold. Adds character.
Key Origami Terms
Before we begin, let’s break down a few simple terms you’ll see as we go:
- Fold and unfold: Bend the paper to make a crease, then flatten it back out.
- Corner fold: Bringing the corner toward the center or another marked point.
- Middle fold: Folding the paper in half, either vertically or horizontally.
- Crease: The line left by folding—essential for guiding other folds.
Now that we’re all set, let’s build our paper Creeper step by step.
Simple Minecraft Creeper Step by Step
Here’s exactly how to make a Minecraft Creeper with nothing but paper, tape, and your hands.
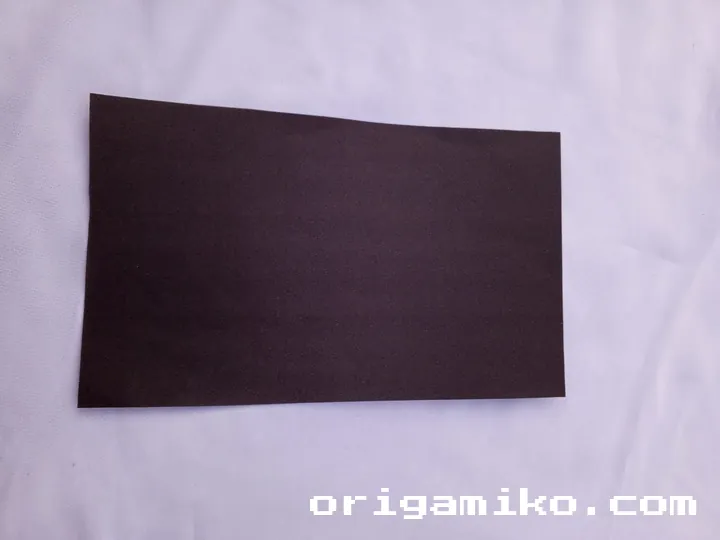
Step 1: Start With a Square
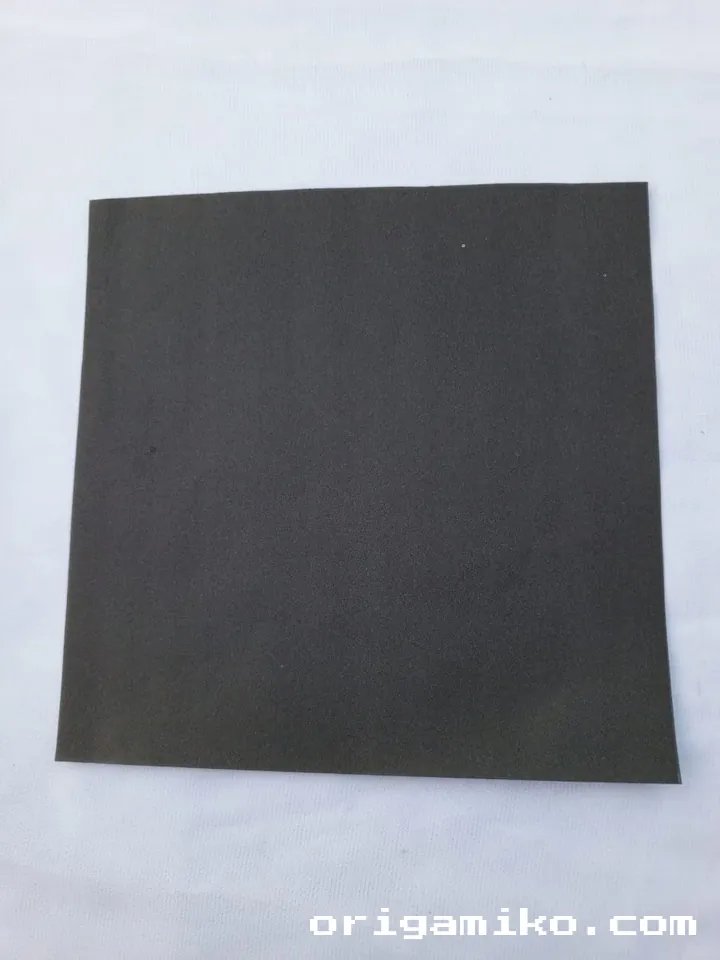
- Take your 15″ × 15″ square sheet.
- Make sure it’s clean and smooth.
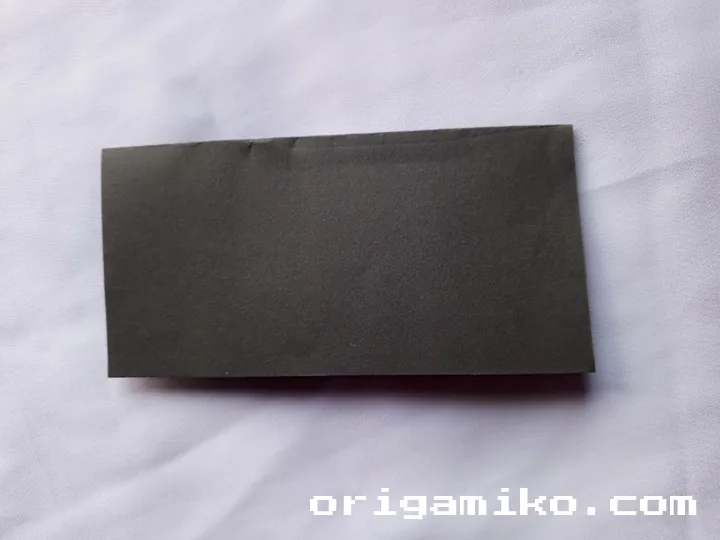
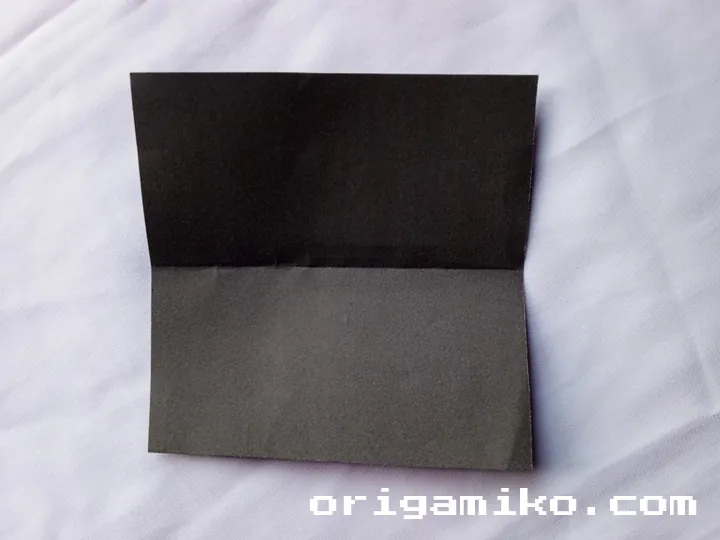
Step 2: Create Center Creases
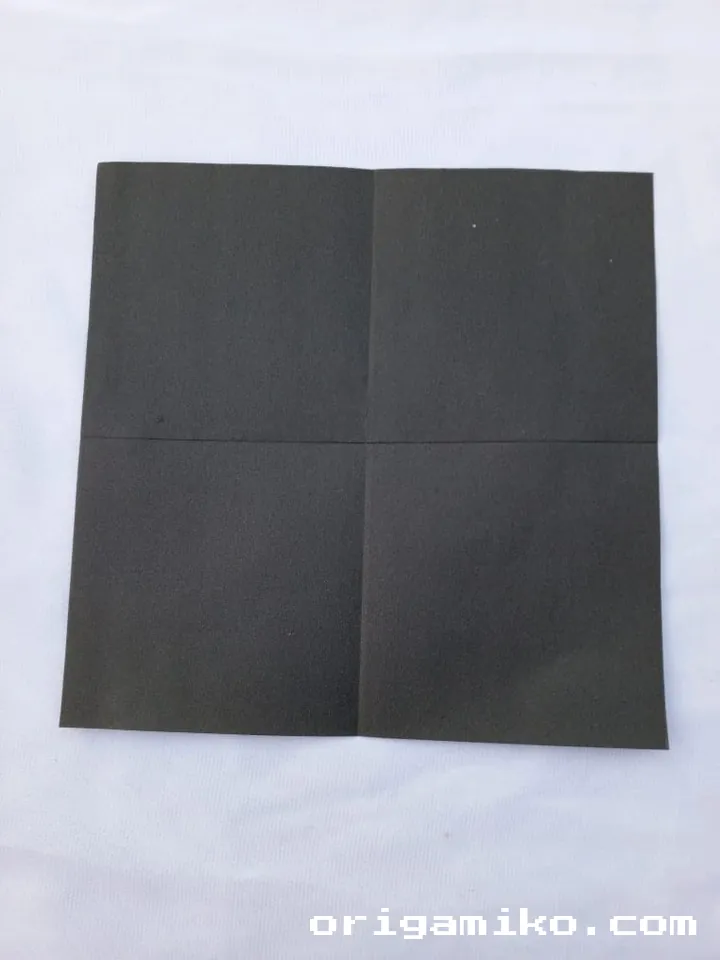
- Fold the square vertically in half. Unfold.
- Now fold it horizontally in half. Unfold again.
- You’ll see a cross crease dividing the square into four parts.
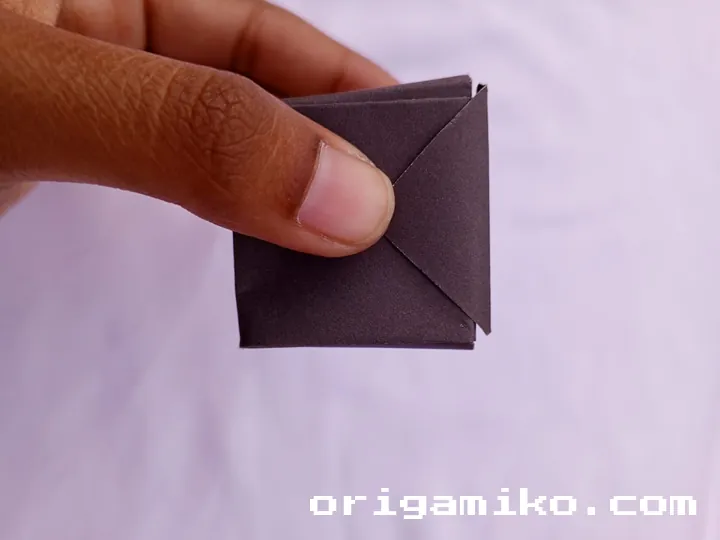
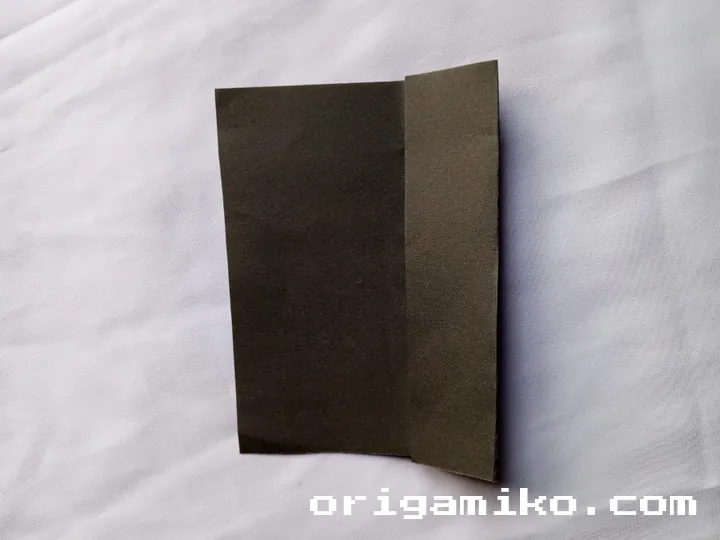
Step 3: Fold Corners Inward
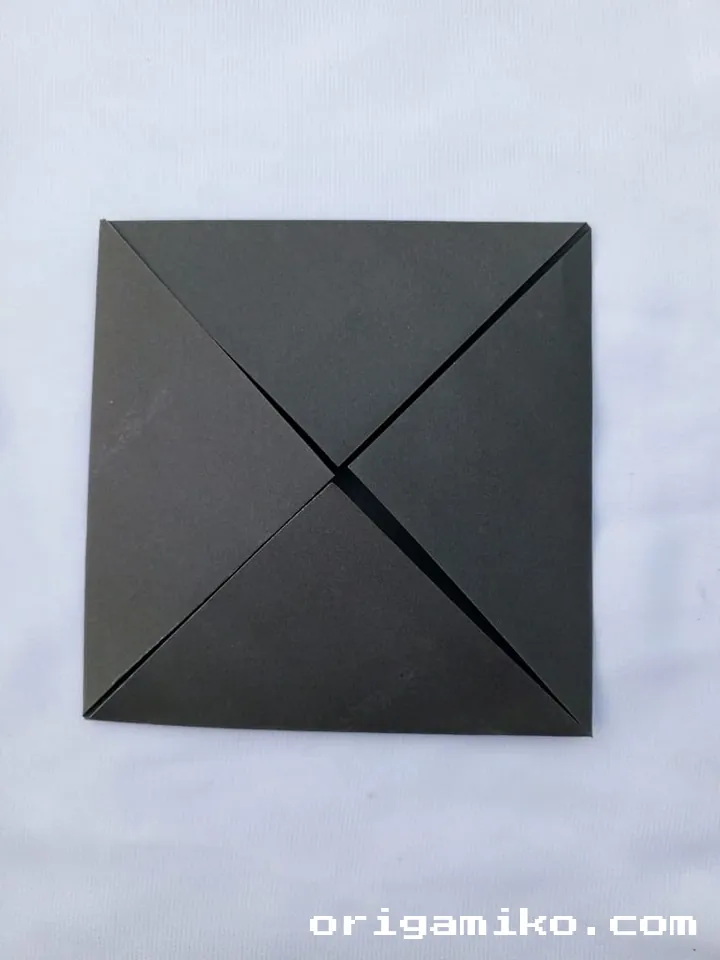
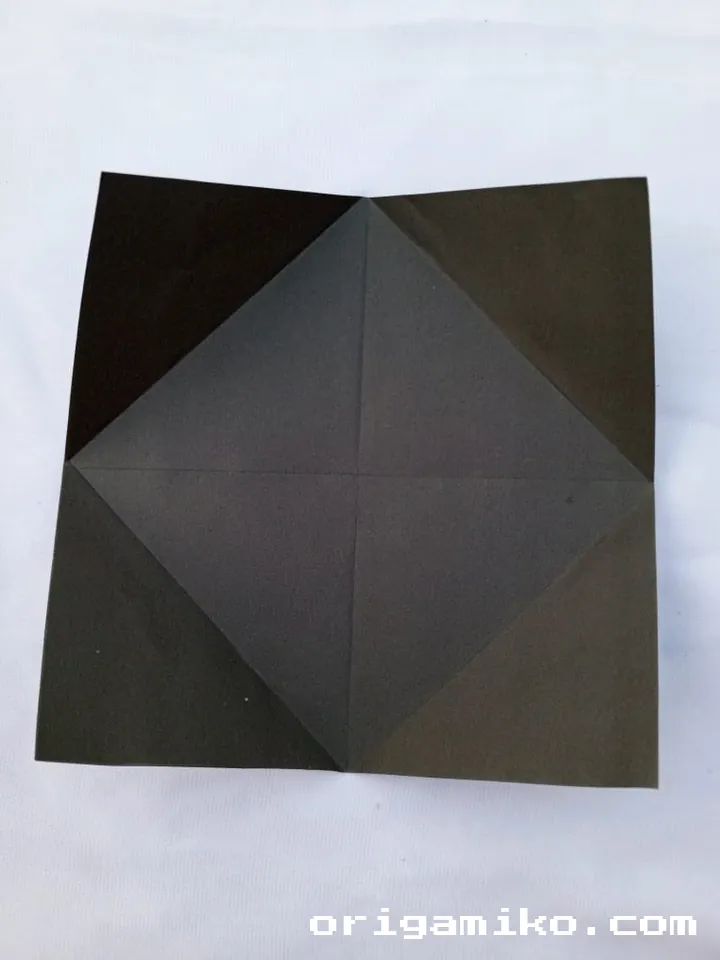
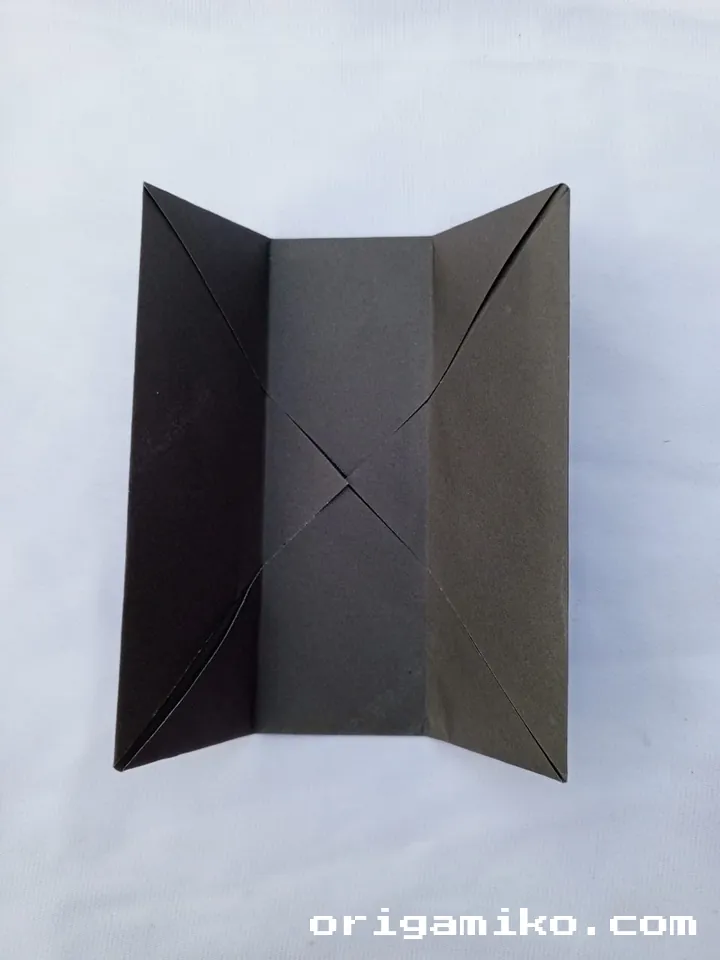
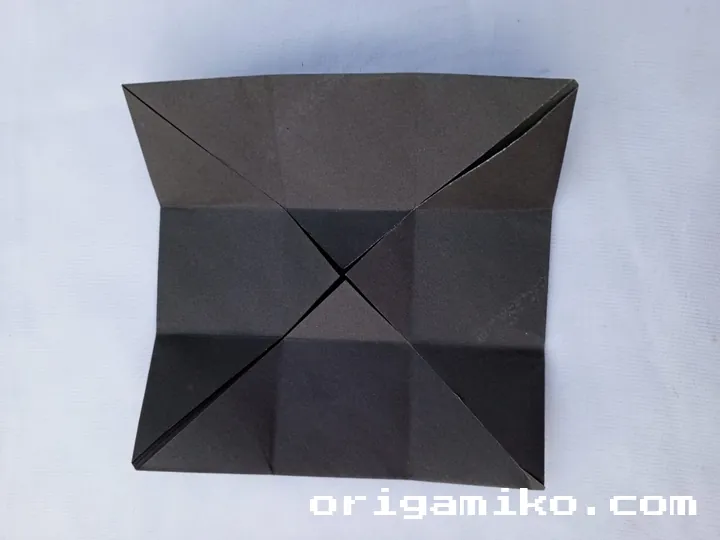
- Fold all four corners into the center point (where the vertical and horizontal creases meet).
- Unfold.
- Now do this again two more times:
- Re-fold all four corners to the center and unfold.
- Repeat one more time and unfold.
These repeated creases help later in shaping the 3D box.
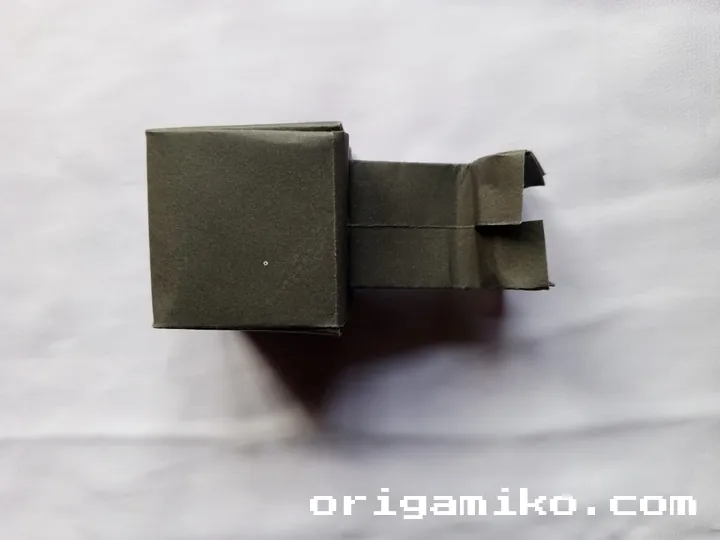
Step 4: Make the Creeper Box
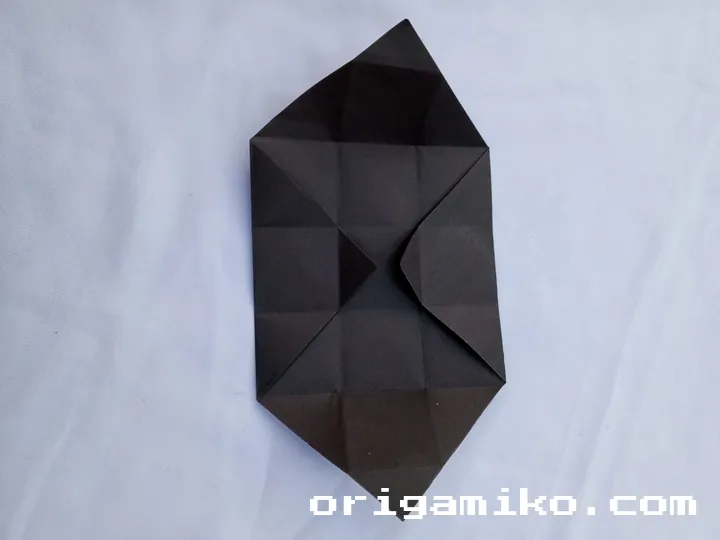
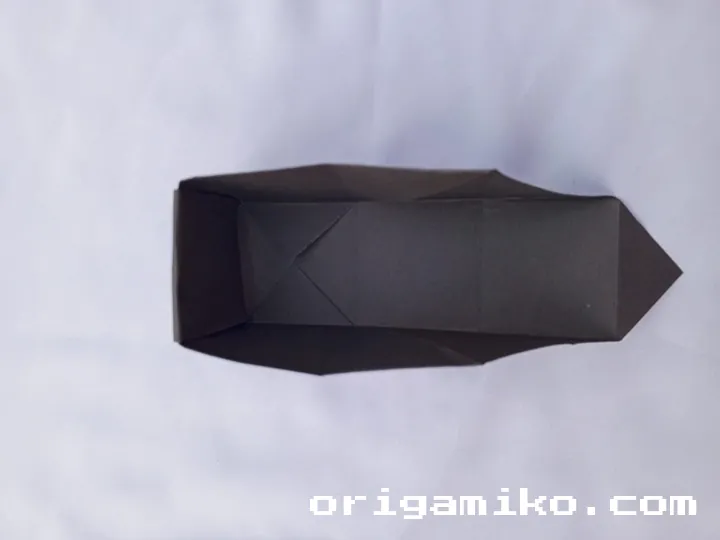
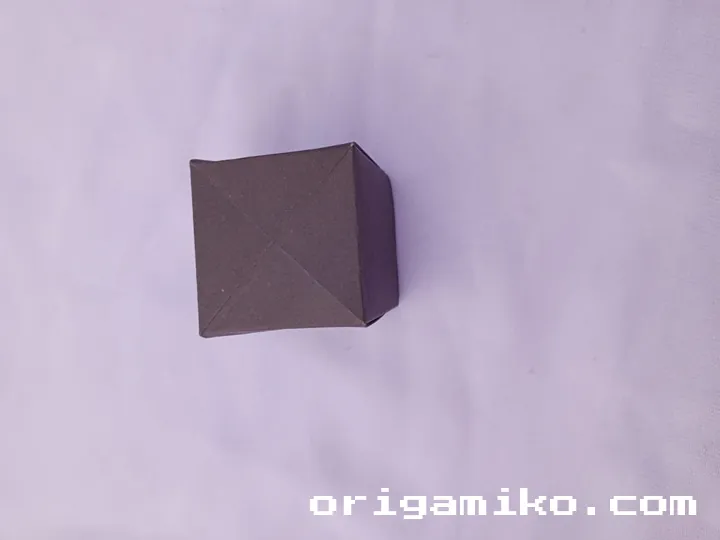
- Open up the top two corner folds.
- Use the pre-folded lines to raise and shape the sides into a box form.
- Secure the open flaps at the top with tape to lock the structure.
Boom! That’s the Creeper’s head and torso done.
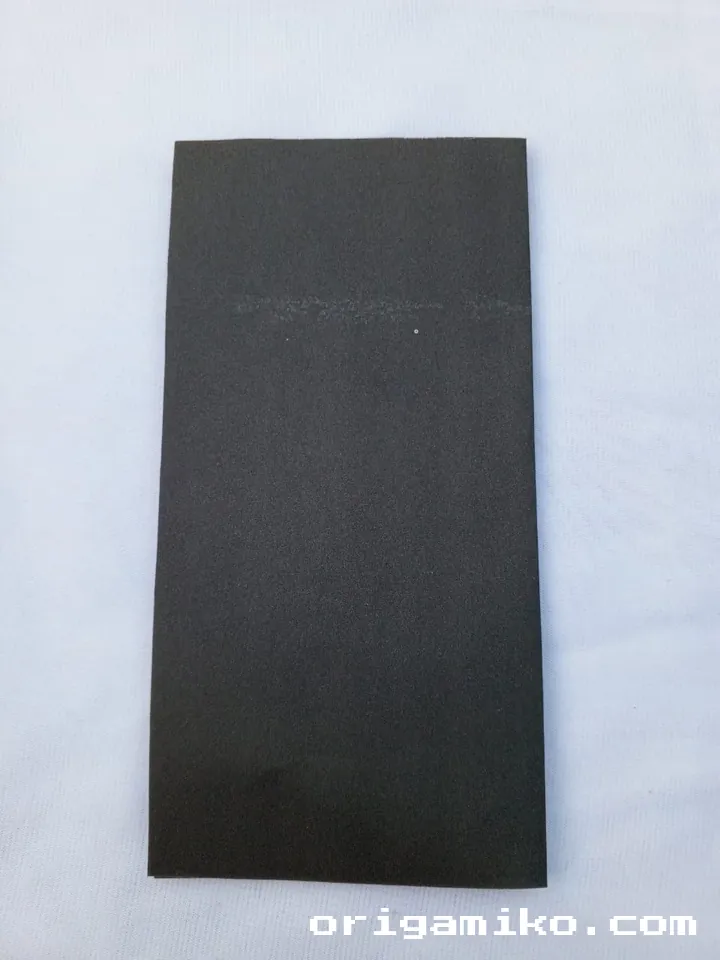
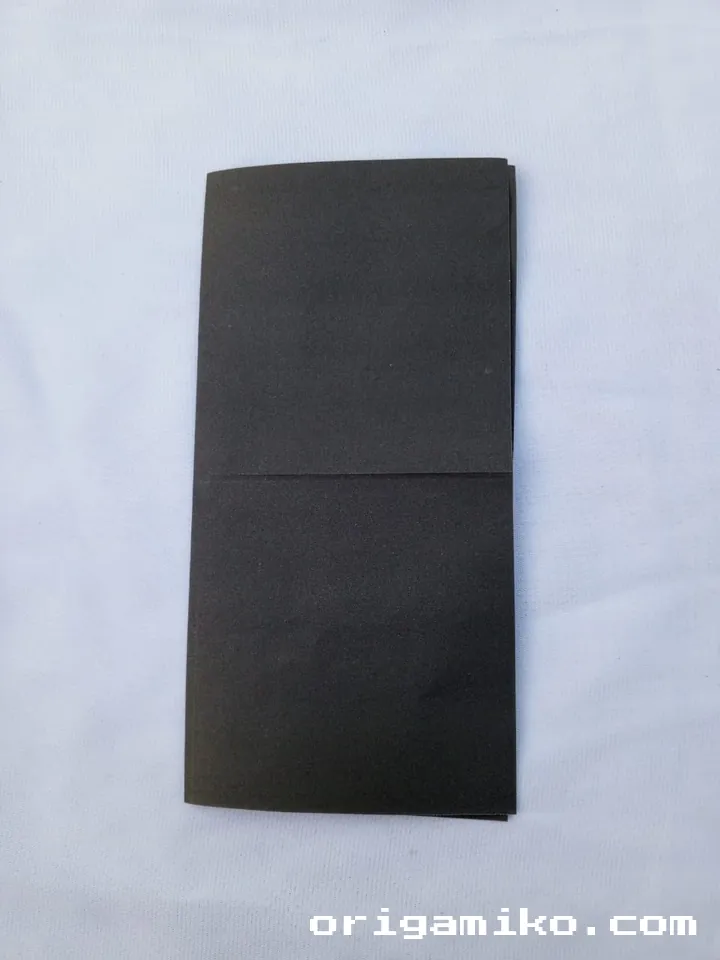
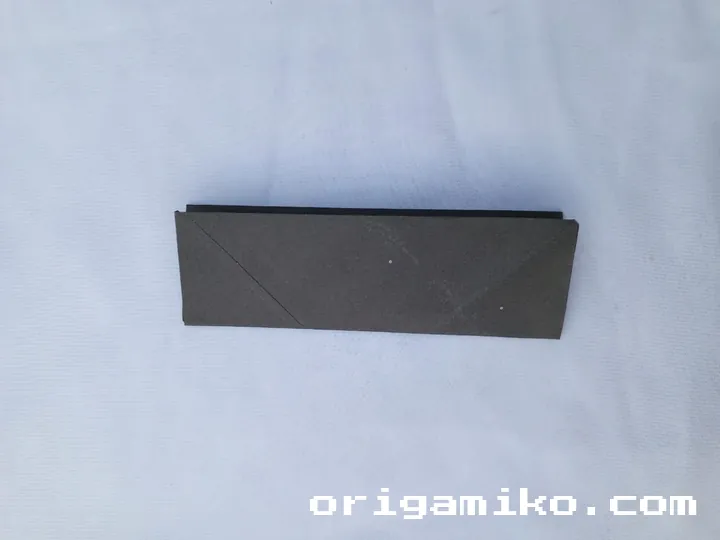
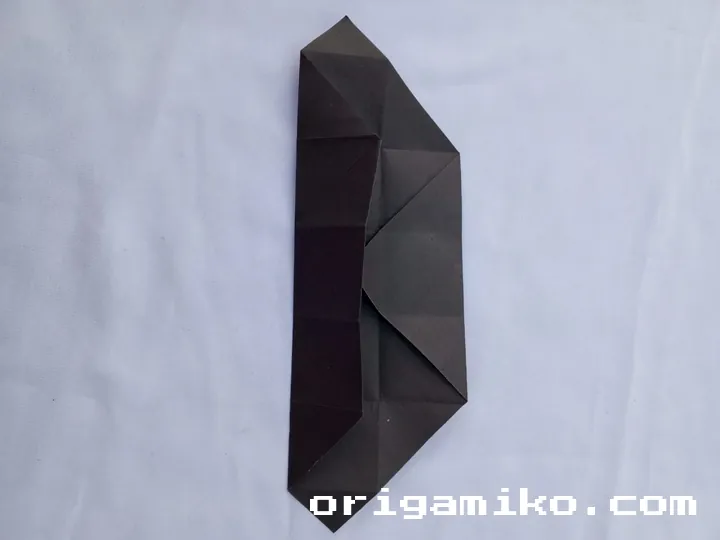
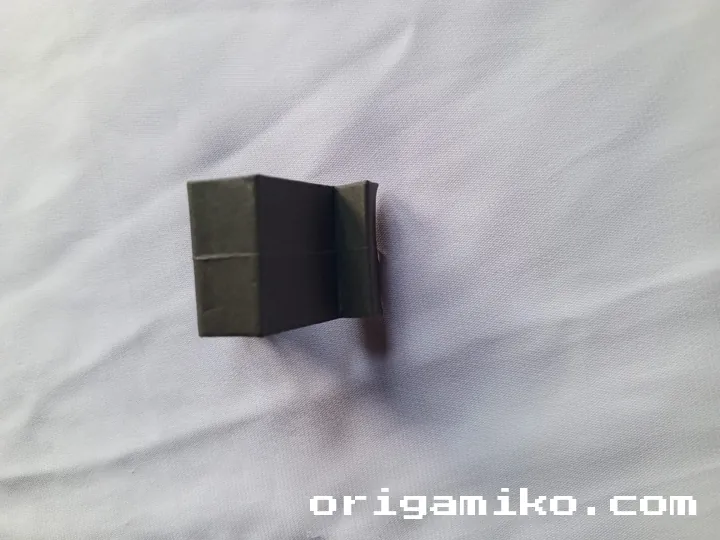
Step 5: Prepare the Legs

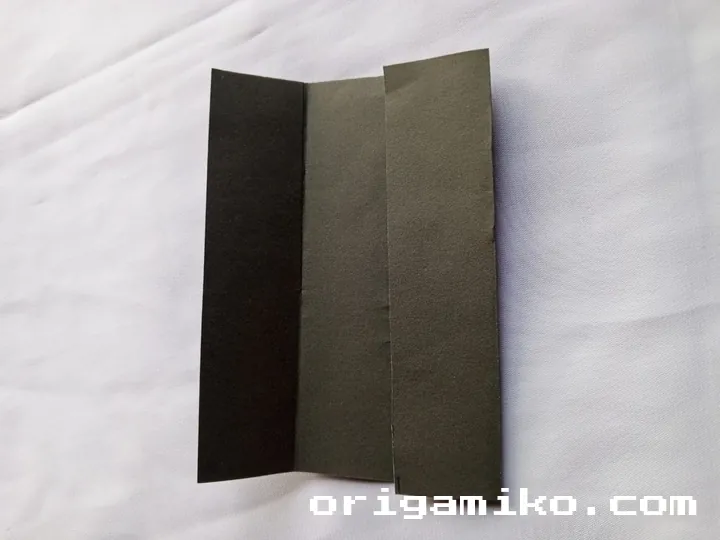

- Take a rectangular piece of paper.
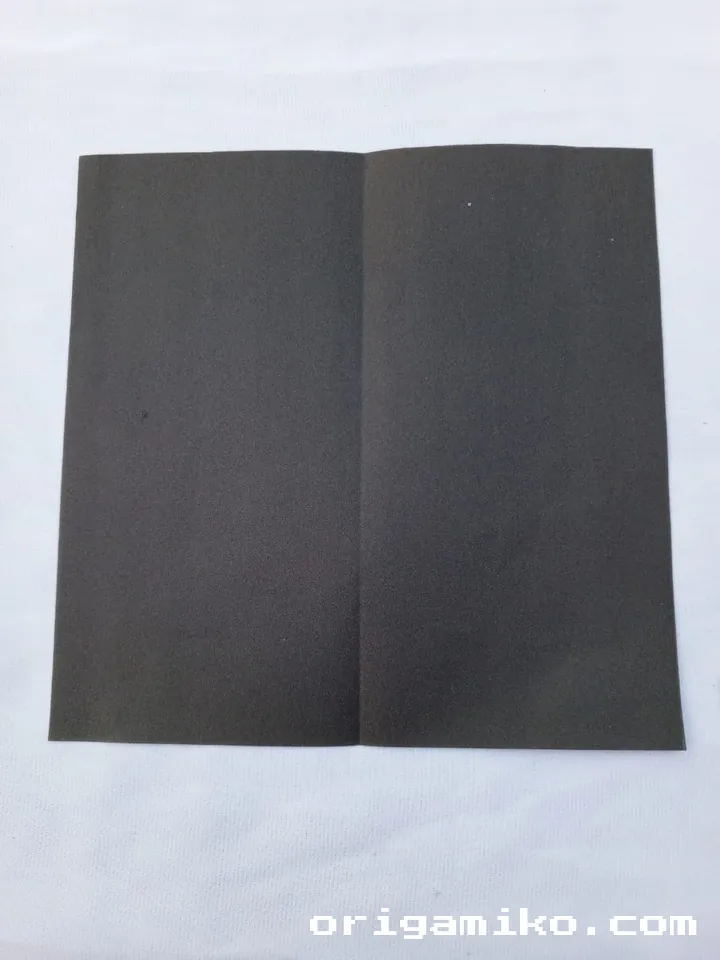
- Fold it in half horizontally and unfold.
- Now fold both sides toward the middle crease and unfold.
- You should see three vertical sections.
- Make two vertical folds to separate what will be the legs.
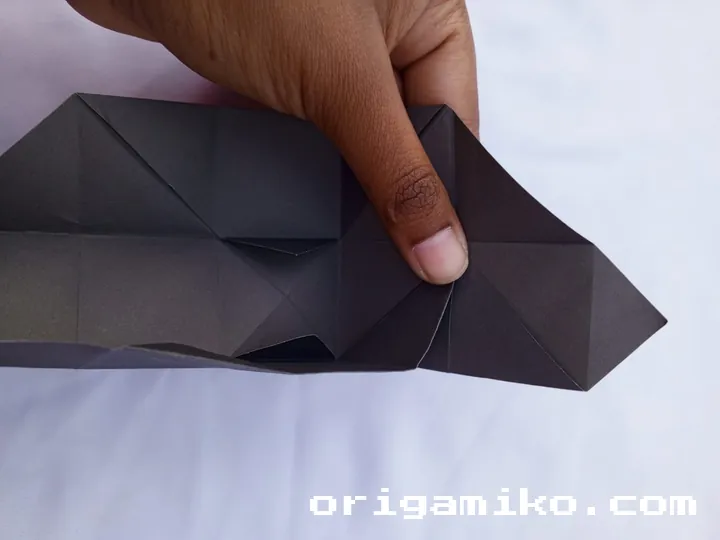
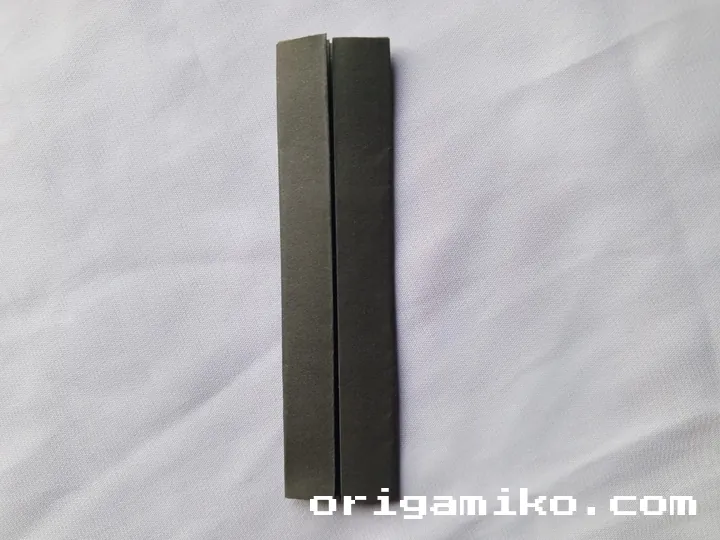
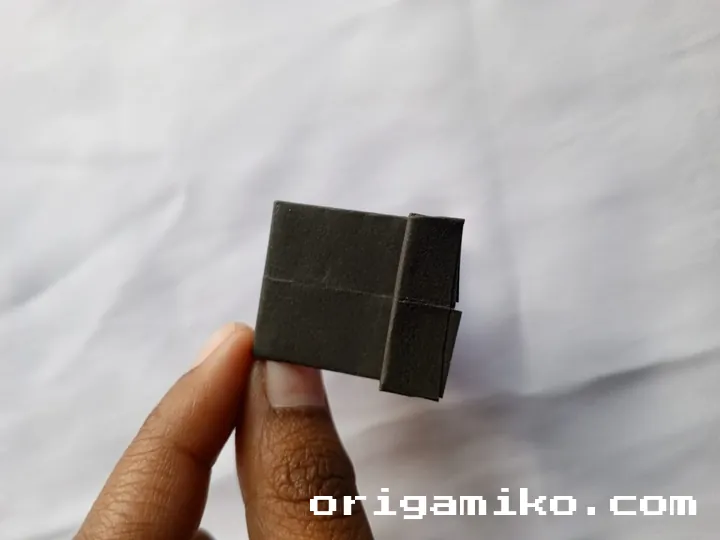
Step 6: Add Structure to the Legs
- Leave a 1 cm space at the bottom.
- Fold the paper in half horizontally.
- Then do the same fold from the top side.
This gives the leg section a boxy feel, like Minecraft characters.
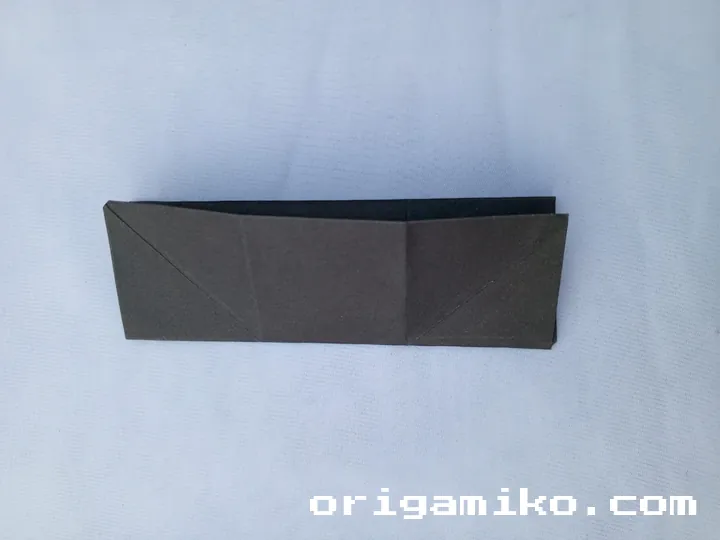
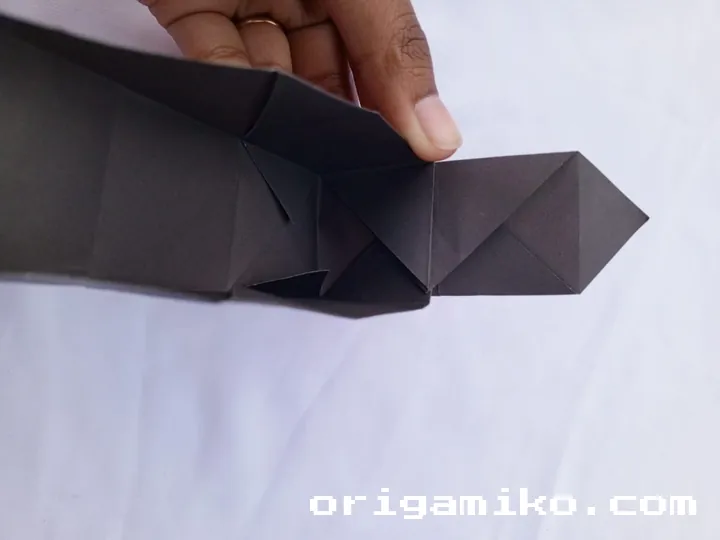
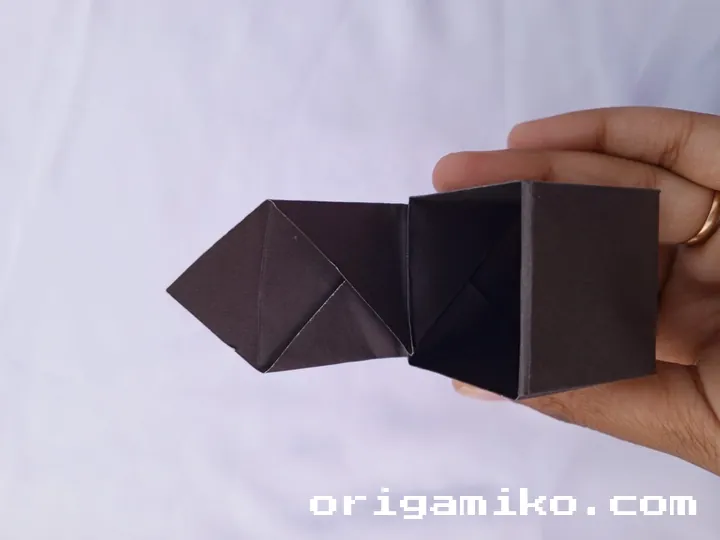
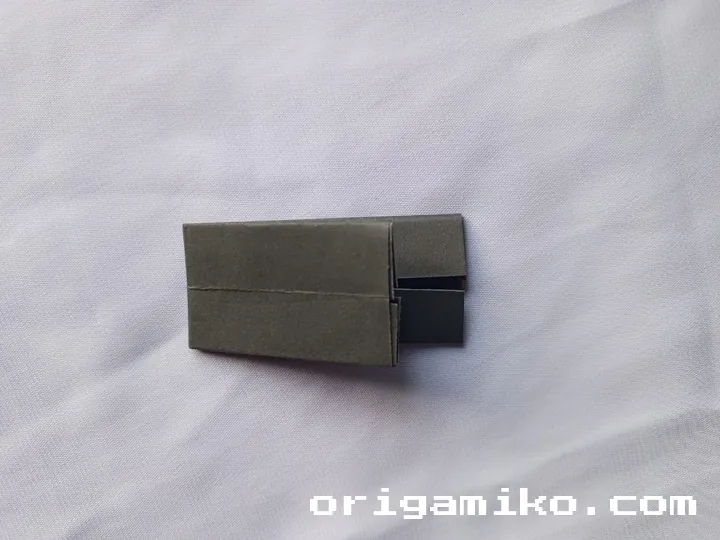
Step 7: Shape and Finish
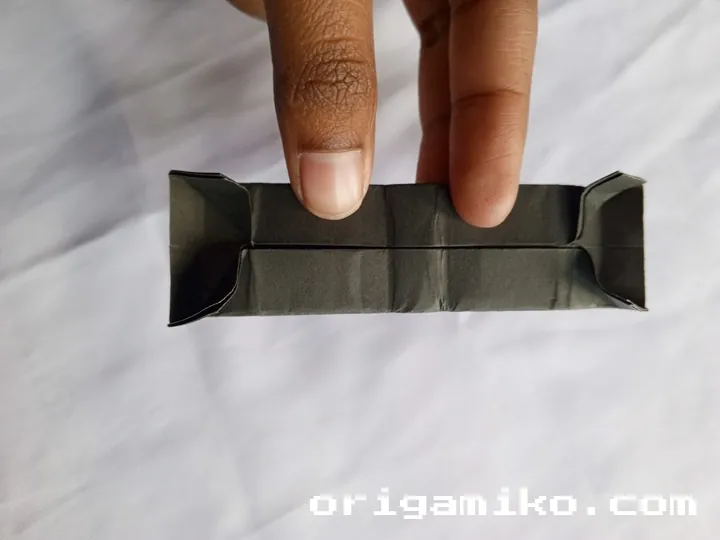
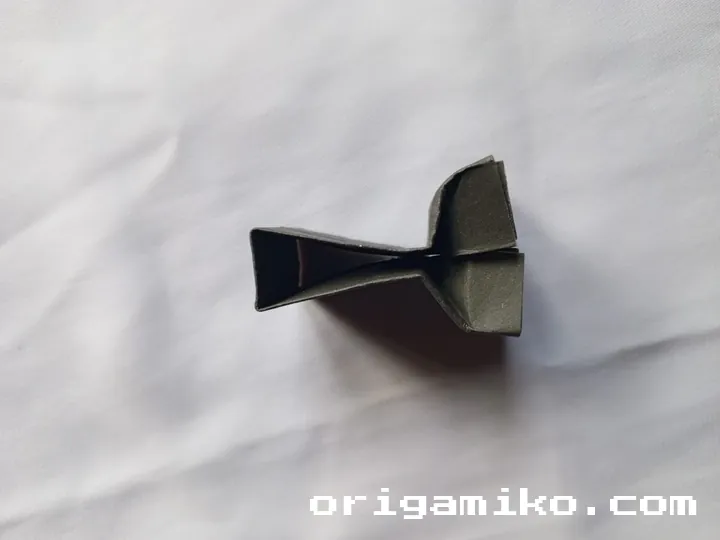
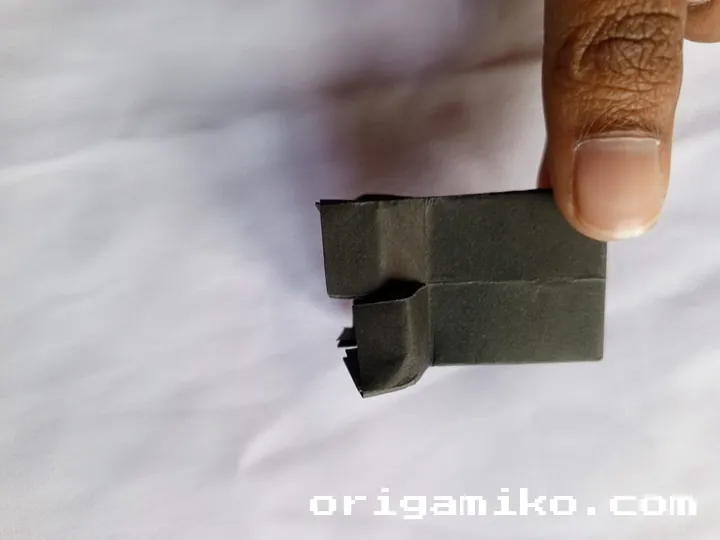
- Follow the folds you’ve created and shape the legs to match a Creeper’s base.
- Make a cut at the bottom (about 1/3 of the way in) to define the feet.
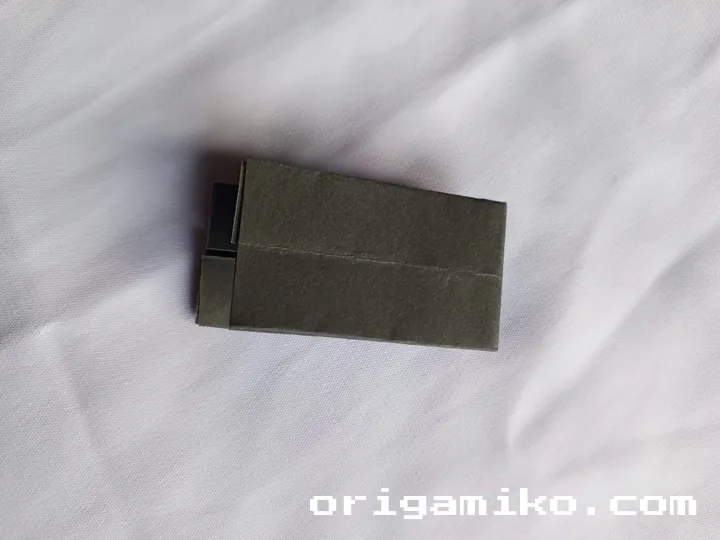
- Attach this leg unit to the torso using tape.
And just like that—your Origami Minecraft Creeper is alive!
Tips for Success
Want to avoid a floppy or wonky-looking creeper? Keep these in mind:
- Crisp folds matter: Use a ruler or bone folder for sharp creases.
- Work slowly: Precision wins over speed every time.
- Use printed Minecraft paper: It adds a lot of character.
- Tape neatly: Place it inside folds if possible, so it’s not visible.
Common Mistakes and How to Avoid Them
Here’s what tripped me up the first time I tried:
- Skipping the repeat corner folds: These are crucial for box shaping.
- Paper too small: If it’s less than 15 inches, it’s harder to manage folds.
- Uneven creases: Align edges carefully when folding.
- Too much tape: Makes it look messy. Less is more.
Variations You Can Try
Once you’ve nailed the original, here are some fun ways to remix your Creeper:
- Mini Creeper: Use 7″ × 7″ square for a pocket-size version.
- Mob Squad: Try folding a zombie or Steve with similar shapes.
- Paint or draw custom skins: Make a rainbow Creeper or a birthday-themed one.
- Glow Creeper: Add glow-in-the-dark tape to the eyes.
Origami lets you remix and reimagine. So feel free to get creative.
FAQs
Q: Can I use construction paper?
Yes, but make sure it’s not too thick or it’ll be hard to fold precisely.
Q: Do I need origami glue?
Nope! Tape works just fine for this project.
Q: What if I mess up a fold?
Don’t stress. Just unfold and try again—paper is more forgiving than you’d think.
Q: Is this suitable for kids?
Absolutely. It’s a great family craft—just help younger kids with cutting and taping.
Final Thoughts
Making an easy Origami Minecraft Creeper isn’t just a fun craft—it’s a journey into creativity, patience, and nostalgic pixel magic. And the best part? You end up with a paper pal who won’t explode on you.
So grab your square paper, take it step by step, and enjoy the process. I’d love to hear how your Creeper turns out—feel free to share your experience or your own origami twists!
And remember, even in paper form, the Creeper is still iconic.