

Are you ready to fold an easy Origami sword? This project is perfect for both beginners and seasoned origami artists. With clear instructions, you’ll soon craft your very own paper weapon and impress your friends!
What is an Origami Sword?
An Origami sword is a fun and simple paper creation that replicates a real sword using the traditional Japanese art of folding paper. It’s a project that anyone, from beginners to experienced artists, can enjoy. With just a few folds, you’ll have a sleek, paper sword in your hands, ready to showcase your origami skills!
Materials Needed
Before we start, let’s quickly go over what you’ll need. Don’t worry, you won’t need any fancy tools or supplies—just a simple sheet of paper!
| Material | Quantity | Description |
|---|---|---|
| 4″ x 8″ Paper | 1 piece | A standard rectangular piece of paper. You can use any type of paper you have on hand. |
Step-by-Step Instructions: How to Make an Origami Sword
Now, let’s dive right into the process! These steps will guide you in folding your very own origami sword. Follow along and enjoy each step!
1. Take a 4″ x 8″ piece of paper
Begin with a rectangular piece of paper. If you have square paper, simply cut it to the size of 4″ x 8″ for the best results.
2. Fold it horizontally and unfold. Fold along the middle line.
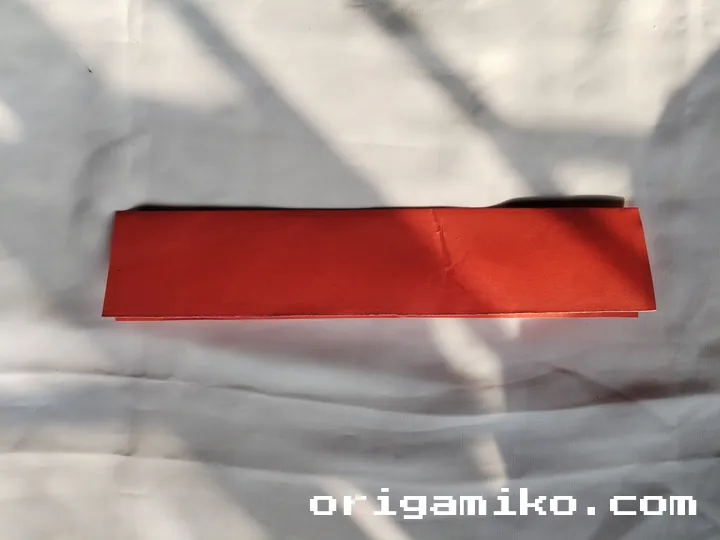
Start by folding the paper horizontally in half. Once you fold, unfold the paper. Then, fold it again along the middle line, ensuring both edges meet in the center.
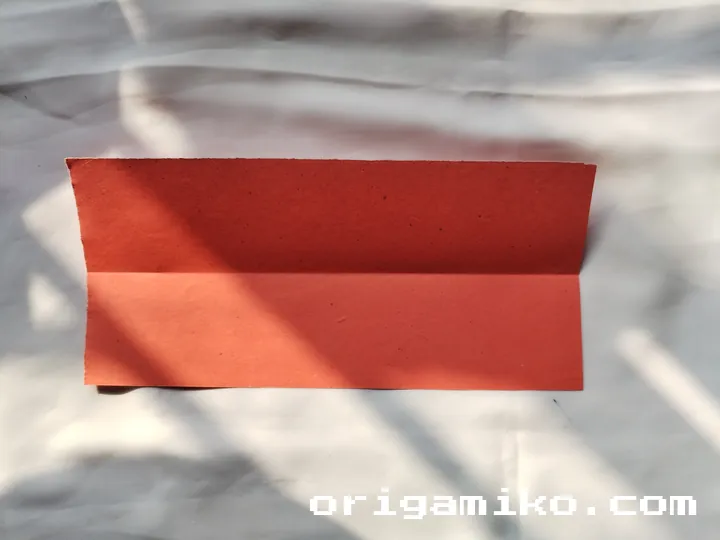
3. Fold it house fold. Now fold again along the line and unfold.
Next, fold the top edge down to meet the middle crease, creating a “house fold.” Once folded, unfold the paper to set up the next steps.
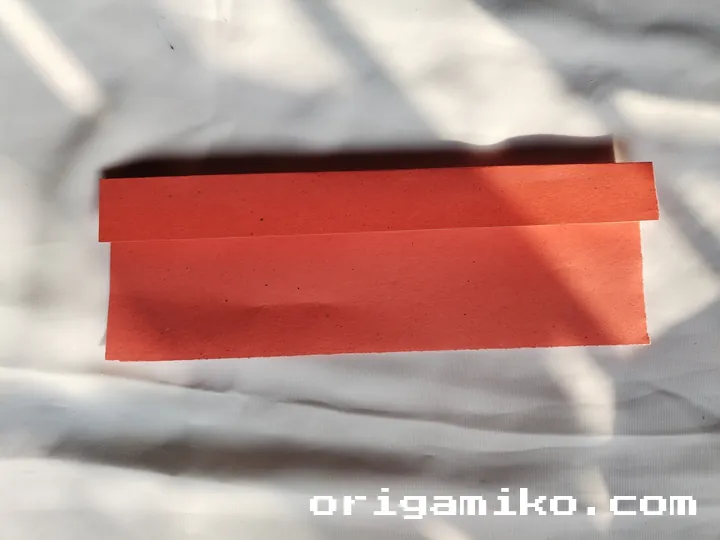
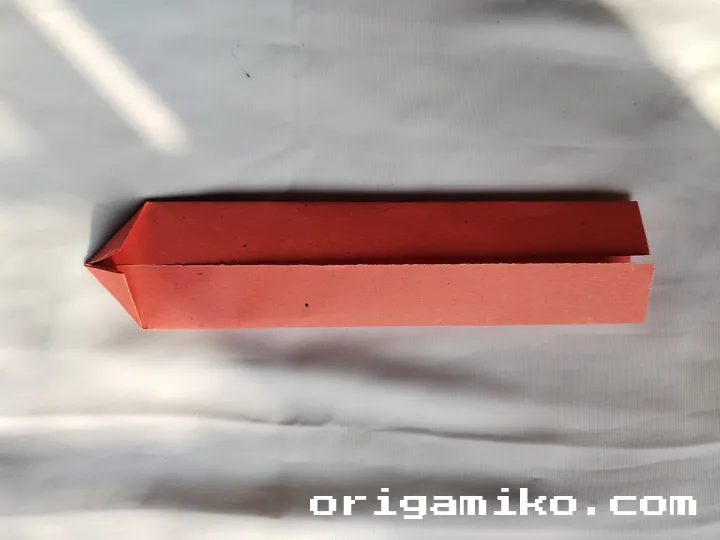
4. Turn the paper upside down. Bring your paper upwards and fold it.
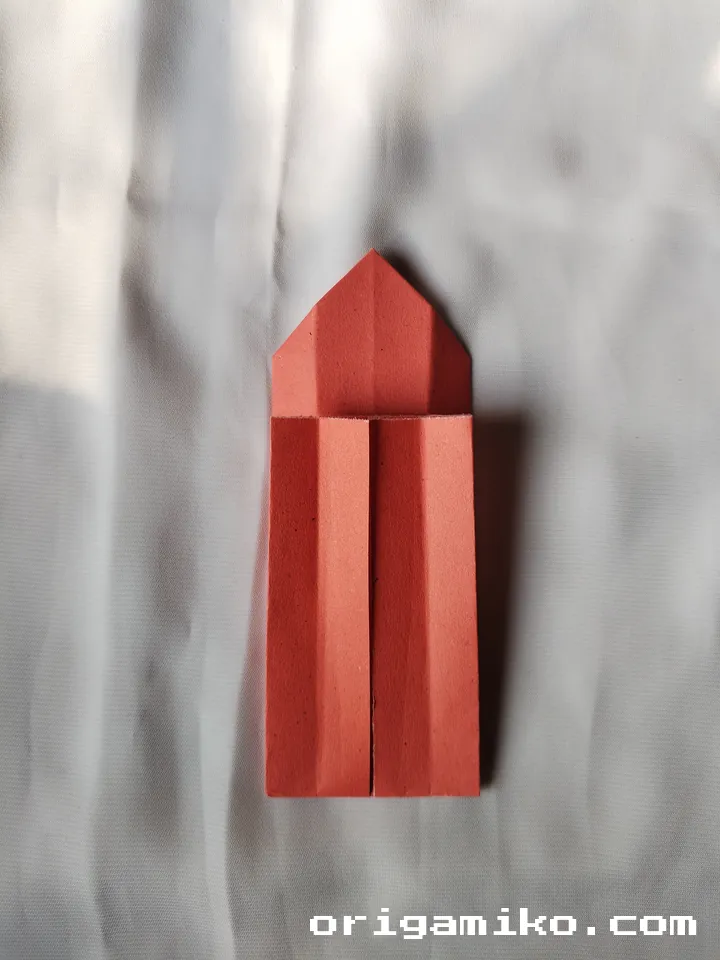
Flip the paper upside down. Now, fold the top part upwards along the middle crease, ensuring it stays aligned.
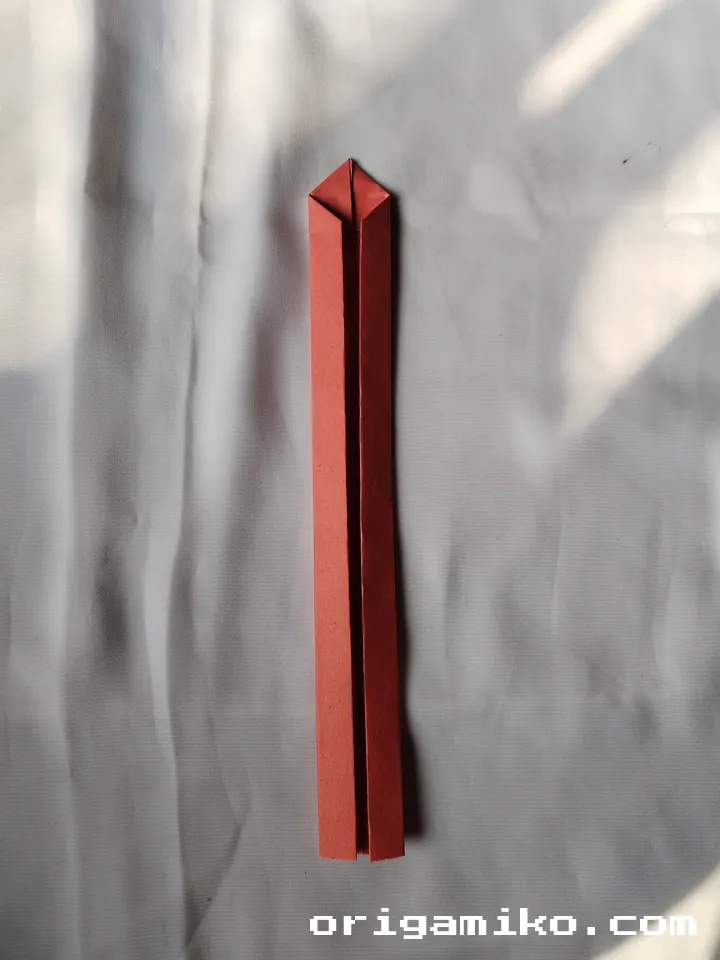
5. Straighten the paper and fold the top paper again along the center line.
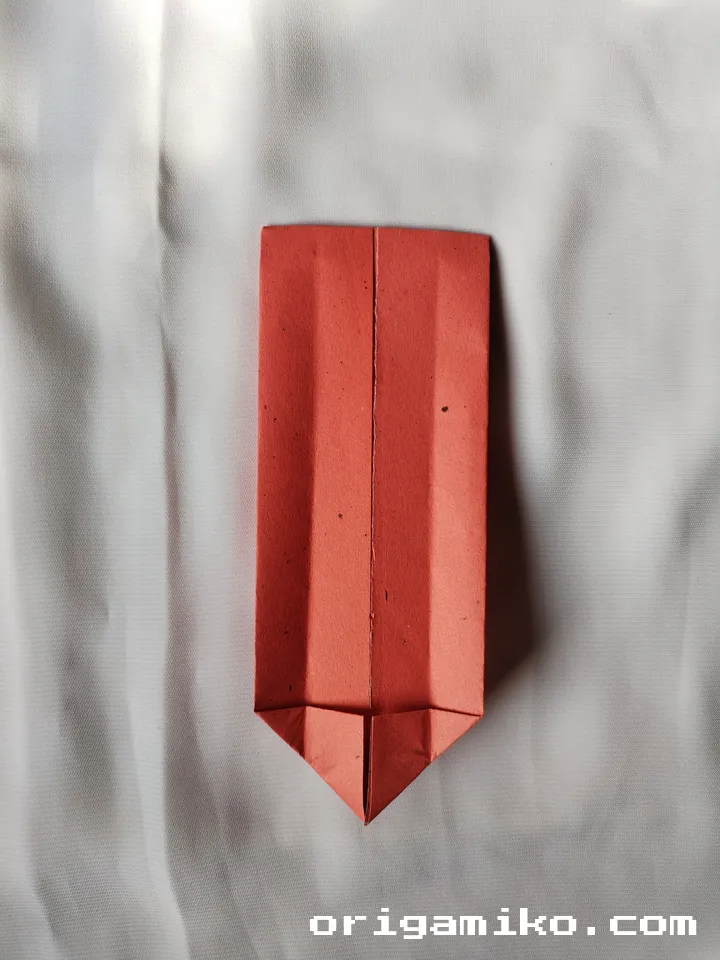
After straightening out the paper, fold the top edge again along the centerline to form the top part of your sword’s handle.
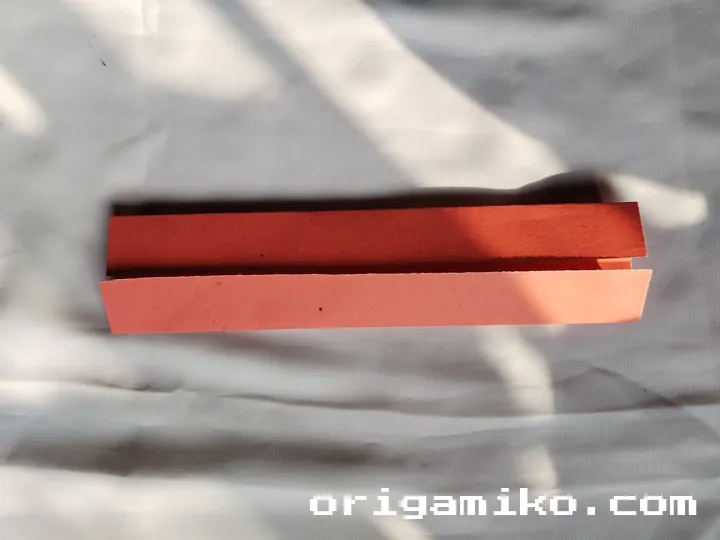
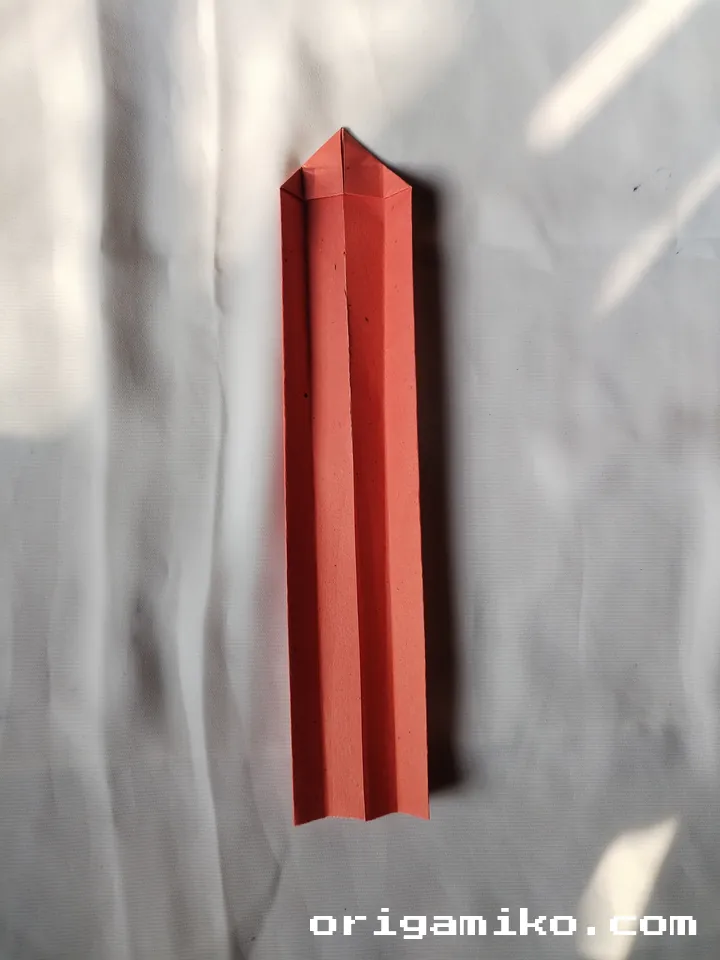
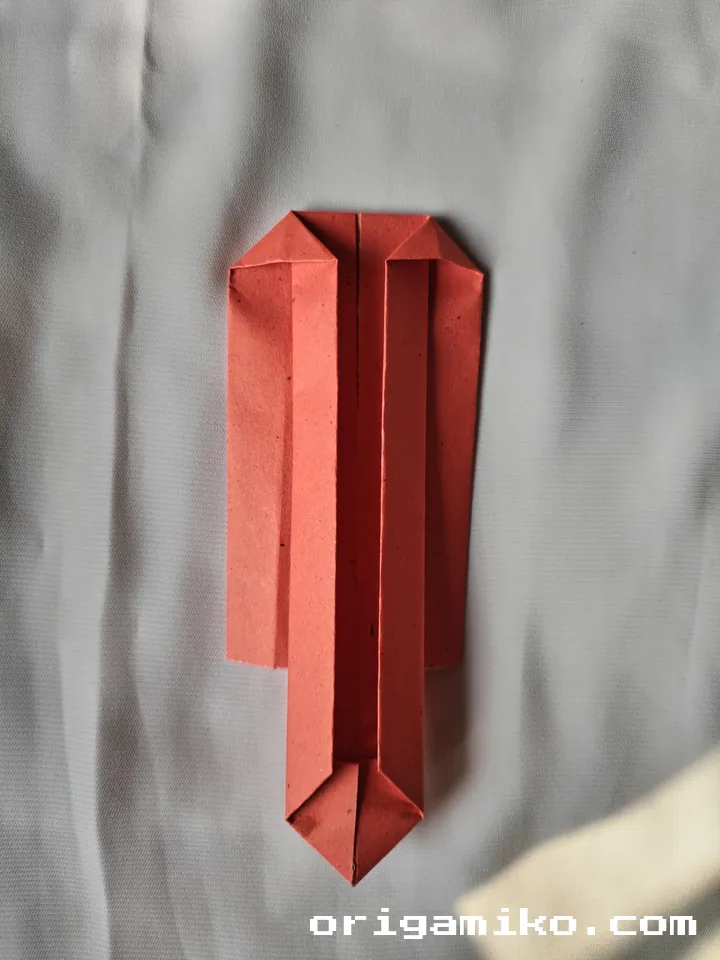
6. Fold the lower paper upwards. Fold the two sides of the upper paper along the middle line.
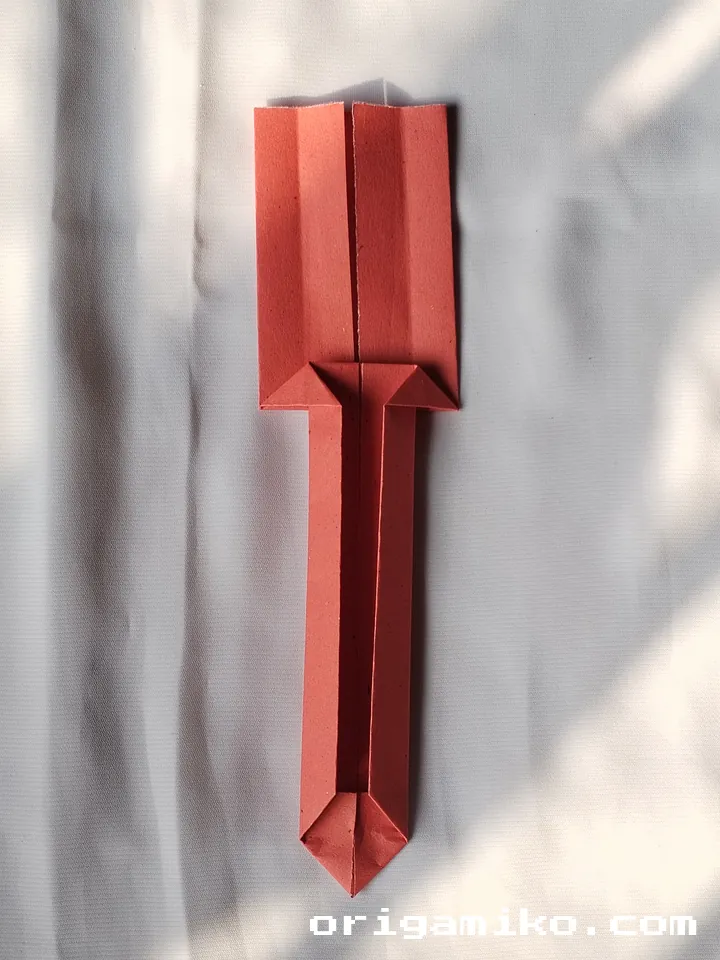
Now fold the bottom part of the paper upwards. At the same time, fold the two sides of the upper section to meet the center fold, shaping the blade of your sword.
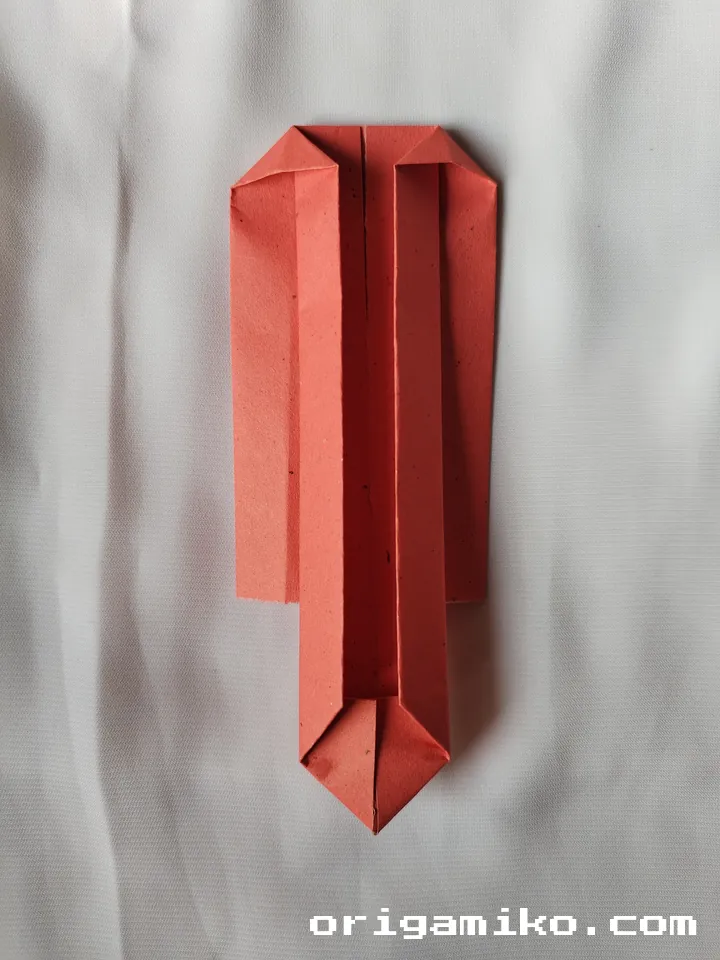
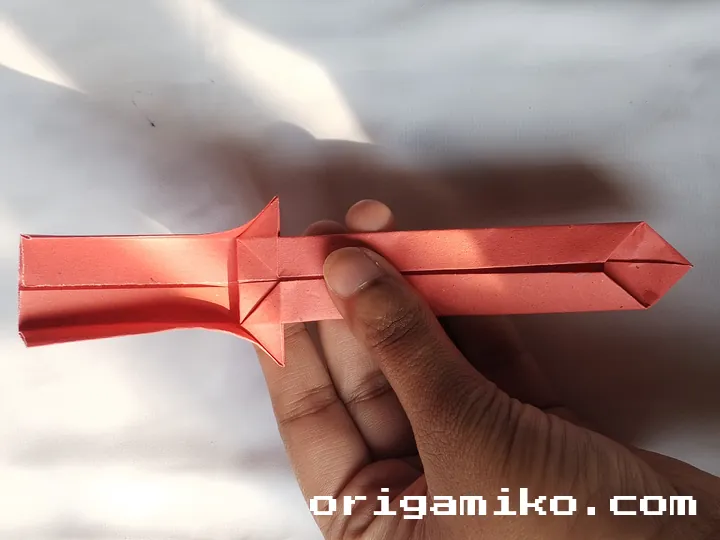
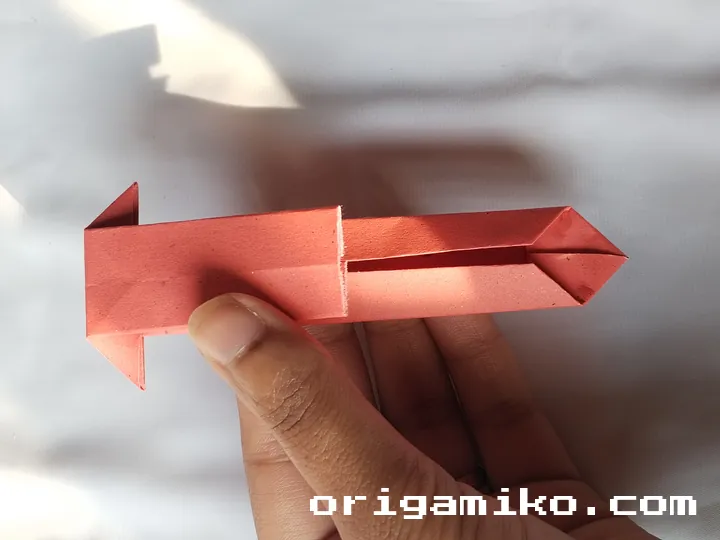
7. Now fold the paper on both sides of the lower part along the middle line again.
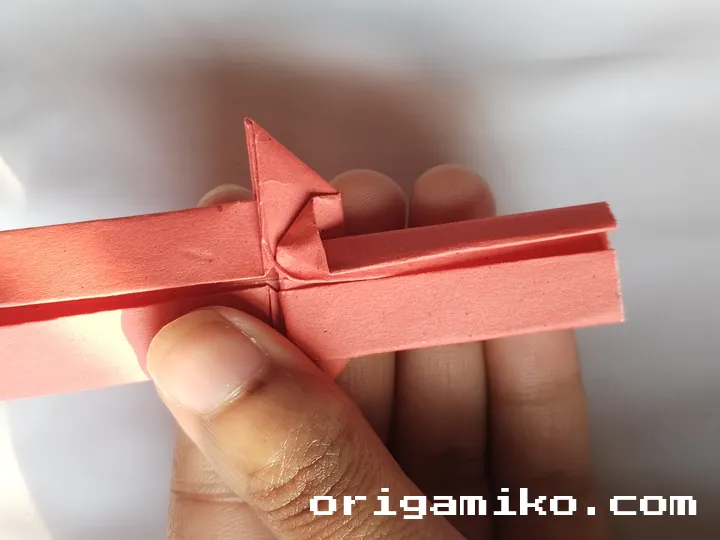
Fold both sides of the lower part to align with the centerline, refining the blade and handle area.
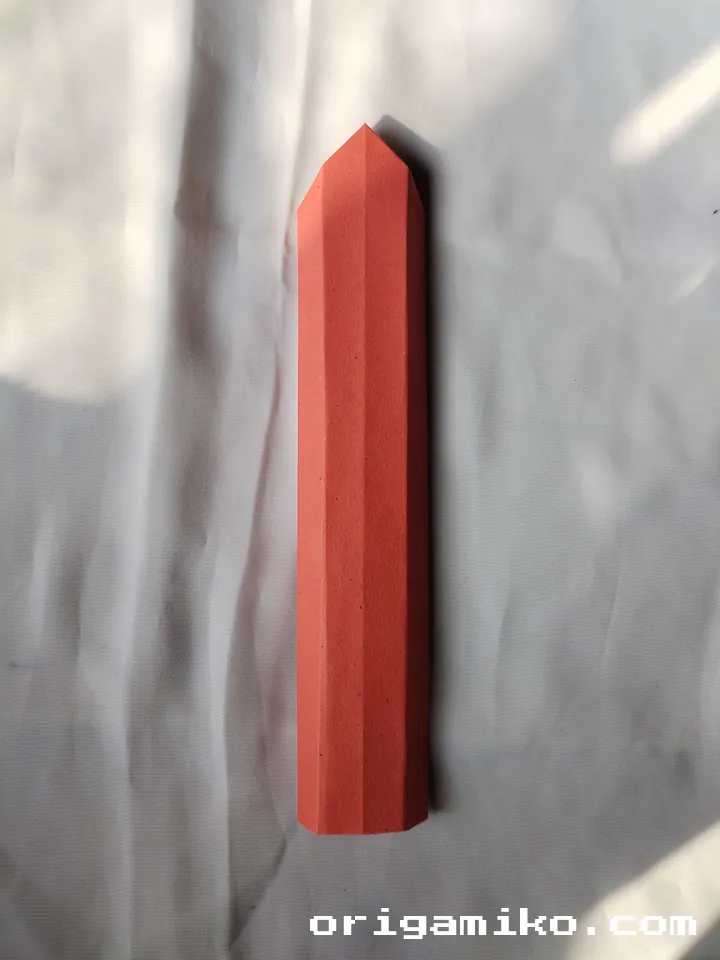
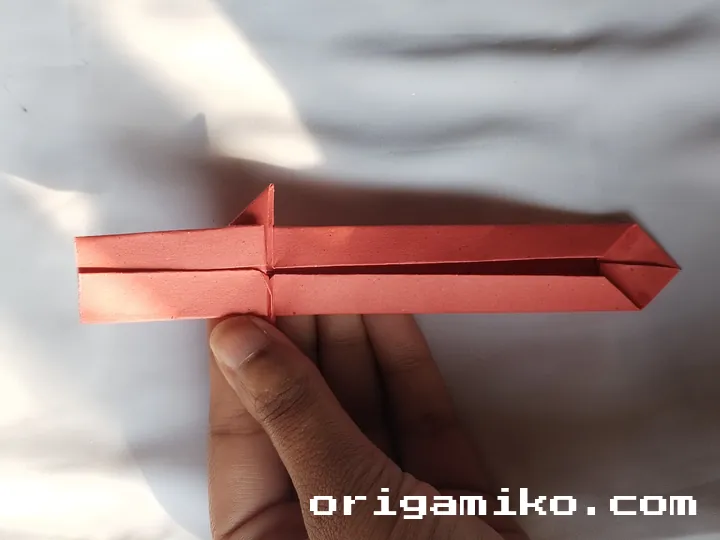
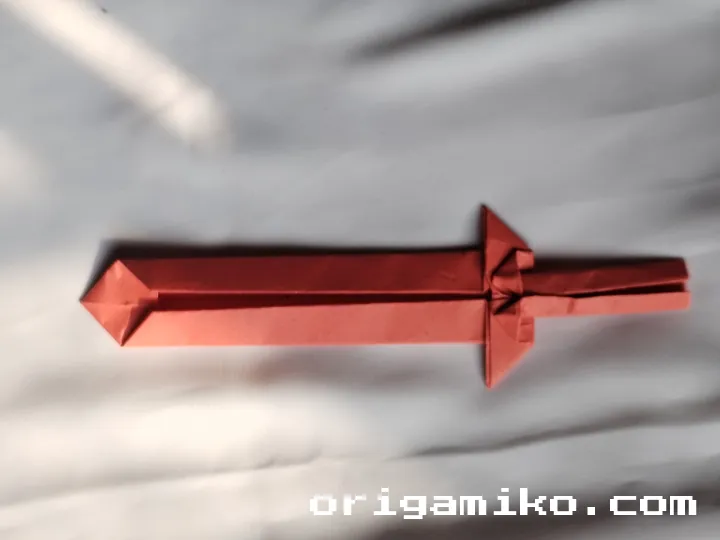
8. Origami sword is made!
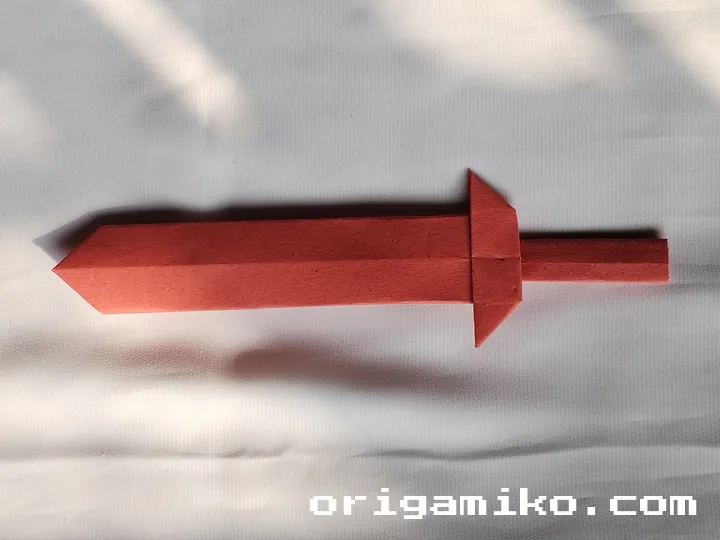
Congratulations! You’ve successfully folded your Origami sword. You now have a neat, paper sword that you can display or even use for play.
Tips for Success
- Take your time with each fold: Precision is key in origami, so ensure each fold is crisp and aligned for the best results.
- Use a flat surface: Folding on a flat surface helps achieve cleaner creases.
- Practice the folds: If the sword doesn’t come out perfect the first time, try again. Practice makes it easier!
Common Mistakes and How to Avoid Them
- Uneven folds: Always double-check that your edges align perfectly before making a crease.
- Skipping steps: Each fold has a purpose. Skipping steps can result in a sword that doesn’t hold its shape properly.
- Using the wrong size paper: Stick to the 4″ x 8″ size for the best fit.
Similar Variations You Can Make
- Longer sword: If you want a sword with a longer handle, use a larger sheet of paper and follow the same folding process.
- Mini sword: For a smaller version, reduce the paper size and follow the same steps for a cute mini origami sword.
FAQs
Q: Can I use any type of paper for the origami sword?
A: Yes! Any paper will work, but thinner paper will fold more easily.
Q: How long does it take to make an origami sword?
A: It should take around 10-15 minutes, depending on your experience level.
Q: Can I decorate my origami sword?
A: Absolutely! Feel free to add color or decorations to make your sword unique.
Conclusion
Now you’ve learned how to make an origami sword with easy-to-follow steps! This simple sword project is perfect for beginners and can be completed in no time. Whether you use it for fun, decoration, or as part of a larger origami collection, the process is enjoyable and rewarding. Keep practicing, and soon you’ll be creating even more intricate paper designs. Happy folding!