

Ever stared at your phone propped against a water bottle, slowly sliding down?
I’ve been there too.
Let me show you how to create an elegant origami phone holder that’s both functional and beautiful.
What is an Origami Phone Holder?
Have you ever found yourself struggling to find the perfect angle to watch videos on your phone? I know I have. An origami phone holder is a simple yet ingenious solution to this common problem. Using just a single sheet of paper and some basic folding techniques, you can create a sturdy stand for your device that’s portable, customizable, and costs virtually nothing to make.
What I love most about this project is how it combines practicality with the meditative art of paper folding. As someone who’s been practicing origami for years, I find that even simple projects like this phone holder can bring a surprising amount of satisfaction. And the best part? You don’t need any special materials or tools—just paper and your own two hands.
Materials Needed
Before we dive into the folding process for our easy origami phone holder, let’s gather everything we’ll need:
| Material | Specification | Importance | Notes |
|---|---|---|---|
| Square Paper | 15″ × 15″ | Essential | Larger paper makes a sturdier holder |
| Ruler | 12″ or longer | Optional | Helps with precise measurements |
| Bone Folder | Any size | Optional | Creates sharper creases |
| Cutting Tool | Scissors or craft knife | Optional | Only needed if starting with rectangular paper |
| Decorative Papers | Patterned/colored | Optional | For a more personalized holder |
| Clear Tape | Small pieces | Optional | Reinforces the holder for heavier phones |
I personally recommend starting with a simple sheet of paper for your first attempt. Once you’ve mastered the basic technique, you can experiment with different papers to create holders that match your personal style.
Step-by-Step Instructions for an Easy Origami Phone Holder
Let me walk you through exactly how to make origami phone holder with these simple steps:
- Take square shape paper
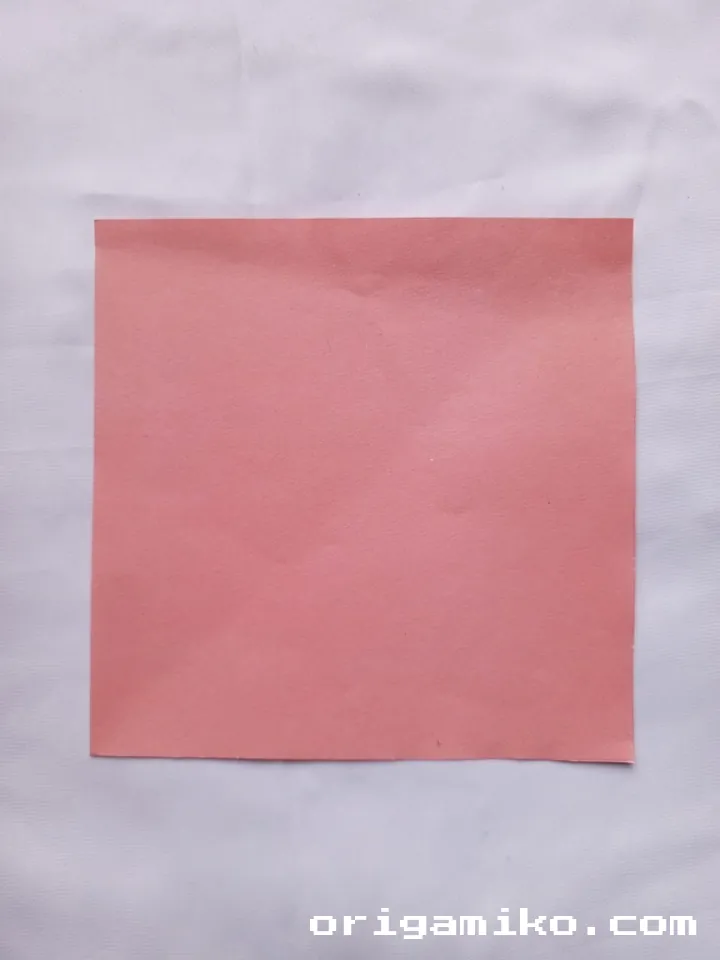
- Begin with your 15″ × 15″ square sheet.
- Place it on a flat surface with the colored side down (if applicable).
- Smooth out any wrinkles or creases before starting.
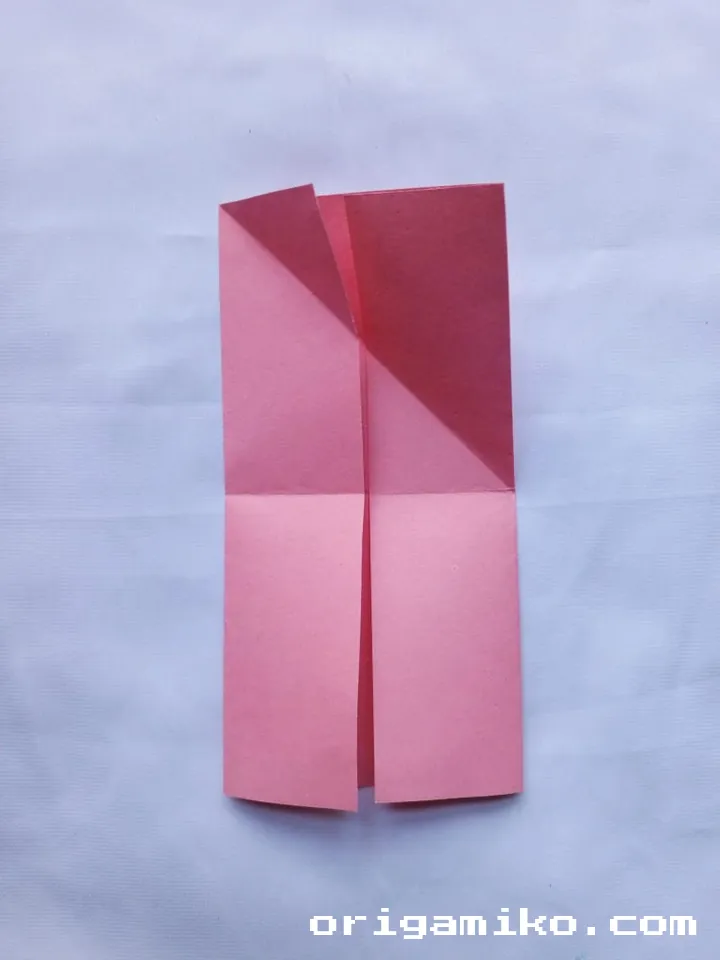
- Fold along the middle and housefold and unfold
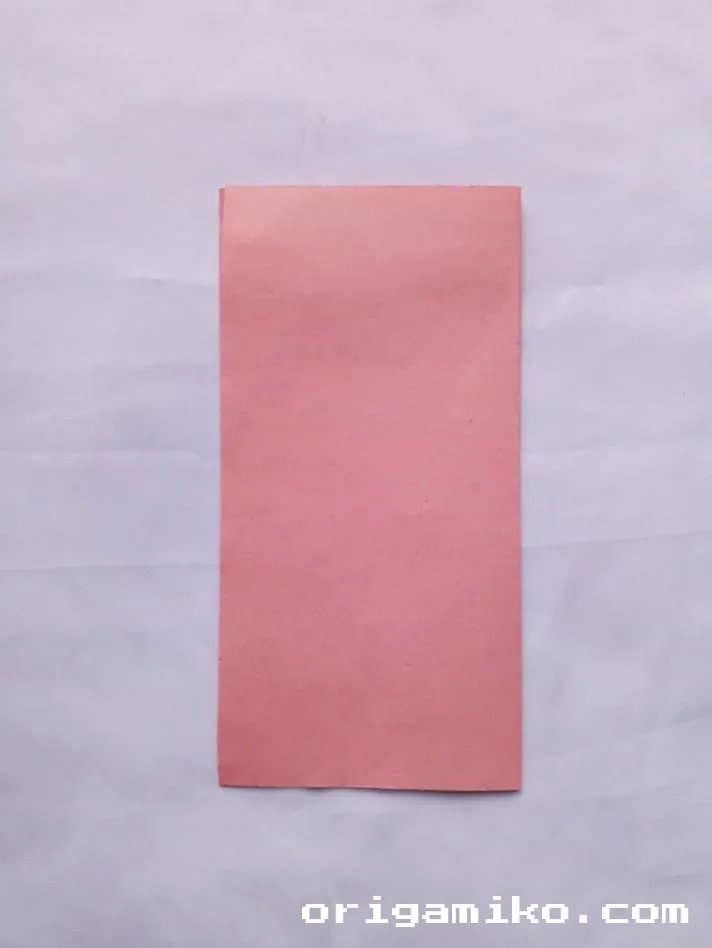
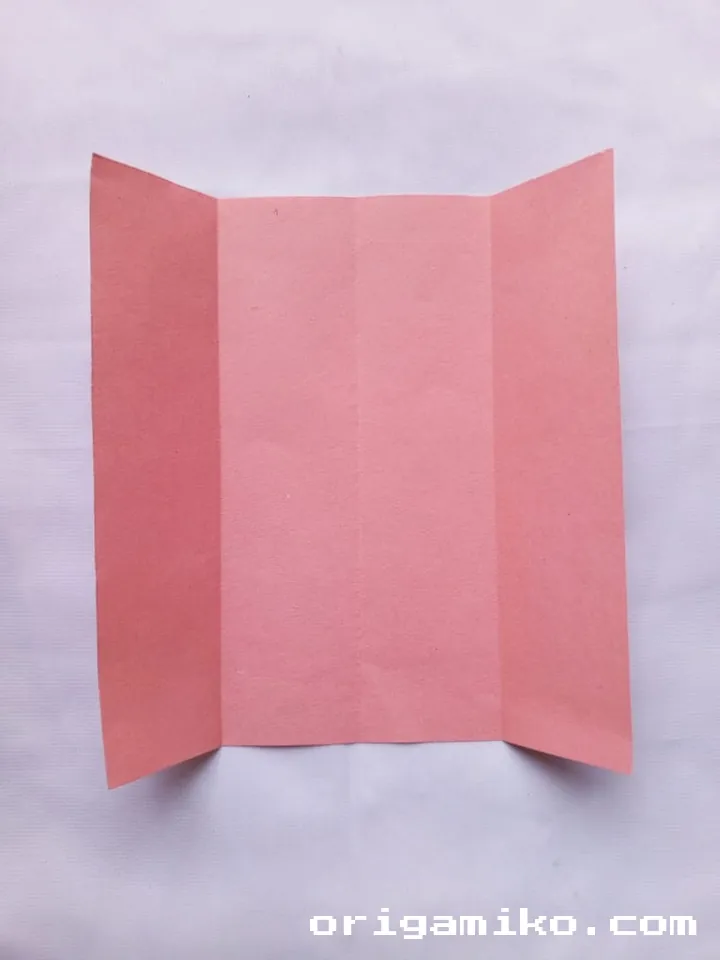
- Fold the paper in half vertically (bringing the left edge to the right edge).
- Press firmly along the crease to create a clear fold line.
- Unfold the paper so it lies flat again with the crease visible.
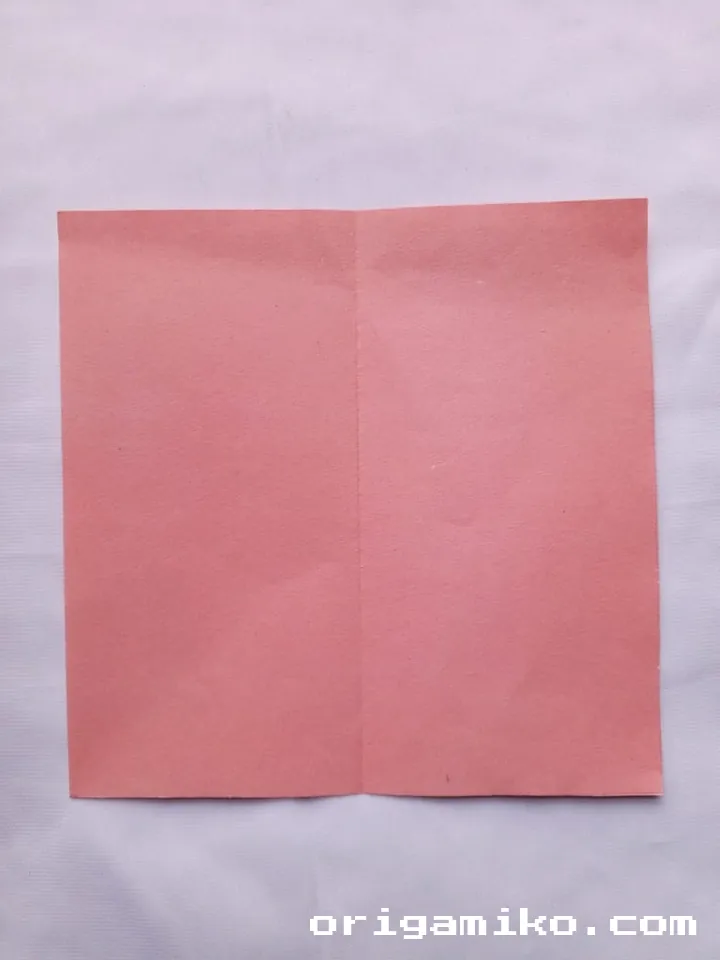
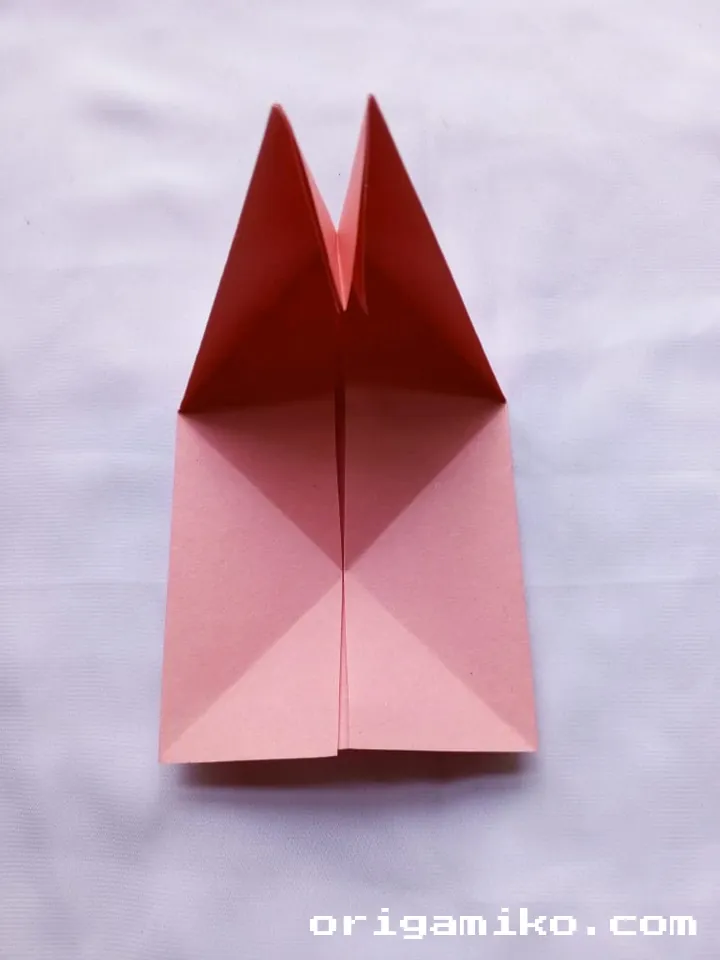
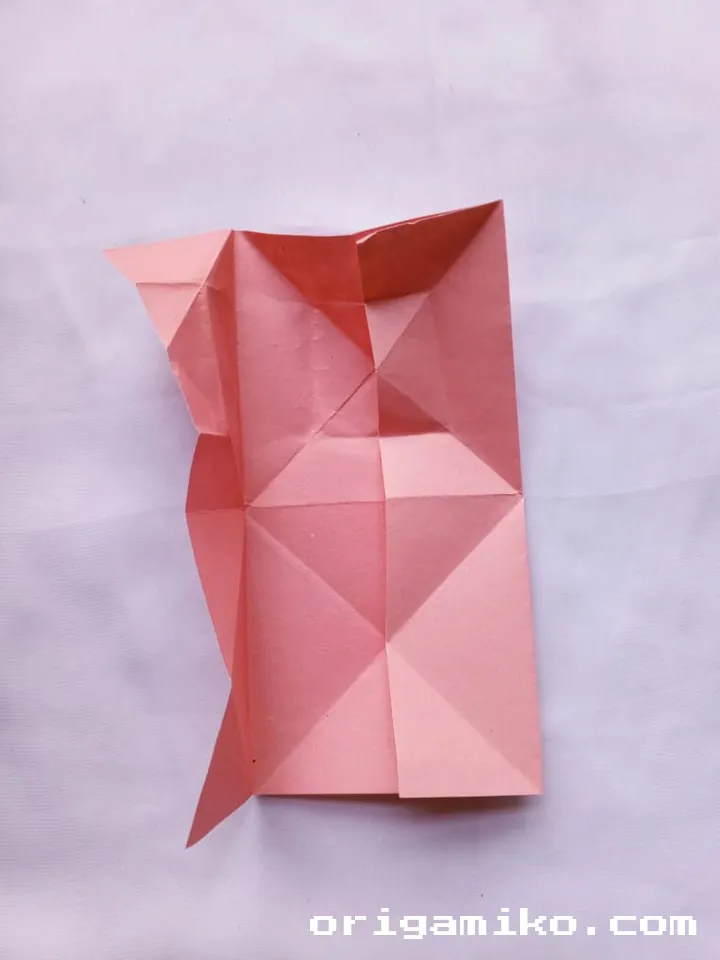
- Fold again in the middle and unfold. Fold and unfold the corners from the top and bottom
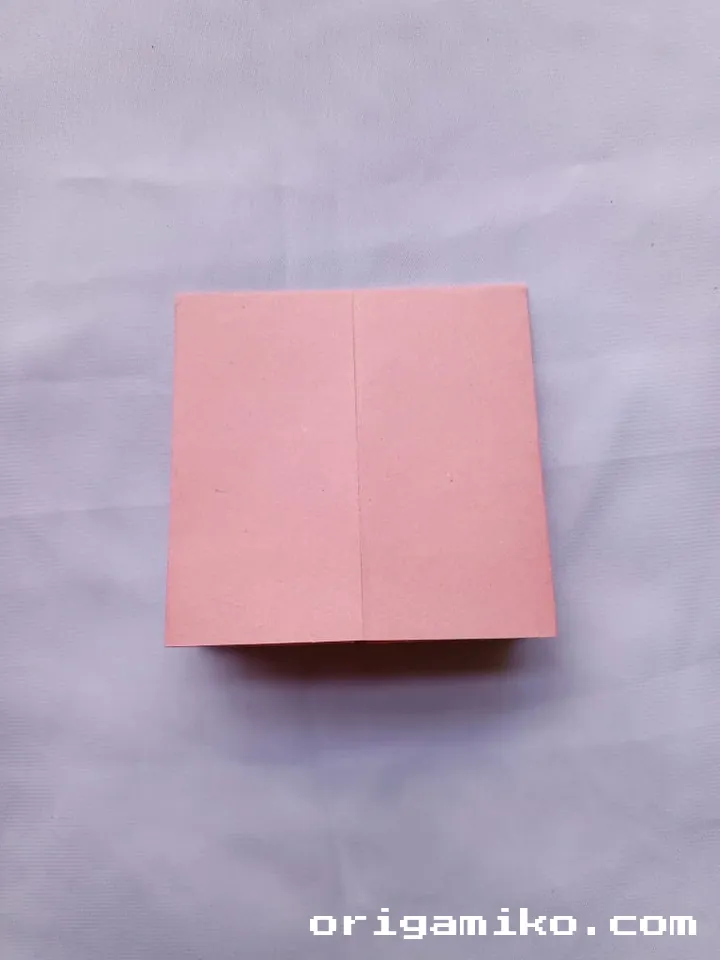
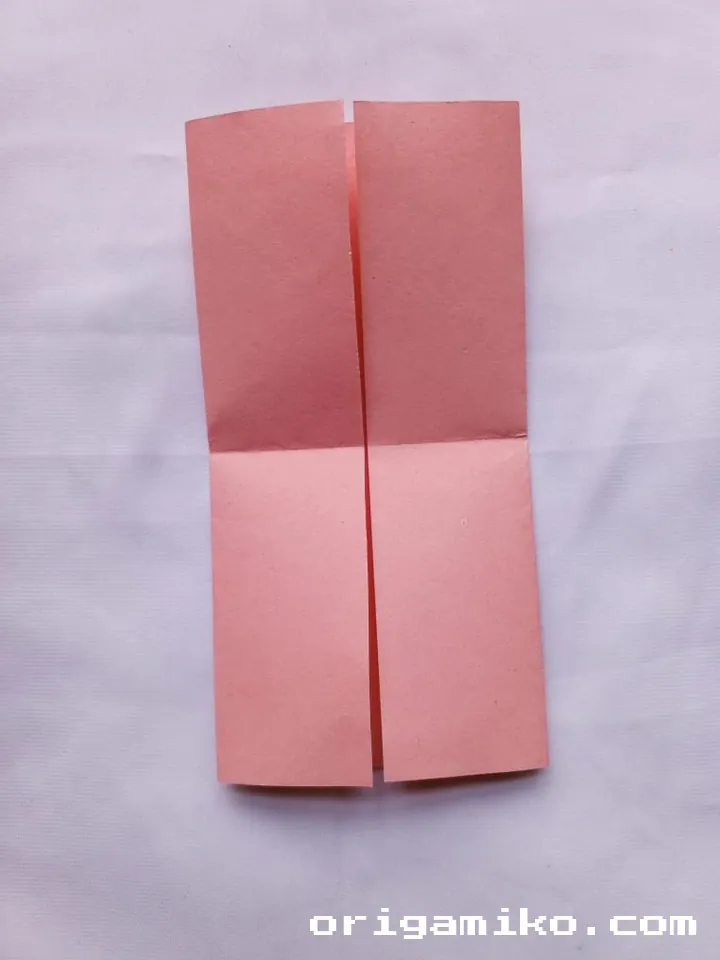
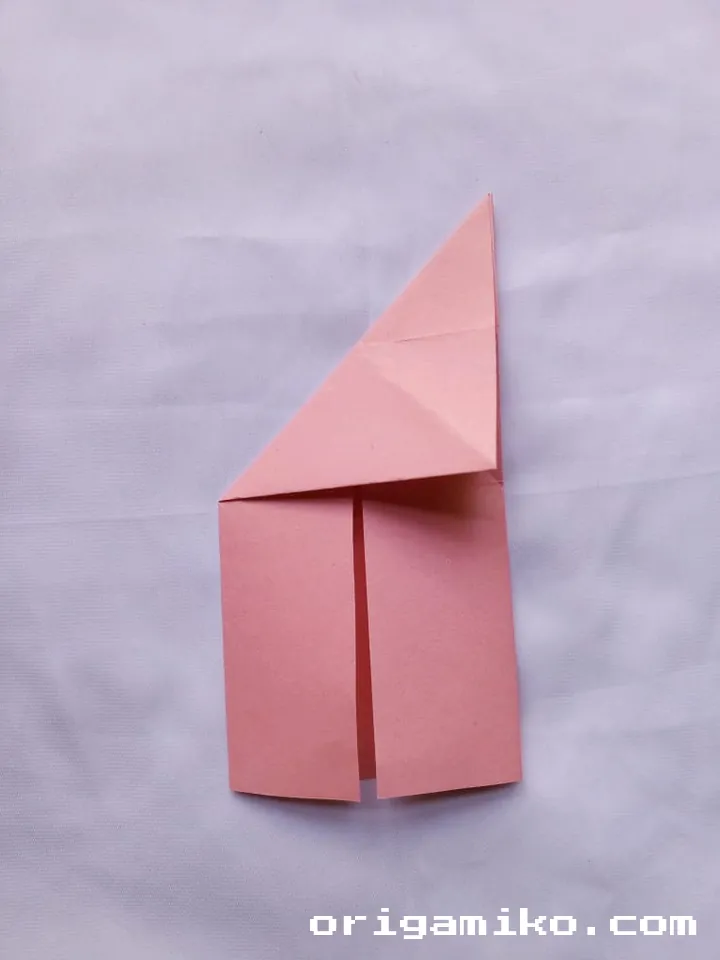
- Now fold the paper in half horizontally (bringing the top edge to the bottom edge).
- Press firmly and unfold again.
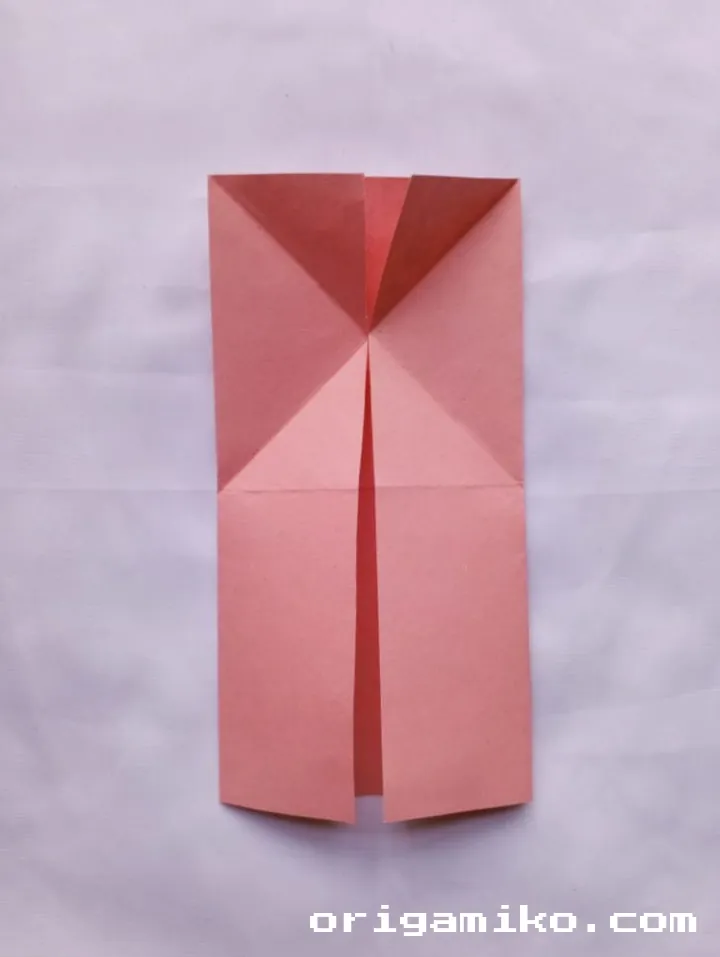
- Next, fold each corner diagonally toward the center and unfold.
- These creases will guide your final fold structure.
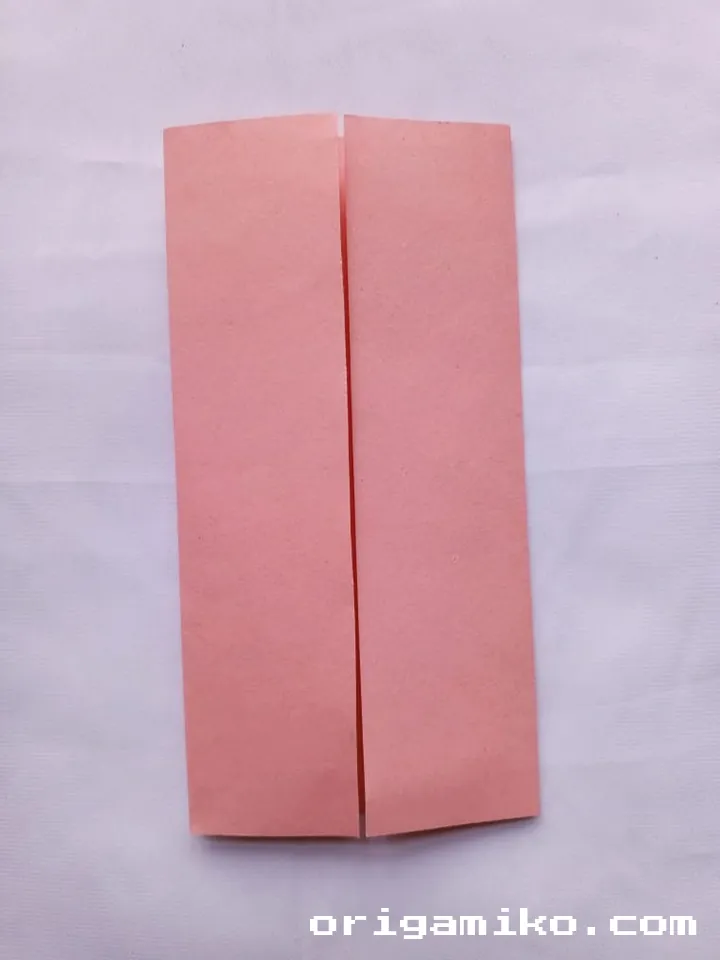
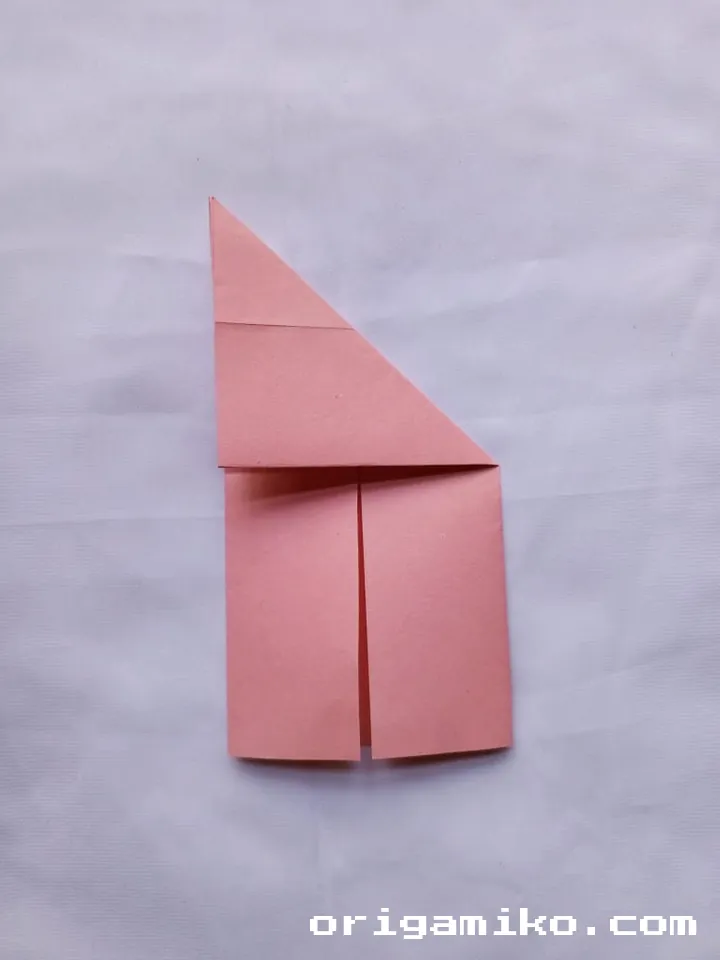
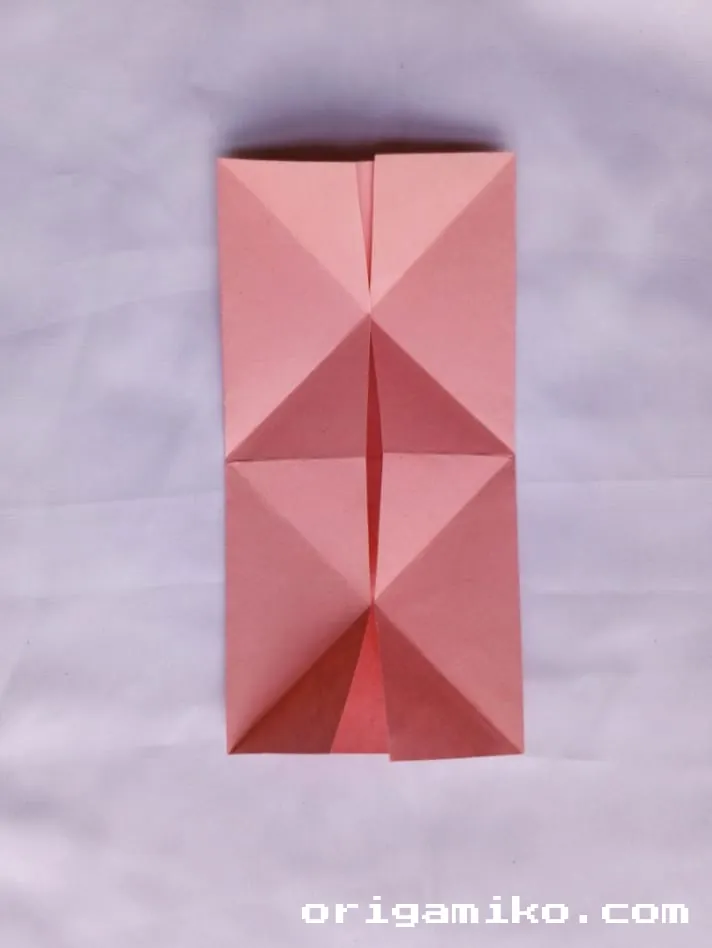
- After folding it as shown in the picture, the origami phone holder is made
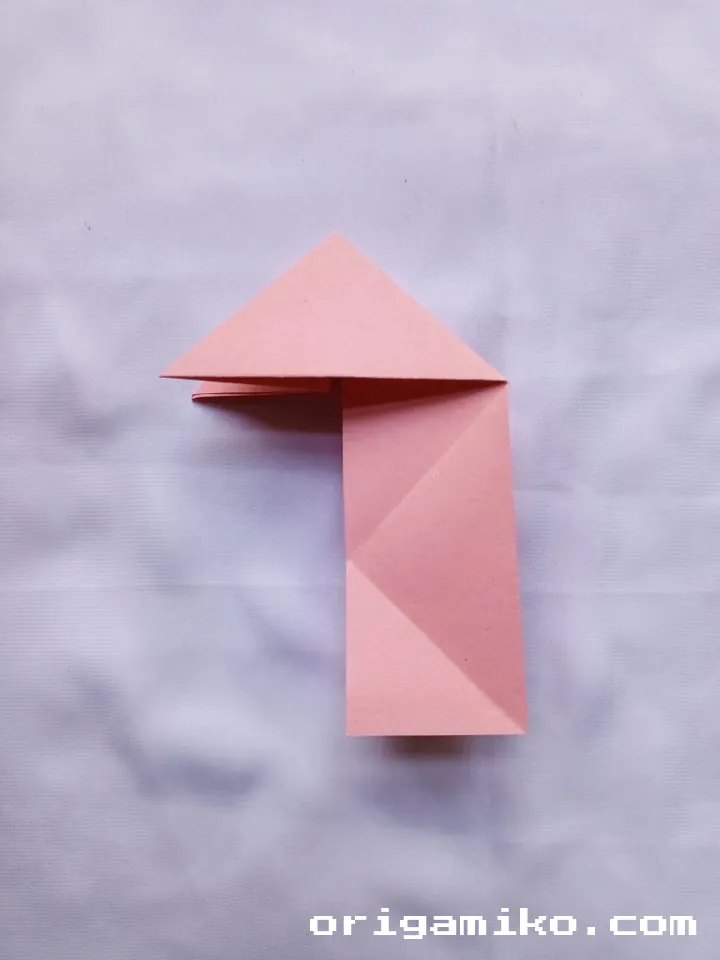
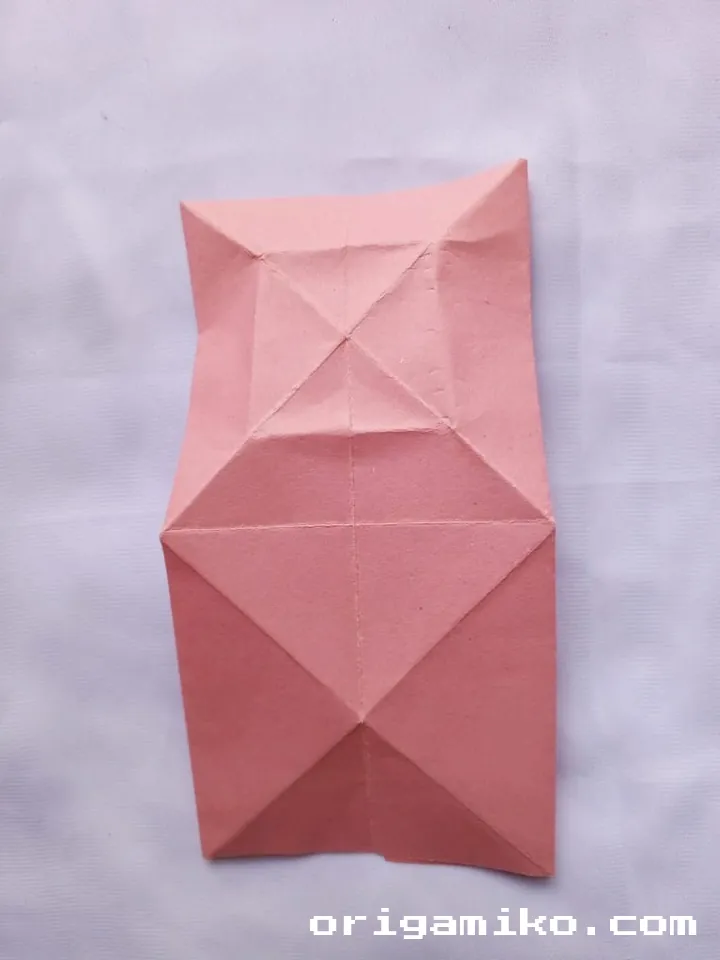
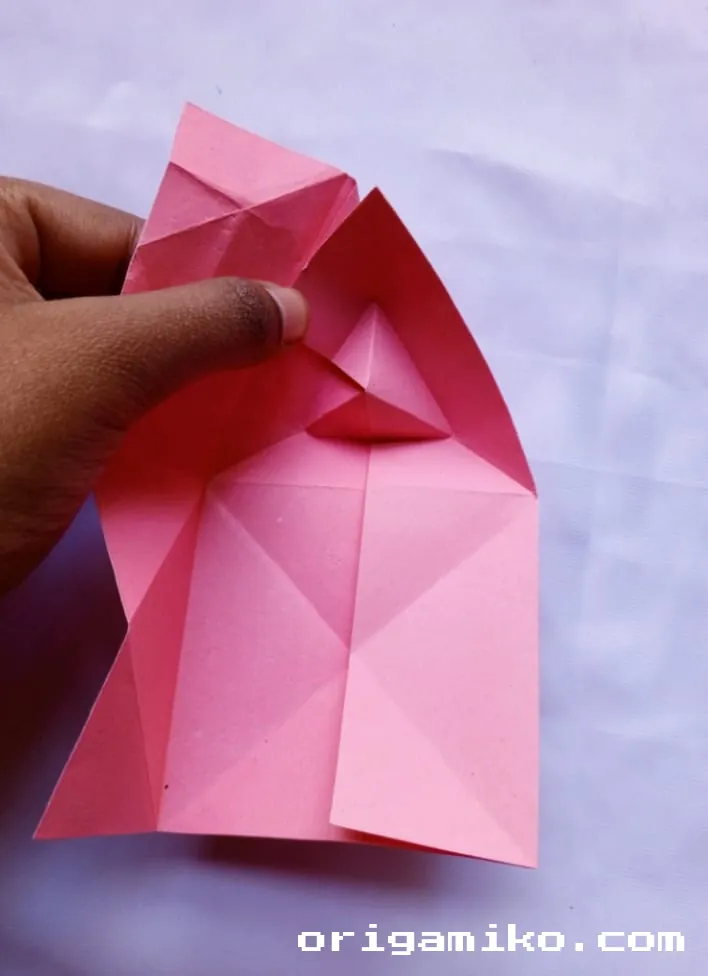
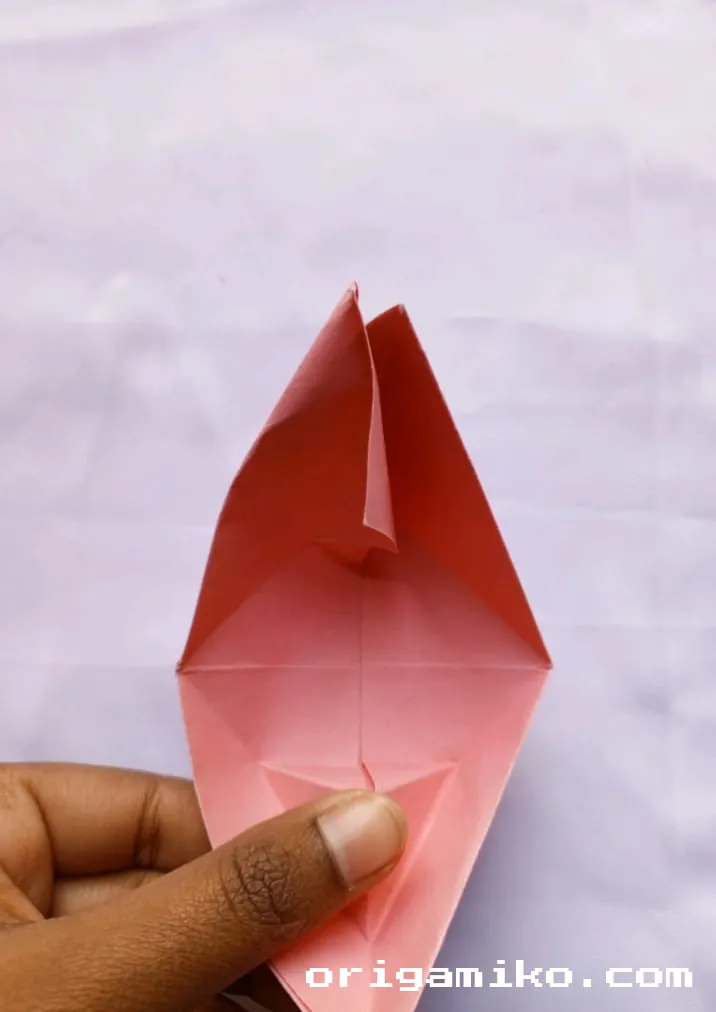

- Using the creases as guides, begin assembling the phone holder structure.
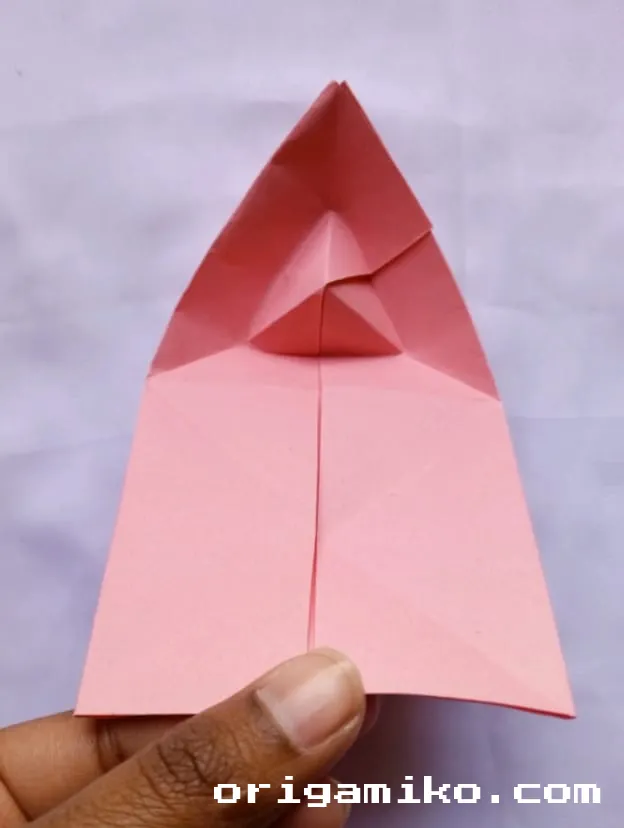
- The diagonal folds will naturally create a supportive base.
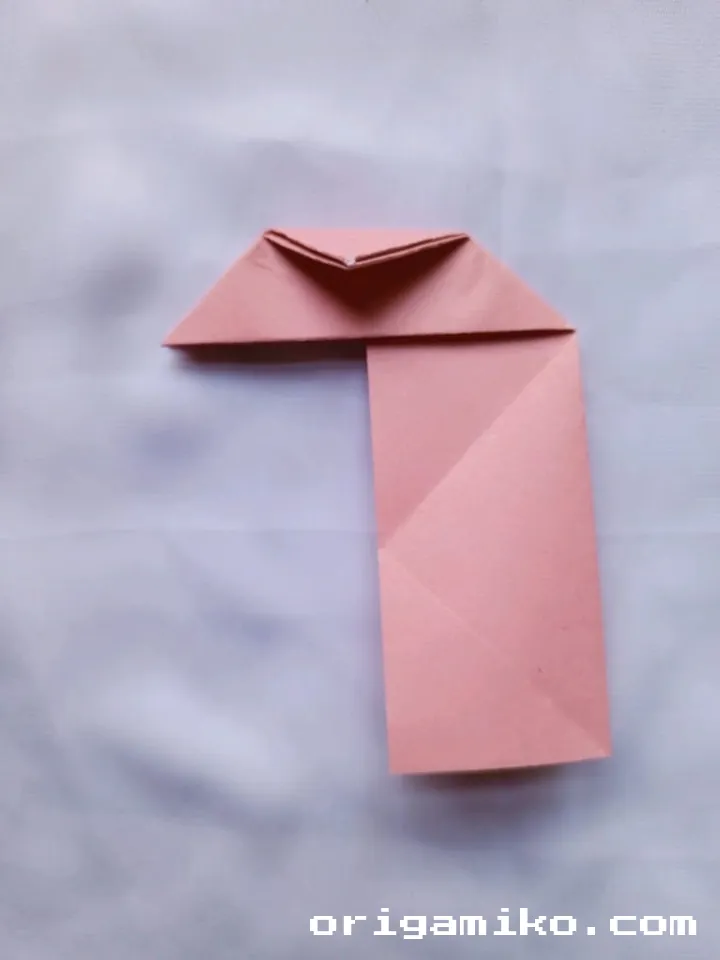
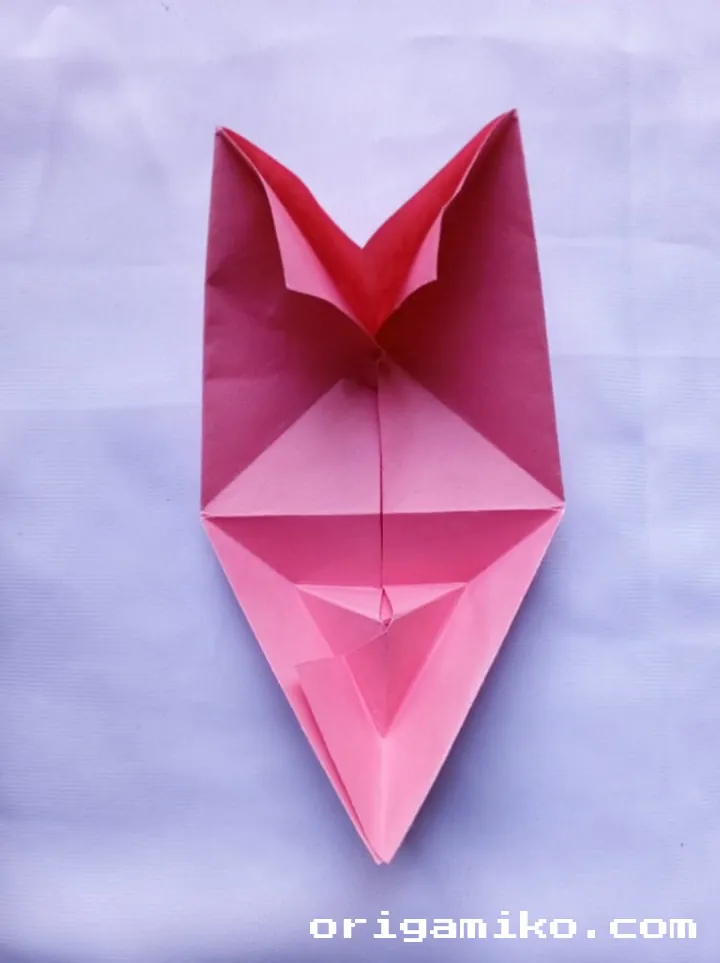
- Adjust the angles slightly for your specific phone size.
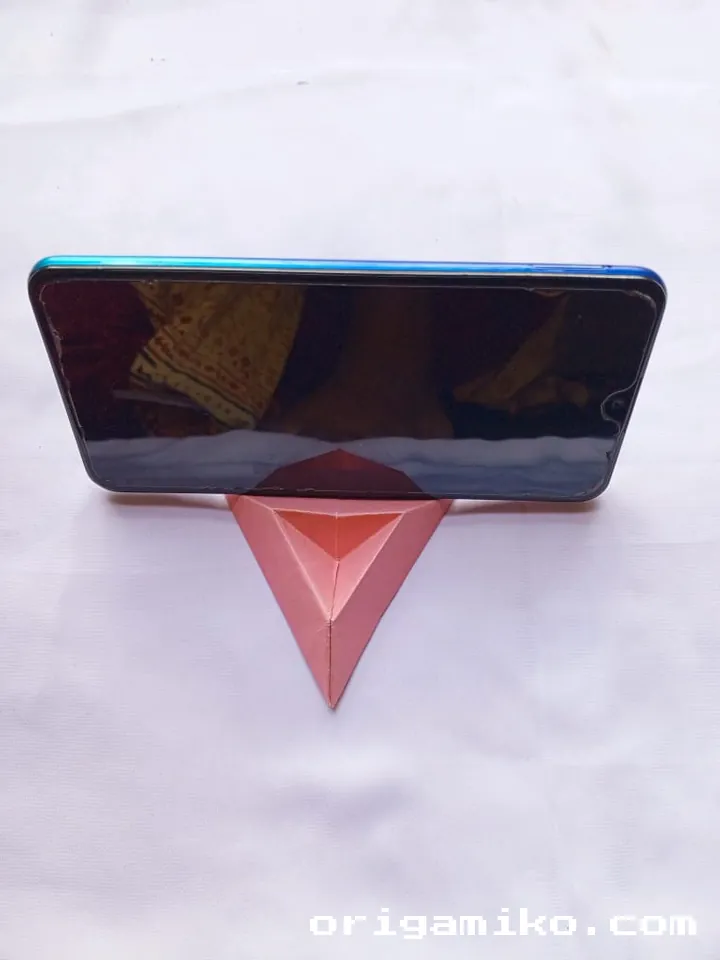
- Your simple phone holder step by step is now complete and ready to use!
The beauty of this origami phone holder is in its simplicity. While I’ve outlined the basic steps above, don’t be afraid to make small adjustments based on the size of your phone or your preferred viewing angle. The paper is forgiving, and you can always refold if needed.
Tips for Success
Throughout my origami journey, I’ve discovered several tips that make projects like this phone holder turn out better. Here are some of my favorite insights:
- Create sharp creases – The sharper your creases, the more stable your final holder will be. Use a bone folder or the edge of a credit card for extra-crisp folds.
- Use the right paper weight – While regular printer paper works, slightly heavier paper will create a sturdier holder for heavier phones.
- Be patient with yourself – If this is your first time following origami phone holder instructions, remember that folding takes practice.
- Work in good lighting – This ensures you can see your crease lines clearly as you follow the steps.
- Test with your actual phone – Before finalizing your folds, test the stability with your actual device to ensure it works perfectly.
Common Mistakes and How to Avoid Them
Even experienced folders sometimes encounter challenges when making this easy origami phone holder. Here are some common pitfalls and how to avoid them:
- Uneven Creases: Make sure your initial folds are precise and aligned with the paper edges. Take your time with each fold.
- Unstable Base: If your phone keeps sliding off, you may need to adjust the final angle of your holder. Small adjustments make a big difference.
- Tearing Paper: If your paper tears during folding, you’re likely using too much pressure. Be firm but gentle when creating creases.
- Confusing Crease Lines: If you get confused by too many crease lines, try using different colored papers where the lines are more visible.
- Wrong Paper Size: If your holder seems too small or unstable, remember that the 15″ × 15″ paper size is recommended for a reason. Smaller paper makes smaller holders that may not support all phones.
Similar Variations That Can Be Made
Once you’ve mastered how to make origami phone holder basics, you might want to try these interesting variations:
- Double-Pocket Holder: A modification that creates two slots, perfect for holding both your phone and a small tablet.
- Adjustable Angle Holder: By adding a few extra folds, you can create a holder with multiple viewing angles.
- Decorative Front: Add decorative elements to the front-facing portion of your holder for a personalized touch.
- Reinforced Base: For heavier phones, create a holder with a wider base for added stability.
- Mini Travel Version: Create a smaller version using 10″ × 10″ paper that folds flat for travel.
Each of these variations uses the same basic principle as our easy origami phone holder but with slight modifications to enhance functionality or appearance.
FAQs About Origami Phone Holders
Q: How long does this origami phone holder last? A: With quality paper and careful folding, your holder can last for months of regular use. If it begins to lose its shape, simply refold or make a new one.
Q: Can I use any type of paper? A: While any square paper works, medium-weight paper (like origami paper or light cardstock) tends to create the most durable holders.
Q: Will this work for tablets too? A: The standard 15″ × 15″ version works best for phones. For tablets, you’ll need to use larger paper and potentially reinforce the structure.
Q: Can I make this waterproof? A: You can laminate your paper before folding or coat the finished holder with clear nail polish for water resistance, though this may make folding more challenging.
Q: How can I customize my origami phone holder? A: Use patterned paper, add decorative elements with markers, or even incorporate small origami flowers or animals onto the base for personalization.
Summary
I hope you’ve enjoyed learning how to create this simple, practical, and elegant origami phone holder. The joy of origami lies not just in the finished product, but in the meditative process of folding itself. There’s something deeply satisfying about transforming a flat sheet of paper into a functional object with your own hands.
Whether you’re new to origami or an experienced folder, this easy origami phone holder project offers a perfect blend of simplicity and utility. Next time you need a phone stand for watching videos, following a recipe, or making a video call, you’ll have this elegant paper solution ready in minutes. Happy folding!