

Ever lost your place in a book?
Let’s fix that with a fold.
This easy Origami Sticky Note Bookmark is fun, quick, and magical.
What Are We Creating?
We’re diving into something super useful and surprisingly delightful: the Origami Sticky Note Bookmark. It’s cute, corner-hugging, and incredibly easy to fold. Honestly, it’s one of my favorite mini paper crafts.
The best part? You don’t need scissors, glue, or special origami paper. Just a single sticky note—yep, the kind already hanging around your desk.
Whether you’re a student, book lover, or just someone who enjoys clever paper folds, you’ll appreciate how functional and satisfying this little bookmark is. Ready to start? Let’s go!
Materials Needed
Let’s keep it simple—just one item is all it takes:
| Material | Description | Why It’s Needed |
|---|---|---|
| Sticky Note | 3×3 inch (standard size), square-shaped | Acts as your folding paper and sticks in place |
| Flat Surface | A clean, hard table or desk | Helps make precise folds |
| Clean Hands | Dry and oil-free | Keeps the paper crisp and clean |
Key Terms
Here’s a quick rundown of the terms I’ll mention:
Fold: Bending the paper to form a crease.
Corner: The tip of the sticky note (you’ll work with these a lot).
Middle: The center point where folds meet.
Simple Sticky Note Bookmark Step by Step
Let’s walk through how to make Sticky Note Bookmark Origami with clear, easy-to-follow steps.
Step 1: Take a Sticky Note
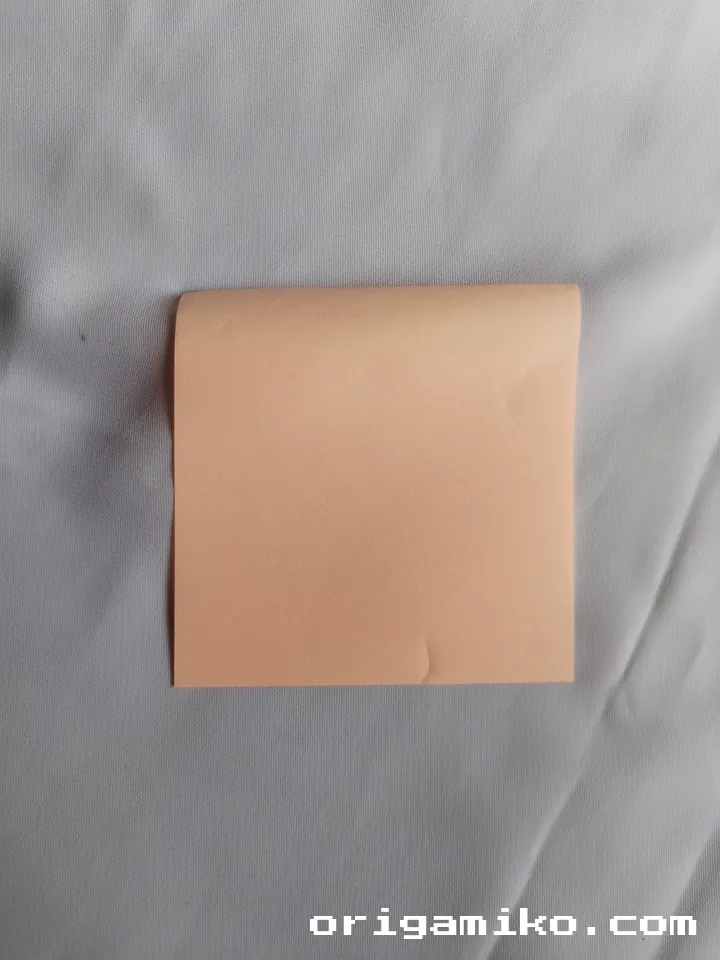
Place it sticky-side up in a diamond shape so the sticky part is at the top corner. This is your starting point.
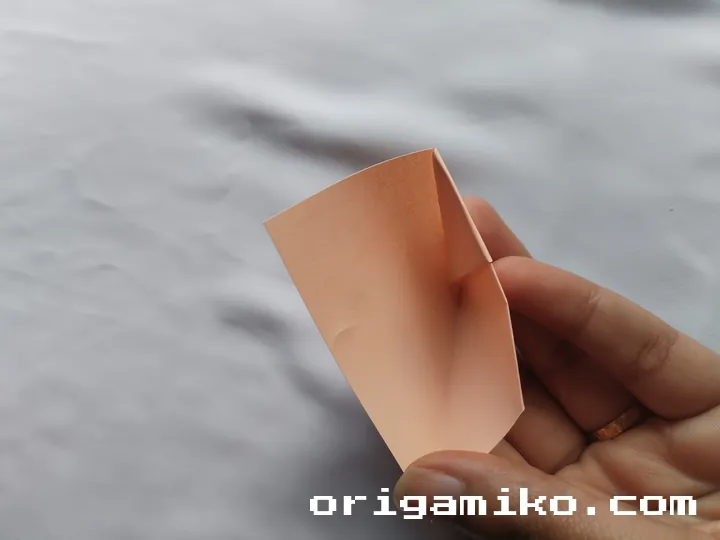
Step 2: Fold the Corner

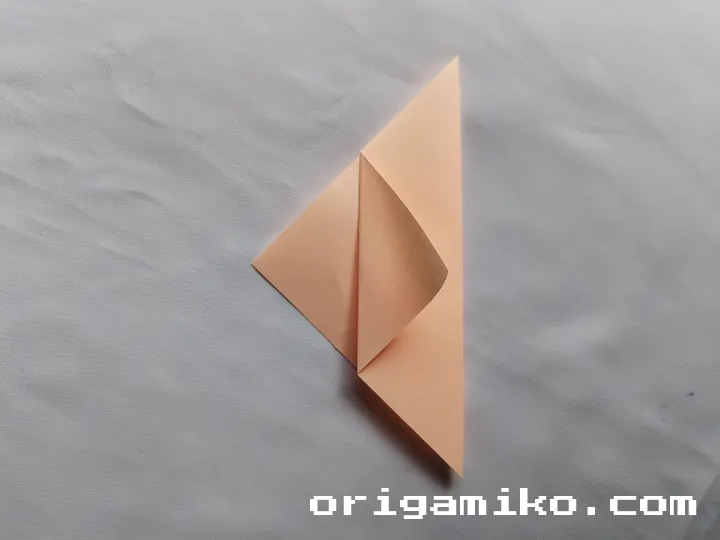
Fold the top corner (the sticky one) down to meet the bottom corner. Make a firm crease—it should now look like a triangle.
Step 3: Fold the Corner Paper in the Middle and Put It Inside
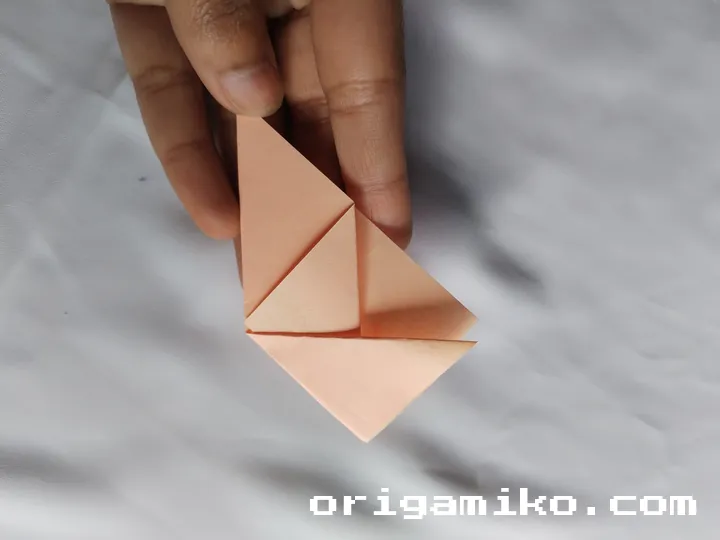
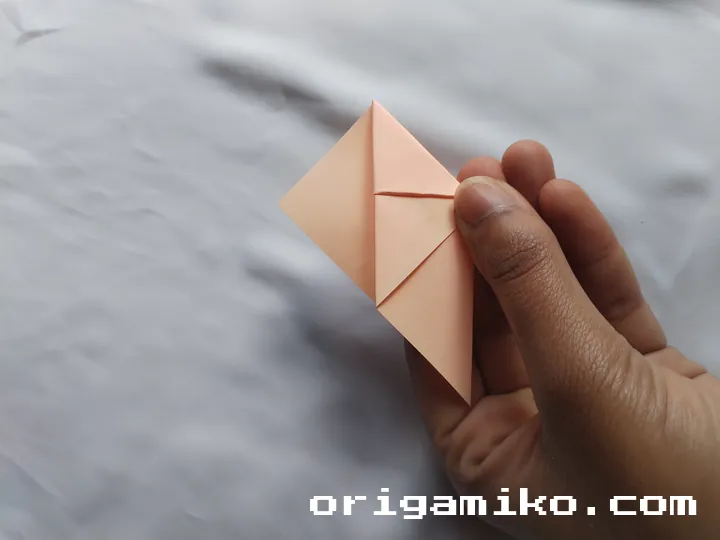
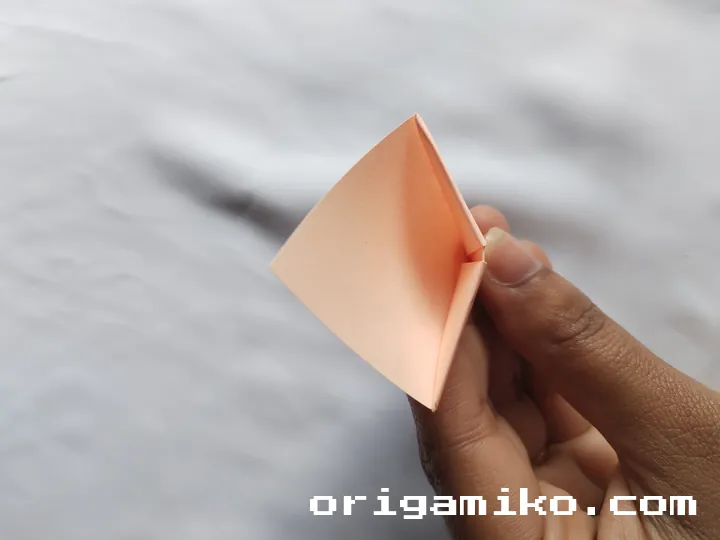
Now fold the left and right corners of the triangle up toward the top point. You’ll see a pocket in the center—tuck those flaps into it neatly.
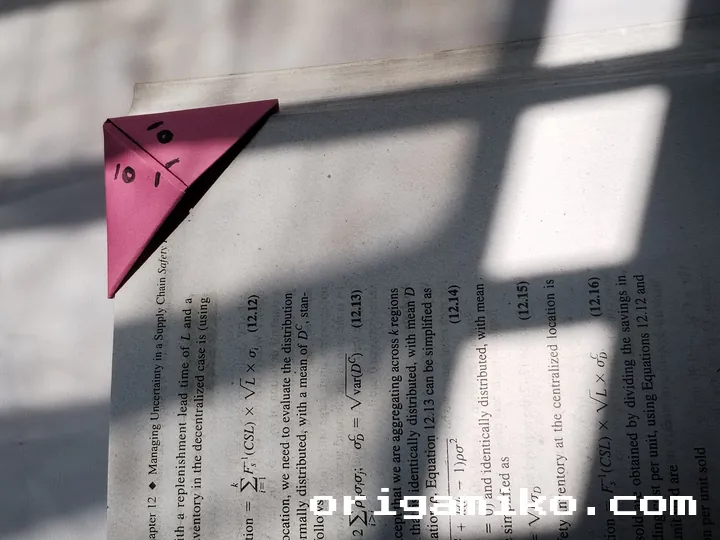
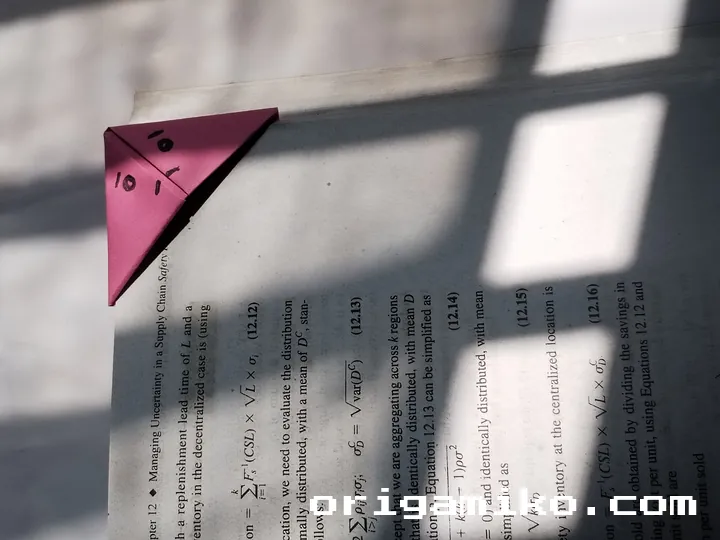
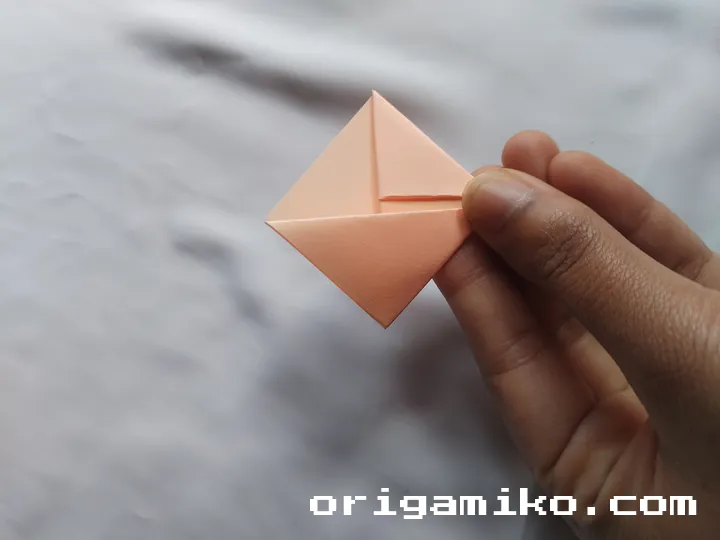
Step 4: Origami Sticky Note Bookmark is Done
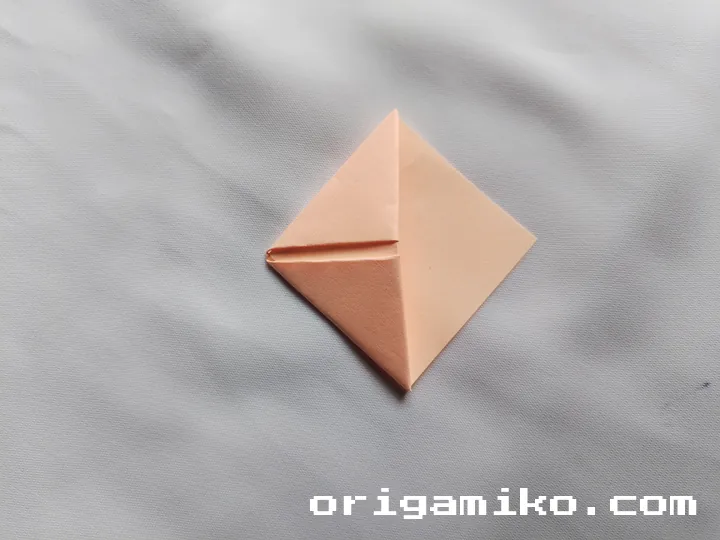
Flip it over and slide it onto the corner of your book page. That’s it! You’ve just made an easy Origami Sticky Note Bookmark.
Tips for Success
Want it to look neat and stay in place? Try these tips:
- Use square sticky notes only
- Fold on a flat, clean surface
- Press each crease firmly with a nail or flat edge
- Don’t rush—fold slowly for precision
Common Mistakes and How to Avoid Them
Sticky note peeling off?
→ Avoid touching the sticky part too much while folding.
Crooked folds?
→ Align edges carefully before creasing. Don’t be afraid to refold.
Paper tears?
→ Don’t force it. Be gentle when tucking the corners in.
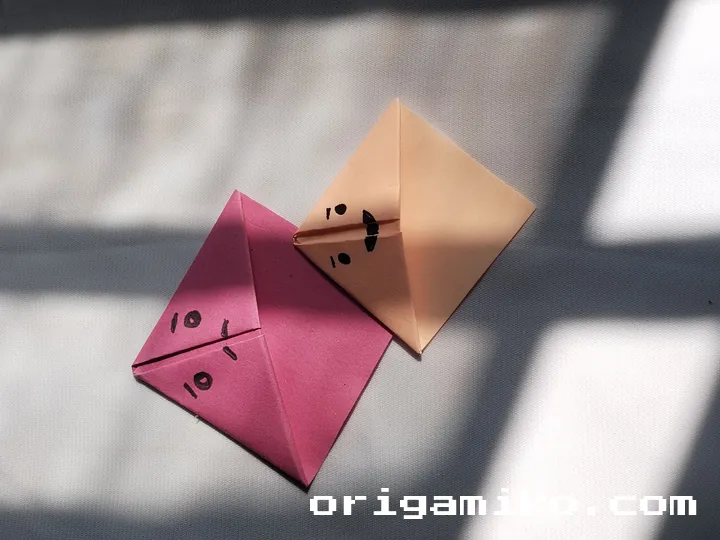
Similar Variations You Can Try
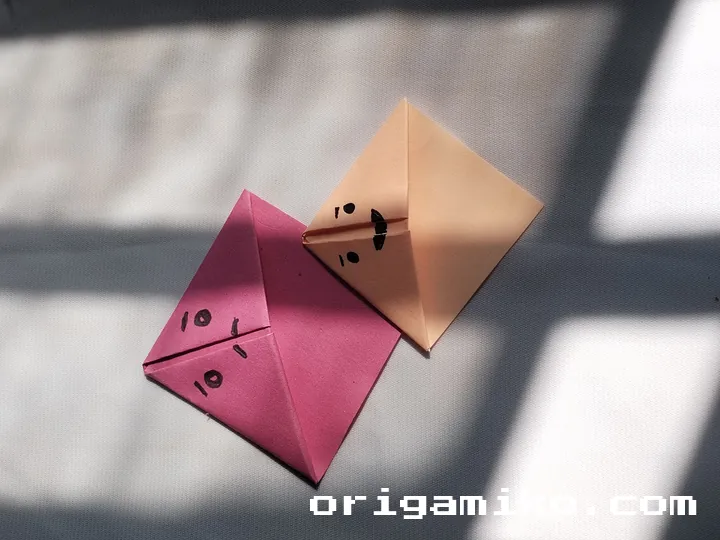
Tried this one and want more? Here are a few similar designs I’ve made and loved:
- Heart Corner Bookmark – Great for gifts or Valentine’s
- Arrow Bookmark – Simple, sleek, and stylish
- Origami Monster Bookmark – Fun for kids and storytelling
- Cat Ear Corner Bookmark – Super cute for manga fans
Each variation builds on the same basic folds but adds a creative twist.
FAQs
Q: Can I use any kind of sticky note?
A: It needs to be square. Rectangular ones throw off the folding steps.
Q: How long does it take to make?
A: Less than 5 minutes, even on your first try.
Q: Will it damage my book pages?
A: Nope! It’s lightweight and rests gently on the corner.
Final Thoughts
Now you know how to make a Sticky Note Bookmark Origami that’s as functional as it is fun. It’s the perfect blend of creativity and usefulness.
I’ve made dozens of these for my journals, cookbooks, and even gave some as gifts. Trust me, once you make one, you’ll be folding more in no time.
So go ahead—grab a sticky note and fold your first easy Origami Sticky Note Bookmark today. Let me know how it turns out!