Ever seen paper claws that look like they came out of a comic book? That’s what we’re making today. And guess what? You only need sticky notes.
Yes, those sticky notes sitting on your desk. With just a few folds, we’ll turn them into awesome finger claws. It’s paper folding magic.
You don’t need to be an origami expert. I’ll walk you through every step. This journey? Fun, fierce, and totally worth it.
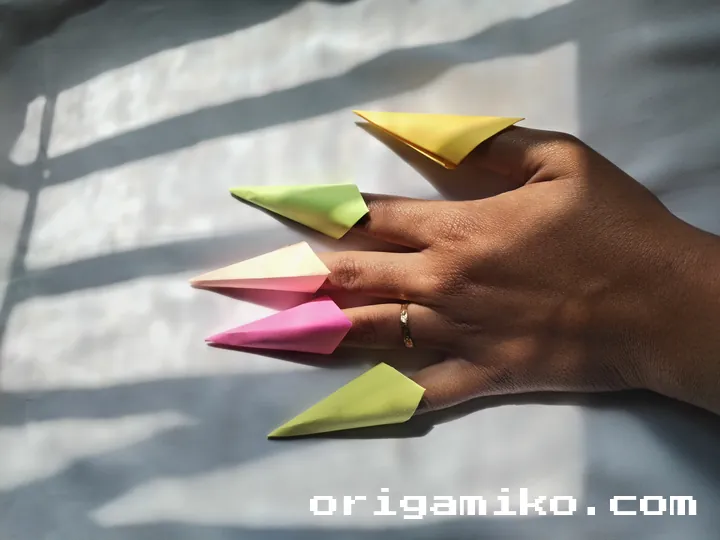
What Are Origami Sticky Note Claws?
Origami Sticky Note Claws are sharp-looking paper claws made from — you guessed it — sticky notes. They’re a cool twist on traditional origami. Whether you’re prepping for a costume, pranking your friends, or just bored during study hall, these claws are easy and fun.
The best part? You don’t need scissors, tape, or any special skills. Just a single sticky note per claw and a bit of folding magic.
I’ve made dozens of these over the years. Every time, they get the same reaction: Whoa, did you make that?
Let’s Break Down the Basics
Before we dive into folding, let’s get some terms clear:
Sticky Note
A small square sheet of paper with one lightly adhesive edge.
Origami
The Japanese art of paper folding, used to make beautiful shapes and figures.
Fold Line
The crease made when you fold the paper — we’ll use these to guide the final shape.
Center Point
The exact middle of the sticky note, where fold lines meet.
Materials Needed
Here’s everything you need to make easy Origami Sticky Note claws. Yes, the list is short — I love that.
| Item | Quantity | Details |
|---|---|---|
| Sticky Notes | 1 per claw | Standard size (3″x3″ or 76mm x 76mm) works best |
| Glue Stick (optional) | 1 | Helps secure the final fold for durability |
| Clean Flat Surface | 1 | Makes folding easier and more precise |
| Patience | Unlimited | You’ll need a little, especially at first |
Simple Sticky Note Claws Step by Step
Here’s how to make Sticky Note claws Origami style. I promise it’s easier than it sounds. Let’s go!
- Step 1: Take a sticky note
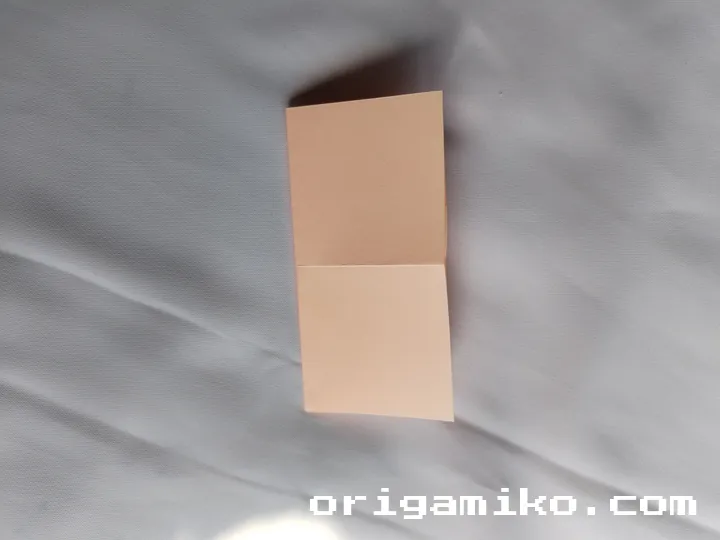
Peel it off carefully so you don’t curl the paper. - Step 2: Fold vertically and horizontally, then unfold
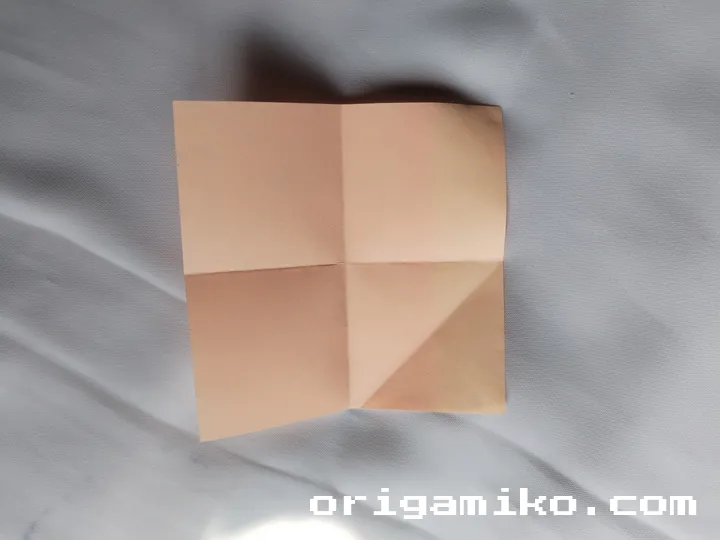
This gives you visible crease lines that intersect in the center. It’s your map for folding. - Step 3: Bring the bottom right corner to the center point and fold
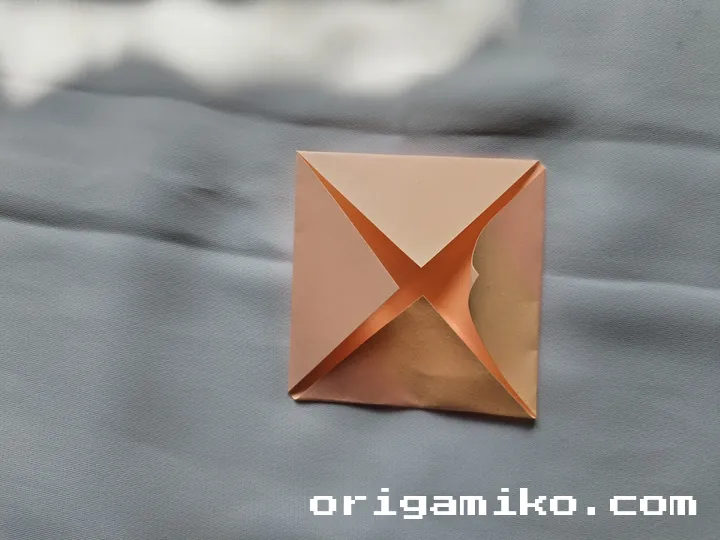
You should now have a triangle shape overlapping part of the note. - Step 4: Fold both side edges inward along their crease lines
These folds create the sharp tip and structure of the claw. - Step 5: Add glue and press sides together (optional but helpful)
This locks everything in place and keeps the claw from opening.
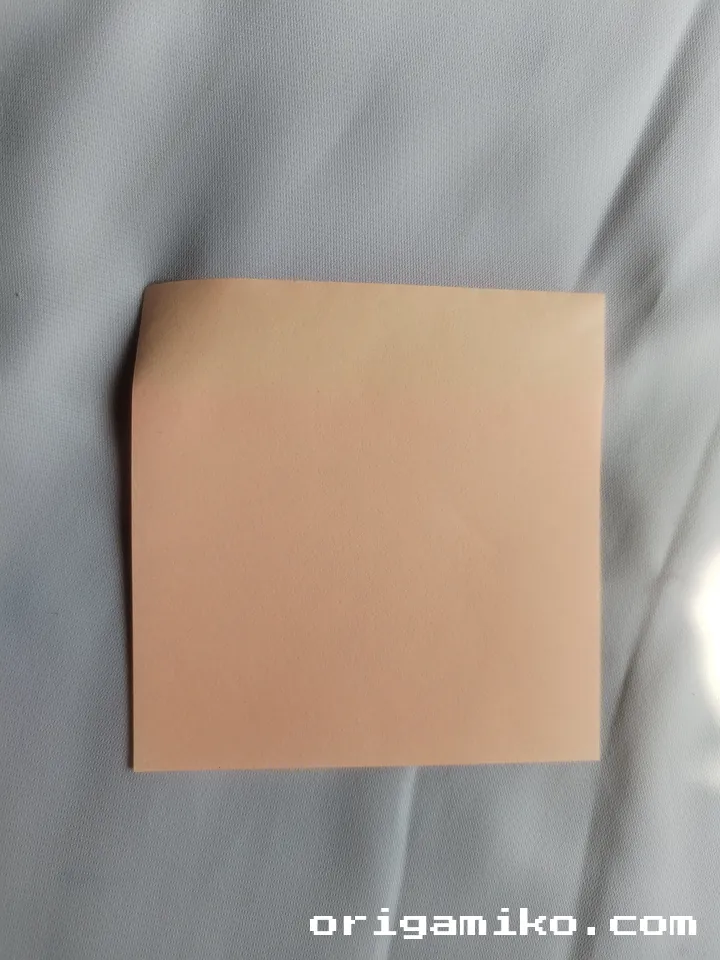
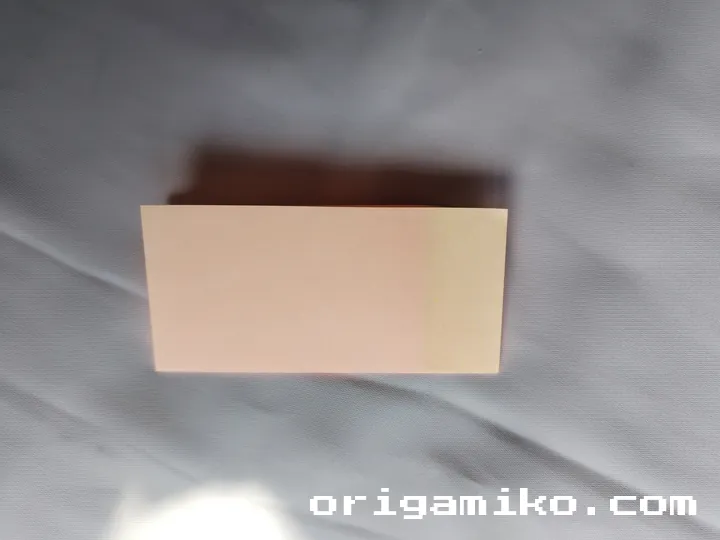
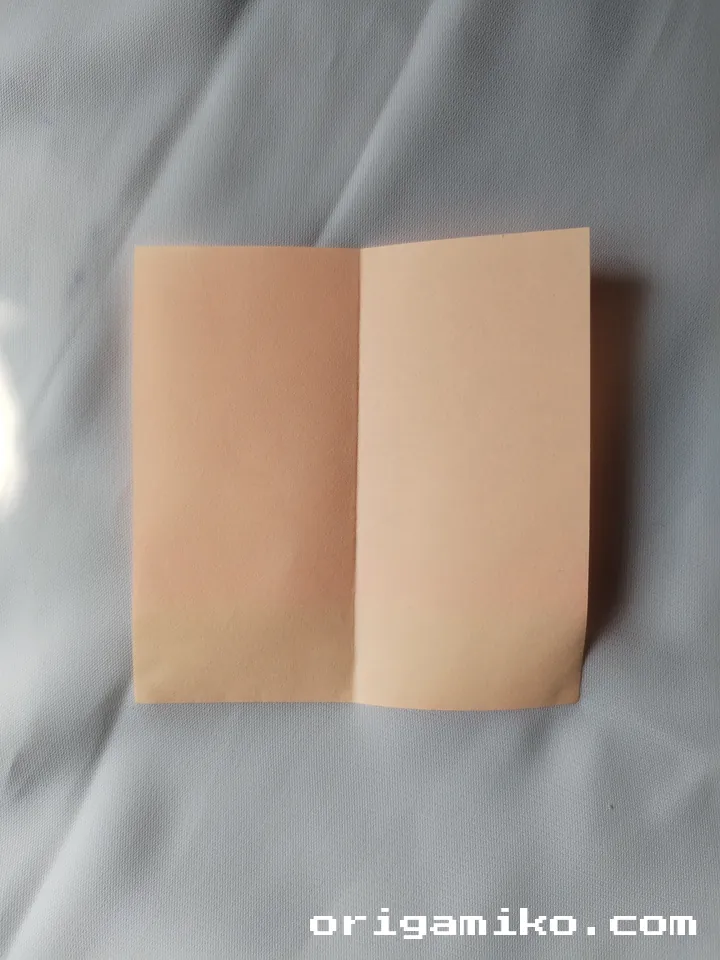
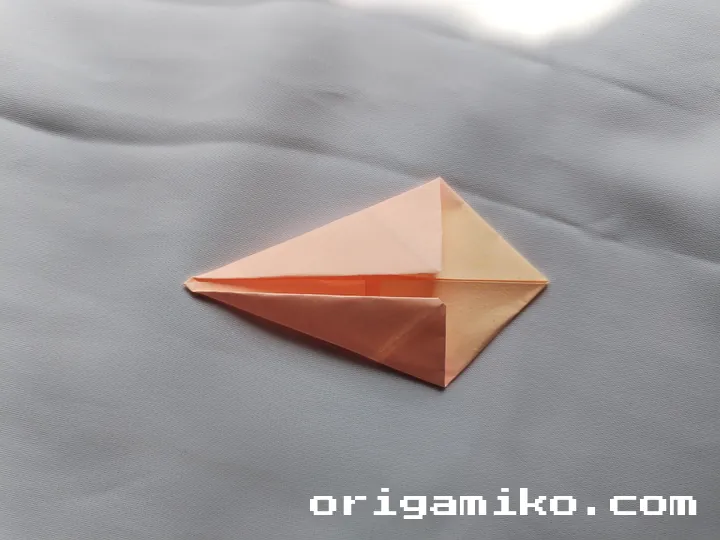
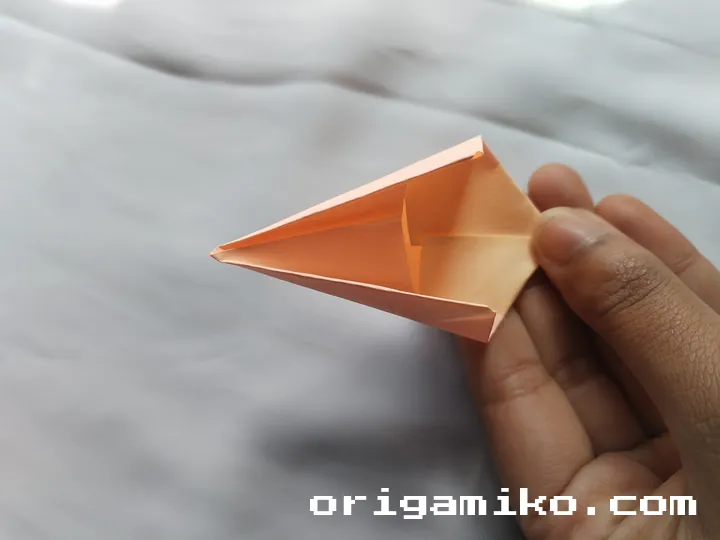
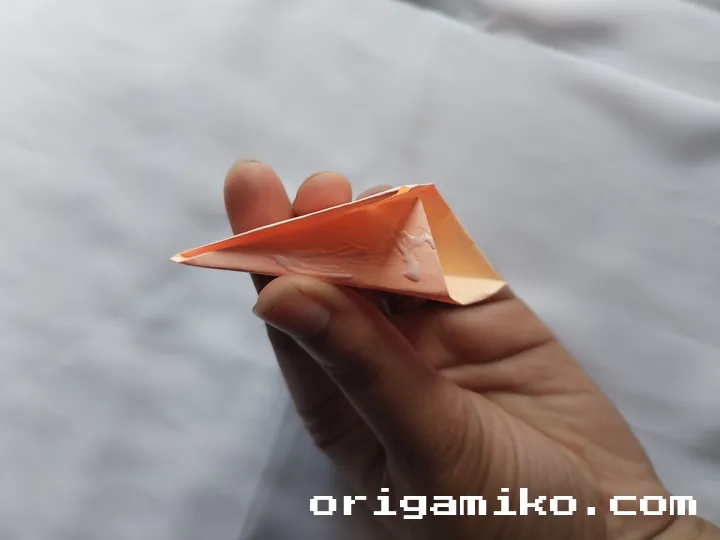
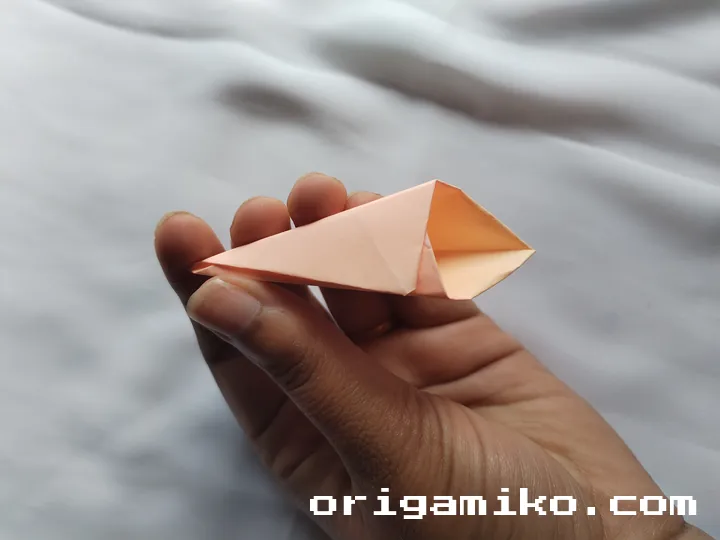
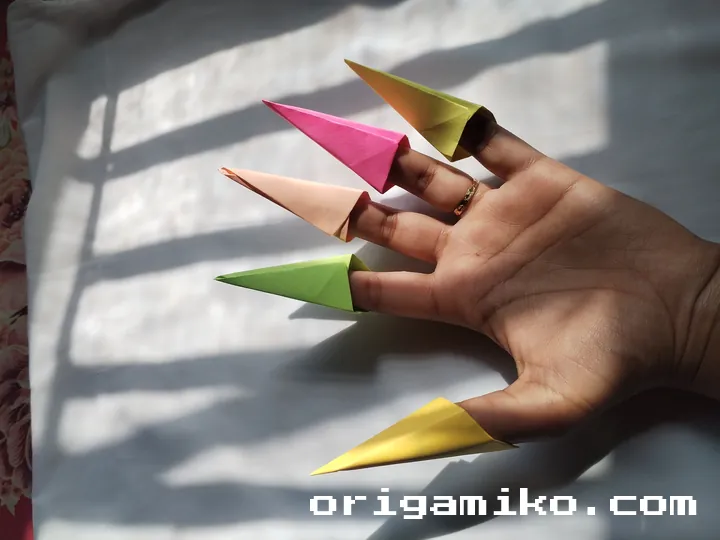
Boom! You’ve just made one Origami Sticky Note claw.
Tips for Success
Want your claws to look sharp and fit right? These tips help every time.
- Use square notes — non-square notes mess up the proportions.
- Smooth your folds — run your finger or a ruler along the crease.
- Stick with the same hand for each claw — consistency makes them easier to wear.
- Try on as you go — check the fit before gluing.
Common Mistakes and How to Avoid Them
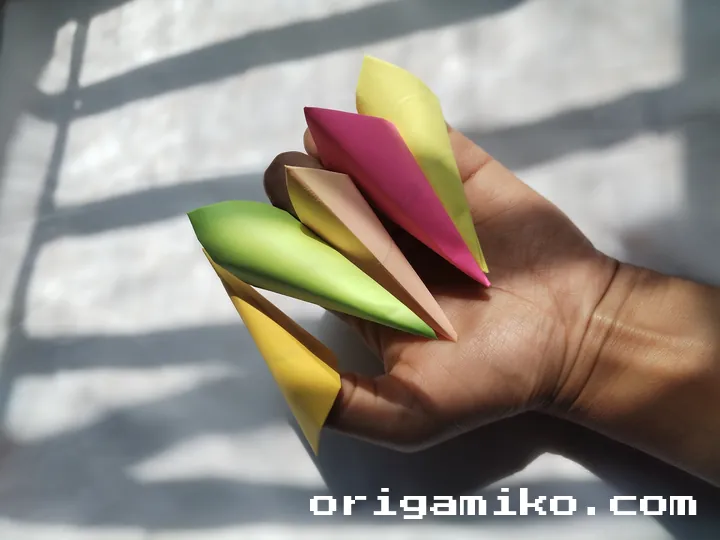
Don’t worry — we’ve all been there. Here’s what trips people up:
- Mistake: Using curled sticky notes
Fix: Flatten them first or use a fresh sheet. - Mistake: Misaligned folds
Fix: Go slow and match up edges carefully. - Mistake: Rushing the glue step
Fix: Hold the glued area in place for a few seconds to set.
Similar Variations You Can Try
Feeling creative? Try these spin-offs after you’ve nailed the basics:
- Colored sticky notes — makes each claw stand out.
- Glow-in-the-dark paper — epic for Halloween or nighttime fun.
- Mini claws — use smaller sticky notes for finger puppets.
- Double-layered claws — fold two sticky notes together for strength and style.
Each version has its own flair. And yeah, I’ve tried them all!
FAQs
Q: How long does it take to make one claw?
About 2–3 minutes once you get the hang of it.
Q: Can I use larger sticky notes?
Yes! Bigger notes mean bigger claws. Just make sure they’re square.
Q: Are these safe for kids?
Yes, as long as they don’t poke each other in the eye. Supervision is a good idea.
Q: Do I really need glue?
Not always, but it helps claws stay on and look sharper.
Final Thoughts
So now you know how to make Sticky Note claws Origami style. They’re quick, fun, and totally beginner-friendly. Whether you’re a student, a bored office worker, or just curious — this is a must-try craft.
Easy Origami Sticky Note claws are more than just folded paper. They’re tiny works of art, fierce accessories, and conversation starters. So grab a stack of notes and start folding. You might surprise yourself!
CopyEdit
4o
You said:
steps should be h3 and follow my all instructions accurately
ChatGPT said:
How to Make Easy Origami Sticky Note Claws – Simple, Fierce, and Fun
Ever seen paper claws that look like they came out of a comic book? That’s what we’re making today. And guess what? You only need sticky notes.
Yes, those sticky notes sitting on your desk. With just a few folds, we’ll turn them into awesome finger claws. It’s paper folding magic.
You don’t need to be an origami expert. I’ll walk you through every step. This journey? Fun, fierce, and totally worth it.

What Are Origami Sticky Note Claws?
Origami Sticky Note Claws are bold, folded-paper finger claws made entirely from sticky notes. They’re fun, edgy, and surprisingly simple to create.
Perfect for school projects, Halloween accessories, or just impressing your friends during lunch break. These claws are proof that origami isn’t just cranes and flowers — it can be fierce too.
And here’s the kicker: No scissors. No tape. Just a square sticky note, your hands, and a little paper-folding magic.
Key Terms to Know
Let’s break down a few basic terms before we fold:
Sticky Note
A small paper square with a strip of adhesive on one edge.
Origami
The traditional Japanese art of paper folding, often without cutting or gluing.
Crease Line
A fold made by pressing the paper — helps form the structure.
Center Point
The intersection of the horizontal and vertical folds — your guide.
Materials Needed
Yes, we’re keeping it simple. Here’s what you’ll need to follow the Origami Sticky Note claws instructions:
| Item | Quantity | Details |
|---|---|---|
| Sticky Notes | 1 per claw | Standard size (3″x3″) is ideal |
| Glue Stick (Optional) | 1 | Helps secure the final fold |
| Flat Surface | 1 | For smooth, accurate folding |
| Clean Hands | Always | Prevents smudging or tearing |
| Patience | A little | Especially helpful for the first few tries |
Simple Sticky Note Claws Step by Step
Follow these exact folds and you’ll have a claw in minutes. Each fold builds the structure, so don’t skip anything.
Step 1: Take a Sticky Note
Start with a fresh sticky note. Peel it gently to avoid curling. Lay it sticky-side down on a flat surface.
Step 2: Fold It Vertically and Horizontally, Then Unfold
First, fold the note in half from top to bottom (vertical fold). Unfold it. Then fold from left to right (horizontal fold). Unfold again.
You should see a “plus” sign made by the creases. That’s your folding grid.
Step 3: Bring the Bottom Right Corner to the Middle Point and Fold
Take the bottom-right corner and fold it into the center point — where the creases meet. You’ll form a triangle.
Then, fold the left and right sides along the crease lines inward toward the center. This gives your claw its angled shape.
Step 4: Glue and Press to Hold the Shape
Now fold the paper in half lengthwise along the triangle’s base. Add a dab of glue where the two long edges meet.
Press and hold for a few seconds. Let it dry briefly. That’s it — one claw done!
Tips for Success
Want your claws to look clean and sharp? Here are a few helpful tips I always follow:
- Go slow on the first try – rushing causes misaligned folds.
- Use firm creases – run a fingernail or ruler edge over folds.
- Check symmetry – even sides = better-looking claws.
- Practice with scrap paper first – get confident before using your favorite sticky notes.
Common Mistakes and How to Avoid Them

Even experienced folders slip up. Here’s what to look out for — and how to fix it:
- Mistake: Uneven folds
Fix: Always align corners precisely before pressing. - Mistake: Sticky edge gets in the way
Fix: Use the sticky part on the inside of folds, or trim it off if needed. - Mistake: Claw won’t stay closed
Fix: Use a small bit of glue or a paperclip until it dries. - Mistake: Wrong paper shape
Fix: Make sure your sticky note is a perfect square — no rectangles.
Similar Variations You Can Try
Once you get the hang of how to make Sticky Note claws Origami, you’ll want to experiment. I know I did.
Here are a few fun twists:
- Glow-in-the-dark claws – great for nighttime events or parties.
- Double-layer claws – fold two notes together for a chunkier effect.
- Decorated claws – draw flames, lightning bolts, or tribal lines on them.
- Different sizes – use smaller notes for kids or larger ones for dramatic flair.
The possibilities? Endless.
FAQs
Q: Do I need glue to make the claws work?
Nope — glue just makes them hold better over time.
Q: Can kids make these on their own?
Yes, but younger kids might need help with precise folding.
Q: What kind of sticky notes work best?
Standard 3×3 square notes. Thicker paper gives a sturdier feel.
Q: How long does it take to make a full set?
Once you’re comfortable, you can make 10 claws in under 20 minutes.
Final Thoughts
We’ve walked through the folds, glue, and tricks — and now you’ve got easy Origami Sticky Note claws at your fingertips (literally). Whether for fun, costume, or a creative project, this is a simple way to turn everyday paper into something bold.
Try it out, personalize your claws, and share them with others. Because once you start folding, it’s hard to stop.
Now go fold some paper — and maybe freak out your friends a little (in the best way).

