

Ever wonder how to make an easy Origami heart with wings? It’s a delightful project that blends creativity and simplicity. With just a piece of paper, you can craft something truly enchanting.
Today, I’ll walk you through the heart with wings step by step. It’s perfect for beginners and experienced folders alike. Let’s embark on this rewarding journey together!
What is an Origami Heart with Wings?
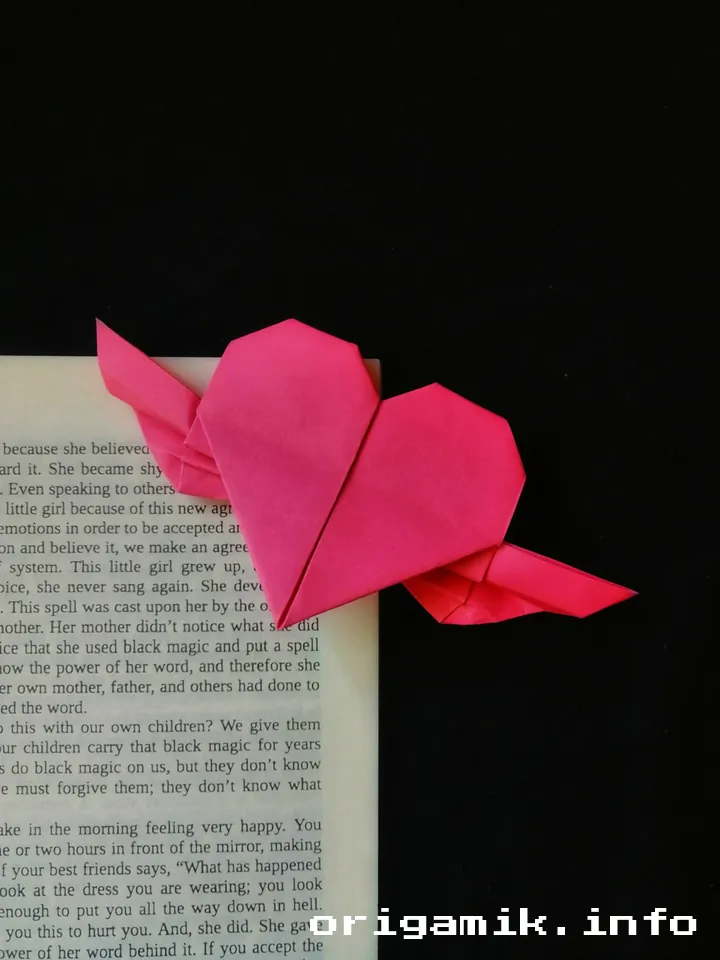
An Origami heart with wings is more than just a folded paper creation. It symbolizes love, freedom, and artistic expression. This design is not only visually appealing but also easy to make, making it a popular choice for gifting or decoration.
Why Make an Origami Heart with Wings?
- Express Emotion: A handmade heart with wings conveys thoughtfulness and care.
- Perfect for All Levels: Whether you’re a beginner or a seasoned origami artist, this project offers a satisfying experience.
- Versatile Uses: Use it as a gift topper, a greeting card insert, or even a decoration for special occasions.
Materials Needed
To get started, gather the following items:
| Material | Details |
|---|---|
| Paper | 10″ × 10″ square sheet (any color) |
| Flat Surface | A clean, flat workspace for precise folds |
| Optional Tools | Bone folder for crisp lines |
Tips for Choosing Paper
- Lightweight paper folds more easily.
- Double-sided paper adds a colorful touch.
- Avoid thick cardstock, as it’s harder to manipulate.
Step-by-Step Instructions
Follow these Origami heart with wings instructions carefully. Take your time, and don’t rush—each fold brings you closer to creating something magical.
Step 1: Start with a Square Sheet of Paper
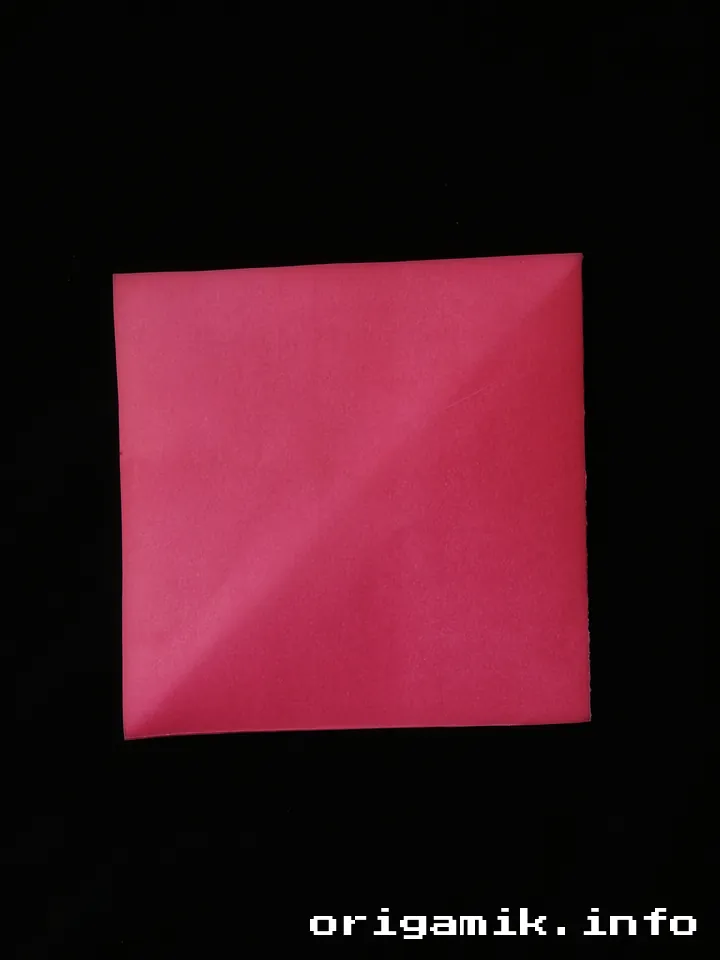
Take a 10” × 10” square sheet. Make sure it’s clean and flat. This will be the foundation of your creation.
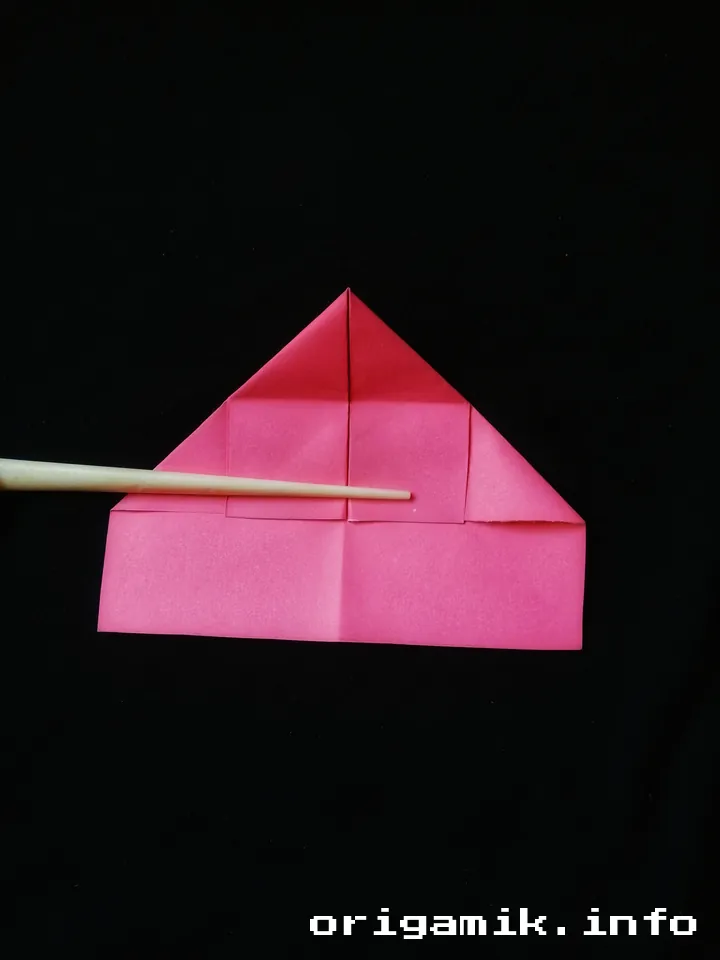
Step 2: Create the Initial Folds
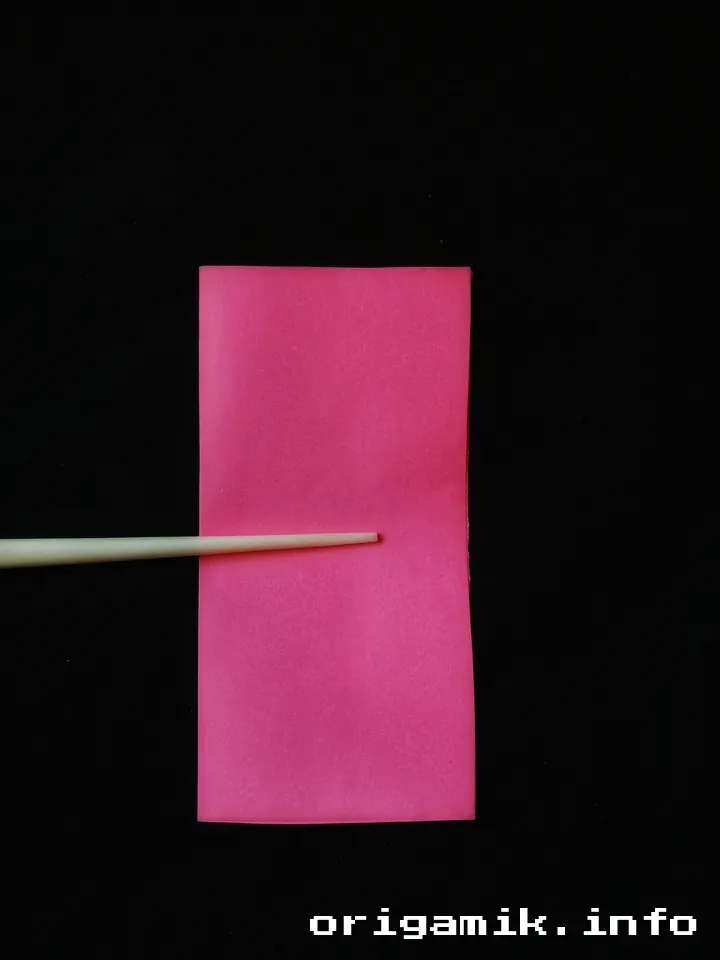
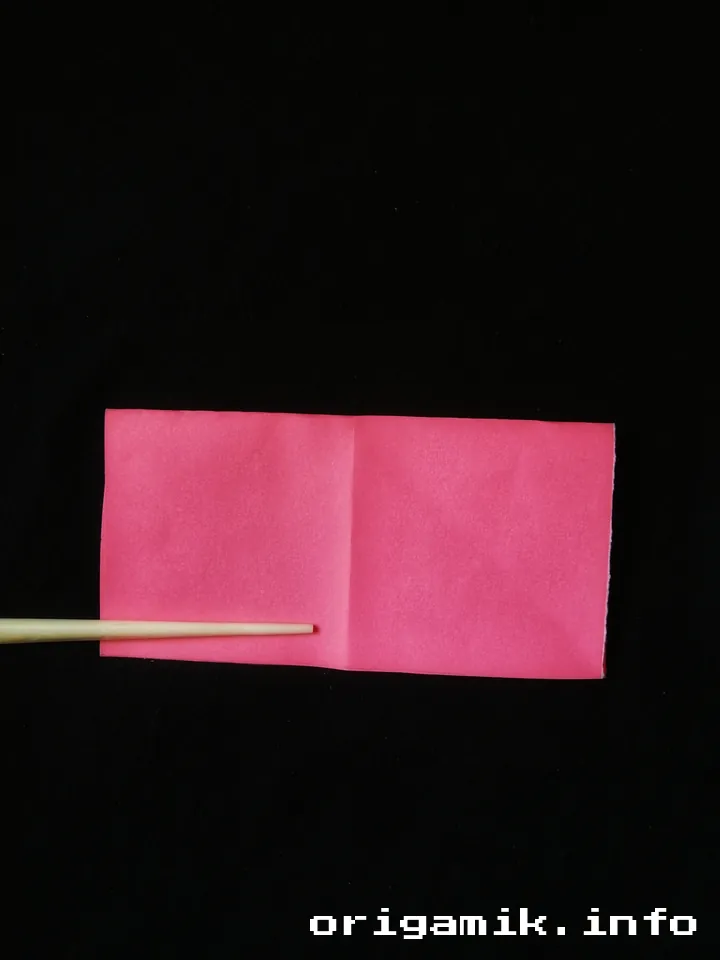
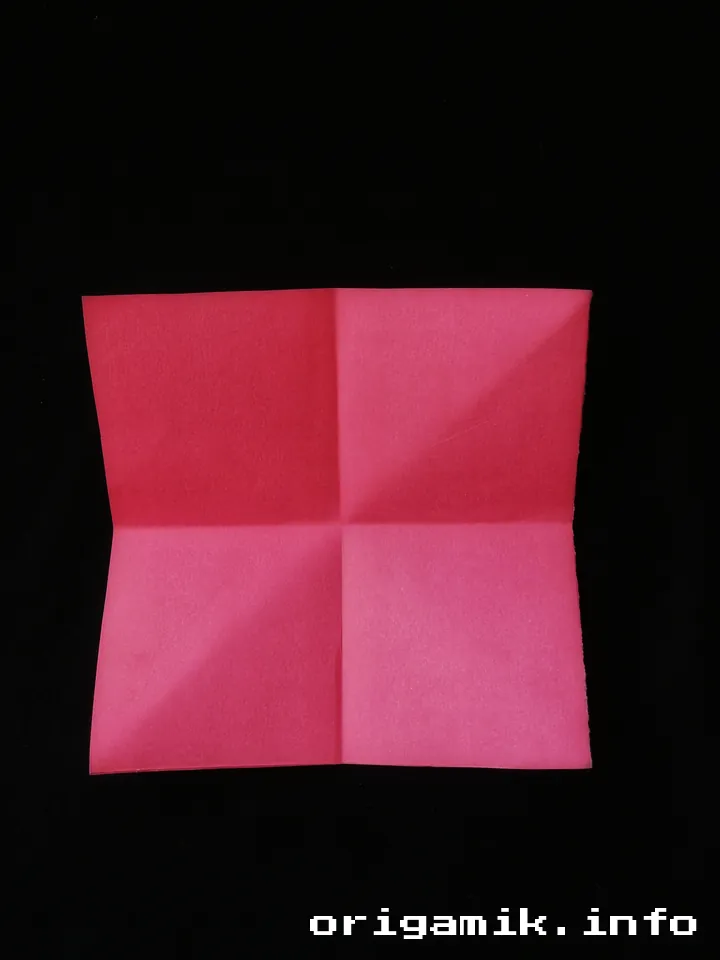
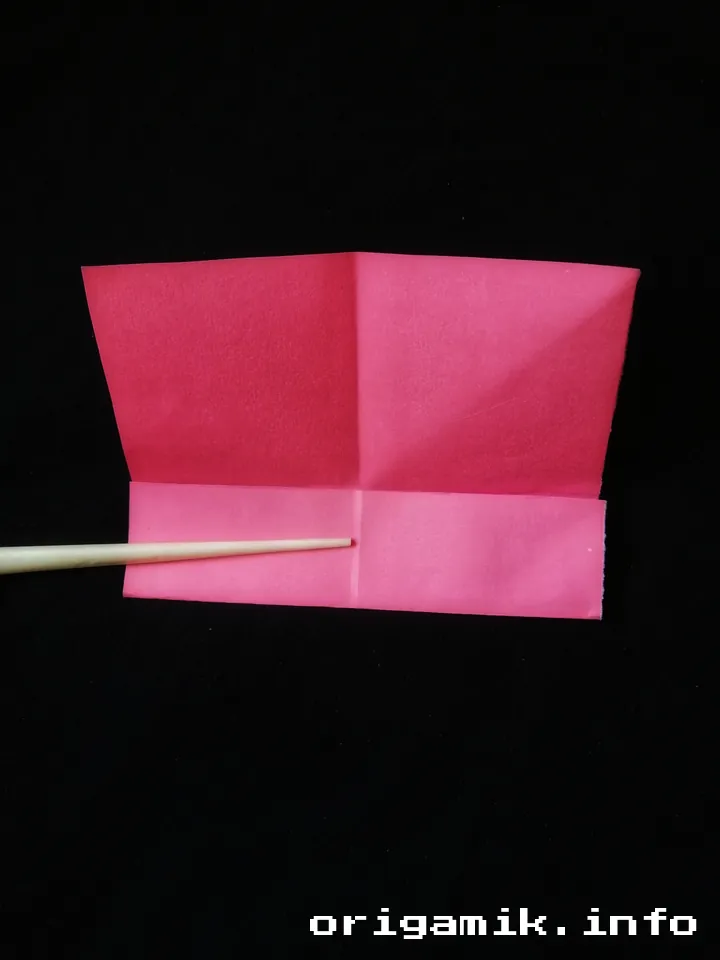
- Fold the paper in half, top to bottom.
- Unfold it and fold side to side.
- Finally, fold the bottom quarter of the paper upward.
Step 3: Fold Toward the Middle
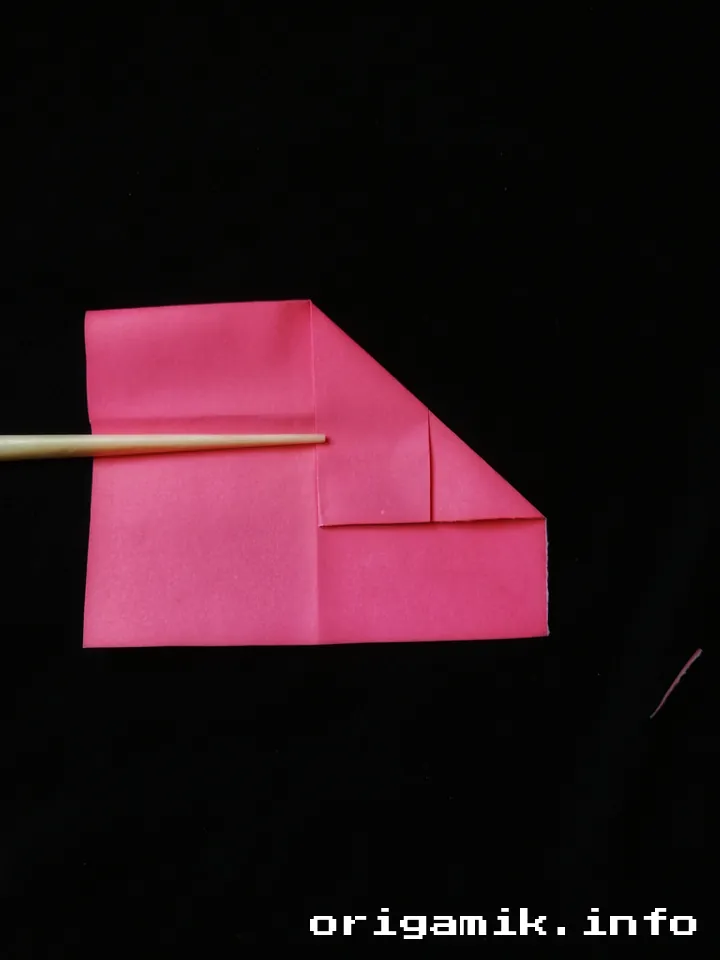
- Bring both sides of the paper to meet at the center crease.
- Ensure the edges align perfectly for a neat look.
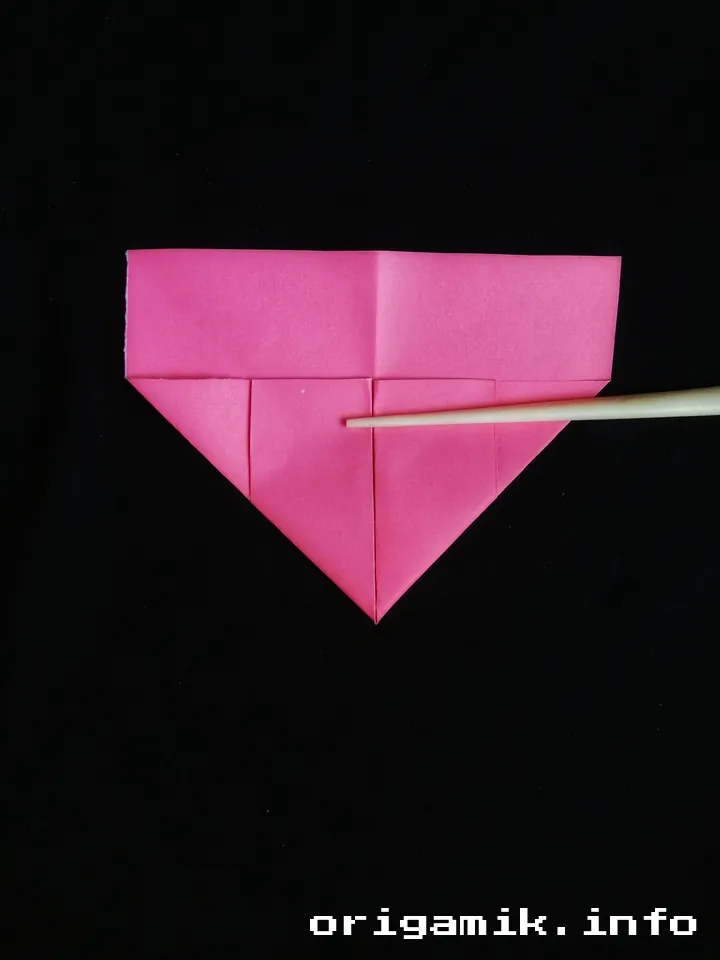
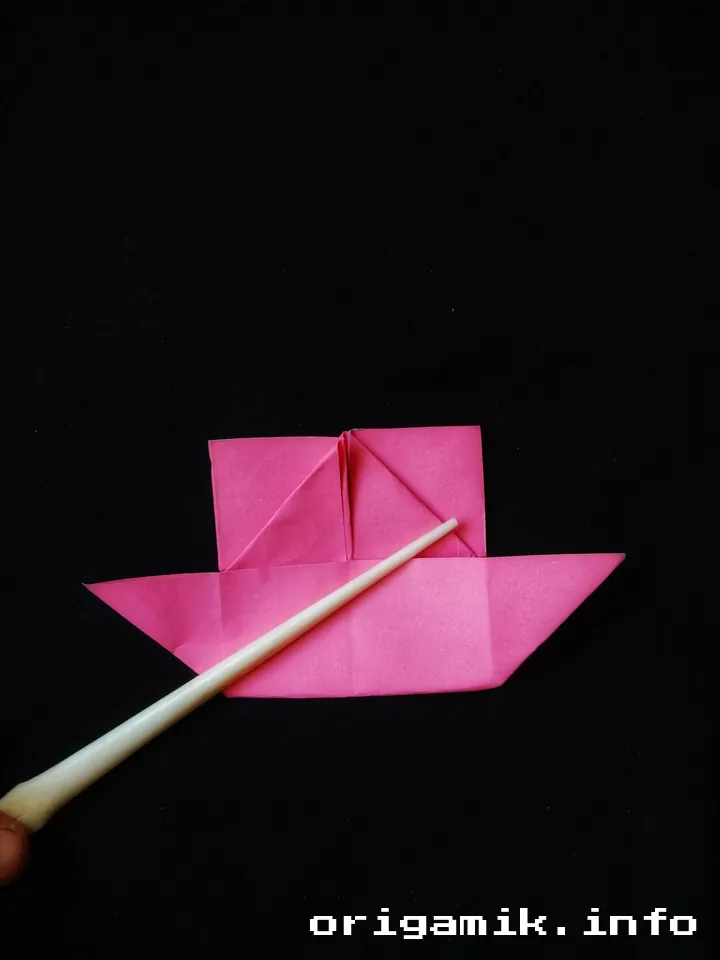
Step 4: Refold the Sides
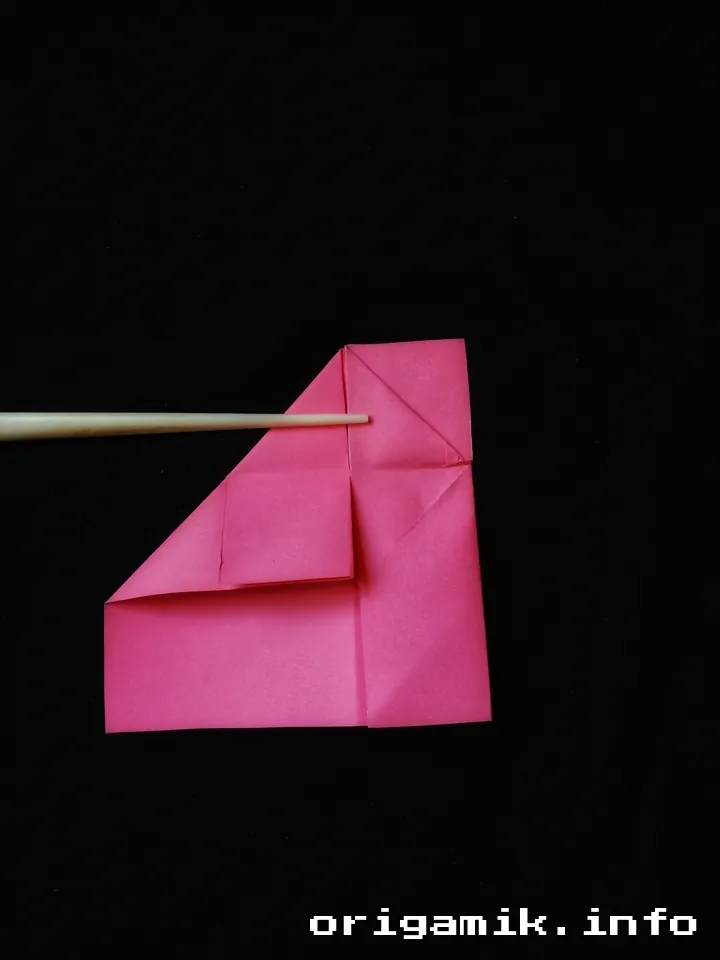
- Repeat the process by folding the sides inward again.
- Press firmly to create sharp creases.
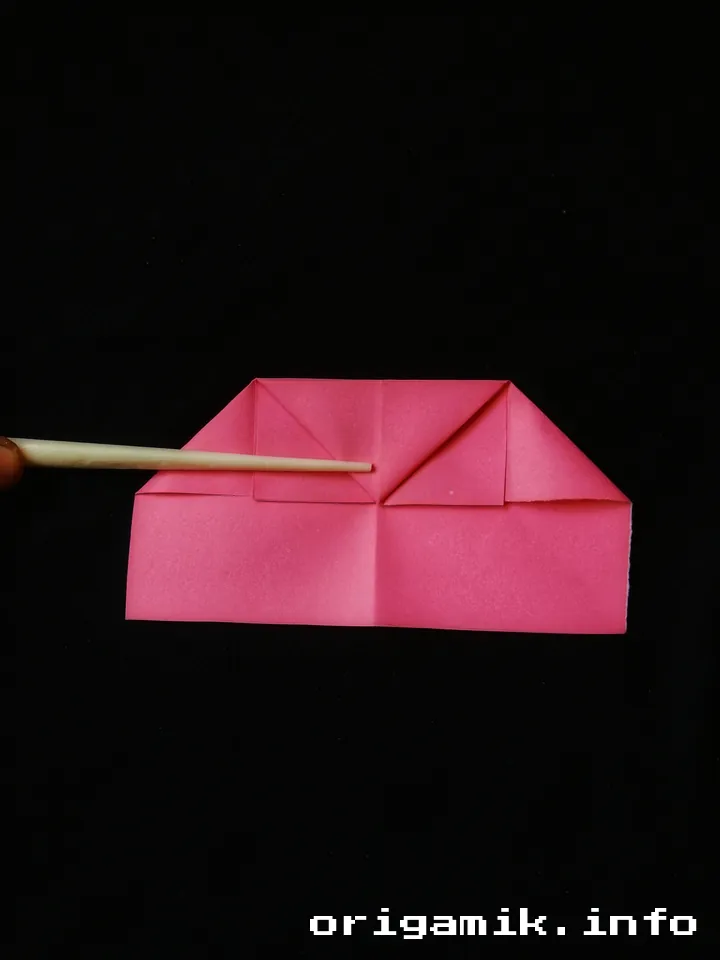
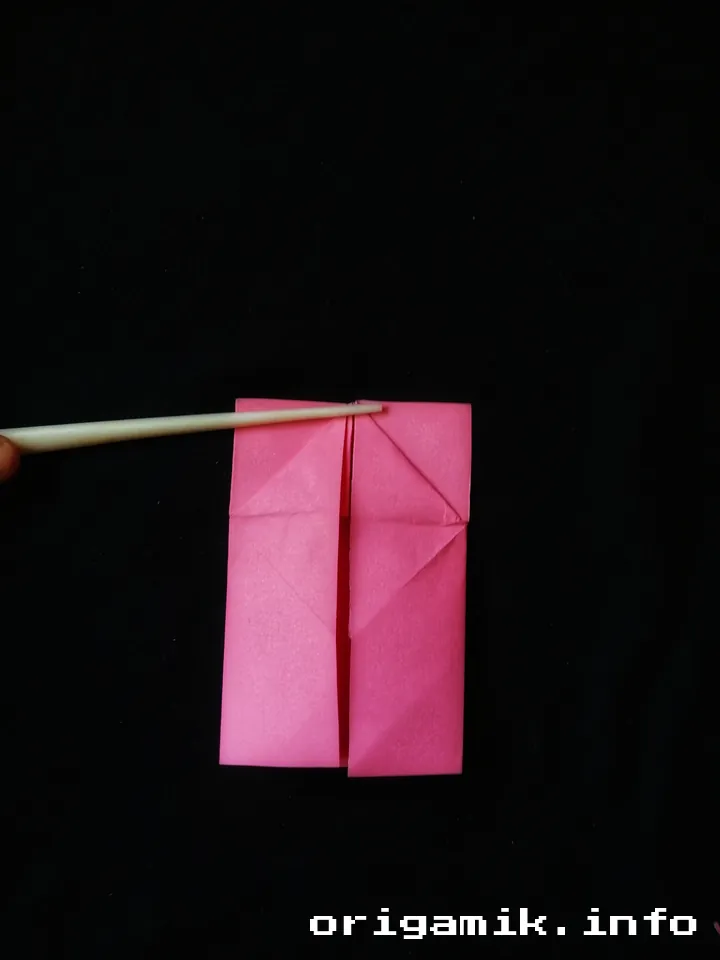
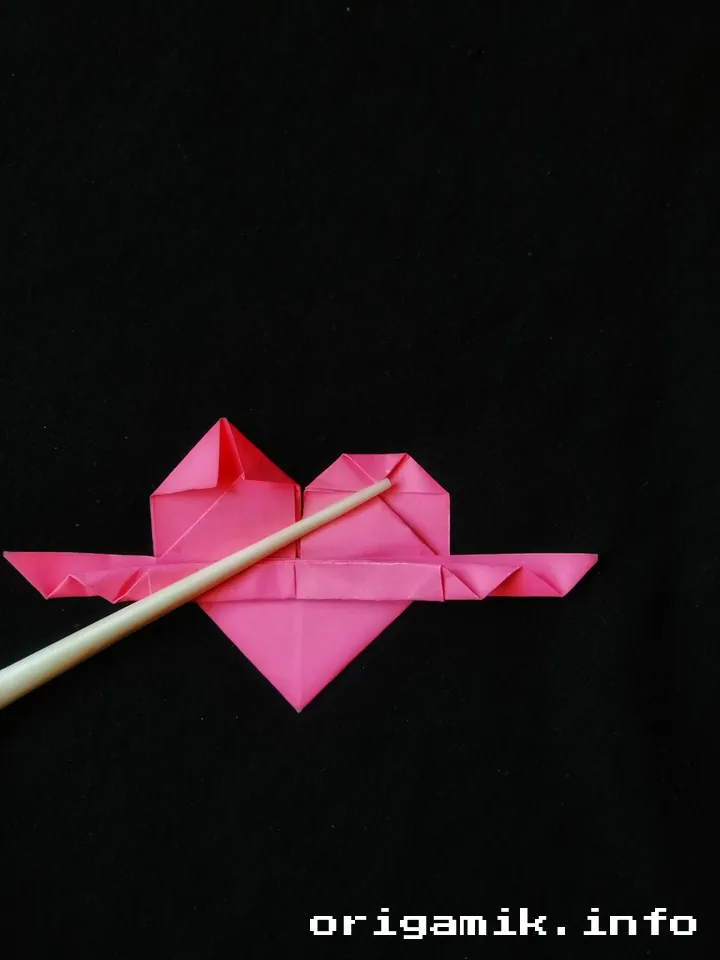
Step 5: Shape the Wings
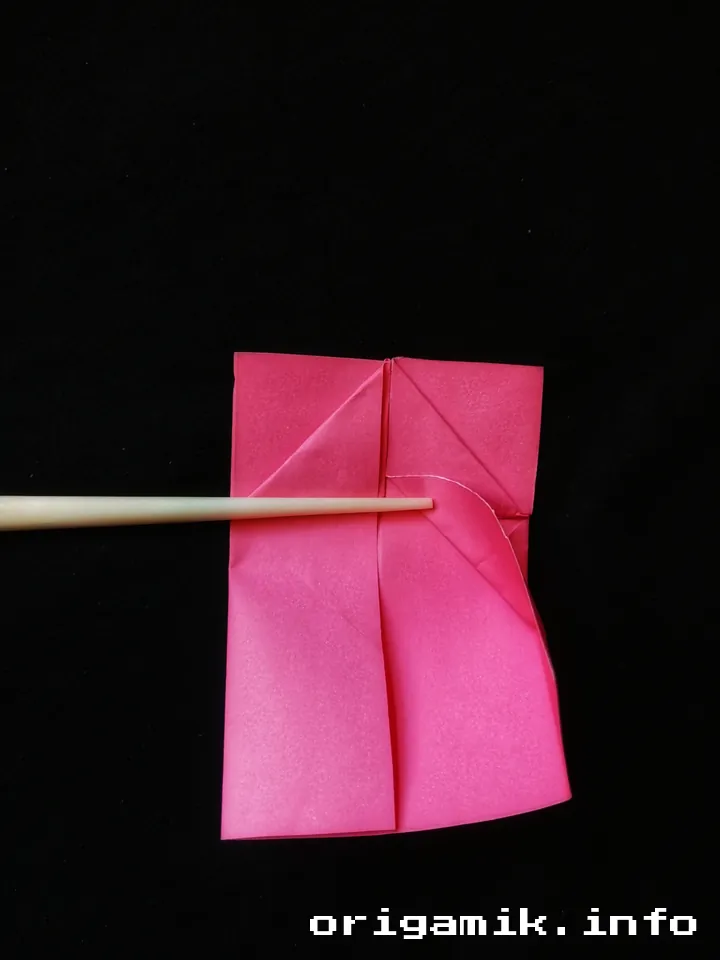
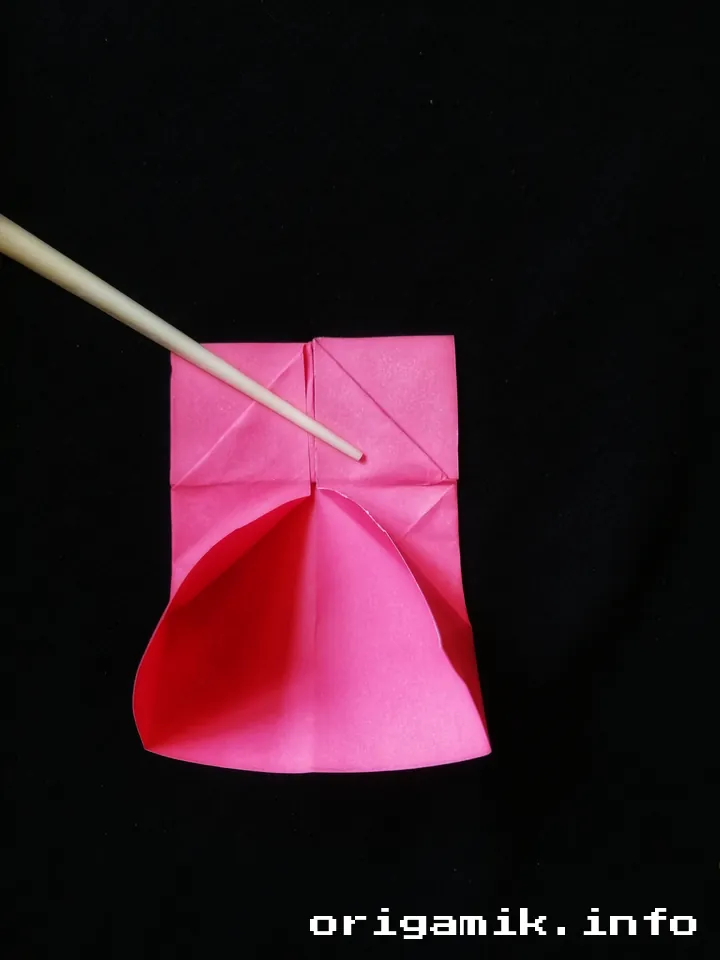
- Gently press the middle point of the folded paper.
- Fold it downward to create the wing-like shapes.
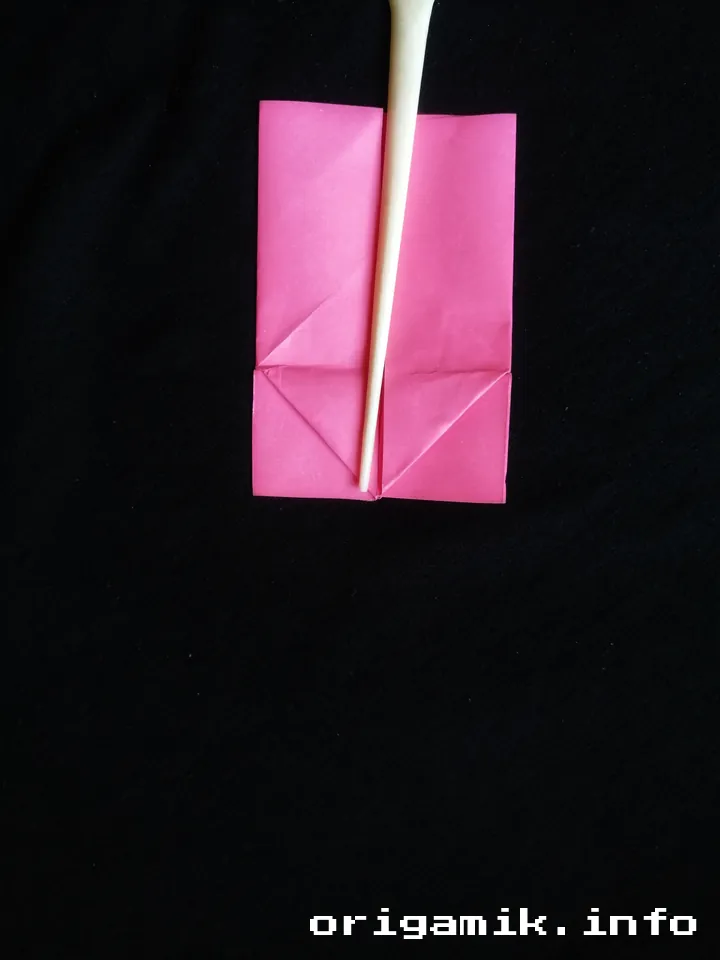
Step 6: Add Zigzag Details
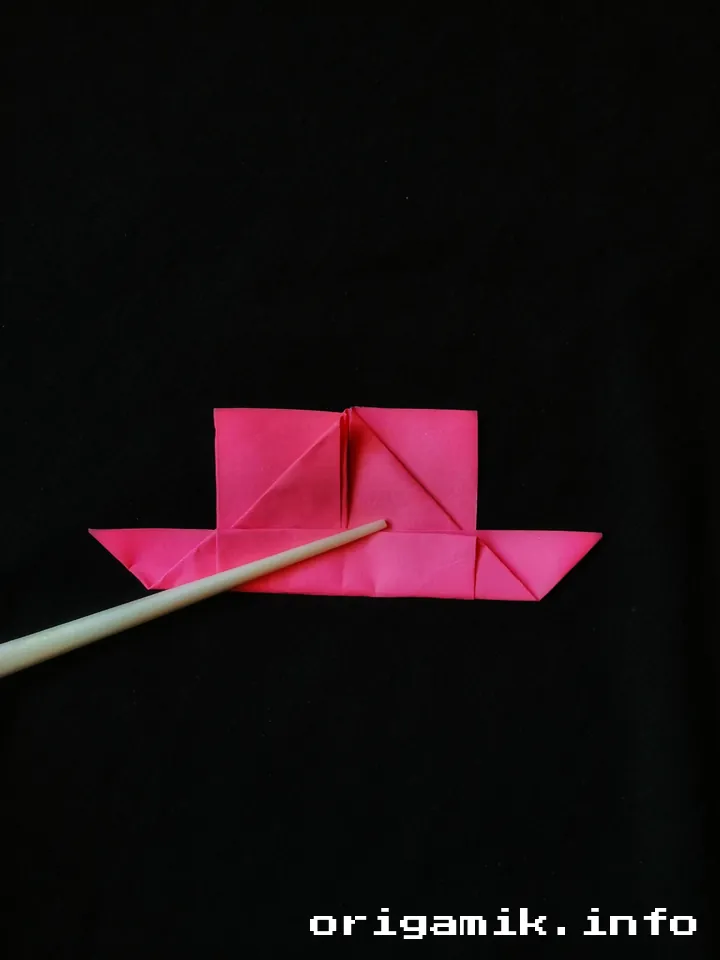

- Fold the bottom edges in a zigzag pattern.
- Repeat the zigzag fold and press the wings’ center for a detailed look.
Step 7: Fold the Corners
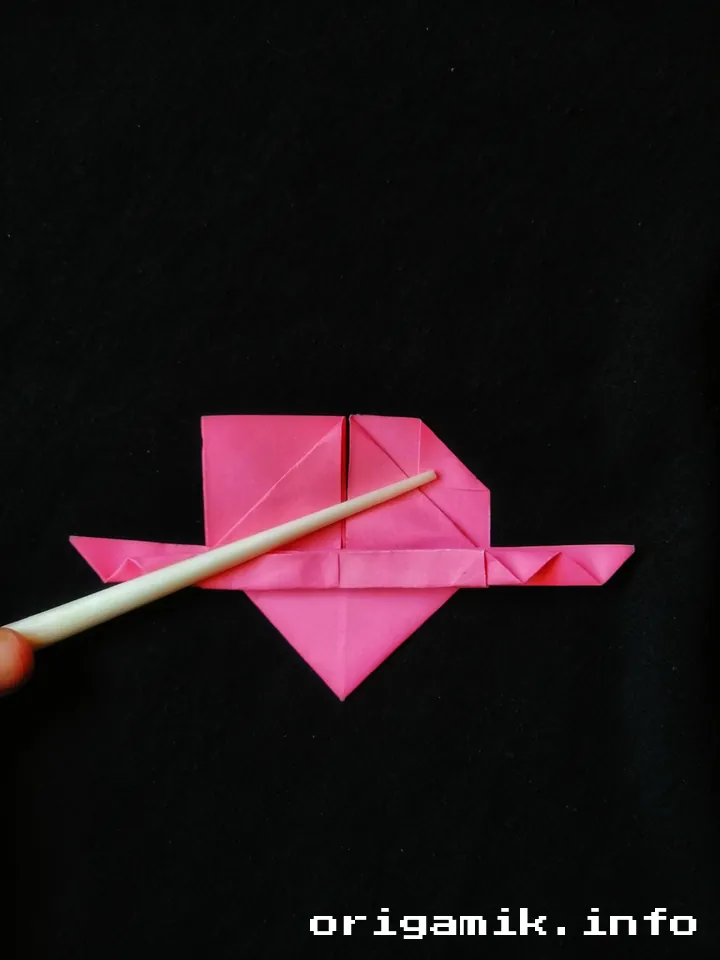
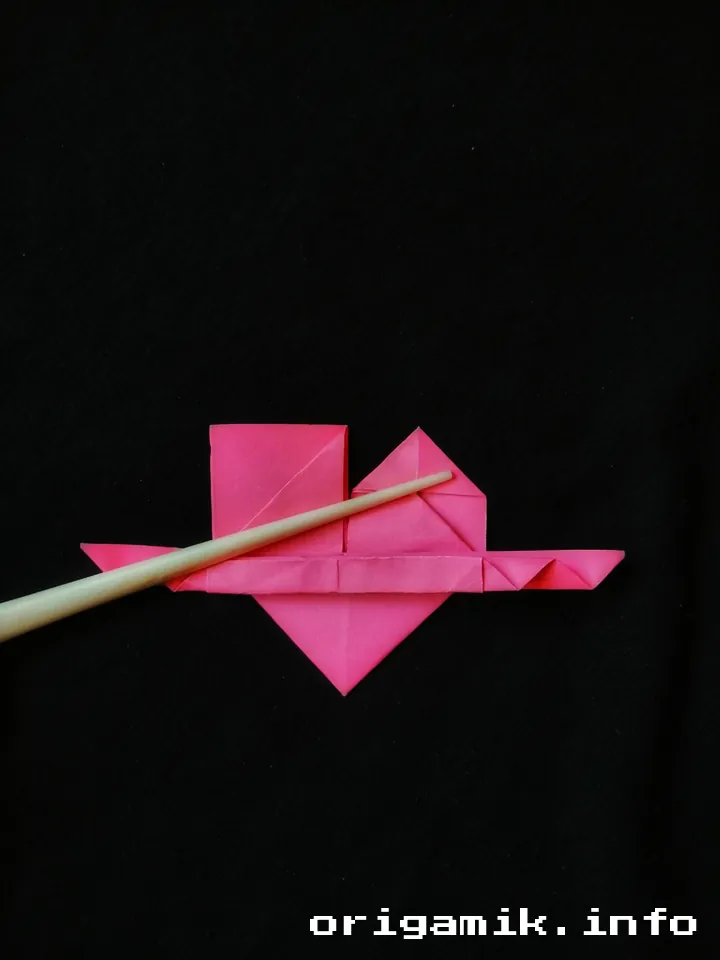
- Tuck in all sharp corners to give your heart a rounded, finished appearance.
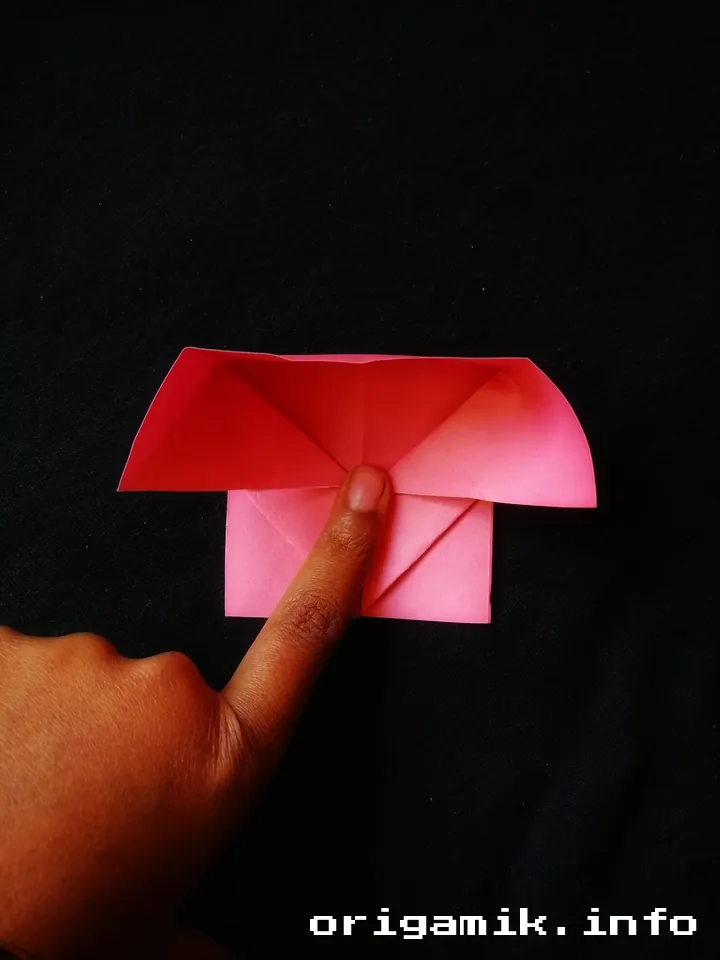
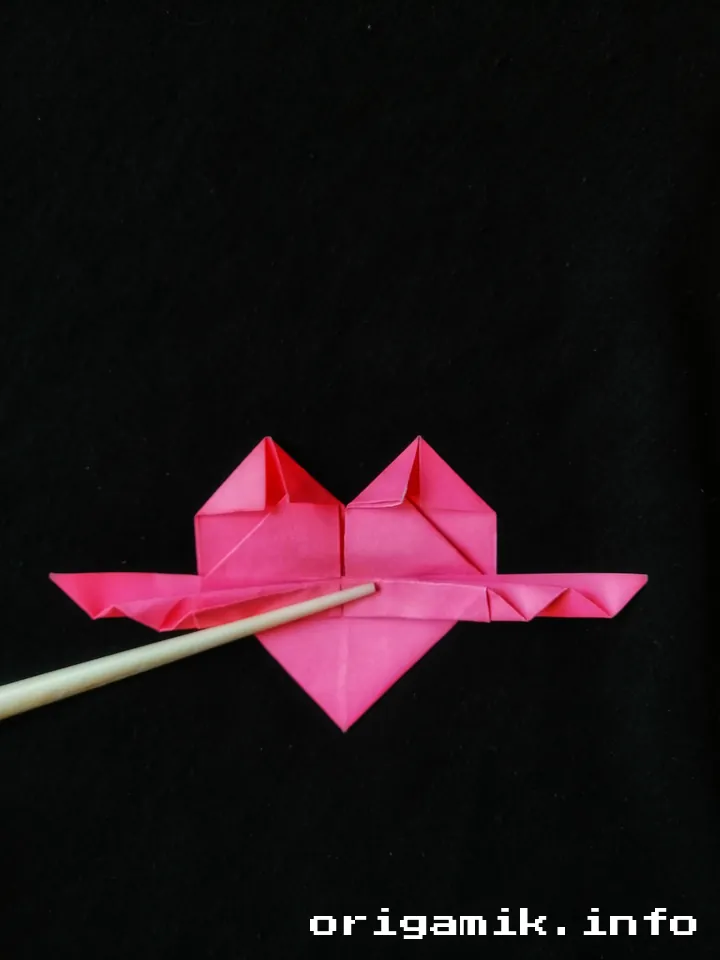
Step 8: Final Touches
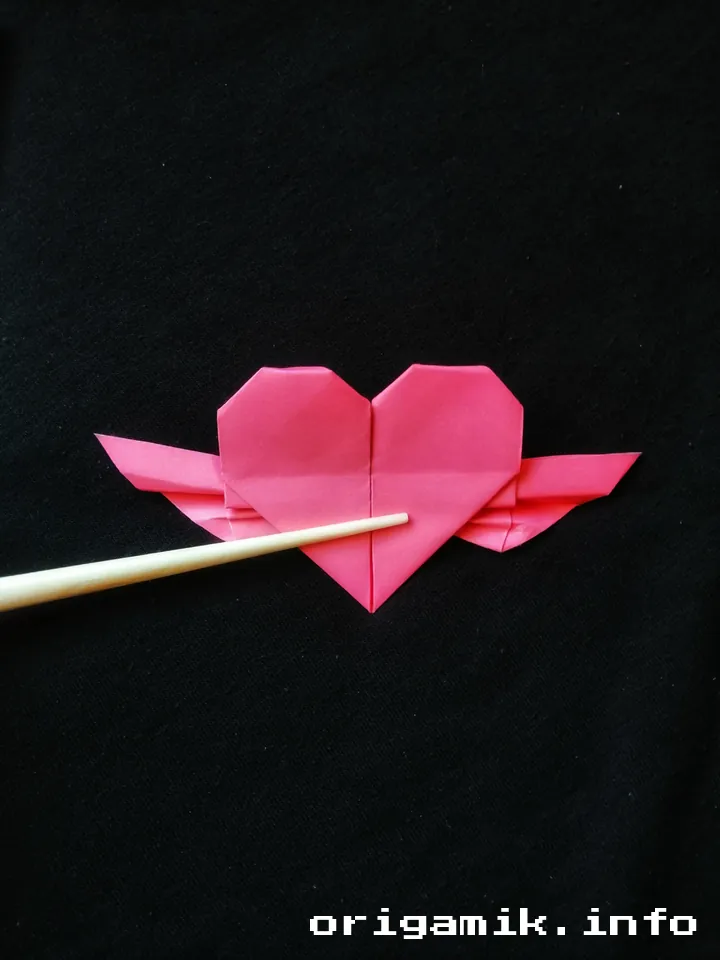
- Smooth out the folds and adjust the wings as needed.
- Your Origami heart with wings is ready to shine!
Tips for Success
Here are some tips to make your heart stand out:
- Work Slowly: Precision matters, especially for detailed folds.
- Use a Bone Folder: It helps achieve crisp lines without damaging the paper.
- Practice on Scrap Paper: This prevents waste if mistakes happen.
Common Mistakes and How to Avoid Them
- Misaligned Folds: Always align edges carefully before creasing.
- Over-Pressing: Too much force can tear the paper; press gently.
- Wrong Paper Choice: Thick paper can make folds bulky and hard to manage.
Similar Variations You Can Try
- Origami Heart: A simpler version without wings.
- Butterfly Wings: Add a fluttery effect by adjusting the wing shape.
- Double-Heart Design: Combine two hearts for a layered look.
Frequently Asked Questions (FAQs)
Can I use any size of paper?
Yes, but a 10” × 10” sheet ensures balanced proportions.
How long does it take to make?
On average, 10–15 minutes, depending on your skill level.
Is it suitable for kids?
Absolutely! With supervision, kids can enjoy crafting this design.
Conclusion
Creating an easy Origami heart with wings is a journey of patience and joy. By following this heart with wings step-by-step guide, you’ll have a beautiful piece of art to cherish or gift. Remember, every fold tells a story—let yours unfold beautifully.