

Origami is a magical art that turns simple paper into stunning creations. And today? We’re diving into something truly enchanting: the Origami Puffy Heart. Whether you’re a beginner or a seasoned origami enthusiast, this project promises to be a delightful experience. Ready to create a heartfelt masterpiece?
Let me guide you through easy Origami puffy heart instructions with a conversational approach. By the end, you’ll not only have a gorgeous puffy heart but also a newfound appreciation for the beauty of paper folding.
Materials Needed
Having the right materials ensures a smooth crafting experience. Here’s everything you need:
| Material | Details |
|---|---|
| Paper Size | 10″ × 10″ square paper |
| Paper Type | Lightweight origami paper is best for crisp folds |
| Workspace | A flat, clean surface to fold comfortably |
| Optional Tools | Bone folder or ruler for sharp creases |
What Is an Origami Puffy Heart?
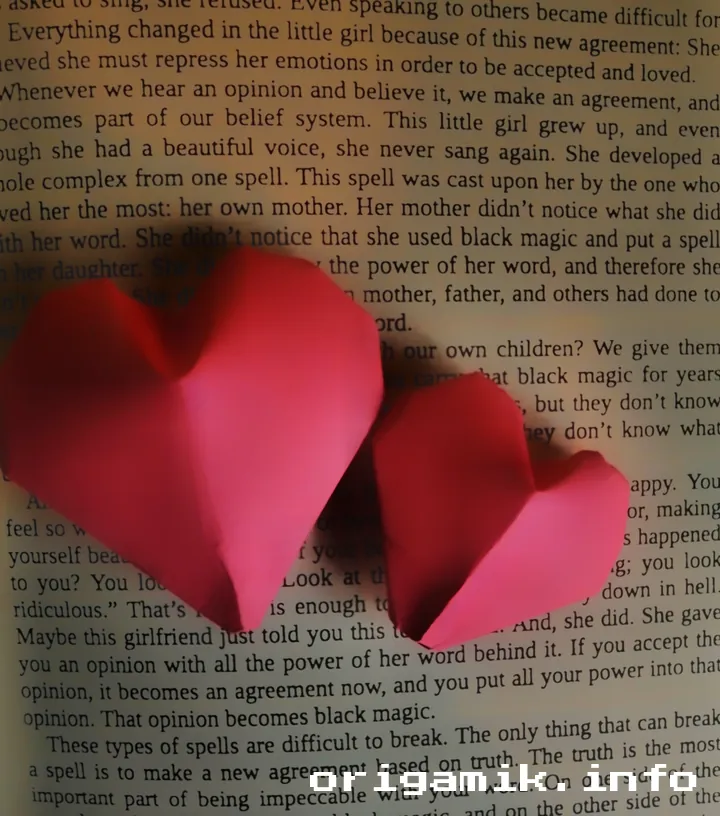
An Origami Puffy Heart is a charming 3D creation that symbolizes love and warmth. Unlike flat origami hearts, this version has depth and dimension, giving it a “puffy” appearance. Perfect for gifts, decorations, or just a fun craft project, this heart adds a personal, handmade touch to any occasion.
Step-by-Step Instructions to Make an Origami Puffy Heart
Follow these puffy heart step-by-step directions closely. Don’t worry if it seems tricky at first—practice makes perfect!
Step 1: Prepare Your Paper
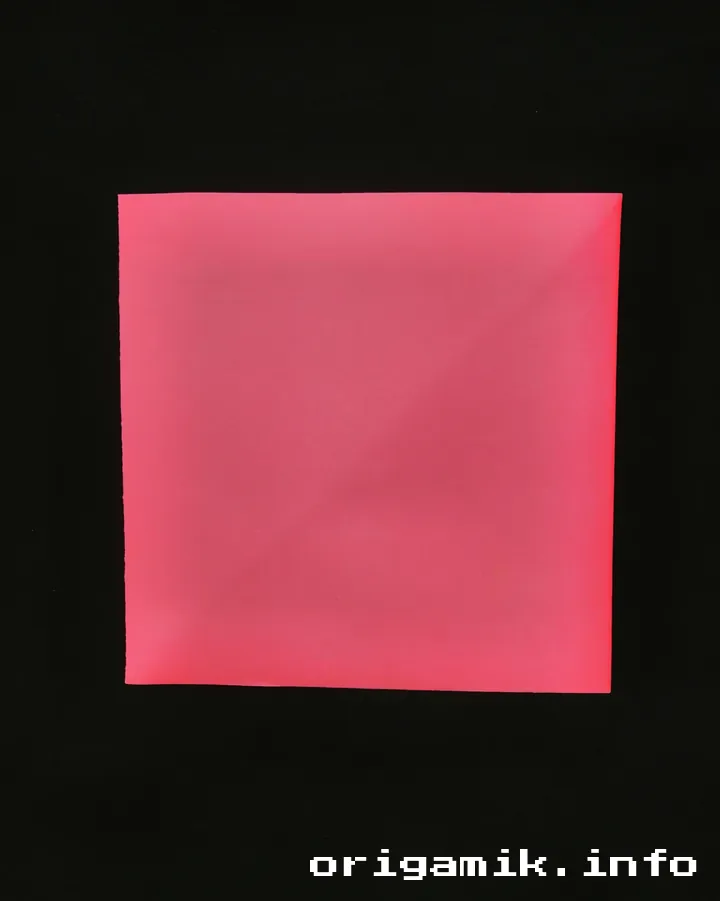
- Start with a 10″ × 10″ square sheet of paper. A solid or patterned color works well for this heart.
- Place the paper on your workspace, ensuring it’s flat and free from creases.
Step 2: Fold the Base
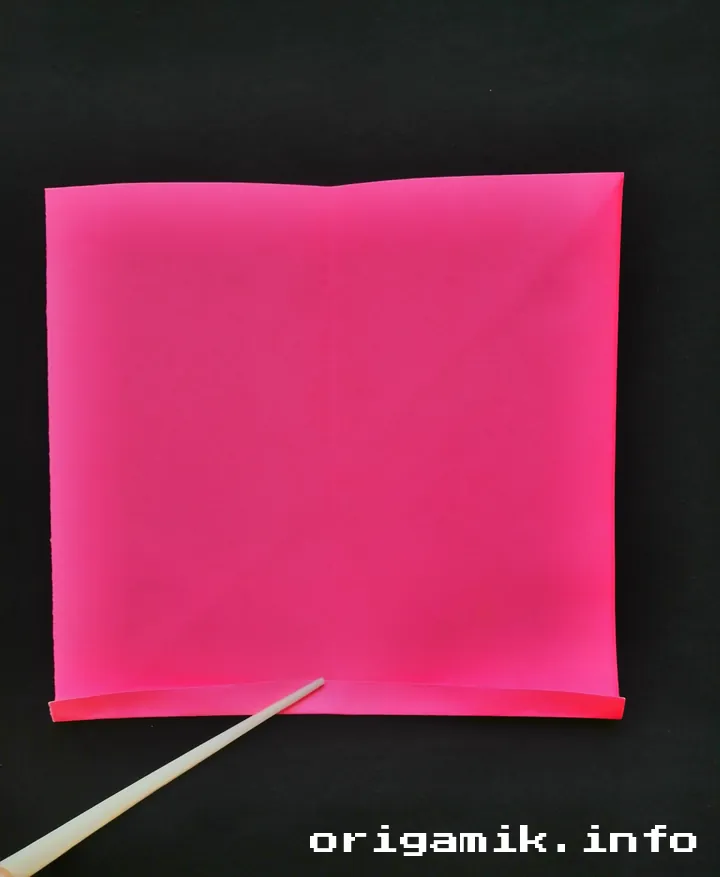
- Fold one edge of the paper down to meet the opposite edge. Crease firmly, then unfold.
- Fold the paper in half again, this time from top to bottom. Crease and unfold.
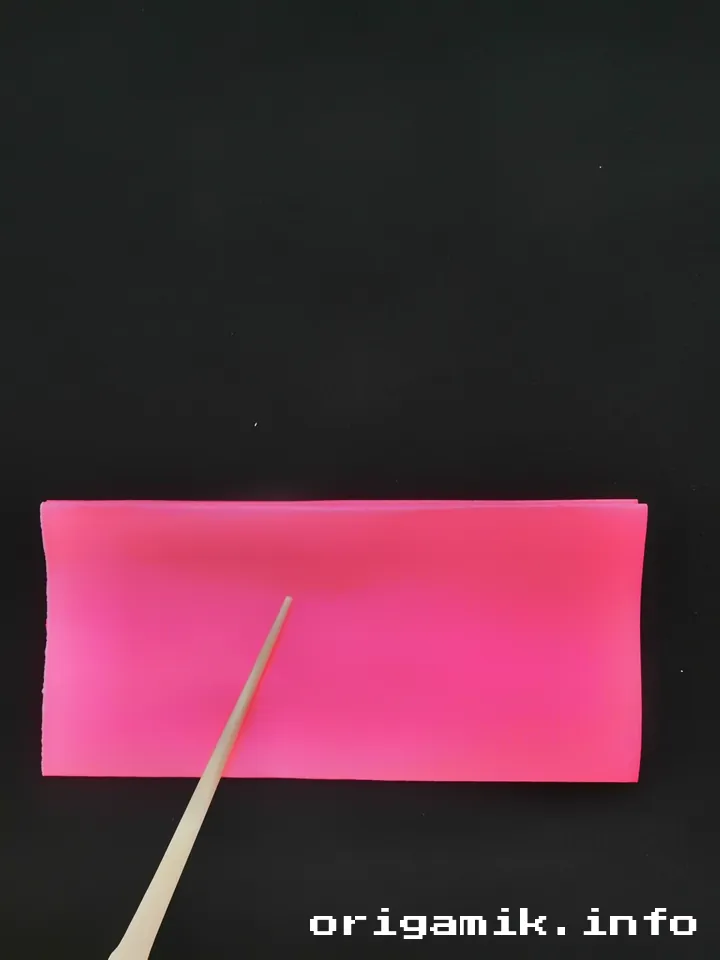
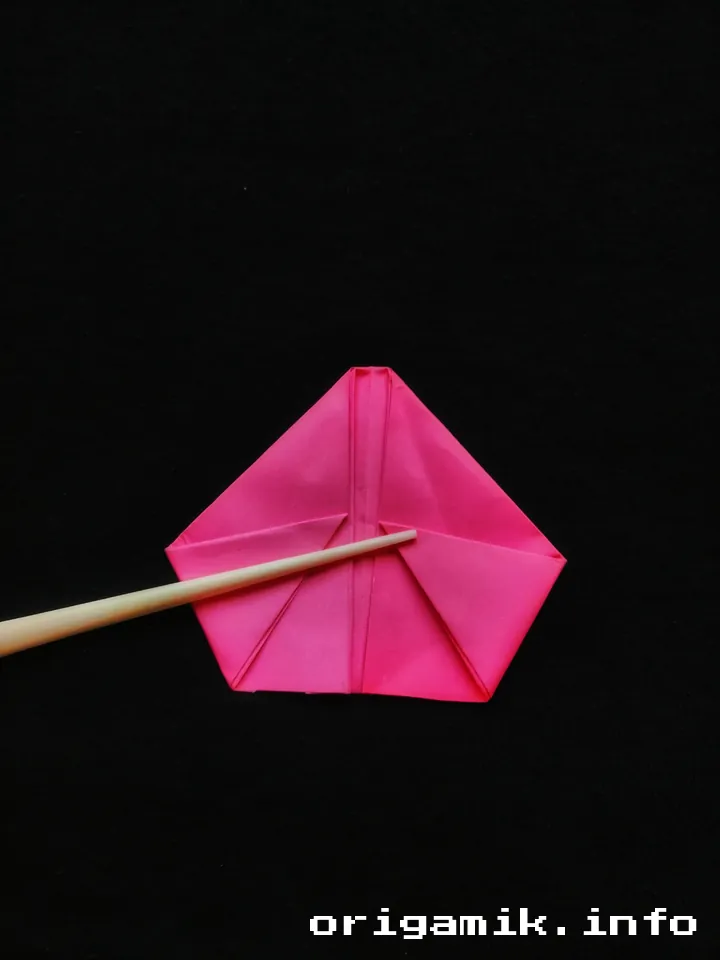
Step 3: Mark the Midpoints

- Take each corner and fold it inward to meet the center point, creating a diamond shape.
- Unfold these creases. You should see clear diagonal fold lines intersecting the square.
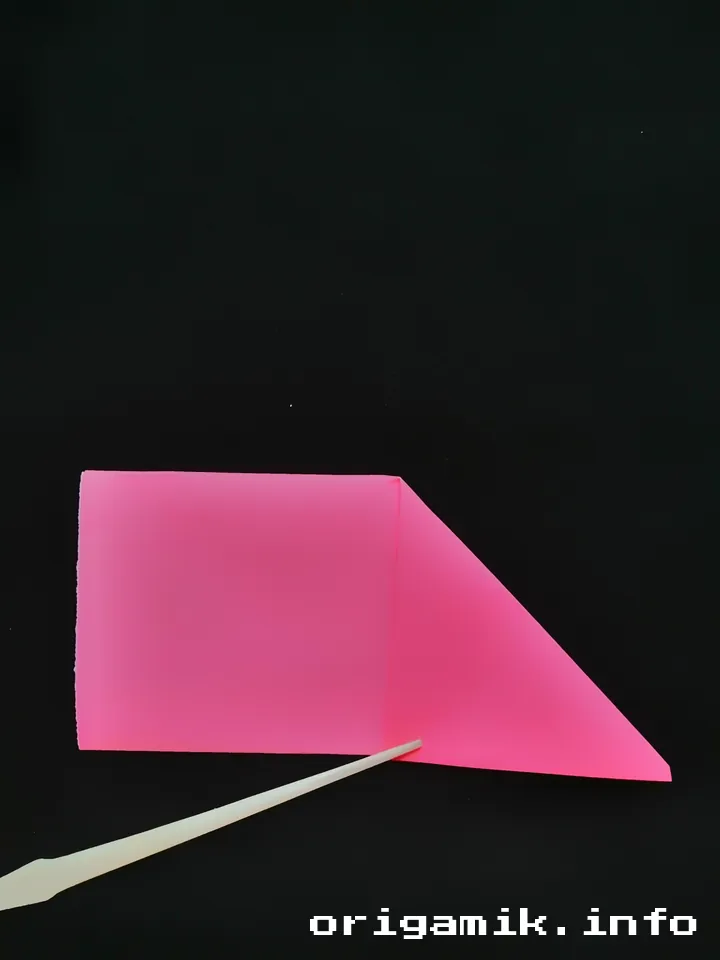
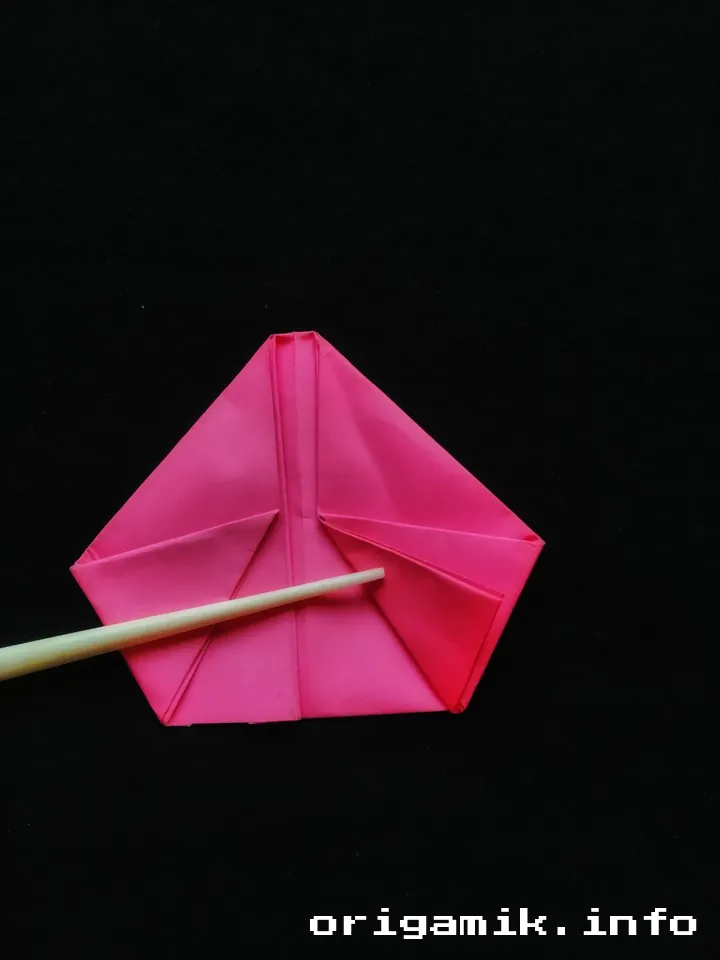
Step 4: Create the Center Creases
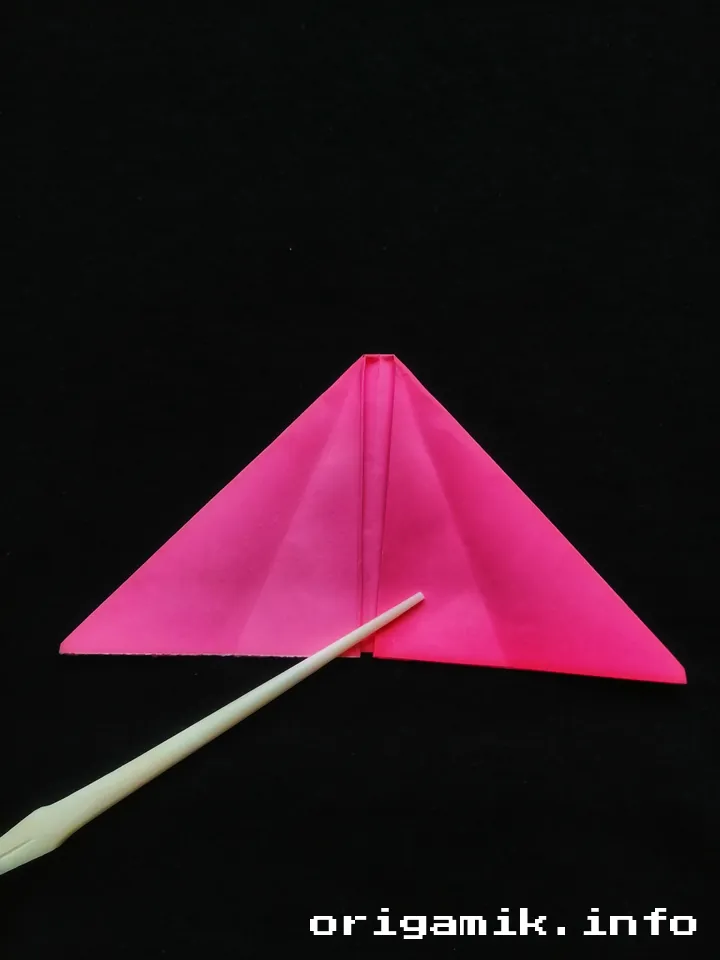
- Fold the paper’s sides toward the middle line. Crease them well.
- Now fold the paper along the diagonal lines, pressing down on each fold for crisp edges. Unfold when done.
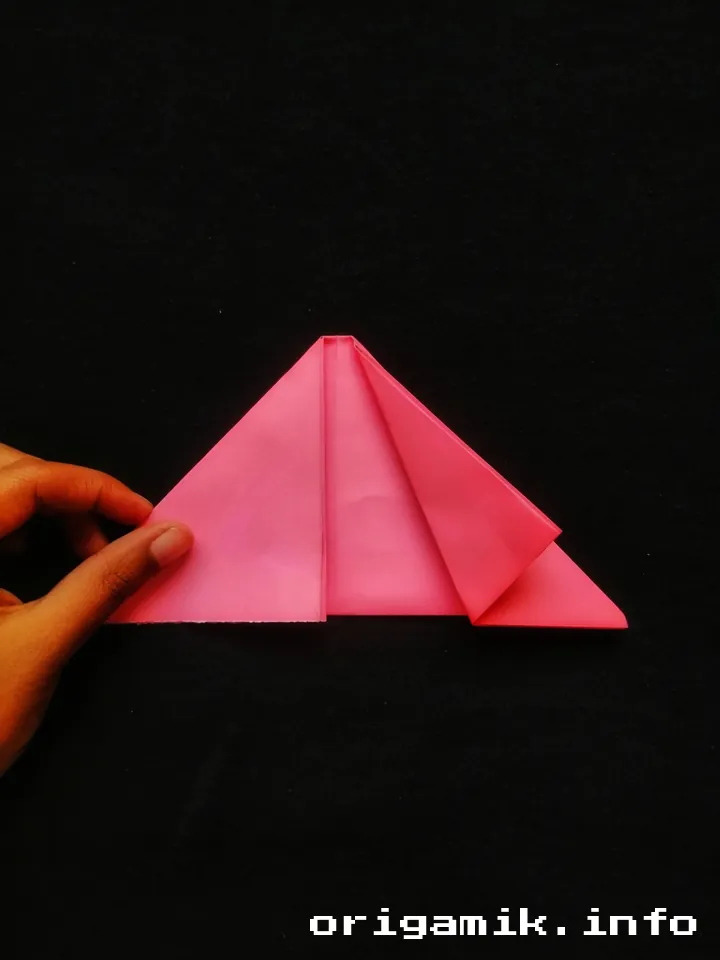
Step 5: Shape the Heart
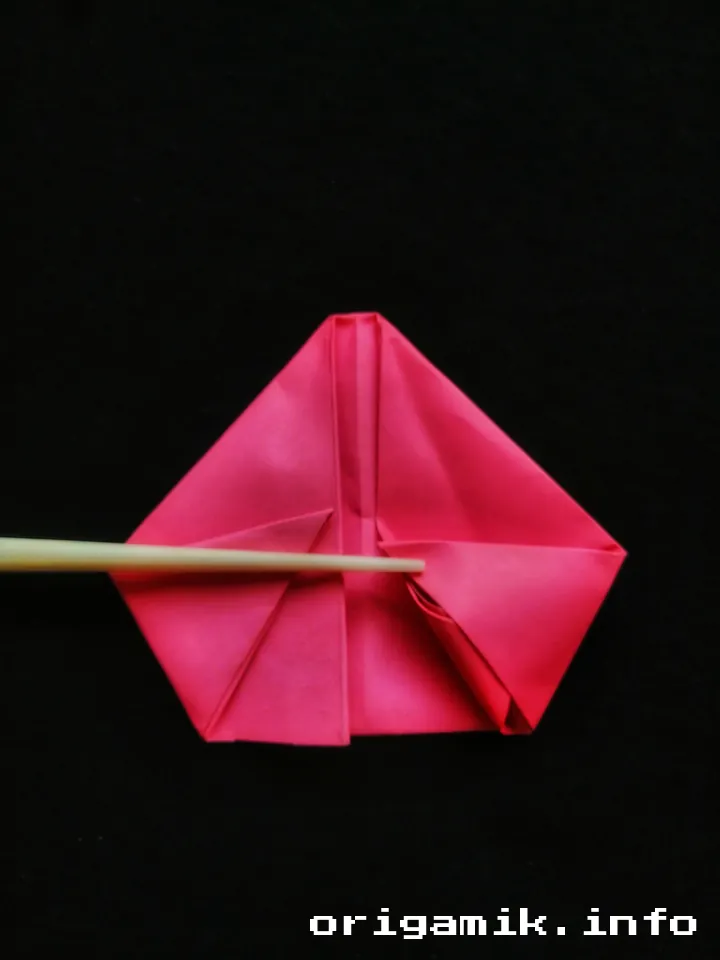
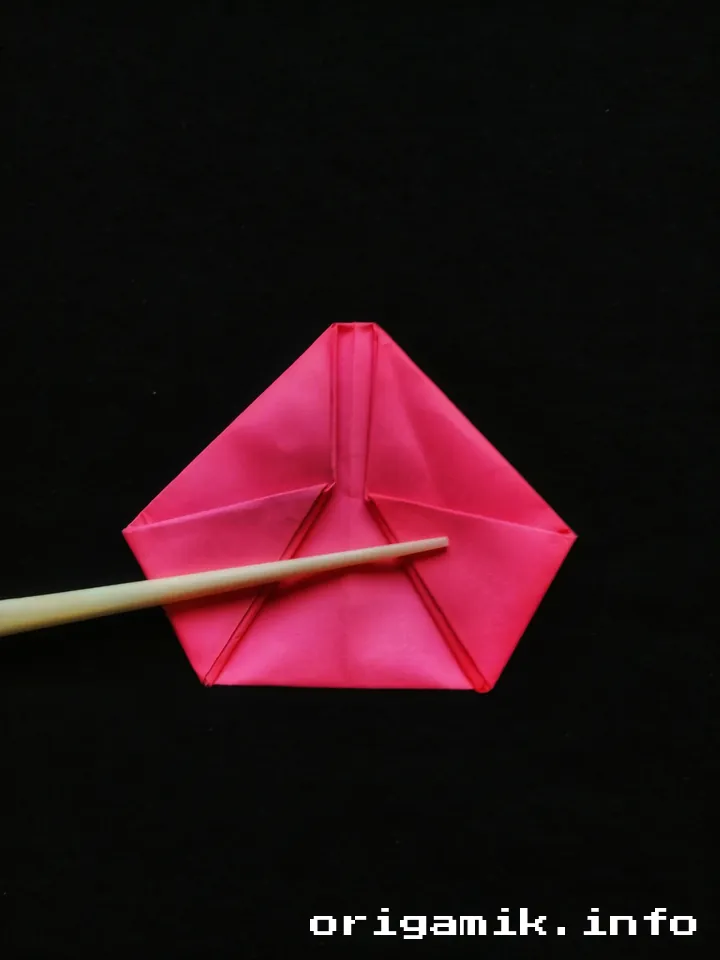
- Fold the top two corners inward to form the top curves of the heart.
- Tuck the middle sections into the creases created by the corner folds. This secures the shape.
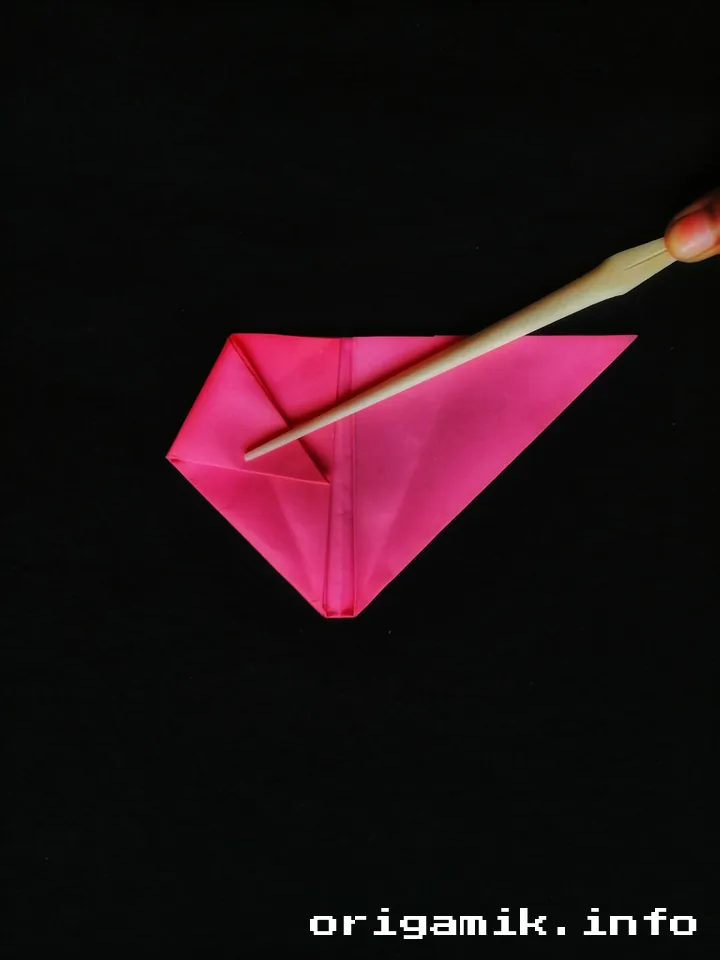
Step 6: Add the Puff
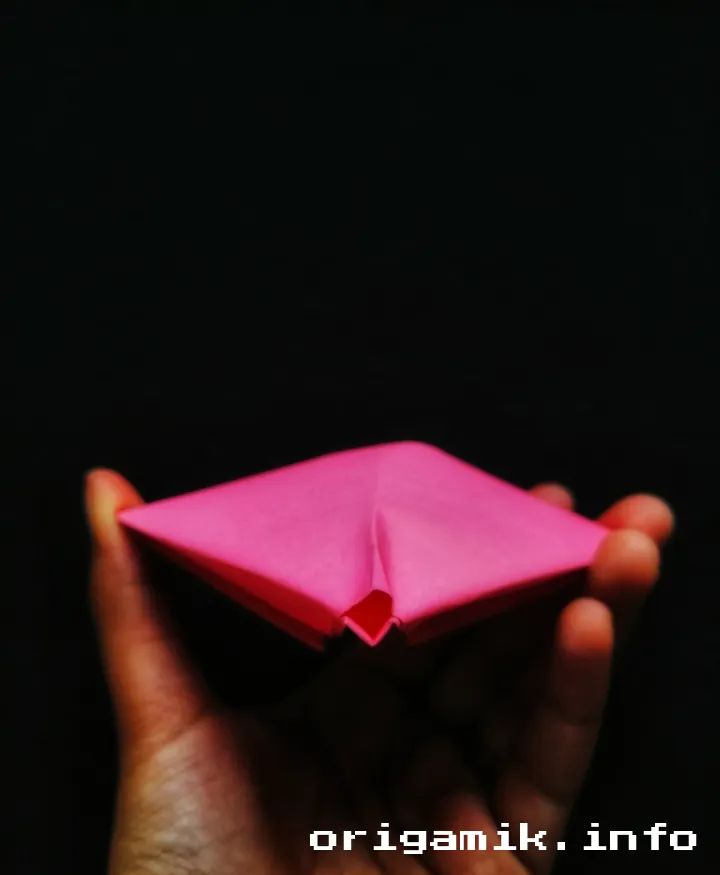
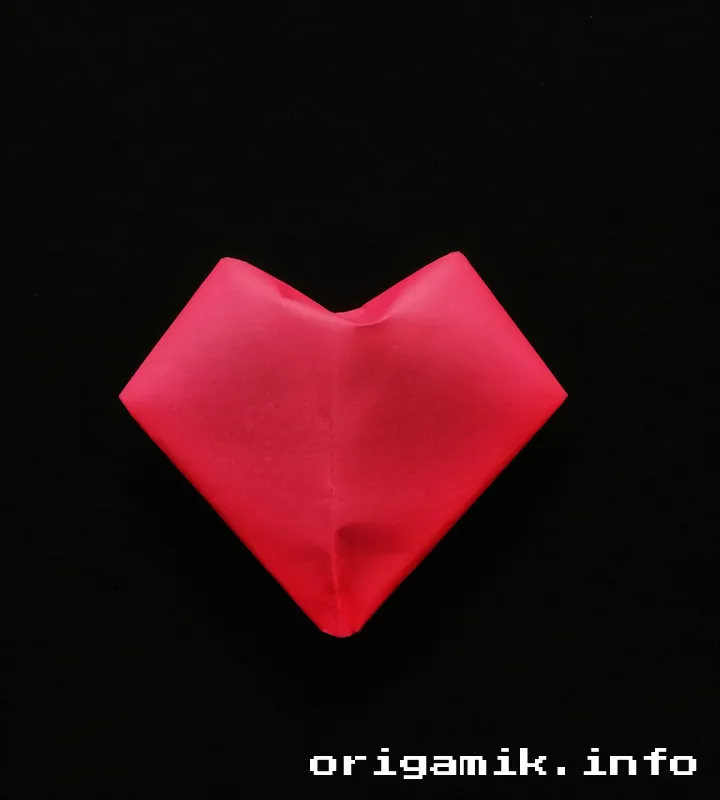
- Hold the folded heart gently in your hands.
- Press the sides lightly, allowing the folds to create a “puffy” effect.
- Adjust the edges and creases as needed to perfect the shape. Your puffy heart is now ready!
Tips for Success
- Use lightweight paper to avoid bulky folds.
- Crease each fold firmly for cleaner results.
- Practice on scrap paper before using your favorite origami sheet.
- Keep your workspace clutter-free to focus on folding.
Common Mistakes and How to Avoid Them
Mistake 1: Uneven Folds
- Cause: Misaligned edges during initial folds.
- Solution: Take your time and align edges carefully before creasing.
Mistake 2: Paper Tearing
- Cause: Using thick or brittle paper.
- Solution: Choose high-quality origami paper for durability.
Mistake 3: Losing the Puffy Effect
- Cause: Over-pressing while shaping the heart.
- Solution: Be gentle and adjust folds gradually.
Variations to Try
Love this project? Here are some similar variations:
- Mini Puffy Hearts: Use smaller paper (5″ × 5″) for tiny, adorable hearts.
- Layered Puffy Heart: Stack multiple hearts for a 3D art piece.
- Colored Puffy Heart Garland: String together hearts of different colors for a festive decoration.
FAQs
How long does it take to make an Origami Puffy Heart?
For beginners, it may take 10-15 minutes. With practice, you can complete one in under 5 minutes.
Can I use any type of paper?
While any paper works, origami paper or lightweight cardstock yields the best results.
Is this suitable for kids?
Yes! With supervision, kids can enjoy this project and learn valuable skills.
Conclusion
Creating an Origami Puffy Heart is not only fun but also deeply rewarding. From the first fold to the final puff, this project captures the essence of handmade art. Whether you’re gifting it or keeping it as a personal treasure, this heart is a testament to your creativity and patience.
So, grab your paper and start folding! And don’t forget to share your creations—I’d love to hear how your puffy hearts turned out.