Close Menu
    Facebook X (Twitter) Instagram
    Facebook X (Twitter) Instagram
    Origamik
    Subscribe
    • Easy Origami

      30+ Dollar Bill Origami You Need to Try

      July 30, 2025

      45+ Fall Origami Ideas You Need to Try

      July 30, 2025

      15+ Origami Bookmarks You Need to Try

      July 29, 2025

      15+ Useful Origami You Need to Try

      July 29, 2025

      15+ Sticky Note Origami You Need to Try

      July 29, 2025
    • Functional Origami

      55+ Functional Origami You Need to Try

      July 28, 2025

      Easy Origami Gloves: Your Gateway to Magical Paper Folding

      July 23, 2025

      The Complete Guide to Making an Easy Origami Diamond

      July 23, 2025

      The Complete Guide to Creating an Easy Origami Combined Cube

      July 23, 2025

      How to Make an Easy Origami Samurai Hat (Simple Samurai Hat Step by Step)

      May 14, 2025
    • Gum Wrapper Origami

      8 Easy Gum Wrapper Origami

      July 28, 2025

      Easy Gum Wrapper Hearts Origami

      July 23, 2025

      Easy Gum Wrapper Crane Origami: Turn Trash Into Treasure

      July 23, 2025

      How to Make an Easy Gum Wrapper Star Origami: Your Complete Guide

      July 23, 2025

      The Ultimate Guide to Creating Beautiful Gum Wrapper Origami Butterflies

      July 23, 2025
    • Origami Flower

      18 Origami Leaves You Need to Try

      July 23, 2025

      The Complete Guide to Creating Your First Easy Origami Cherry

      July 23, 2025

      The Complete Guide to Creating a Beautiful Easy Origami Lily

      July 23, 2025

      11 Origami Roses You Need to Try

      July 22, 2025

      25+ Origami Flowers You Need to Try

      July 16, 2025
    • Origami For Beginners
      1. Origami Box
      2. Origami Heart
      3. Origami Star
      4. View All

      29+ Origami Boxes You Need to Try

      July 26, 2025

      How to Make an Easy Origami Divider Box (Simple Divider Box Step by Step)

      April 25, 2025

      Origami Magic Box Instructions: A Fun and Simple Paper Folding Project

      February 8, 2025

      How to Make an Easy Origami Star Box (Step by Step Guide)

      February 8, 2025

      35+ Origami Heart Ideas

      July 27, 2025

      How to Make an Origami Heart Box with Lid: Step-by-Step Guide

      February 8, 2025

      Easy Origami Heart with Blossom: A Step-by-Step Guide

      February 8, 2025

      How to Make an Origami Secret Heart Box

      January 23, 2025

      10 Origami Star Ideas You Need to Try

      July 22, 2025

      How to Make an Easy Origami 5 Pointed Star

      February 8, 2025

      Origami 6 Pointed Star: Step-by-Step Guide for Beginners & Experts

      February 8, 2025

      How to Make an Easy Origami Diamond Star: Step-by-Step Guide

      February 8, 2025

      30+ Dollar Bill Origami You Need to Try

      July 30, 2025

      17+ Origami Vehicles You Need to Try

      July 29, 2025

      15+ Useful Origami You Need to Try

      July 29, 2025

      35+ Cool Origami Ideas You Need to Try

      July 29, 2025
    • Sticky Note Origami

      15+ Sticky Note Origami You Need to Try

      July 29, 2025

      How to Make an Easy Origami Sticky Note Bookmark: A Step-by-Step Guide

      April 25, 2025

      How to Make Easy Origami Sticky Note Claws – Simple, Fierce, and Fun

      April 25, 2025

      How to Make an Easy Origami Sticky Note Fidget Toy

      April 25, 2025

      How to Make an Easy Origami Sticky Note Gown: Step-by-Step for Beginners

      April 25, 2025
    Origamik
    Home » How to Make an Easy Origami Leaf Wreath (Simple Step-by-Step Instructions)
    Functional Origami

    How to Make an Easy Origami Leaf Wreath (Simple Step-by-Step Instructions)

    Orig AmiBy Orig AmiMay 14, 2025Updated:October 22, 2025No Comments5 Mins Read
    Facebook Twitter Pinterest LinkedIn Tumblr Email
    Featured image for How to Make an Easy Origami Leaf Wreath (Simple Step-by-Step Instructions)
    Featured image for How to Make an Easy Origami Leaf Wreath (Simple Step-by-Step Instructions)
    Share
    Facebook Twitter LinkedIn Pinterest Email

    Ever wonder how to make an Origami Leaf Wreath that looks stunning, feels handmade, and doesn’t take forever to fold?

    You’re in the right place. Today, I’m going to walk you through a simple Leaf Wreath step by step—no fancy tools, no complicated patterns.

    Just paper, patience, and a few fun folds. Let’s get into it.

    Origami leaf wreath step 7 b

    What Are We Making?

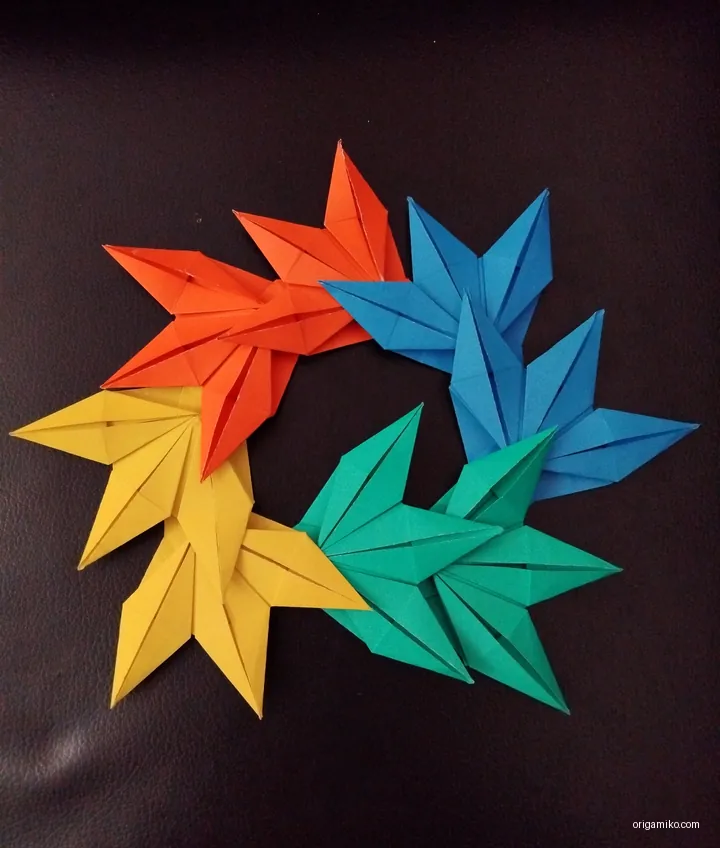
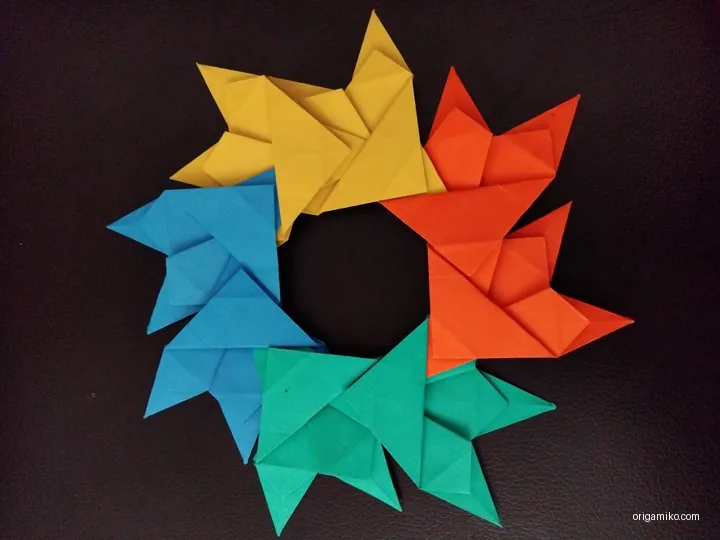
    We’re creating an Origami Leaf Wreath—a circular arrangement of folded paper leaves that looks like it came out of a design magazine, but can be made right at your table.

    Each leaf folds up like magic, and when you connect them, it forms a complete wreath. It’s lightweight, colorful, and makes a perfect handmade decoration.

    Whether you’re looking to spruce up your space or just want a relaxing craft, this easy Origami Leaf Wreath is a perfect weekend project.


    Key Terms You Should Know

    Let’s clarify some basic terms before we fold:

    Origami
    The Japanese art of paper folding. No glue, no scissors—just your hands and paper.

    Wreath
    A circular arrangement, often used for decoration. In this case, we’re building one with folded leaves.

    Petals
    The curved leaf shapes we’ll fold and assemble to form the wreath.


    Materials Needed

    You don’t need a whole craft store to make this. Just a few items:

    ItemDescriptionQuantity
    Origami PaperSquare, 15×15 cm, single-sided color8 sheets
    Flat SurfaceA clean table to fold on1
    Bone Folder (optional)Helps make sharp folds1
    Patience & TimeBecause folding is a journeyUnlimited

    Simple Leaf Wreath Step by Step

    Let me show you how to make an Origami Leaf Wreath using clear, beginner-friendly steps. These instructions are perfect even if you’ve never folded before.

    Step 1: Start with the Paper

    Origami leaf wreath step 1
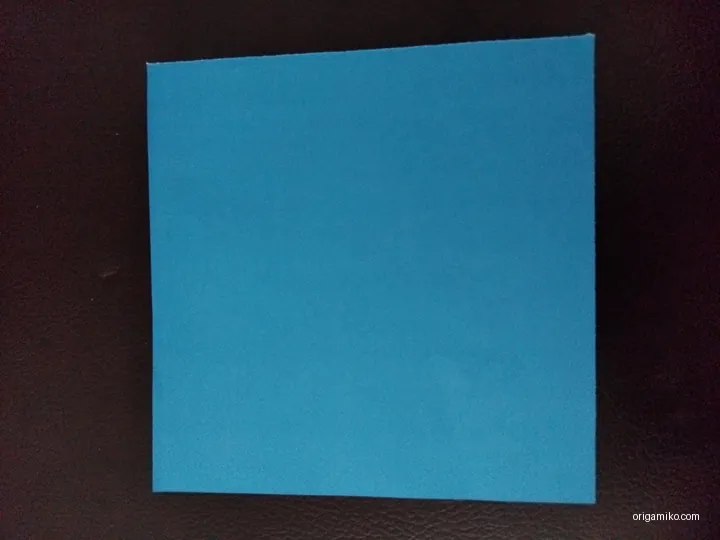
    • Take one sheet of square paper.
    • Make sure it’s 15×15 cm for balance and symmetry.
    • If your paper is colored on one side, place the color side down.

    Step 2: Fold It In Halves

    Origami leaf wreath step 2 a
    Origami leaf wreath step 2 b
    Origami leaf wreath step 2 c
    Origami leaf wreath step 2 d
    Origami leaf wreath step 2 e
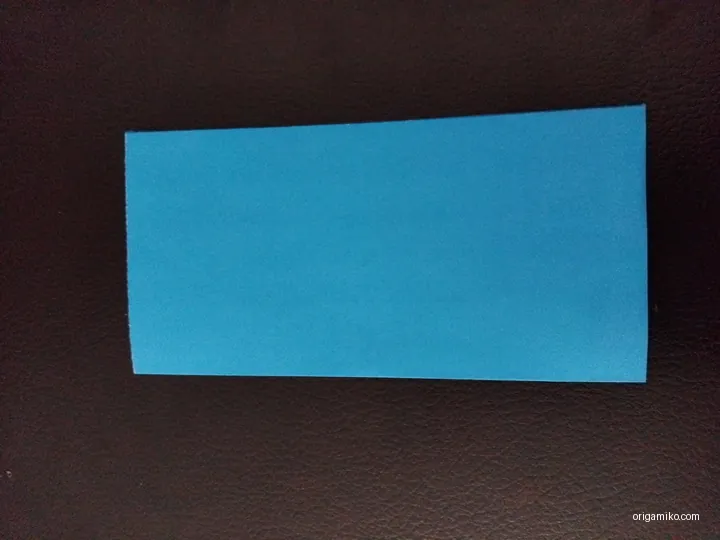
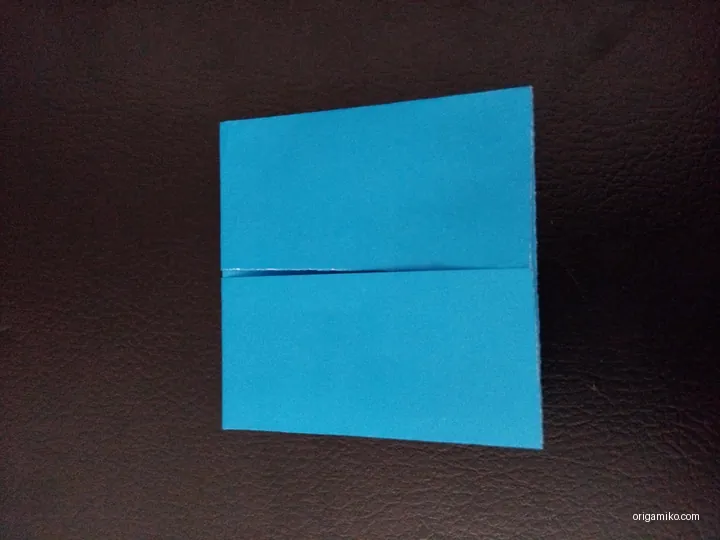
    • Fold the paper in half vertically, then unfold.
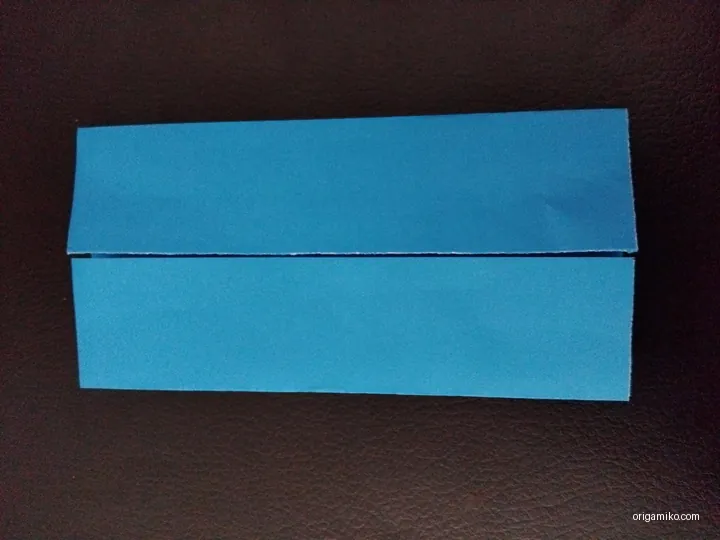
    • Fold it in half horizontally, then unfold again.
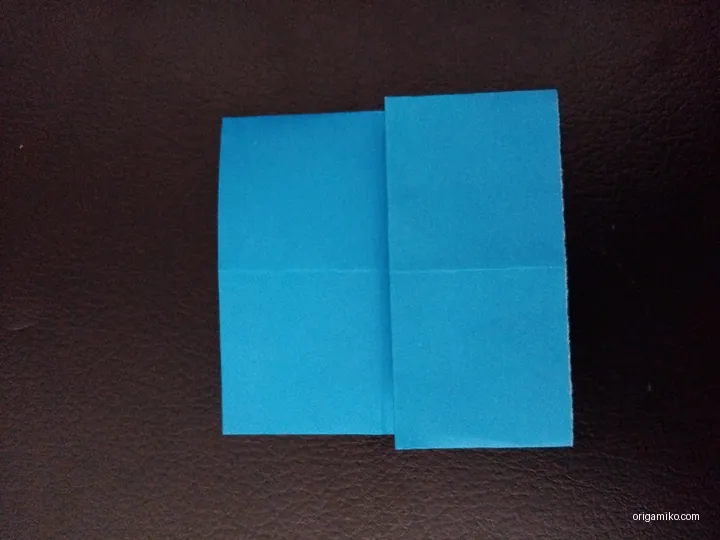
    • Now fold both edges inward to the center crease (like closing double doors).
    • Unfold everything—you’ll see a grid of creases. That’s your guide.

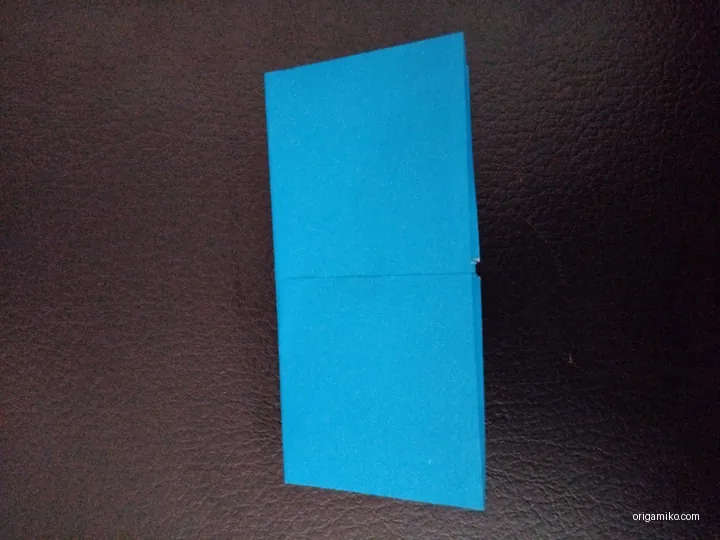
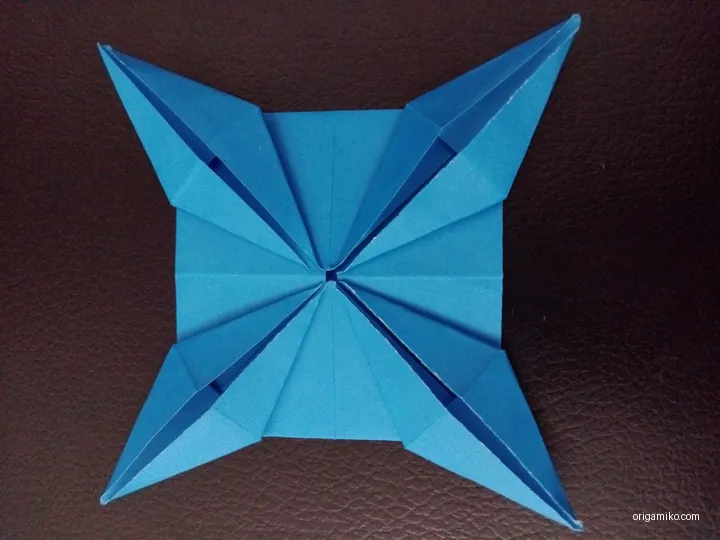
    Step 3: Make the Boat Base

    Origami leaf wreath step 3 a
    Origami leaf wreath step 3 b
    Origami leaf wreath step 3 c
    Origami leaf wreath step 3 d
    Origami leaf wreath step 3 e
    • Fold two opposite corners inward to form a diamond shape.
    • Then fold the sides inward again—it’ll start to look like a small boat.
    • Sharpen those creases.
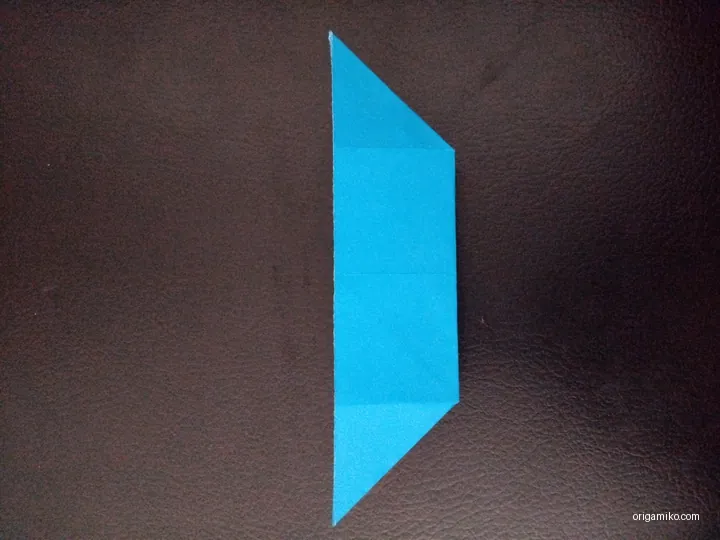
    • Now, fold the tips of all four corners slightly inward to soften the points.

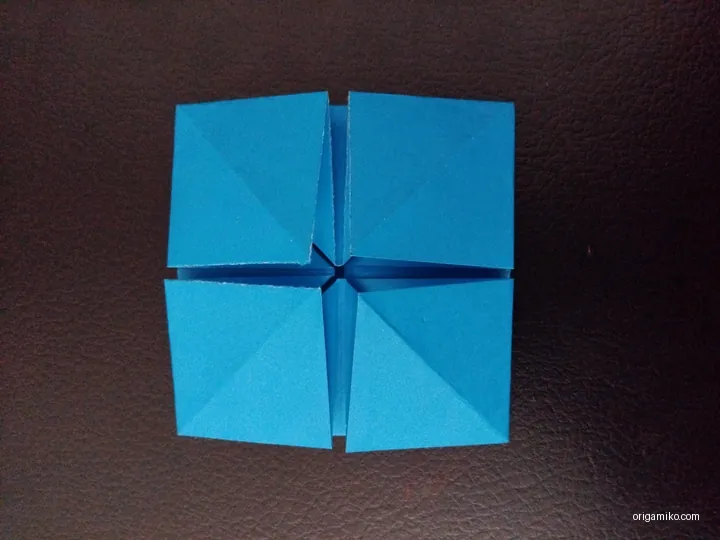
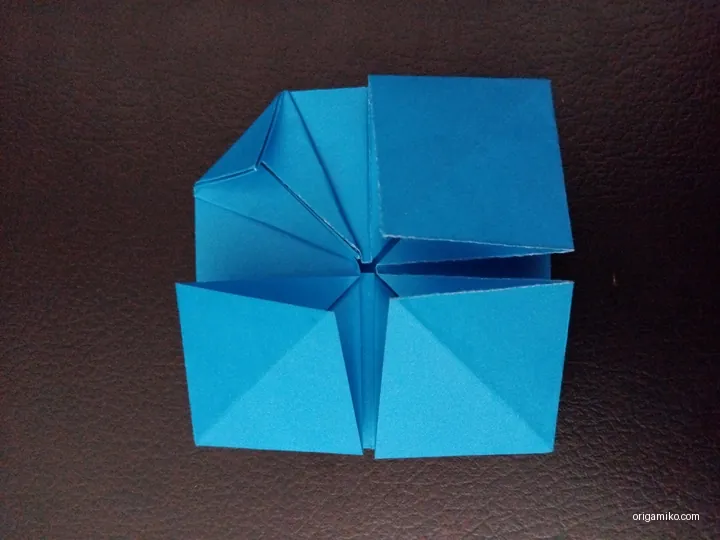
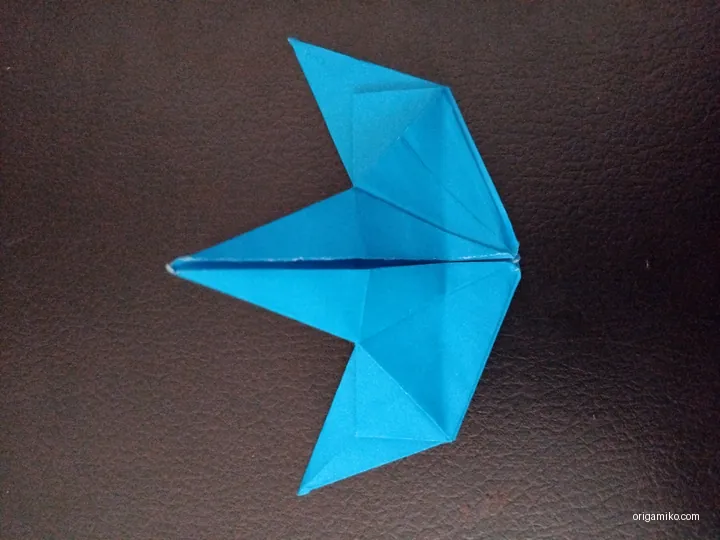
    Step 4: Create the Petals

    Origami leaf wreath step 4 a
    Origami leaf wreath step 4 b
    Origami leaf wreath step 4 c
    Origami leaf wreath step 4 d
    Origami leaf wreath step 4 e
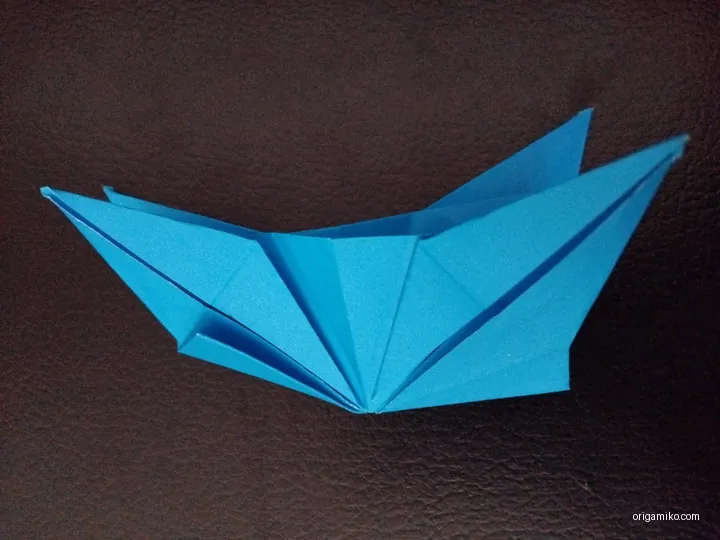
    • Fold each of the four outer flaps inward to form four distinct petals.
    • Then, fold the whole thing in half so you get a petal that resembles a soft curve.
    • Refer to any photo or diagram if needed—but trust your hands; they’ll get used to it.

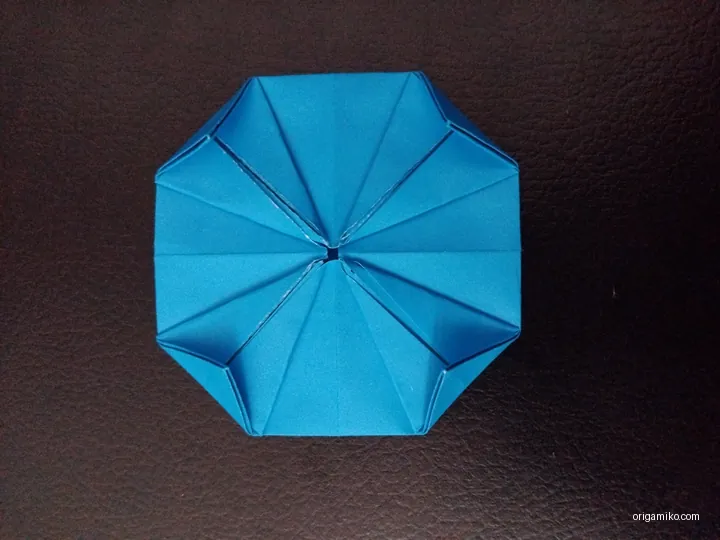
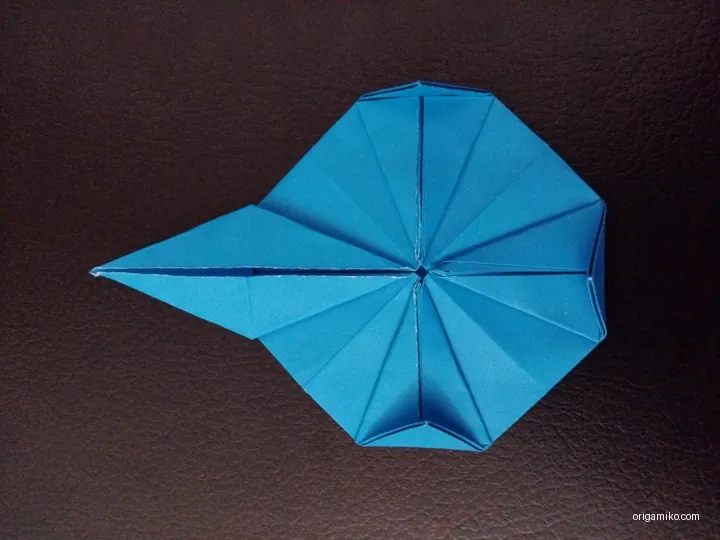
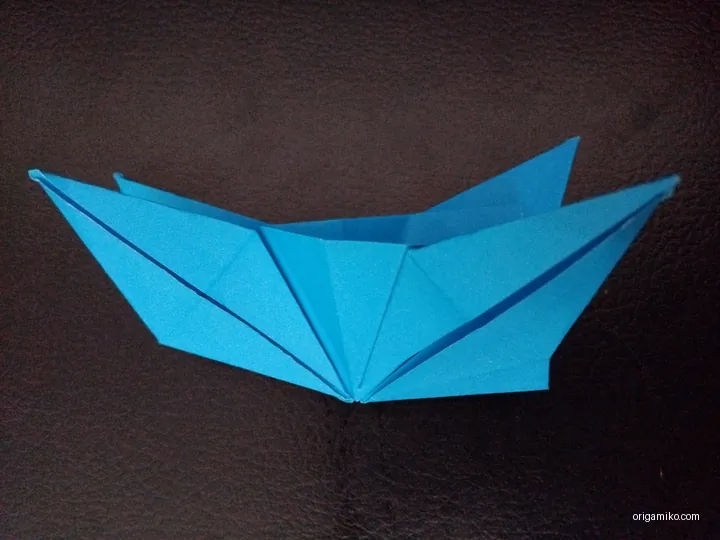
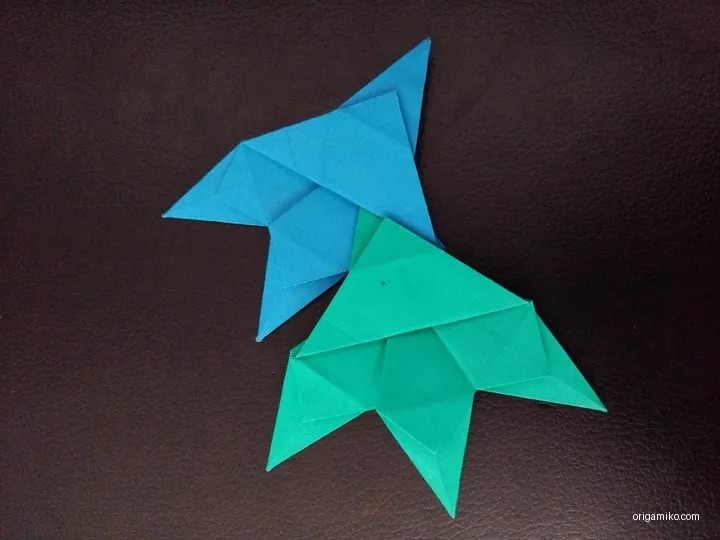
    Step 5: Shape the Leaf

    Origami leaf wreath step 5 a
    Origami leaf wreath step 5 b
    • Fold the petal in half again, vertically.
    • Use your fingers to gently puff out the shape so it looks rounded.
    • You now have one completed leaf.

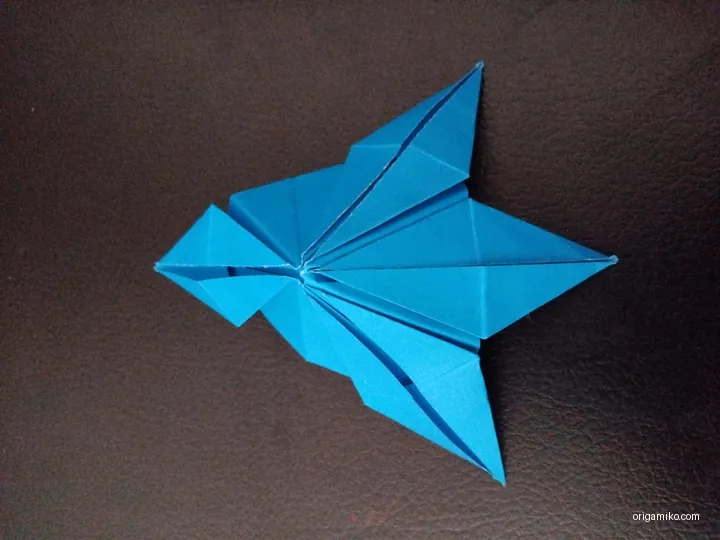
    Step 6: Repeat and Connect

    Origami leaf wreath step 6 a
    Origami leaf wreath step 6 b
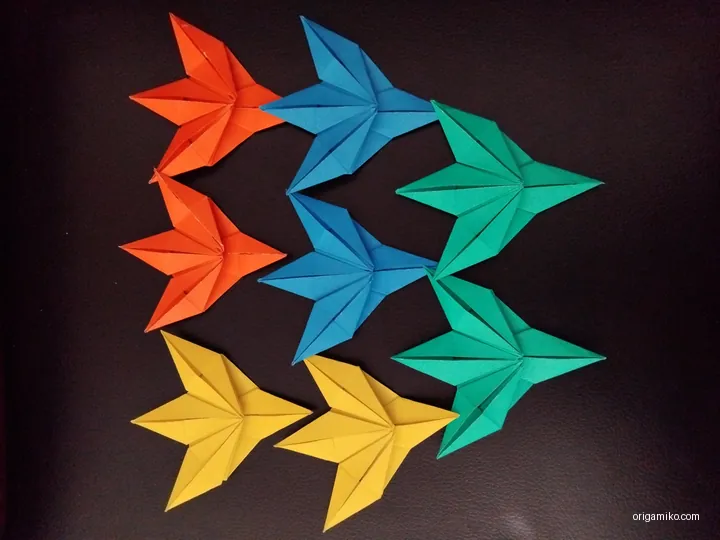
    • Make eight leaves in total by repeating steps 1–5.
    • Now take one leaf and insert its tip into the pocket of another leaf.
    • Continue connecting them one by one, forming a circle.
    • Once the last one clicks in—boom! You’ve got your wreath.

    Step 7: Finishing Touches

    Origami leaf wreath step 7 a
    • Press the joins gently to hold them in place.
    • Smooth the shape.
    • Your Origami Leaf Wreath is ready to shine.

    Tips for Success

    Want your wreath to look crisp and clean? Try these:

    • Use thin origami paper – thick paper won’t fold well.
    • Sharp creases are key – use a ruler or bone folder.
    • Consistent folding – make sure all leaves are identical in shape.
    • Color matters – consider alternating colors for a more vibrant look.

    Common Mistakes (And How to Avoid Them)

    Here’s what often goes wrong, and how you can fix it:

    • Paper rips while folding
      Solution: Use lighter pressure and avoid thick paper.
    • Leaves don’t fit together
      Solution: Double-check your creases and sizing.
    • Wreath won’t stay together
      Solution: Tuck leaf tips deeper and sharpen the joins.

    Similar Variations You Can Try

    If you enjoyed this project, you’ll love these twists:

    • Mini Origami Wreaths – Use 7.5×7.5 cm squares for a smaller version.
    • Color Fade Wreath – Arrange colors from dark to light in a gradient.
    • Holiday Edition – Use red and green paper for Christmas or orange and brown for autumn.

    The method stays the same. Only the vibe changes.


    FAQs

    How long does it take to make an Origami Leaf Wreath?
    About 45–60 minutes depending on your pace.

    Can I use regular printer paper?
    You can, but it’s harder to fold and may not hold shape as well.

    Do I need glue?
    Nope. True to origami style, it’s all about the folds.

    What if my leaves don’t look the same?
    That’s okay. Keep practicing. Uniformity comes with repetition.

    Can kids try this?
    Yes! With supervision, it’s a fun craft for all ages.


    Wrapping It Up

    There you go—easy Origami Leaf Wreath, step by step. You took a flat piece of paper and turned it into a beautiful handmade wreath. That’s pretty cool, right?

    Whether it’s your first time folding or your fiftieth, this simple project is all about slowing down and creating something with your hands. And honestly? That’s the best kind of magic.

    Let me know if you tried this—or tag me if you’ve got other origami ideas you love!


    Final thought: If you’re ever stuck on Origami Leaf Wreath instructions, come back to this guide. It’s here to help.
    And now you know exactly how to make an Origami Leaf Wreath from start to finish.

    Share. Facebook Twitter Pinterest LinkedIn Tumblr Email
    Orig Ami
    • Website

    Related Posts

    55+ Functional Origami You Need to Try

    July 28, 2025

    Easy Origami Gloves: Your Gateway to Magical Paper Folding

    July 23, 2025

    The Complete Guide to Making an Easy Origami Diamond

    July 23, 2025

    Comments are closed.

    Latest Posts

    30+ Dollar Bill Origami You Need to Try

    July 30, 2025

    45+ Fall Origami Ideas You Need to Try

    July 30, 2025

    17+ Origami Vehicles You Need to Try

    July 29, 2025

    15+ Origami Bookmarks You Need to Try

    July 29, 2025

    15+ Useful Origami You Need to Try

    July 29, 2025

    35+ Cool Origami Ideas You Need to Try

    July 29, 2025

    15+ Sticky Note Origami You Need to Try

    July 29, 2025

    20+ Easy Origami Airplanes You Need to Try

    July 29, 2025

    8 Easy Gum Wrapper Origami

    July 28, 2025

    75+ Origami Toys You Need to Try

    July 28, 2025

    About Origamiko

    Orig Ami shares carefully-crafted origami tutorials, models, and ideas to help you explore the art of paper folding. From simple beginner projects to intricate display pieces, we provide clear instructions and inspiration so you can enjoy the process and improve with confidence.

    Questions or feedback? Reach out anytime.

    📧 [email protected]
    📞 +1 714-801-8105

    Subscribe to Updates

    Get tutorials, paper-folding tips, and updates from Orig Ami.

    Footer Menu

    • About Us
    • Contact Us
    • Disclaimer
    • Privacy Policy