

Ever wondered how to transform a simple sheet of paper into a sleek jet fighter? Today I’ll show you exactly how to create this impressive aircraft.
The magic happens when precise folds meet creative vision. Your journey into paper aviation starts right here.
What You’re About to Create: The Origami Jet Fighter Paper Airplane
I’ve been folding paper airplanes for years, and this jet fighter design never fails to impress. It’s not just another simple paper airplane – this is a sophisticated aircraft that looks like it could actually take off from a carrier deck.
This Simple Jet fighter paper airplane Step by step tutorial will walk you through creating something truly special. The finished product has sharp angles, aerodynamic curves, and a nose that screams speed. When I first learned this design, I couldn’t believe how realistic it looked.
The best part? You don’t need any special skills or expensive materials. Just patience, focus, and the willingness to follow along with my Origami Jet fighter paper airplane instructions.
Materials Needed
Here’s everything you’ll need for this project:
| Item | Specification | Purpose | Notes |
|---|---|---|---|
| Paper | A4 size (8.5″ x 11″) | Main folding material | Standard printer paper works perfectly |
| Paper Type | 20lb bond paper | Optimal weight for folding | Avoid cardstock – too thick for precise folds |
| Color | White or colored | Personal preference | Colored paper makes the jet more striking |
| Work Surface | Flat, clean table | Provides stable folding base | Kitchen table or desk works great |
| Lighting | Good overhead light | See fold lines clearly | Natural light is ideal |
| Your Hands | Clean and dry | Prevent smudging | Wash hands before starting |
Paper Quality Matters : Choose paper that’s not too thin (tears easily) or too thick (hard to fold). Standard copy paper hits the sweet spot.
Size Consistency : Stick with A4 for best results. Other sizes can work, but the proportions might look off.
Step-by-Step Instructions: How to Make Origami Jet Fighter Paper Airplane
Now comes the fun part. I’ll guide you through each fold with the precision of a flight instructor. Take your time with each step – rushing leads to crooked folds and wonky-looking jets.
Step 1: Prepare Your Paper
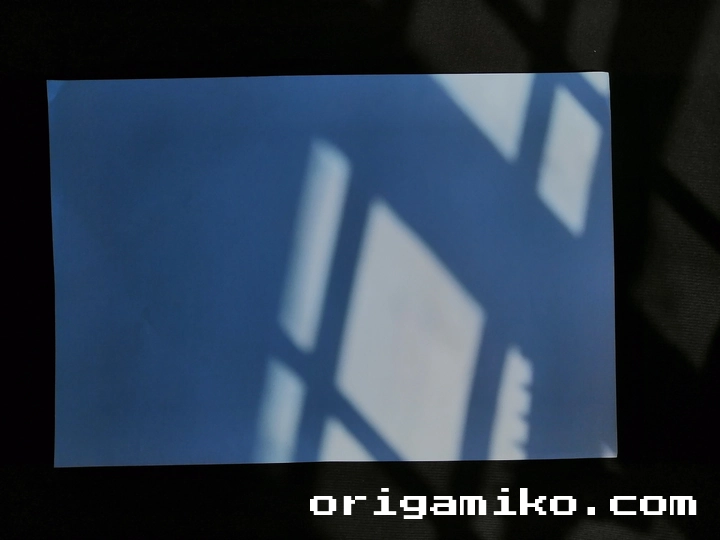
Take your A4 paper and place it on your work surface. Make sure it’s oriented vertically (portrait mode). The paper should be completely flat with no wrinkles or creases.
I always smooth out my paper with my palm before starting. It makes a huge difference in the final result.
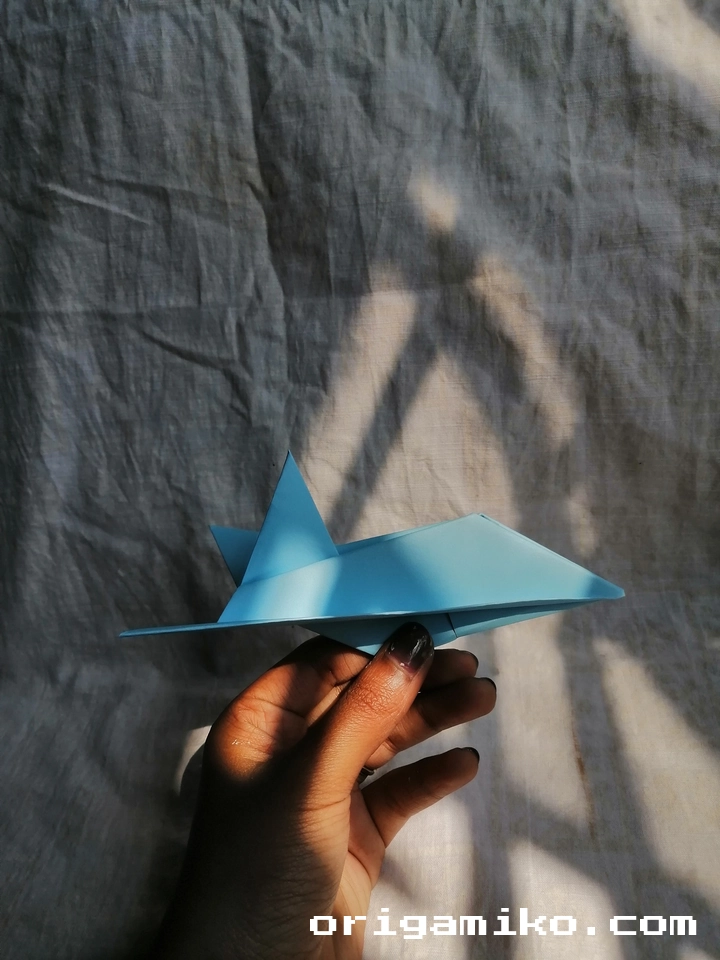
Step 2: Create the Initial Center Fold
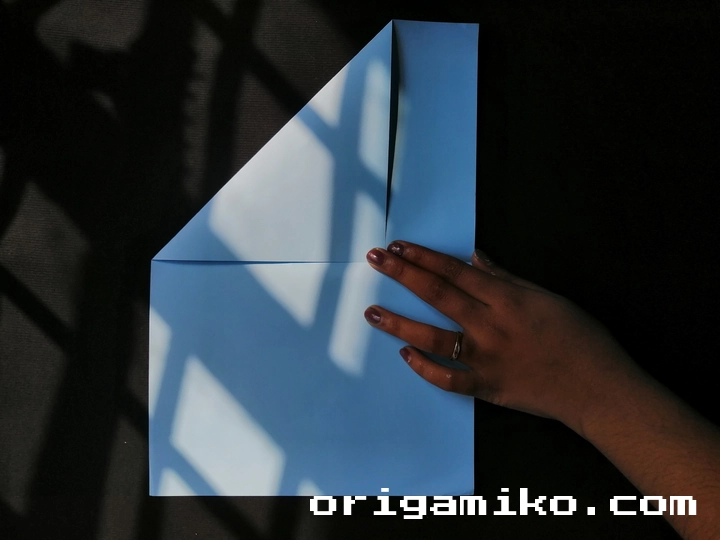
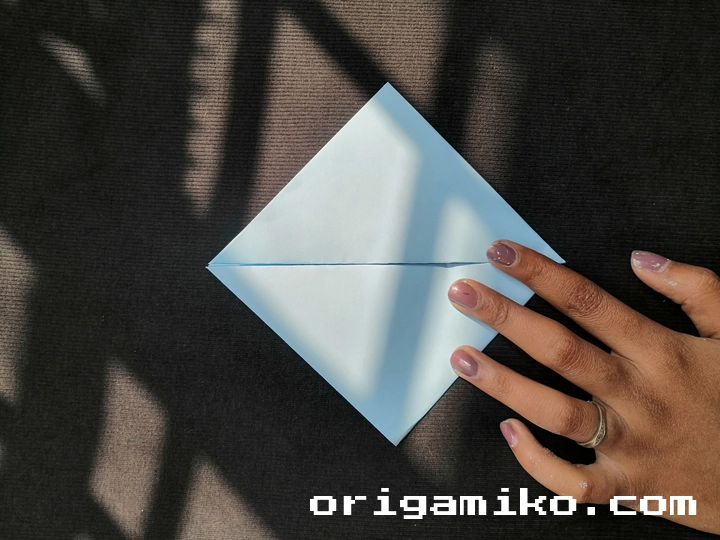
Fold the paper exactly in half lengthwise. Bring the right edge to meet the left edge perfectly. Press down firmly to create a sharp crease.
Then fold the lower part up. This creates your basic foundation. Next, fold both corners toward the middle line you just created. These corner folds should meet right at the center crease.
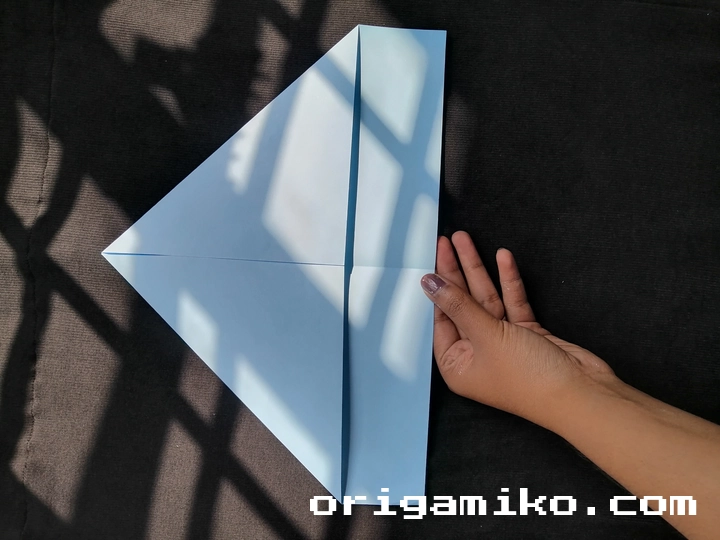
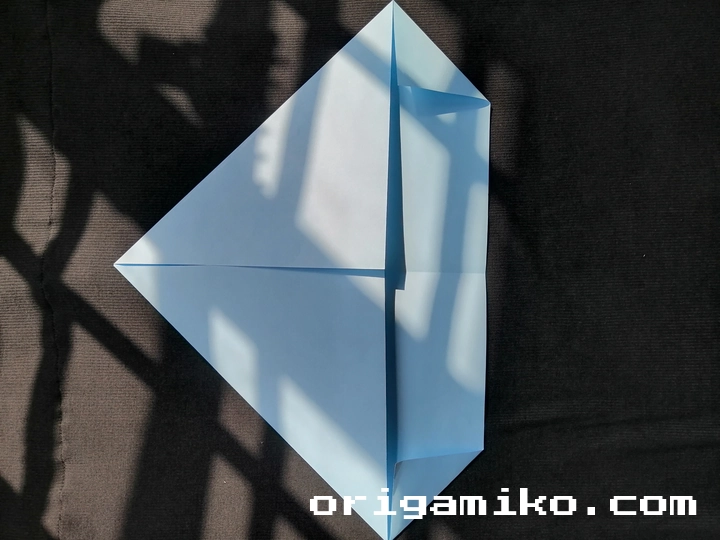
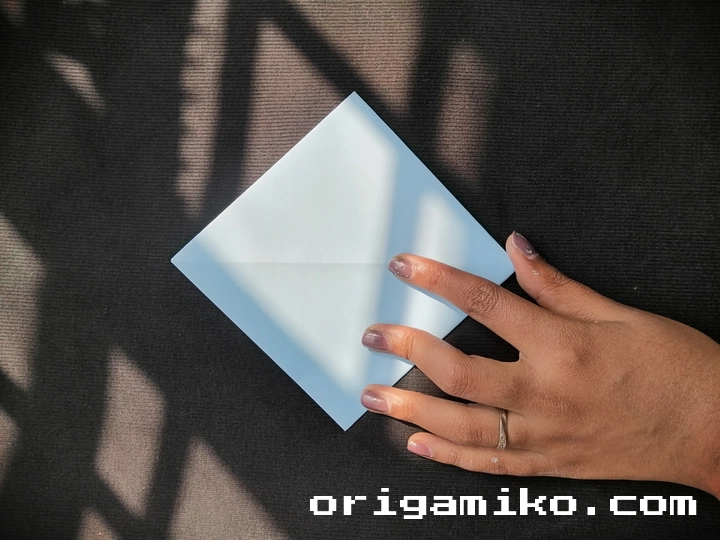
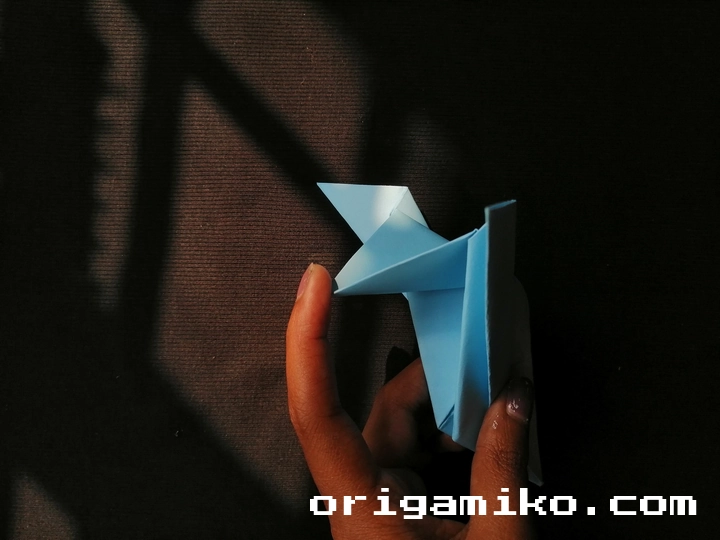
Step 3: Form the Wing Base
Now comes a crucial step. Slightly fold both sides inward. You’re not making sharp creases here – just gentle guide folds. Then fold everything toward the middle again.
This creates the foundation for your jet’s wings. The paper should start looking less like a simple airplane and more like something with real aircraft proportions.
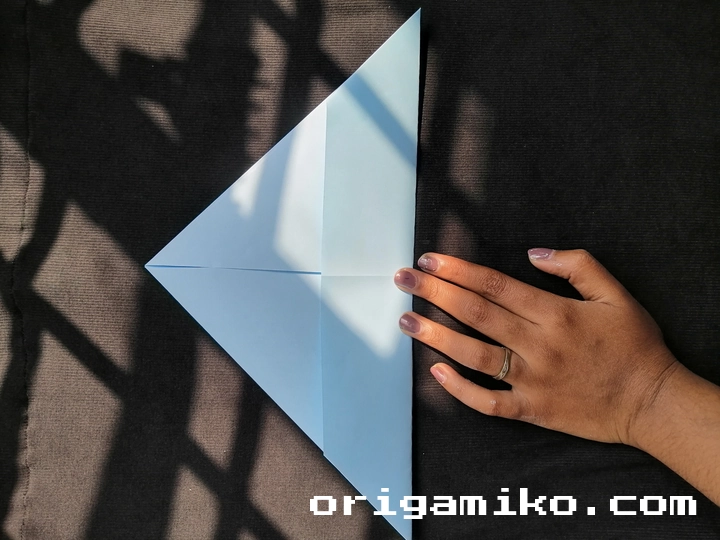
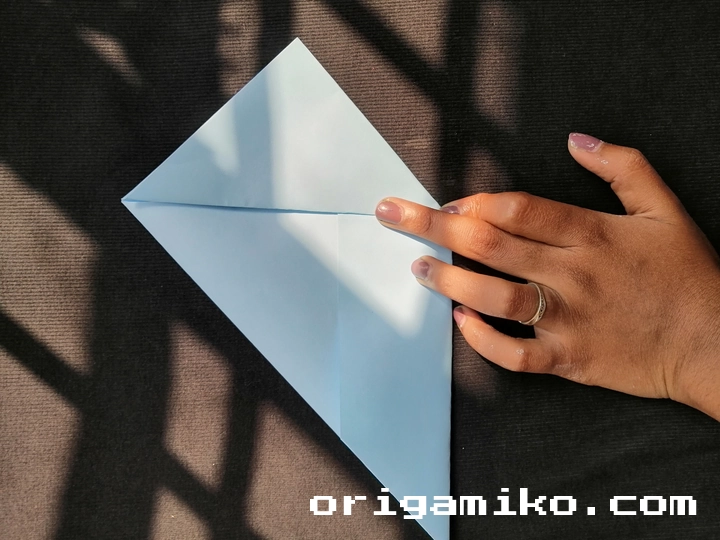
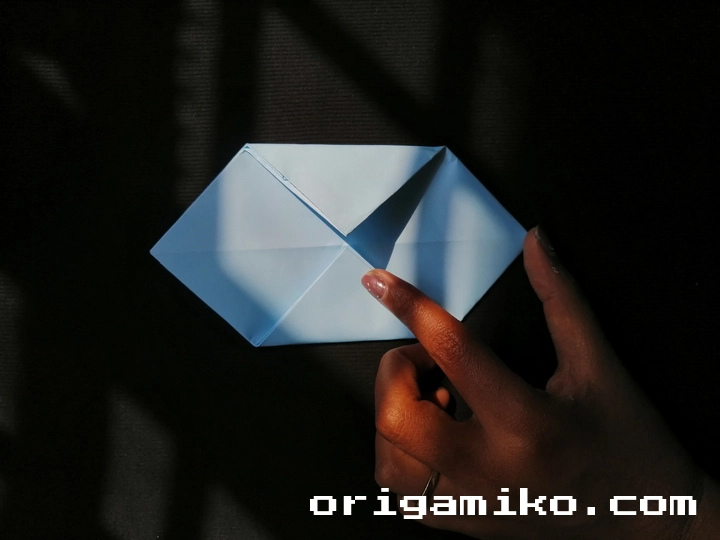
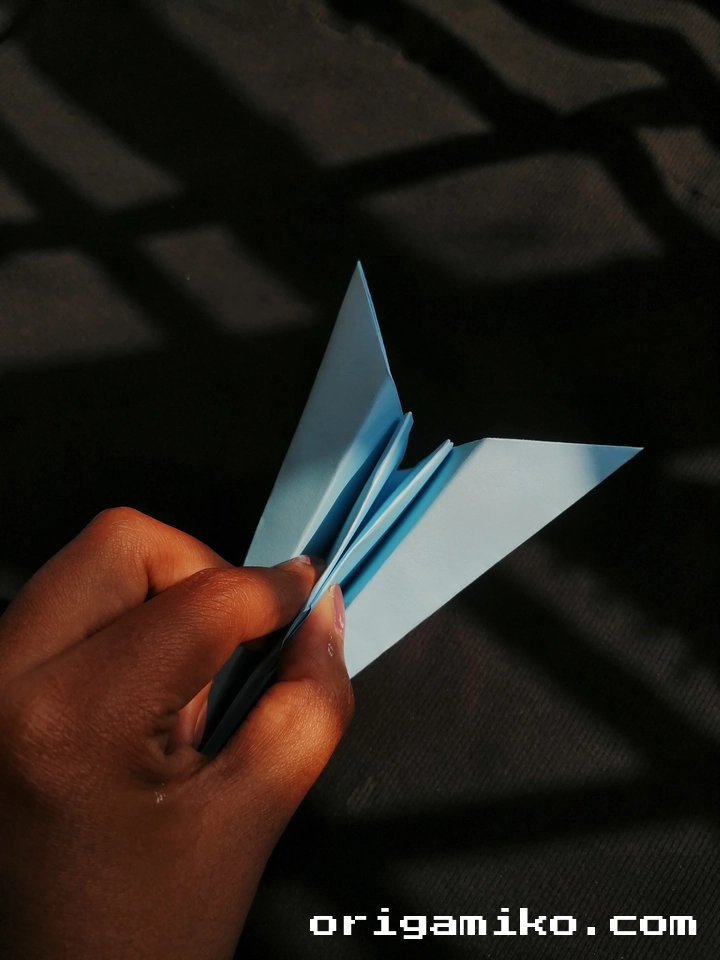
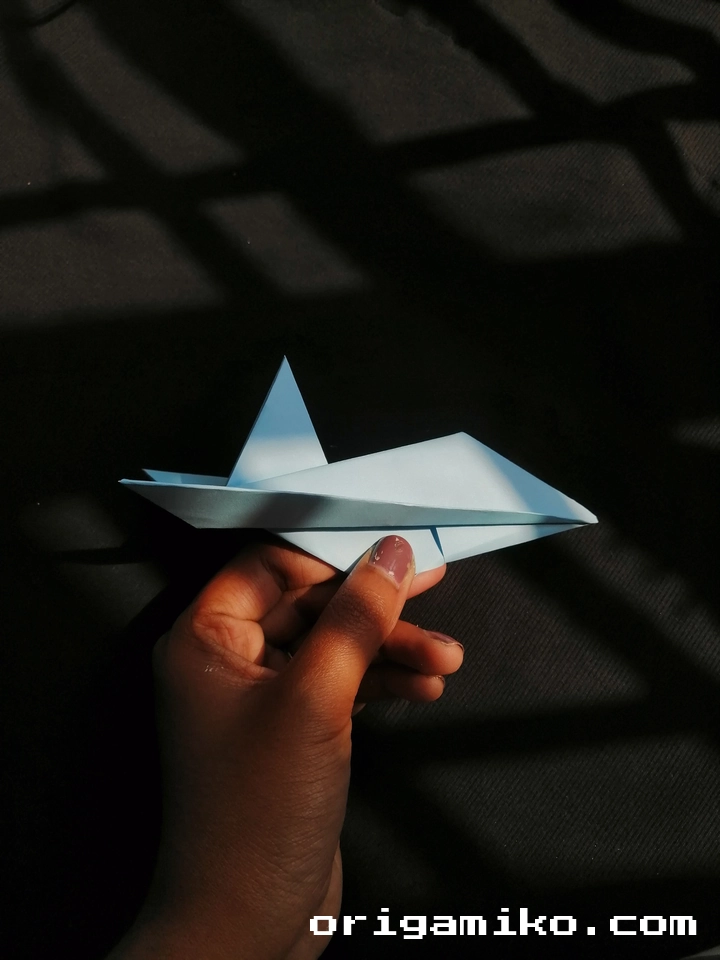
Step 4: Shape the Wings and Nose
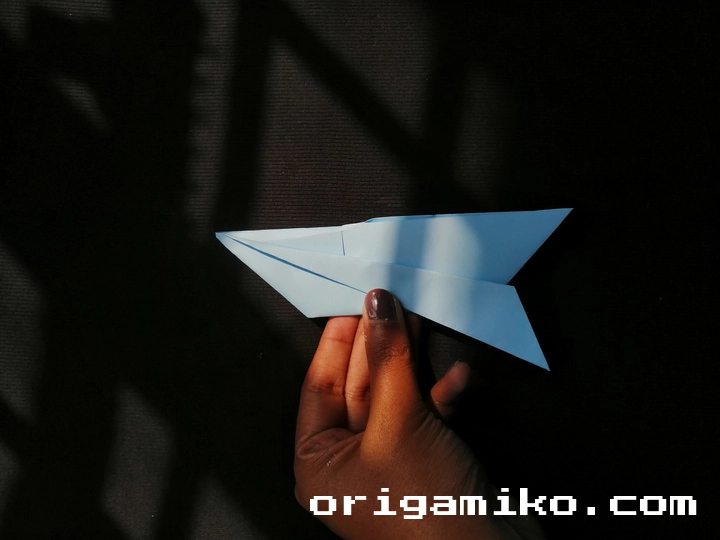


Here’s where your jet fighter really takes shape. Fold both sides just like you see in reference images of jet fighters. The angles should be sharp and decisive.
Don’t forget to fold the middle corner. This creates the pointed nose that gives your jet its aggressive look. I like to press this fold extra hard – it’s the focal point of the entire design.
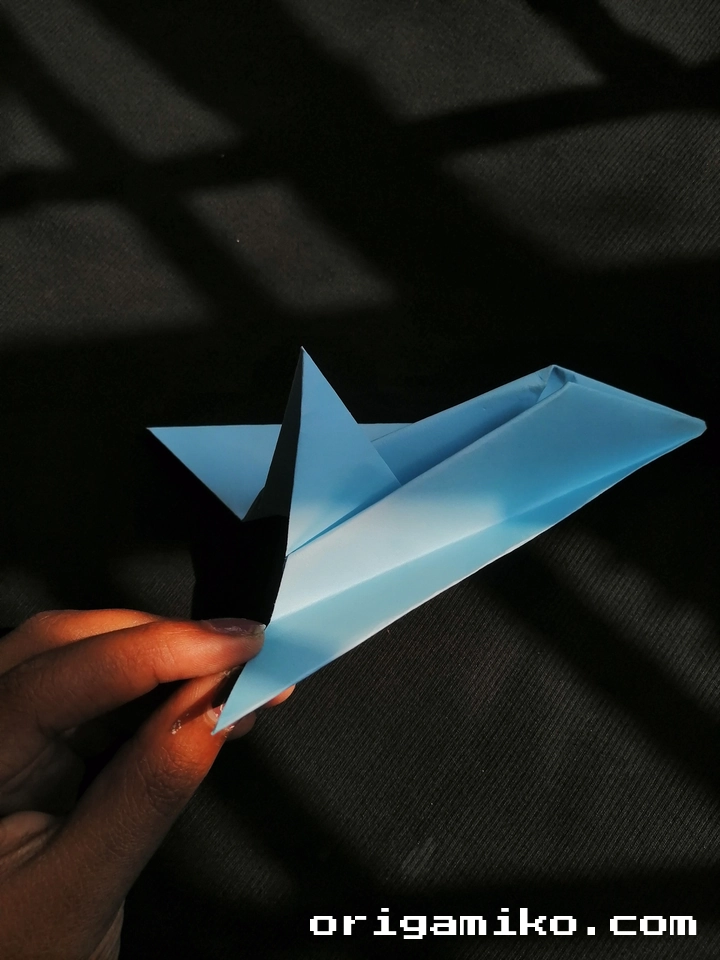
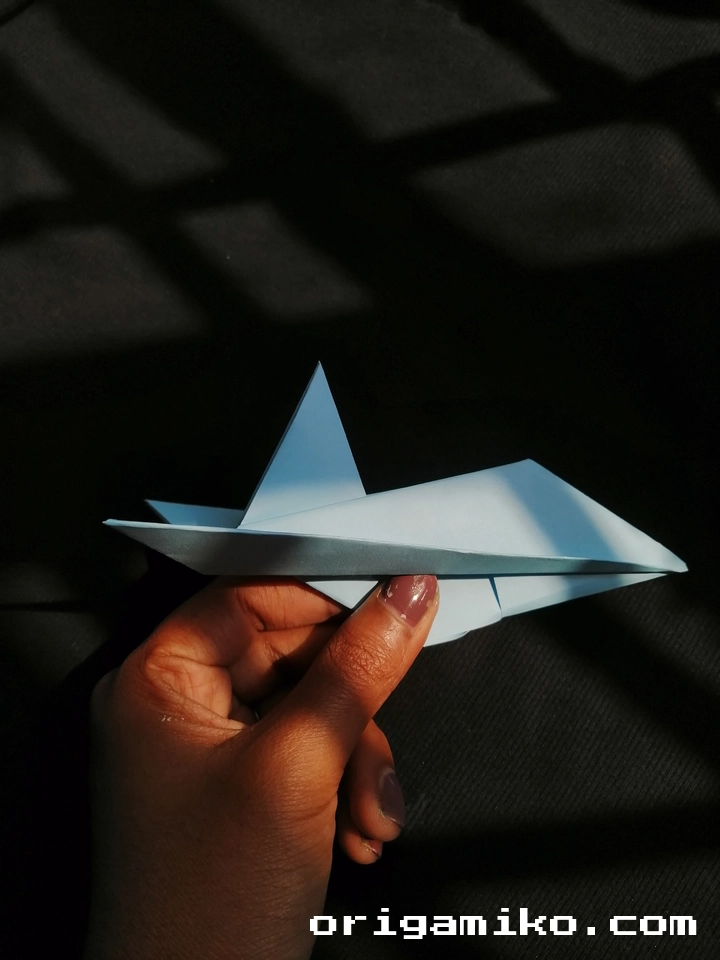
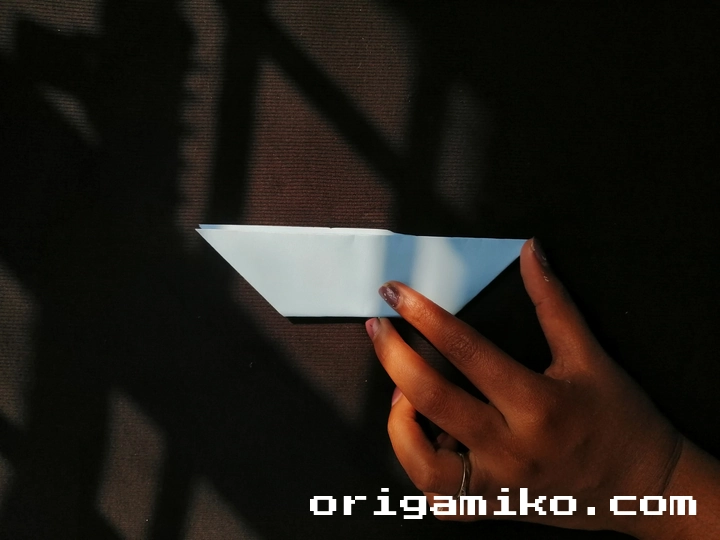
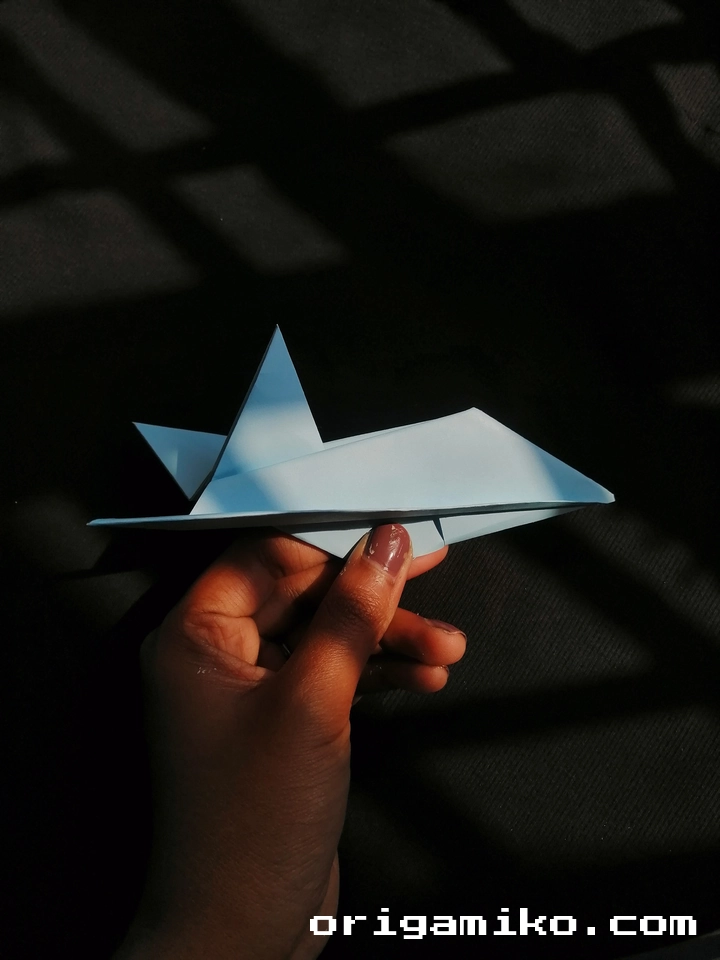
Step 5: Final Assembly
Your jet fighter paper airplane is now ready! Step back and admire your work. The wings should be symmetrical, the nose should be sharp, and the overall shape should scream “fighter jet.”
If something looks off, don’t worry. I’ll cover common mistakes in the next section.
Tips for Success
Start with Fresh Paper I can’t stress this enough. Wrinkled or previously folded paper will never give you clean results. Always start with a crisp, new sheet.
Make Sharp Creases Run your fingernail along every fold. Sharp creases are what separate amateur paper airplanes from professional-looking ones. I use my thumbnail to really define each fold line.
Work Slowly Speed is the enemy of precision. I’ve seen too many people rush through the folds and end up with lopsided jets. Take your time with each step.
Check Symmetry Constantly After each major fold, hold your airplane up and check that both sides match. Asymmetrical wings will make your jet look wonky and affect its flight performance.
Practice the Fold Sequence Don’t expect perfection on your first try. I probably made 20 of these before I got one that looked truly impressive. Each attempt teaches you something new.
Common Mistakes and How to Avoid Them
Mistake 1: Uneven Initial Folds The most common error I see is not aligning the paper perfectly during the first center fold. If this foundation fold is off, everything else will be crooked.
Solution: Take extra time on that first fold. Line up the edges perfectly before pressing down.
Mistake 2: Weak Creases Soft, undefined folds make the entire airplane look amateur. Your jet needs sharp, military-precise edges.
Solution: Use your fingernail or a bone folder to really define each crease. Press hard and run along the entire fold line.
Mistake 3: Rushing the Wing Folds The wing formation is where most people mess up. They fold too quickly and don’t pay attention to the angles.
Solution: Study real jet fighter images before you fold. Your paper version should have similar proportions and angles.
Mistake 4: Ignoring Symmetry One wing higher than the other? Nose pointing left instead of straight? These issues usually happen because people don’t check their work.
Solution: Constantly flip your airplane around and look at it from different angles. Both sides should be mirror images.
Similar Variations You Can Make
Once you’ve mastered this basic jet fighter, why not try some variations? I’ve experimented with dozens of different paper aircraft designs.
The Stealth Fighter Variant Use black paper and modify the wing angles to be more angular. Add small cuts to create the jagged edges of stealth technology.
The Delta Wing Fighter Adjust the wing folds to create a more triangular wing shape. This version looks like a European fighter jet.
The Twin-Engine Fighter Fold additional sections to create the appearance of twin engines. This adds complexity but looks incredibly realistic.
The Carrier-Based Fighter Modify the wing tips to fold upward, mimicking the wing-folding mechanism on naval aircraft.
Each variation teaches you new folding techniques and gives you different aesthetic options.
Troubleshooting Flight Performance
Your jet might not fly perfectly on the first try. Here’s how to fix common flight issues:
Problem: Airplane Dives Immediately The nose is too heavy or pointed downward. Gently bend the nose up slightly.
Problem: Airplane Turns Left or Right One wing is folded differently than the other. Check for symmetry and adjust accordingly.
Problem: Airplane Stalls and Falls The wings might be angled upward too much. Flatten them slightly for better airflow.
Problem: Short Flight Distance Make sure all folds are sharp and the airplane is properly balanced. Weak folds create drag.
The Science Behind Your Paper Jet Fighter
Understanding why your origami jet flies helps you make better paper airplanes. The four forces of flight – lift, weight, thrust, and drag – all apply to your paper creation.
Lift comes from air flowing over the wings differently than underneath. Your fold angles affect this airflow dramatically.
Weight is the paper itself. Heavier paper flies differently than lighter paper. That’s why I recommend standard copy paper.
Thrust is the force of your throw. A good paper airplane design converts your throwing energy into forward motion efficiently.
Drag is air resistance. Sharp, clean folds minimize drag and help your jet fly farther.
Taking Your Skills to the Next Level
This easy Origami Airplane is just the beginning. Once you’ve mastered this design, you can tackle more complex projects.
I recommend trying different paper sizes, weights, and colors. Each change teaches you something new about paper folding and aerodynamics.
Consider joining origami communities online. Sharing your creations and learning from others accelerates your skill development dramatically.
Document your progress with photos. I wish I had pictures of my early attempts – the improvement over time is remarkable.
FAQs
Q: What’s the best paper weight for this project? A: Standard 20lb copy paper works perfectly. Heavier paper is harder to fold precisely, while lighter paper tears easily.
Q: How long does it take to make one jet fighter? A: For beginners, expect 10-15 minutes. With practice, you can fold one in under 5 minutes.
Q: Can I use recycled paper? A: Absolutely! Just make sure it’s not wrinkled or damaged. Clean recycled paper works great.
Q: Why doesn’t my jet fly straight? A: Check for symmetry. Most flight problems come from uneven folds or asymmetrical wings.
Q: Can kids make this airplane? A: Yes, but younger children might need help with the precision folds. It’s a great parent-child project.
Q: How can I make my jet fighter look more realistic? A: Use appropriate colors (gray, black, or military green) and take extra care with the wing angles and nose sharpness.
Conclusion
Creating an Origami Jet fighter paper airplane combines art, science, and pure fun into one amazing project. You’ve learned not just how to fold paper, but how to transform a simple sheet into something that captures the essence of modern aviation.
The skills you’ve developed here – precision, patience, and attention to detail – apply to countless other origami projects. This jet fighter is your gateway into the broader world of paper folding, where imagination meets technique to create incredible results.