

Origami transforms simple paper into enchanting creations. It’s a blend of artistry and practicality. Today, I’ll guide you through making an easy Origami Storage box that’s both fun and functional.
This tutorial is perfect for beginners and seasoned paper folders alike. The steps are straightforward yet incredibly rewarding. Ready to start folding?
Let’s dive in and create a Storage box step by step that’ll make organizing a joy. Trust me, it’s easier than you think!
What is an Origami Storage Box?
An Origami Storage Box is a versatile container made entirely out of paper, without the need for glue, tape, or scissors. It’s ideal for storing small items like jewelry, craft supplies, or office essentials. This eco-friendly project combines functionality with creativity, making it a delightful craft for any age.
Why Make an Origami Storage Box?
- Eco-friendly: Uses recyclable materials.
- Customizable: Create boxes in various sizes and colors.
- Practical: Great for storing small items.
- Therapeutic: The folding process can be relaxing and meditative.
Materials Needed
Here’s what you’ll need to make your Paper Storage box:
| Material | Description |
|---|---|
| A4 Paper | Any color or pattern; thicker paper works best for durability. |
| Flat Surface | A clean, smooth surface to ensure precise folds. |
| Optional Tools | Bone folder or ruler for sharper creases (though not mandatory). |
Step-by-Step Instructions
Follow these Paper Storage box instructions carefully for the best results. Let’s get folding!
1. Prepare Your Paper
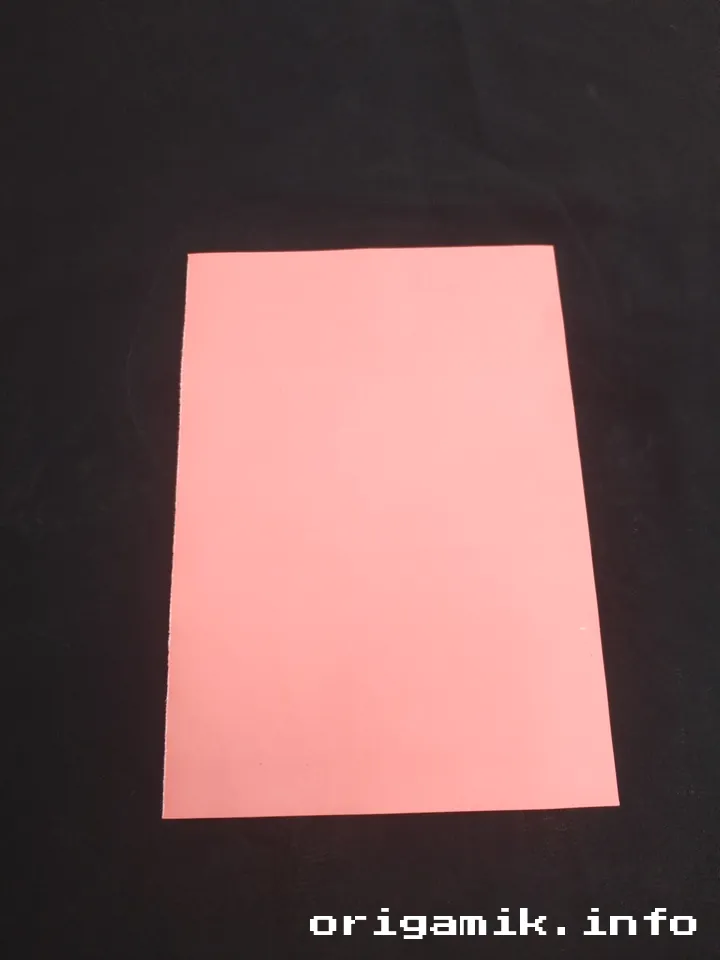
Take an A4 size paper and place it on a flat surface.
2. Create Initial Folds
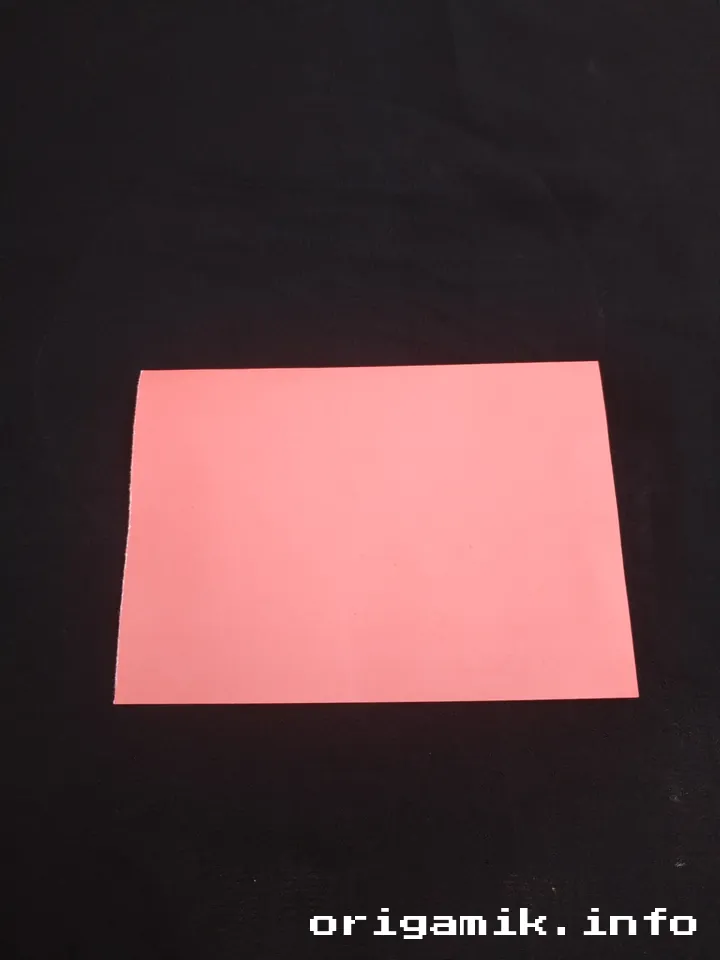
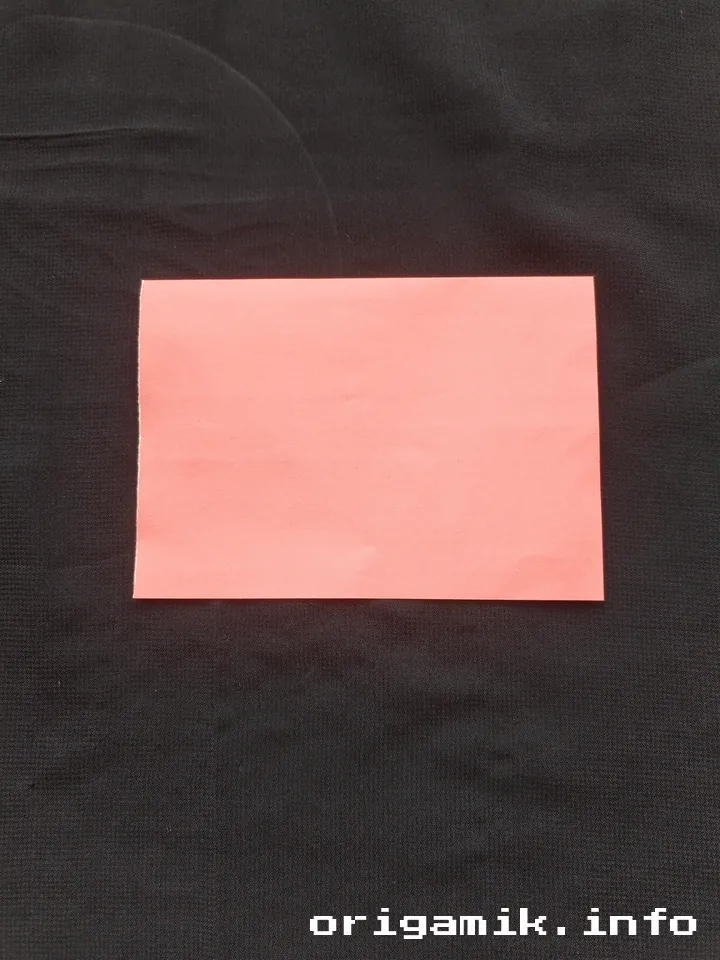

- Fold the paper horizontally to create a crease, then unfold.
- Fold it vertically and unfold again.
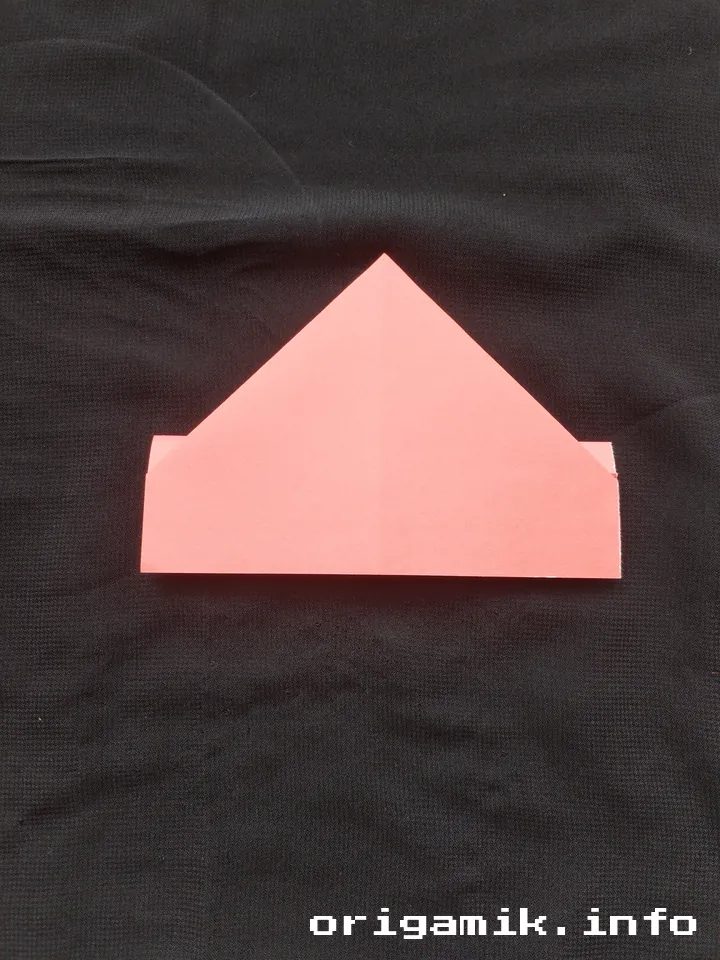
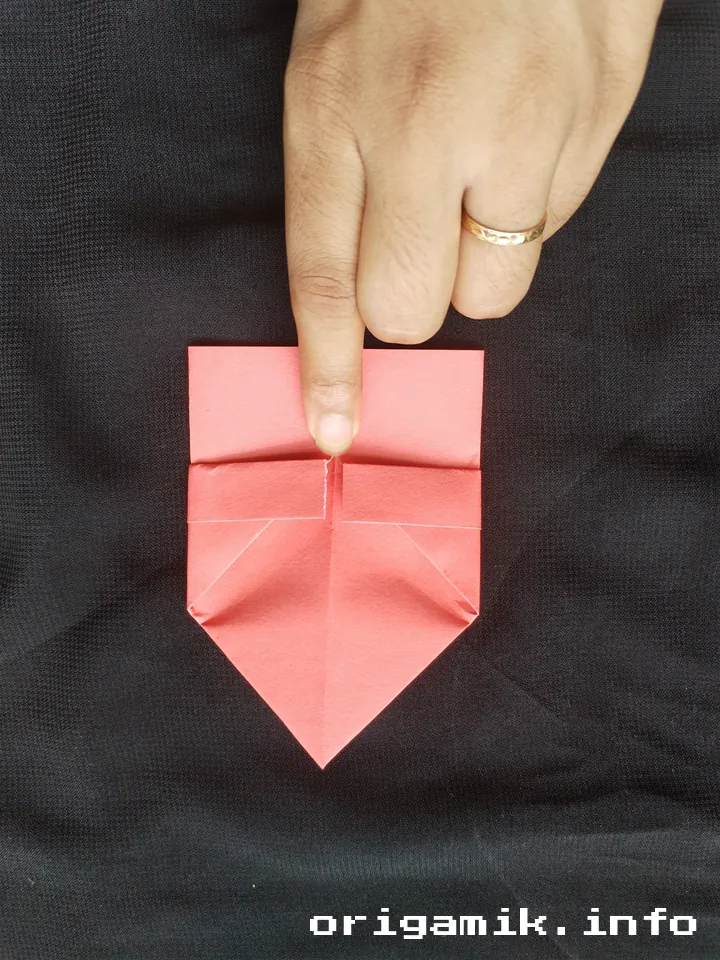
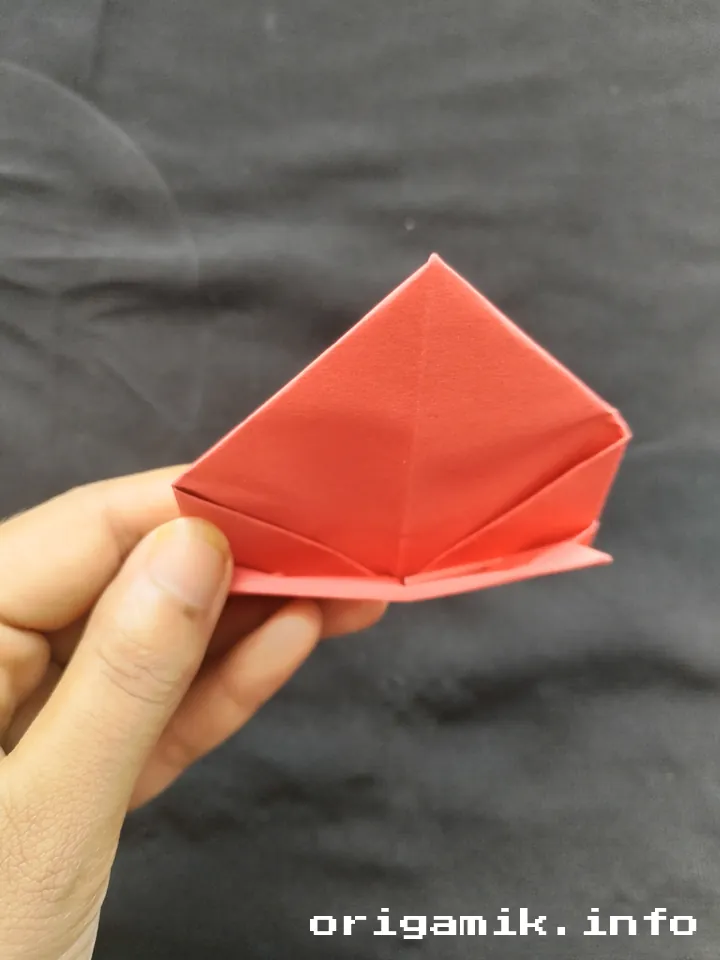
3. Form a “House” Shape
- Fold the top corners toward the center line to form a house shape.
- Fold the bottom of the paper in half, then make another fold upward.
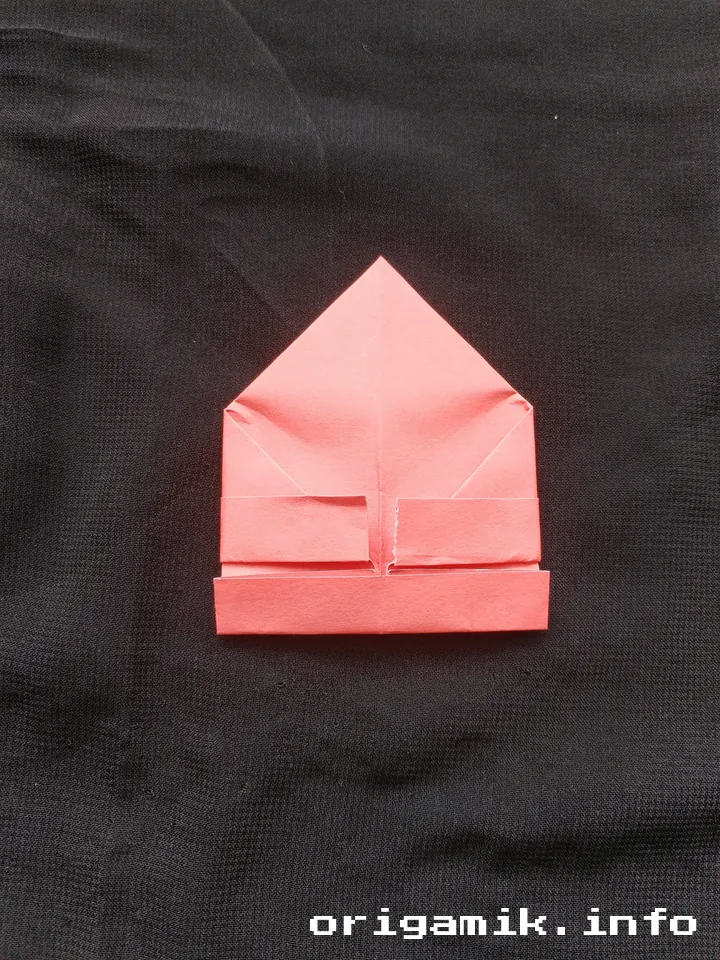
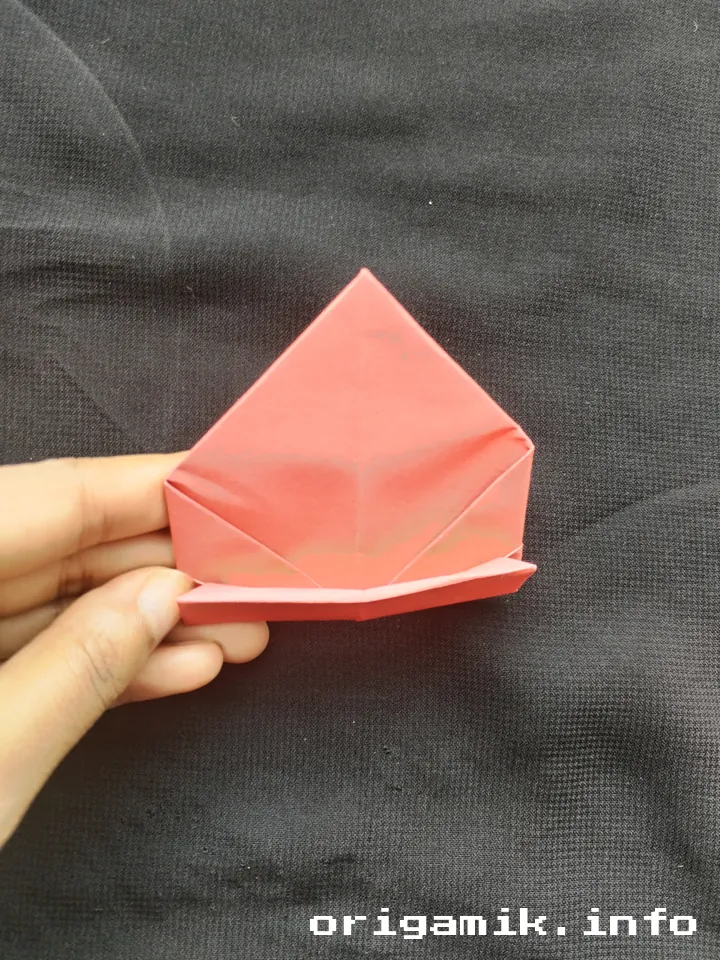
4. Shape the Sides
- Turn the paper upside down.
- Fold both sides along the middle crease to create flaps.
5. Define the Base
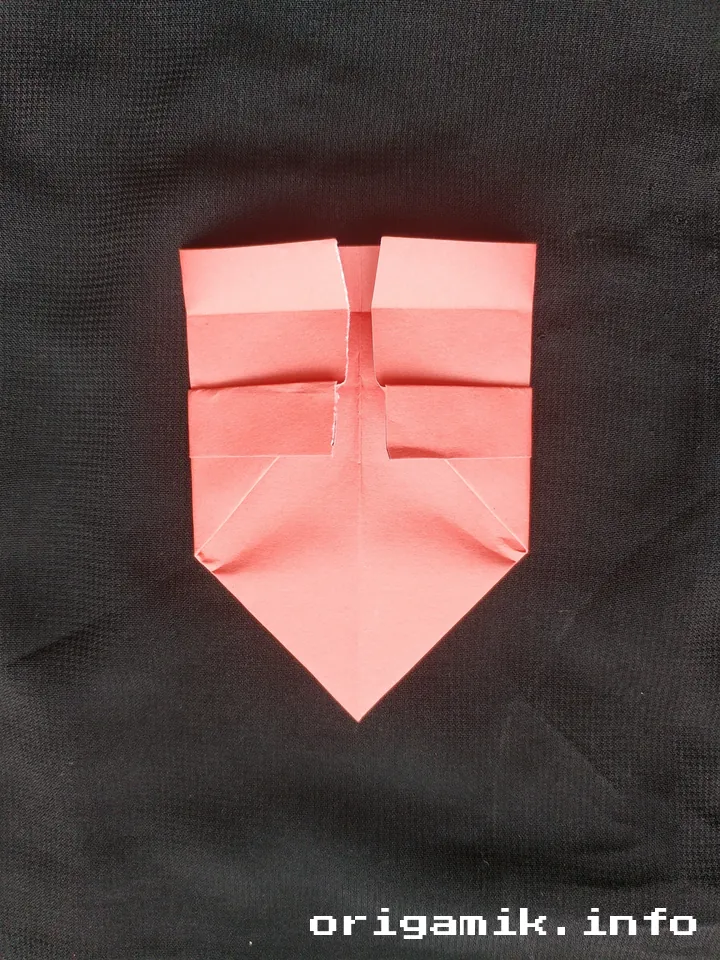
- Fold the bottom section upward to the middle.
- Fold the two bottom corners inward, creating a triangular base.
- Fold again to reinforce the shape.
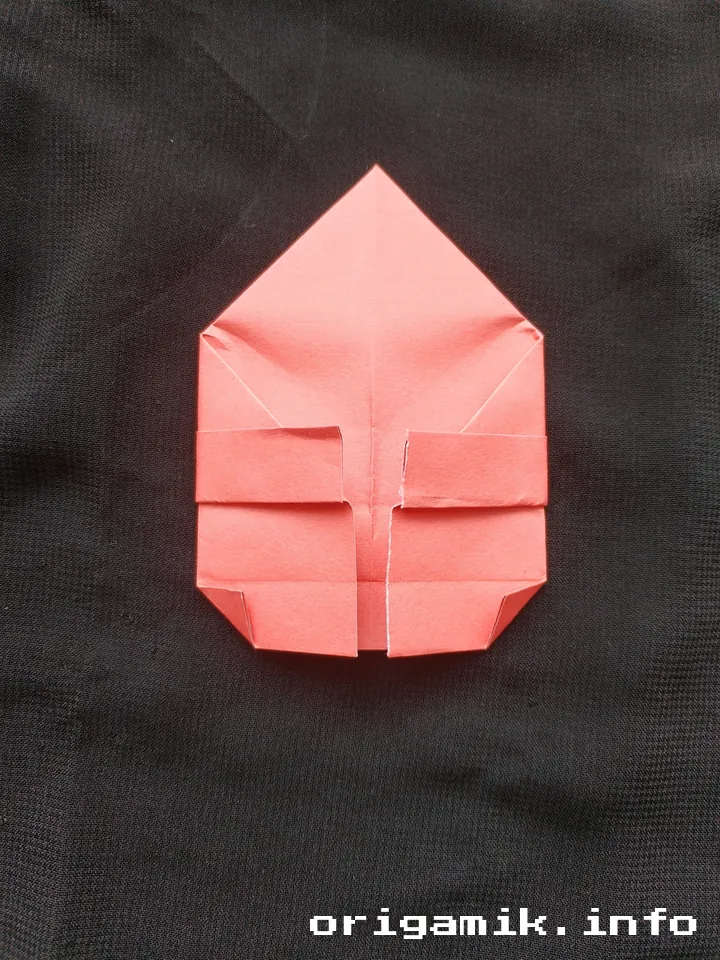
6. Assemble the Box

- Insert the lower flaps into the upper section for stability.
- Adjust the folds to ensure a snug fit.
7. Final Touches

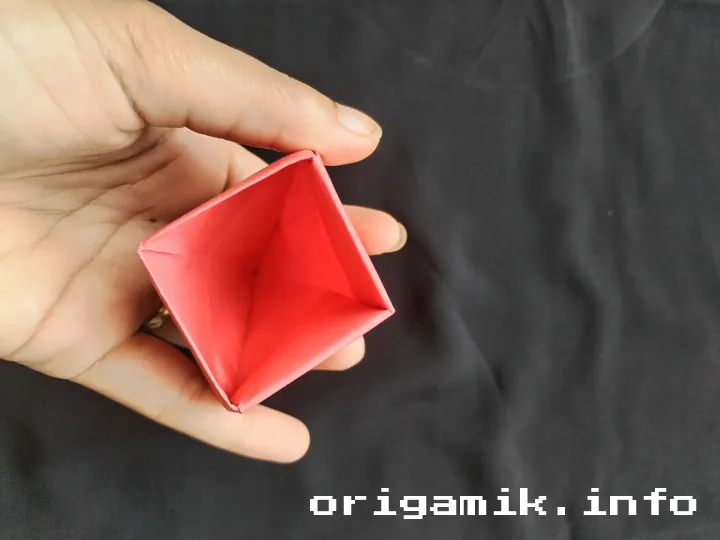

- Open the box gently by pressing on the sides.
- Fold the back section as shown and tuck in any extra paper.
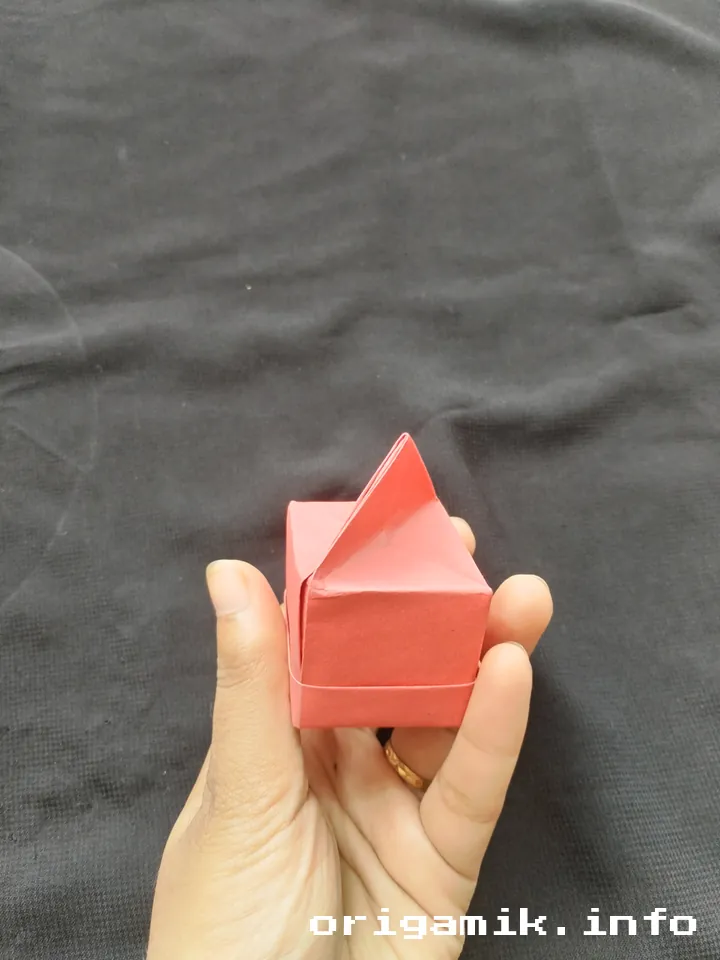
8. Enjoy Your Creation
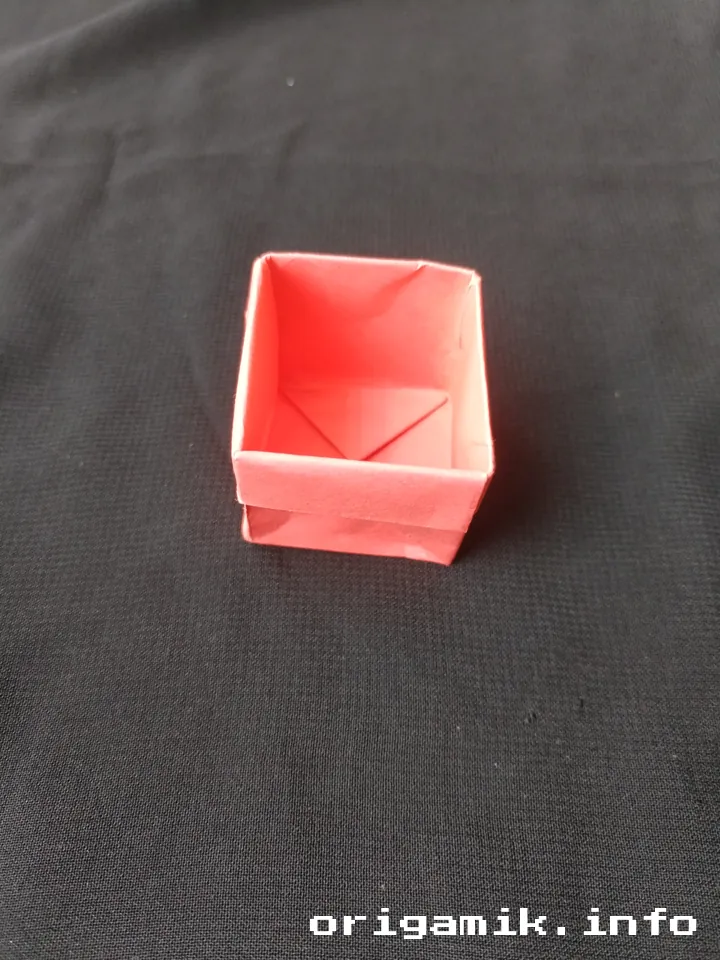
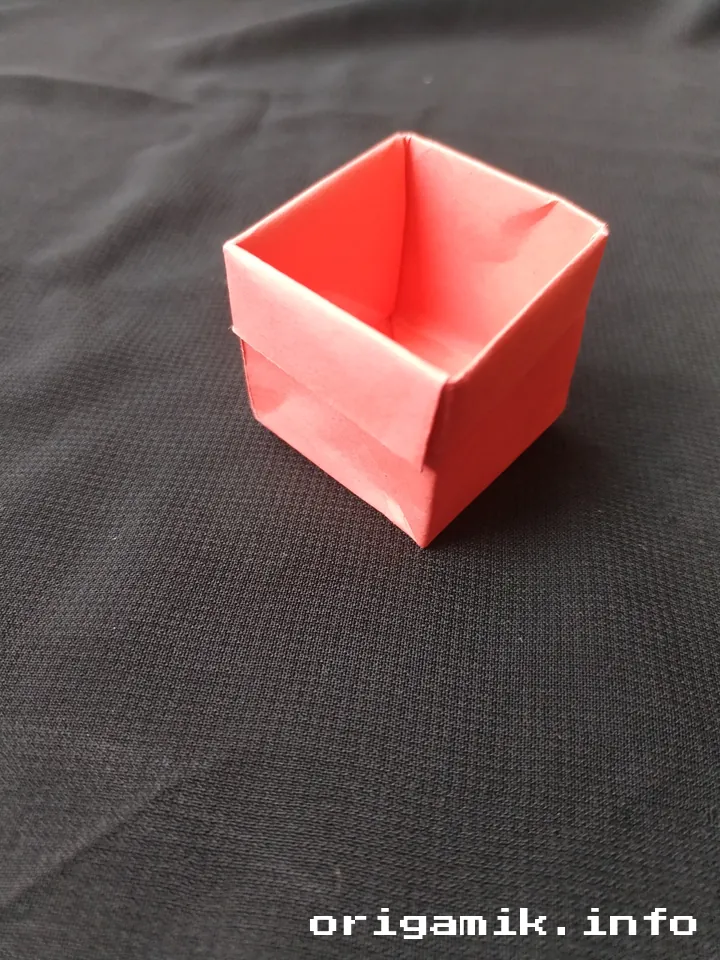
Your Origami Storage Box is now complete! Fill it with your favorite small items and admire your handiwork.
Tips for Success
- Choose the Right Paper: Thicker paper provides more stability.
- Sharp Creases Matter: Use a bone folder or ruler for precise folds.
- Work on a Flat Surface: This prevents uneven folds.
- Be Patient: If a step feels tricky, take your time to get it right.
Common Mistakes and How to Avoid Them
Mistake 1: Uneven Folds
- Solution: Align edges carefully before creasing.
Mistake 2: Paper Tearing
- Solution: Avoid using excessive force on folds.
Mistake 3: Loose Assembly
- Solution: Ensure folds are sharp and secure flaps tightly.
Similar Variations
Looking to expand your origami skills? Try these variations:
- Origami Lid: Create a matching lid for your box.
- Mini Boxes: Use smaller paper for tiny storage solutions.
- Decorative Boxes: Use patterned or colored paper for a unique touch.
FAQs
Q: Can I use other paper sizes?
A: Yes! Just ensure the paper is square for best results.
Q: How durable is the box?
A: The durability depends on the paper thickness and fold precision.
Q: Can I decorate the box?
A: Absolutely! Add stickers, drawings, or washi tape for a personal touch.
Conclusion
Crafting an easy Origami Storage box is both fun and practical. By following this Storage box step by step guide, you’ve created something useful and beautiful. The best part? You now know how to make a Storage box anytime you need one.
Happy folding! Let me know how your project turned out or if you’d like tips on other origami creations.