

Feeling stressed and need a quick creative outlet? Let me show you how to make easy Origami stress balls. These are perfect for calming nerves. Best of all? You only need paper.
Origami stress balls combine the beauty of paper folding with a practical tool to ease your stress. It’s like crafting your personal stress reliever. Let’s dive into the enchanting process.
You’ll find this guide perfect whether you’re a beginner or an experienced origami artist. Follow along for step-by-step instructions and a rewarding journey in creativity.
What Are Origami Stress Balls?
Origami stress balls are delightful creations made entirely from paper, designed to help you manage stress. By folding paper into intricate patterns, you can create a stress-relieving ball that’s both fun to make and practical to use. The repetitive folding process can be meditative, helping to clear your mind while giving you a satisfying end product.
Why Make Origami Stress Balls?
- Affordable Stress Relief: You only need a single sheet of paper.
- Engaging Hobby: Perfect for those who enjoy hands-on activities.
- Eco-Friendly: No need for plastic or store-bought stress balls.
- Creative Outlet: Adds a personal touch to your stress management tools.
Materials Needed
To create your stress ball, gather the following materials. Here’s a detailed table to ensure you have everything you need:
| Material | Details | Why It’s Important |
|---|---|---|
| A4 Paper | 15″ × 15″ | The foundation for your stress ball. |
| Scissors | Sharp and precise | For clean cuts. |
| Glue Stick | Quick-drying | To secure folds. |
| Optional: Markers | Bright or pastel colors | For customization. |
Step-by-Step Instructions
1. Take A4 size paper
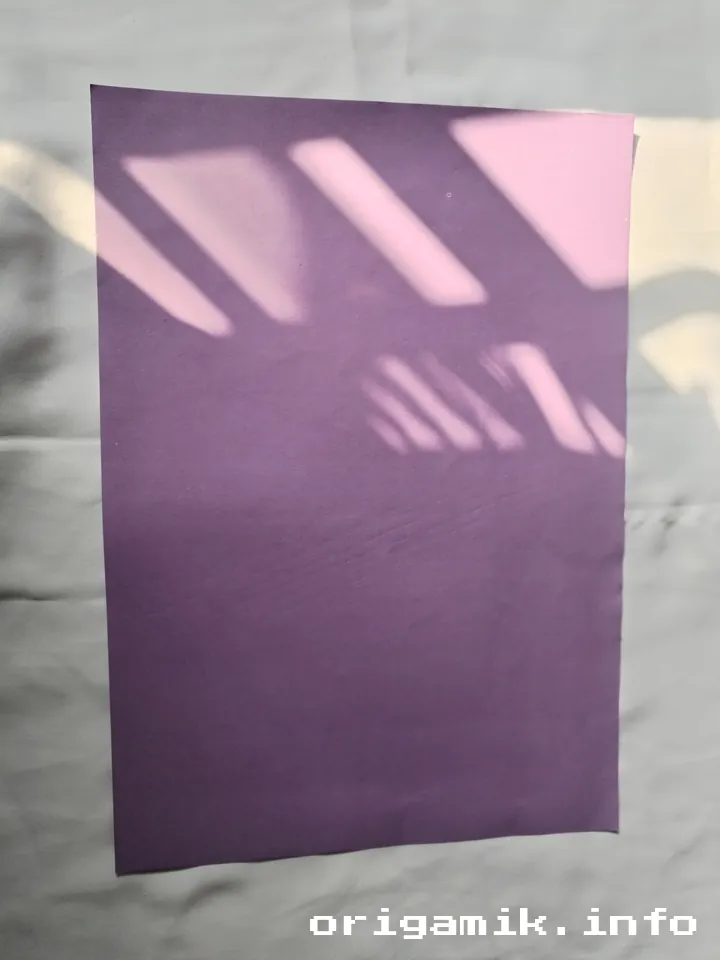
Ensure it’s clean and wrinkle-free.
2. Fold it vertically and unfold. Fold the house and cut off the excess below
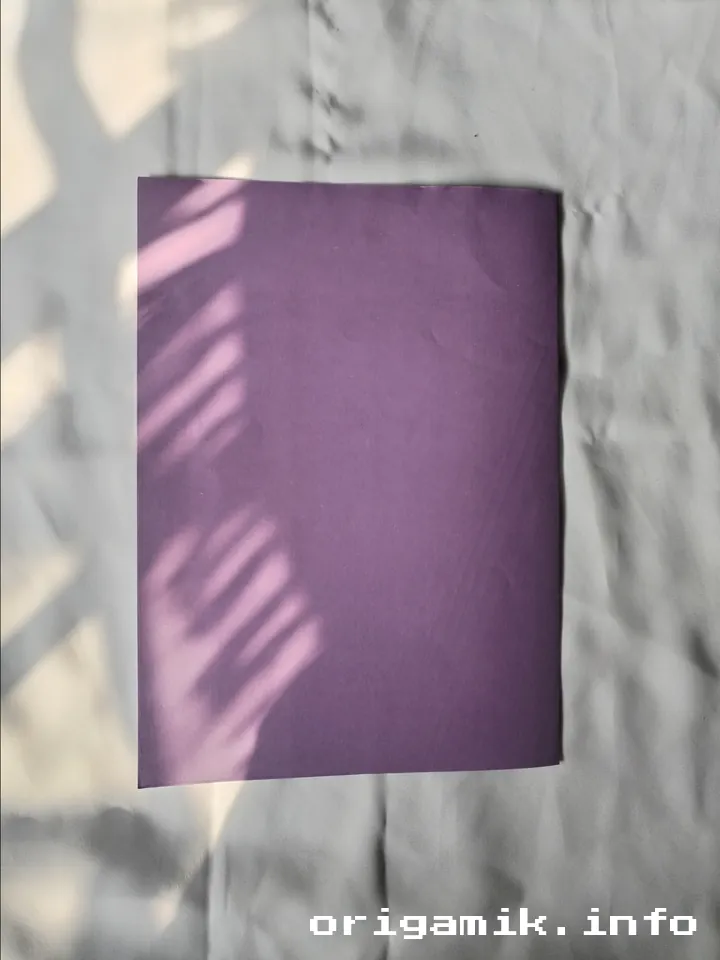
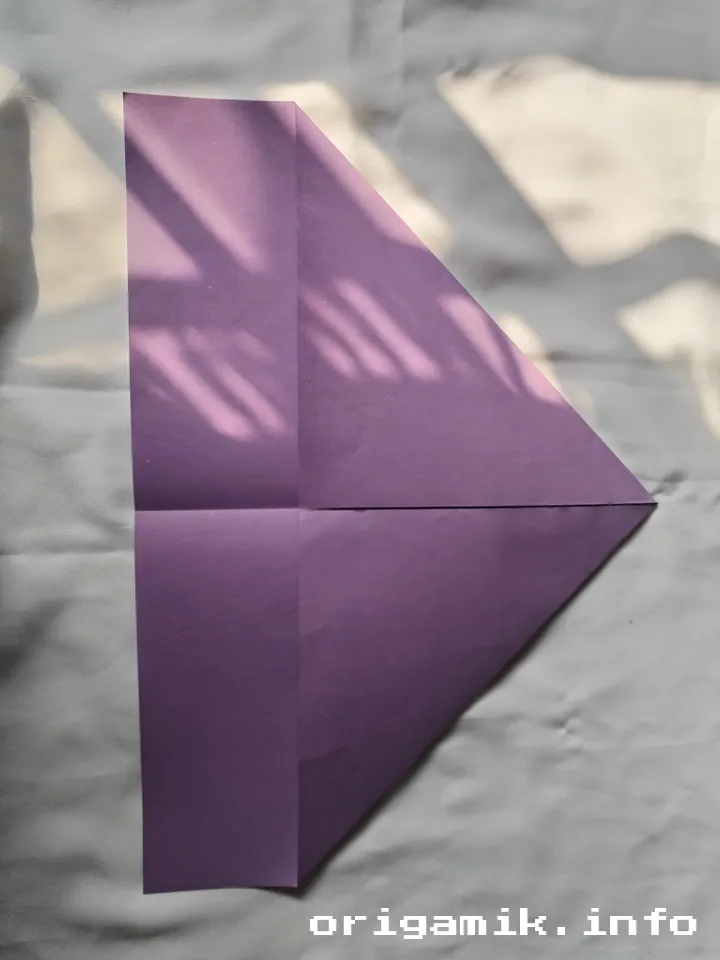
Create a square base by forming a house shape and cutting off the extra paper.
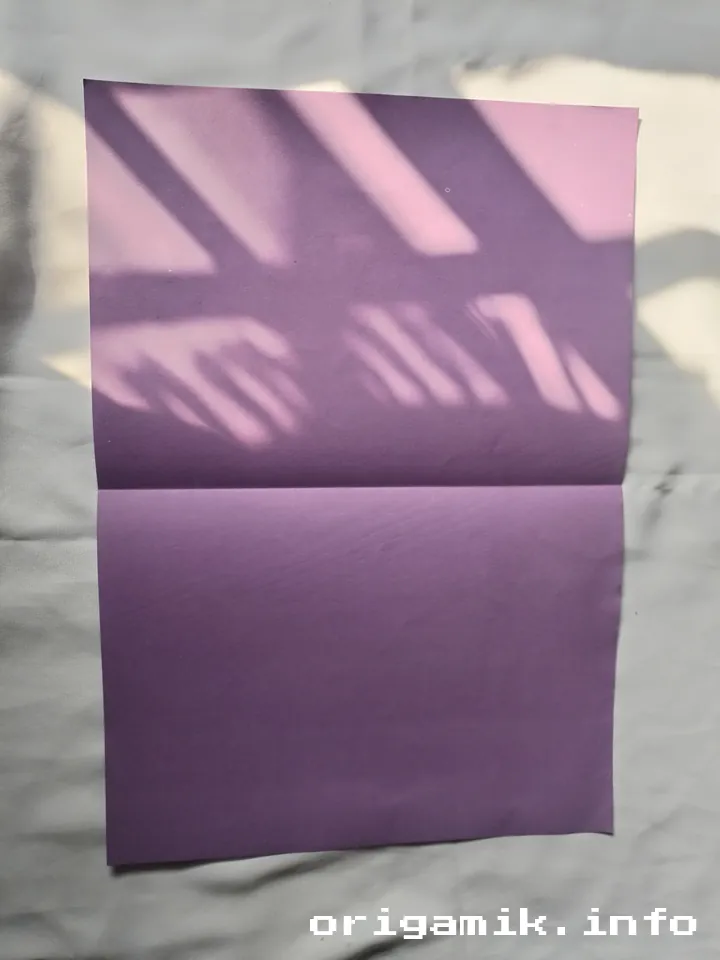
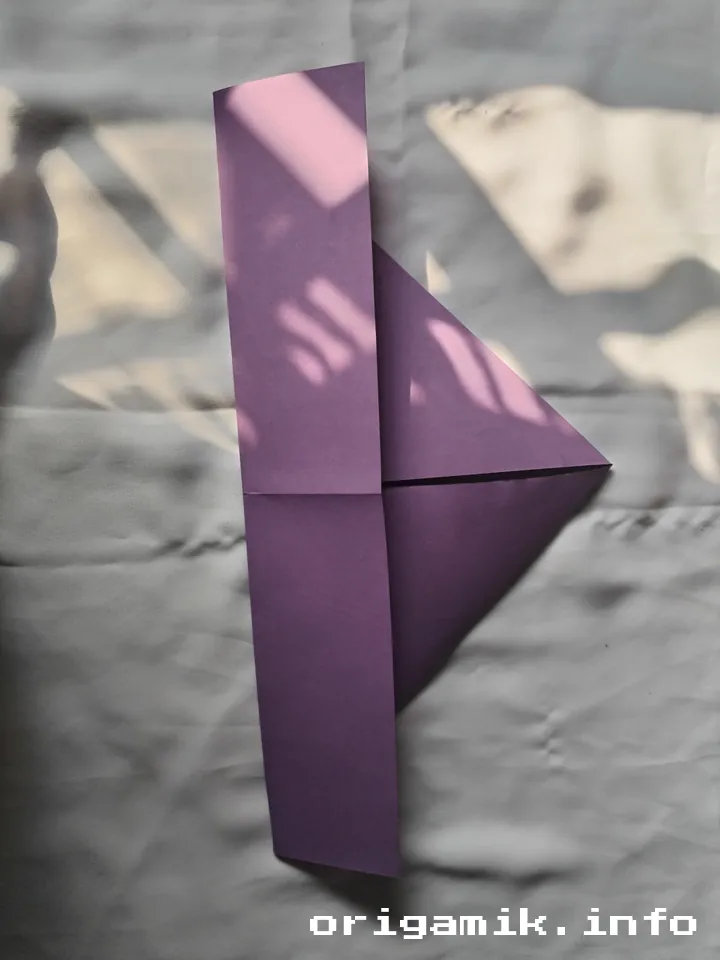
3. Fold it vertically
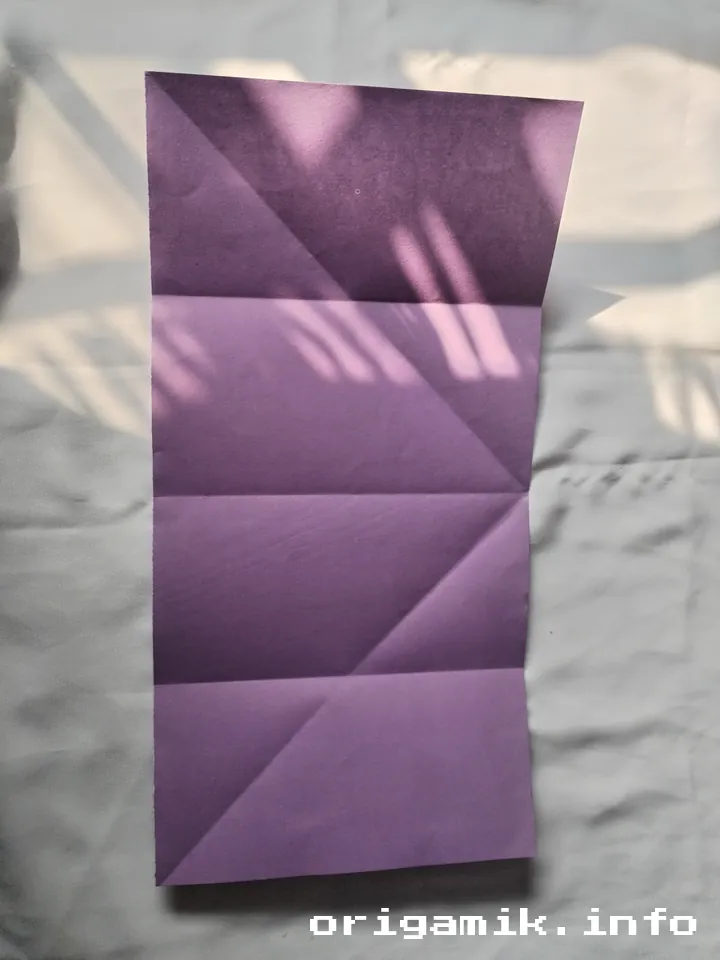
Divide the paper into four parts and unfold.
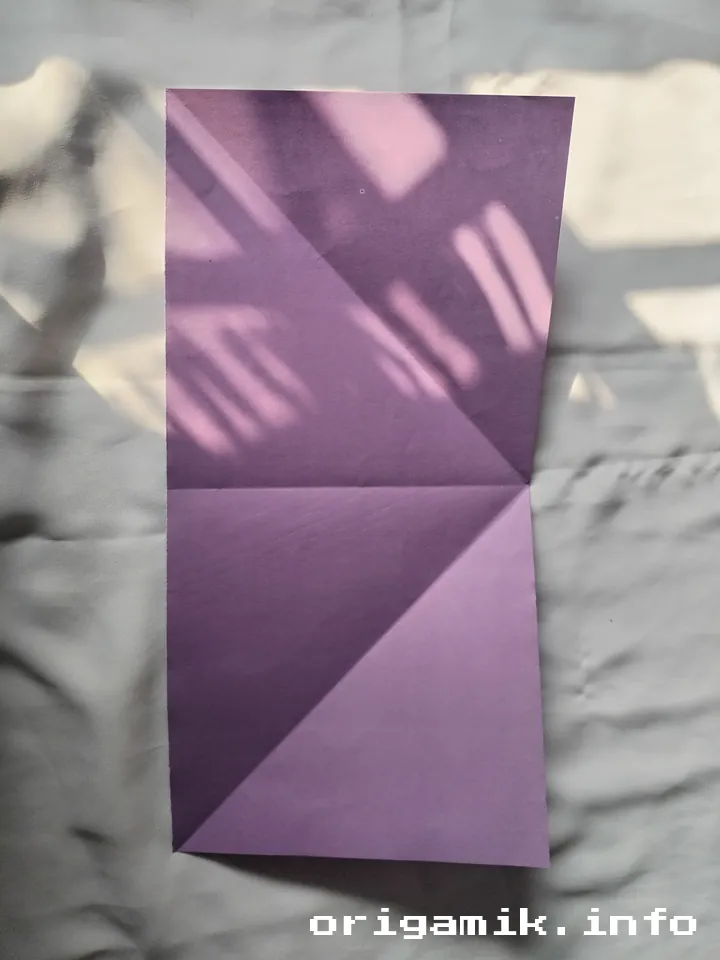
4. Now divide into 8 parts and unfold. Now divide into 16 parts and unfold
Repeat the folding process to create smaller sections.
5. Now divide into 32 parts and unfold
Continue dividing for finer folds.
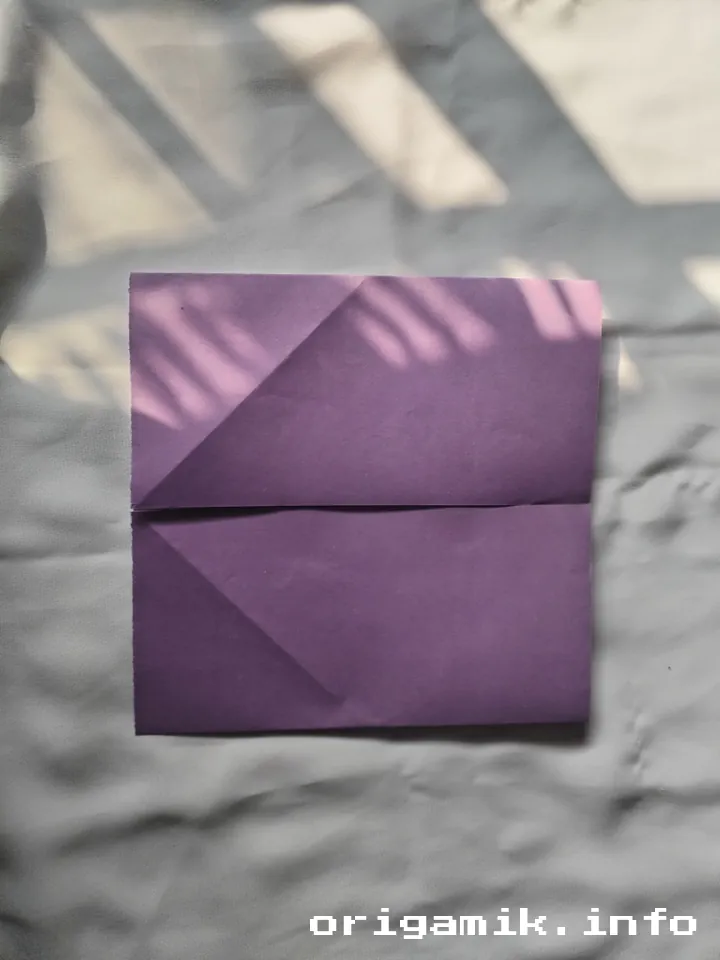
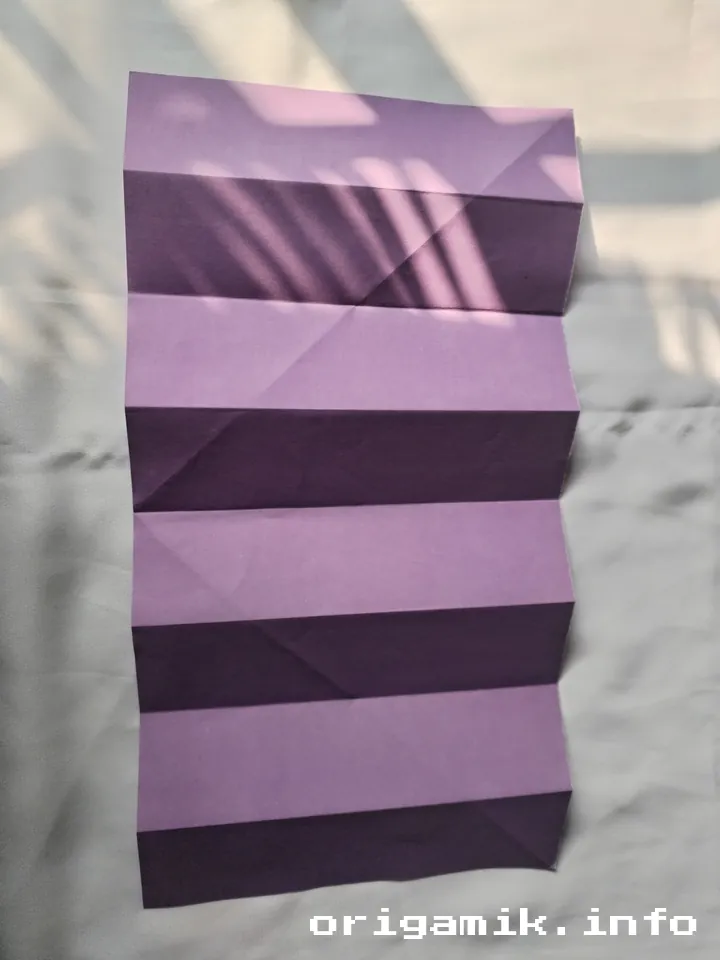
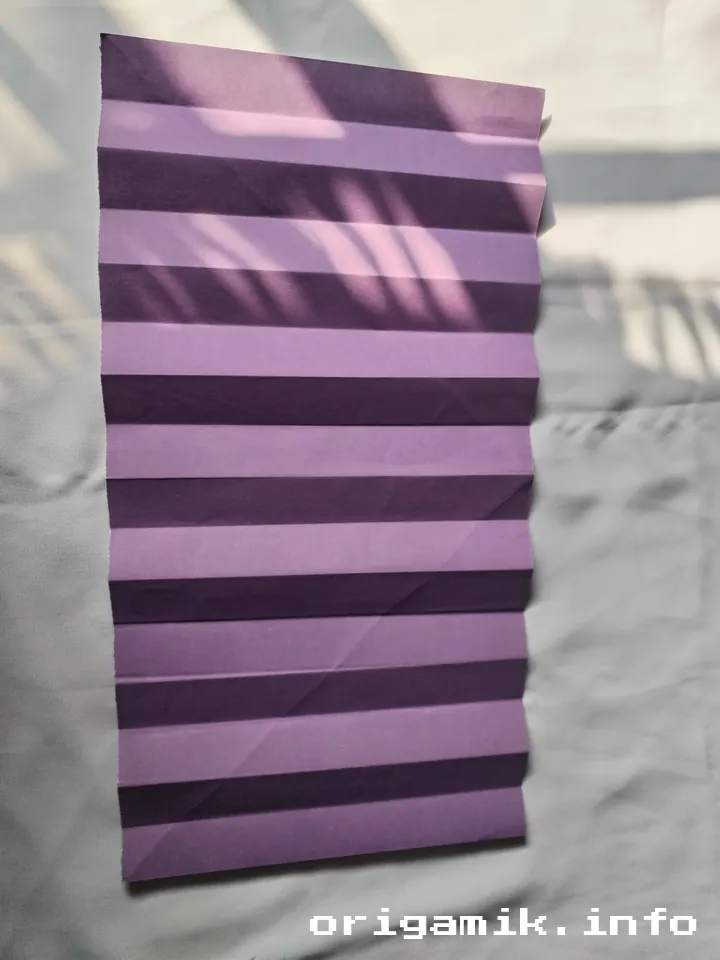
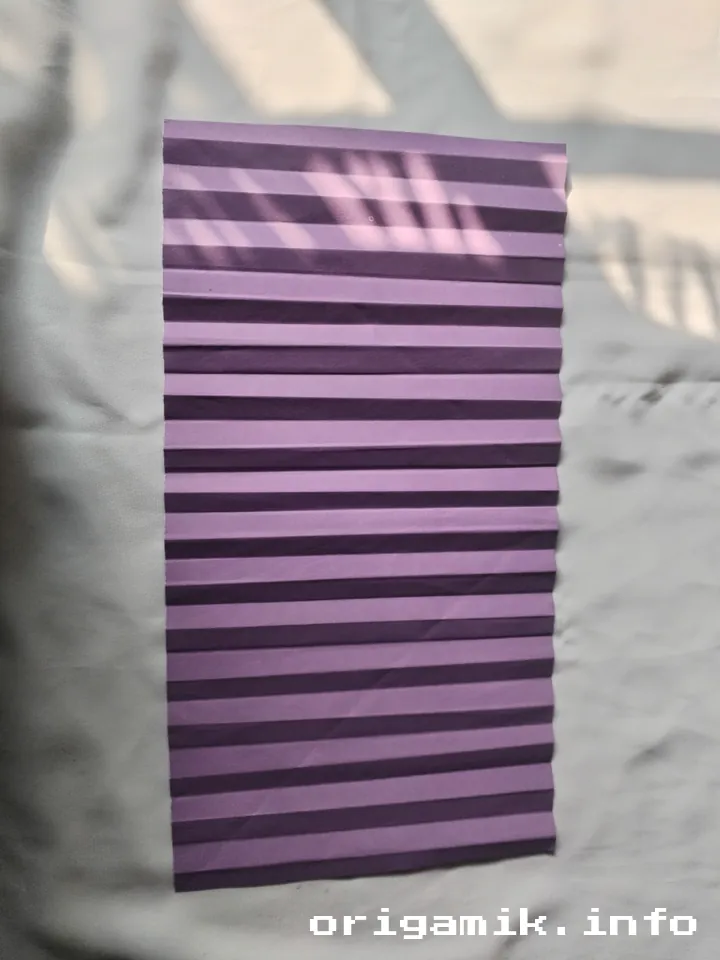
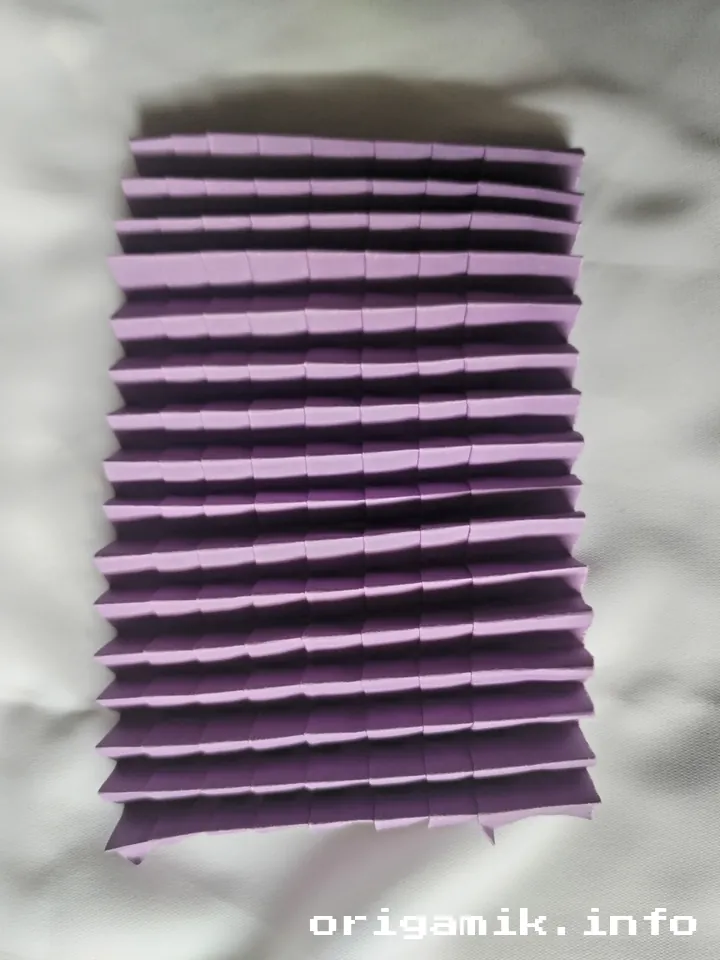
6. Fold it horizontally and unfold. Now divide it into 8 parts and unfold. Now divide it into 16 parts and unfold

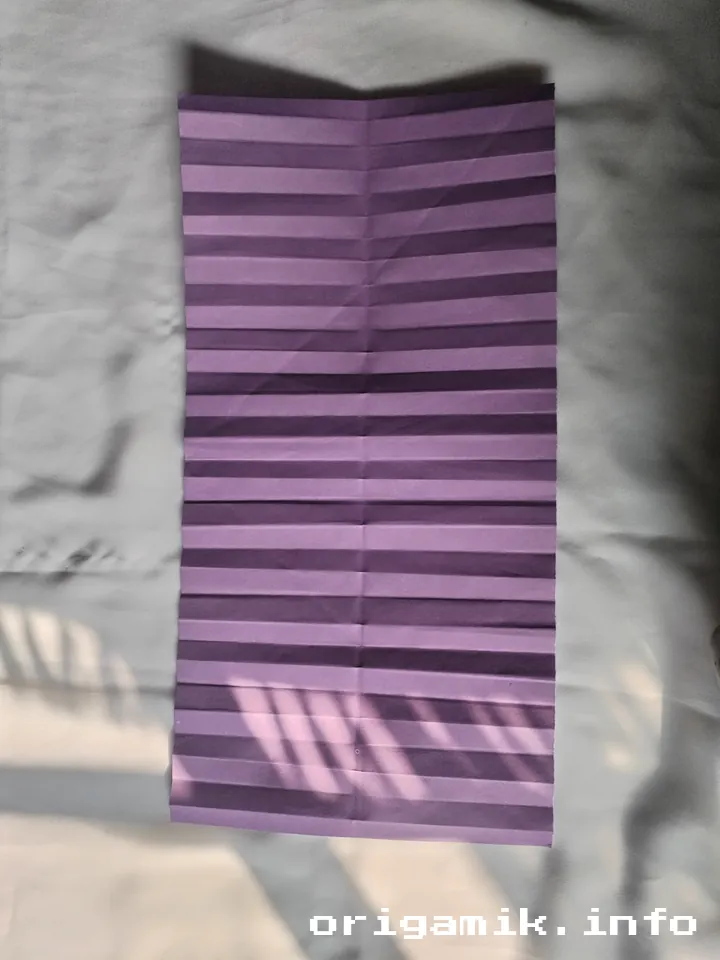
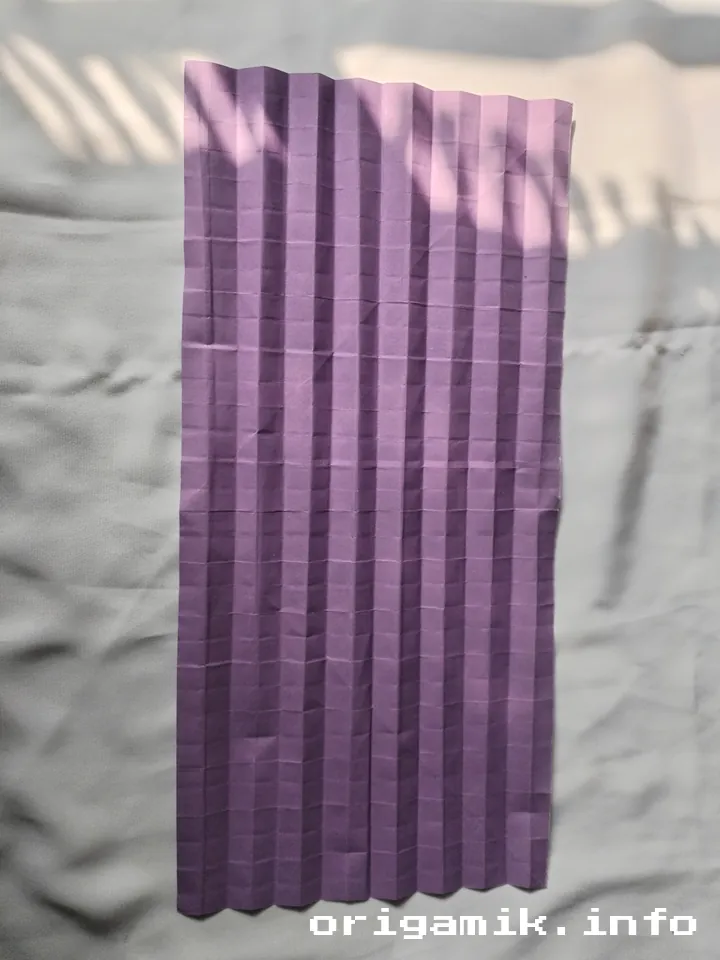
Perform horizontal folds similar to the vertical ones.
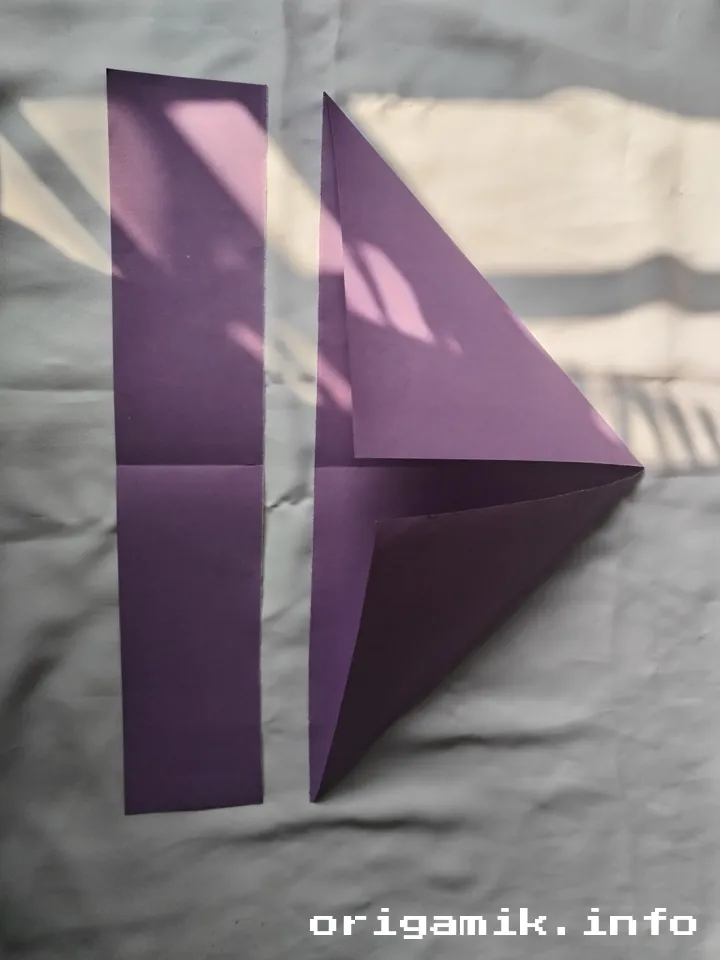
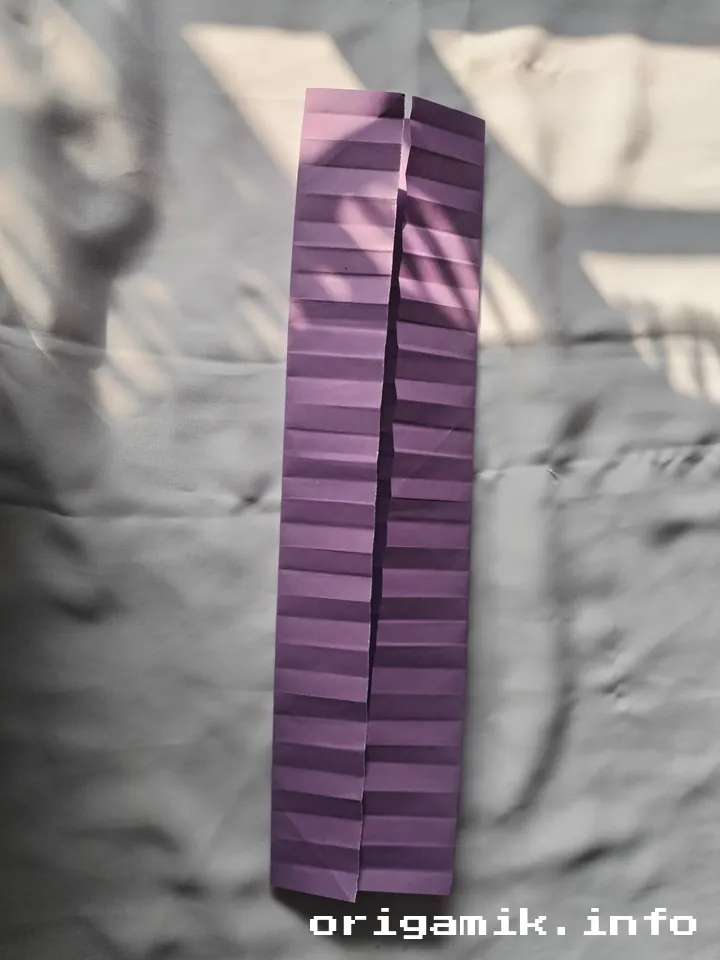
7. Now fold it step by step

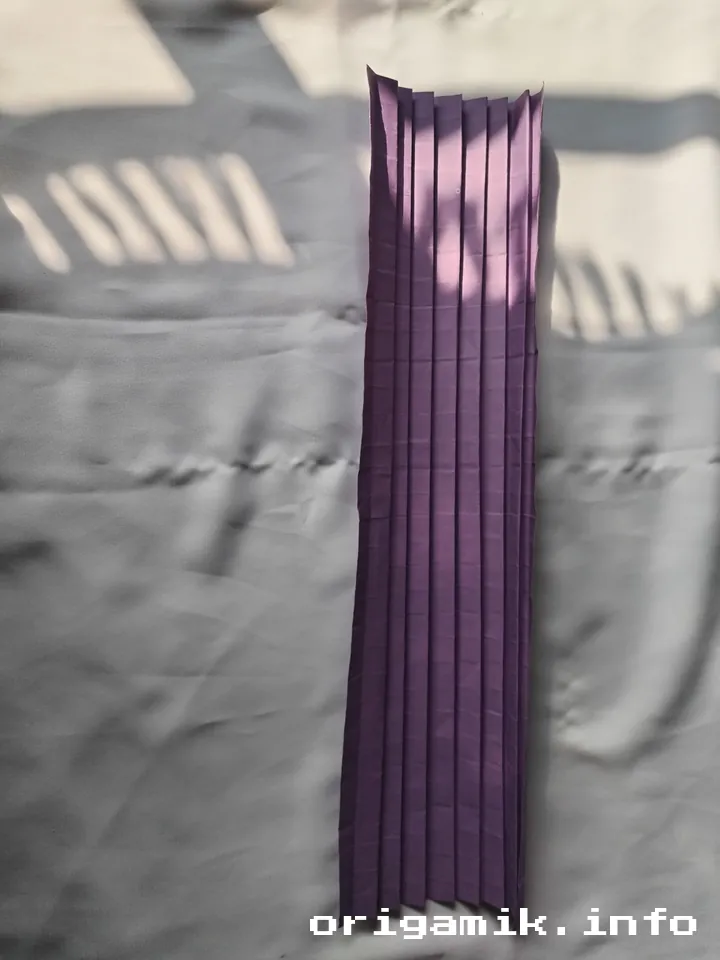
Carefully follow each fold sequentially for precision.
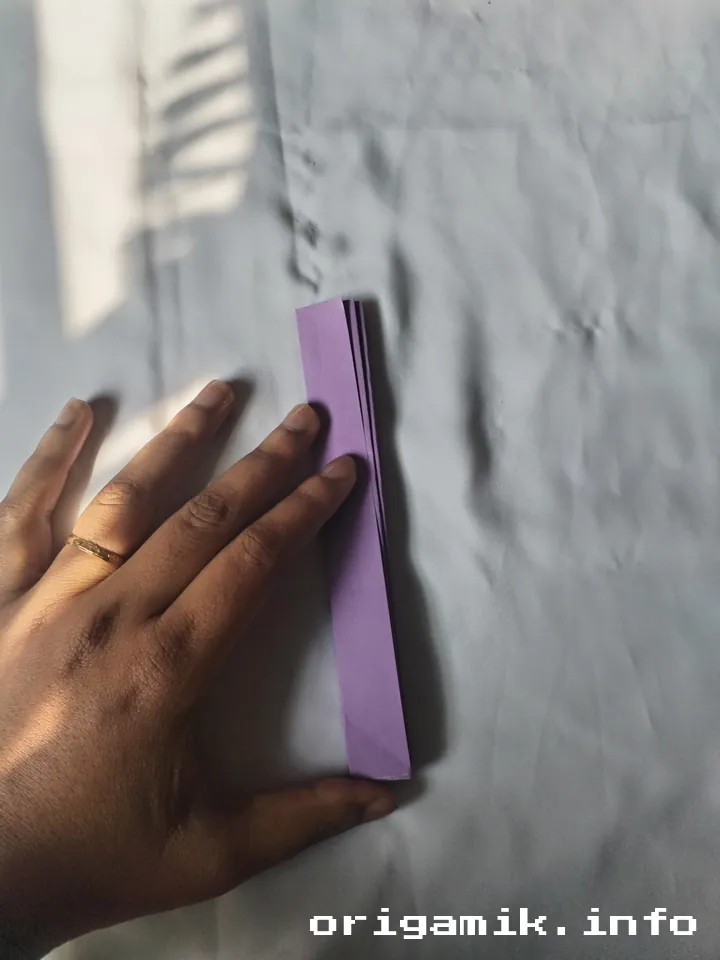
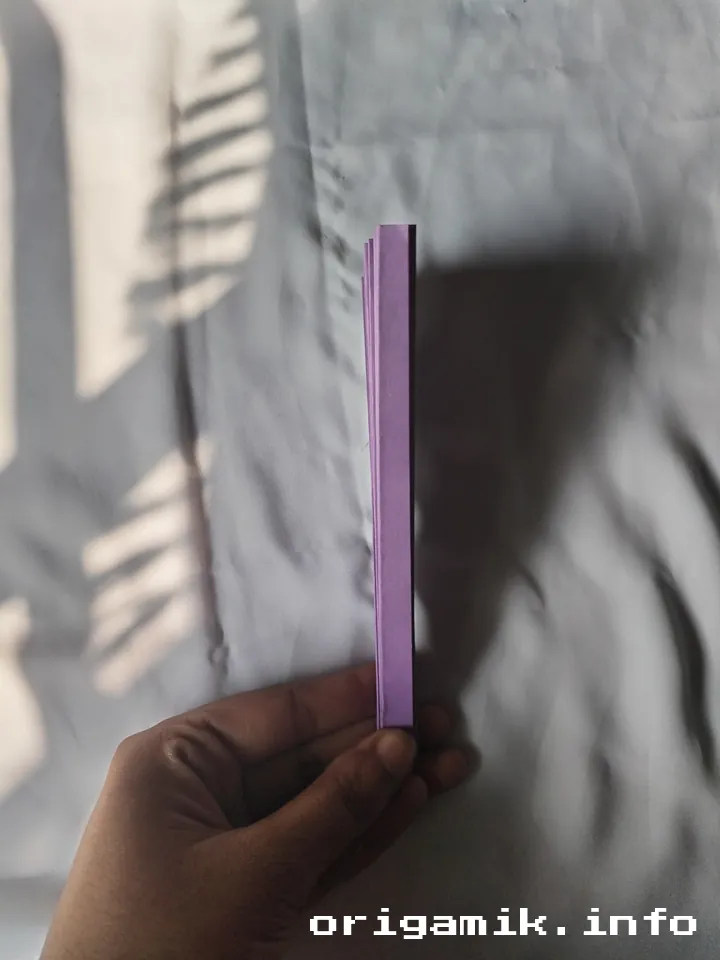
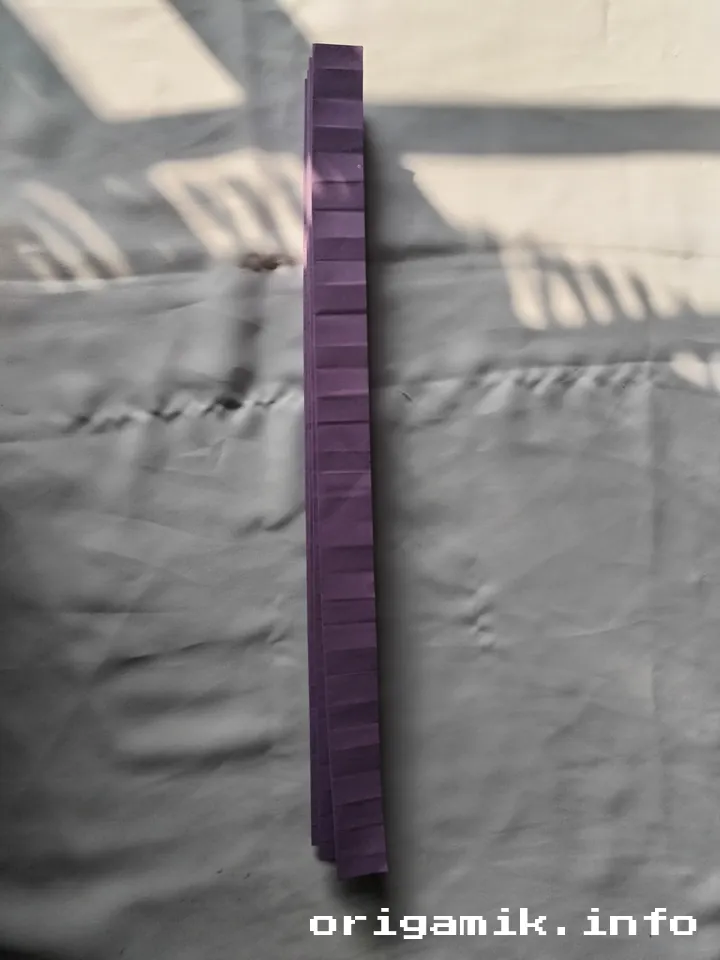
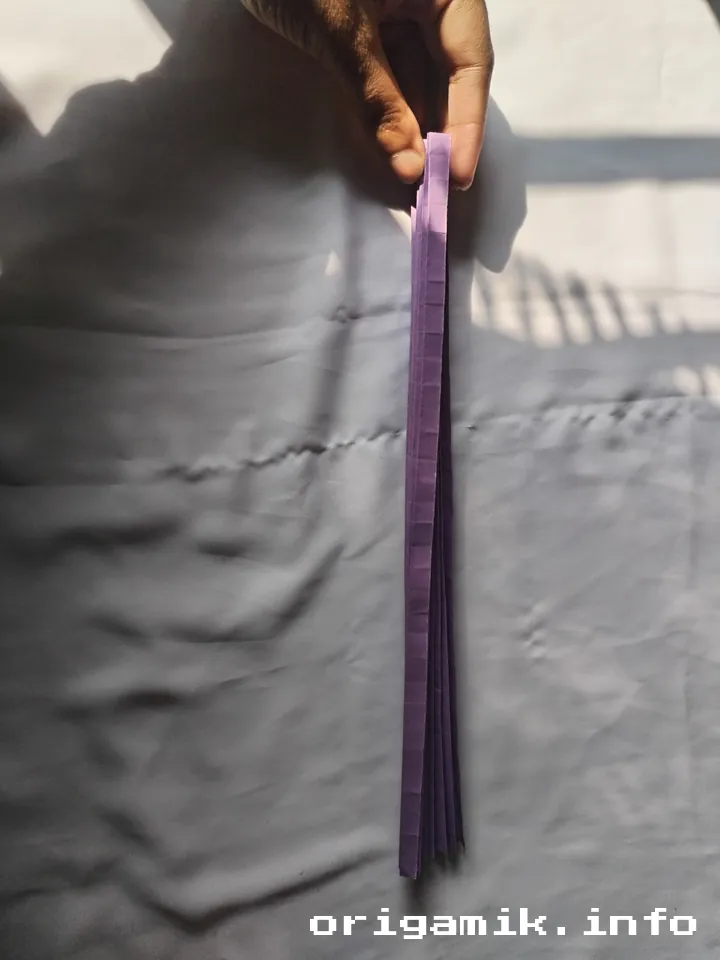
8. Now fold vertically zigzag

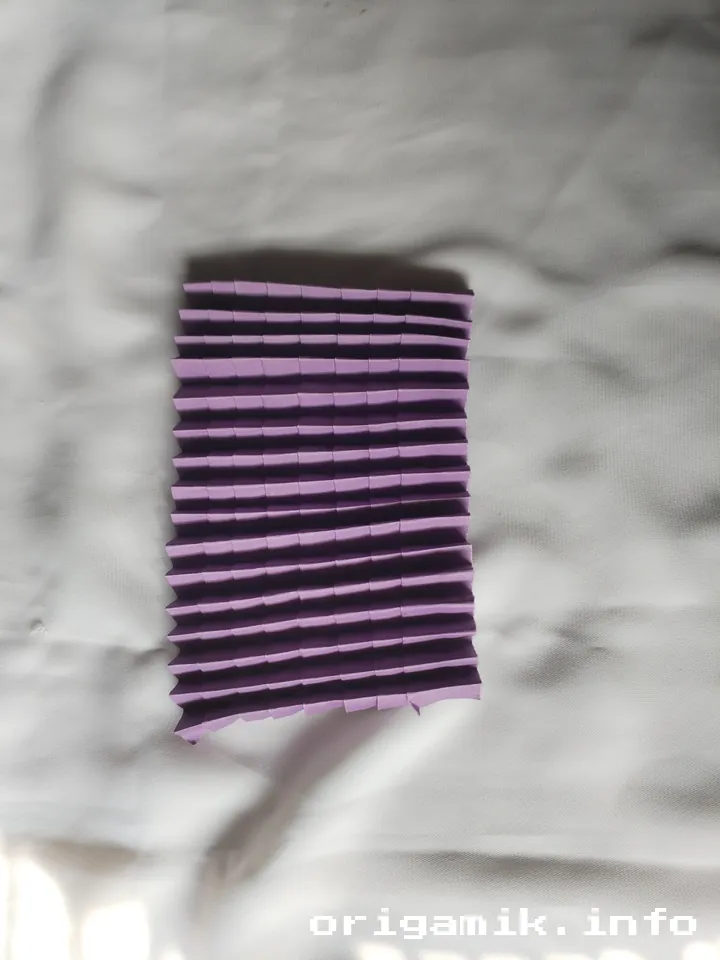
Create a textured effect by folding in a zigzag pattern.
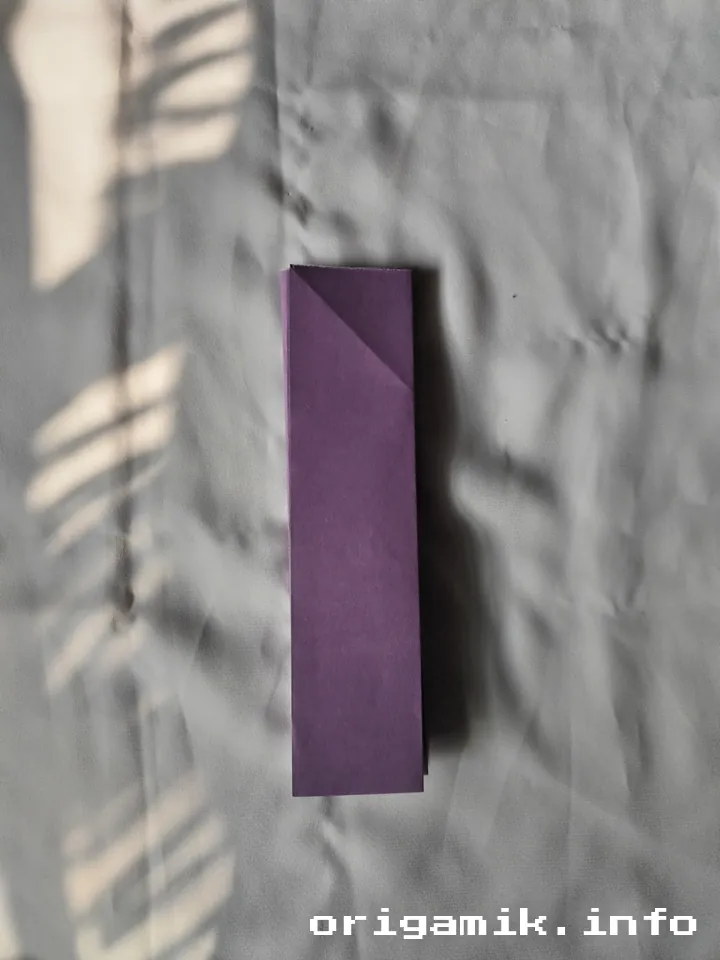
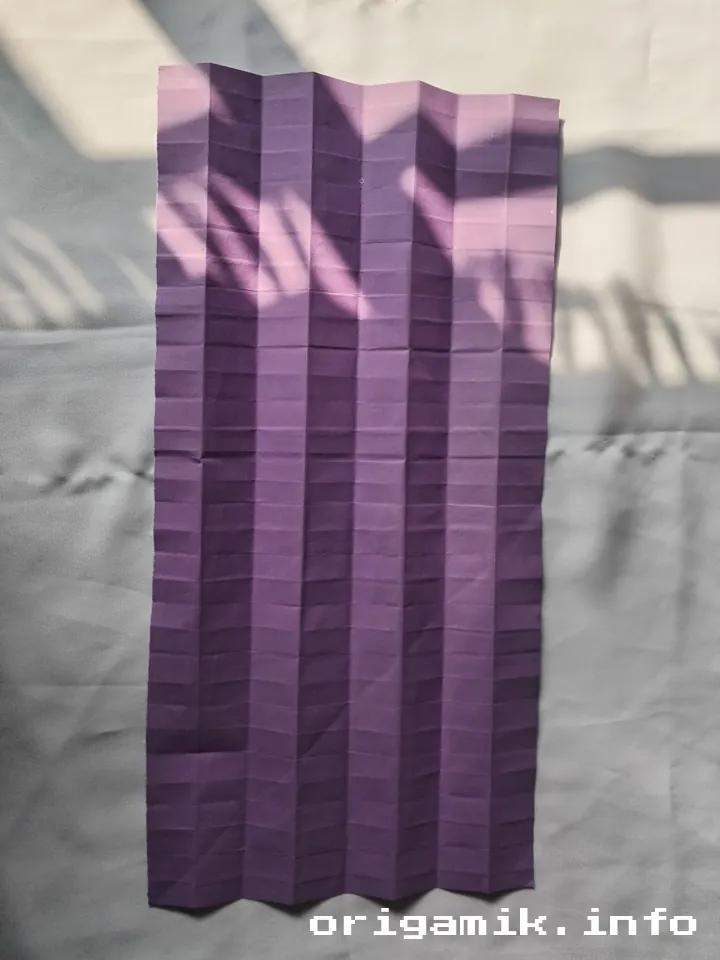
9. Now pull a little paper from above and apply glue on both sides
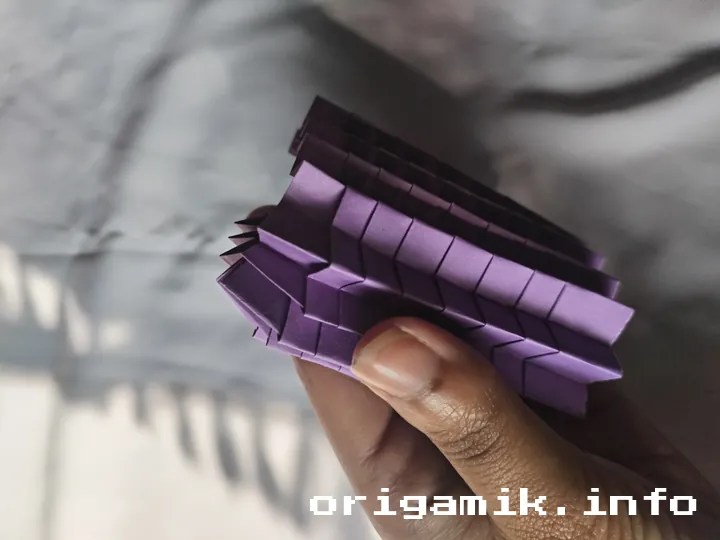
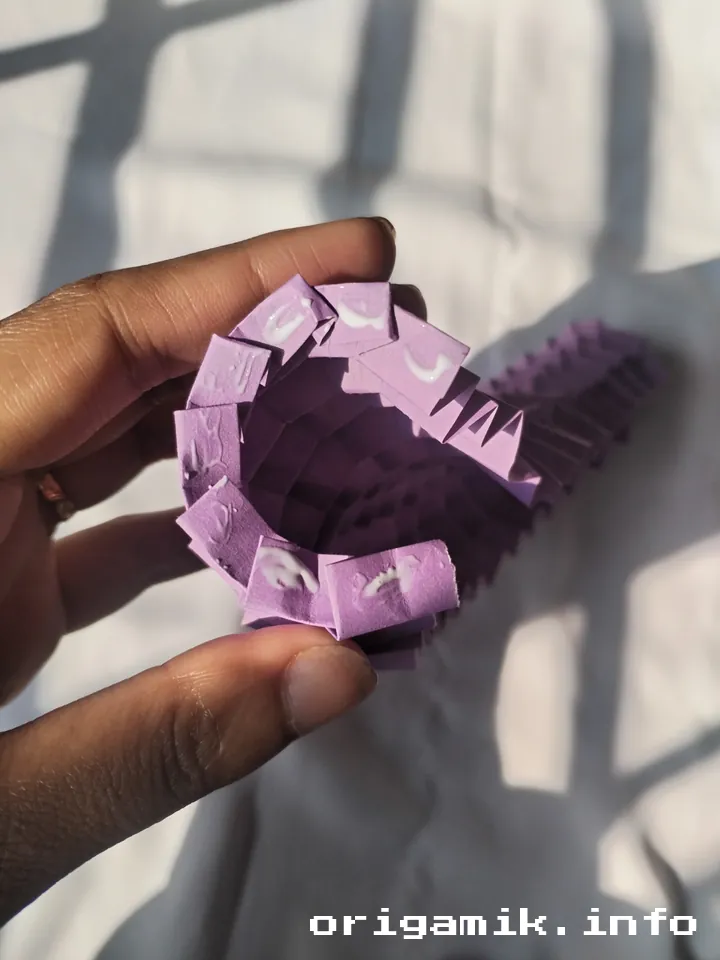
Shape the ball and secure the structure.
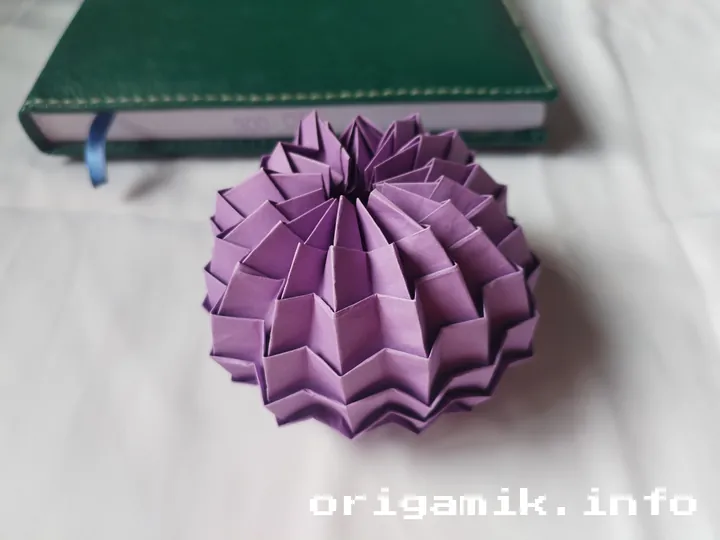
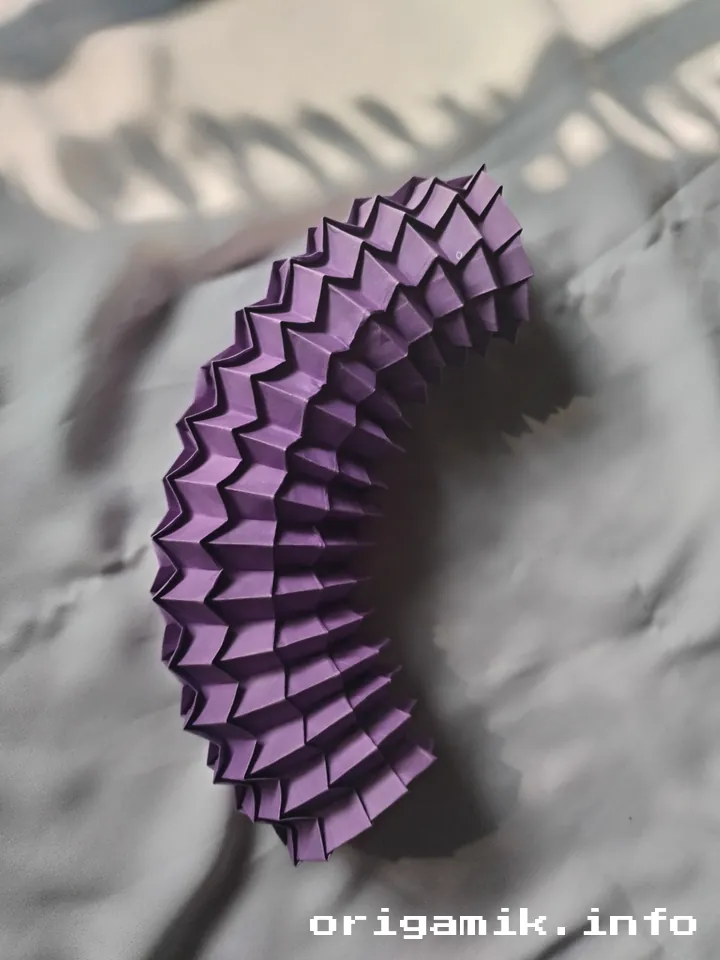
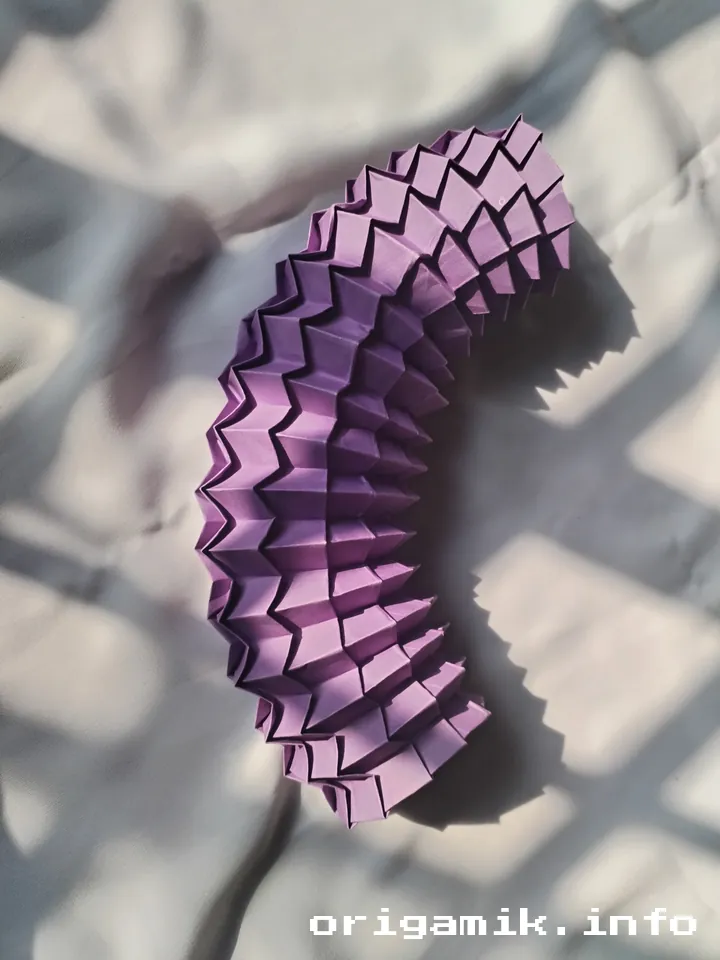
10. Origami stress balls are made
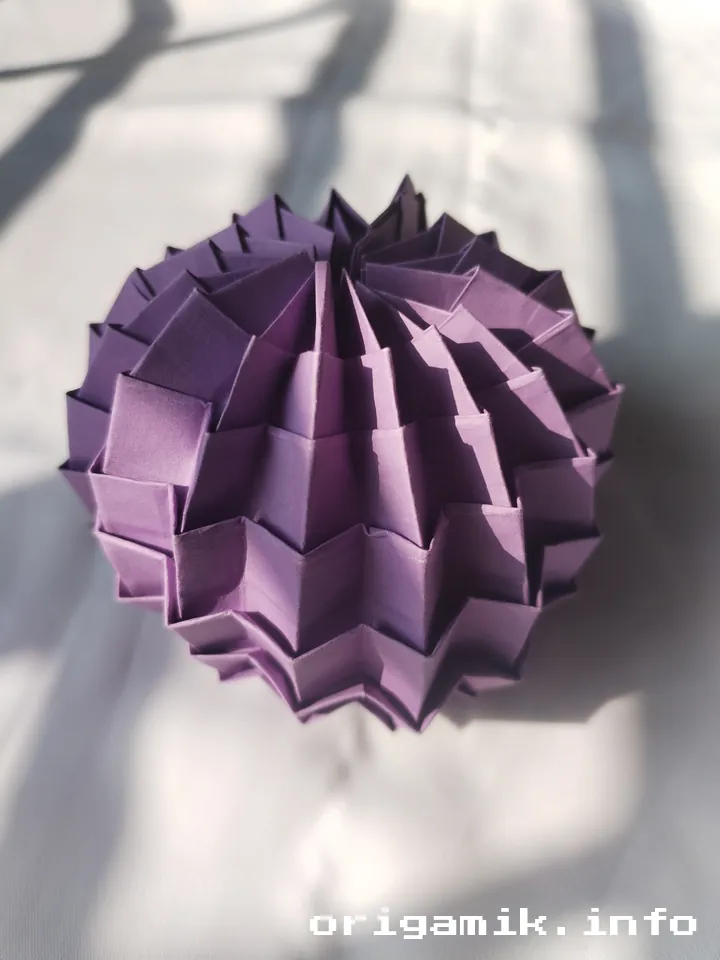
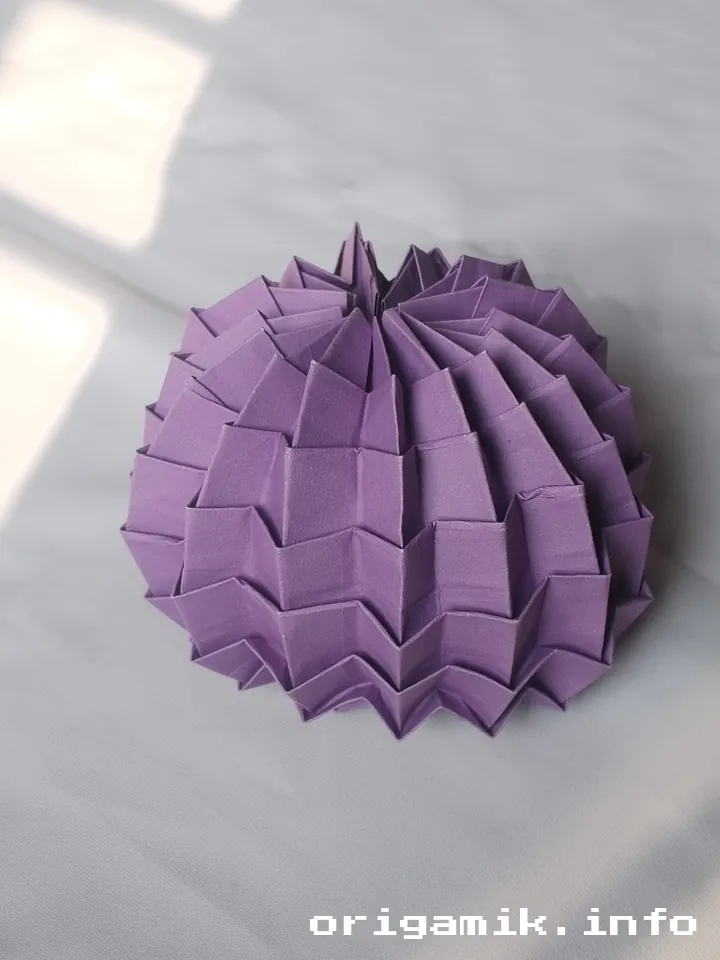
Gently mold the paper into a round shape to complete the process.
Tips for Success
- Choose the Right Paper: Thin but sturdy paper works best for intricate folds.
- Be Patient: Precision folding is key. Take your time with each step.
- Secure Properly: Use enough glue to hold the structure, but avoid excess that could damage the paper.
- Practice Makes Perfect: Don’t worry if your first attempt isn’t perfect. Each try improves your skill.
Common Mistakes and How to Avoid Them
- Uneven Folds: Use a ruler to guide straight folds.
- Paper Tearing: Avoid over-folding or using thick paper.
- Insecure Structure: Ensure folds are crisp and glue is applied evenly.
Similar Variations
Want to explore more? Here are a few variations to try:
- Origami Water Bomb: A similar folding technique with a more hollow structure.
- Mini Stress Balls: Use smaller paper sizes for a compact version.
- Patterned Paper Balls: Add personality with printed or colored paper.
FAQs
Can I use any type of paper?
Yes, but thin, high-quality paper is easier to fold and works best for intricate designs.
How long does it take to make one?
About 20-30 minutes, depending on your skill level.
Are these durable?
With careful handling and proper glue application, your stress ball can last a long time.
Conclusion
Making easy Origami stress balls is not only a fantastic stress-relieving activity but also a way to develop your crafting skills. With the step-by-step process provided, creating one is straightforward and rewarding. Try it today—I’d love to hear about your experience!