

Origami has always fascinated me. There’s something enchanting about transforming a simple square into a masterpiece. And today, we’ll create something truly special.
In this guide, I’ll walk you through how to make an easy Origami hinged square box. It’s a rewarding project that combines art and functionality. Let’s dive into this step-by-step adventure together.
Ready to begin? Let’s explore the magic of paper folding as we create a stunning Origami hinged square box.
What Is an Origami Hinged Square Box?
An Origami hinged square box is more than just a box. It’s a marvel of paper art that opens and closes seamlessly, with two connected compartments. This project blends precision, creativity, and practicality, making it perfect for storing trinkets or gifting. Whether you’re a beginner or a seasoned folder, this project promises to captivate and delight.
Materials Needed
To make your Origami hinged square box, gather the following:
| Material | Description | Notes |
|---|---|---|
| Square paper | 9” x 9” | Choose sturdy paper for best results. |
| Flat surface | Smooth and clean | Ensures accurate folds. |
| Patience and creativity | Your secret ingredients | Essential for crafting perfection. |
Tips for Success
- Choose the right paper: Sturdy, colorful paper enhances durability and aesthetics.
- Fold accurately: Precision ensures the box functions properly.
- Take your time: Enjoy the process—it’s as rewarding as the result.
Step-by-Step Instructions: How to Make a Hinged Square Box
Step 1: Start with a square

Take a 9” x 9” sheet of paper.
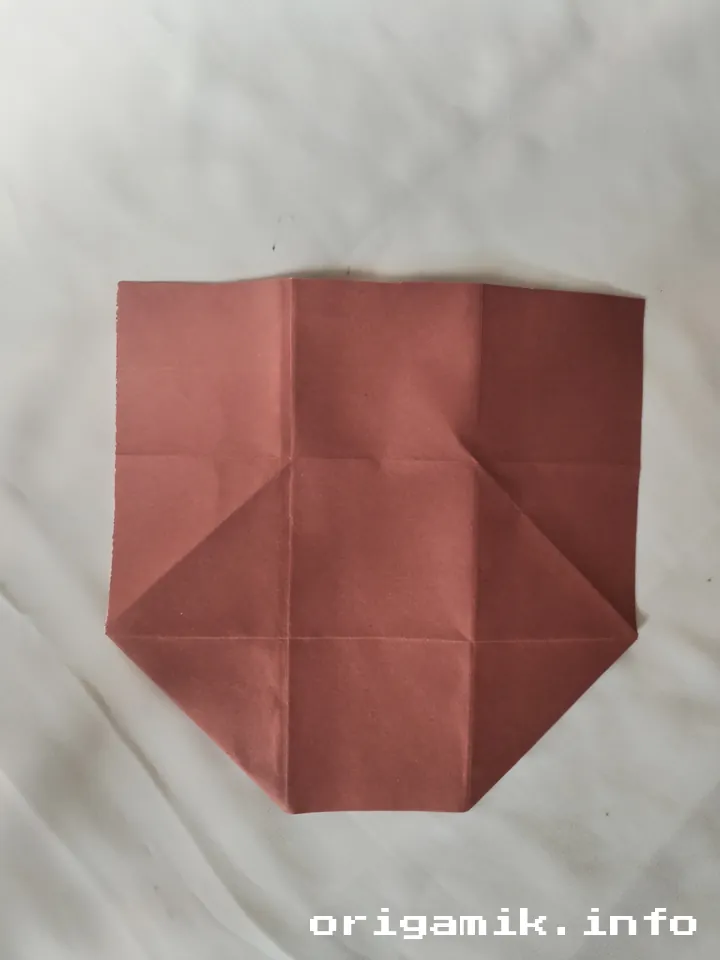
Step 2: Divide into thirds

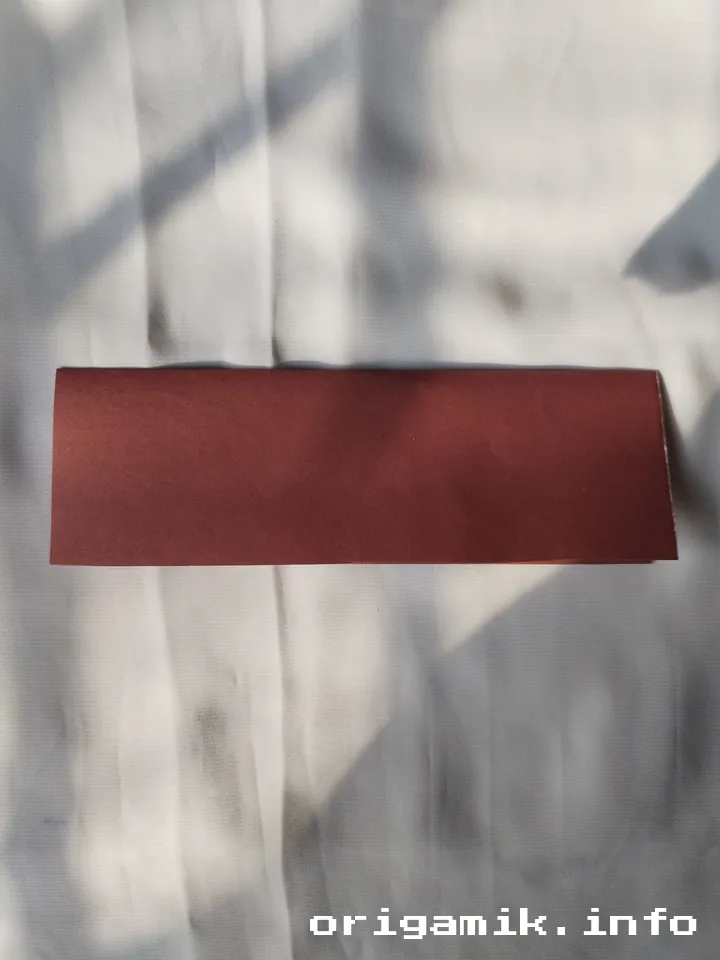

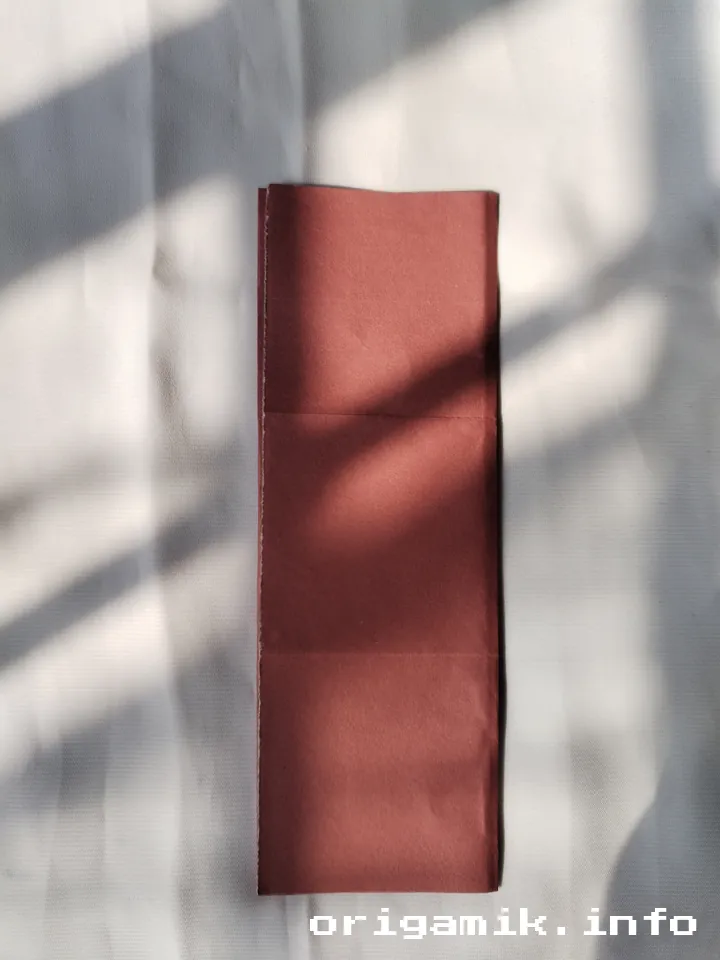

Fold the two sides into thirds, creating nine equal cells.
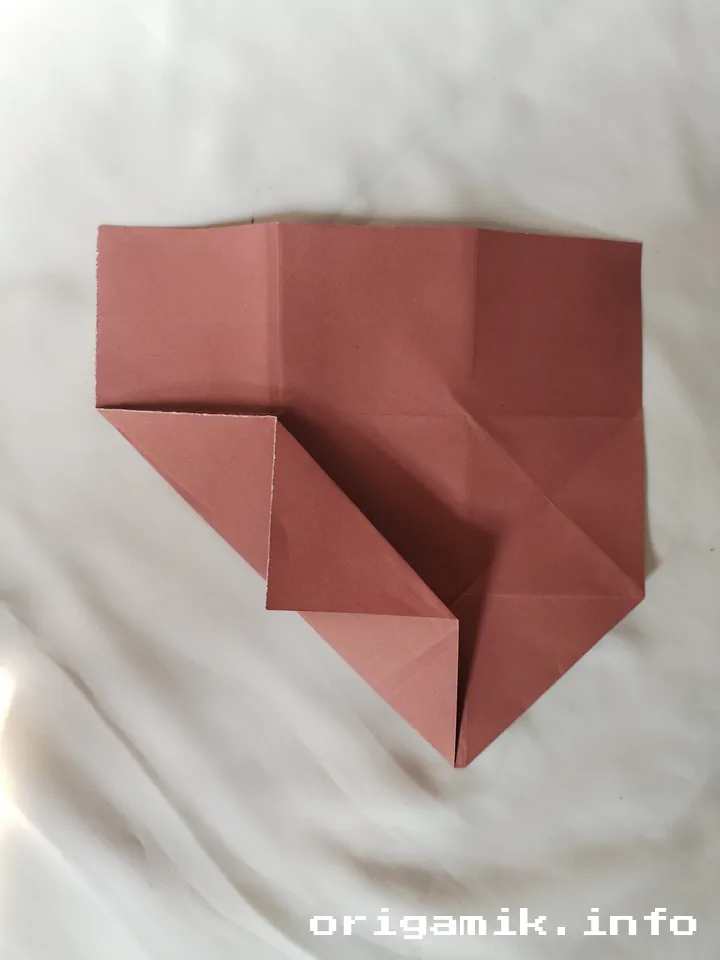
Step 3: Corner folds
Fold one corner of a cell, then fold the corner of the cell directly above it.
Step 4: Repeat on the right
Fold the cells on the right side in the same way.
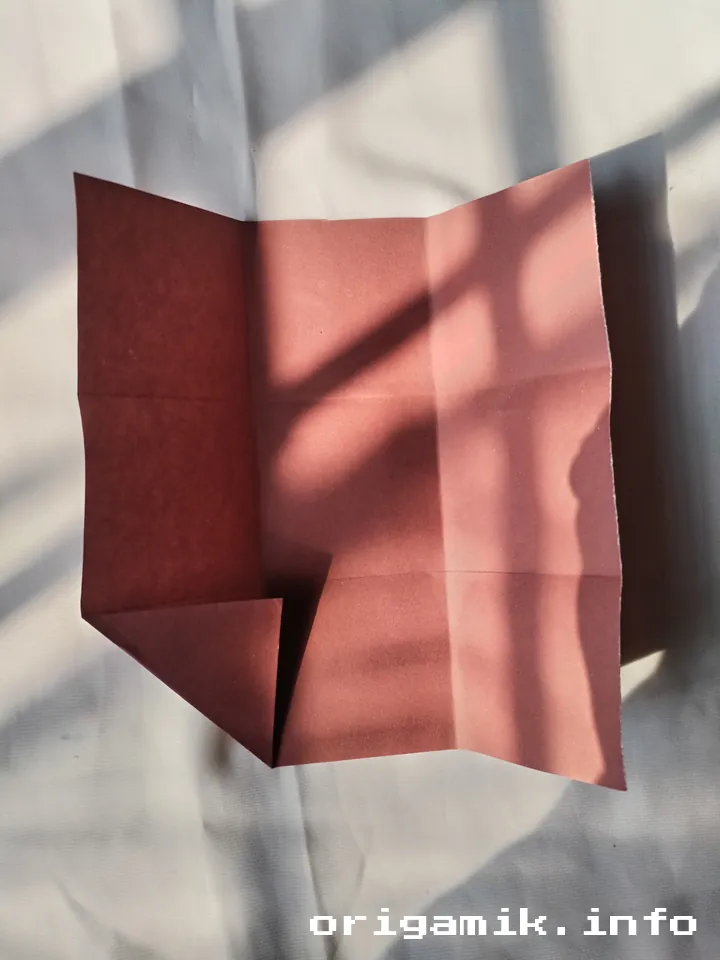
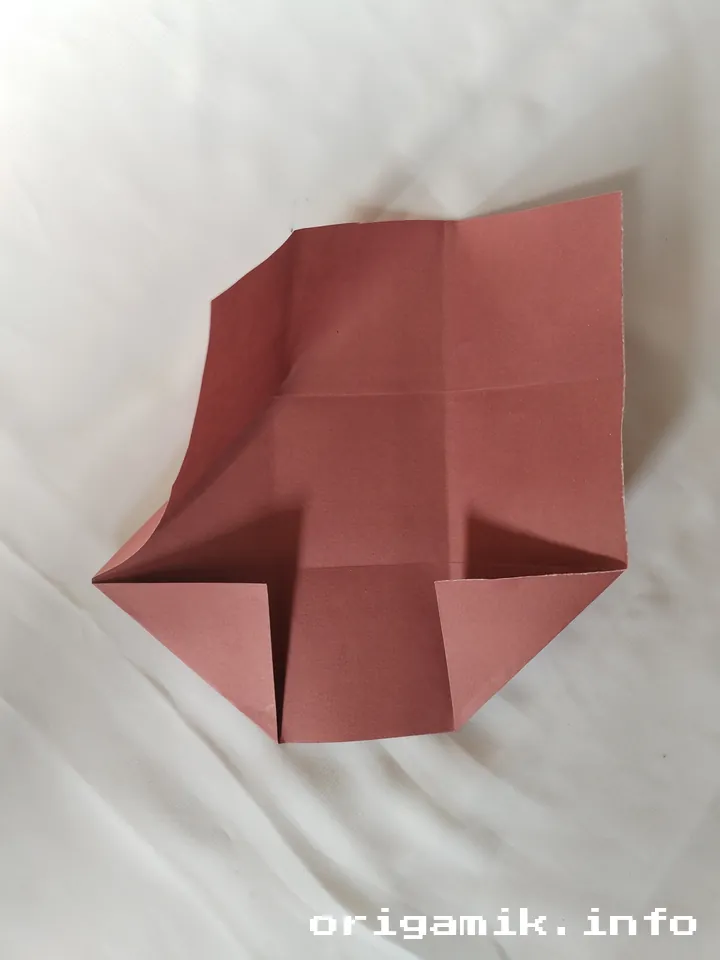
Step 5: Flip and fold


Turn the paper upside down. Fold the corners on both sides as shown.
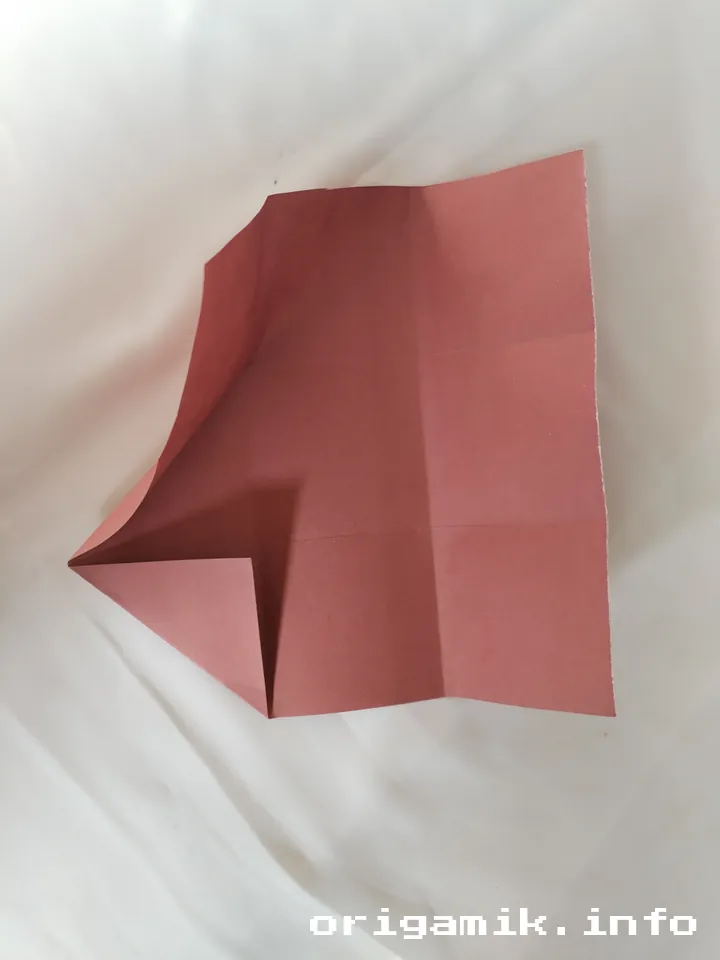
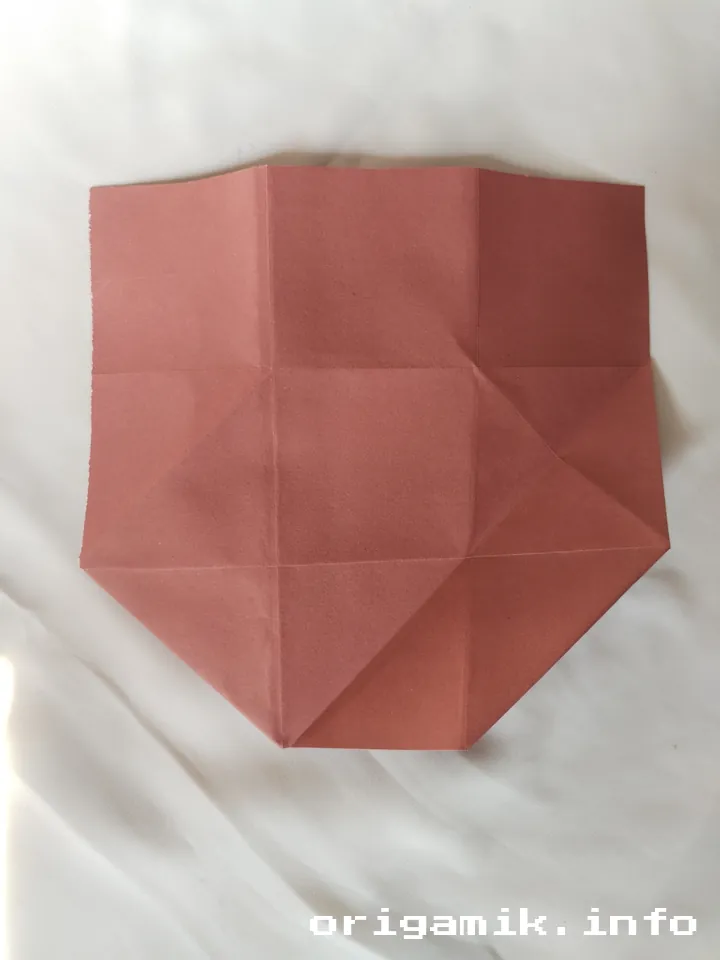
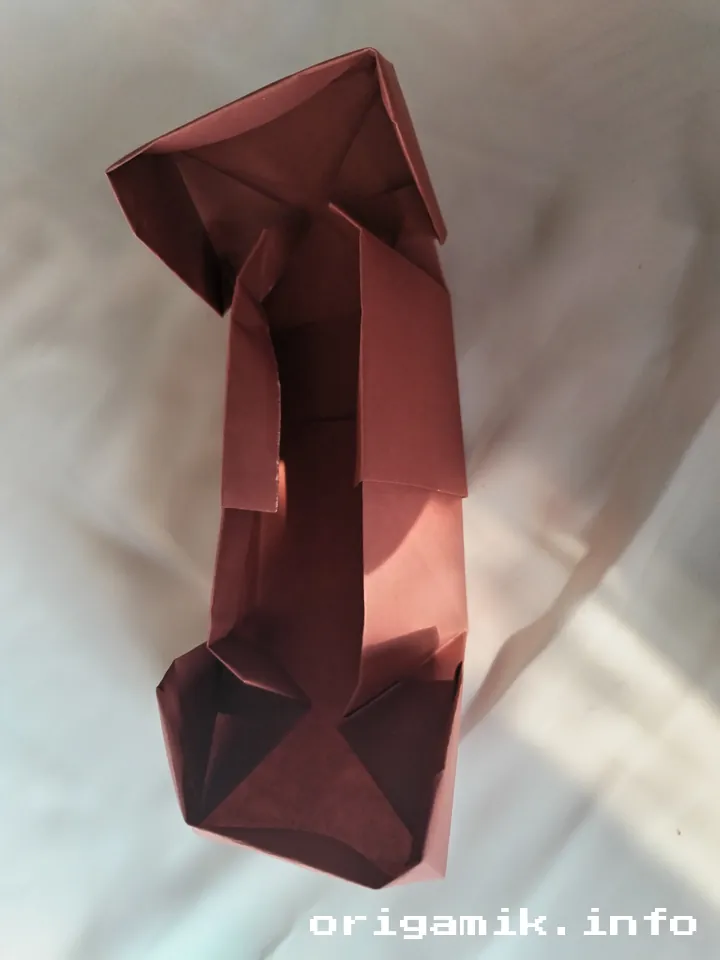
Step 6: Straighten and shape
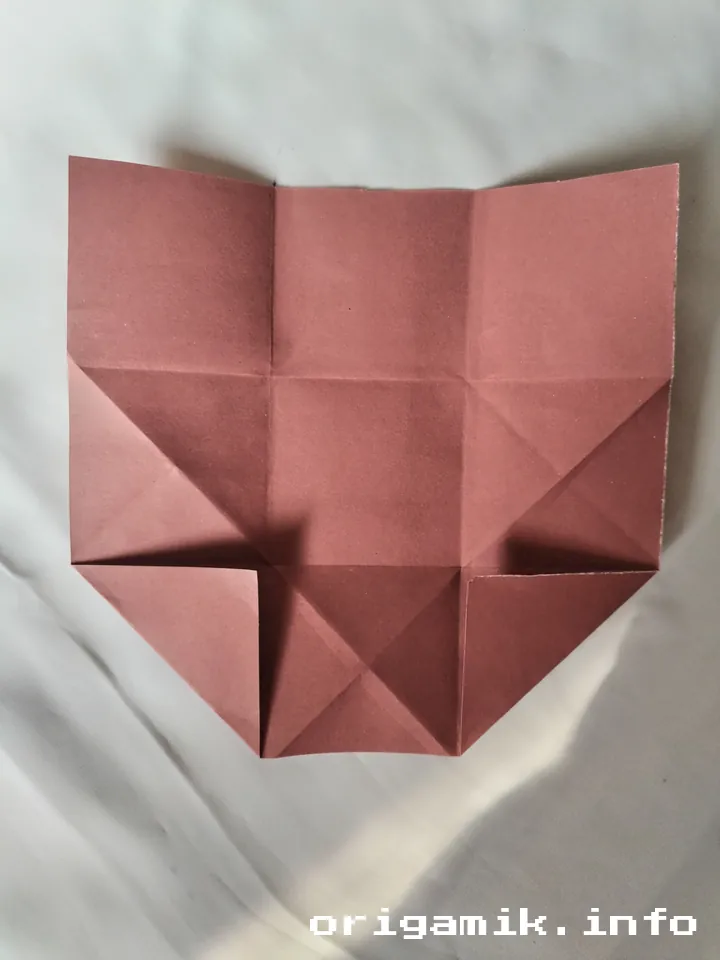
Flatten the paper. Fold the top and sides neatly.
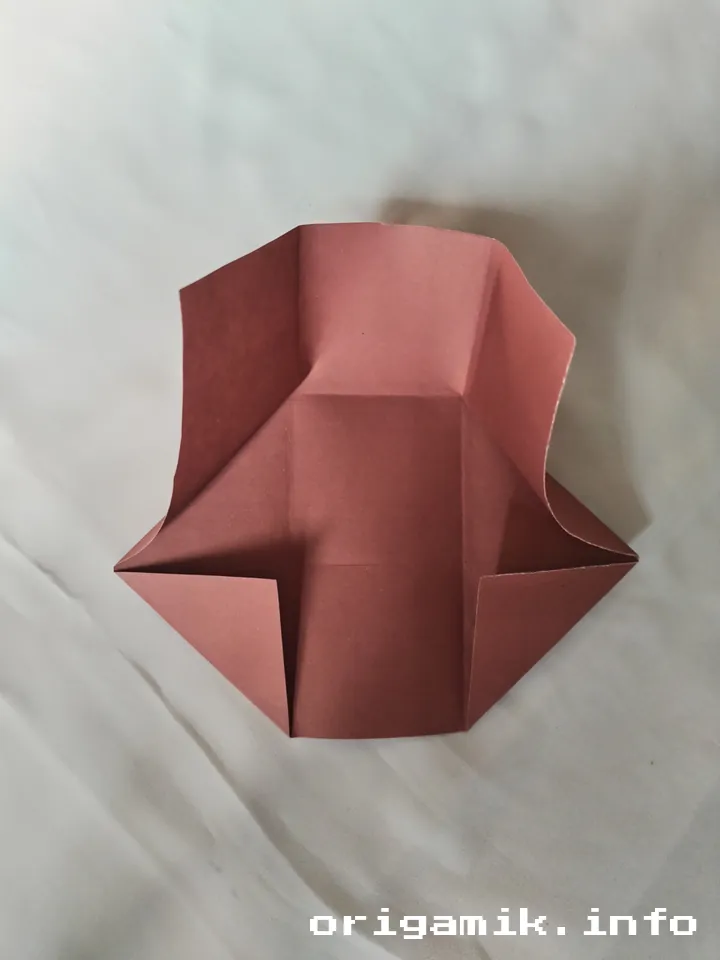
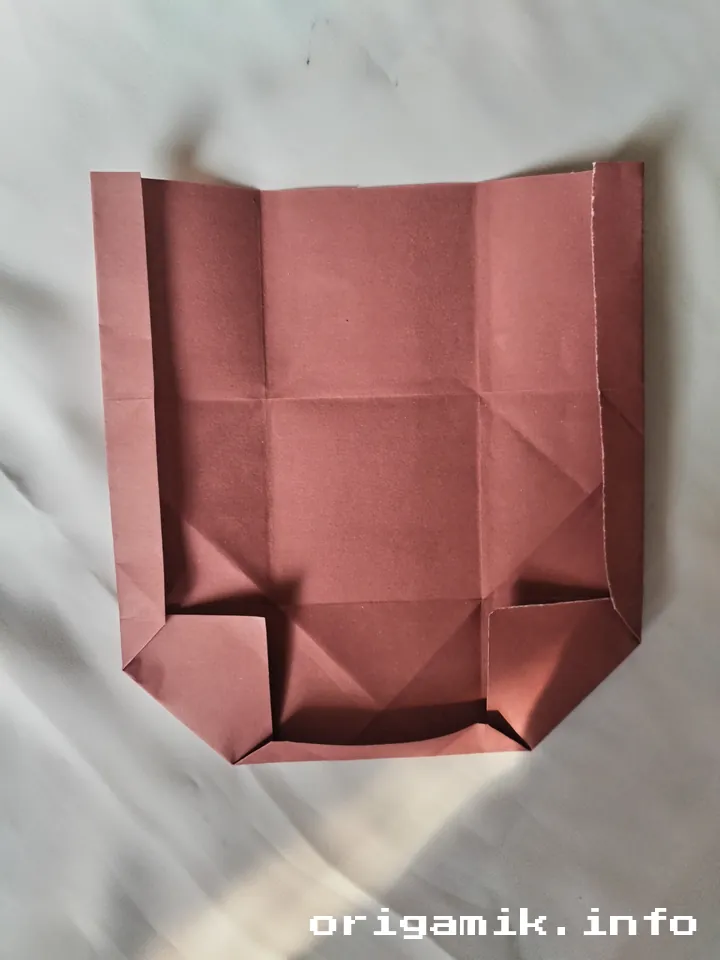
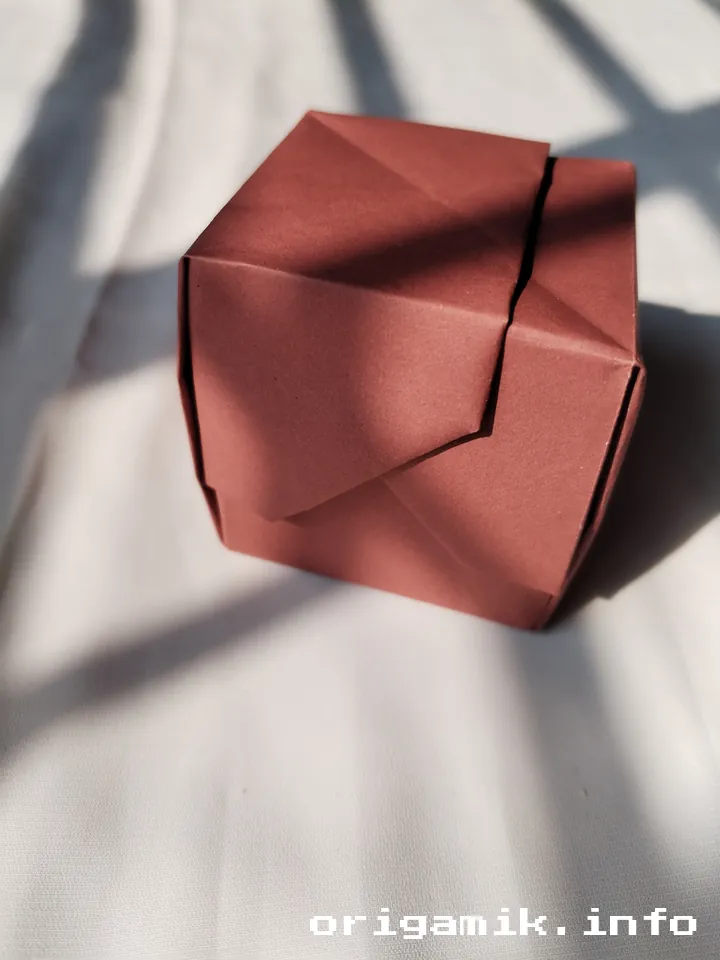
Step 7: Form the box


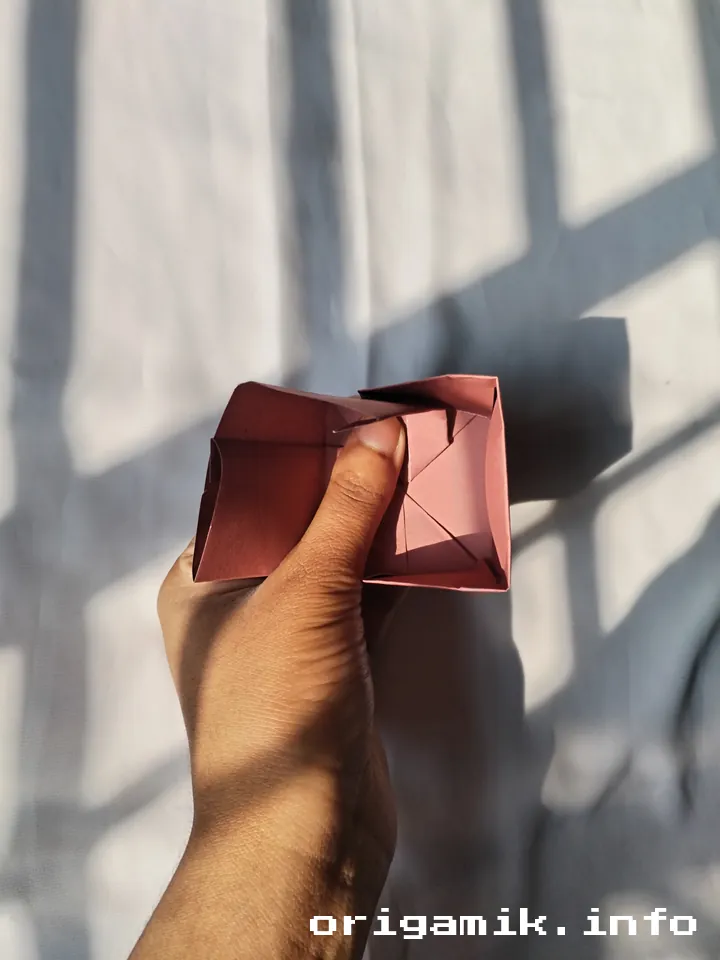

Shape the paper into a box as per the diagram.
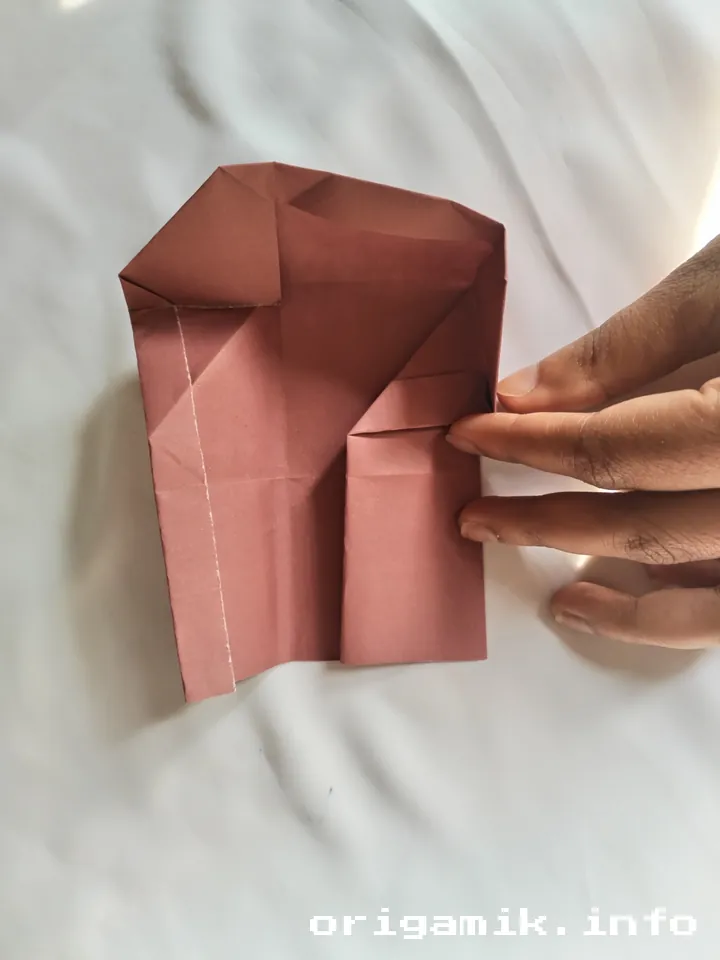
Step 8: Make another box

Repeat the process to create a second box.
Step 9: Join them together

Connect the two boxes to form a hinged design.
Step 10: Admire your creation
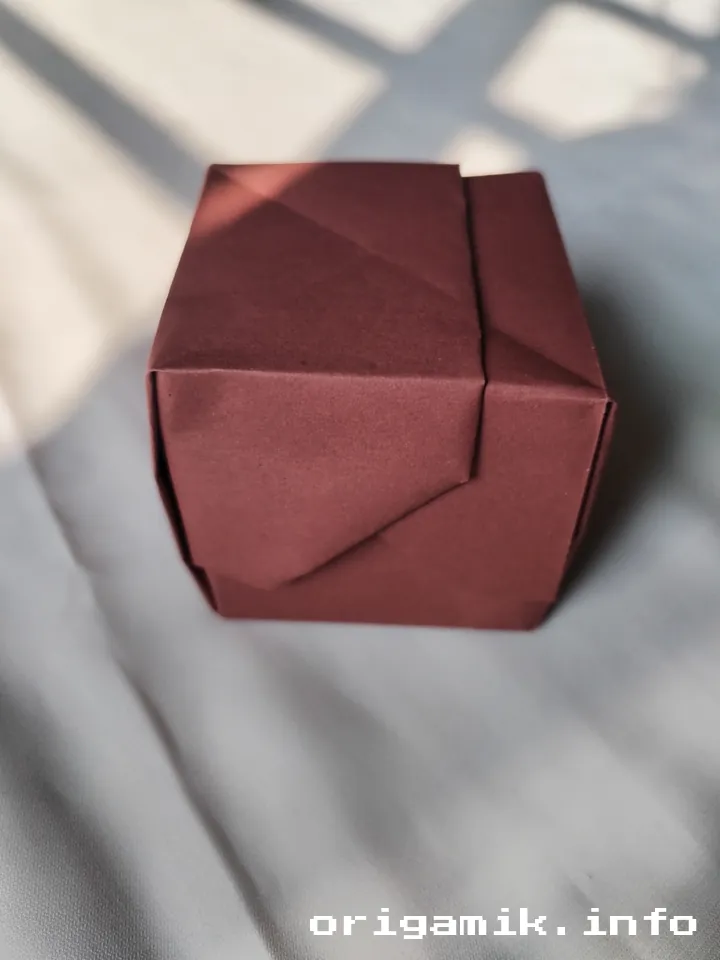
Your paper hinged square box is now complete!
Common Mistakes and How to Avoid Them
- Imprecise folds: Use a ruler or marked guides to ensure accuracy.
- Weak paper: Thin or flimsy paper may tear. Opt for origami or thicker craft paper.
- Skipping steps: Follow the process carefully to achieve the hinged effect.
Similar Variations You Can Try
Want to explore more? Here are some fun variations:
- Origami Sliding Lid Box: A single-compartment box with a sliding cover.
- Double-Layered Hinged Box: Adds an extra layer for more storage.
- Decorative Boxes: Use patterned or metallic paper for unique designs.
FAQs
Q: Can I use any paper size? A: For best results, stick to 9” x 9” paper. Adjusting the size may affect the proportions.
Q: Is this suitable for kids? A: Absolutely! With supervision, kids can enjoy this creative project.
Q: How long does it take? A: On average, it takes about 30 minutes for beginners.
Conclusion
Creating an Origami hinged square box is more than folding paper. It’s about patience, precision, and the joy of crafting something beautiful. Whether you’re storing keepsakes or showcasing your skills, this project is a delightful journey.
So, grab your paper, follow the hinged square box step-by-step instructions, and let your creativity shine. Happy folding!