

Ever wondered how to add a touch of creativity to your craft projects? Making an Origami Button is an easy and rewarding journey. It’s a fun project that lets you transform a simple piece of paper into something unique.
This guide is perfect for both beginners and experienced origami enthusiasts. I’ll walk you through clear, step-by-step instructions that anyone can follow. All you need is paper and a little patience.
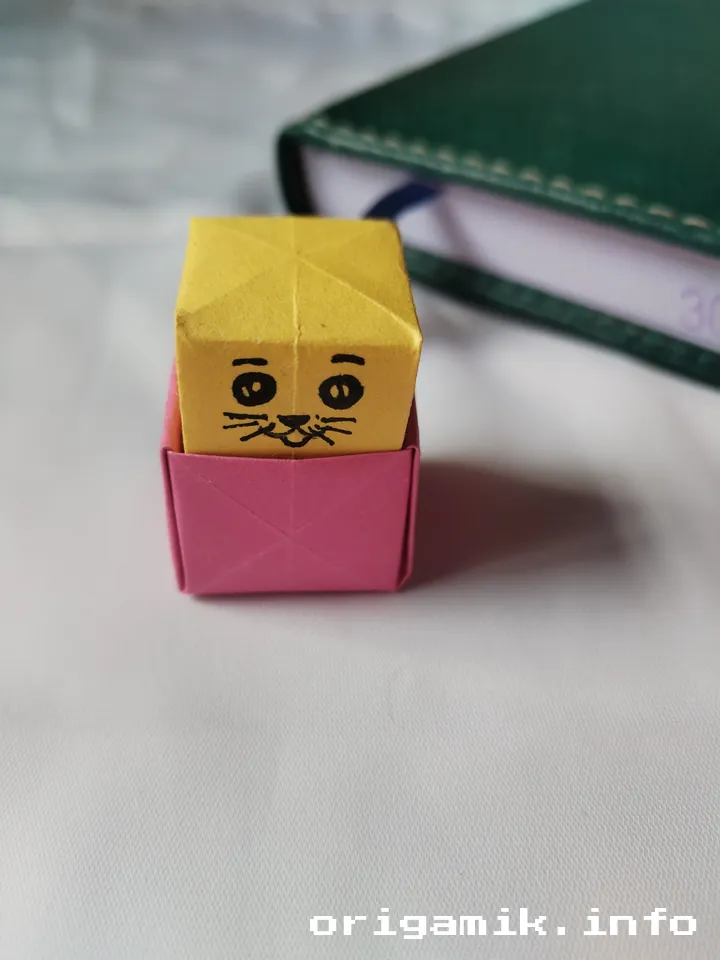
The best part? You’ll end up with a charming Origami Button that’s both decorative and functional. Let’s get started on this exciting paper-folding adventure!
What Is an Origami Button?
An Origami Button is a compact and creative piece made entirely from folded paper. It’s a versatile craft that can be used for decoration, as a unique gift, or even in DIY projects. The combination of simplicity and elegance makes this project truly enchanting.
Why Make an Origami Button?
- Creative Outlet: Folding paper into a button lets you explore your artistic side.
- Eco-Friendly: No plastic or other materials—just paper!
- Functional: Use it as a decorative item or a playful accessory.
Materials Needed
Essential Supplies
| Material | Purpose | Details |
|---|---|---|
| Square paper (9” × 9”) | Base material for the button | Ideal for larger buttons |
| Square paper (8” × 8”) | Base material for smaller buttons | Great for compact designs |
Origami Button Step-by-Step Instructions
Follow these paper button instructions carefully. It’s a journey that rewards precision and patience.
Step 1: Take square shape paper
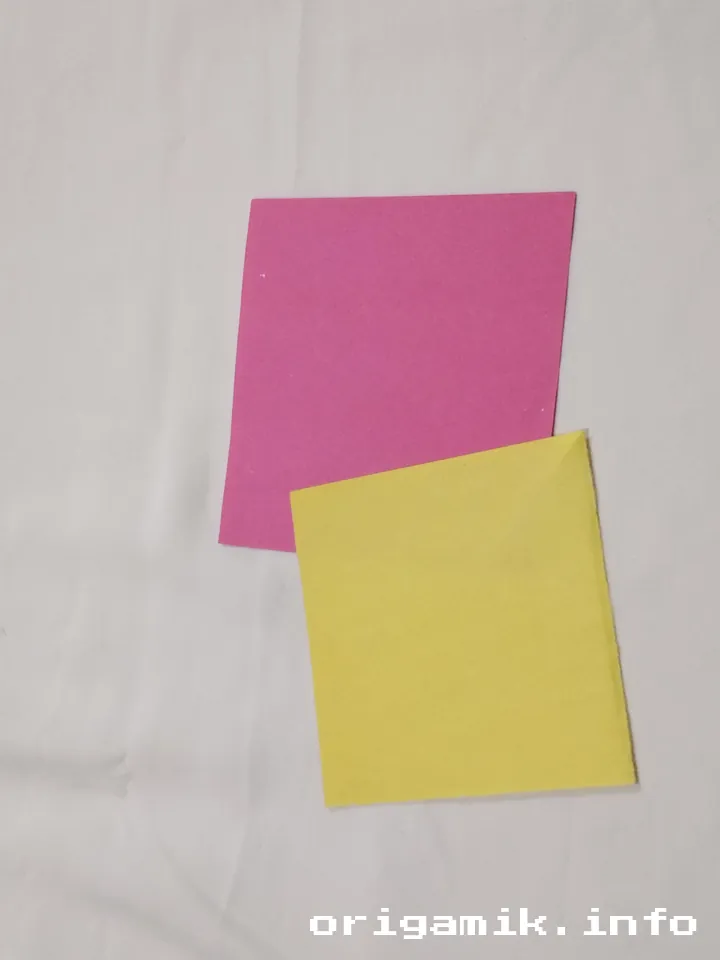
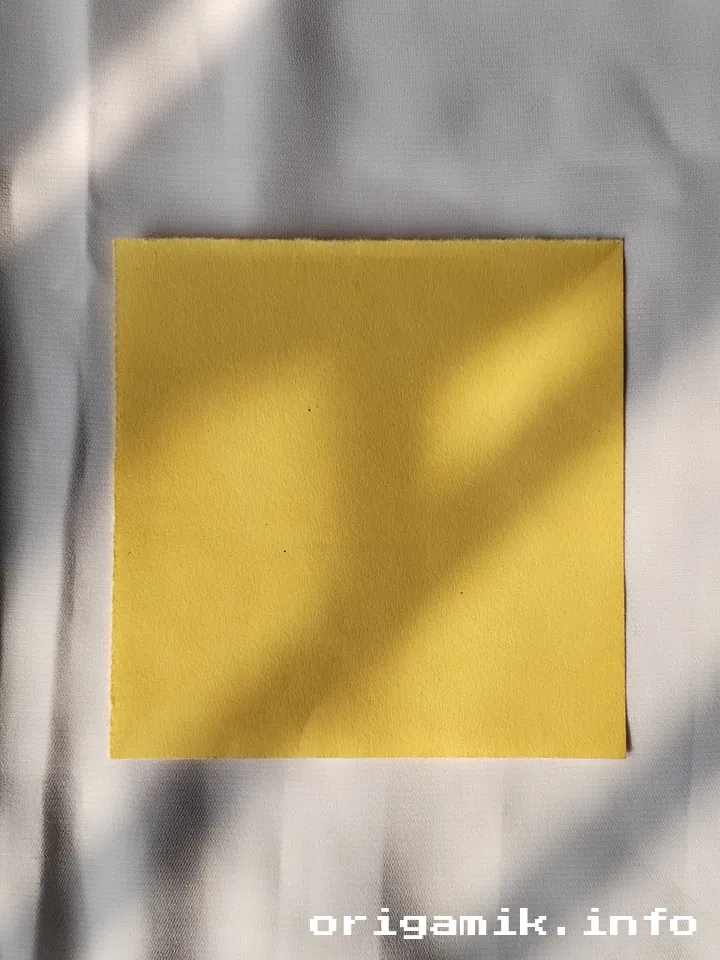
Start by choosing a square piece of paper. The size can be either 9” × 9” for a larger button or 8” × 8” for a smaller one.
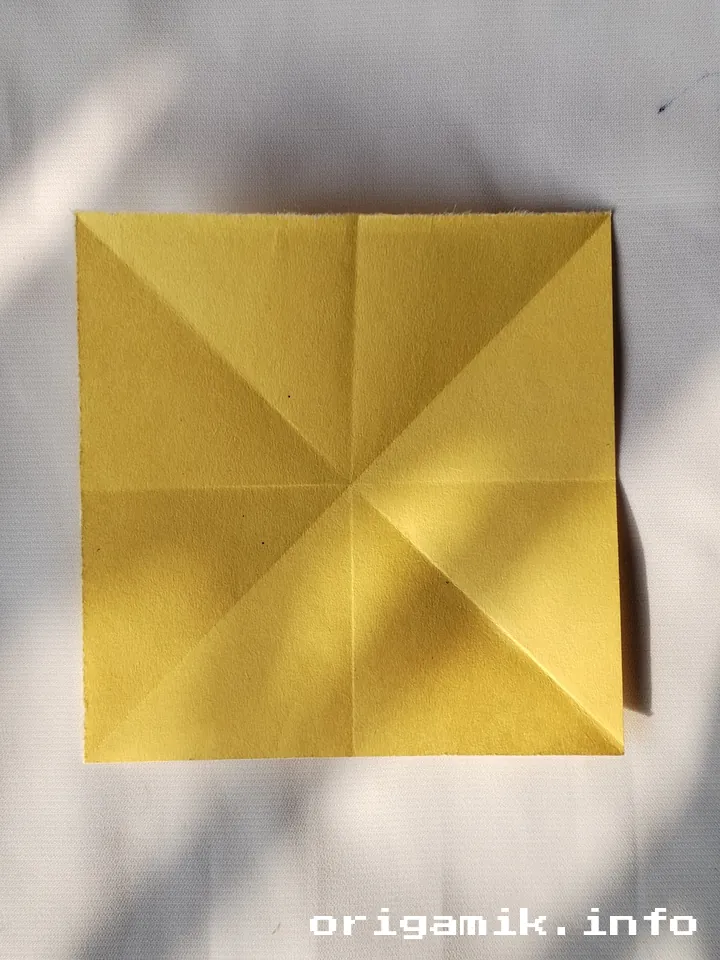
Step 2: Fold it vertically and horizontally and unfold
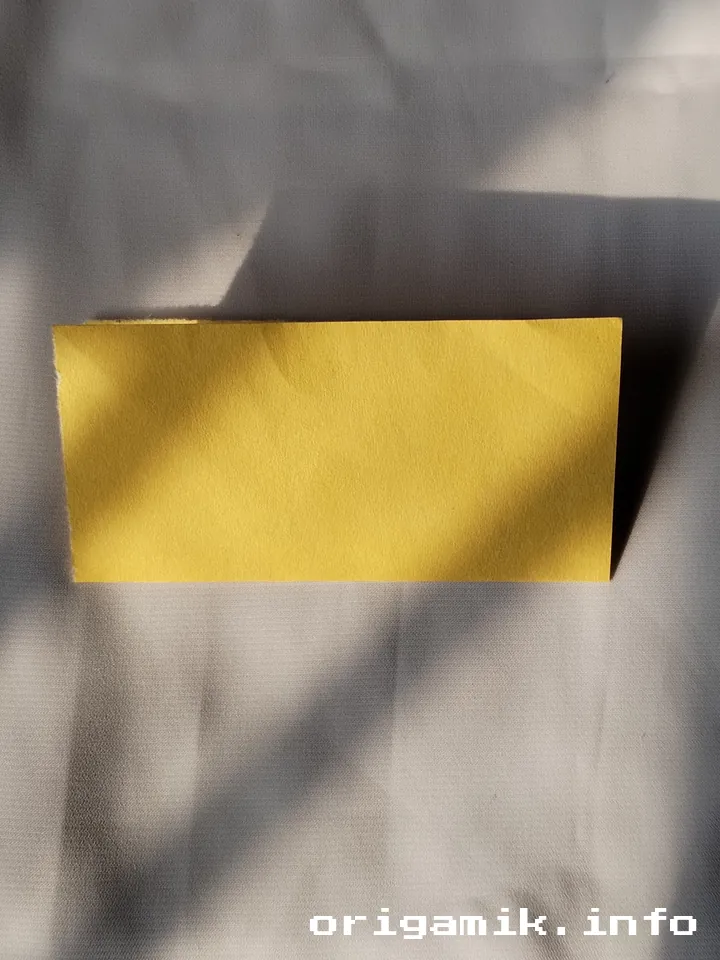
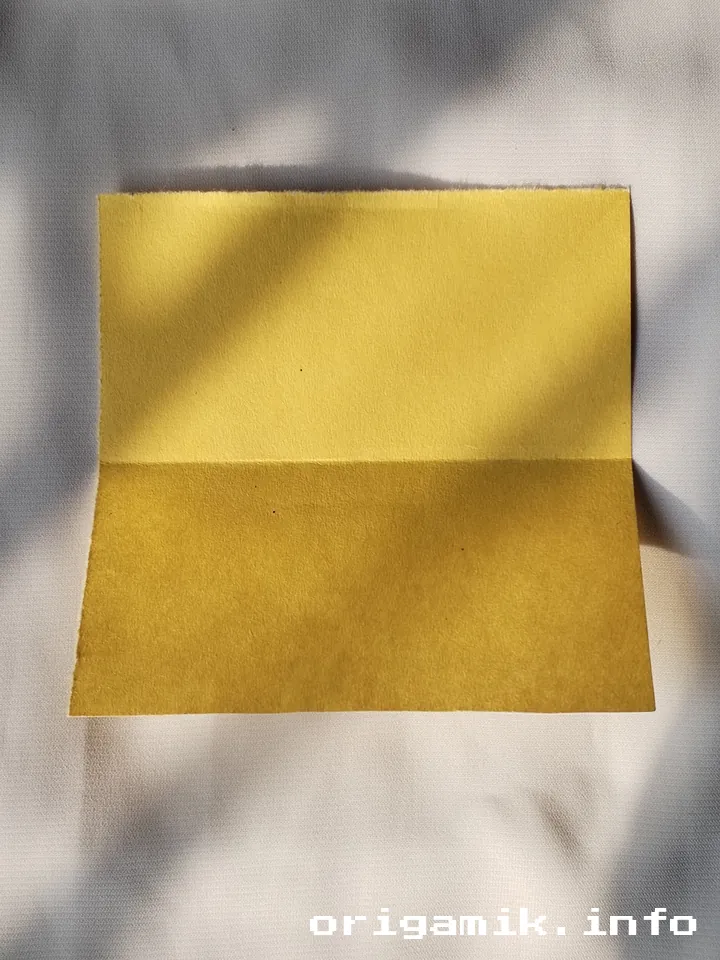
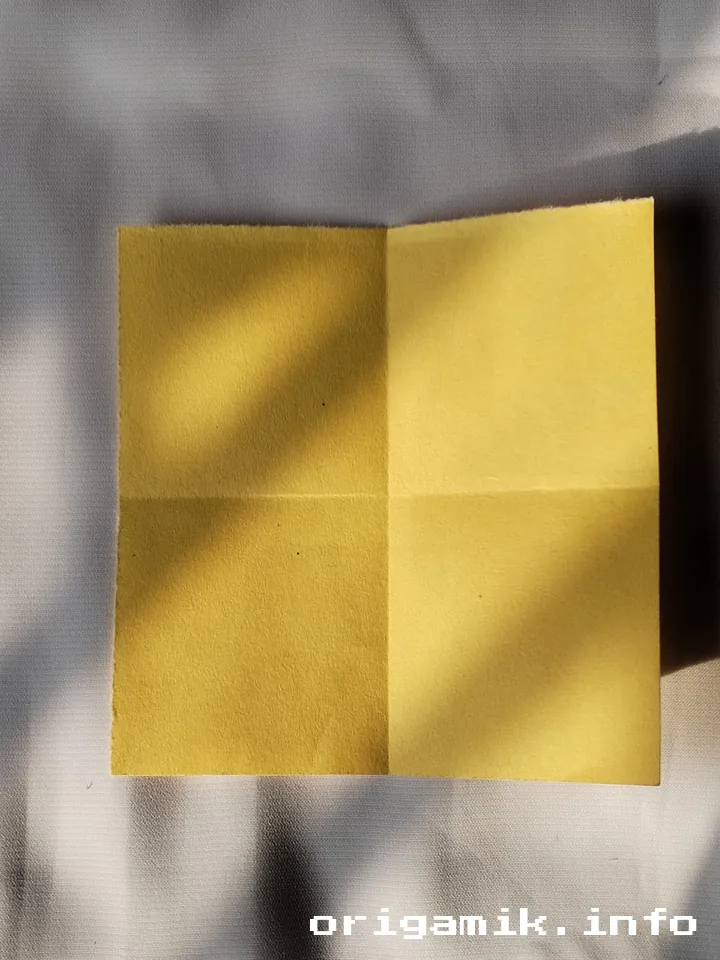
Make a vertical fold by bringing the top edge to the bottom edge. Unfold it and then repeat the same fold horizontally by bringing the left edge to the right. Unfold both folds.
Step 3: Fold the corners and unfold them
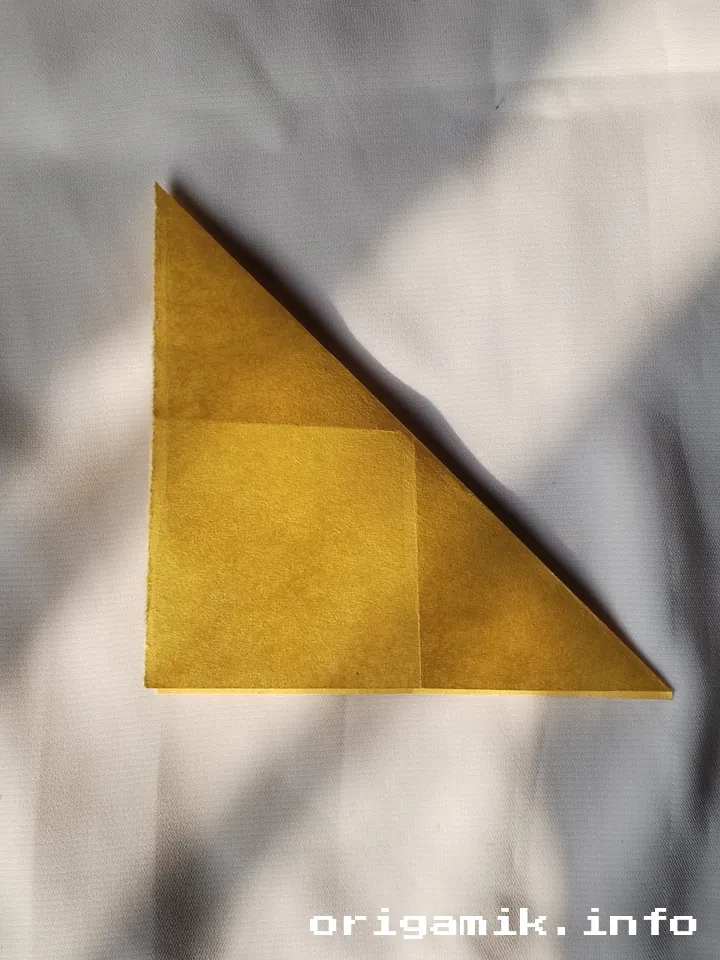
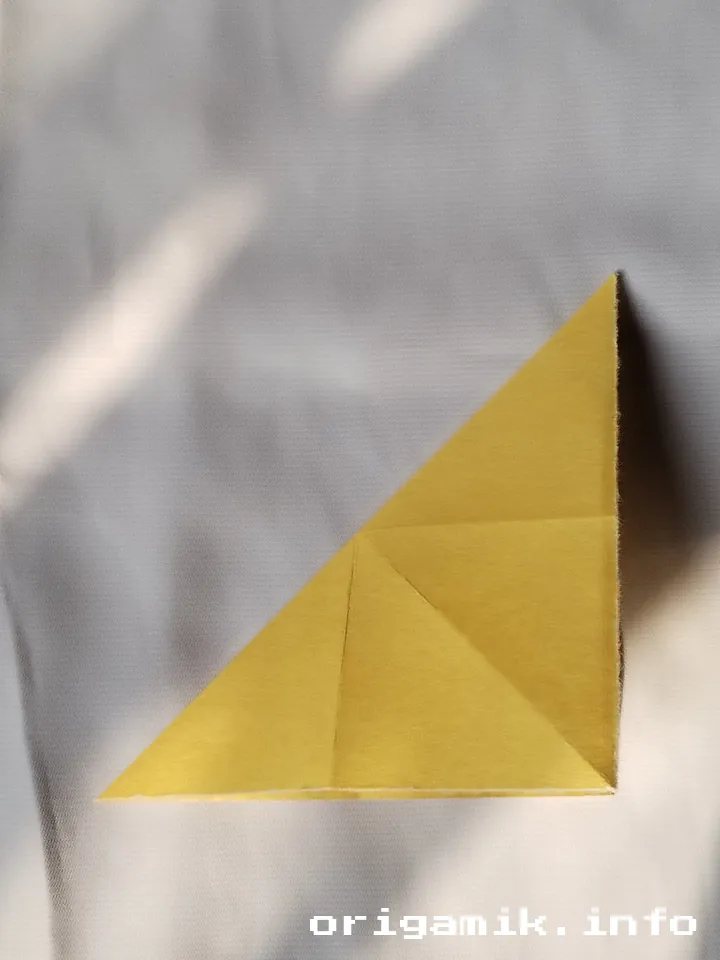
Fold each corner of the square towards the center point. Once all four corners are folded in, unfold them to reveal creases that will guide the next steps.
Step 4: Bring the four corner paper to the middle point and fold it
Fold each of the four corners back to the center again, ensuring the paper lines up evenly. Press down the folds firmly.
Step 5: Fold horizontally and vertically into three equal parts
Now, fold the paper both horizontally and vertically, creating three equal sections in each direction. These folds will help shape the button’s structure.
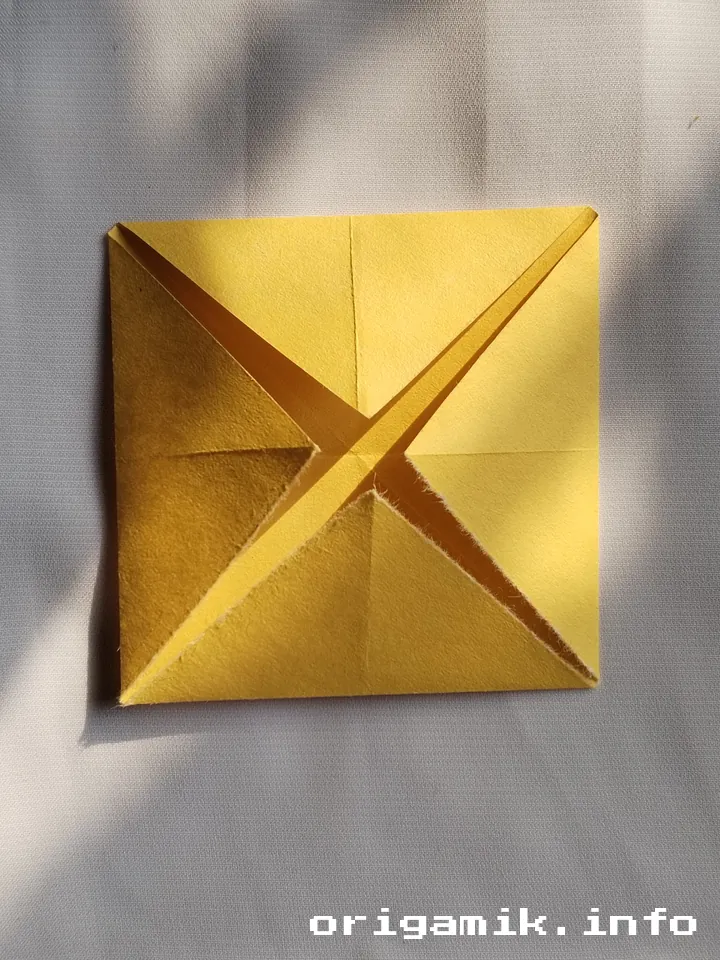
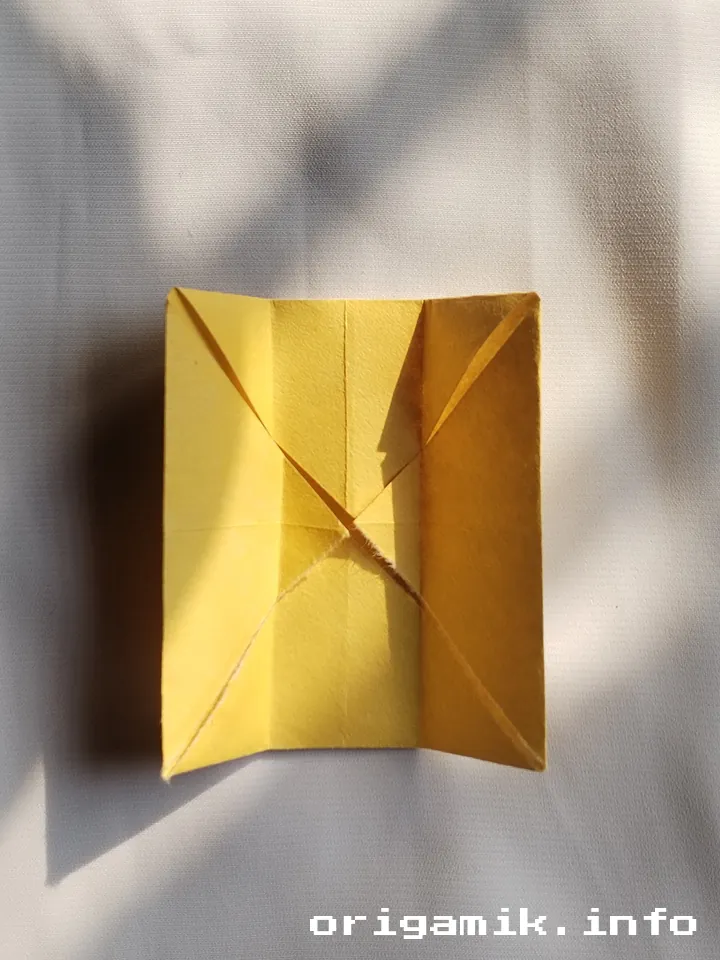
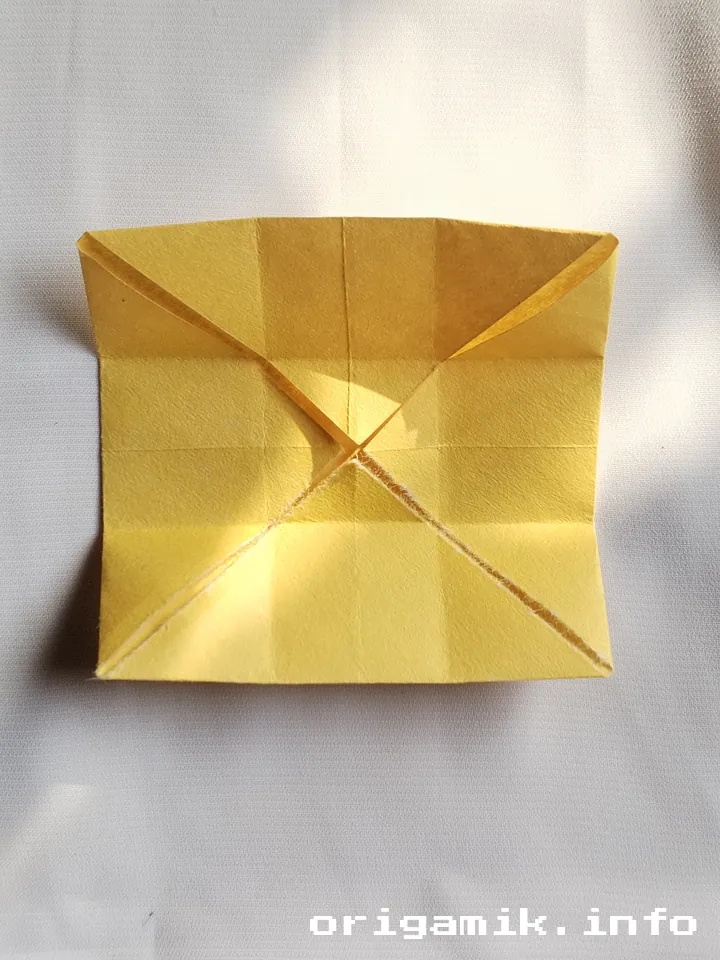
Step 6: Now open the two corners
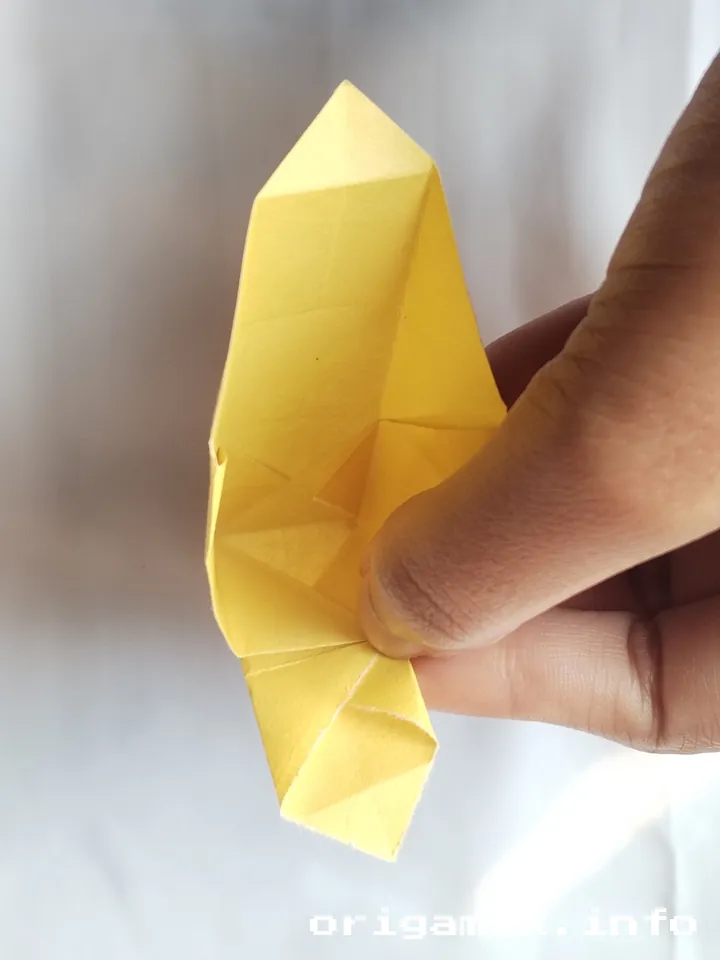

Gently open the two opposite corners that you folded earlier. This will create a more defined structure for your origami button.
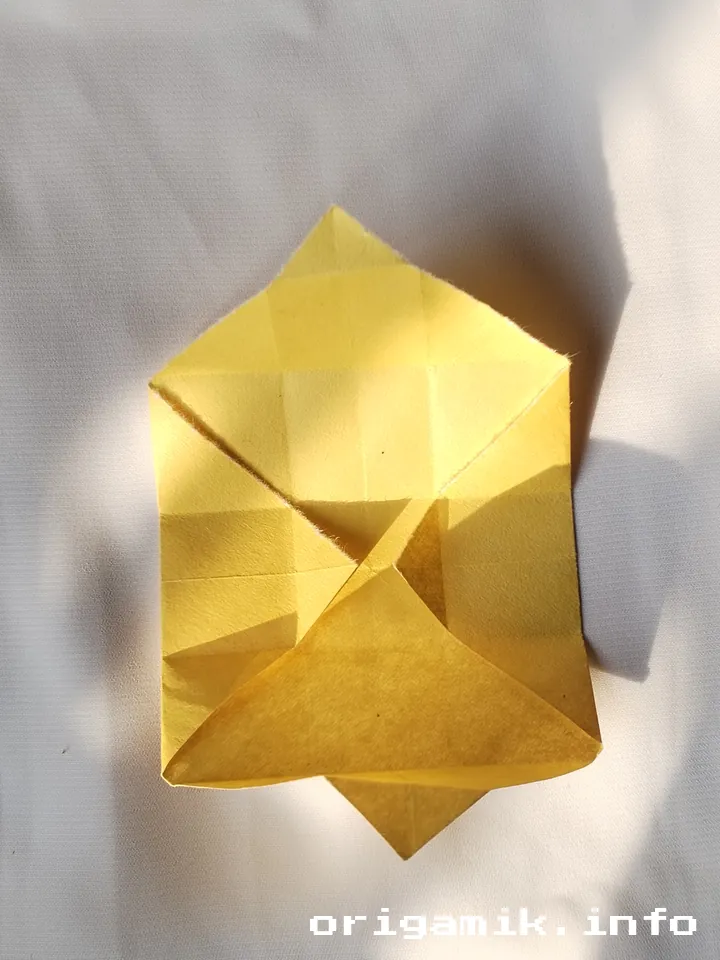
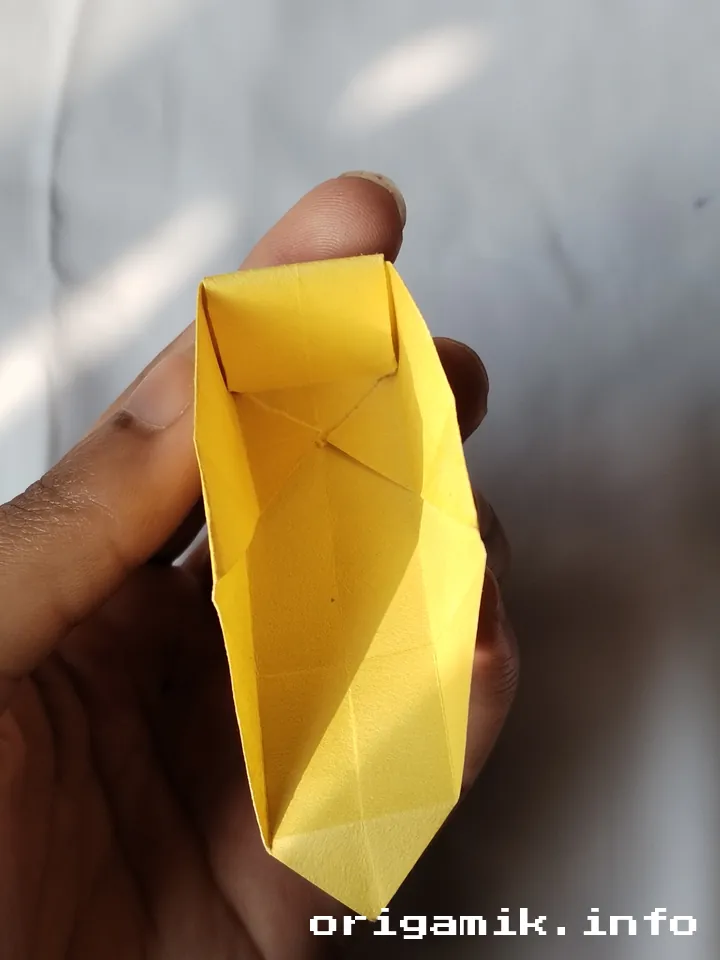
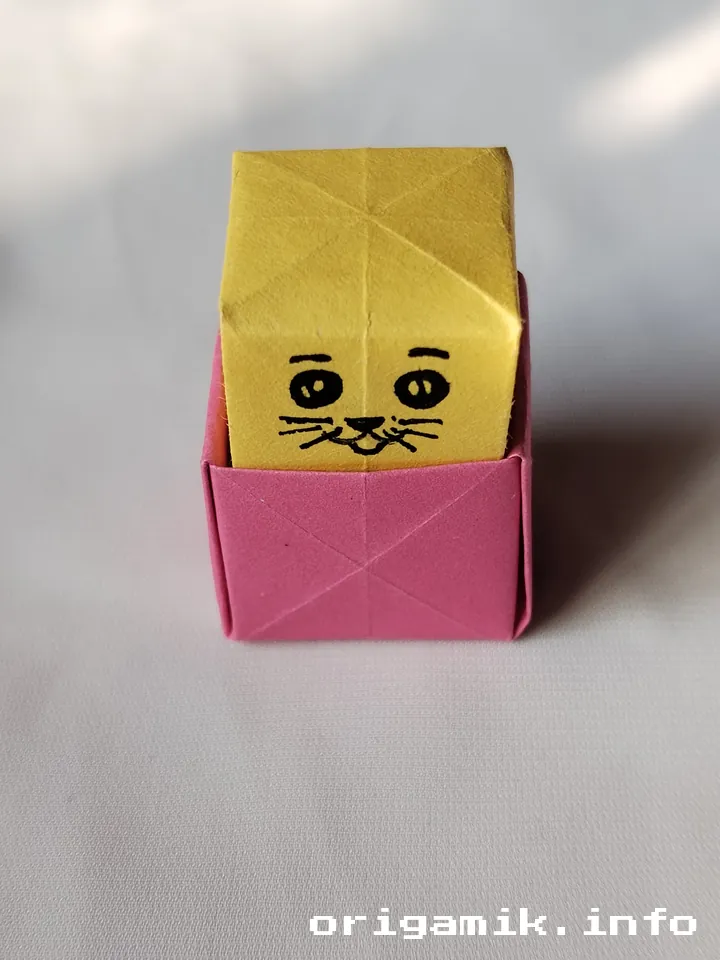
Step 7: Make a box by folding it as shown
Next, follow the creases and fold the paper to form a box shape. This box will serve as the core structure of your button.
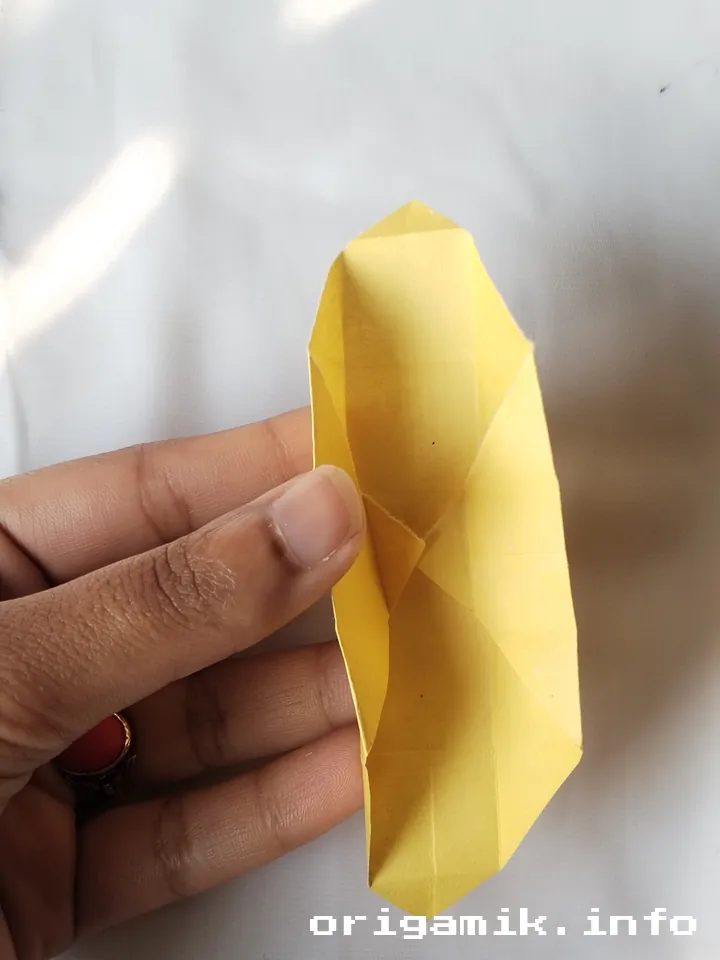
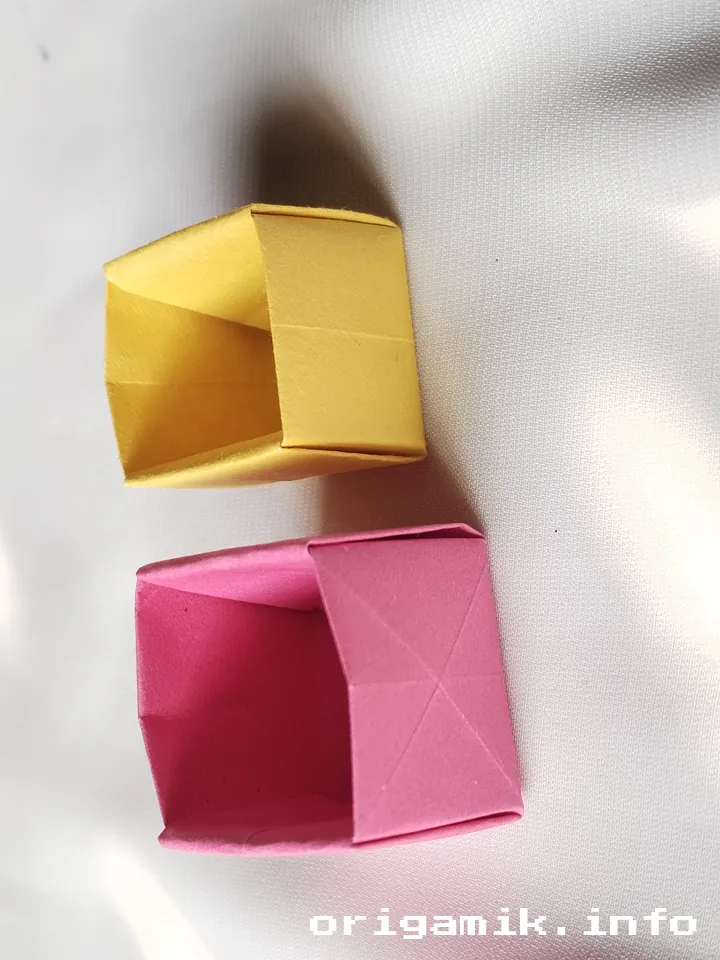
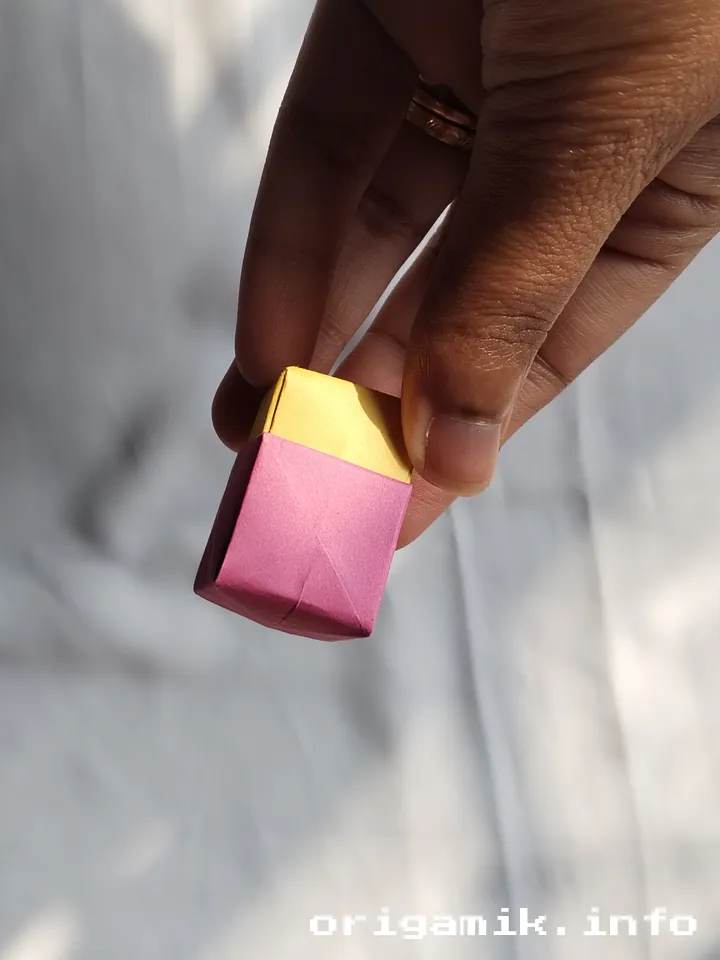
Step 8: Make another box in the same way with the big paper
Repeat the folding process with another square piece of paper (preferably the larger 9” × 9” paper) to create a second box. This will add dimension to your button.
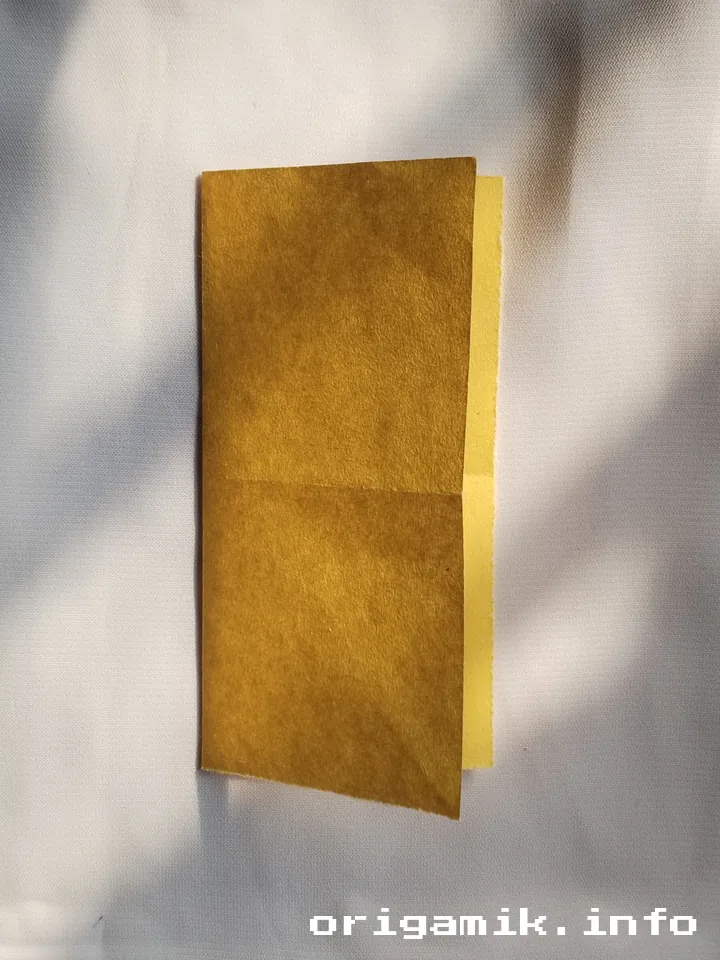
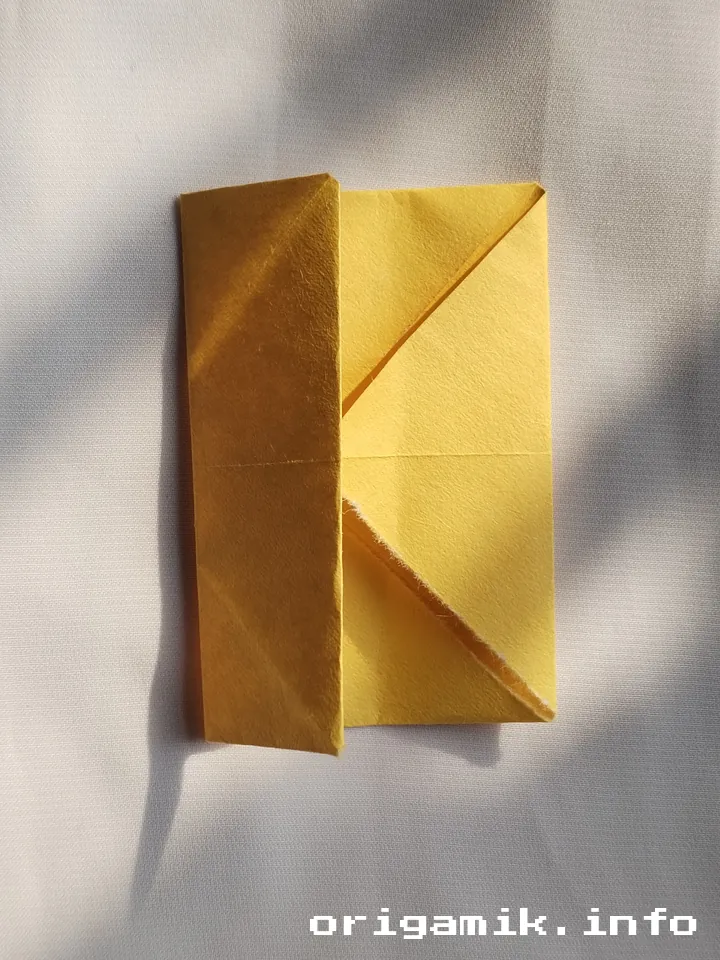
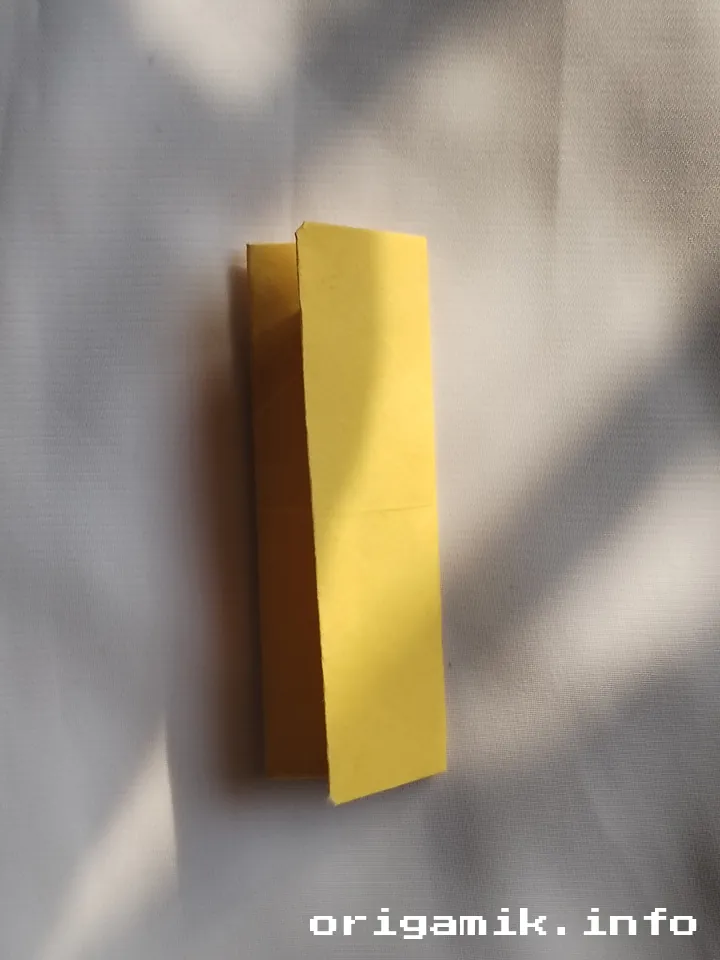
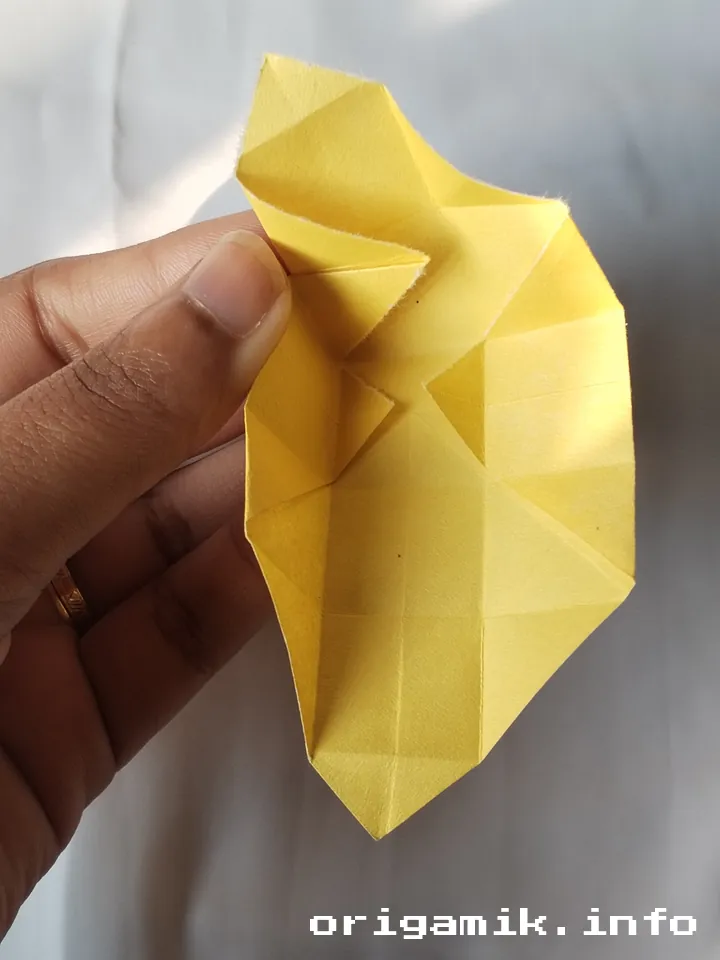
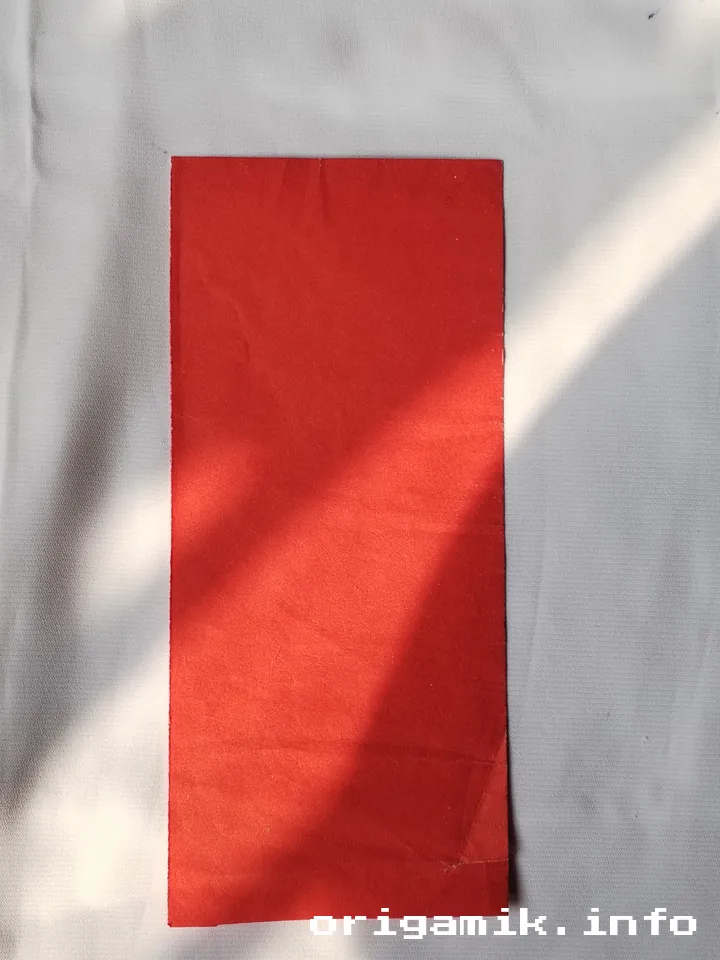
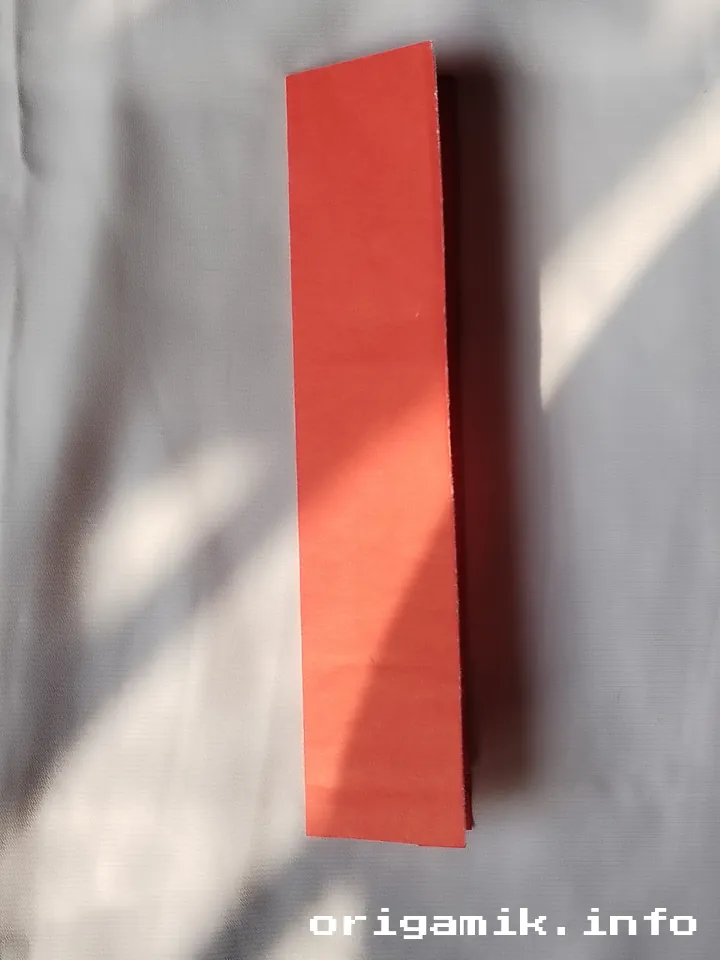
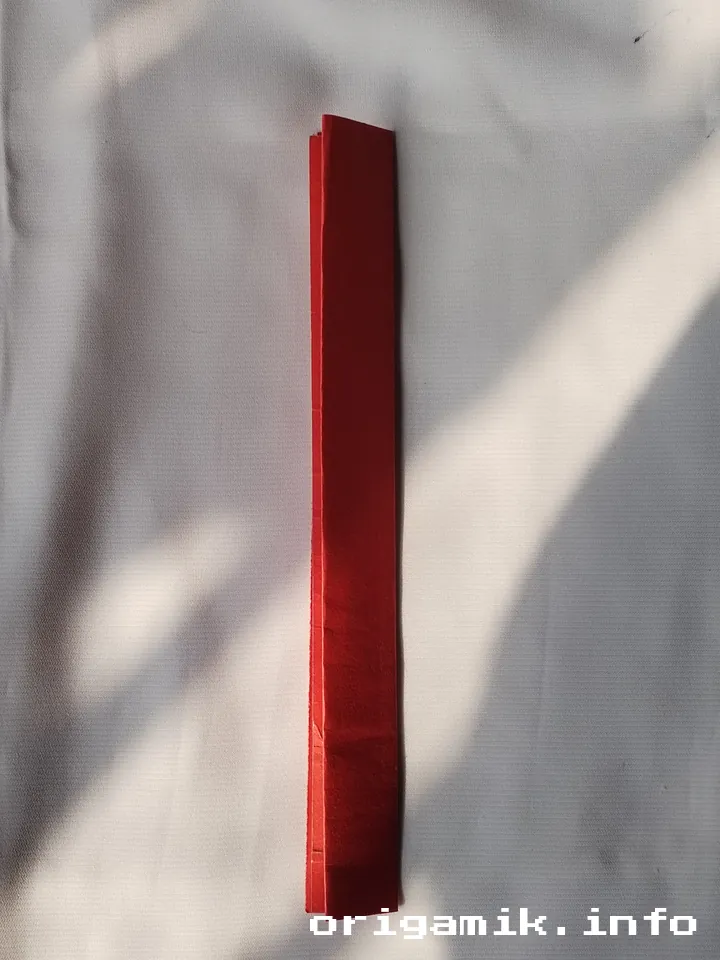
Step 9: Take a paper and fold it horizontally
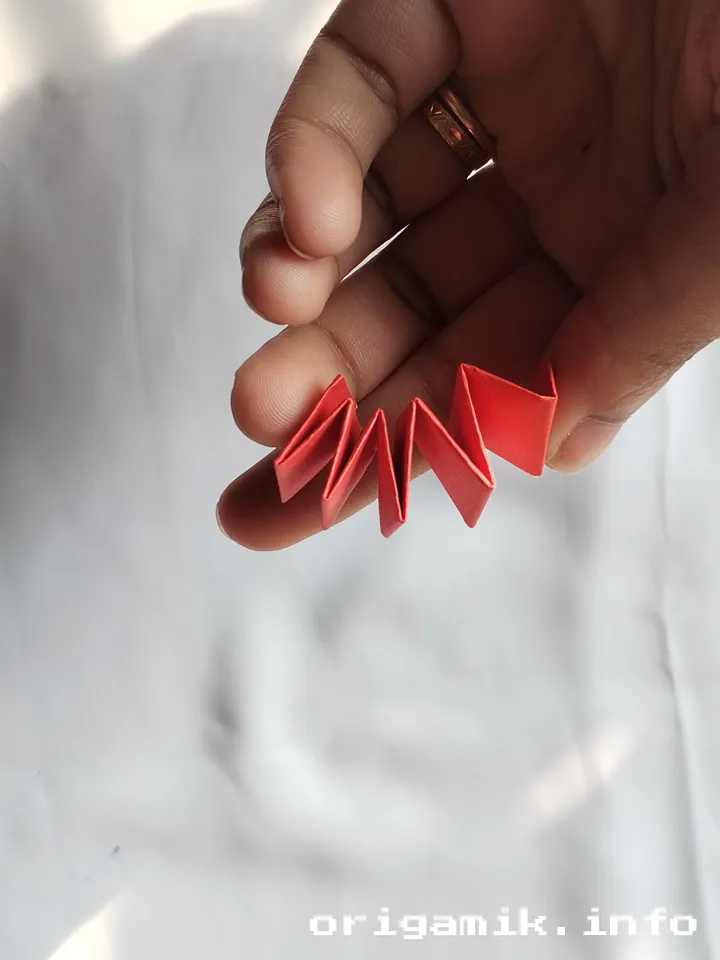
Take another square piece of paper and fold it horizontally. Fold it again, creating a smaller section of paper.
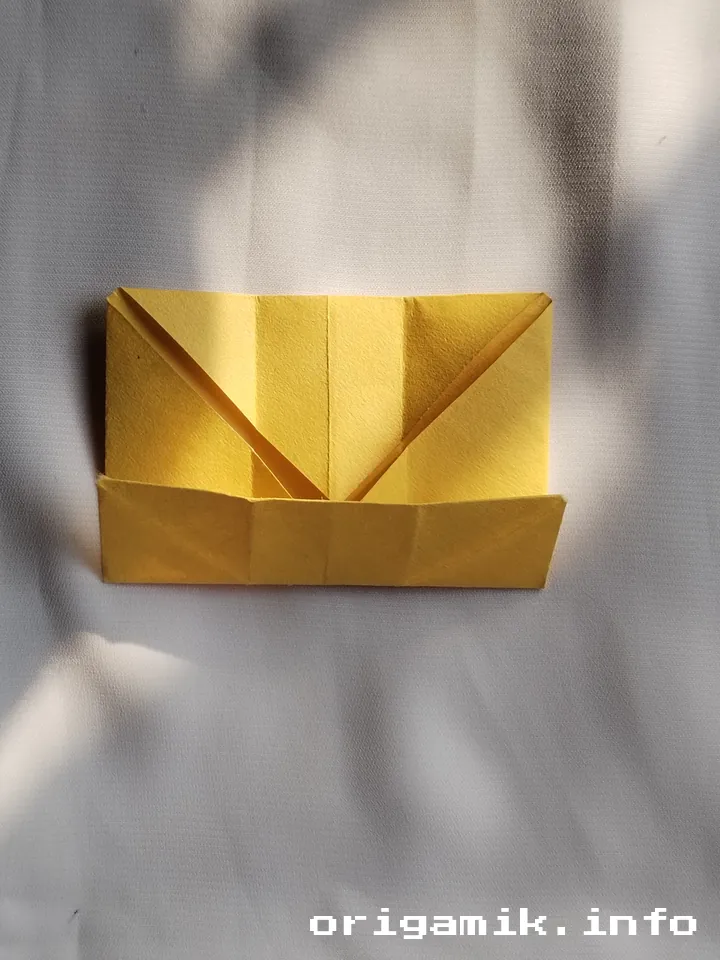
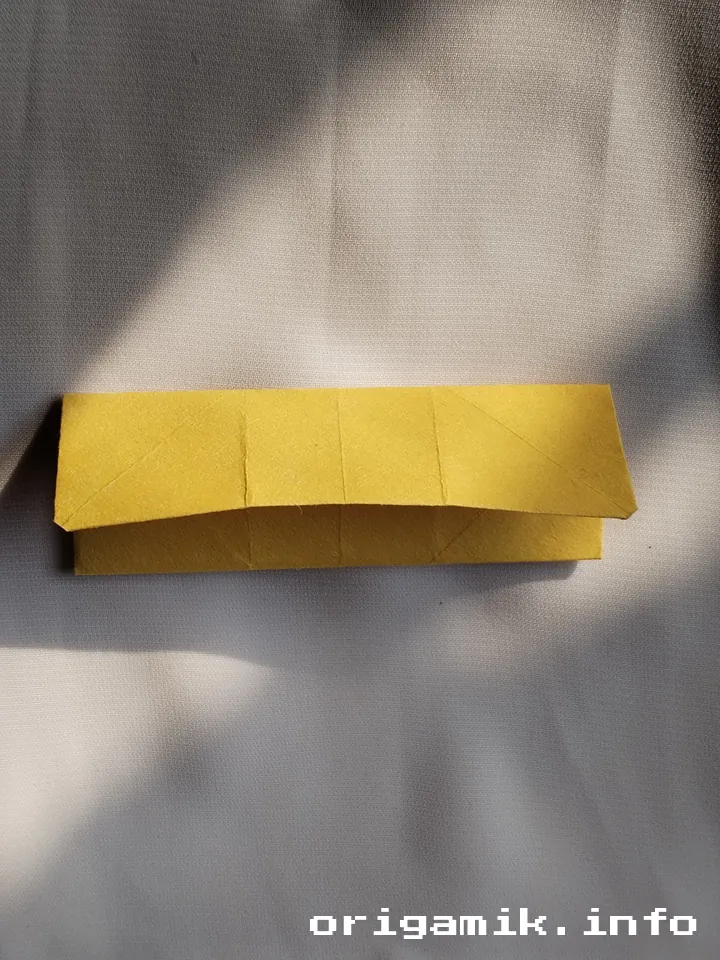
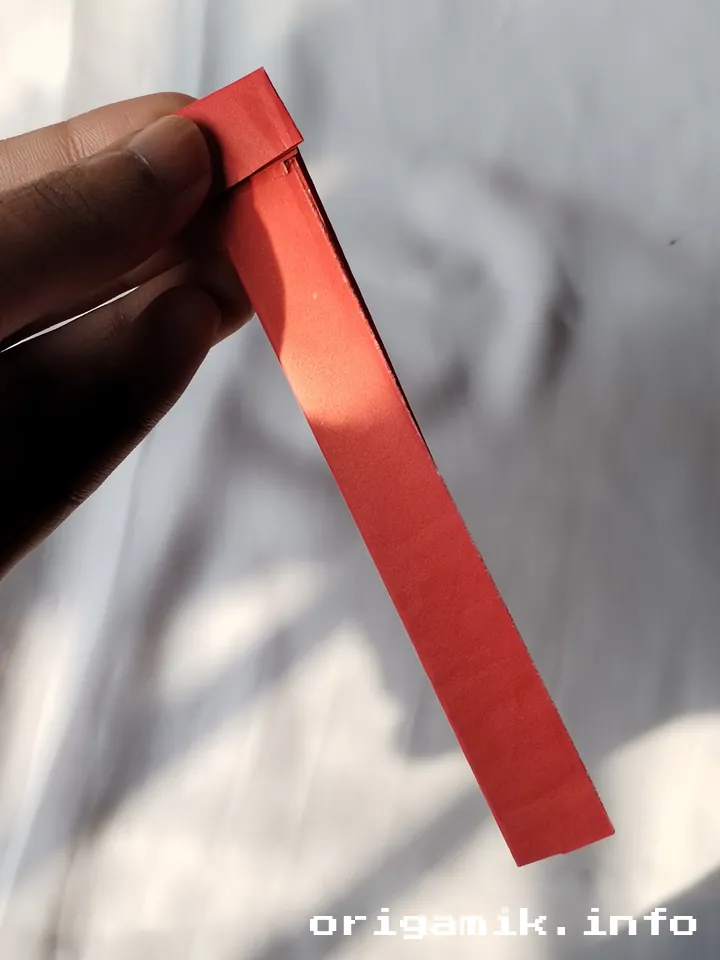
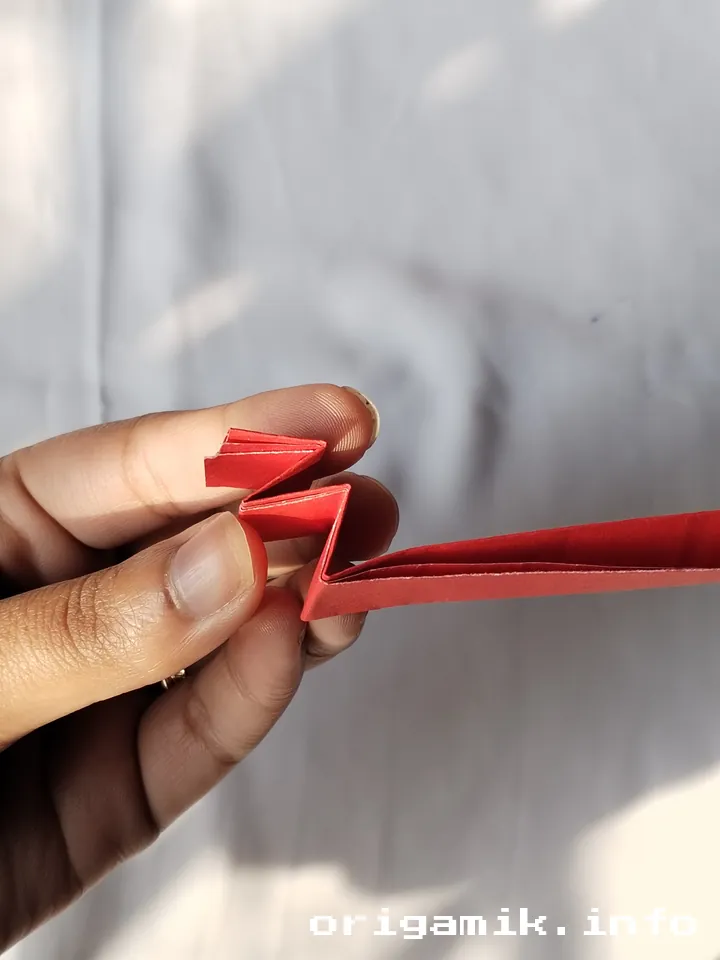
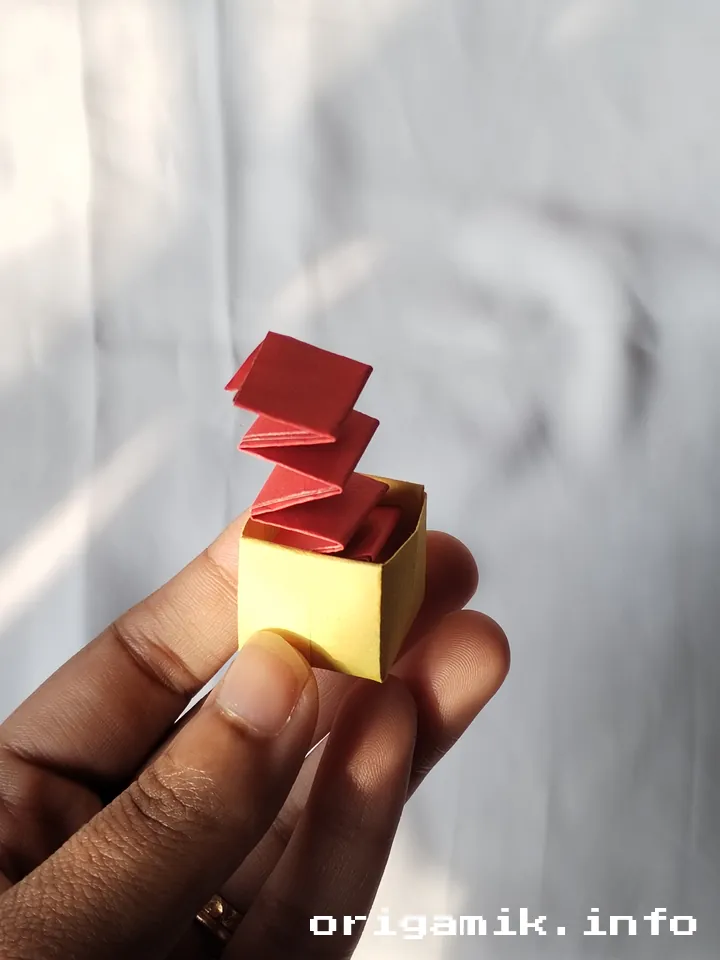
Step 10: Fold the paper zigzag and put the paper between the two boxes and close the box
Now, fold the paper in a zigzag manner, creating a textured look. Insert this folded paper between the two boxes you created earlier, and then close the box around it. This will form the complete Origami Button.
Tips for Success
- Precision is Key: Take your time to ensure each fold is crisp and accurate.
- Use Lighter Paper: Lighter paper is easier to fold and manipulate, making it ideal for beginners.
- Experiment with Colors: Don’t be afraid to mix and match different colored papers to add personality to your button.
Common Mistakes and How to Avoid Them
- Uneven Folds: Always ensure your folds are as symmetrical as possible. This will ensure the button comes out looking neat and structured.
- Forgetting to Unfold Creases: It’s crucial to unfold your creases when directed. Skipping this step can make subsequent folds difficult.
- Rushing the Process: Origami is all about patience. If you rush through the steps, your button might not have the desired effect.
Similar Variations You Can Make
Once you master the basic Origami Button, you can experiment with different sizes, colors, and even create buttons with more intricate designs. Here are a few variations you could try:
- Miniature Buttons: Use smaller square paper for tiny buttons to use in card-making or scrapbooking.
- Layered Buttons: Create multiple layers of buttons to form a decorative centerpiece.
- Textured Buttons: Try folding patterns into the paper before assembling your button for added texture and visual appeal.
Conclusion
Making an Origami Button is a fun and creative way to practice your paper folding skills. With a bit of patience and these Origami Button Step by Step instructions, you can create a beautiful button in no time. Whether you use it for decoration or as a gift, your paper button will surely impress!