

Folding paper into beautiful shapes has always fascinated me. And today, I’ll guide you through creating an easy Origami Balloon. A simple project that feels magical.
By the end of this tutorial, you’ll hold a beautiful paper balloon in your hands. It’s a rewarding journey, perfect for beginners and experts alike. Let’s dive in!
What Is an Origami Balloon?
An Origami Balloon, also known as a water bomb, is a delightful paper creation. It starts flat, but with a puff of air, it transforms into a three-dimensional balloon-like shape. This project is a fantastic introduction to origami, blending simplicity with an enchanting result.
Materials Needed
Here’s what you need to get started. Everything is simple and easy to find:
| Material | Details |
|---|---|
| Paper Size | 15″ × 15″ square paper |
| Paper Type | Thin, foldable paper |
| Optional | Decorative paper for flair |
Step-by-Step Instructions
Let’s create your Origami Balloon step by step. Follow these Paper Balloon instructions closely for the best results:
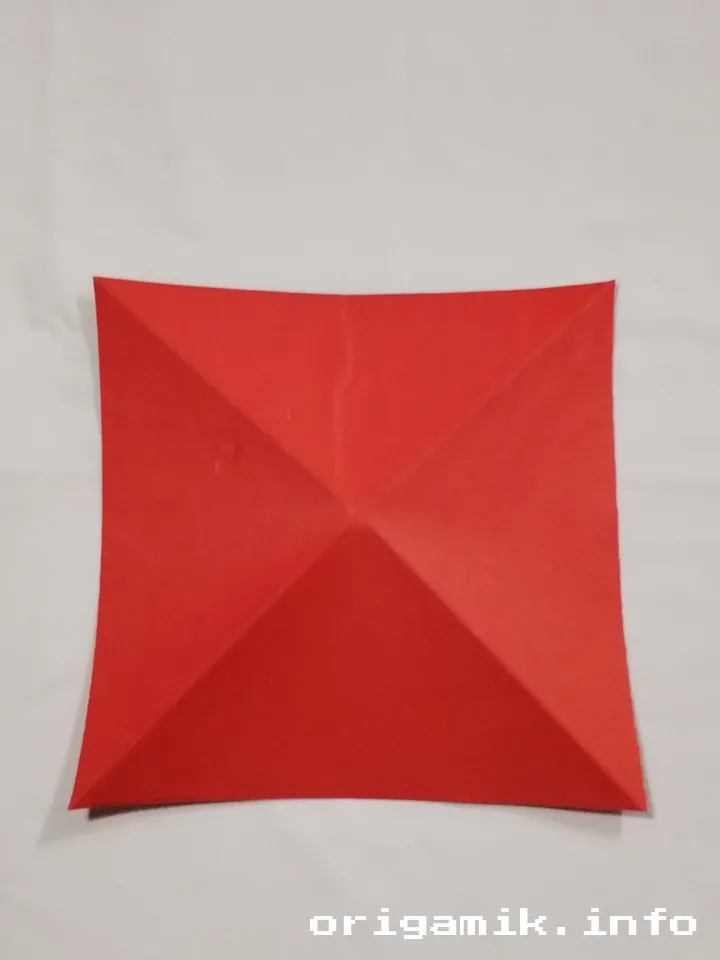
Step 1: Prepare Your Square Paper

- Ensure your paper is a perfect square (15″ × 15″).
- Place it flat on a clean surface.
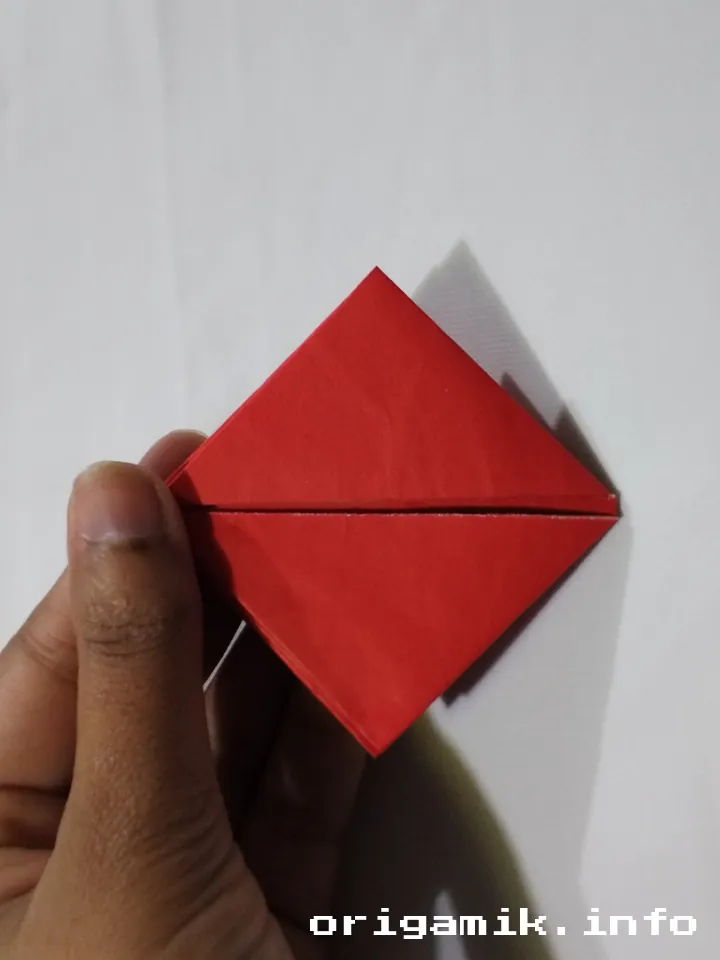
Step 2: Fold the Corners

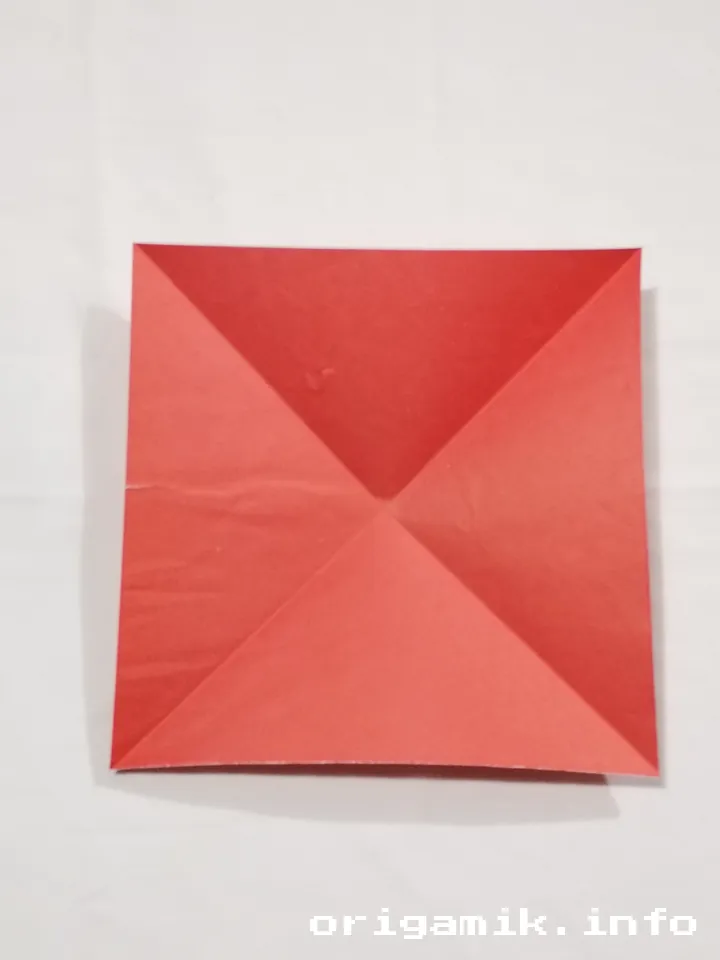
- Fold each corner diagonally, creating an ‘X’ crease on the paper.
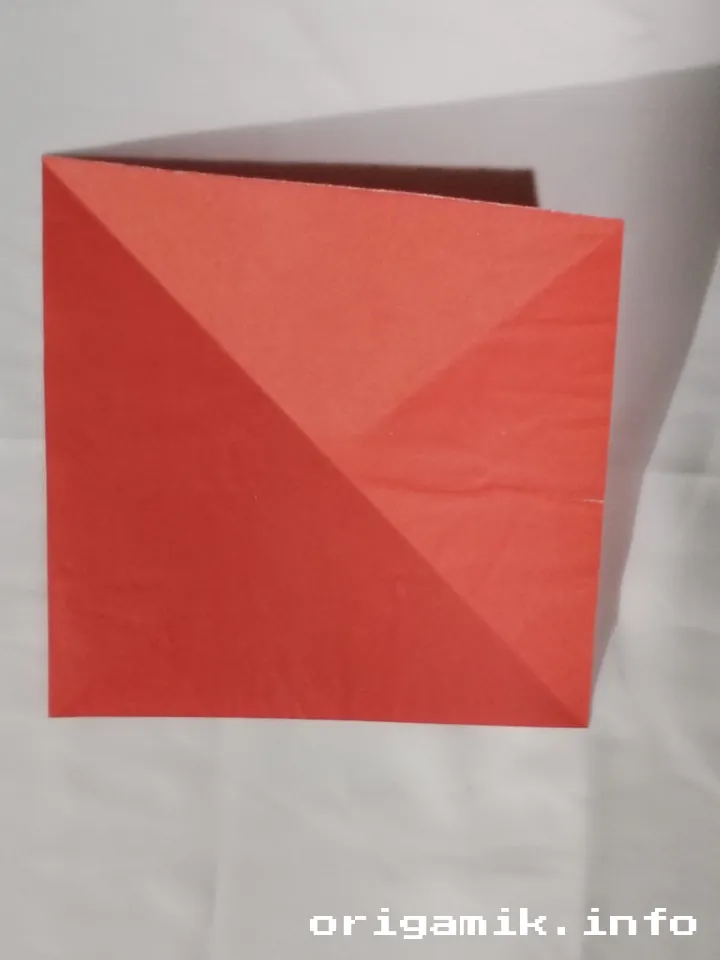
Step 3: Create a Horizontal Fold

- Make a horizontal fold to create a cross-shaped crease when unfolded.
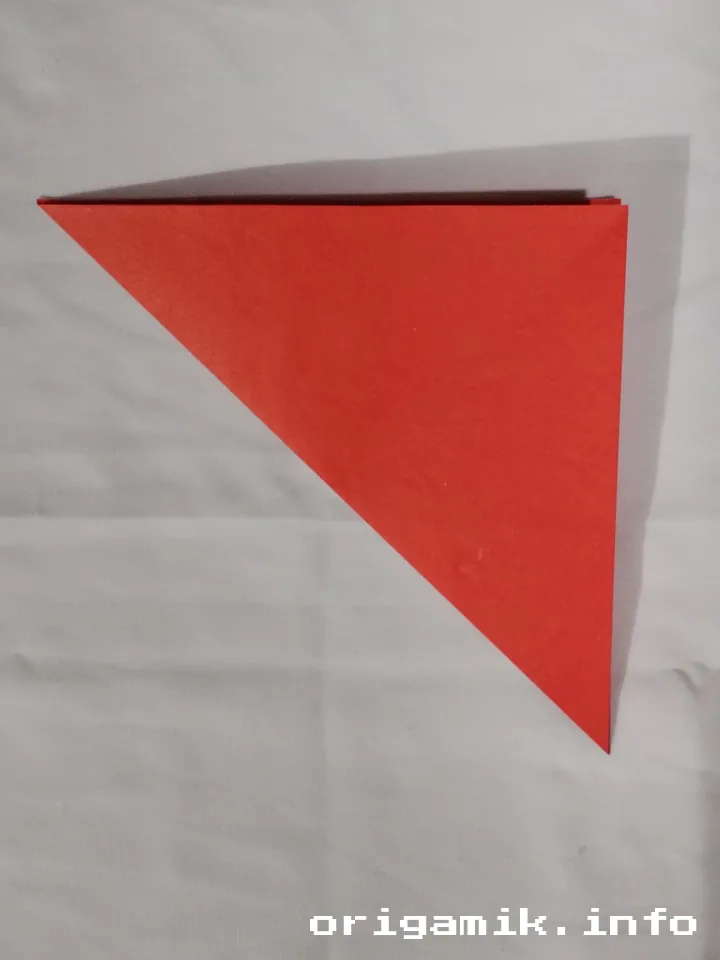
Step 4: Form a Triangle Shape
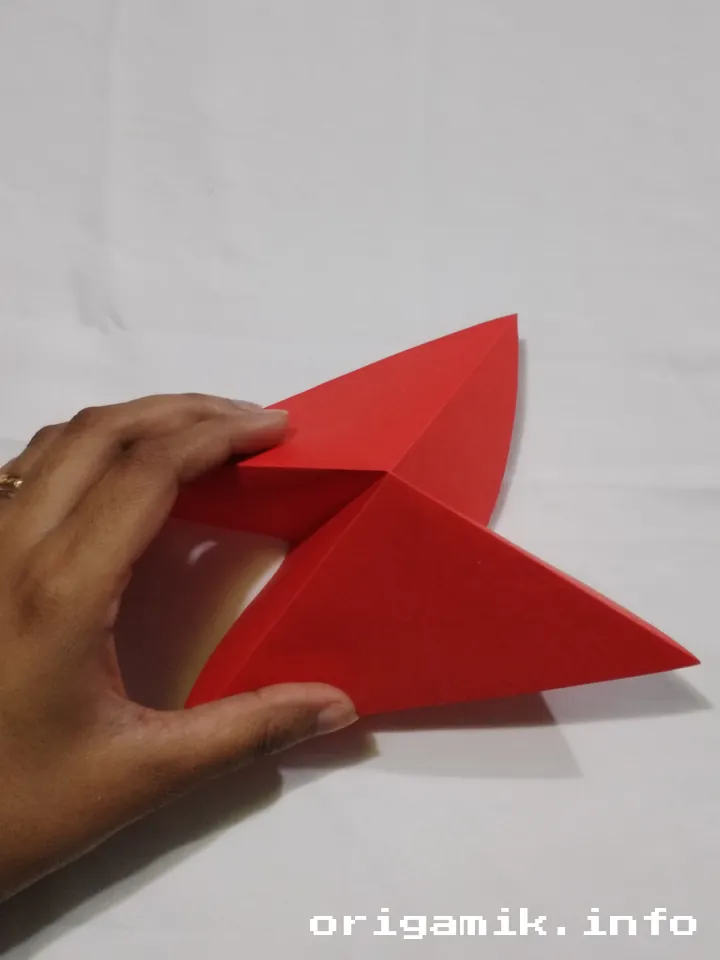
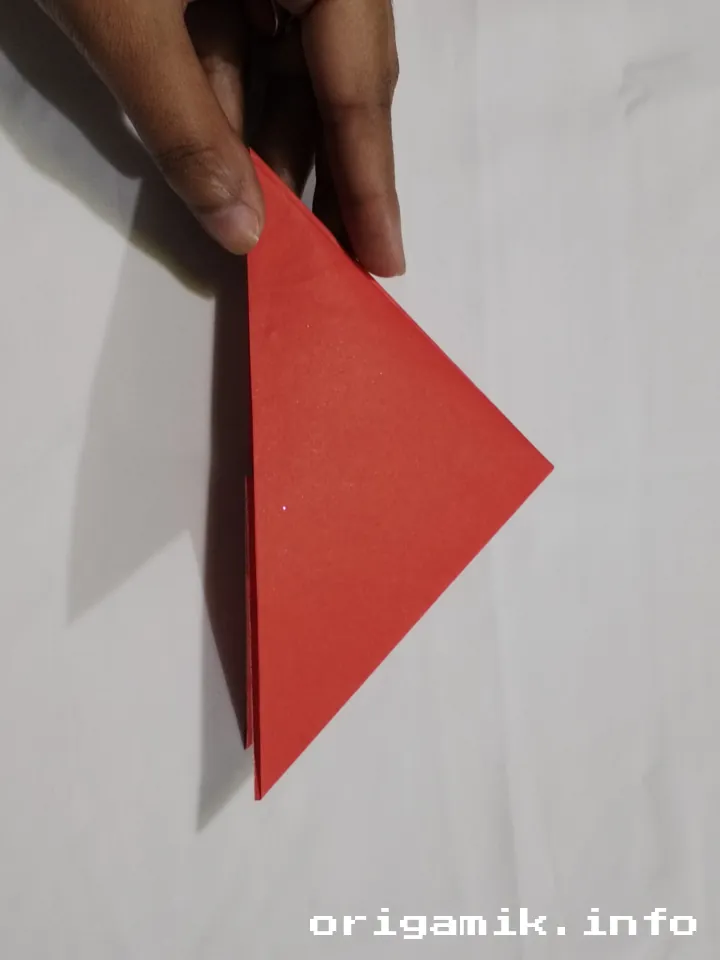

- Bring the paper edges inward to form a triangle shape.
- Flatten the triangle, aligning all corners perfectly.
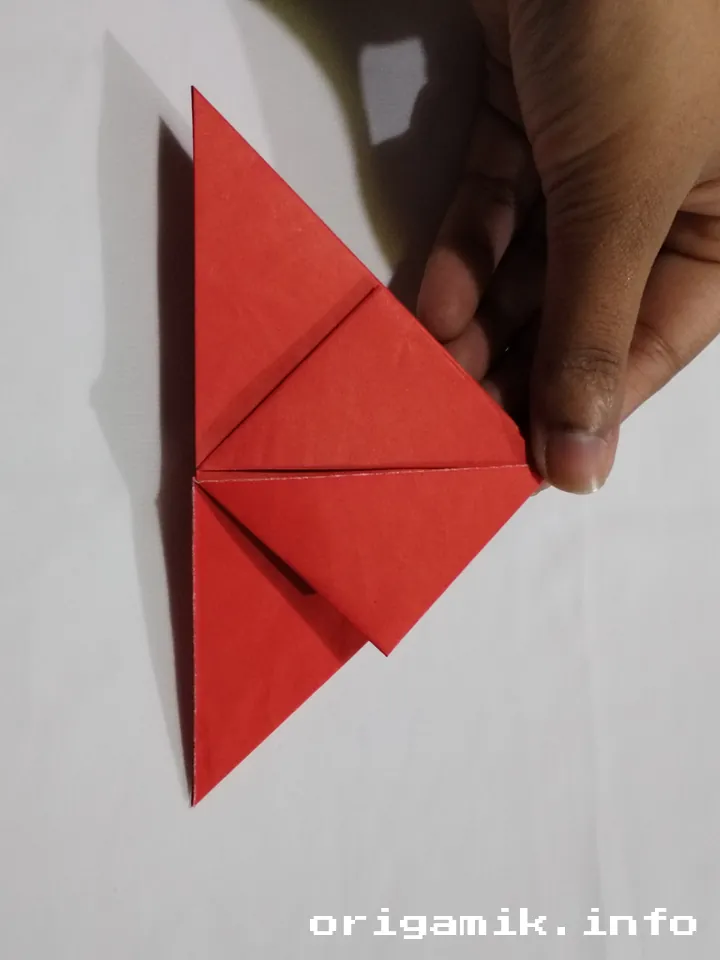
Step 5: Secure the Corners
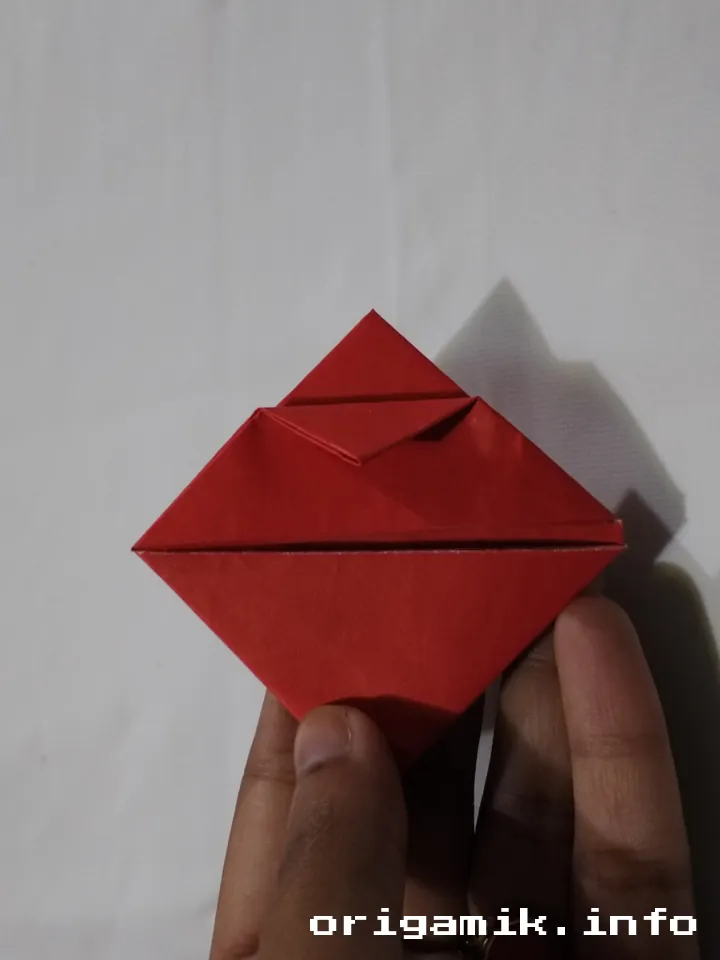

- Tuck one corner of the paper into the pocket formed at another corner.
- Repeat this step on all sides to secure the balloon.
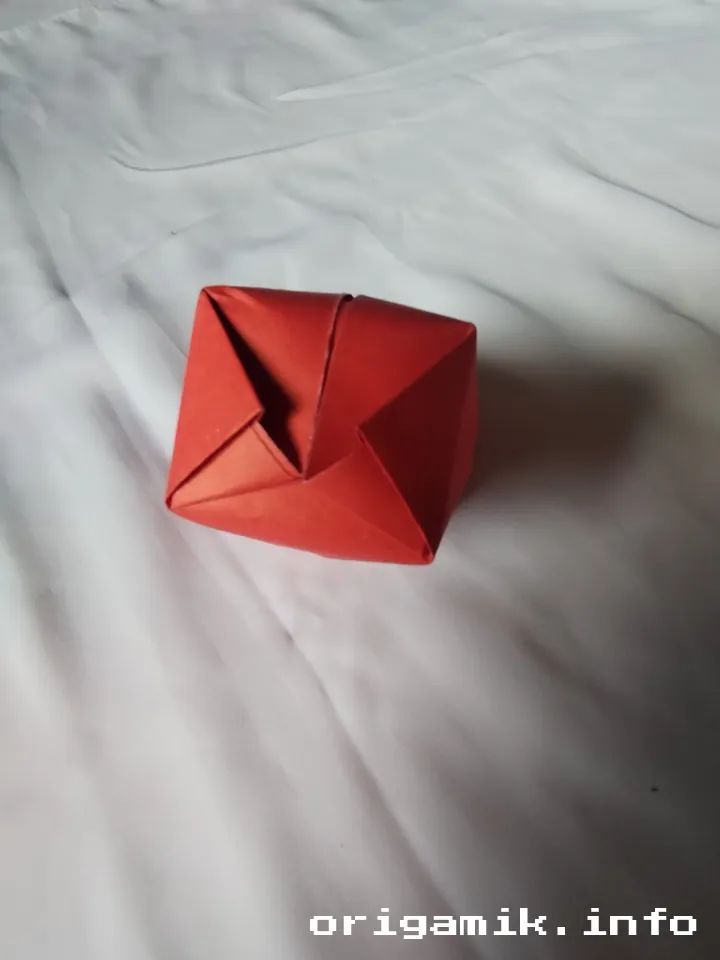
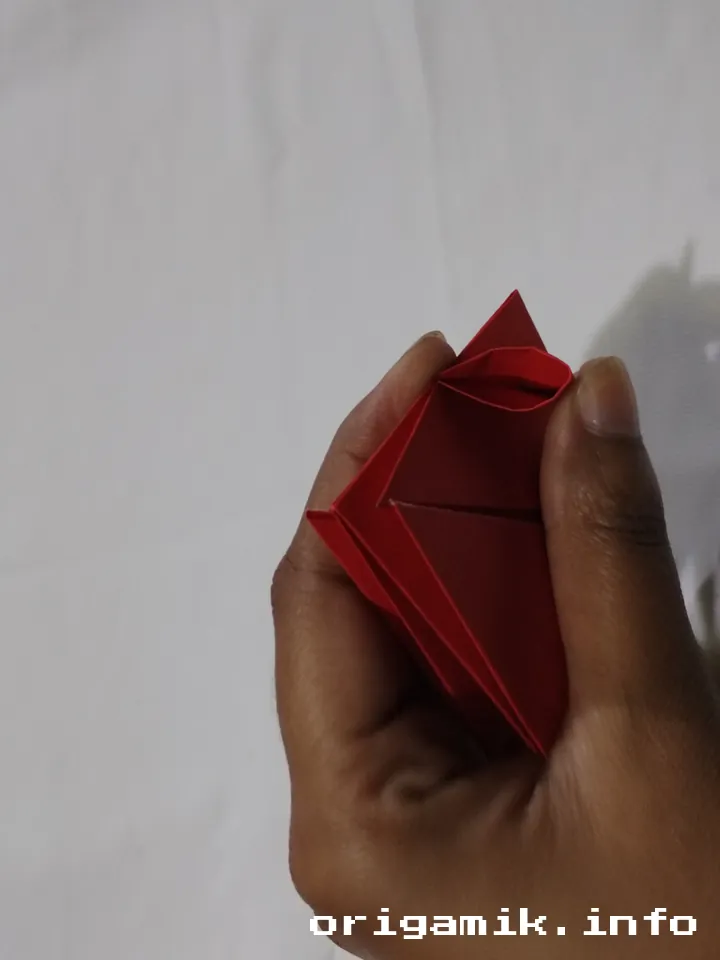
Step 6: Inflate the Balloon
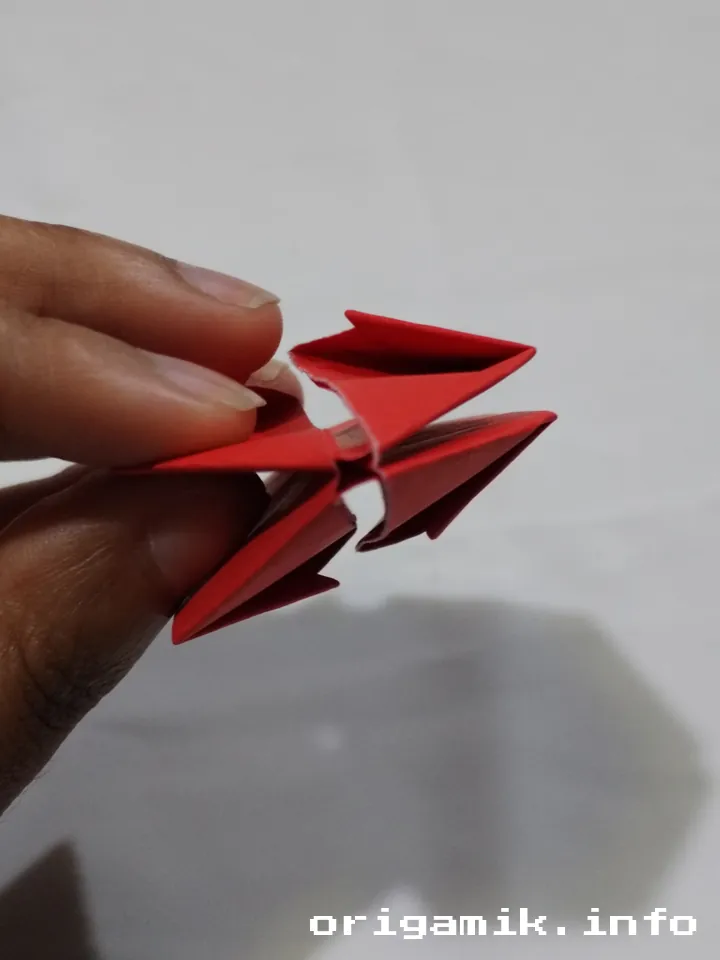
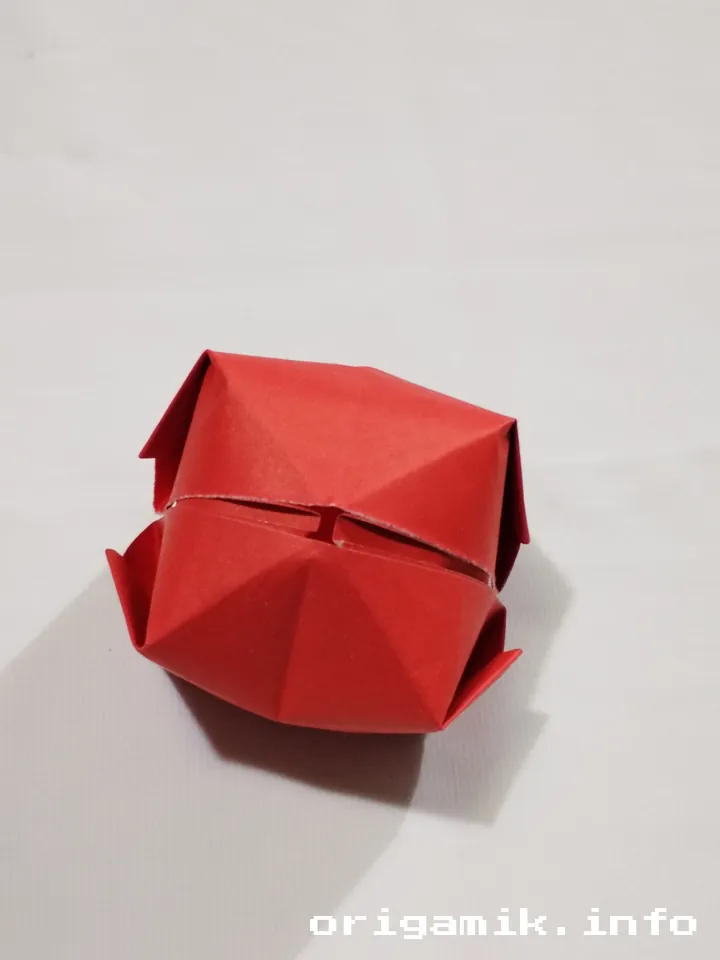
- Hold the balloon and blow gently into the small hole at the bottom.
- Watch as the paper inflates into a balloon shape.
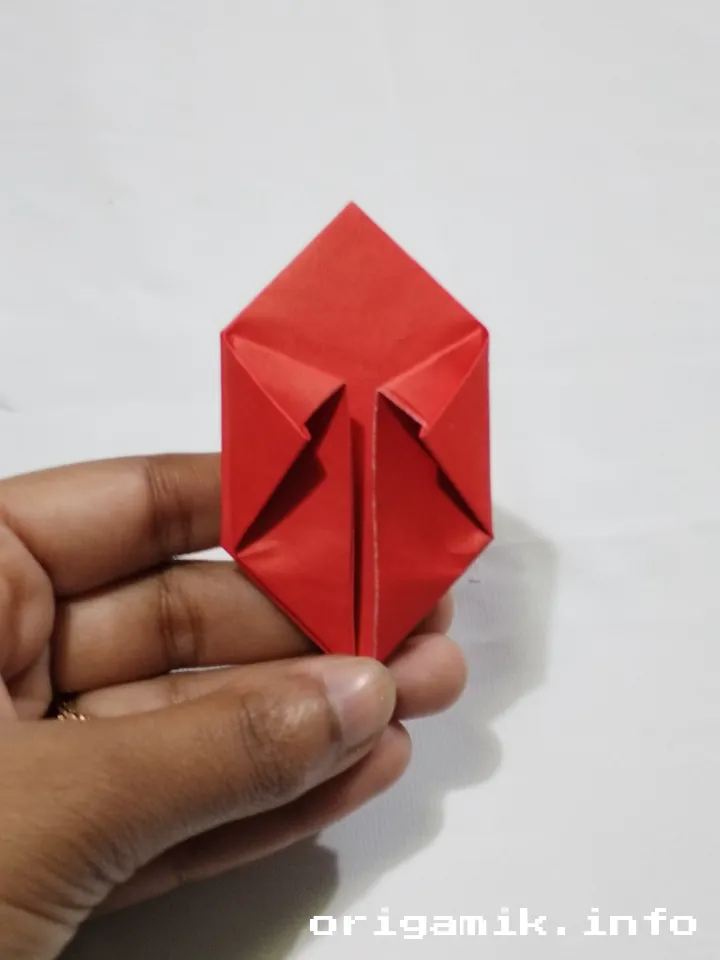
Step 7: Final Adjustments
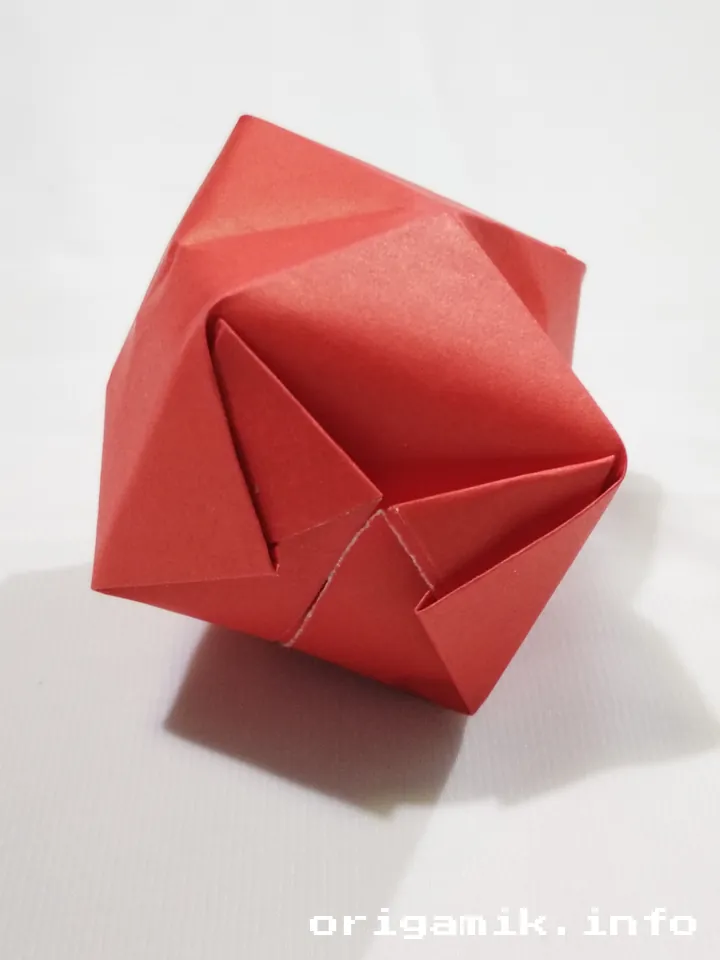
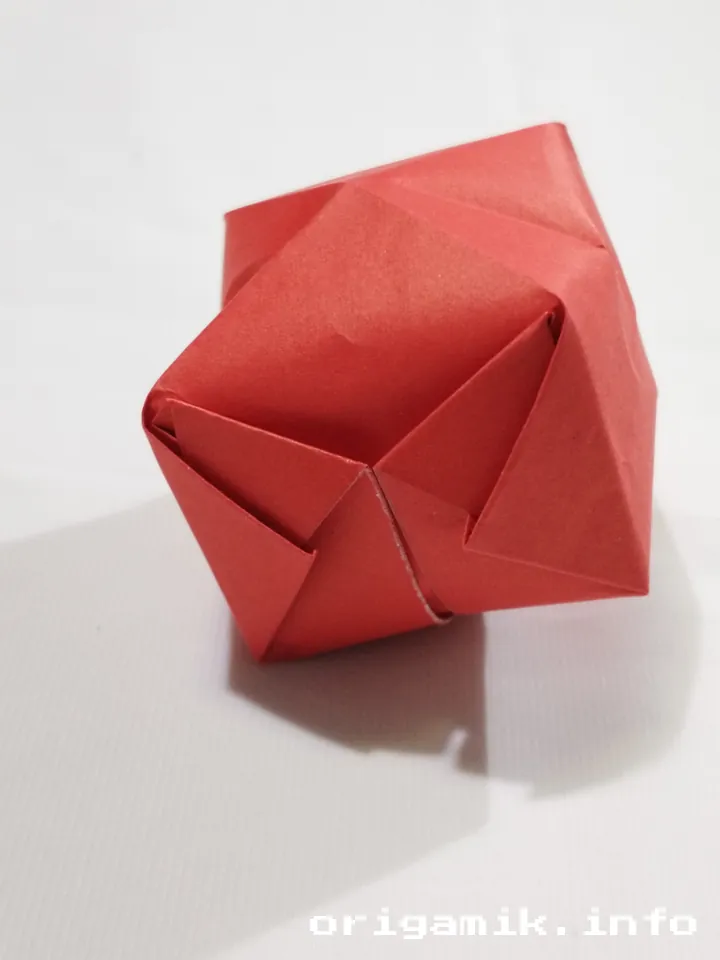
- Adjust the folds if necessary to perfect the shape.
Tips for Success
- Use thin paper: It’s easier to fold and inflate.
- Practice creases: Sharp, clean folds make a big difference.
- Be patient: If a step feels tricky, take your time and try again.
Common Mistakes and How to Avoid Them
Mistake 1: Paper tears while inflating
- Solution: Use thicker paper or inflate gently.
Mistake 2: Uneven folds
- Solution: Align edges carefully before folding.
Mistake 3: Balloon won’t inflate
- Solution: Ensure all corners are securely tucked in.
Similar Variations You Can Try
- Mini Balloons: Use smaller paper for tiny balloons.
- Decorative Balloons: Use patterned or colored paper for a festive look.
- Waterproof Balloons: Try wax-coated paper for a fun water toy.
FAQs
Can I use any type of paper?
Thin, flexible paper works best, but you can experiment with different types to see what you like.
How long does it take to make?
For beginners, it may take 10–15 minutes. With practice, you can finish in under 5 minutes.
Is it suitable for kids?
Yes! This is a great activity for children, as long as they have supervision.
Conclusion
Creating an Origami Balloon is both fun and rewarding. From folding the paper to inflating the balloon, every step brings a sense of accomplishment.
So why not grab some paper and try it today? Share your experience—I’d love to hear how your Origami Balloon turned out!