

Want to add a touch of charm to your dining setup? Crafting an Origami chopstick wrapper is both fun and practical. This small project transforms paper into functional art.
With step-by-step guidance, even beginners can create this easy design. Plus, it’s a great way to impress guests with your creativity. Let me guide you through the process.
By the end, you’ll have a beautiful, handmade wrapper ready for any occasion. Let’s get started!
What is an Origami Chopstick Wrapper?
An Origami chopstick wrapper is a simple, elegant way to hold chopsticks while adding personality to your table. It’s crafted from a single piece of paper folded into a neat, functional design.
This project combines practicality with creativity. It’s perfect for casual dinners, special gatherings, or even as a unique gift idea. The best part? You don’t need advanced skills to make it.
Materials Needed
Let’s gather everything required for this project:
| Material | Details |
|---|---|
| Paper | 15″ × 15″, square, patterned or plain |
| Flat Surface | Clean and stable area for folding |
| Time and Patience | Essential for perfecting those crisp folds |
Step-by-Step Guide to Making an Origami Chopstick Wrapper
Step 1: Start with a Square Paper
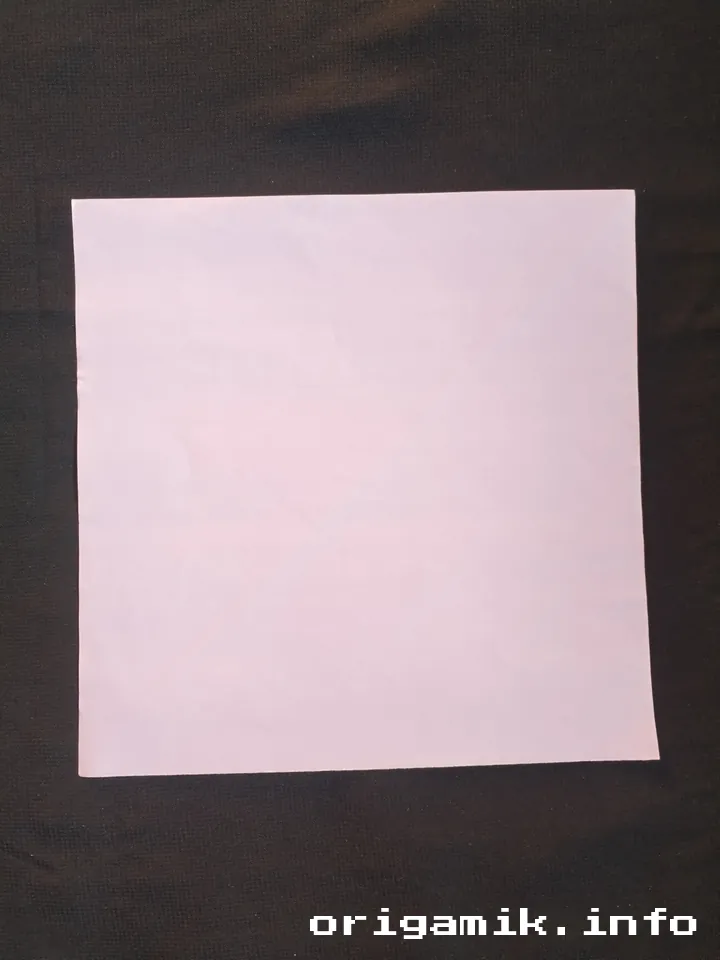
Use a square sheet of paper measuring 15″ × 15″. This size works best for standard chopsticks.
Step 2: Fold in Half and Unfold
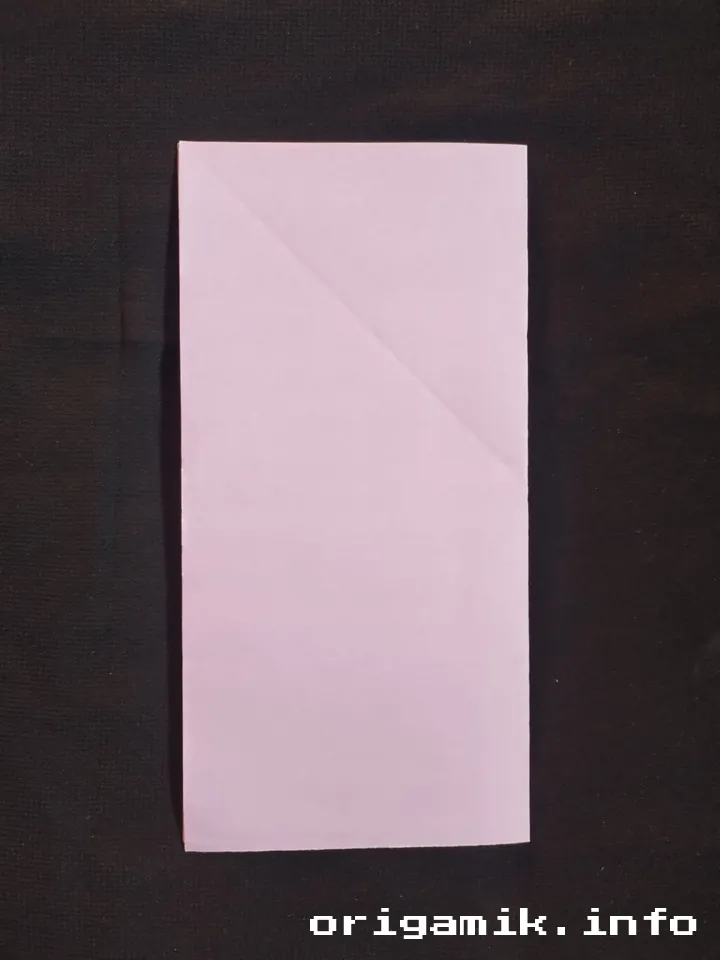
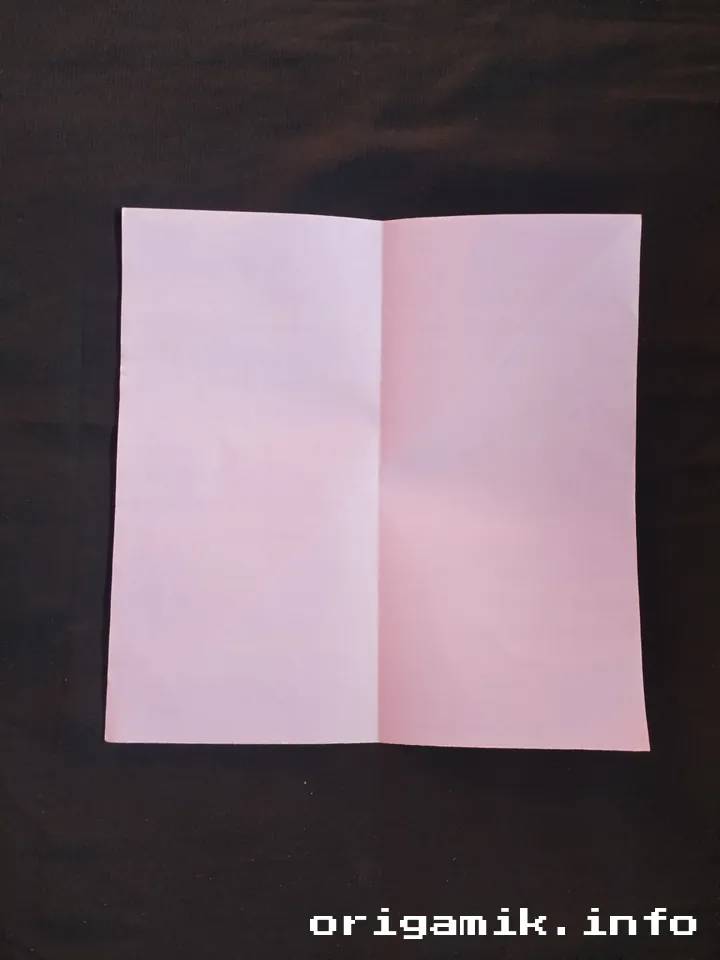
Fold the paper horizontally to create a crease. Then unfold it to return to its original shape.
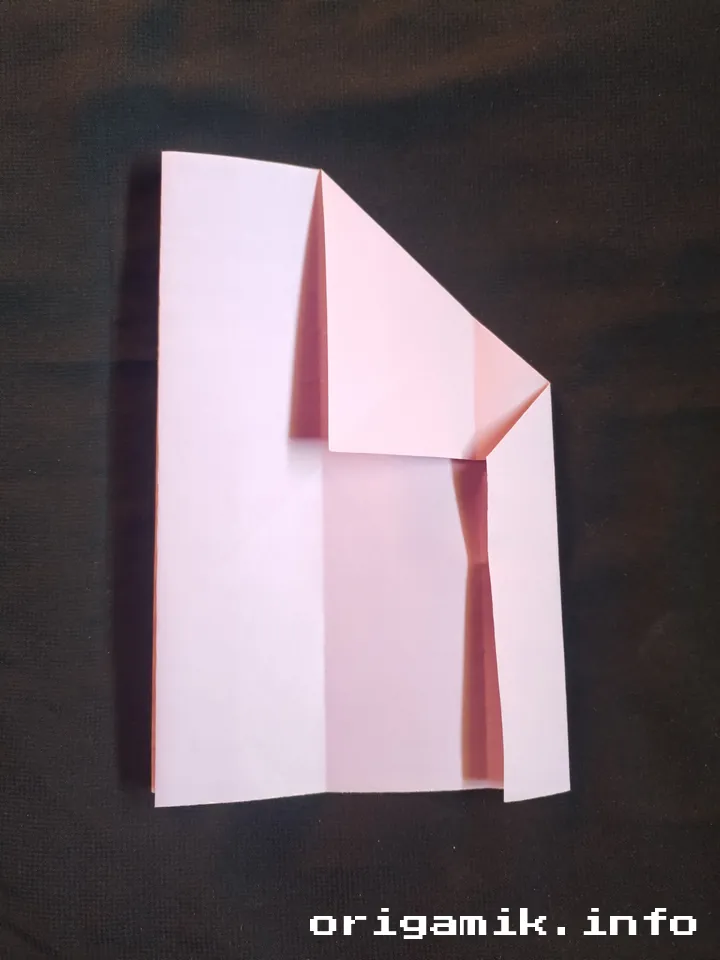
Step 3: Fold a Corner and Side to the Middle
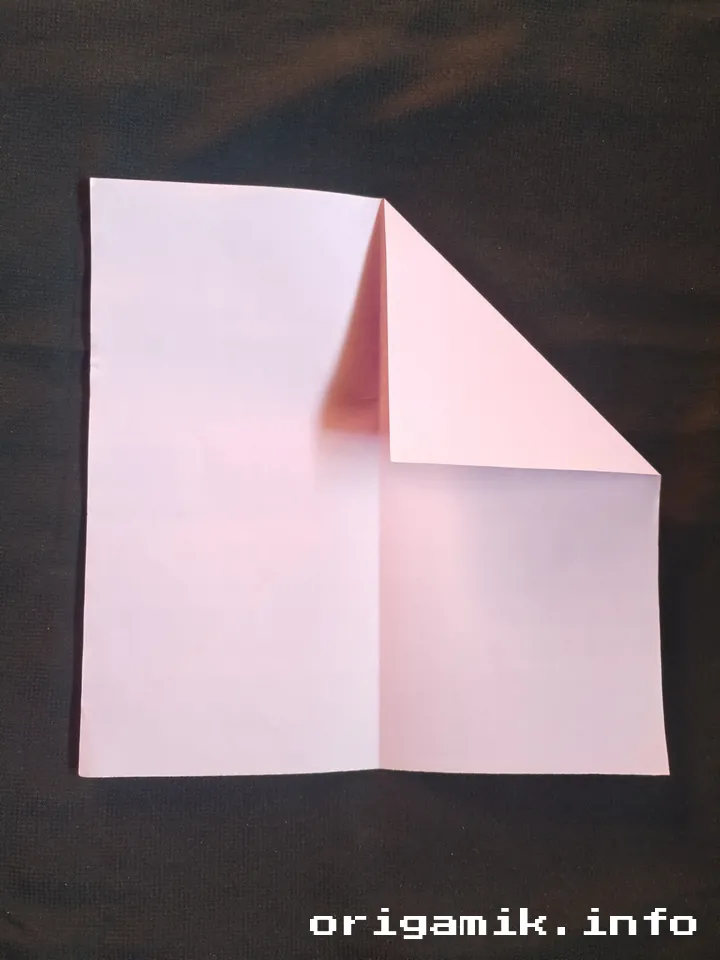
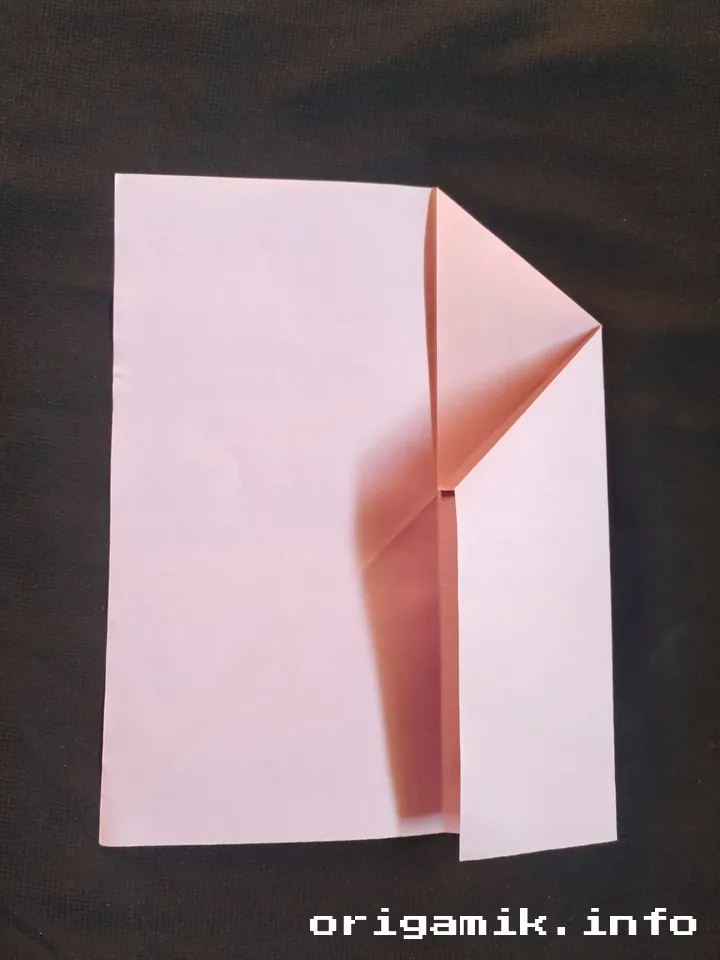
Bring one corner of the paper to the center. Next, fold one side to meet the middle crease, and then unfold both folds.
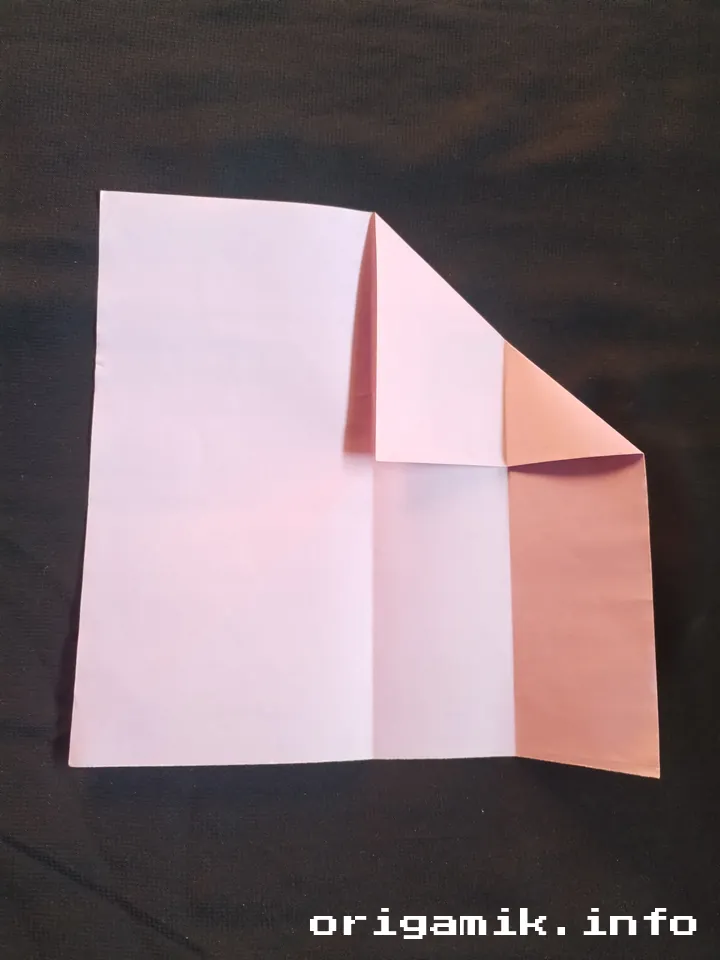
Step 4: Create a Middle Fold and Flip


Fold the entire paper in half, aligning the edges perfectly. Flip it upside down for the next step.
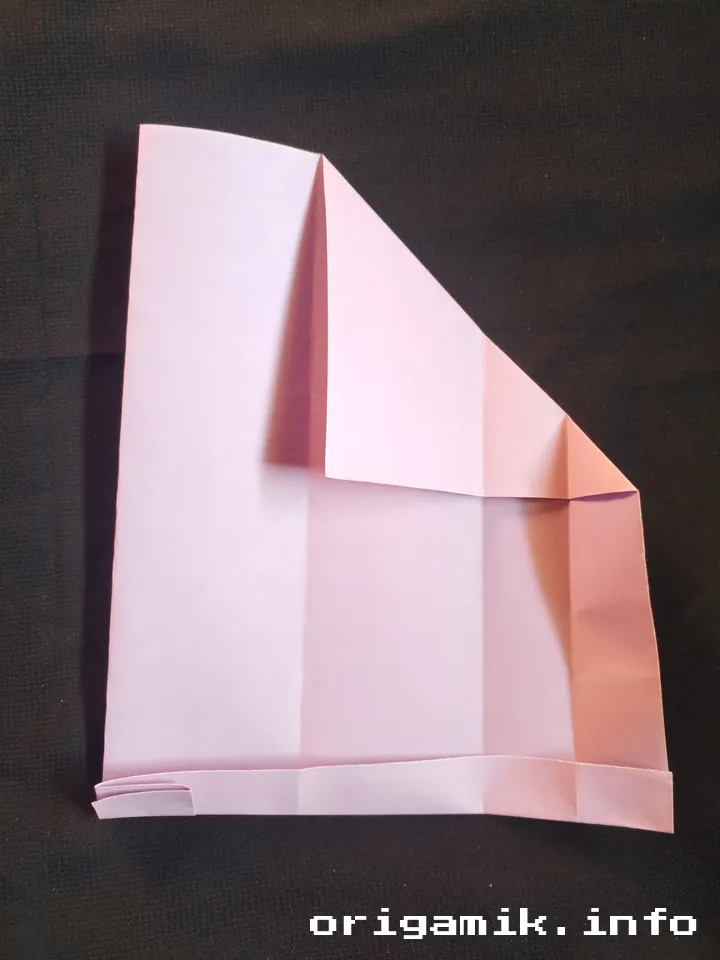
Step 5: Fold Again and Flip
Fold the paper at the center again, and flip it to the other side for the next folds.
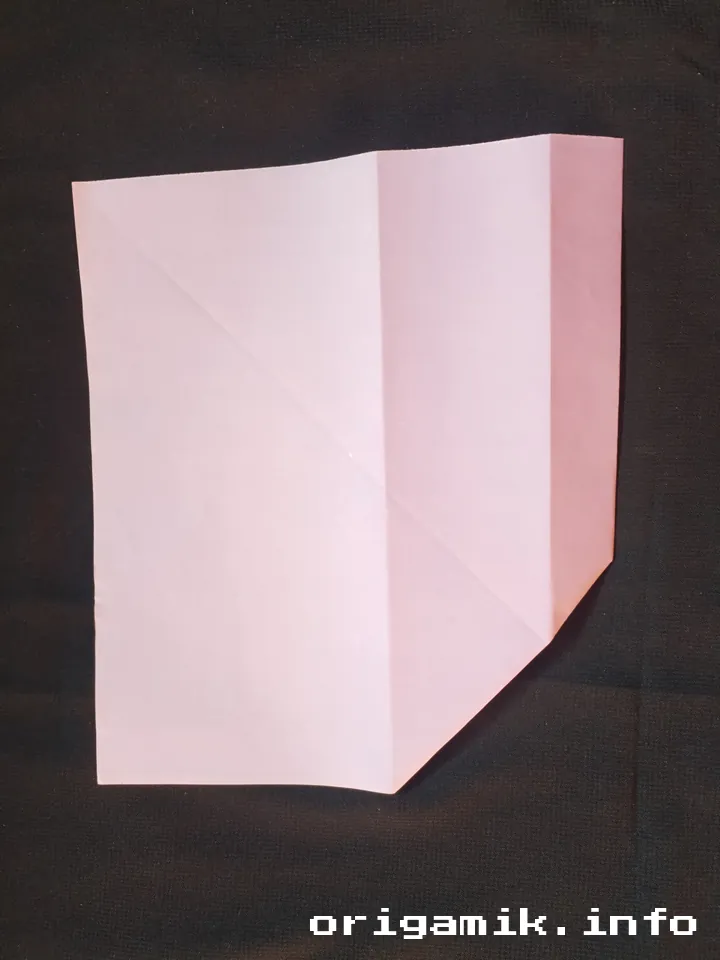
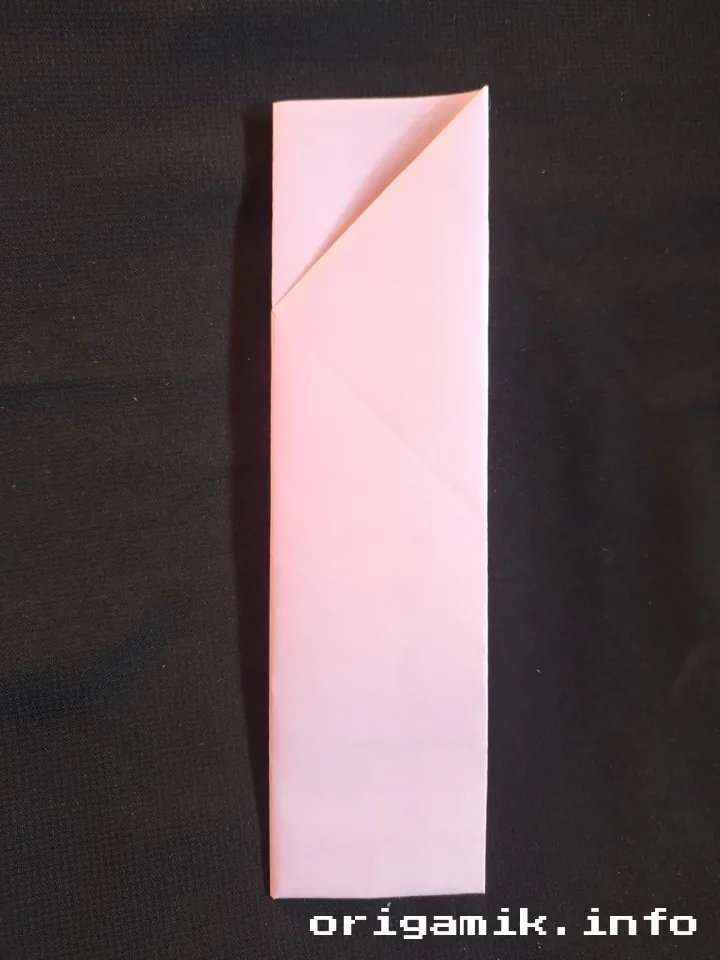
Step 6: Fold the Bottom Edge


Fold about half an inch from the bottom edge to create a base for your wrapper.
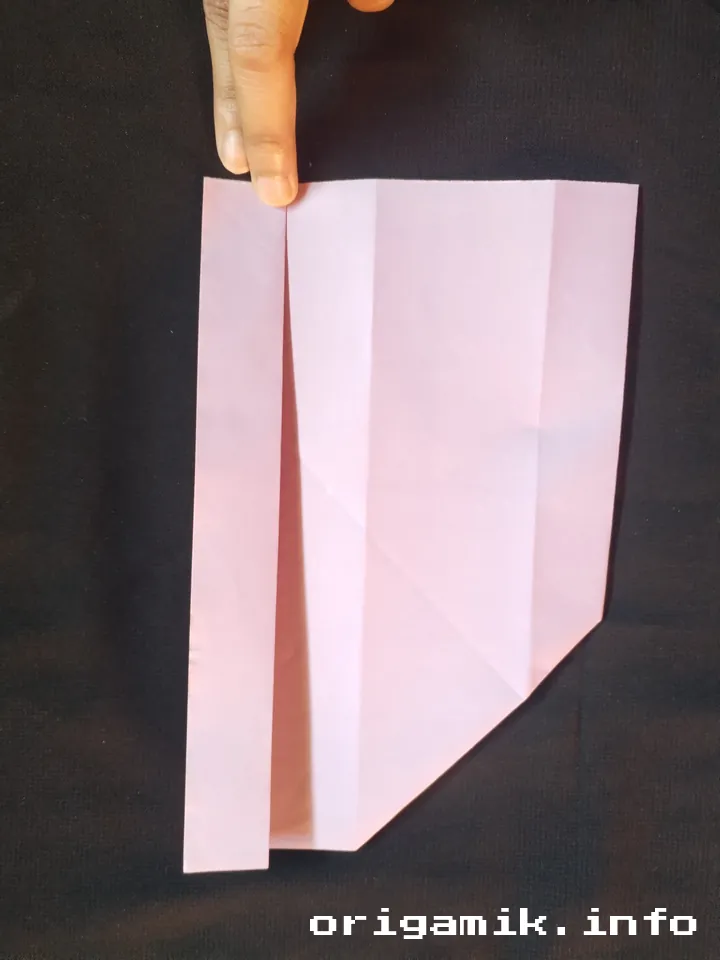
Step 7: Fold the Right and Left Sides
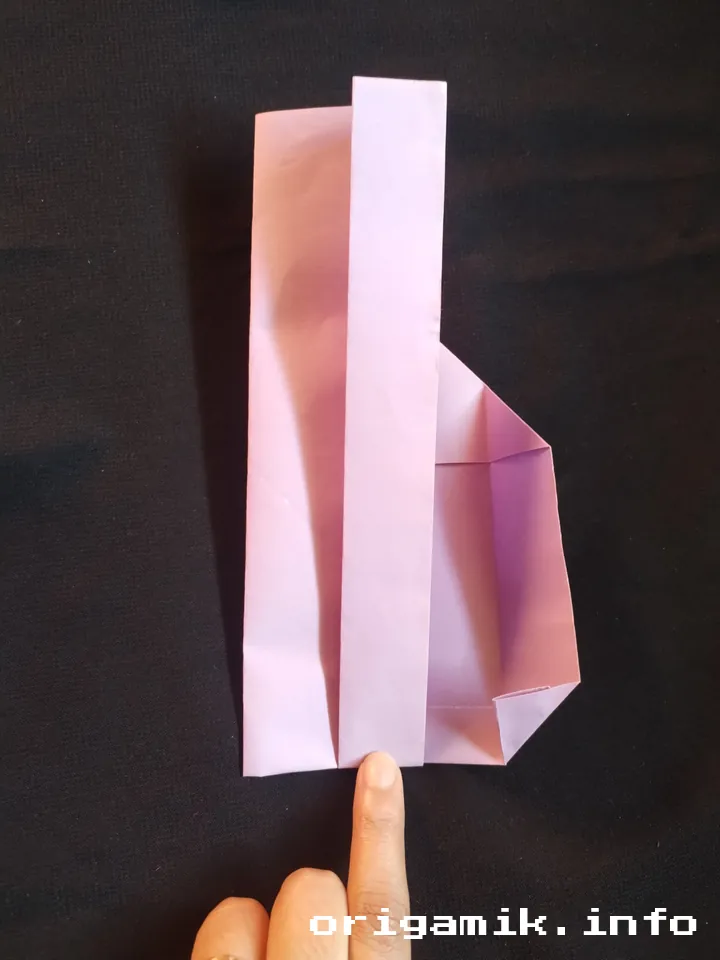
Neatly fold the right side toward the center, then repeat with the left side to form a compact structure.
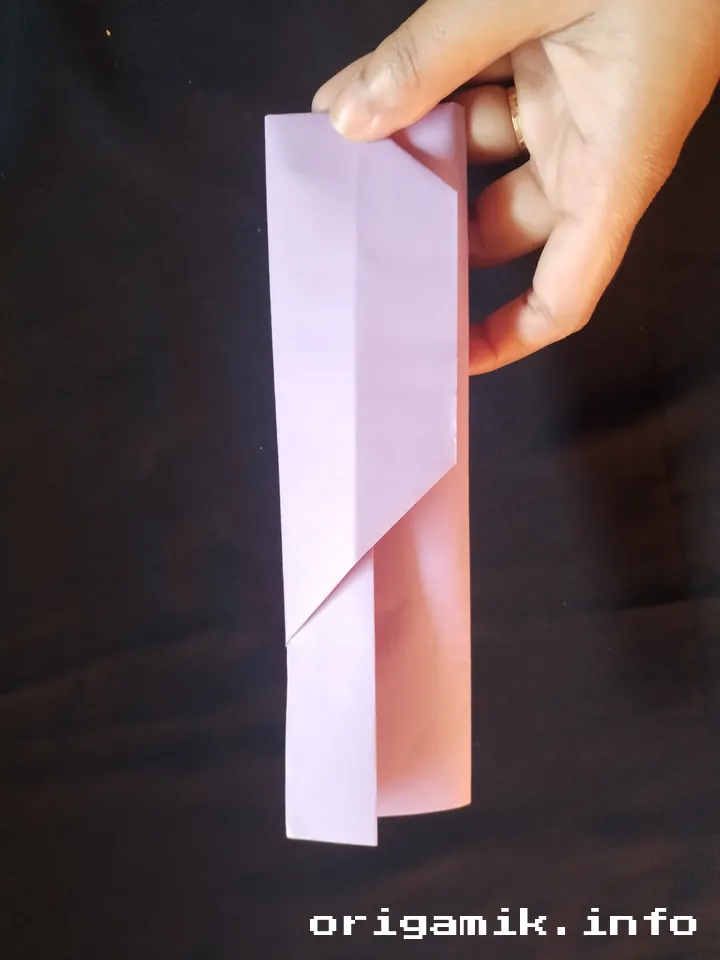
Step 8: Tuck the Extra Paper Inside

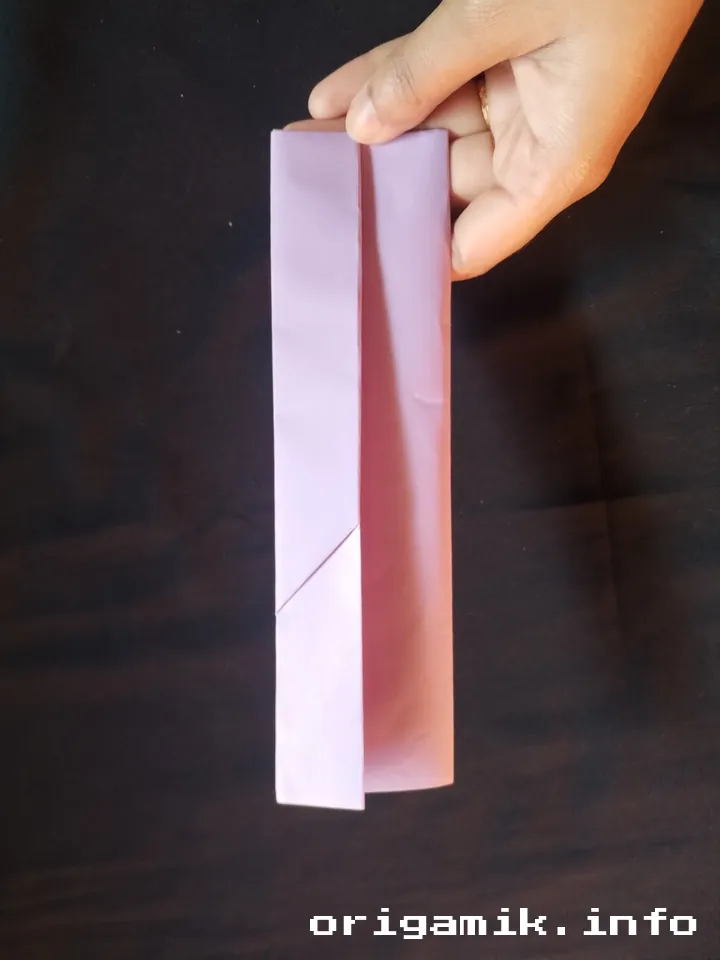
Secure the extra paper by tucking it into the folds. Adjust if needed for a snug fit.
Step 9: Finished Product
Your Origami chopstick wrapper is now complete and ready to impress your guests!
Tips for Success
- Practice Creases: Make light creases before committing to each fold.
- Choose Quality Paper: Thicker paper holds its shape better but ensure it’s not too stiff.
- Stay Patient: If a fold doesn’t look right, gently unfold and try again.
Common Mistakes and How to Avoid Them
- Paper Tears: Avoid using too much force when folding. Work gently and precisely.
- Uneven Folds: Take your time aligning edges before creasing. Precision is key.
- Incorrect Size: Always start with a 15″ × 15″ square to ensure proper dimensions.
Similar Variations
Want to explore more? Try these:
- Origami Fork Wrapper: Perfect for Western-style cutlery.
- Napkin Origami: Use fabric napkins to create intricate designs.
- Themed Wrappers: Use patterned paper for seasonal or festive occasions.
FAQs
Q: Can I use any size of paper?
A: It’s best to use a 15″ × 15″ square for the correct proportions.
Q: What type of paper works best?
A: Lightweight yet sturdy paper, like origami paper or gift wrap, is ideal.
Conclusion
Making an Origami chopstick wrapper is a delightful way to combine art and practicality. This step-by-step guide ensures you can craft a stylish, functional piece with ease.
Why not give it a try? You’ll impress yourself and your guests with this charming addition to any table setting. Happy folding!