

Cherry blossoms are delicate, enchanting, and deeply symbolic in Japanese culture. Folding them from paper? A magical experience.
With my step-by-step Origami cherry blossom instructions, you’ll craft a beautiful flower effortlessly.
By the end, you’ll not only know how to make cherry blossom but also gain confidence in paper folding. Let’s begin!
What is an Origami Cherry Blossom?
An Origami cherry blossom is a folded paper flower inspired by Japan’s famous sakura trees. This craft captures the beauty of real cherry blossoms while offering a fun, creative challenge.
Why Make One?
- Decorative & Fun – Perfect for room decor, gift embellishments, or greeting cards.
- Symbolic – Represents renewal and the fleeting beauty of life.
- Simple Yet Elegant – Despite its complexity, this simple cherry blossom step by step guide makes it easy.
Materials Needed
To create an easy Origami cherry blossom, gather these essentials:
| Material | Details |
|---|---|
| Paper Size | 12″ × 12″ square paper |
| Paper Type | Thin origami paper (preferably pink) |
| Scissors | For precise cutting (if needed) |
| Flat Surface | Ensures clean folds |
Now, let’s fold!
Step-by-Step Origami Cherry Blossom Instructions
Step 1: Prepare Your Square Paper
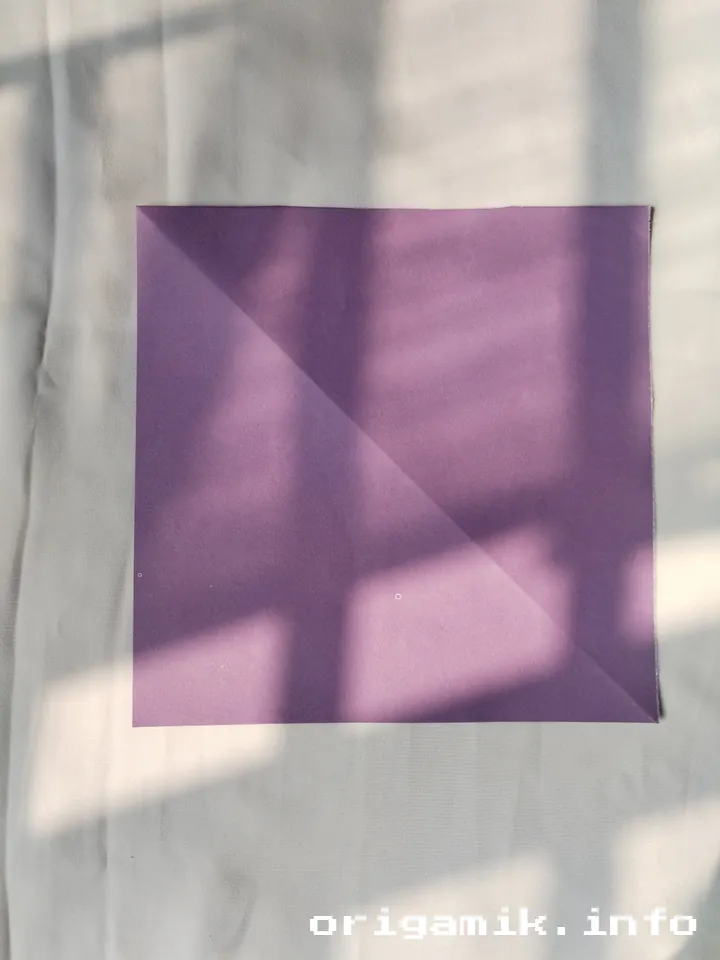
Start with a 12″ × 12″ square sheet of origami paper. Place it flat on a clean surface.
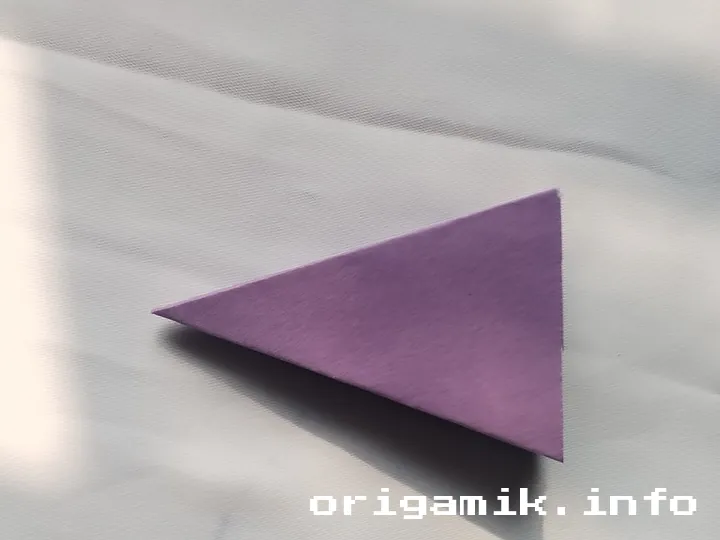
Step 2: Make an X Crease

Fold the paper vertically in half, pressing firmly. Then, fold both corners diagonally to form an X crease.
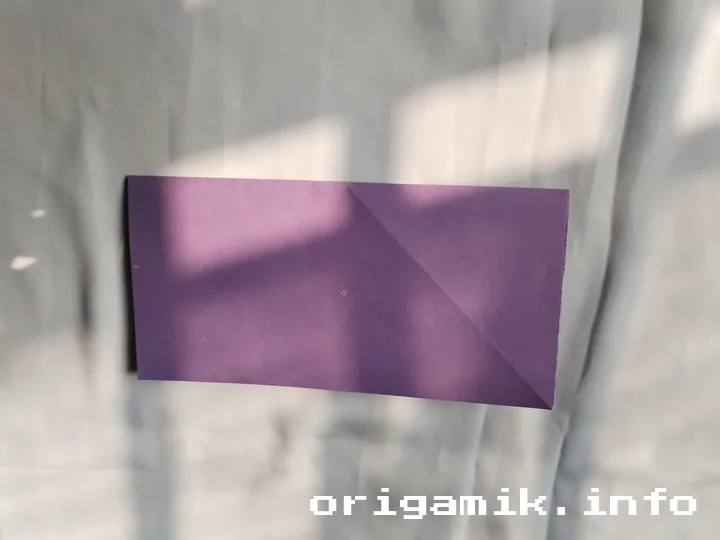
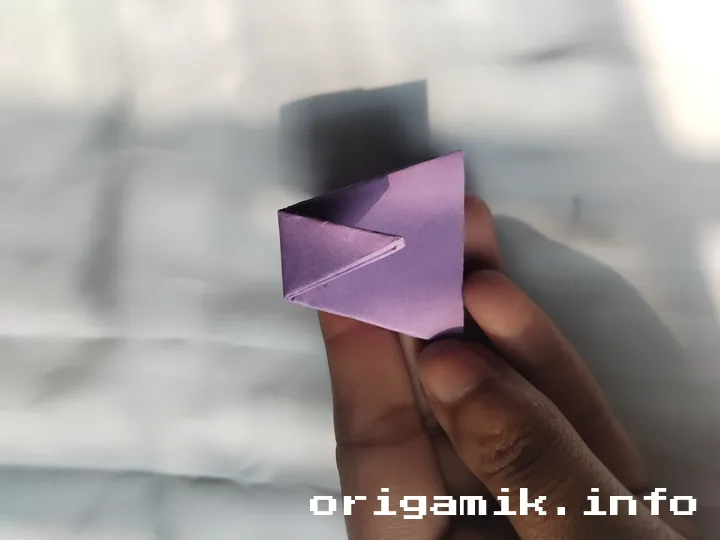
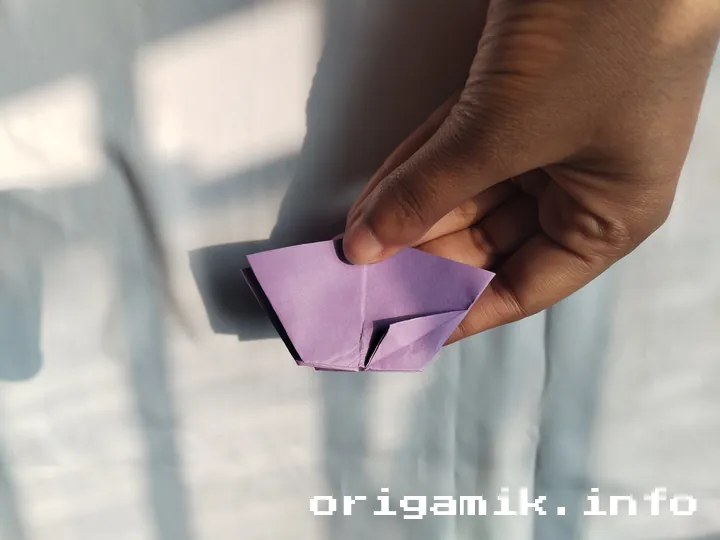
Step 3: Fold Between the X Creases
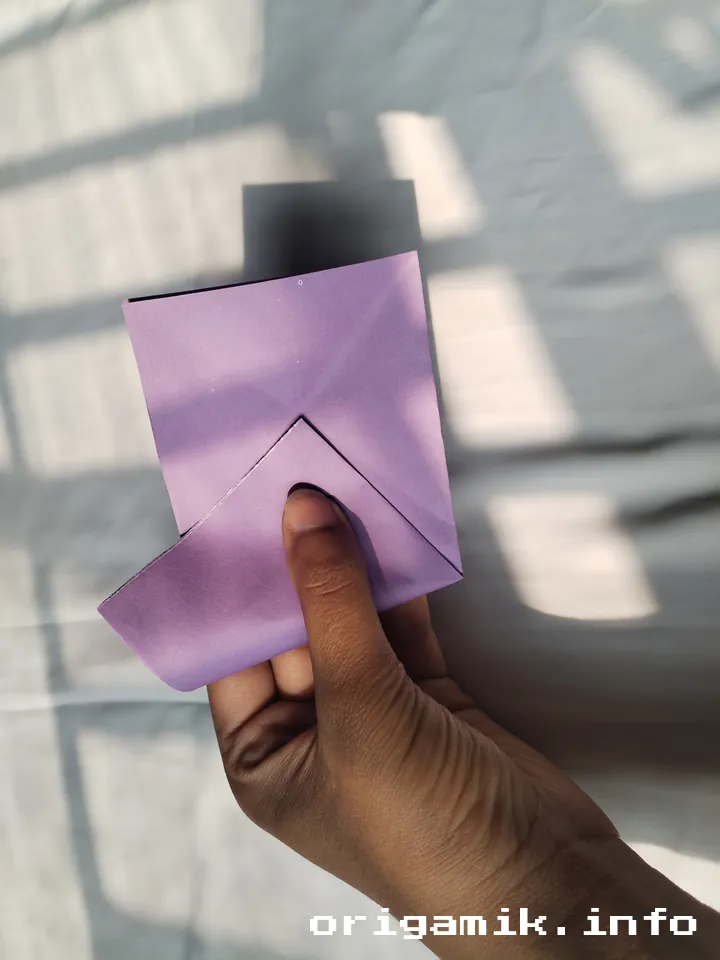
Bring the left side over and fold between the X creases. Next, fold another paper along the centerline.
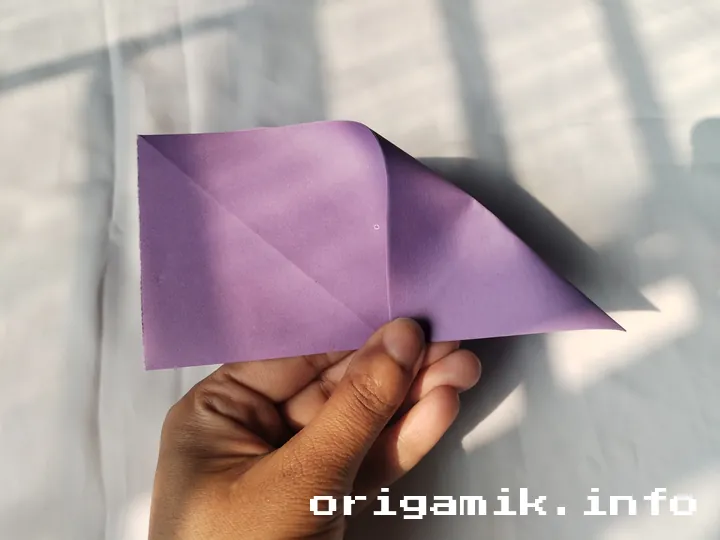
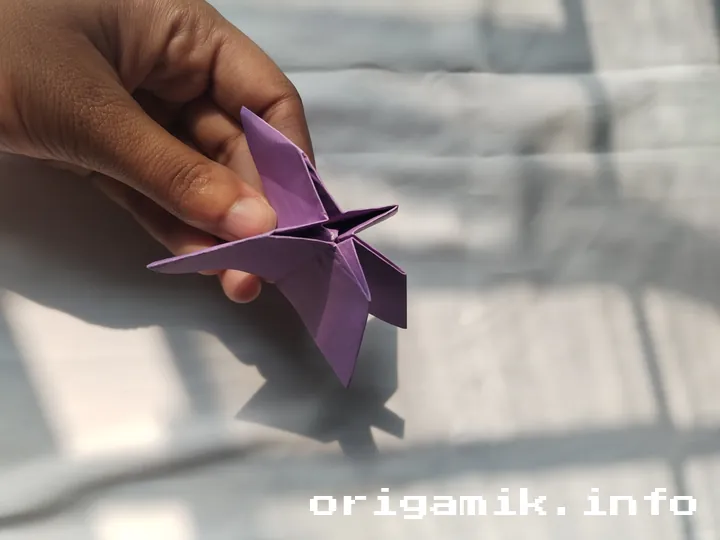
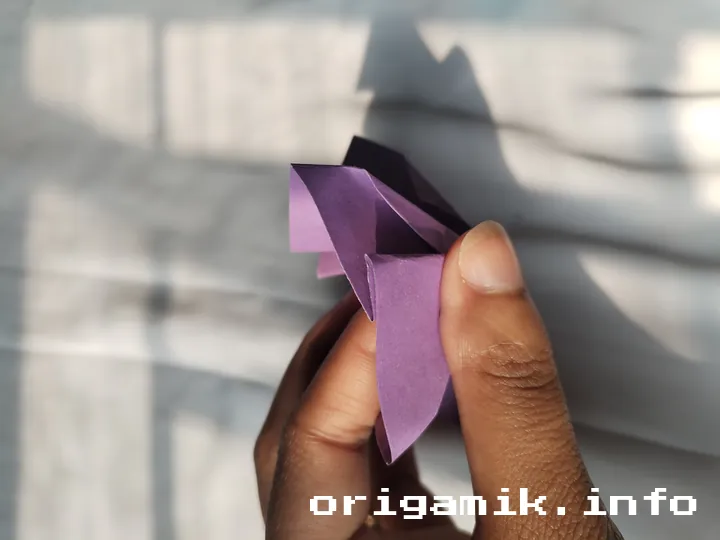
Step 4: Cut and Create the Petals
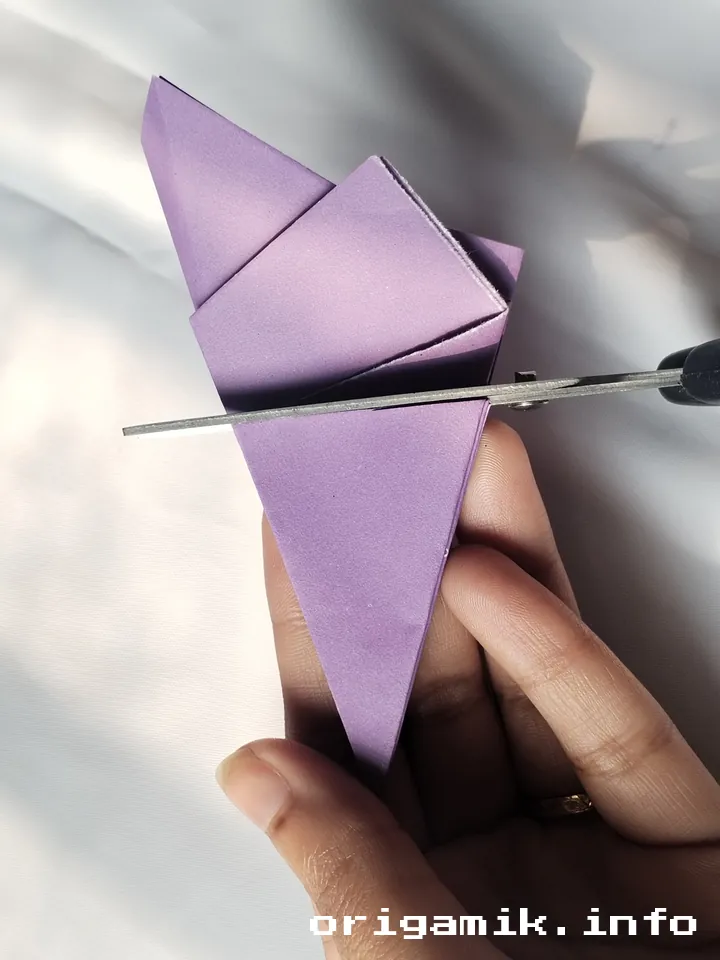
Use scissors to cut the top paper. Then, make two additional folds on the upper section and gently unfold.
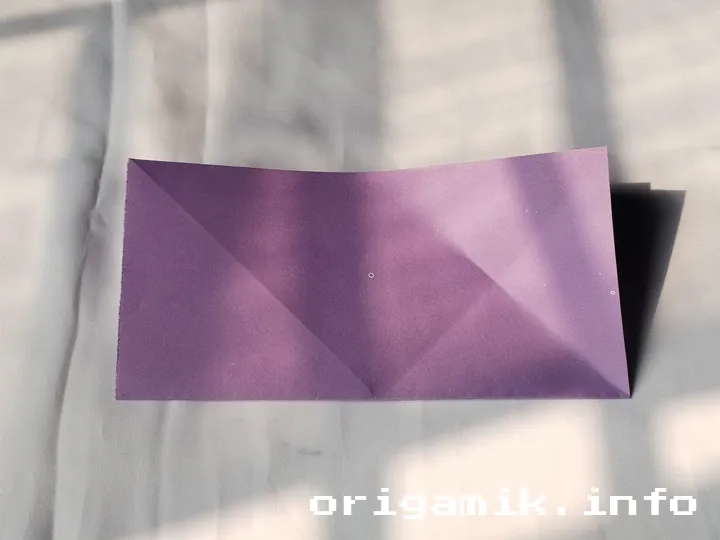
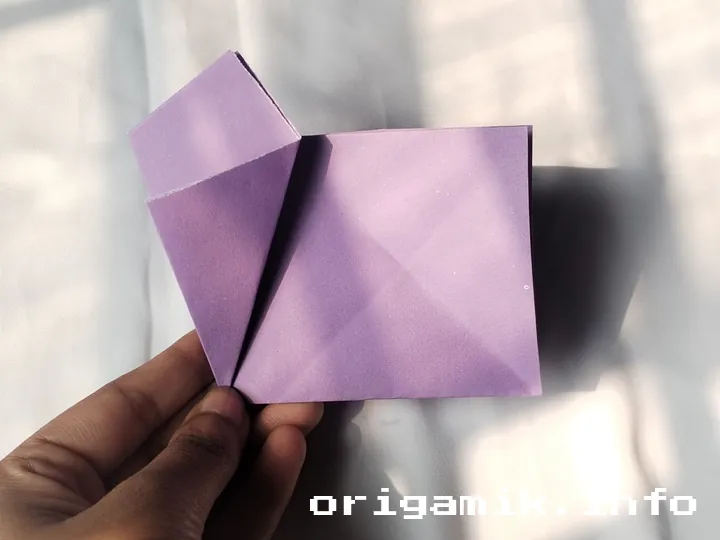
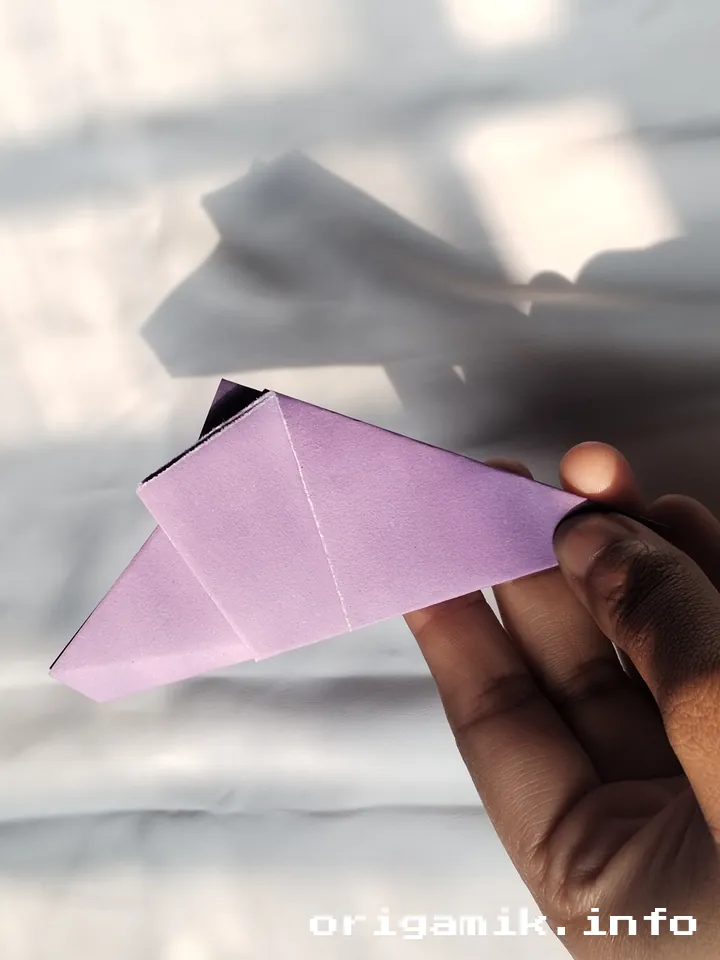
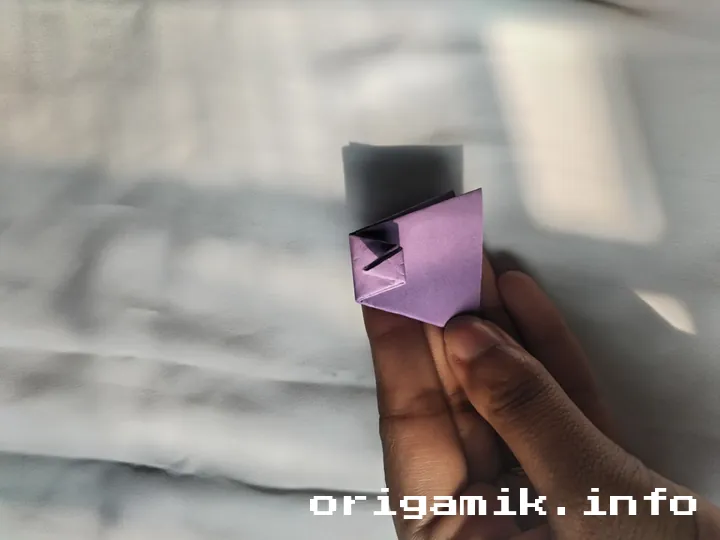
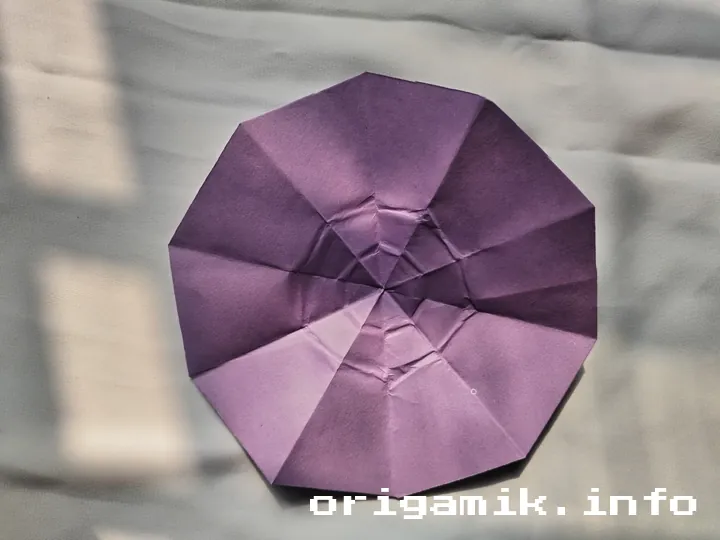
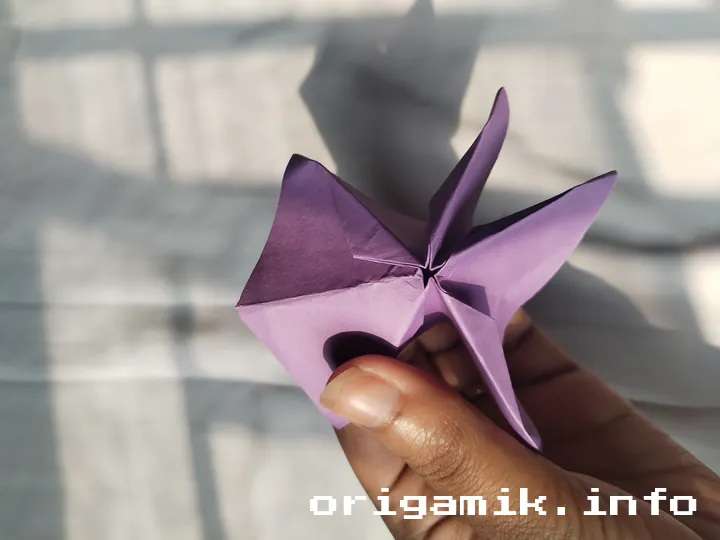
Step 5: Shape the Blossom


Follow the crease patterns and fold each corner to refine the shape.
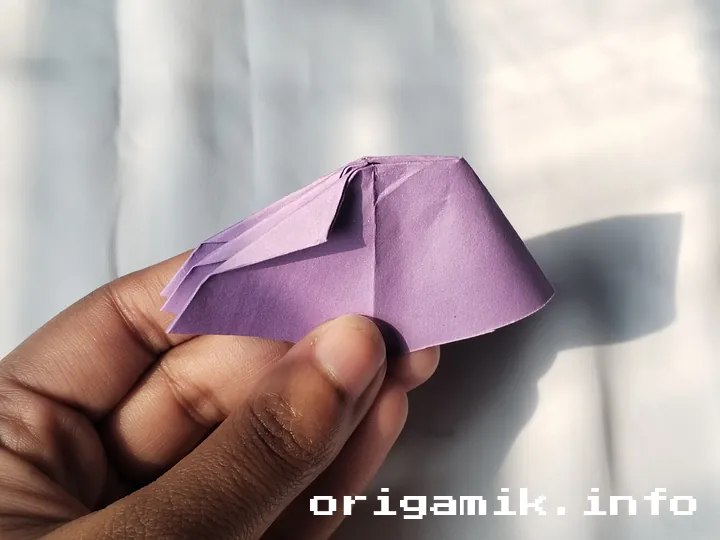
Step 6: Form the Upper Section
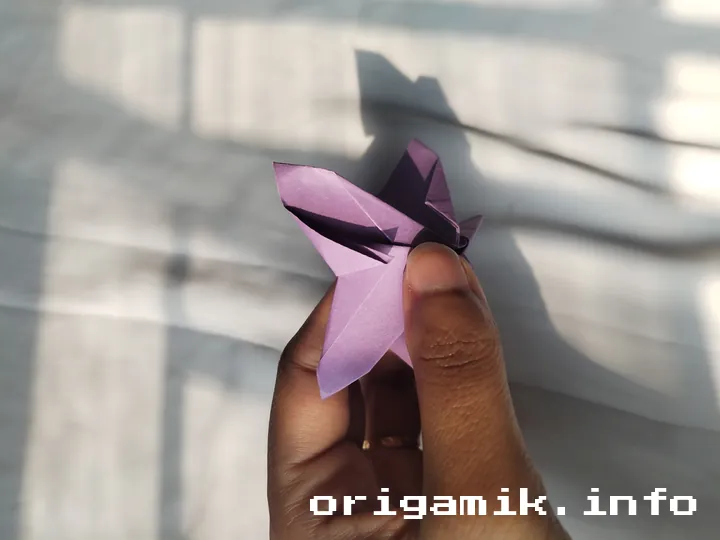
Carefully fold between the two upper corners, ensuring symmetry and a natural floral appearance.
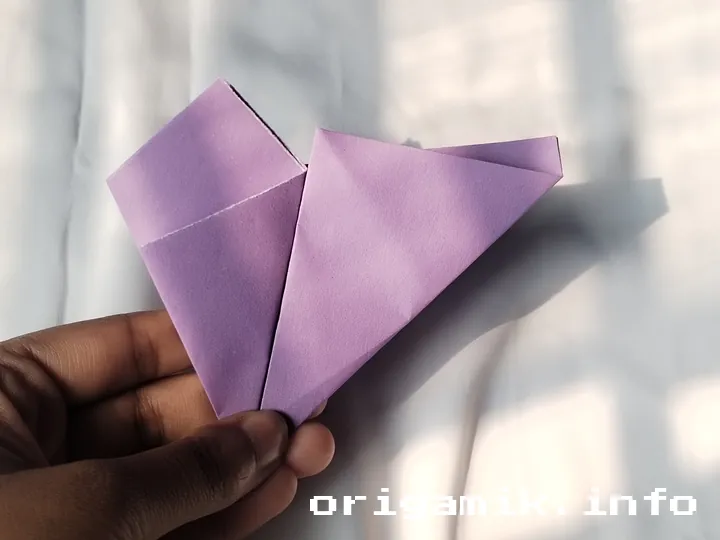
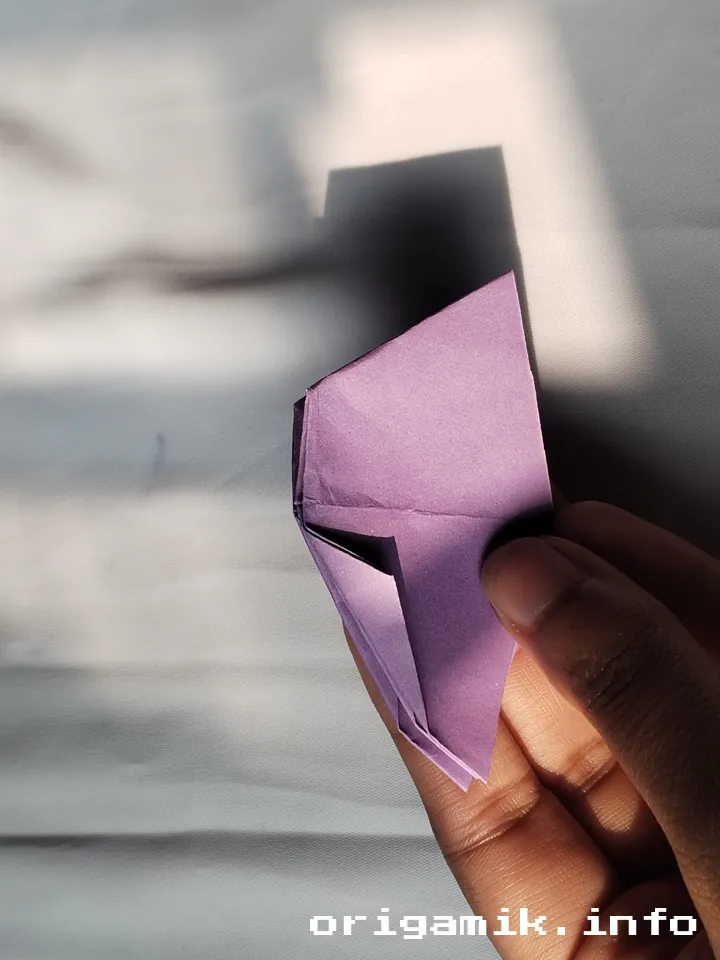
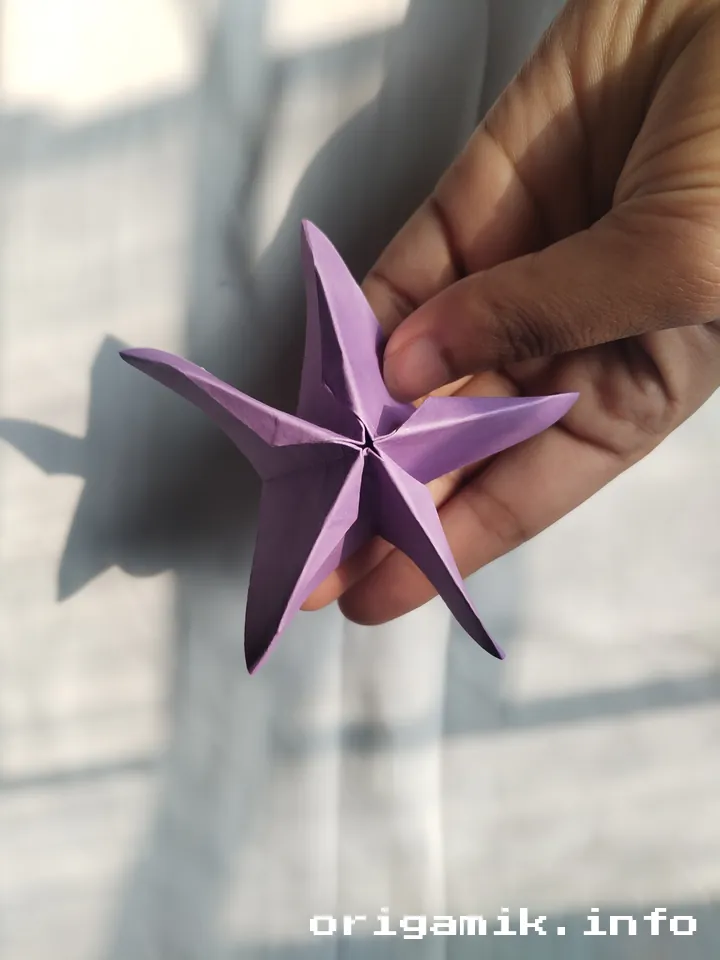
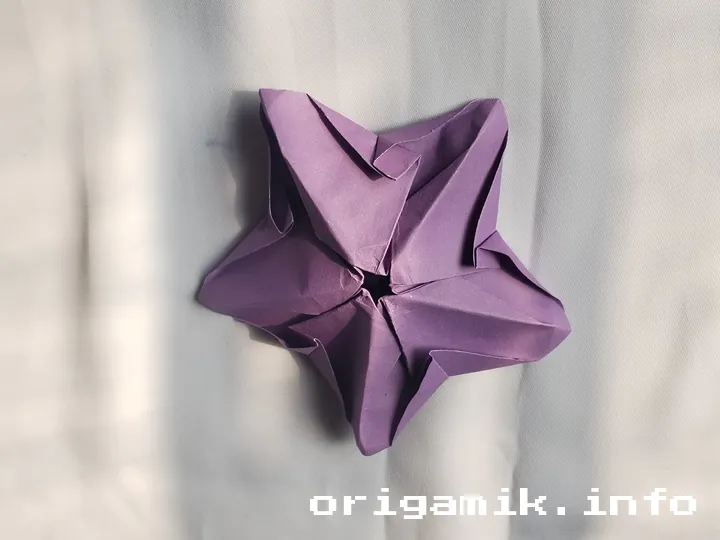
Step 7: Final Touches
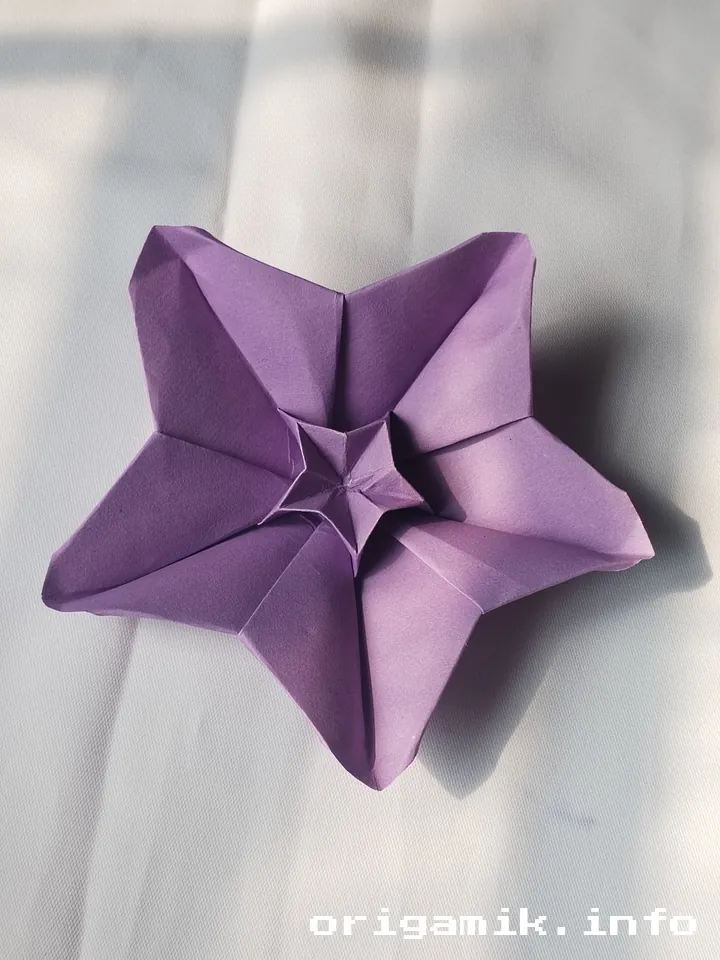
Unfold slightly, adjust where necessary, and admire your Origami cherry blossom masterpiece!
Tips for Success
- Use thin paper – Thicker paper is harder to fold neatly.
- Press folds firmly – This ensures crisp lines and a clean finish.
- Take your time – Rushing can lead to uneven petals.
Common Mistakes & How to Avoid Them
| Mistake | Solution |
| Uneven folds | Align edges before pressing down |
| Paper tearing | Use thinner folds and go slow |
| Petals not symmetrical | Double-check before finalizing folds |
Similar Variations You Can Try
Looking to expand your origami skills? Try these variations:
- Layered Cherry Blossom – Adds extra dimension.
- Multi-Colored Blossoms – Use different shades for a vibrant effect.
- Mini Cherry Blossoms – Perfect for scrapbooking or decor.
FAQs
How long does it take to make an Origami Cherry Blossom?
It takes about 10–15 minutes for beginners and 5 minutes for experienced folders.
Can I use regular printer paper?
Yes, but origami paper is recommended for smoother folds.
What can I do with my finished cherry blossoms?
Use them for greeting cards, wall art, gift wrapping, or table decorations.
Conclusion
Now you know exactly how to make cherry blossom using origami! With patience and practice, you can create stunning floral designs effortlessly.
Try different variations, and don’t forget to share your creations. Happy folding!