

Daffodils are nature’s little sunbursts, brightening gardens every spring. But what if you could craft one from just a simple piece of paper?
Origami lets you do just that! With a few folds and creases, you can create a stunning easy Origami Daffodil flower that looks just like the real thing.
Stick with me, and I’ll guide you through the Origami Daffodil flower instructions in a way that’s fun, simple, and rewarding.
What is an Origami Daffodil Flower?
An origami daffodil is a beautiful paper version of the classic spring flower. With its unique trumpet-shaped center and six delicate petals, it’s a great project for beginners and seasoned origami lovers alike.
Definition List
- Origami – The Japanese art of paper folding, used to create intricate designs from a single sheet of paper.
- Daffodil – A flower known for its bright yellow petals and central corona, often associated with spring and renewal.
- Crease Pattern – A set of pre-folded lines that help shape the final origami figure.
Creating this flower is more than just folding paper—it’s about capturing the essence of spring in a fun, hands-on way.
Materials Needed
Before we start folding, gather everything you need. Having the right materials ensures a smoother process.
| Item | Details |
|---|---|
| Paper Size | 10×10 cm square paper (any color) |
| Extra Paper | Another sheet for the stem |
| Flat Surface | Helps with precise folding |
| Patience | Folding takes practice! |
Using high-quality origami paper will give you crisp, clean folds that hold their shape.
Simple Daffodil Flower Step by Step
Follow these how to make Daffodil flower instructions carefully. Each fold brings you closer to a perfect origami daffodil!
Step 1: Prepare Your Paper
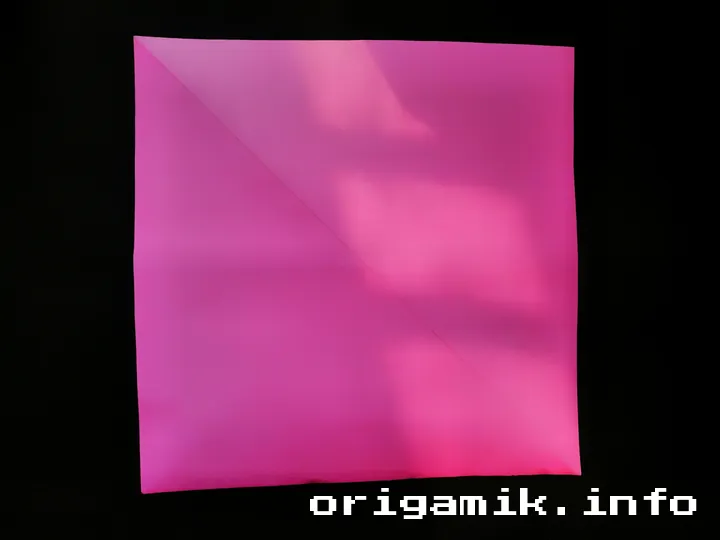
- Start with a 10×10 cm square piece of paper.
- A lighter shade of yellow works best to mimic real daffodils.
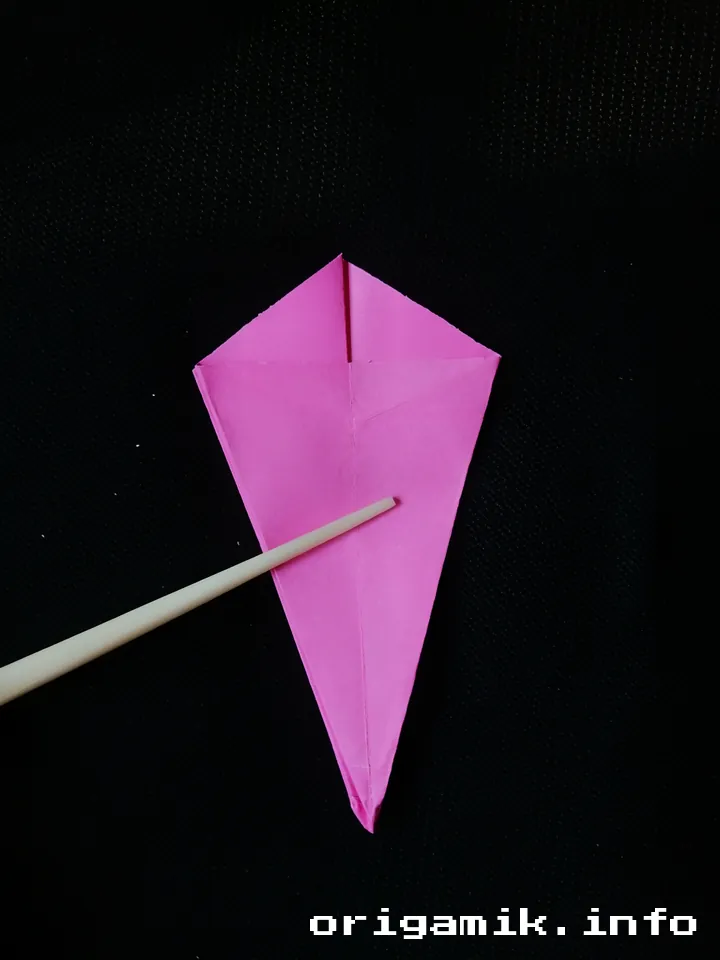
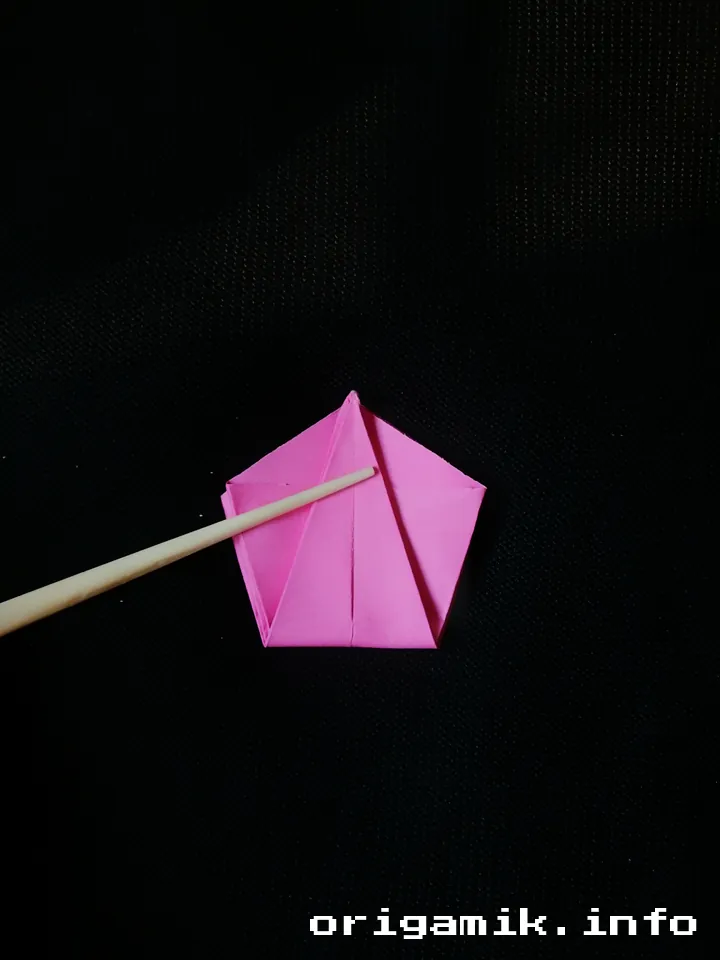
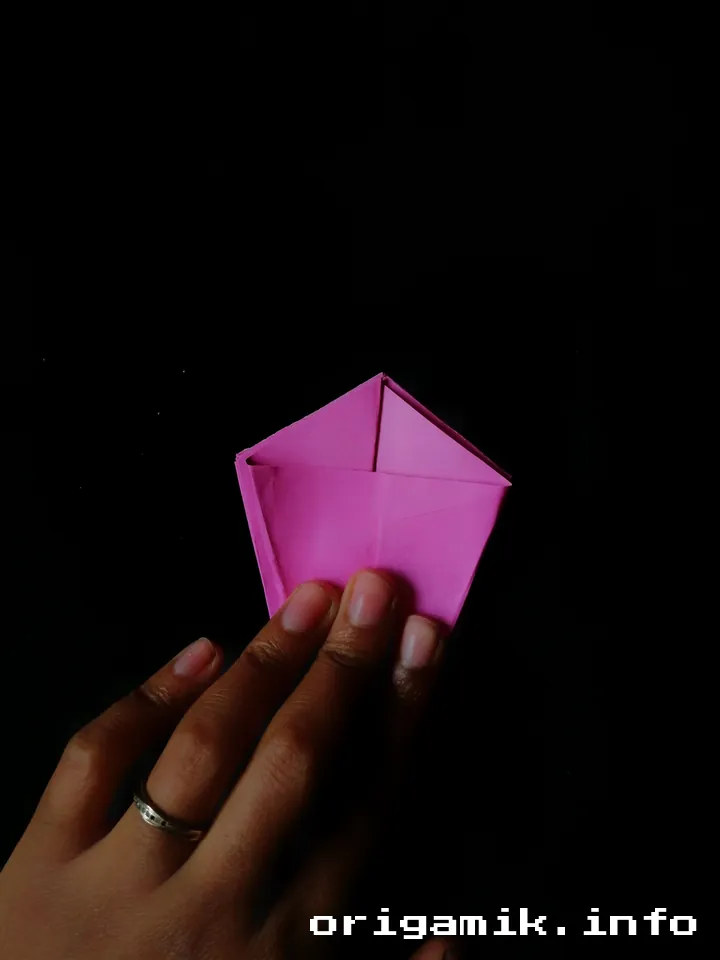
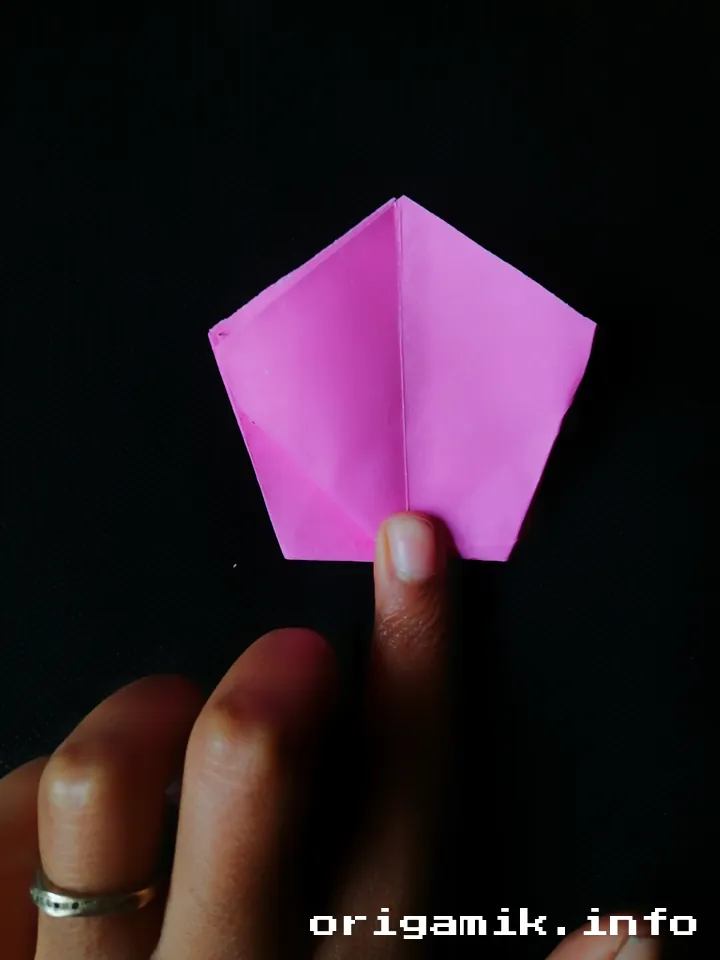
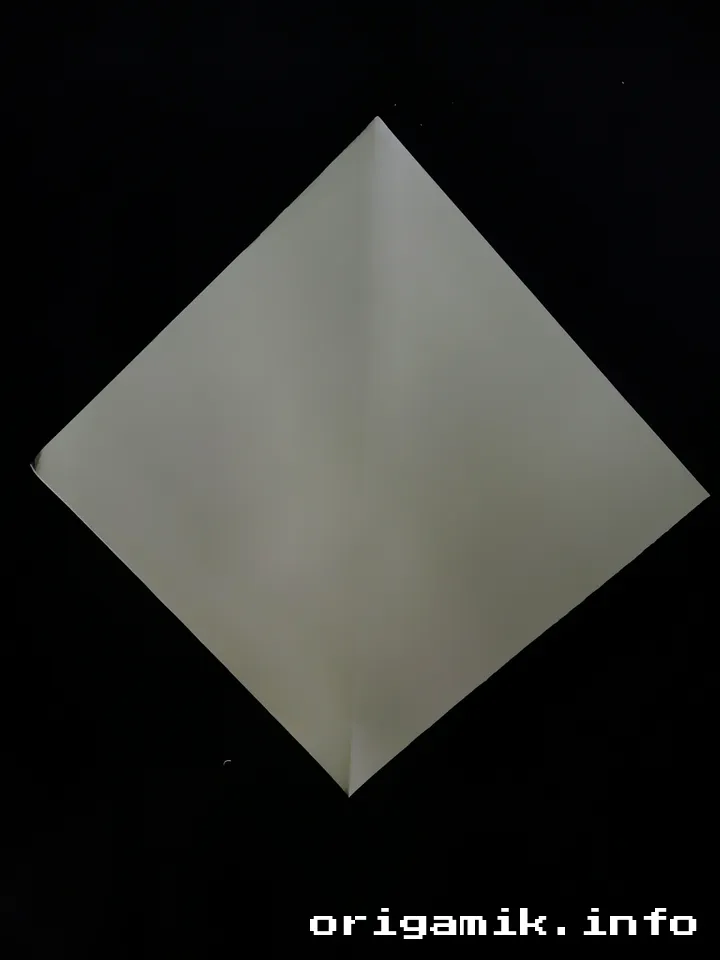
Step 2: Fold Into a Pentagon Shape
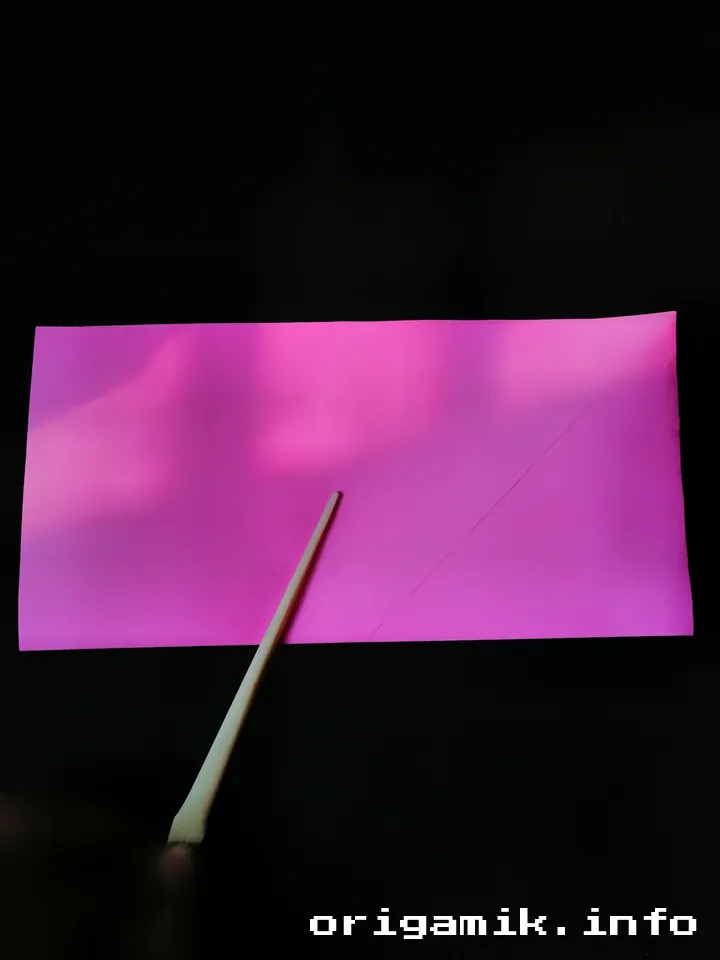


- Fold the paper into a basic pentagon shape as shown in the diagram.
- This step lays the foundation for the daffodil petals.
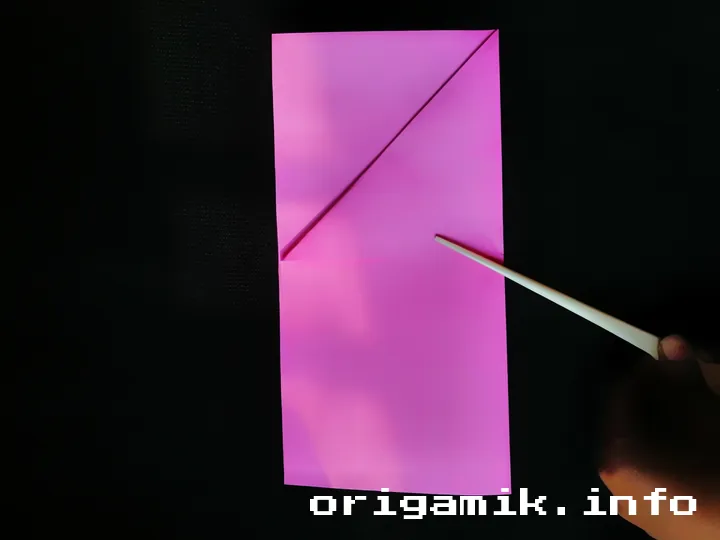
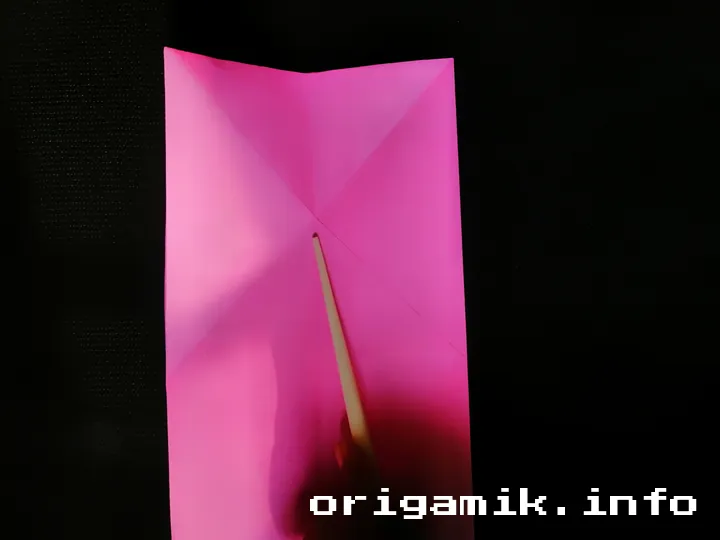
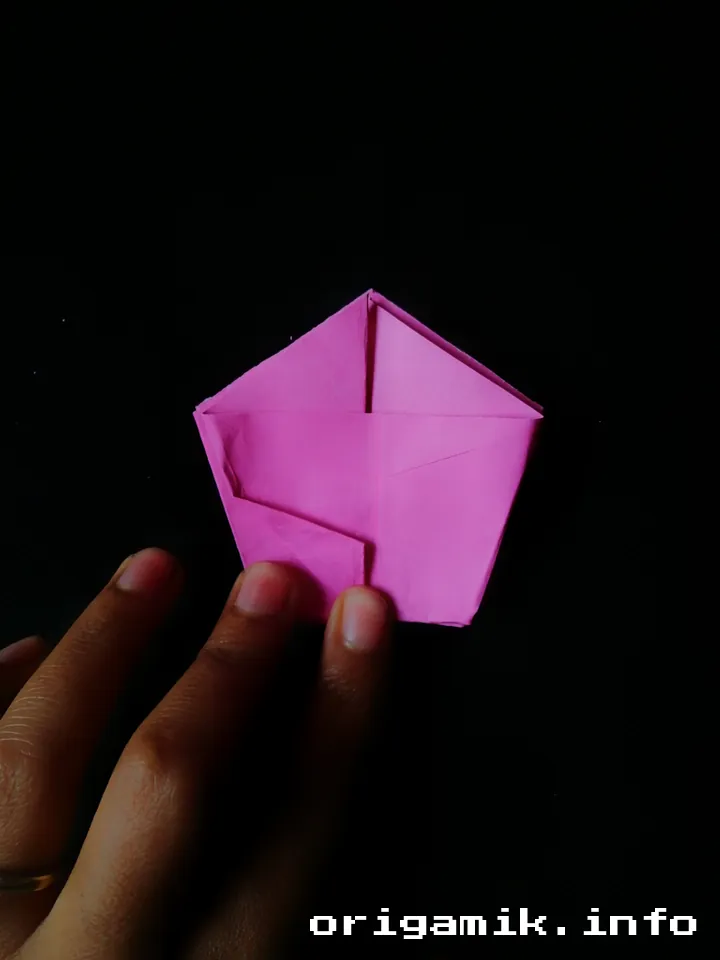
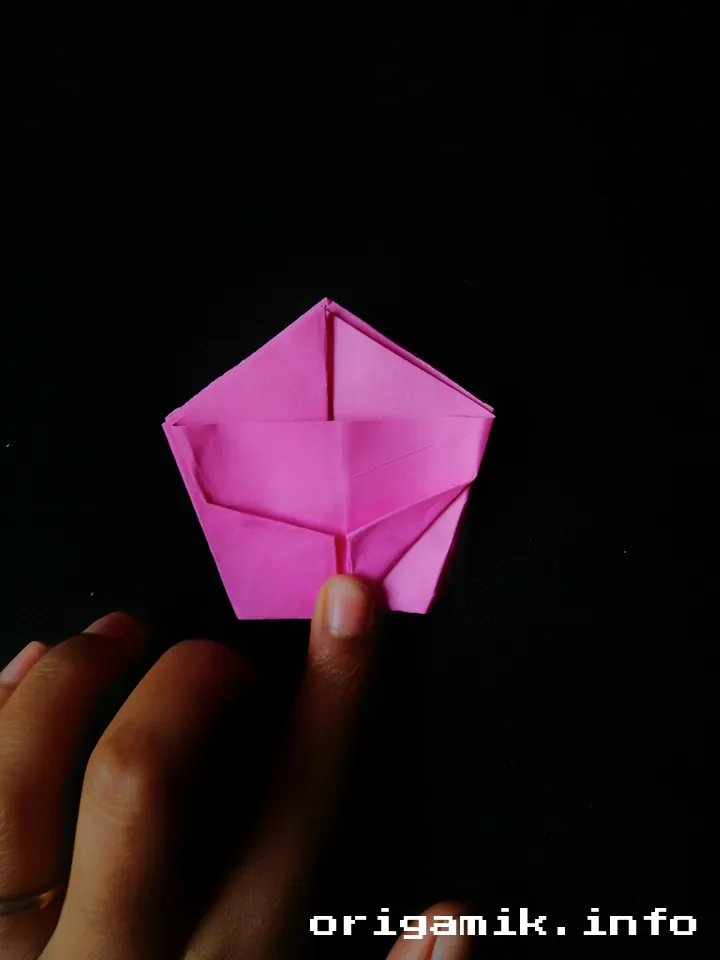
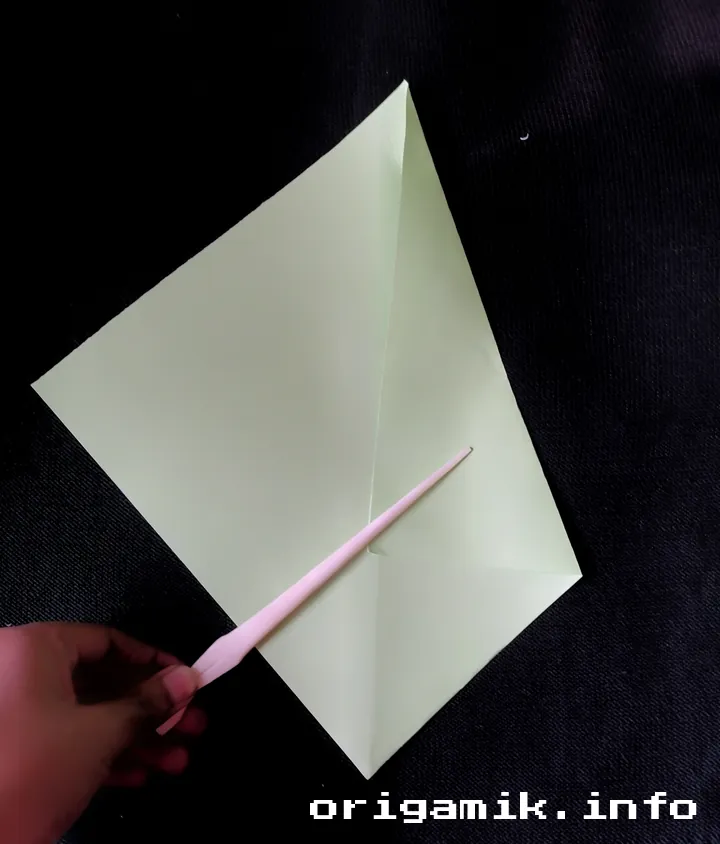
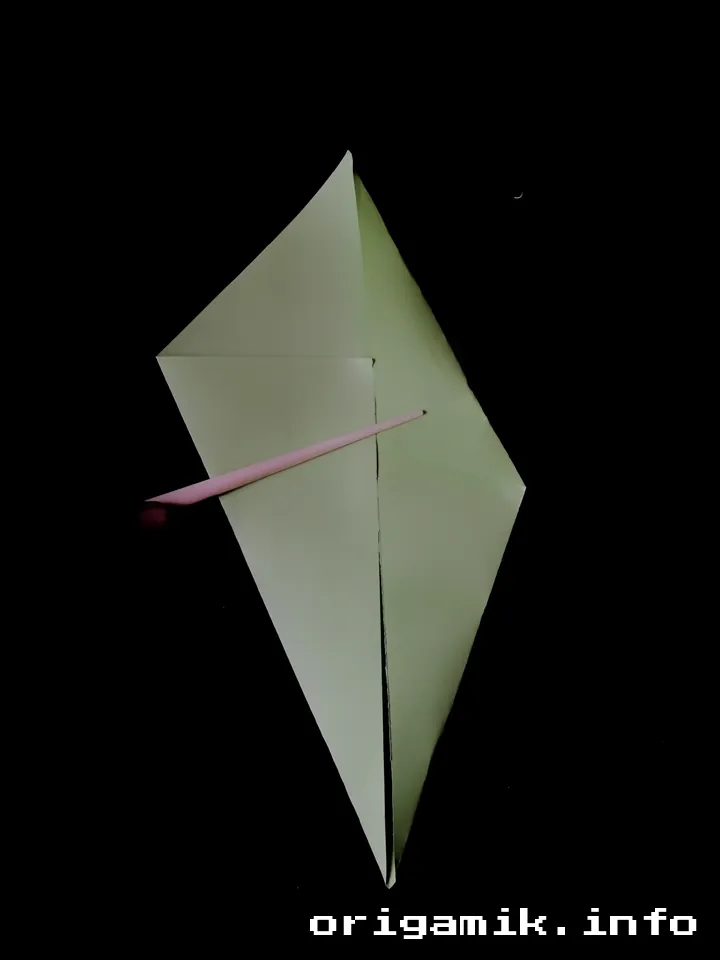
Step 3: Create the Crease Pattern

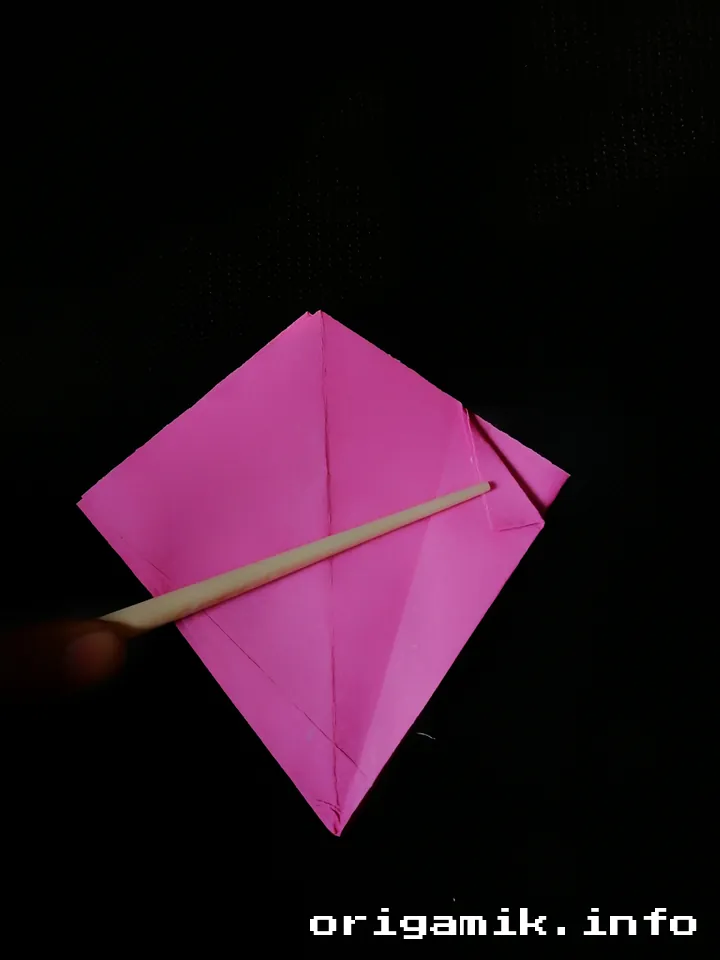
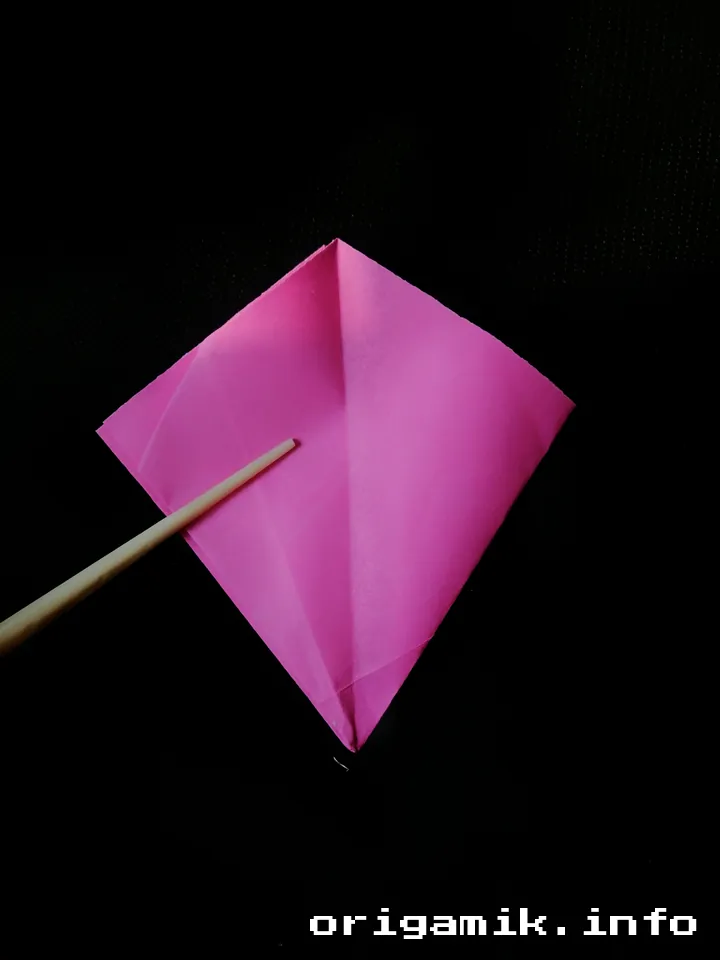
- Fold the paper to make crease lines across all sections.
- Creases help guide the next steps smoothly.
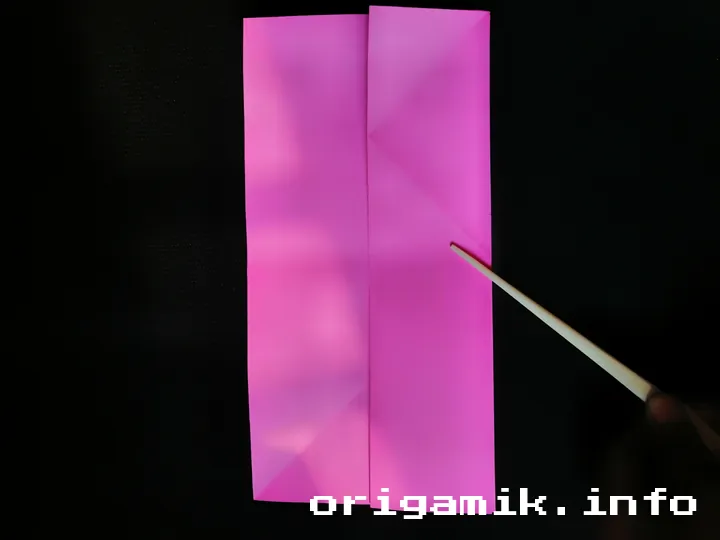
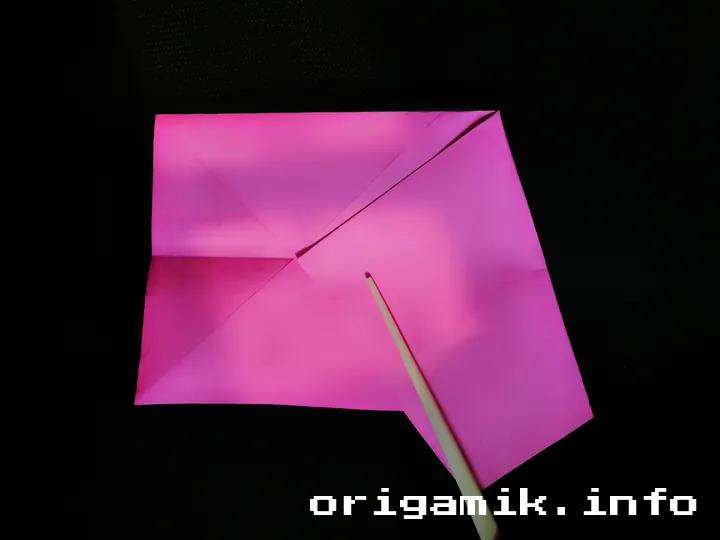
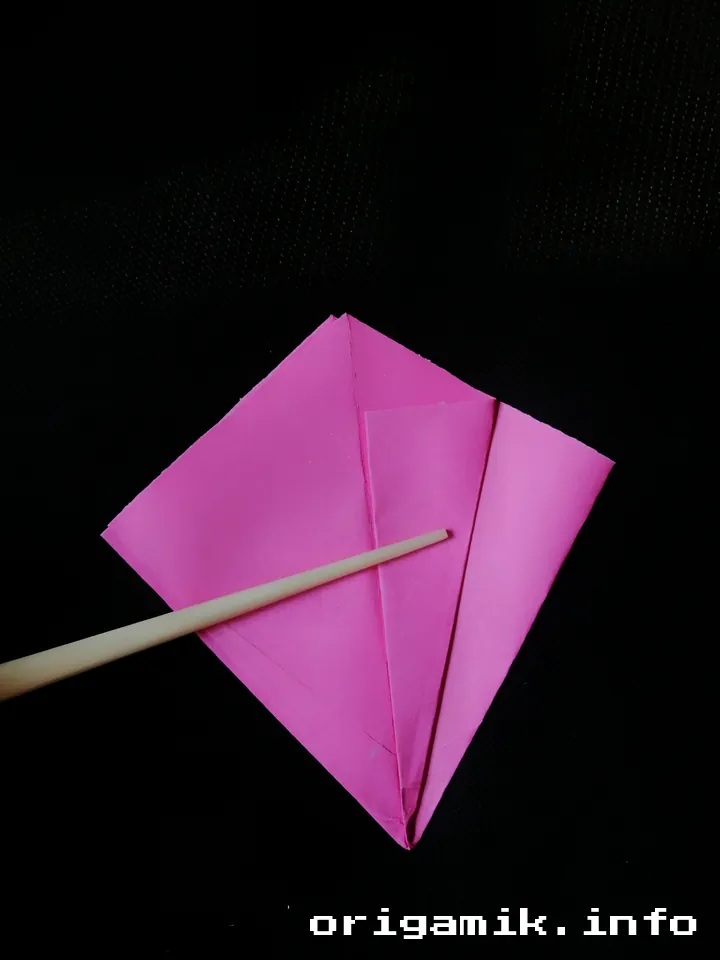
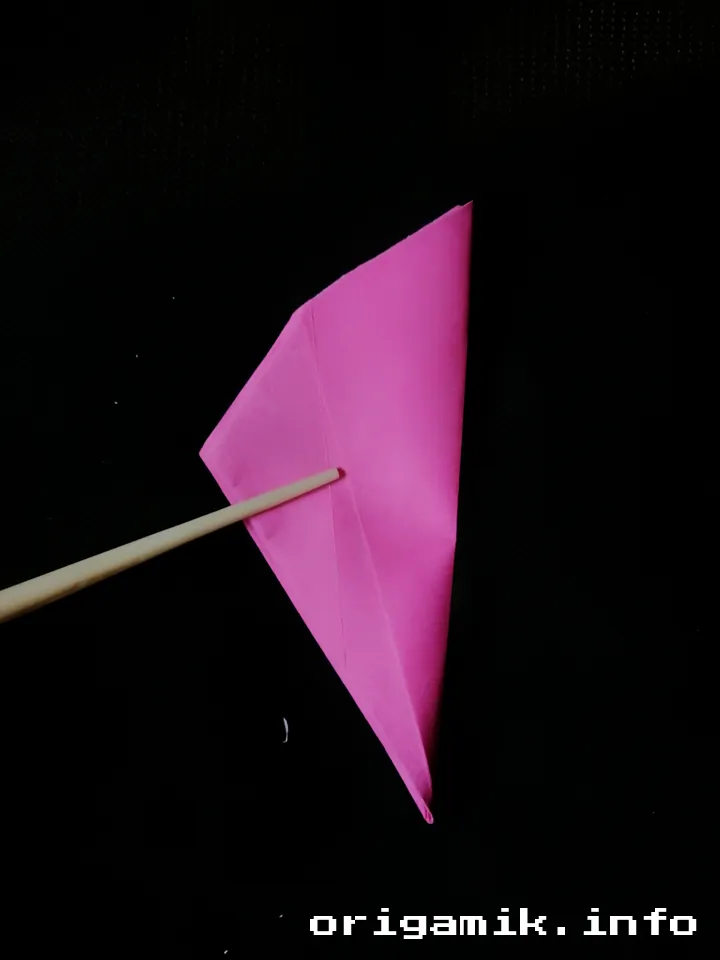
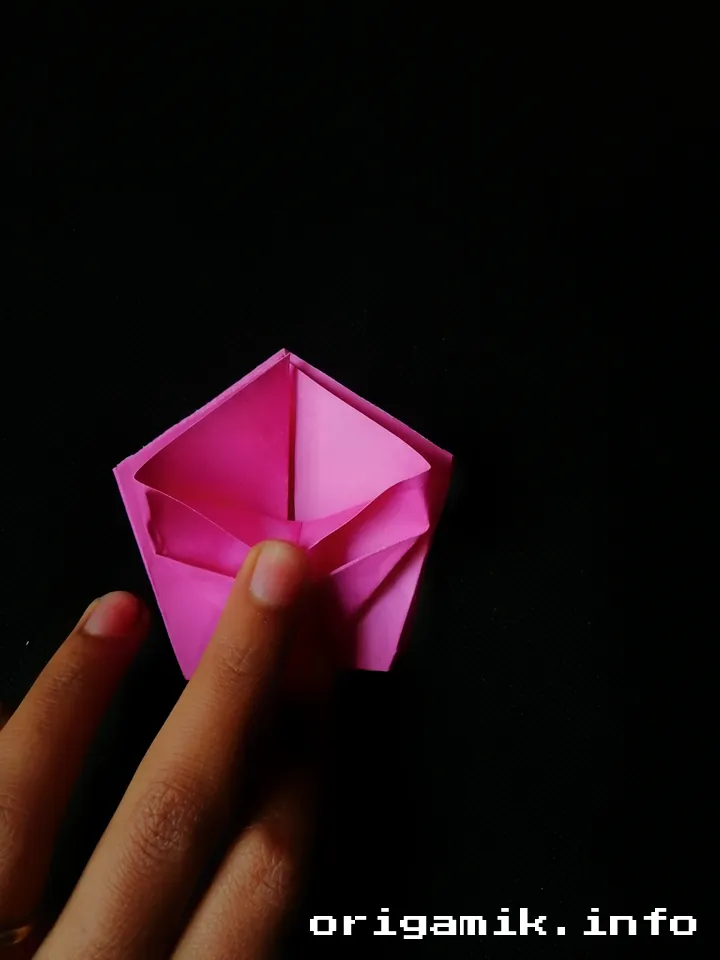
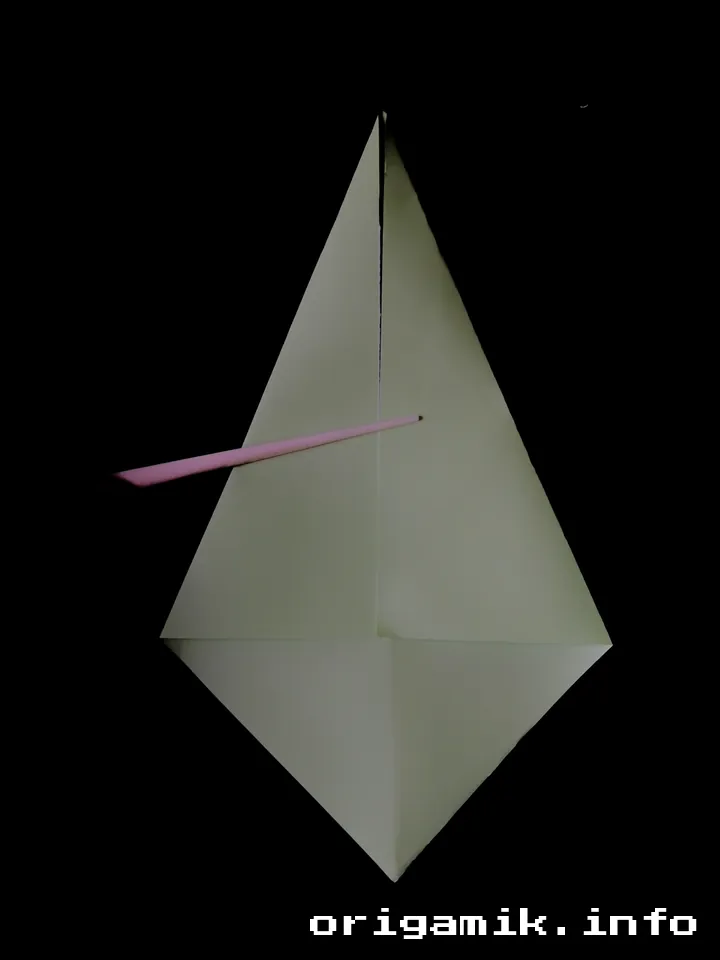
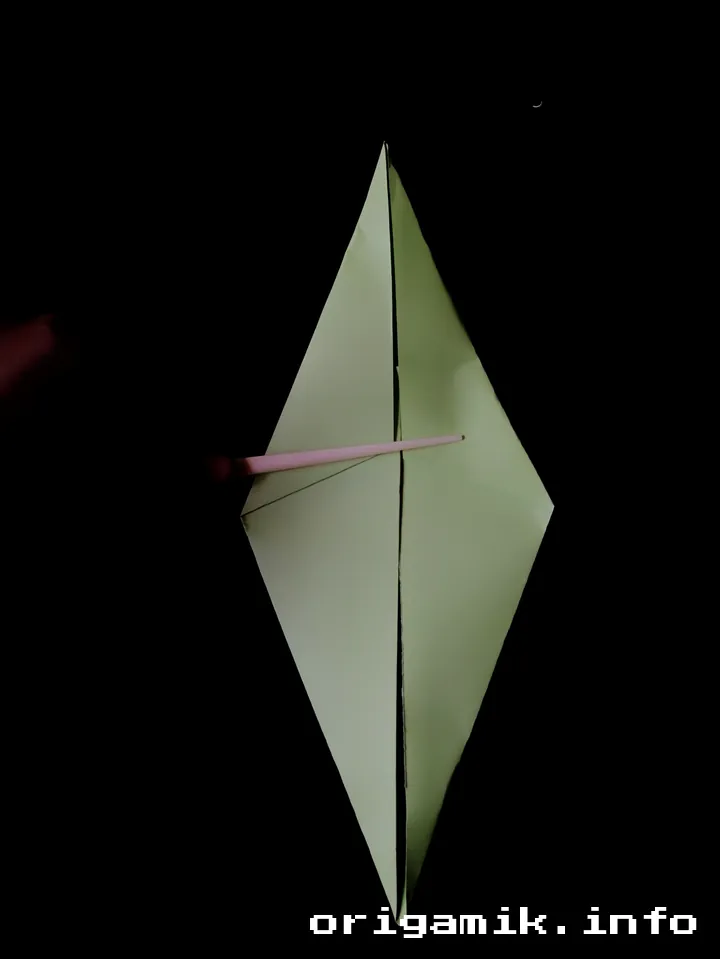
Step 4: Unfold and Re-Crease the Shapes
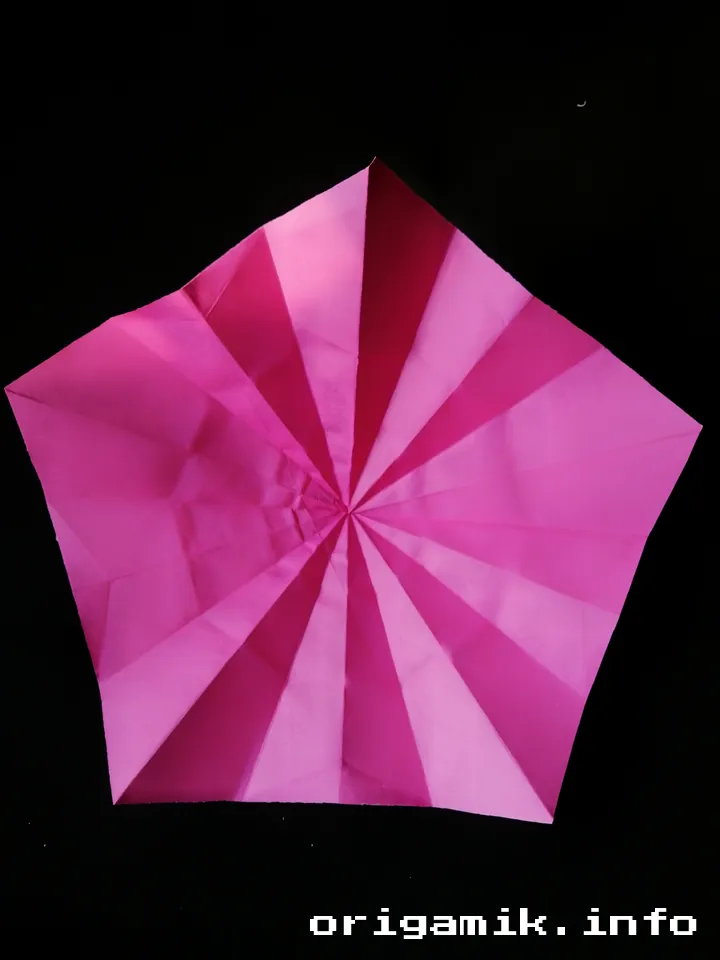


- Unfold the paper to reveal the big decagon and small decagon crease patterns.
- Press along the lines to reinforce them.
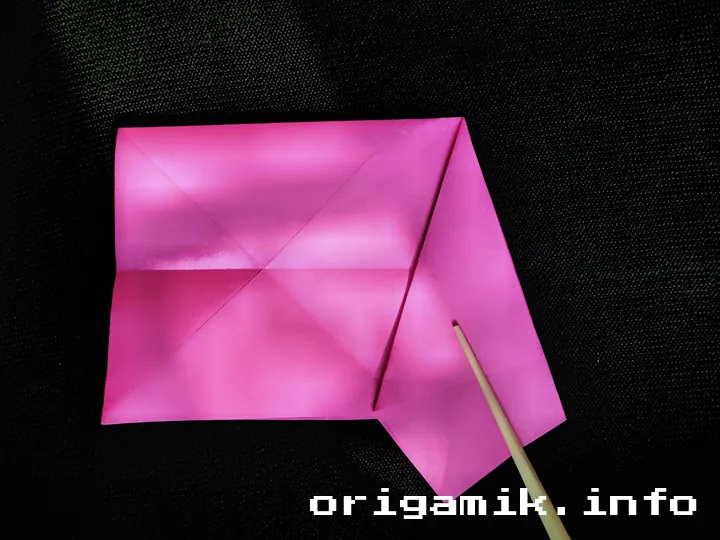
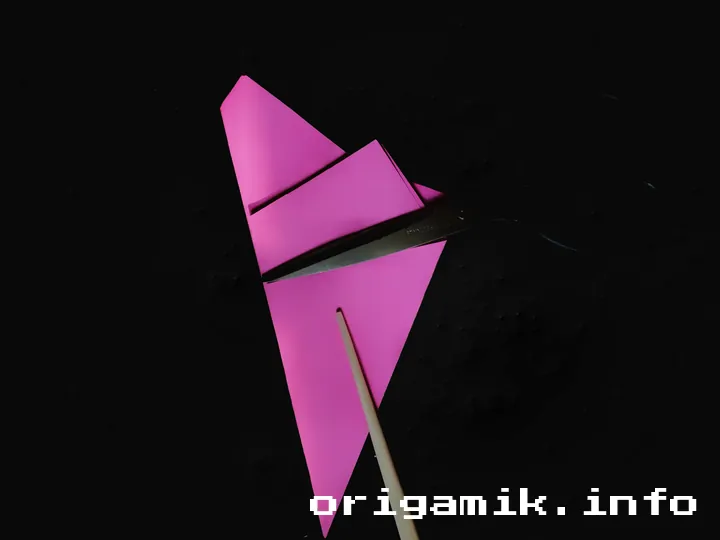
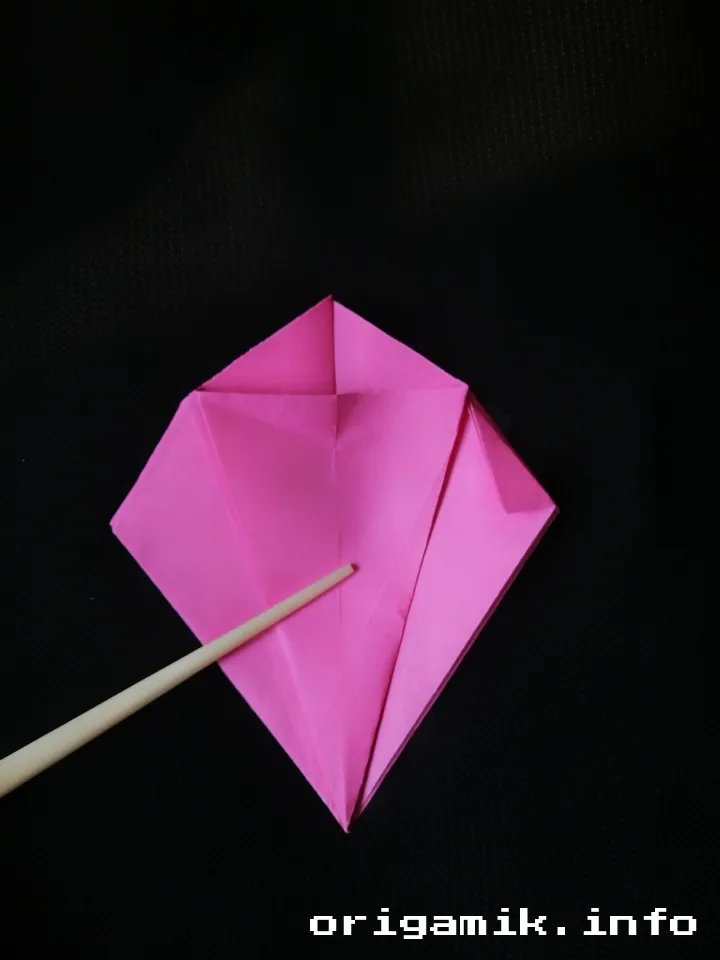
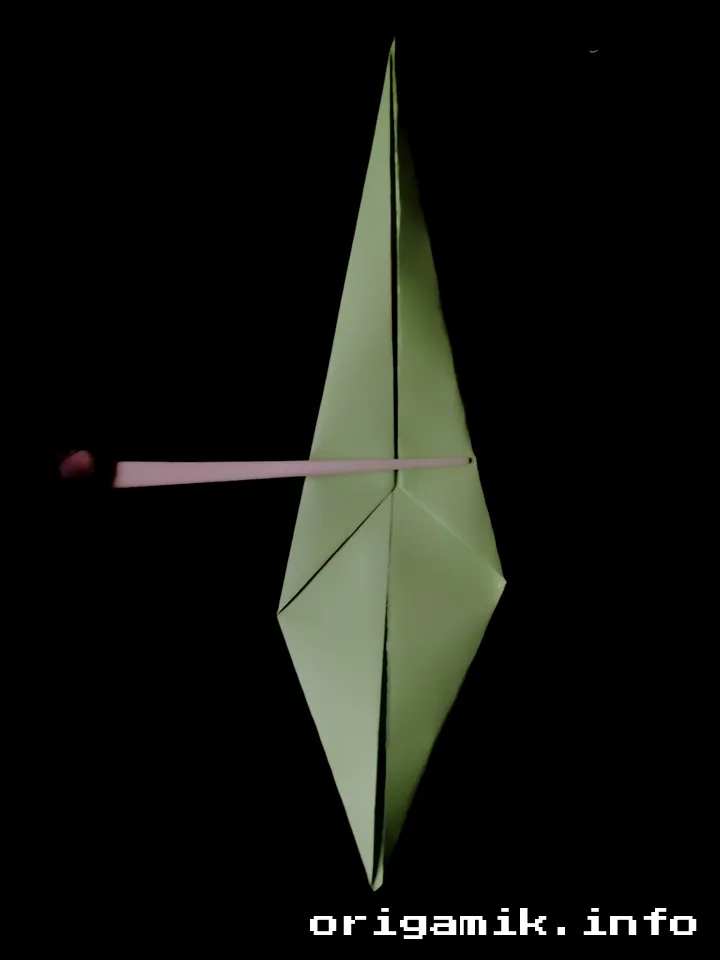
Step 5: Fold the Paper Backwards
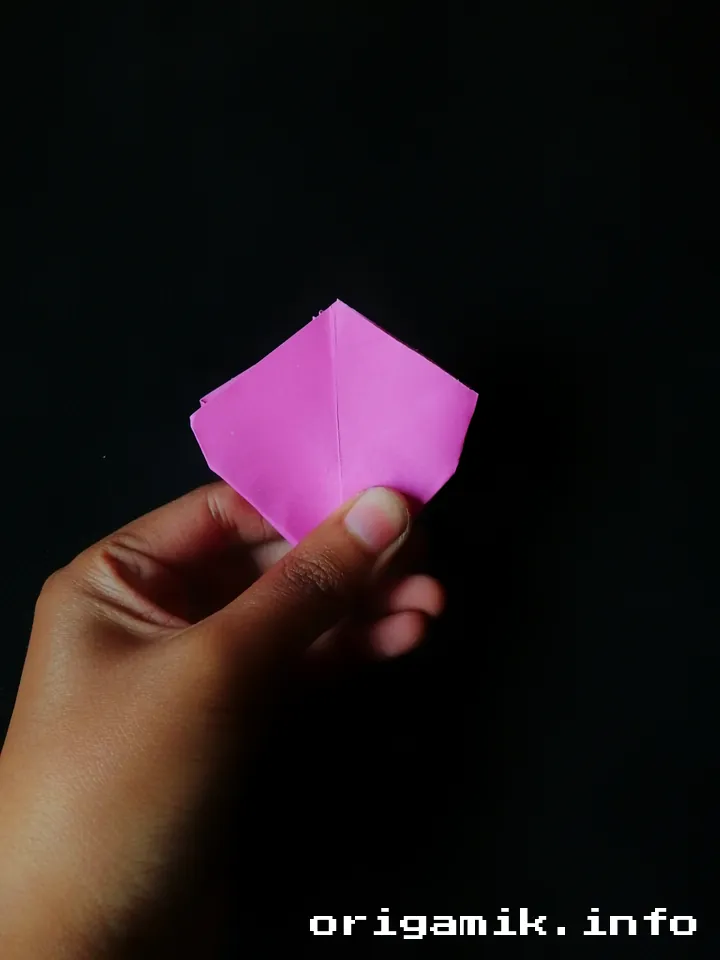
- Flip the paper over and reinforce each crease from the opposite side.
- This makes shaping the petals easier.
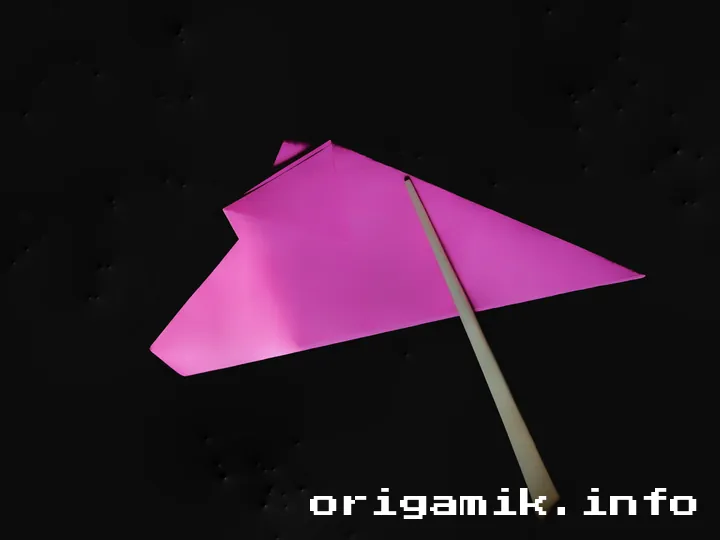
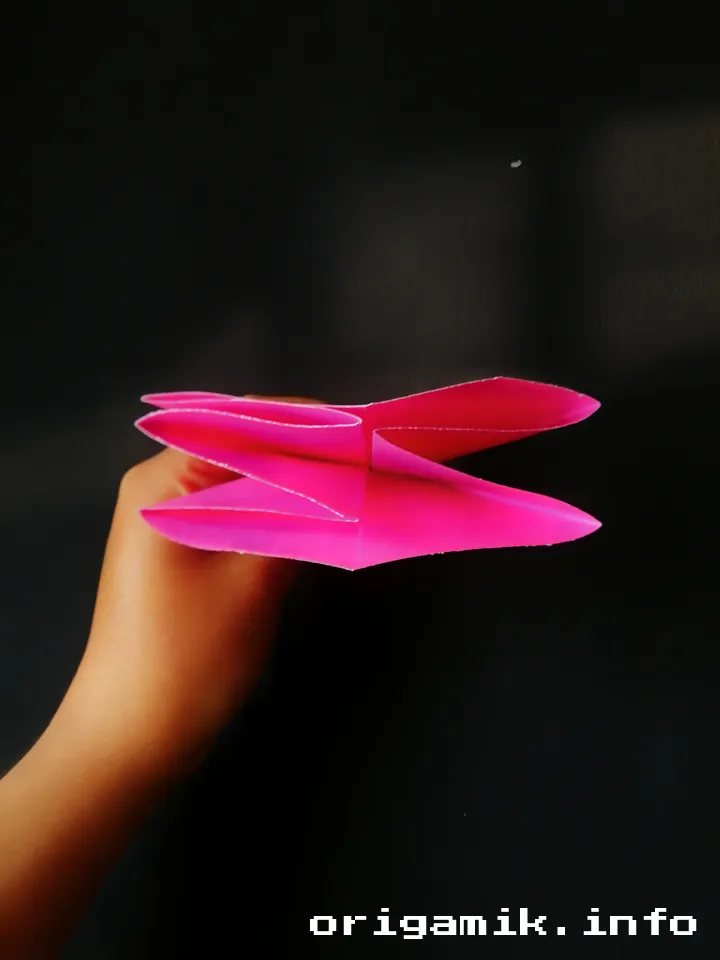
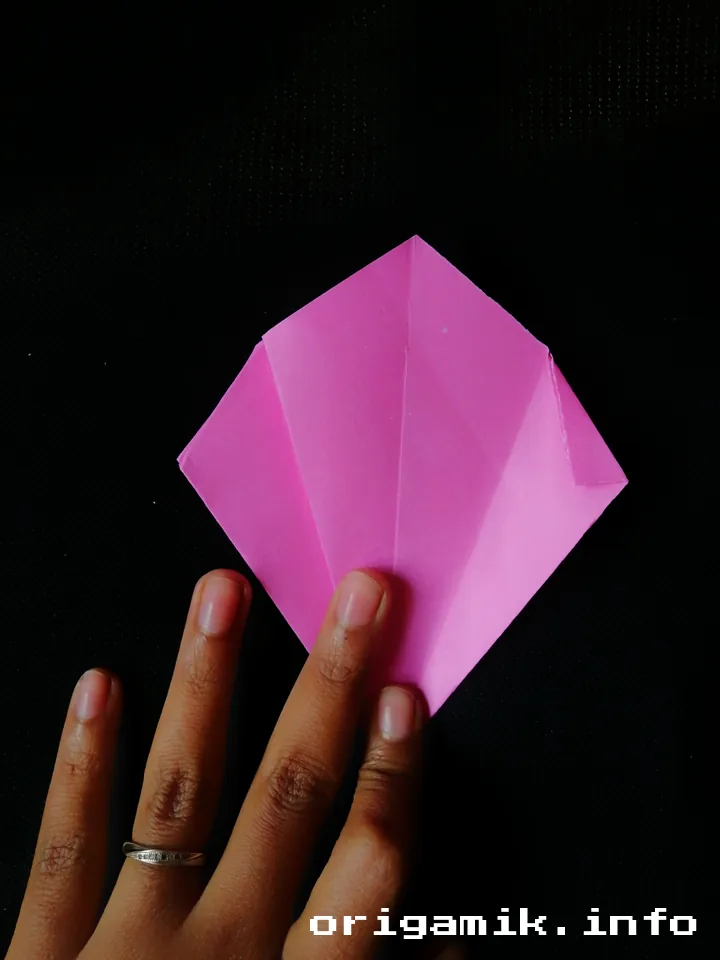
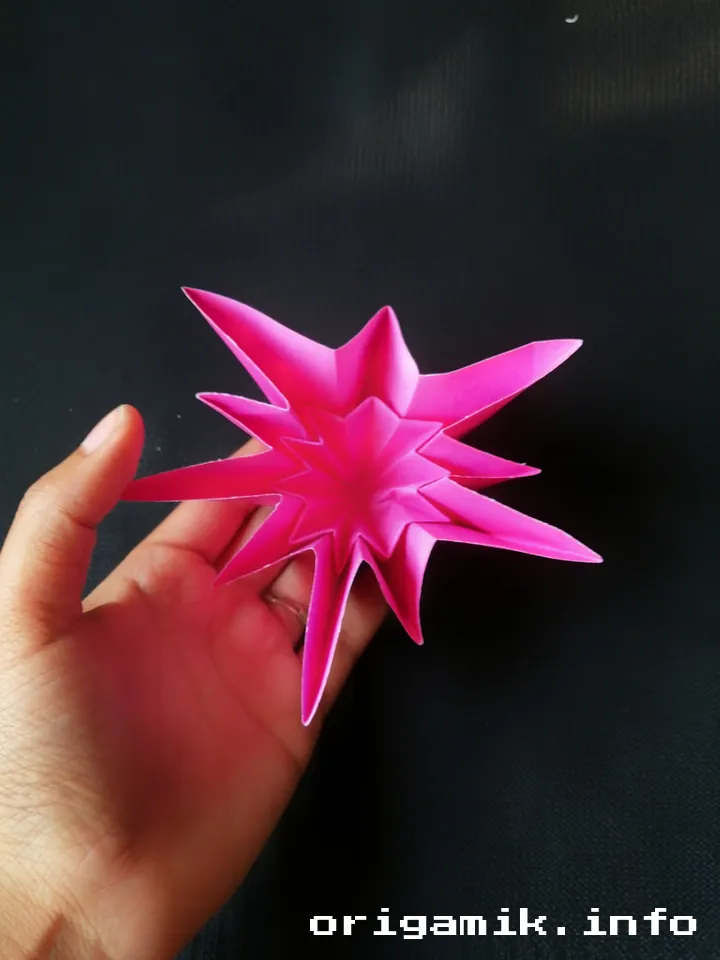
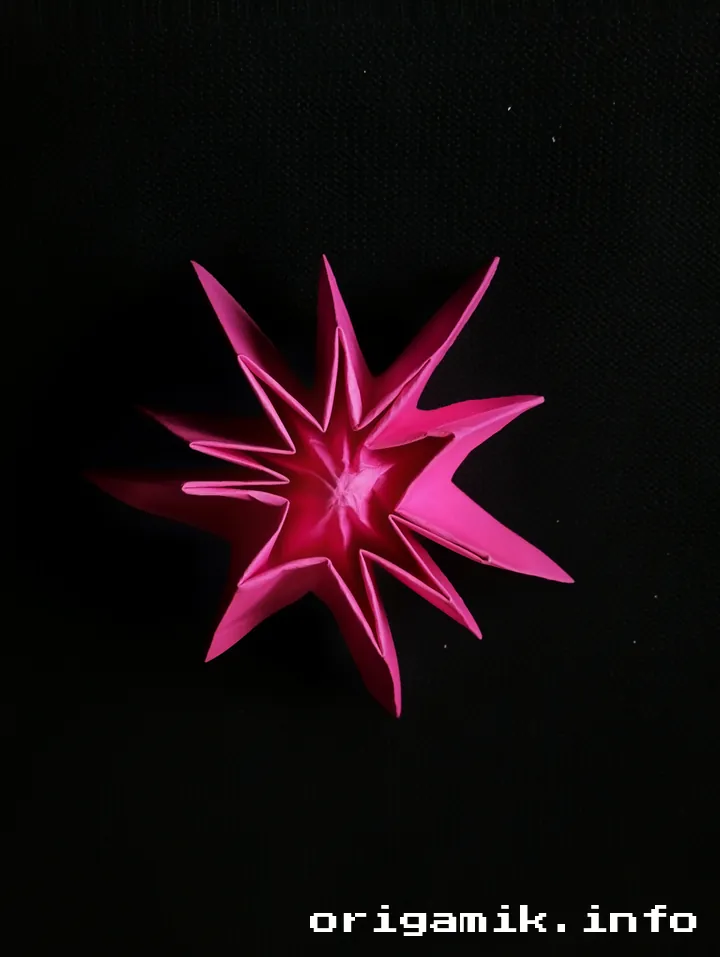
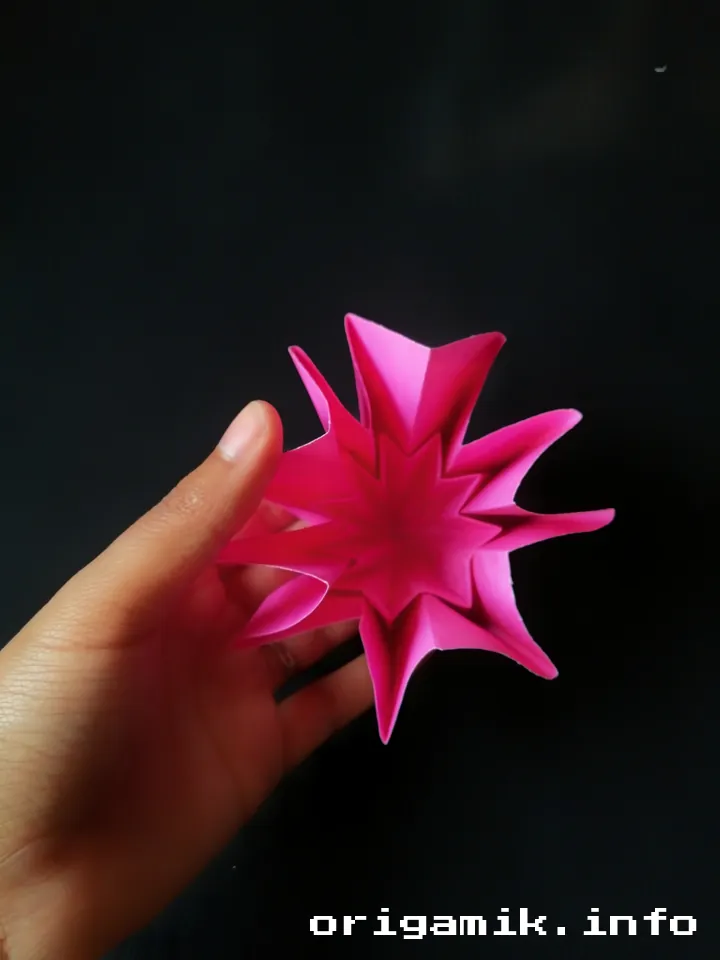
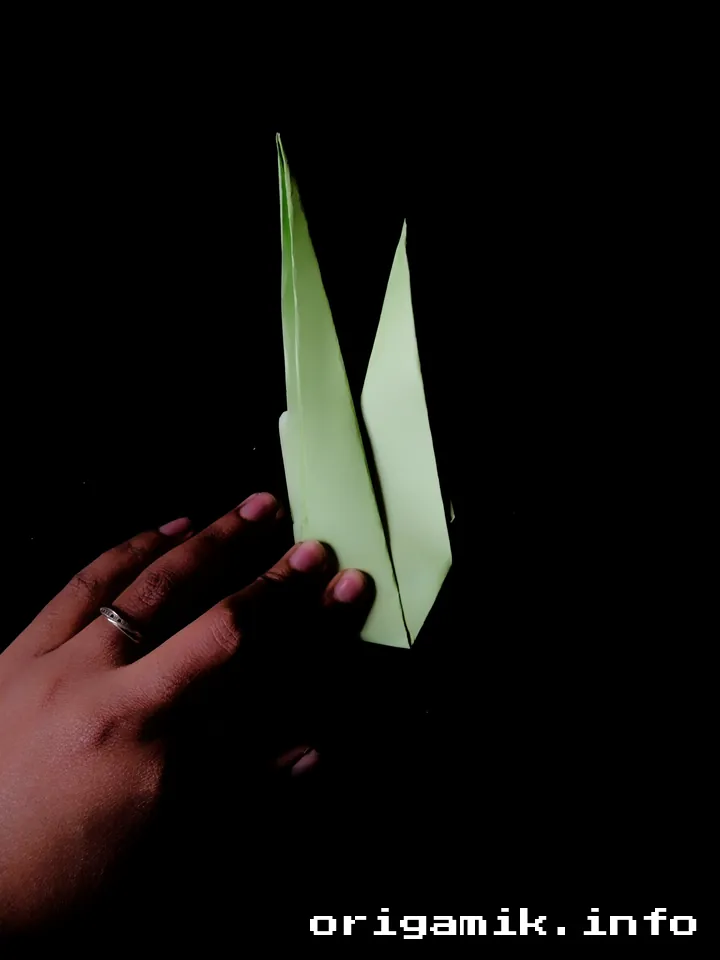
Step 6: Shape the Flower
- Slowly bring the creased edges together to form the daffodil petals.
- Adjust each petal for symmetry and a realistic look.
Step 7: Make the Stem
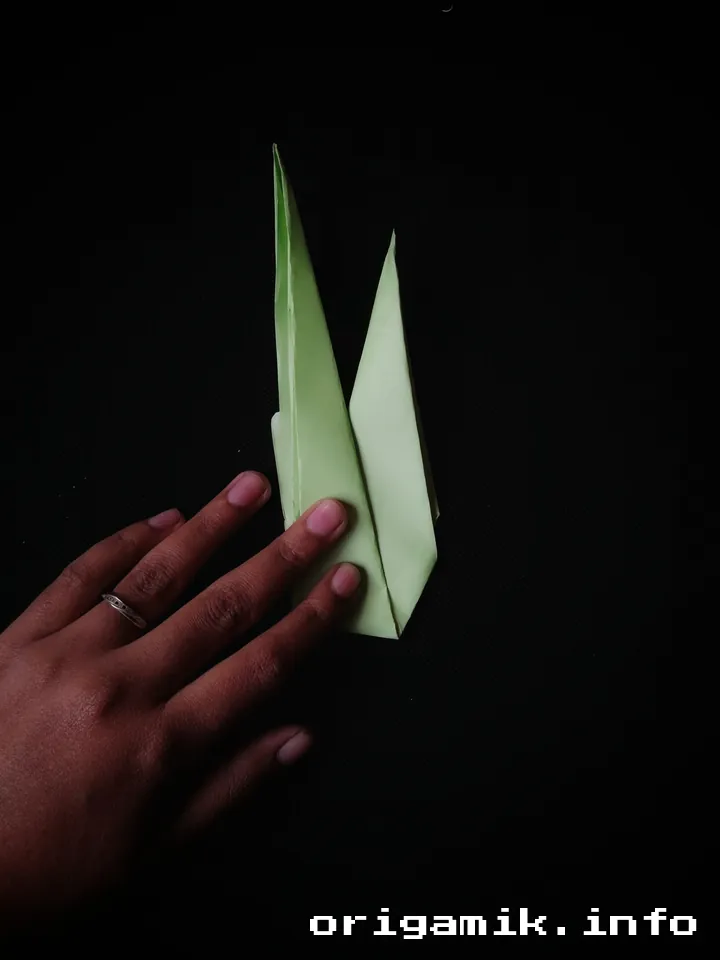
- Take another piece of green paper.
- Roll it tightly into a thin tube to form the flower stem.
- Secure with a small dot of glue if needed.
Step 8: Assemble the Flower
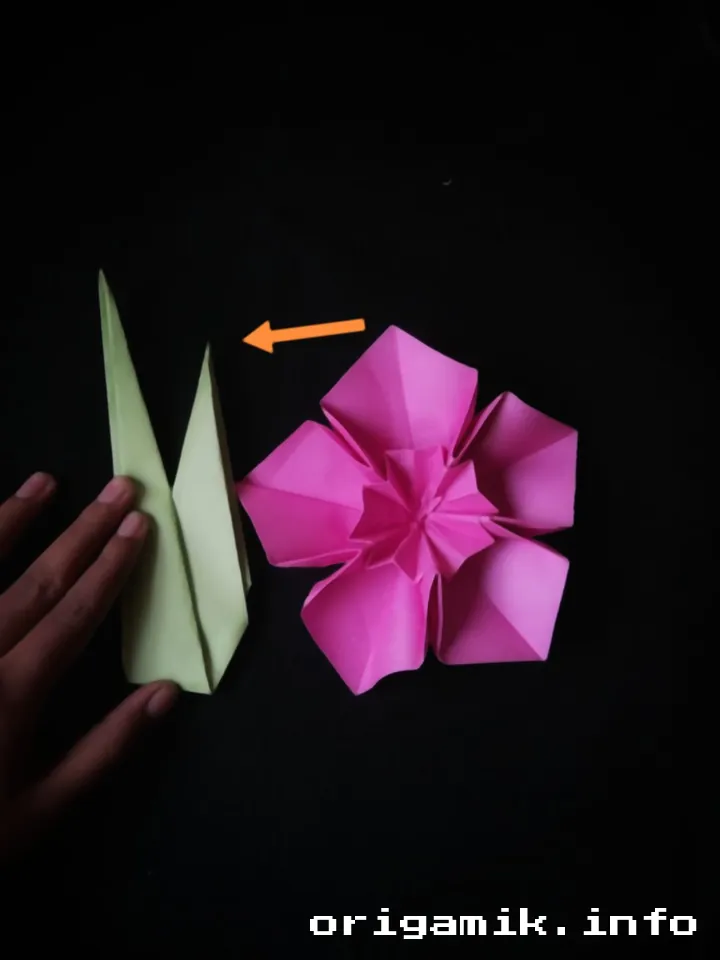
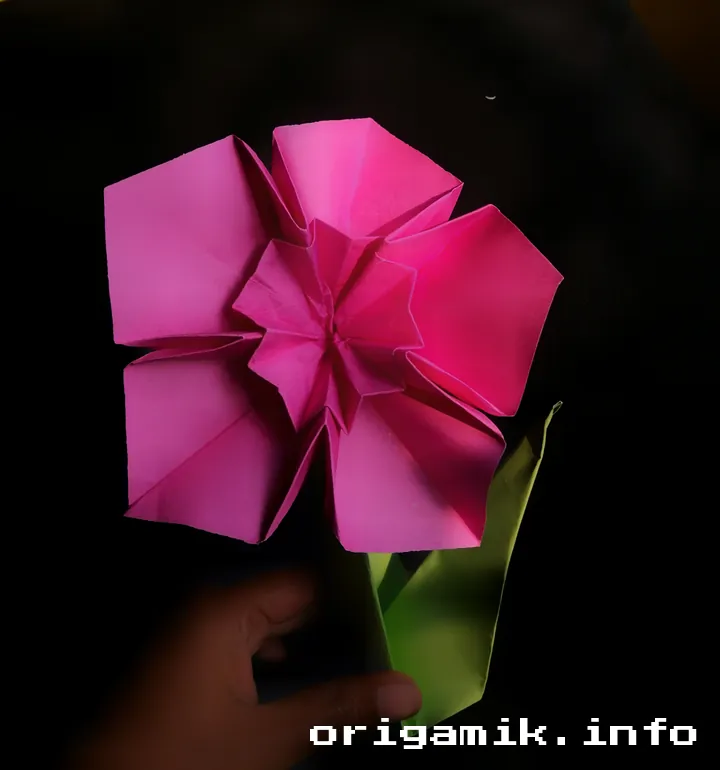
- Attach the flower head to the stem by gently inserting the base into the tube.
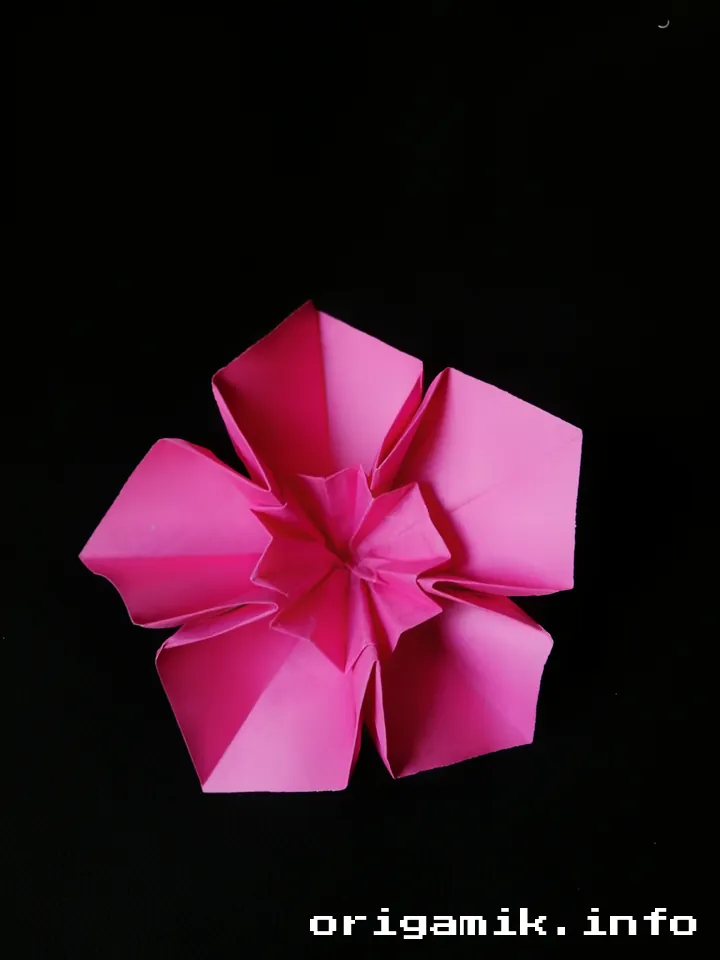
- Your easy Origami Daffodil flower is now ready!
Tips for Success
Want your origami daffodil to look perfect? Here are some expert tips:
- Use crisp paper – Soft or crumpled paper won’t hold its shape well.
- Follow the creases carefully – Precise folds make a big difference.
- Don’t rush – Take your time, especially on the flower shaping step.
- Try different colors – Daffodils come in yellow, white, and even pink!
Common Mistakes and How to Avoid Them
Making mistakes is part of learning, but here’s how to avoid the most common ones:
- Mistake: Uneven petals
Solution: Make sure all folds are symmetrical before finalizing the shape. - Mistake: Paper tearing
Solution: Use smooth, deliberate folds instead of forcing creases. - Mistake: Wobbly stem
Solution: Roll the stem paper tightly and secure it properly.
Similar Variations You Can Try
Once you master the classic origami daffodil, you can experiment with variations:
- Miniature Daffodils – Use smaller paper for tiny flowers.
- Layered Petals – Add extra folds to give depth to the petals.
- Double-Colored Daffodil – Use two-toned paper for a unique look.
Each variation adds a fresh twist to your origami skills!
FAQs
Q: Is this origami daffodil difficult to make?
A: Not at all! This is a simple Daffodil flower step by step guide, perfect for beginners.
Q: Can I use regular printer paper?
A: Yes, but origami paper works best since it holds creases better.
Q: How long does it take to make one flower?
A: Around 10-15 minutes once you get the hang of it.
Q: Can I make a bouquet with multiple flowers?
A: Absolutely! Just repeat the steps and arrange them together.
Conclusion
Creating an easy Origami Daffodil flower is a fun and rewarding experience. With a little patience and practice, you’ll have a beautiful paper flower that never wilts!
Try making your own today, and don’t forget to experiment with colors and sizes. Happy folding!