

Origami is more than just folding paper. It’s a blend of patience, precision, and creativity. Today, I’ll guide you through an exciting project: the Origami Diamond Star.
This craft is not only mesmerizing but also simple enough for beginners. If you follow my step-by-step instructions, you’ll have a stunning paper star in no time.
Let’s dive into this fun journey of paper folding and create a masterpiece together!
What is an Origami Diamond Star?
An Origami Diamond Star is a beautiful, symmetrical star made by folding multiple paper units and assembling them into a dazzling shape. It’s a fantastic decorative piece, great for gifts, festive decor, or simply a fun origami challenge.
Why You’ll Love This Project:
- Beginner-Friendly – No advanced skills needed.
- No Special Tools Required – Just paper and glue.
- Impressive Outcome – Looks complex but is easy to make.
- Great for Decorations – Use it for parties, gifts, or art projects.
Materials Needed
To create your Origami Diamond Star, gather these supplies:
| Item | Details |
|---|---|
| Origami Paper | 6 sheets (6″ x 6″) in any color or pattern |
| Glue | For assembling the final structure |
| Ruler | To ensure precise folds |
| Flat Surface | A smooth workspace for accurate folding |
Simple Diamond Star Step-by-Step Instructions
Now, let’s get into the folding process. Follow these steps carefully for a perfect Origami Diamond Star.
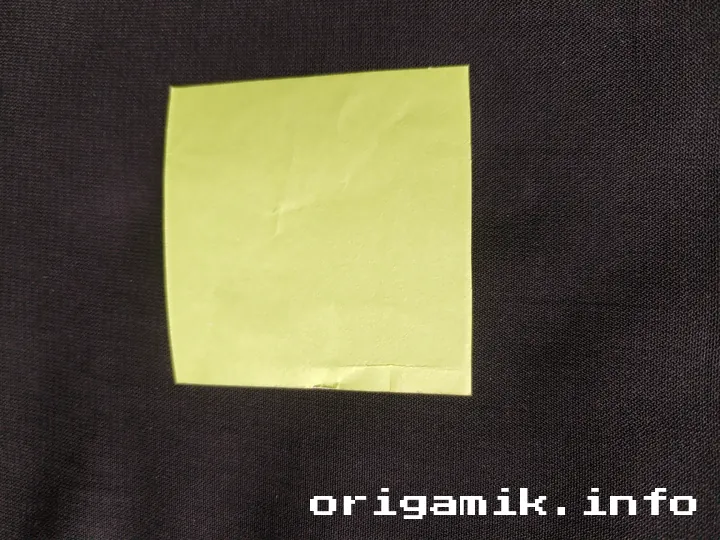
Step 1: Gather Six Square Papers
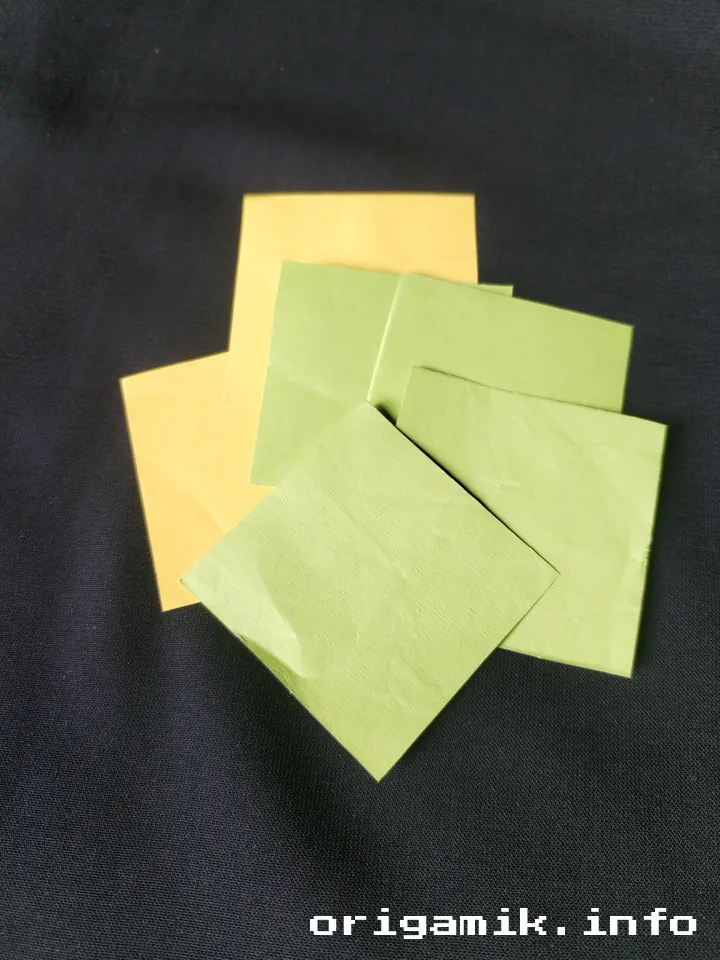
Start with six pieces of 6″ x 6″ origami paper. You can mix and match colors for a vibrant effect.
Step 2: Make the First Fold
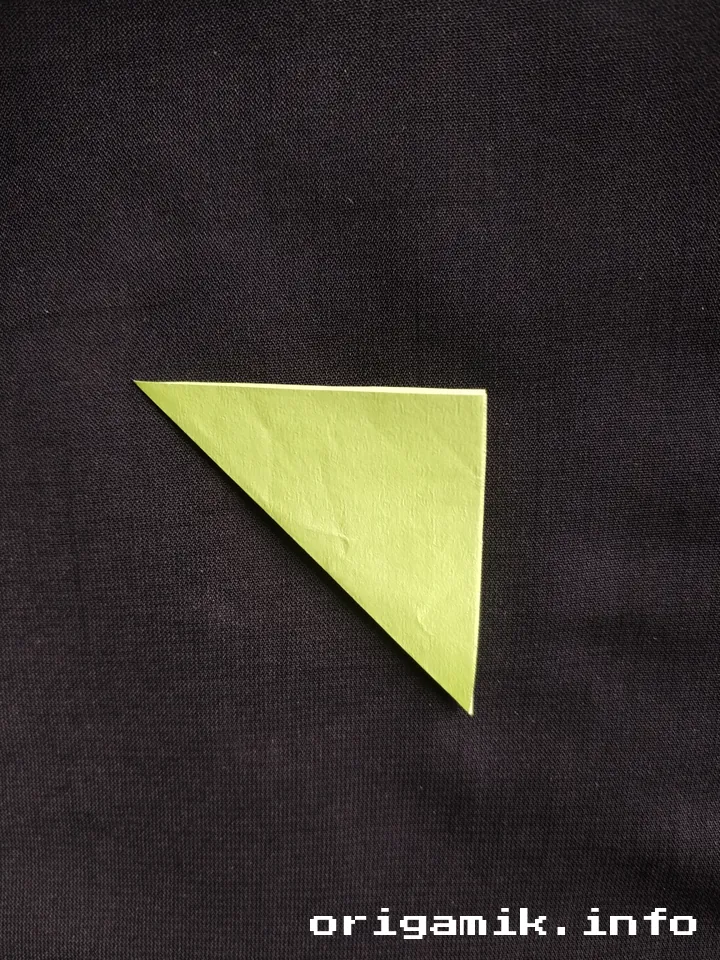
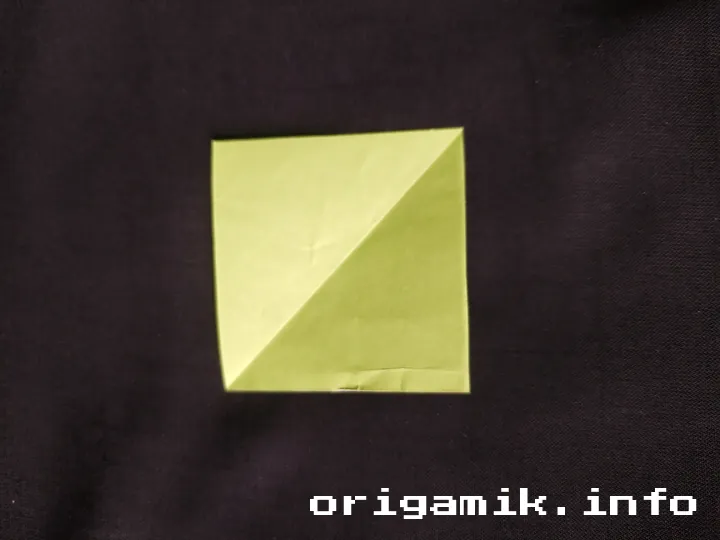
Take one sheet and fold it diagonally from one corner to the opposite corner. Crease it well and unfold.
Step 3: Create Middle Folds
Fold both left and right sides along the middle crease. Flip it over and repeat the fold on the other side.
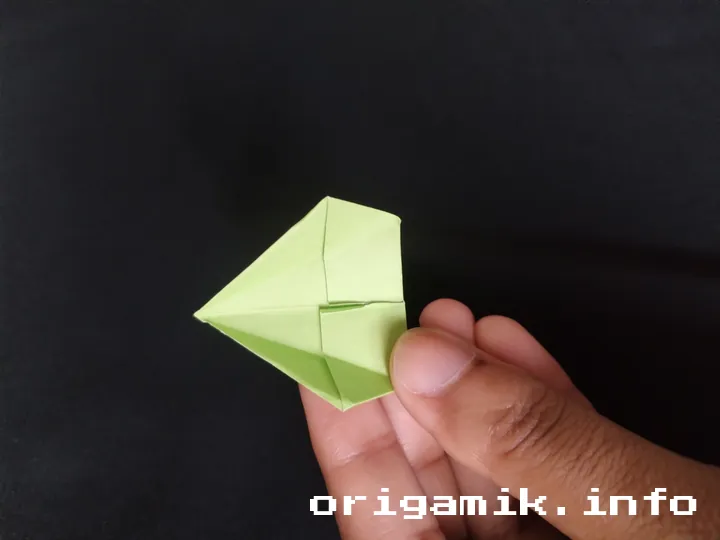
Step 4: Fold in Half

Turn the paper over and fold it horizontally to make a smaller rectangle. Press the crease firmly.
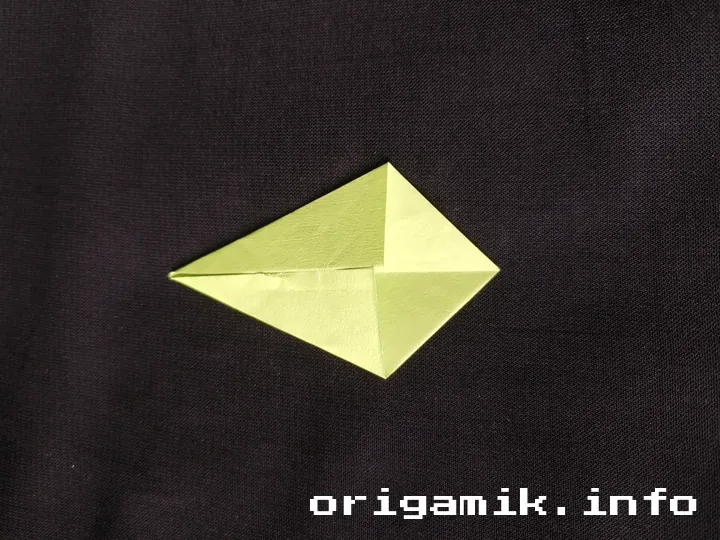
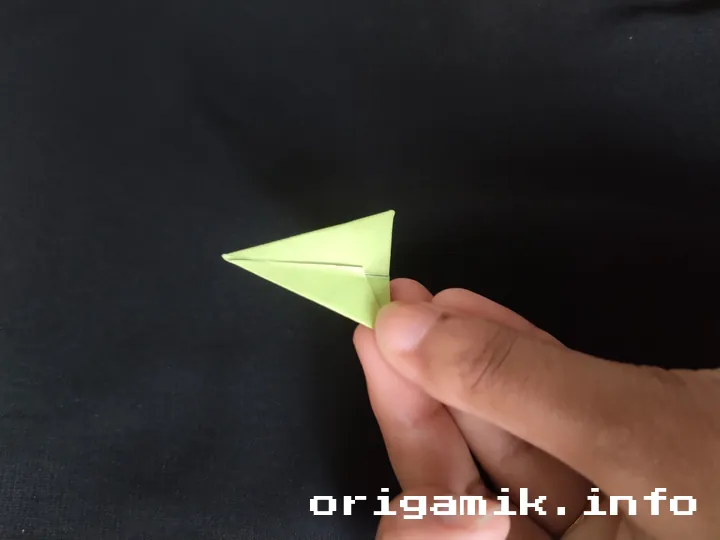
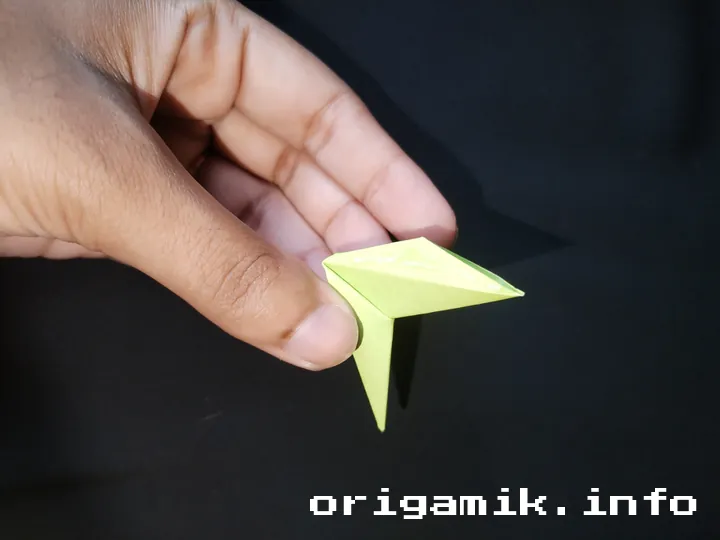
Step 5: Shape the Fold

Now, slightly open the fold and adjust the paper to match the reference image (if available). Ensure the angles align properly.
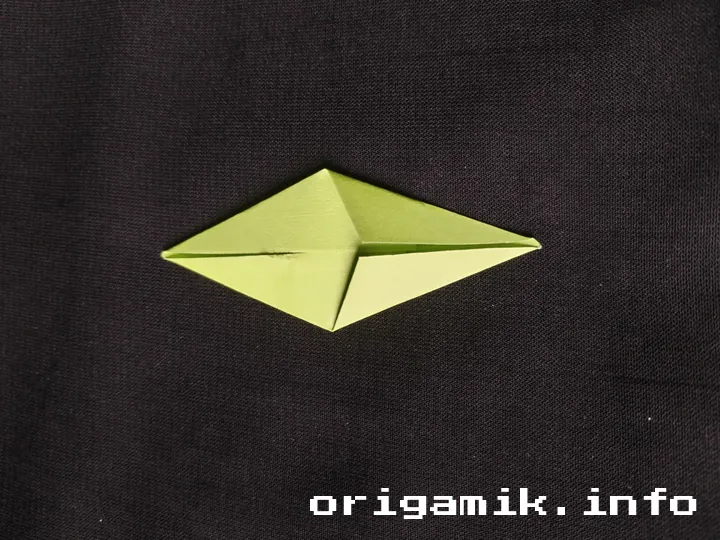
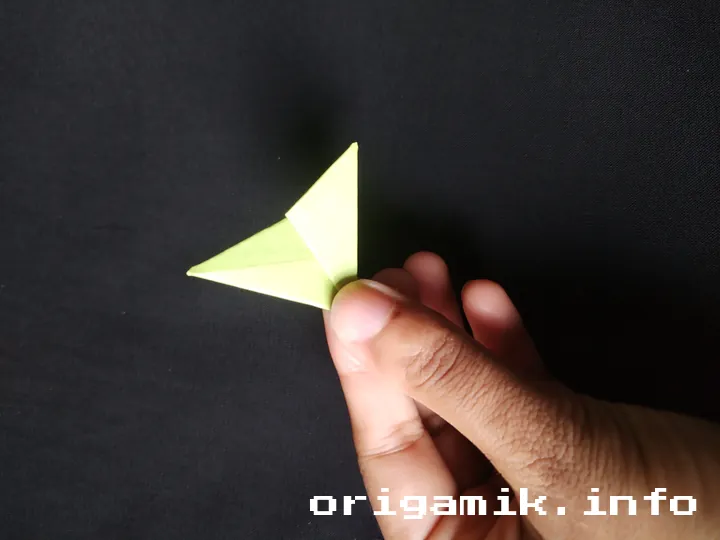
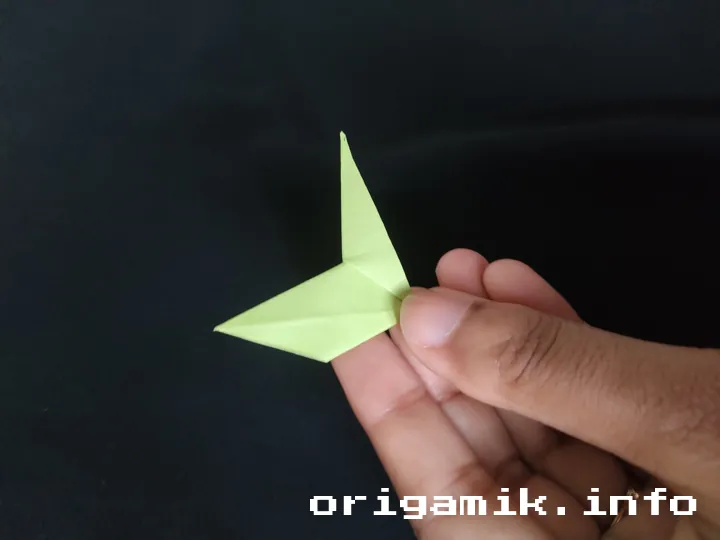
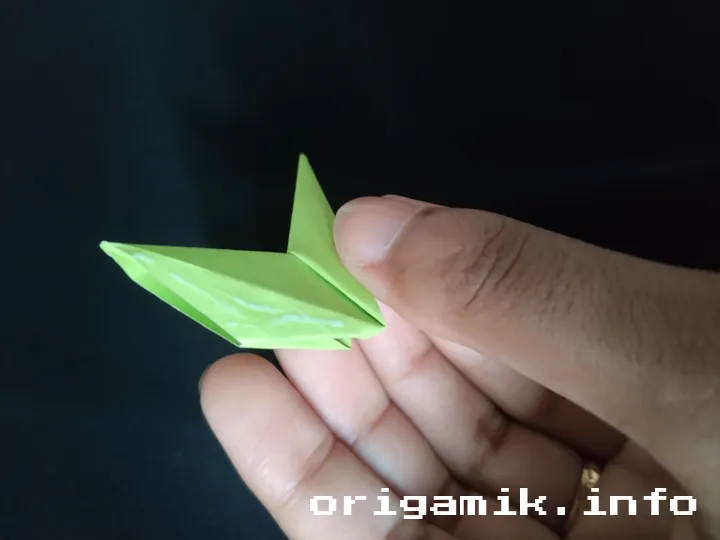
Step 6: Give it the Right Shape


Fold the paper back into the middle, using the creases as guides. Open it up slightly to form the desired shape.
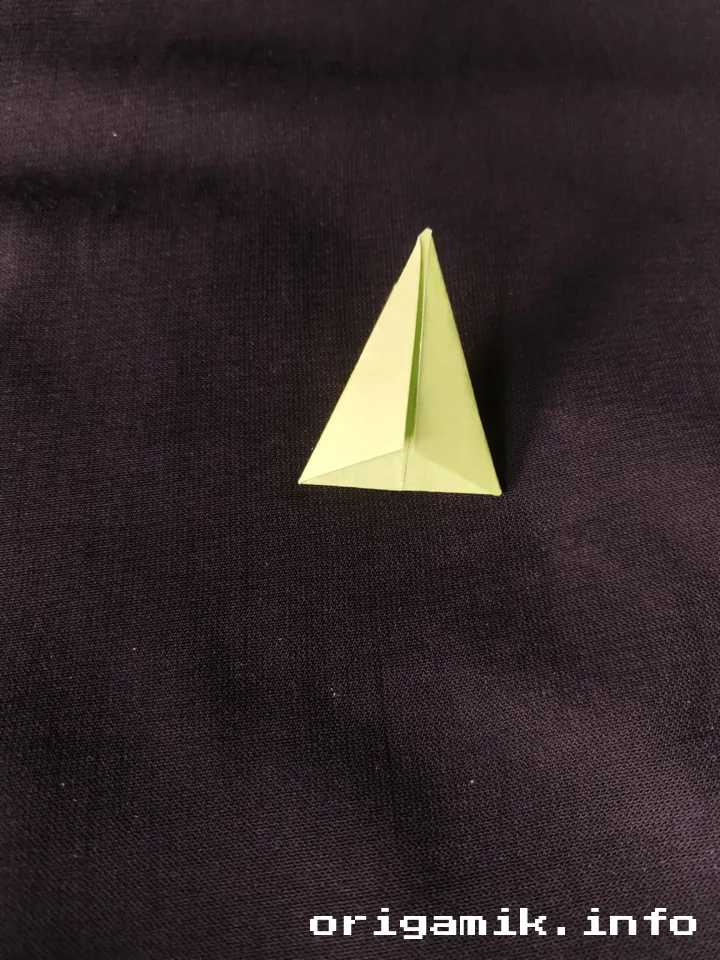
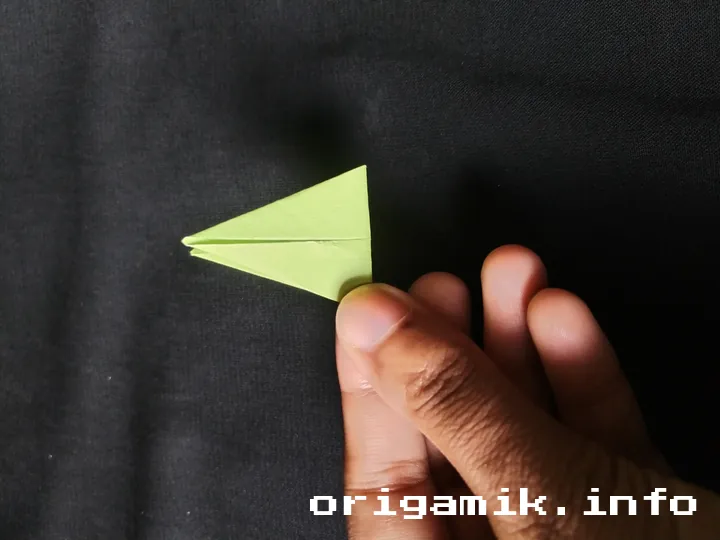
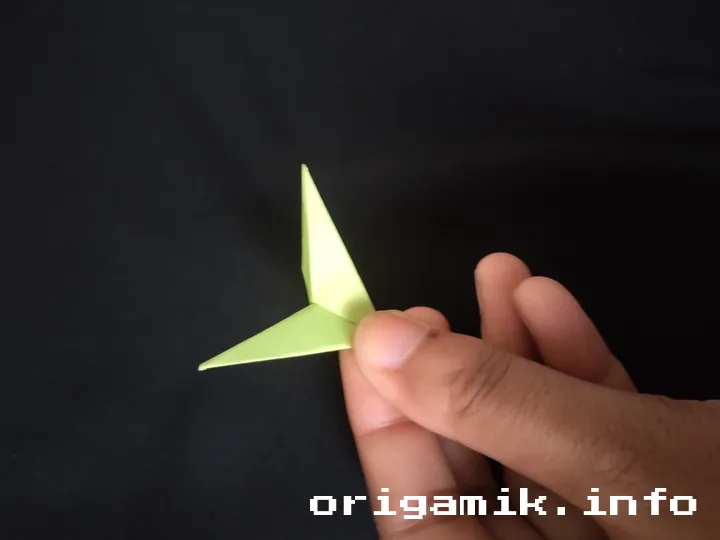
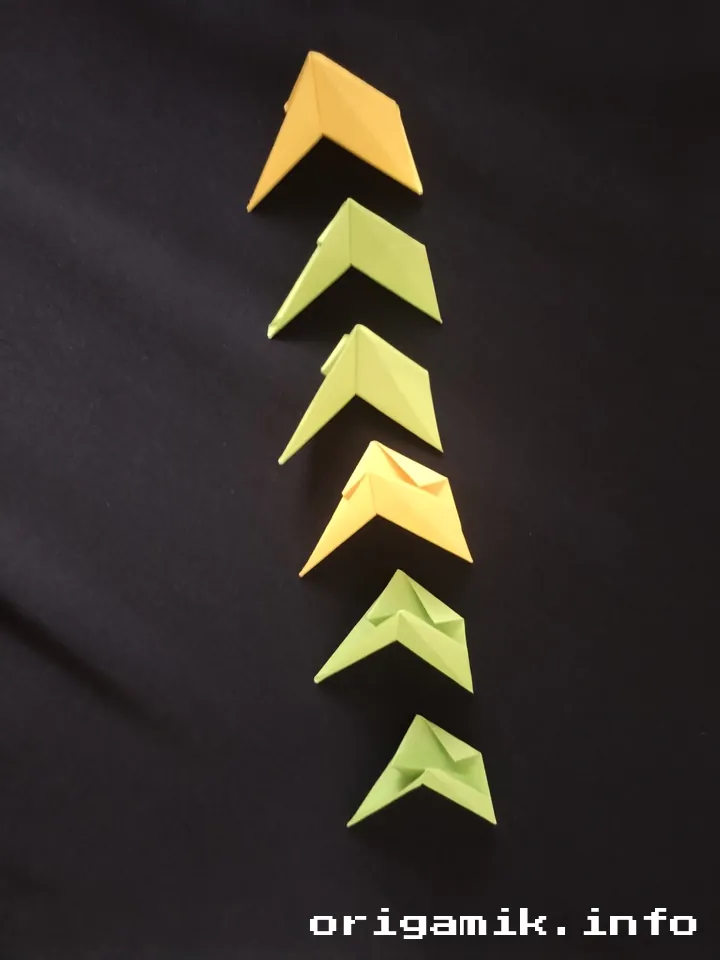
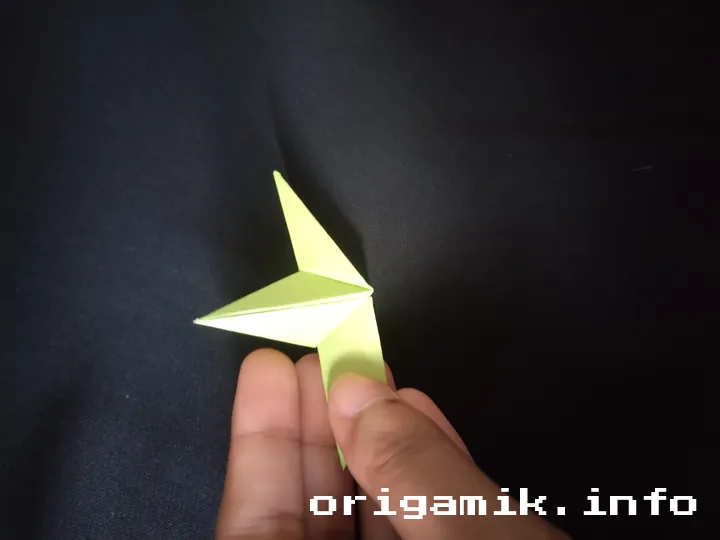
Step 7: Adjust the Inner Sections

Fold the right side and carefully pull out the inner folds. Adjust them until they match the required structure.
Step 8: Repeat for All Papers
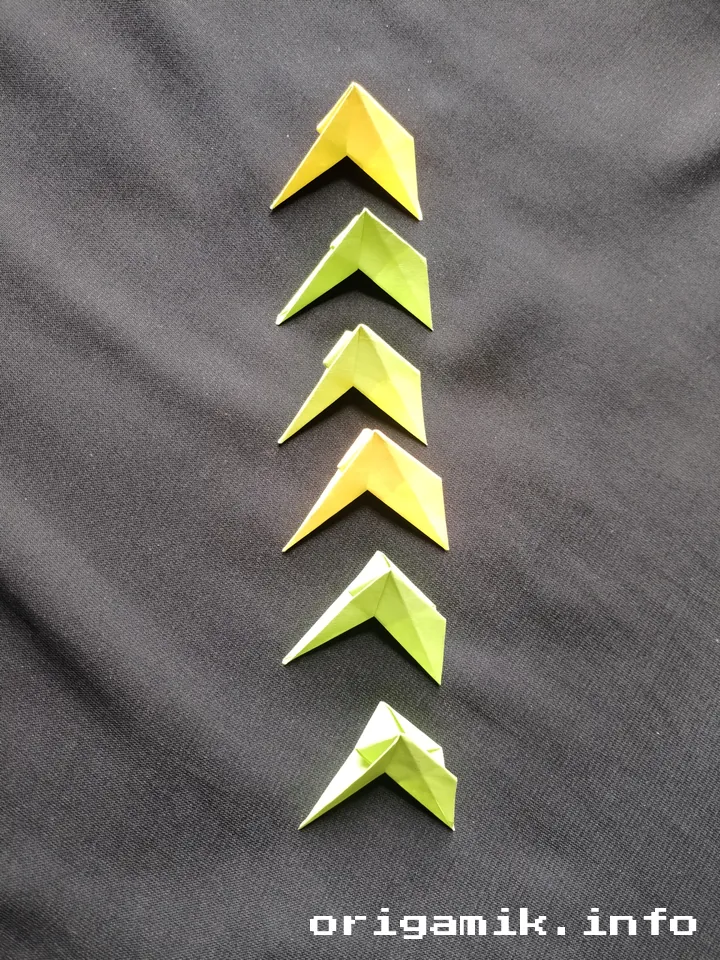
Make five more identical pieces following the same steps. Each unit should look the same.
Step 9: Assemble the Origami Diamond Star

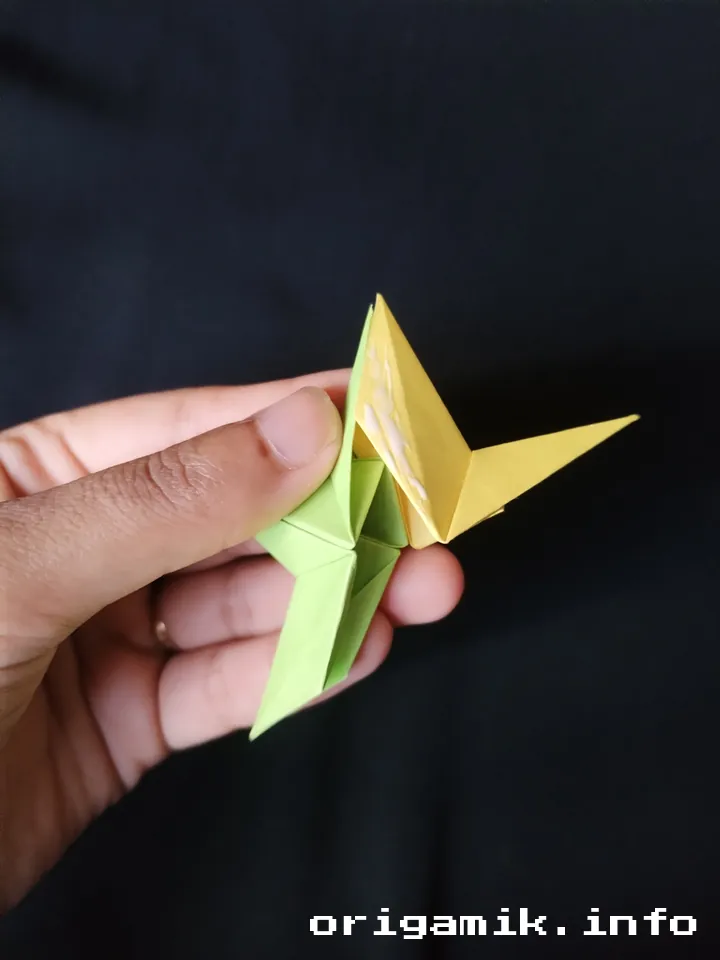
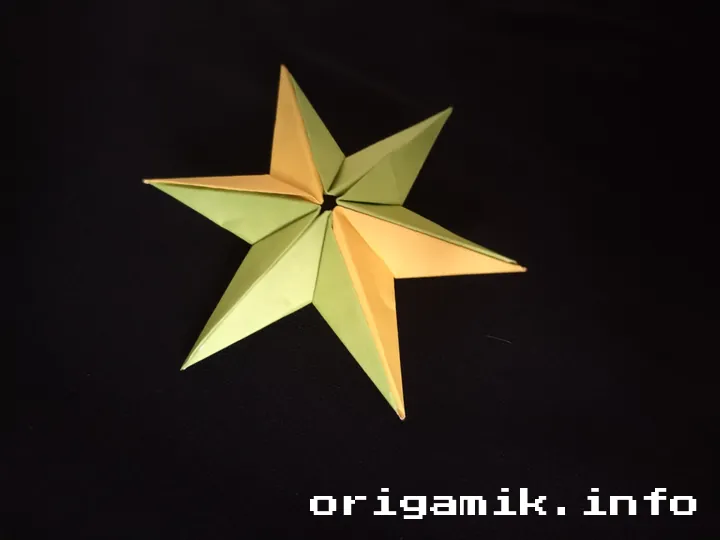
Using glue, join all six folded pieces one by one. Align them properly to form a perfect Origami Diamond Star.
Tips for Success
- Use crisp, high-quality paper for sharp folds.
- Press creases firmly to maintain structure.
- Take your time to align edges properly.
- Experiment with colors for a unique look.
- Use minimal glue to avoid messiness.
Common Mistakes & How to Avoid Them
| Mistake | Solution |
| Misaligned folds | Use a ruler or fold slowly for precision. |
| Paper tearing | Don’t press too hard on folds. |
| Loose joints | Apply just enough glue to secure connections. |
| Uneven shapes | Double-check each step before moving forward. |
Similar Variations You Can Try
Want to explore more? Try these fun alternatives:
- Origami 8-Point Star – Uses a similar folding method but with eight sections.
- Paper Snowflake Star – A festive variation perfect for holidays.
- 3D Origami Star – A more intricate version with extra depth.
FAQs
Q: Can I make this without glue?
A: Yes! If you fold precisely, the pieces can interlock without glue, but glue ensures durability.
Q: What’s the best paper for this?
A: Origami paper works best, but any lightweight paper can do the job.
Q: How long does it take to complete?
A: About 20–30 minutes, depending on your skill level.
Final Thoughts
Creating an Origami Diamond Star is a fun and rewarding experience. With patience and precision, you’ll have a dazzling paper masterpiece in no time!
So, are you ready to try this yourself? Grab your papers and start folding! Let me know how your Origami Diamond Star turns out. Happy crafting!