

Origami is an enchanting art, turning simple paper into mesmerizing creations. Today, I’ll guide you through crafting an easy Origami flat flower that’s both elegant and beginner-friendly.
With just a square sheet and a few folds, you’ll create a delicate floral masterpiece. Don’t worry—I’ll walk you through every step in a way that’s easy to follow.
Ready to fold? Let’s dive into this rewarding journey of paper transformation!
What is an Origami Flat Flower?
An Origami flat flower is a beautiful paper creation that lies flat, making it perfect for decorations, greeting cards, and DIY projects. Unlike 3D origami flowers, this one is quick to fold and visually appealing.
Why Make an Origami Flat Flower?
- Easy and Quick: You don’t need complex folds.
- Perfect for All Ages: Great for kids and adults alike.
- Versatile Uses: Can be used for decorations, bookmarks, or greeting cards.
- Minimal Supplies: All you need is a square sheet of paper!
Materials Needed
| Material | Description |
|---|---|
| Paper | Square-shaped (6″x6″ or 9″x9″), origami or craft paper |
| Flat Surface | A clean table for easy folding |
| Bone Folder (Optional) | Helps in making sharp folds |
Origami Flat Flower Instructions
Paper Size Selection
For this project, you can use 6″ × 6″ or 9″ × 9″ paper. The larger the paper, the bigger the flower!
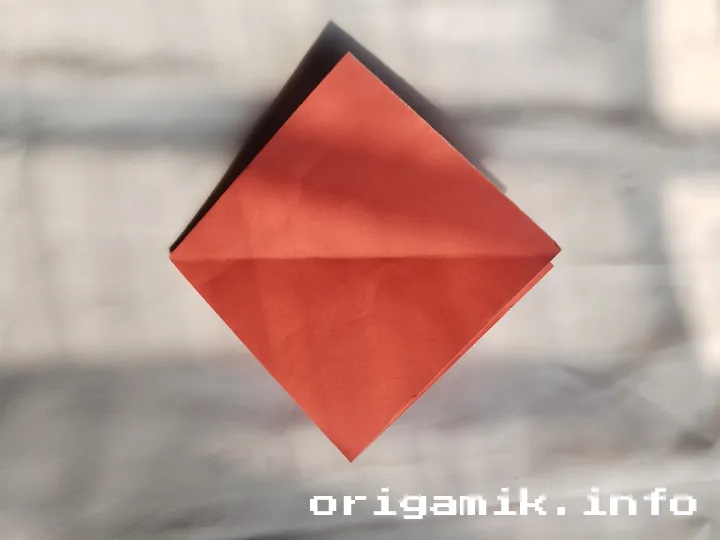
Step 1: Start with a Square Paper
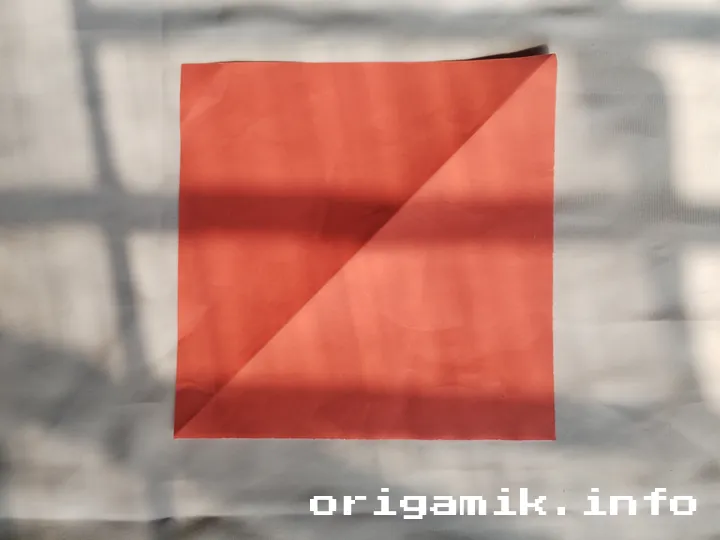
Take a perfectly square-shaped paper. If your paper is not square, trim it before starting.
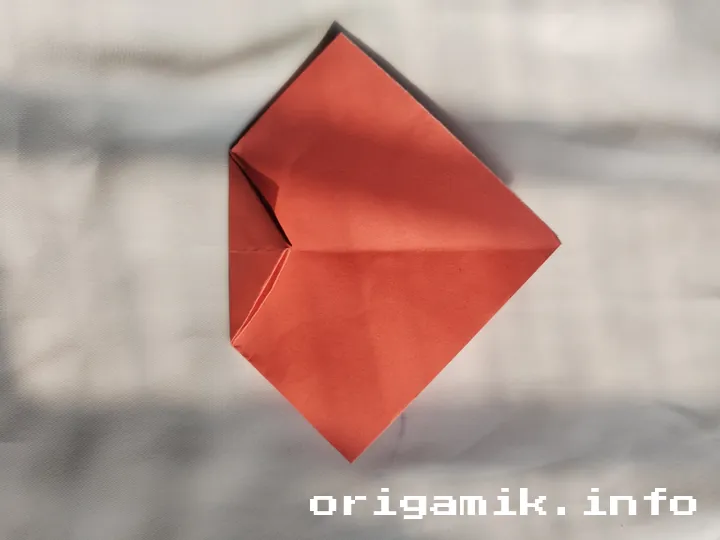
Step 2: Fold the Corners and Unfold

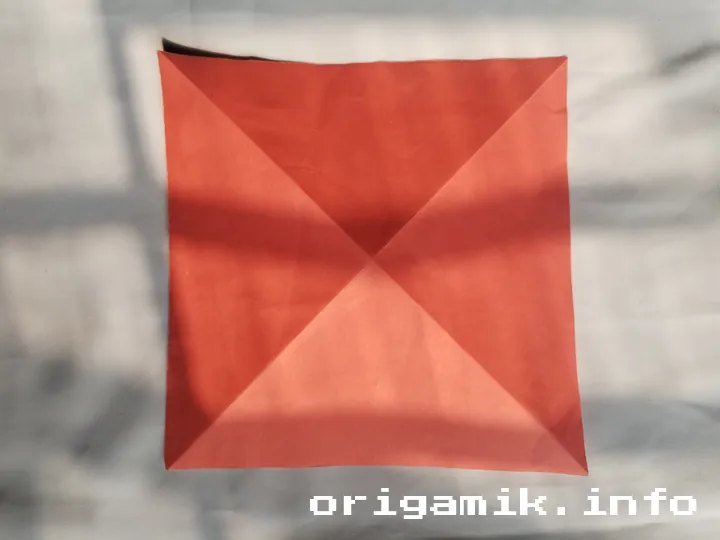
- Fold the top left and bottom right corners to meet at the center.
- Unfold the paper and flip it upside down.
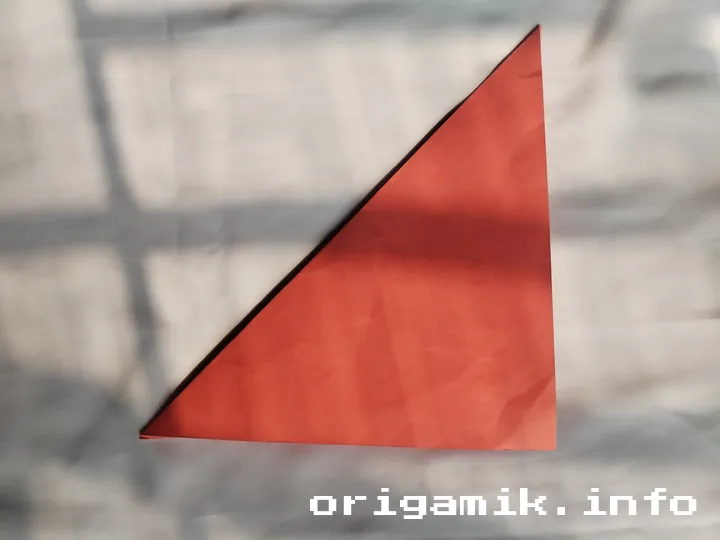
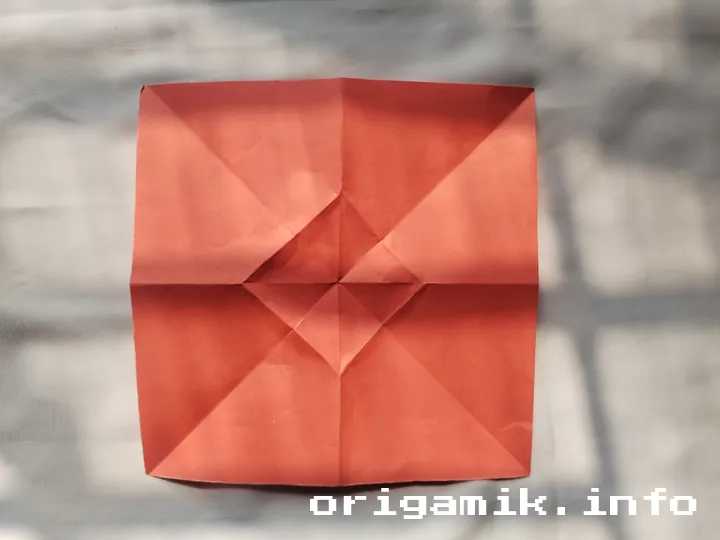
Step 3: Fold Vertically and Horizontally
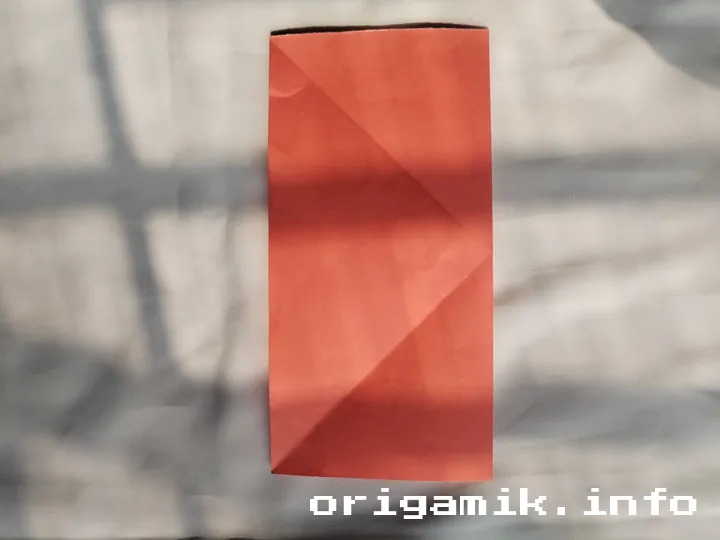
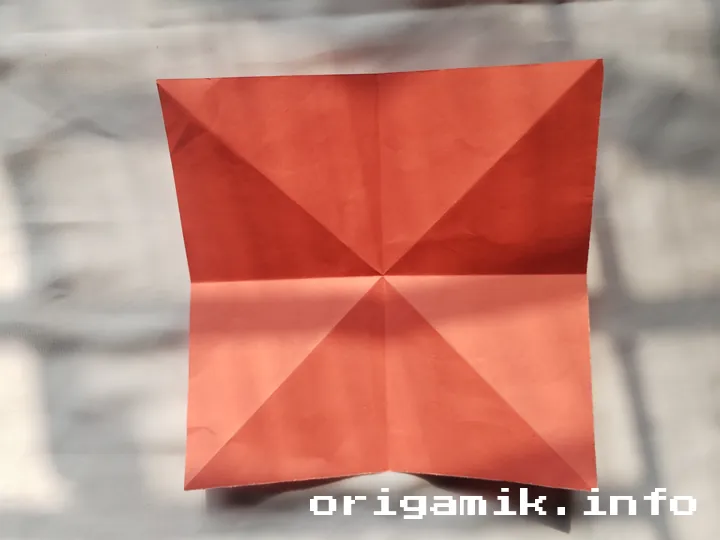
- Fold the paper in half vertically, then unfold.
- Fold the paper in half horizontally, then unfold.
- Now, you should have creased lines dividing the paper into four equal sections.
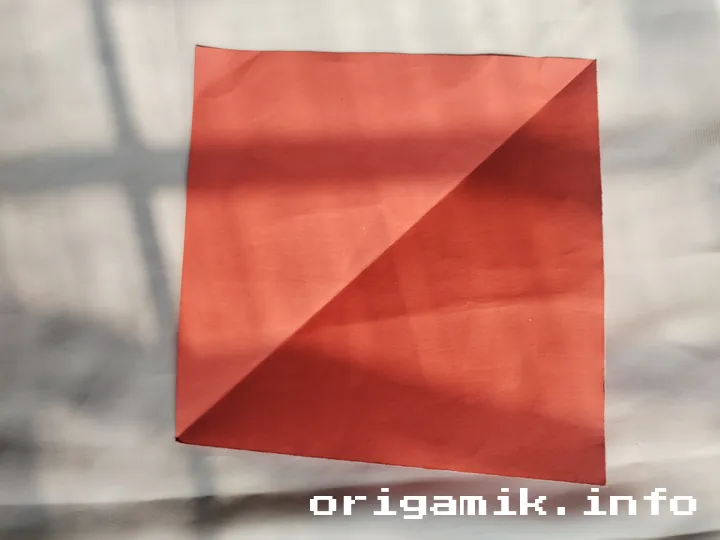
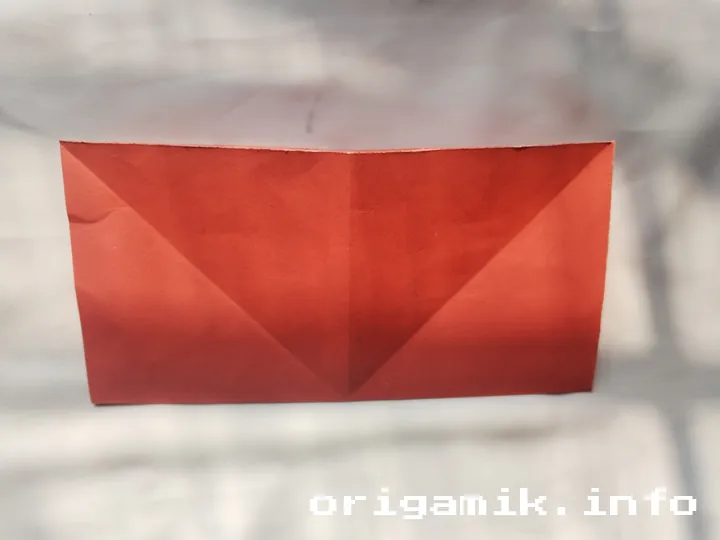
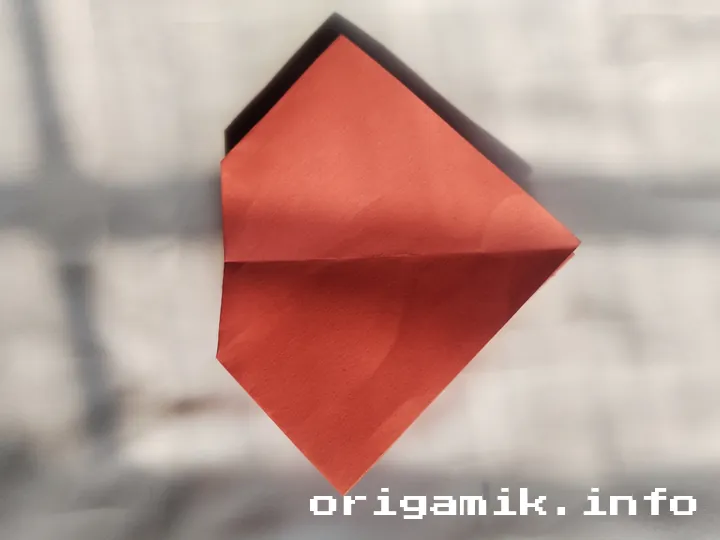
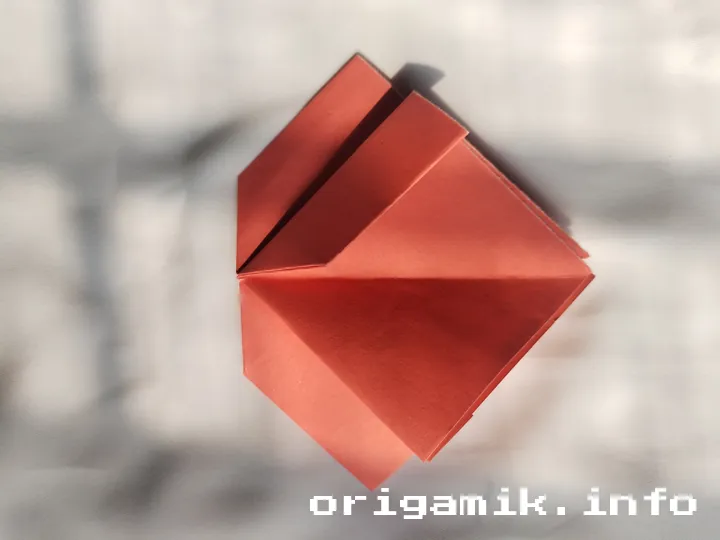
Step 4: Make a Preliminary Fold
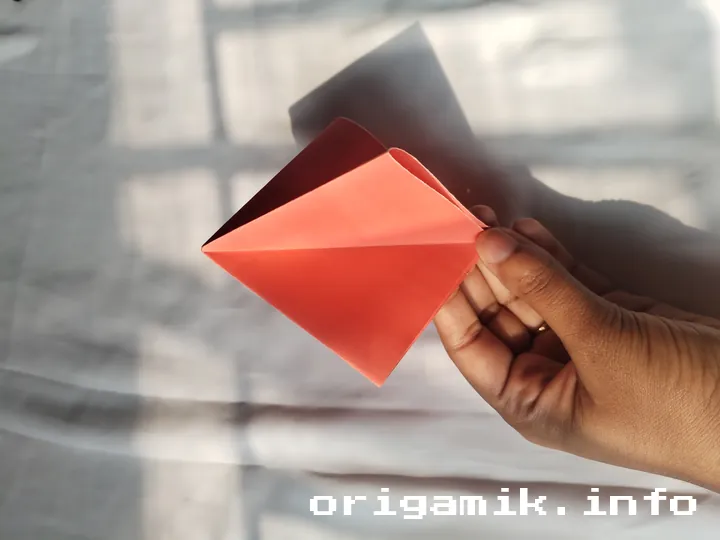
- Fold the paper in a preliminary shape as shown in the reference images.
- Make a crease at the upper part.
- Unfold and fold it again in the same way.
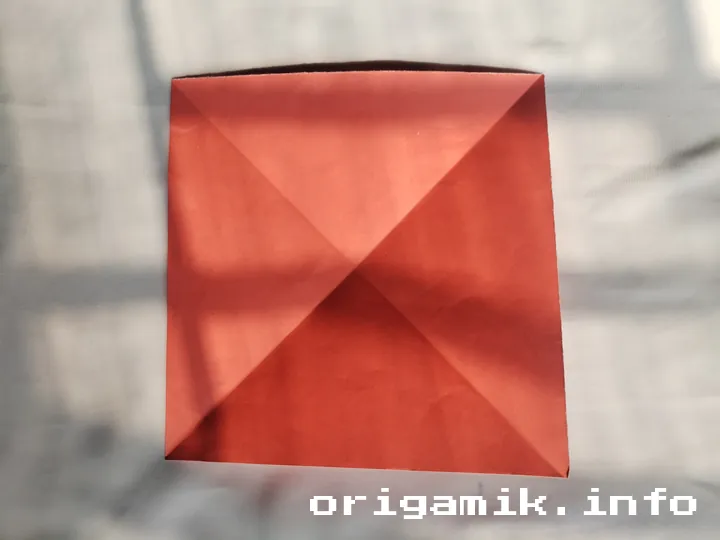
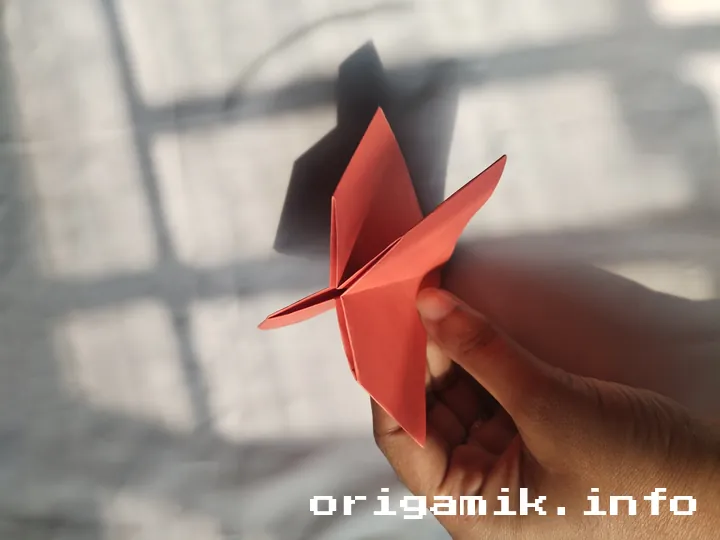
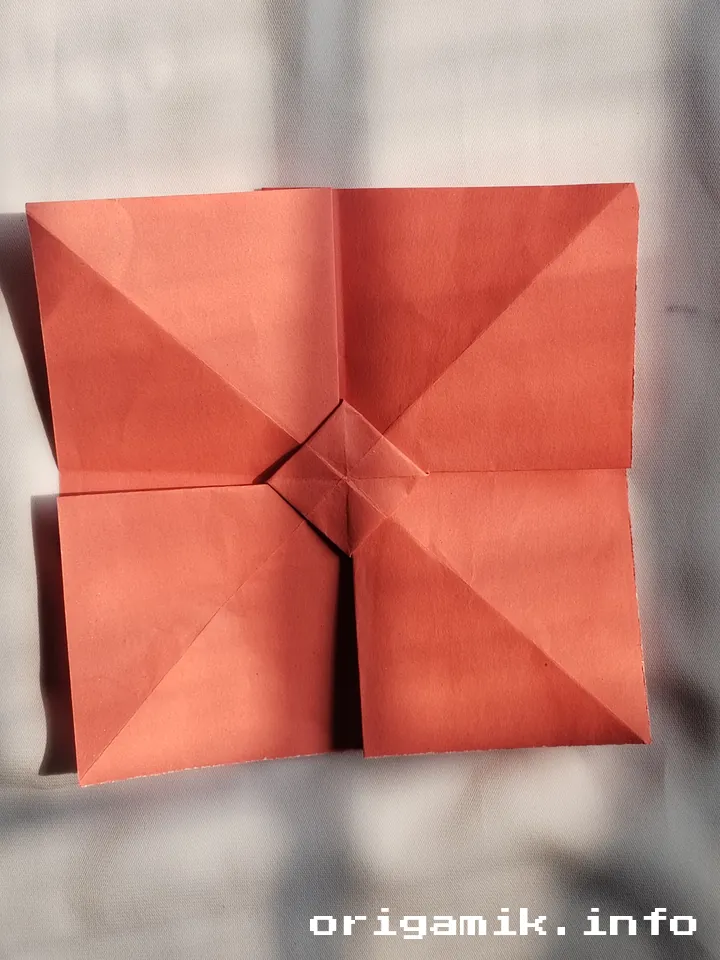
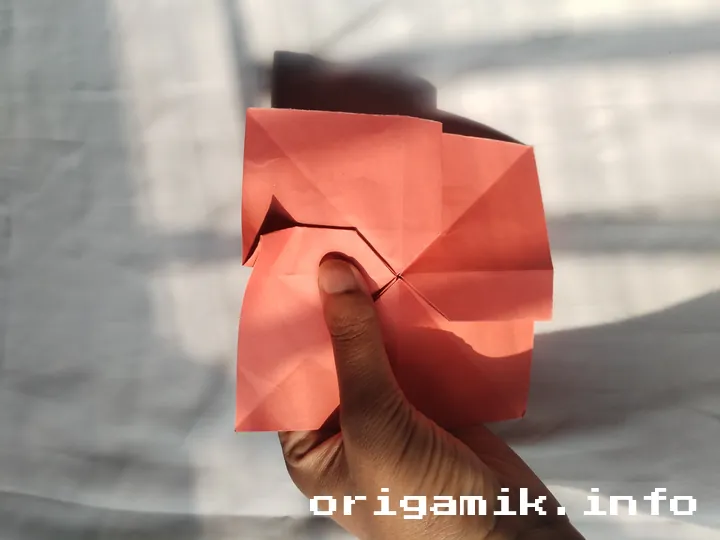
Step 5: Form the Petals
- Fold the top left corner one at a time.
- Repeat the process for the other three corners.
- Your paper should now resemble a flower shape.
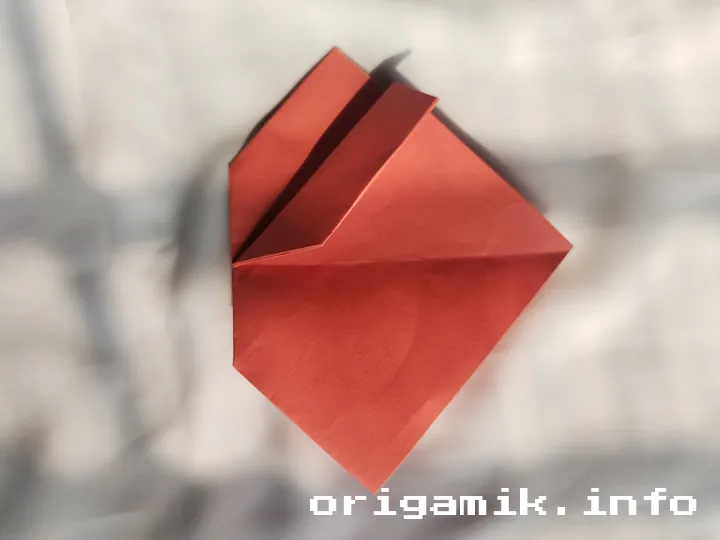
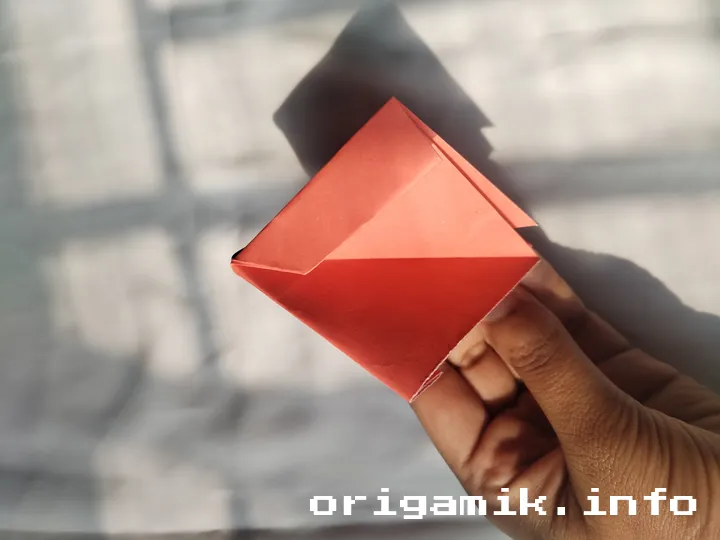
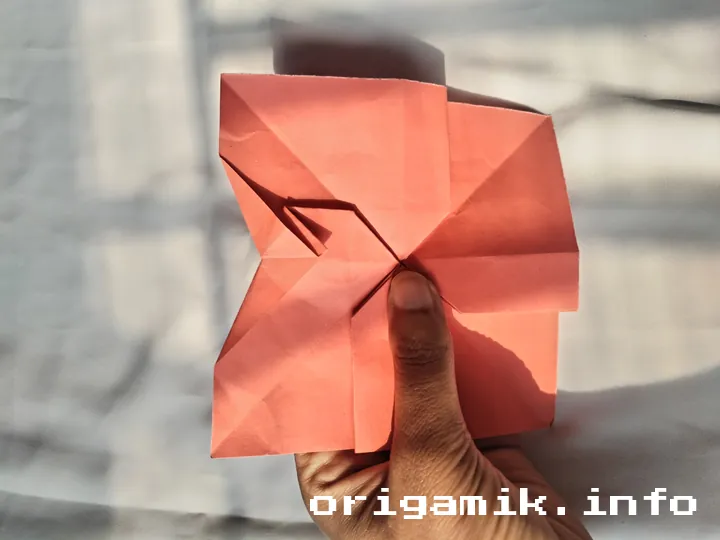
Step 6: Shape the Flower

- Slowly fold the paper inward.
- Adjust the folds to shape the petals neatly.
- The flower should start looking more defined.
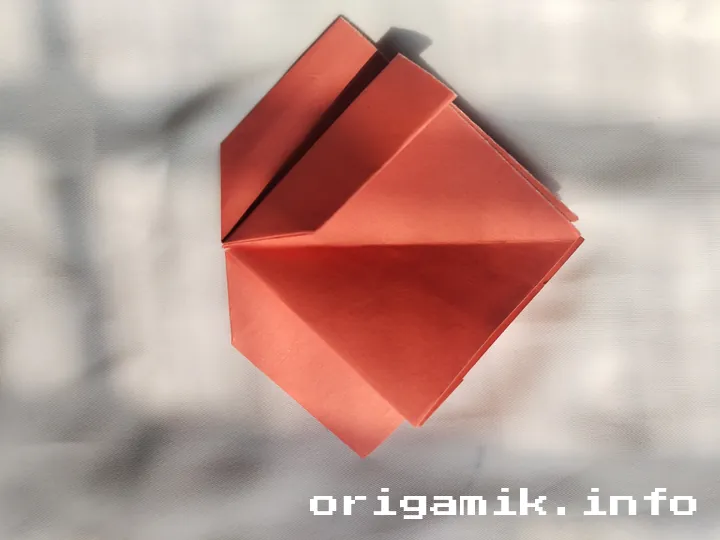
Step 7: Final Adjustments
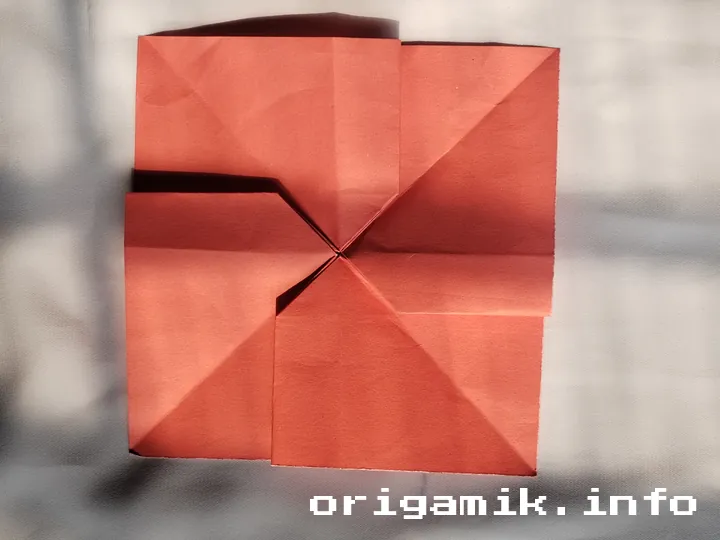

- Flip the paper upside down.
- Fold all four sides as shown in the images.
Step 8: The Flower is Ready!
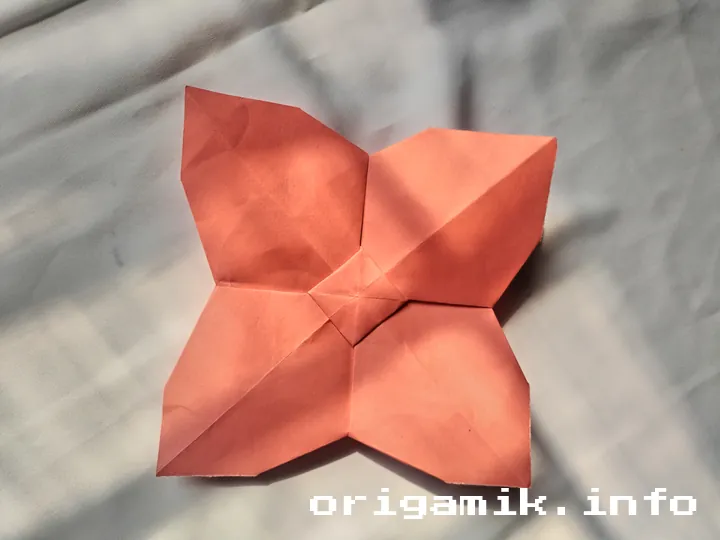
Your Origami flat flower is now complete! Admire your work and use it creatively.
Tips for Success
- Use thinner paper for easier folding.
- Make sharp creases for a crisp look.
- Follow the folds carefully—precision matters!
- Experiment with colors to create vibrant designs.
Common Mistakes & How to Avoid Them
| Mistake | Solution |
| Uneven folds | Align edges properly before pressing down. |
| Ripped paper | Use a lighter touch and fold slowly. |
| Paper won’t hold shape | Crease the folds firmly with a bone folder. |
Similar Variations
- Origami Lotus – A 3D floral design.
- Origami Tulip – A standing origami flower.
- Origami Rose – A romantic and intricate model.
FAQs
Can I use regular printer paper?
Yes, but origami paper is recommended for better results.
How long does it take to make?
It takes 5-10 minutes once you get the hang of it.
Can I make it smaller or bigger?
Absolutely! Just adjust the paper size accordingly.
Conclusion
Now you know how to make a flat flower using origami! This simple flat flower step by step guide ensures that anyone, from beginners to experienced crafters, can fold this beautiful piece with ease.
Origami is a rewarding art, and I hope you enjoyed creating this piece. Let me know how your flower turned out!