

A tiny heart made of paper, worn as a ring? Sounds charming, right? This easy Origami Heart ring is not just adorable but also fun to make.
With just a small square of paper, you can create a delicate heart that wraps around your finger. The process? Surprisingly simple!
I’ll walk you through the Origami Heart ring instructions step by step, ensuring you get a perfect fold every time. Ready to start? Let’s go!
What is an Origami Heart Ring?
An Origami Heart ring is a folded paper ring with a heart shape at its center. It’s a beautiful yet simple heart ring step by step project that requires no glue or scissors. This charming craft is great for beginners and makes a lovely handmade gift.
Why Make an Origami Heart Ring?
- No special tools needed – Just a square piece of paper.
- Perfect for gifts – A heartfelt DIY present for loved ones.
- Beginner-friendly – Simple folds create an elegant design.
- Portable – You can make one anywhere, anytime!
Materials Needed
Before we start folding, let’s gather everything required for making the Origami Heart ring.
| Material | Details |
|---|---|
| Paper Size | 10×10 cm square |
| Paper Type | Origami paper, colored paper, or any lightweight sheet |
| Optional | Bone folder for crisp folds |
How to Make a Heart Ring: Step-by-Step Instructions
Step 1: Start with a Square
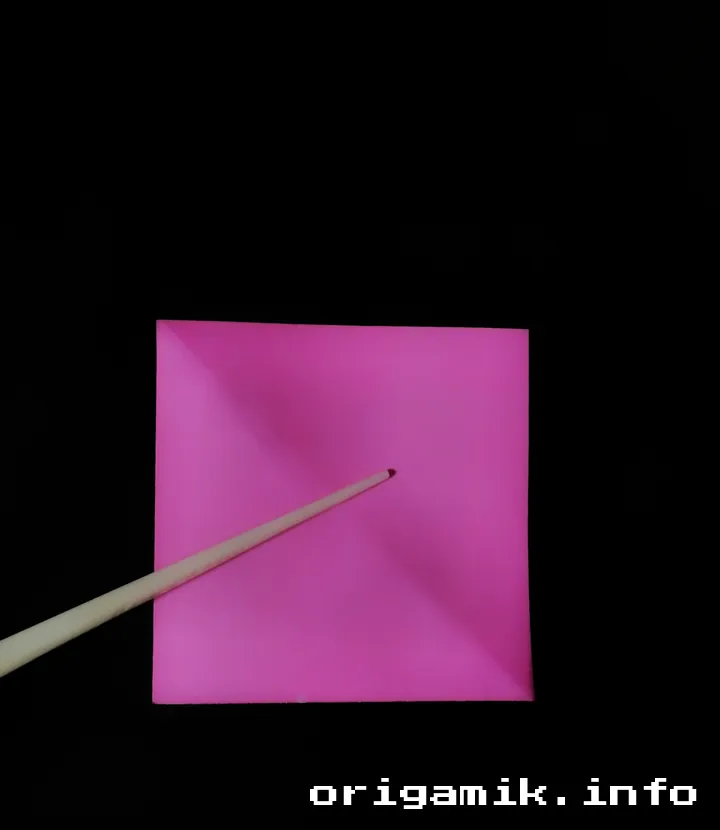
Take a 10×10 cm square piece of paper. If one side is colored, keep it facing down.
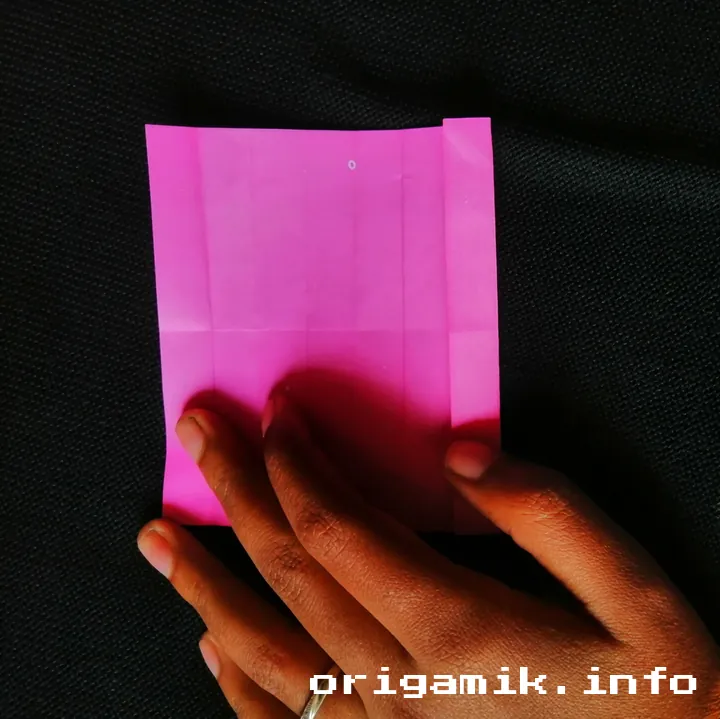
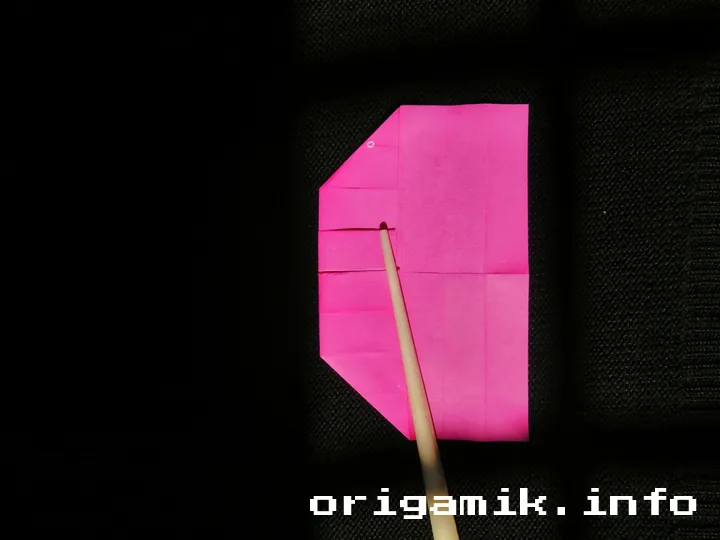
Step 2: Make the Initial Creases
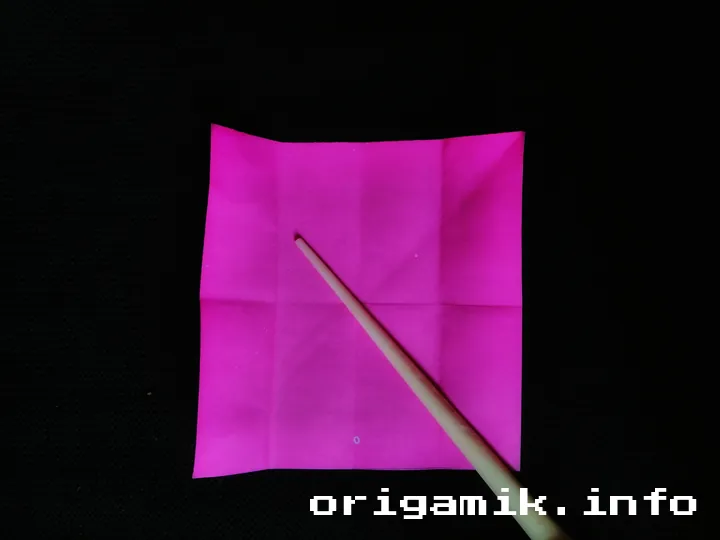
- Fold the paper horizontally and vertically to form cross-creases.
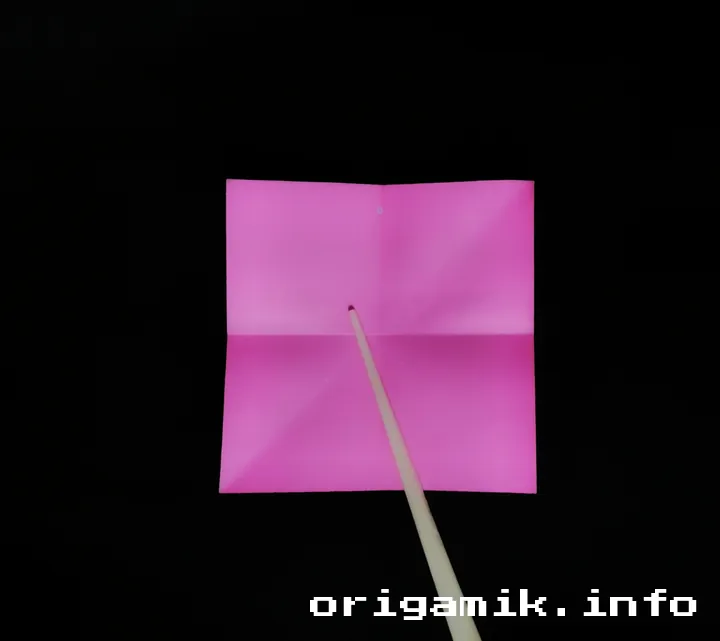
- Fold both corner sides toward the center, then unfold.
- Fold half of the bottom edge and half of the top edge toward the center. Fold again, then unfold everything.
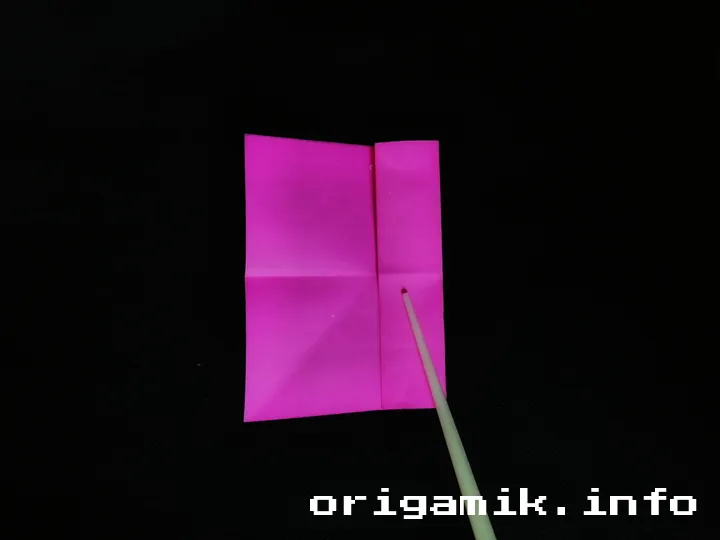
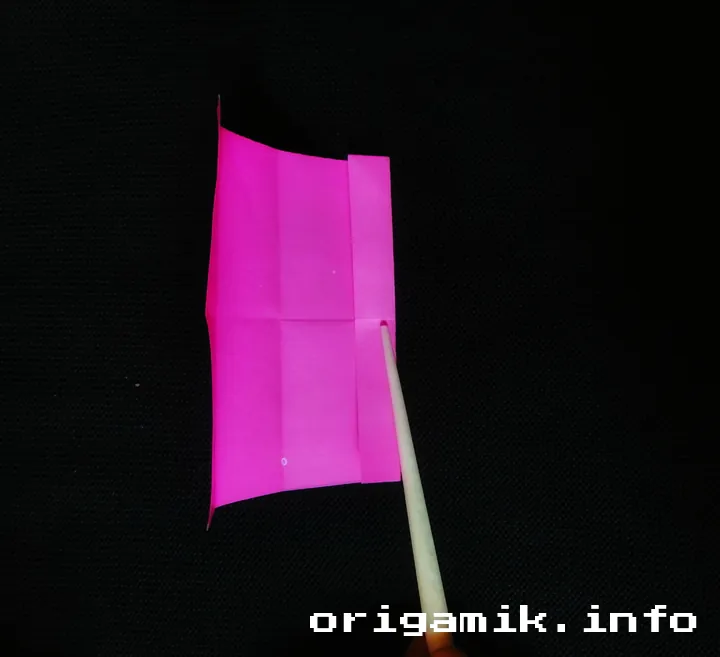
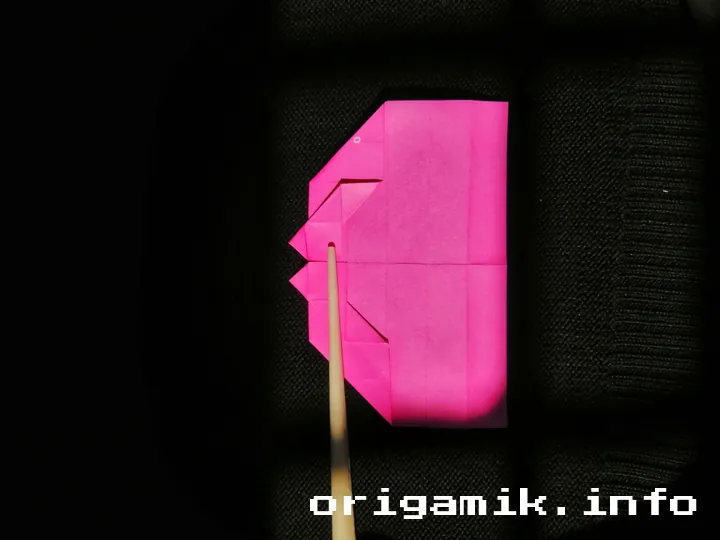
Step 3: Shape the Heart
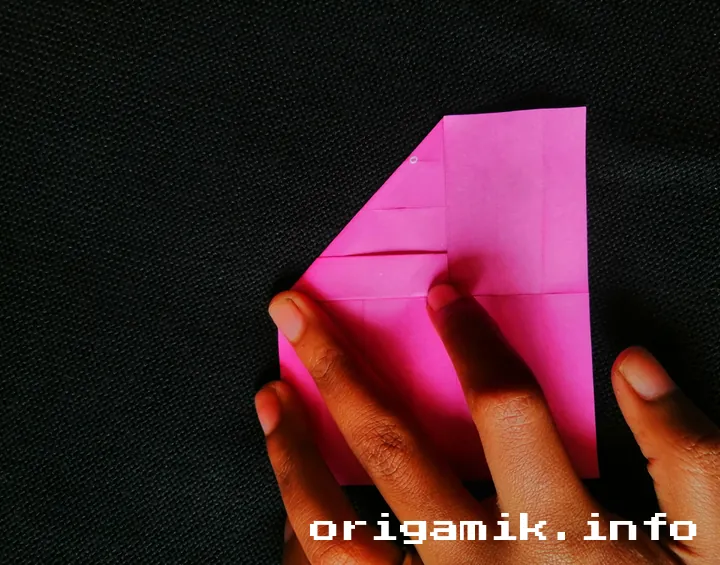
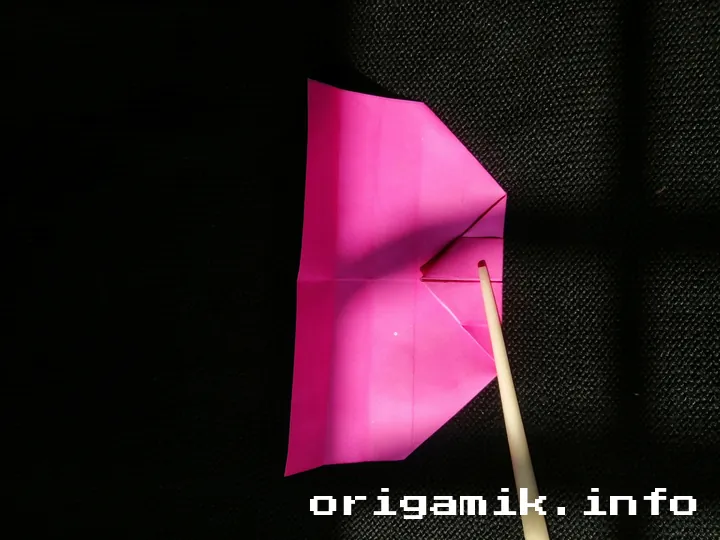
- Fold the quarter-bottom section up, then fold the sides inward to the middle point.
- Flip the paper over and fold the top corners backward.
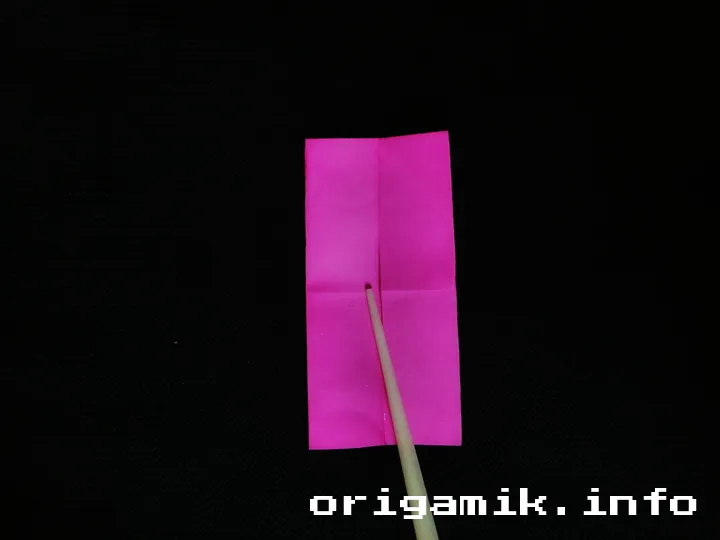
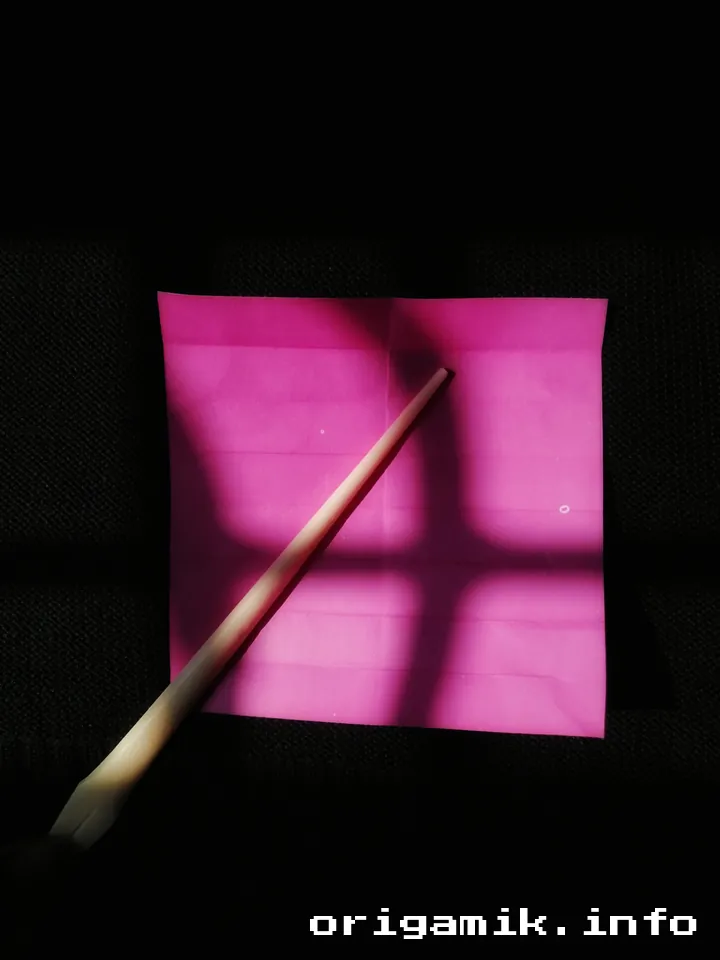
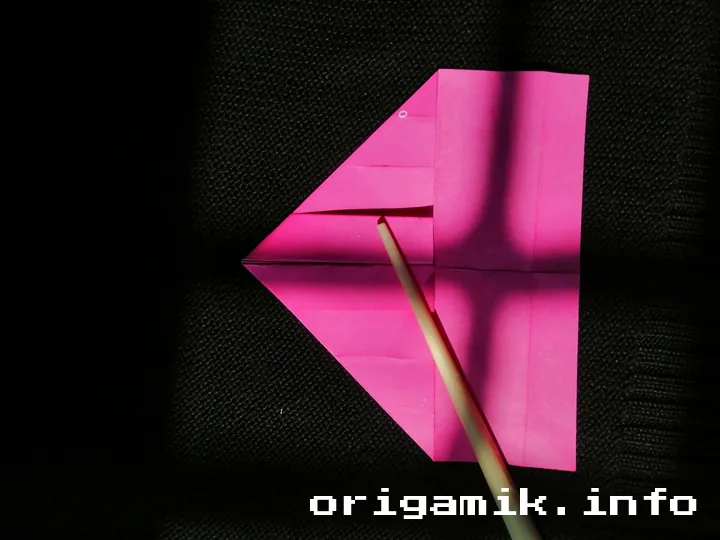
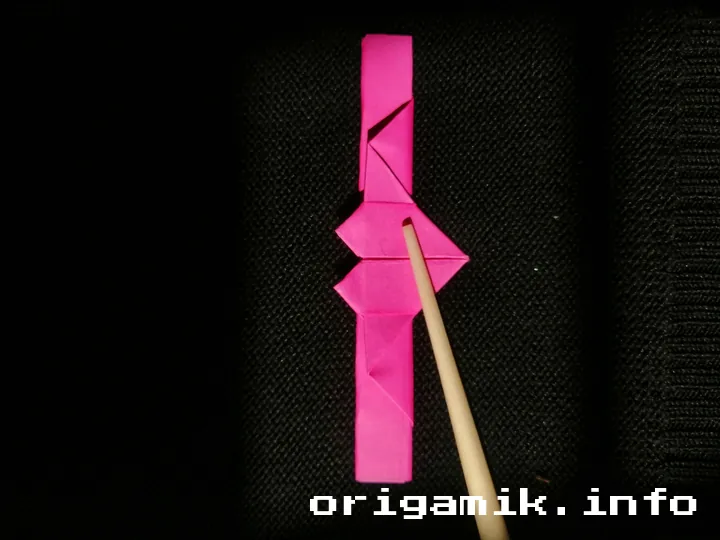
Step 4: Define the Heart Shape
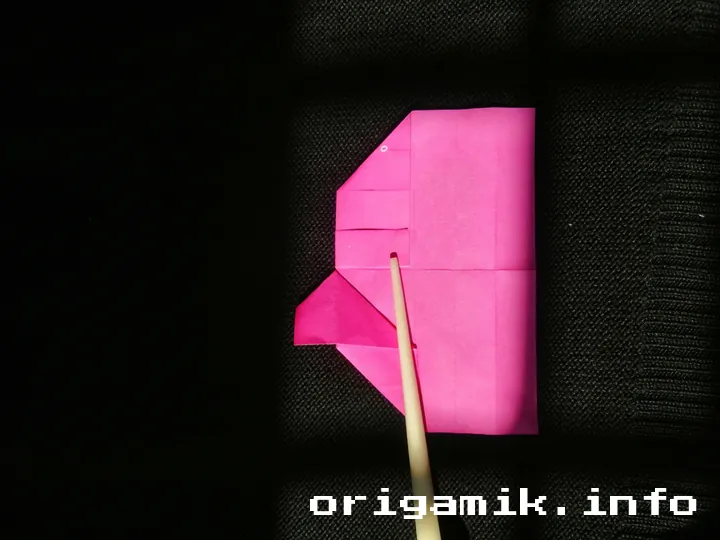
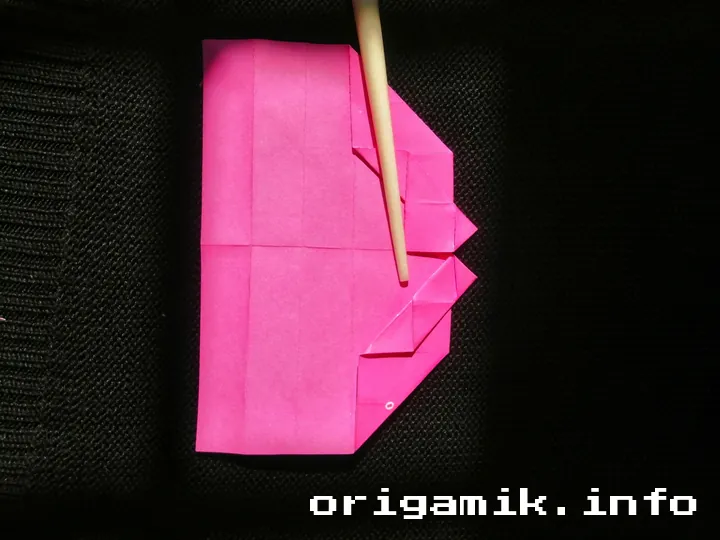
- Flatten the shape by gently pressing the folds.
- Make sure both corners are symmetrical to achieve a perfect heart.
- Fold the bottom section into a thin line, making the ring base.
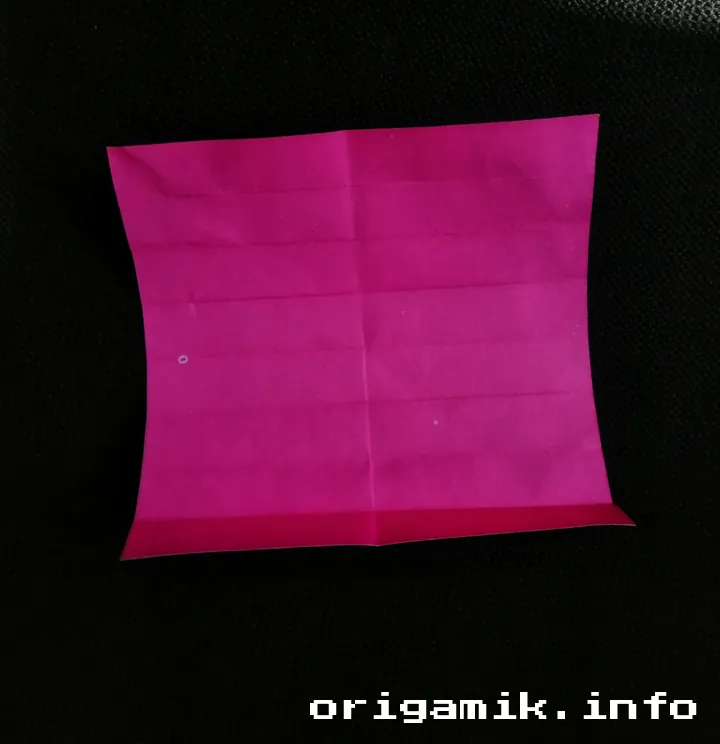
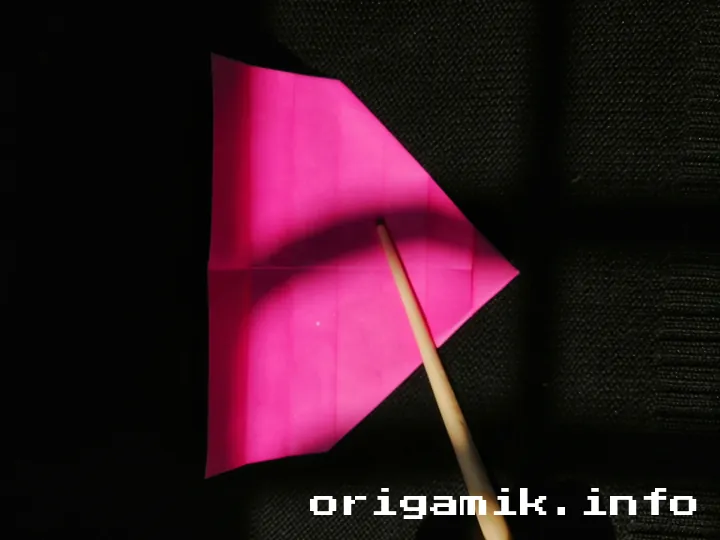
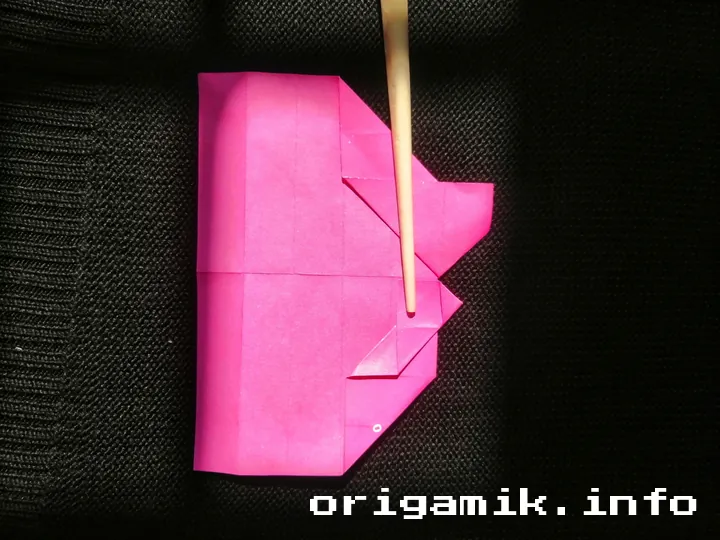
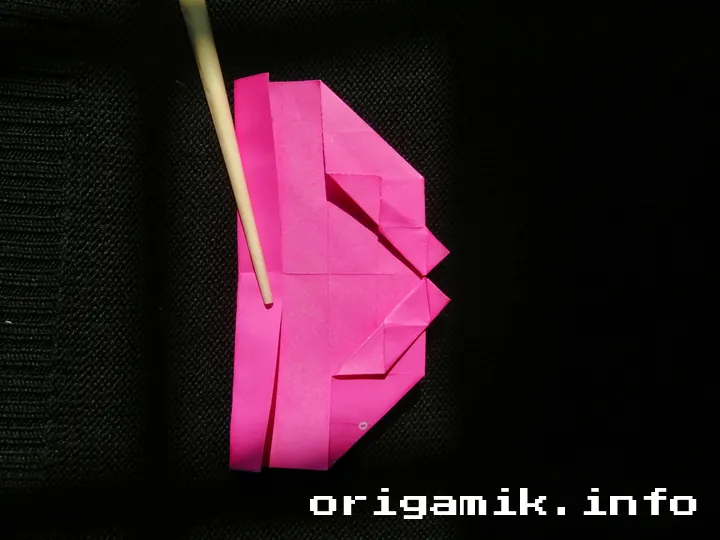
Step 5: Form the Ring
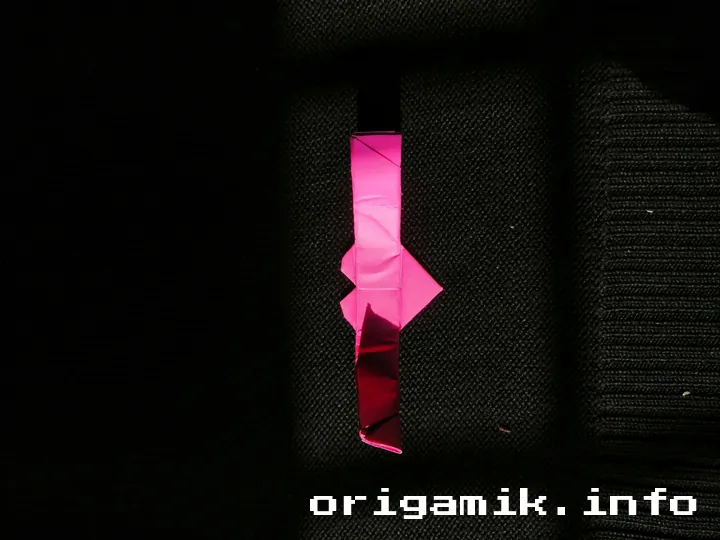
- Flip the paper over and fold both sides inward to create the ring band.
- Overlap one side slightly over the other to secure the shape.
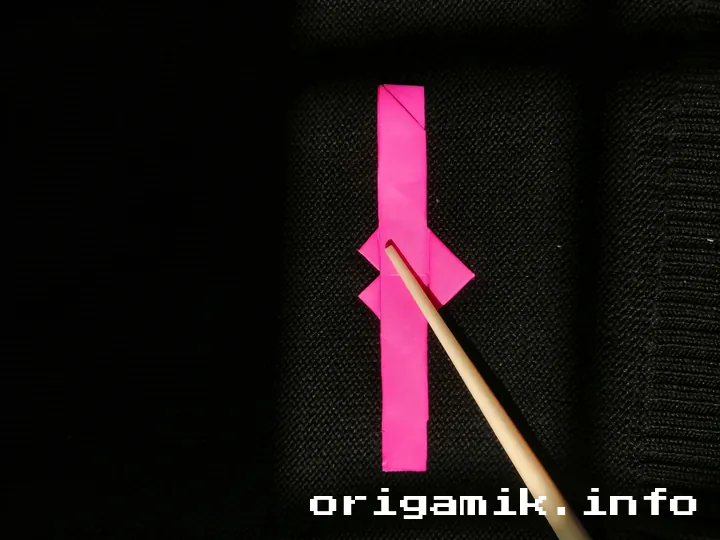
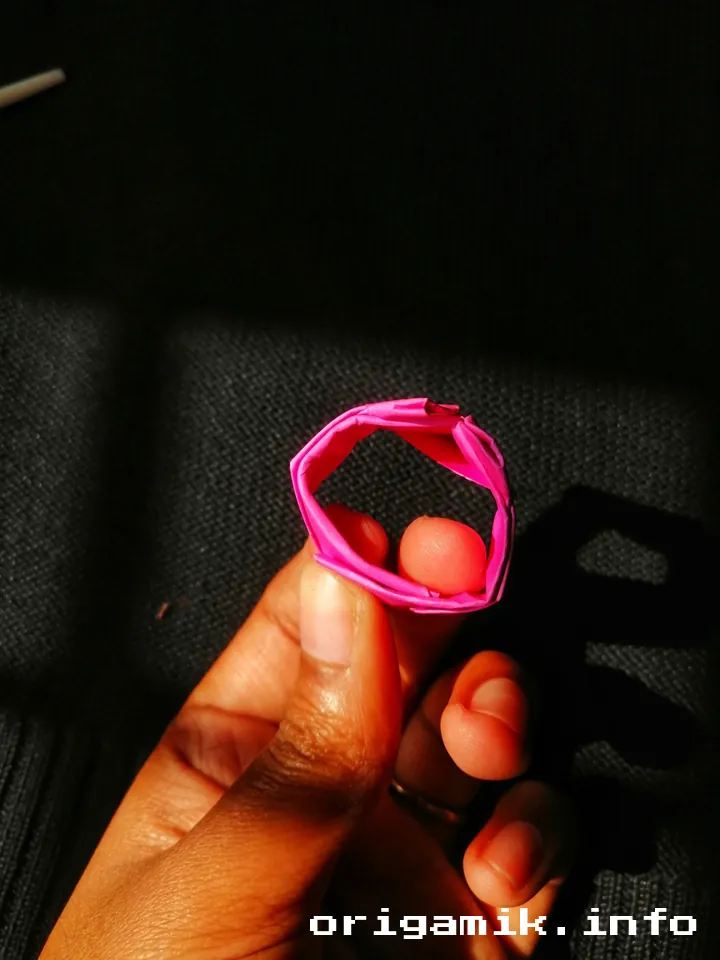
Step 6: Final Adjustments
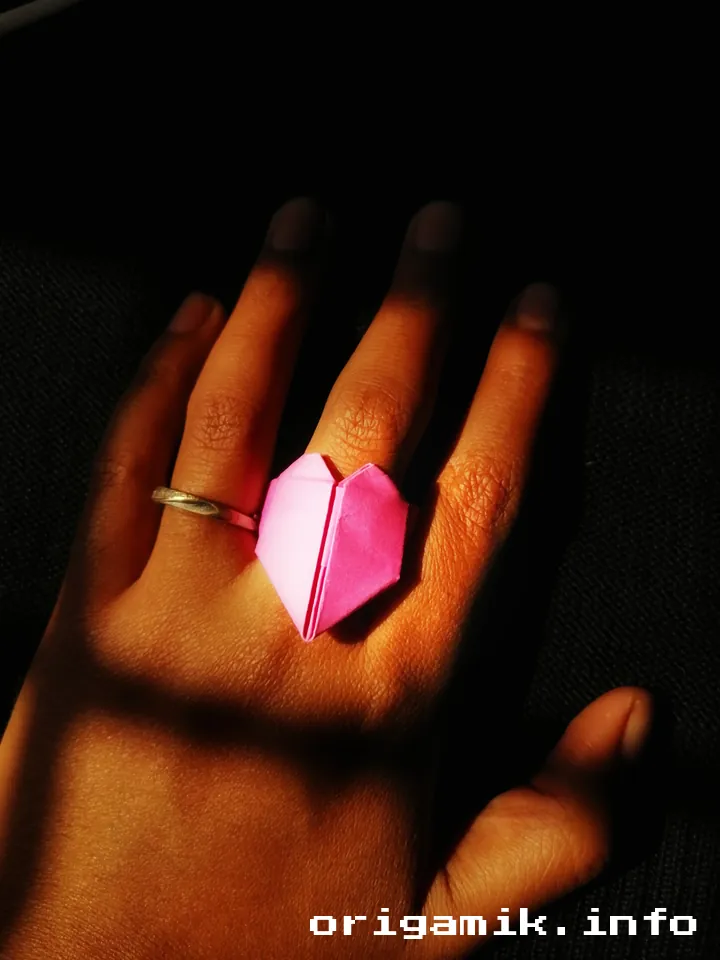
Your Origami Heart ring is now ready! Adjust the folds gently to refine the shape.
Tips for Success
- Use thin paper – It folds better and creates sharp edges.
- Fold precisely – Small misalignments can alter the heart shape.
- Adjust the ring size – Modify the width to fit your finger perfectly.
Common Mistakes and How to Avoid Them
Mistake 1: Paper Tears While Folding
Solution: Use thinner creases and fold gently.
Mistake 2: Uneven Heart Shape
Solution: Ensure folds are aligned symmetrically before proceeding.
Mistake 3: Ring Band Too Loose or Tight
Solution: Adjust the final folds to achieve the right size.
Similar Variations You Can Try
Looking to experiment with different styles? Try these:
- Mini Origami Heart Ring – Use a smaller paper size.
- Double Heart Ring – Fold two hearts side by side.
- Glitter Paper Heart Ring – Use decorative paper for a fancy touch.
- Origami Heart Bracelet – Extend the band to make a wrist accessory.
FAQs
Q1: Can I use regular printer paper?
Yes, but thinner origami paper works best for precise folds.
Q2: How do I make the ring adjustable?
Simply leave a small overlap when folding the band, allowing it to expand.
Q3: Can kids make this?
Absolutely! It’s a simple heart ring step by step project perfect for all ages.
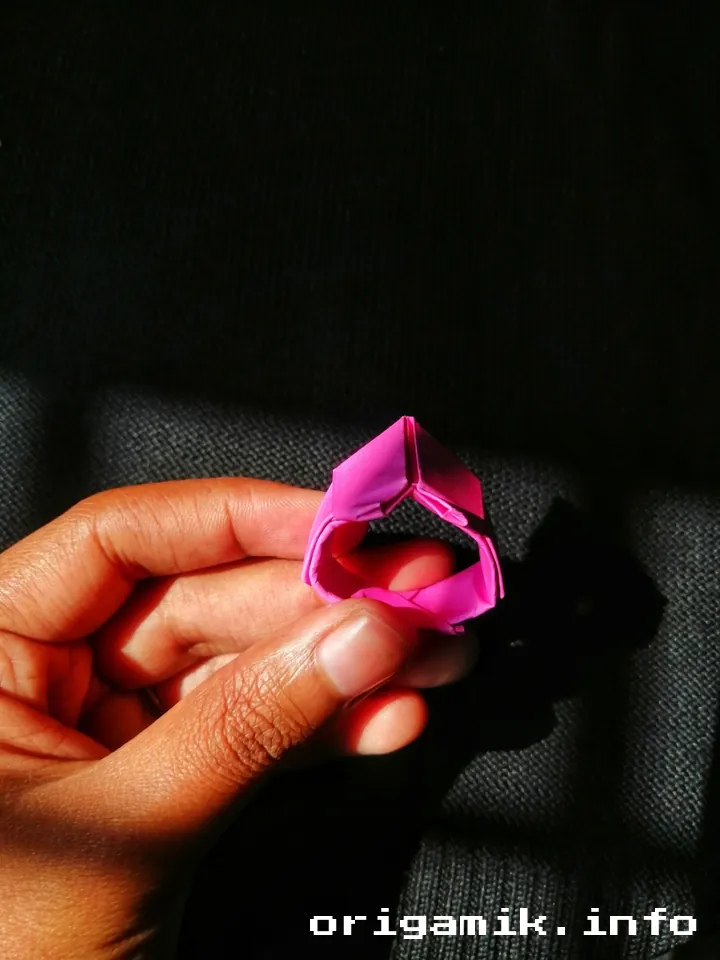
Conclusion
Making an easy Origami Heart ring is a delightful experience. With these Origami Heart ring instructions, you can craft a heartfelt paper ring in minutes.
Now, grab a piece of paper and start folding! Who knows? You might end up making a whole collection of heart rings!