

Ever wanted to create something beautiful with just a piece of paper? The Origami Lily flower is a fantastic project to start with. It’s simple, elegant, and fun to make!
In this guide, I’ll walk you through the Simple Lily flower Step by Step process. Whether you’re a beginner or an origami enthusiast, this tutorial will make it easy to follow.
By the end of this article, you’ll have a stunning paper Lily flower that you can use for decorations, gifts, or just for fun. Ready? Let’s begin!
What is an Origami Lily Flower?
The Origami Lily flower is a traditional Japanese paper craft that represents beauty and grace. With just a few folds, you can transform a simple square sheet of paper into a delicate, lifelike blossom.
Definition List:
- Origami: The Japanese art of paper folding.
- Lily Flower: A beautiful, trumpet-shaped flower often symbolizing purity and renewal.
- Waterbomb Base: A fundamental origami fold used in many projects.
Now that you know what we’re making, let’s gather our supplies!
Materials Needed
To make a perfect Origami Lily flower, you’ll need the following materials:
| Material | Description |
|---|---|
| Paper | 15×15 cm square paper |
| Flat Surface | For precise folds |
| Patience | The key to perfect origami |
Using the right materials will ensure a smooth and enjoyable origami experience. Now, let’s start folding!
Simple Lily Flower Step by Step Instructions
Follow these Origami Lily flower instructions carefully, and you’ll have your paper flower in no time!
Step 1: Prepare Your Paper

- Take a 15×15 cm square sheet of paper.
Step 2: Make the Waterbomb Base


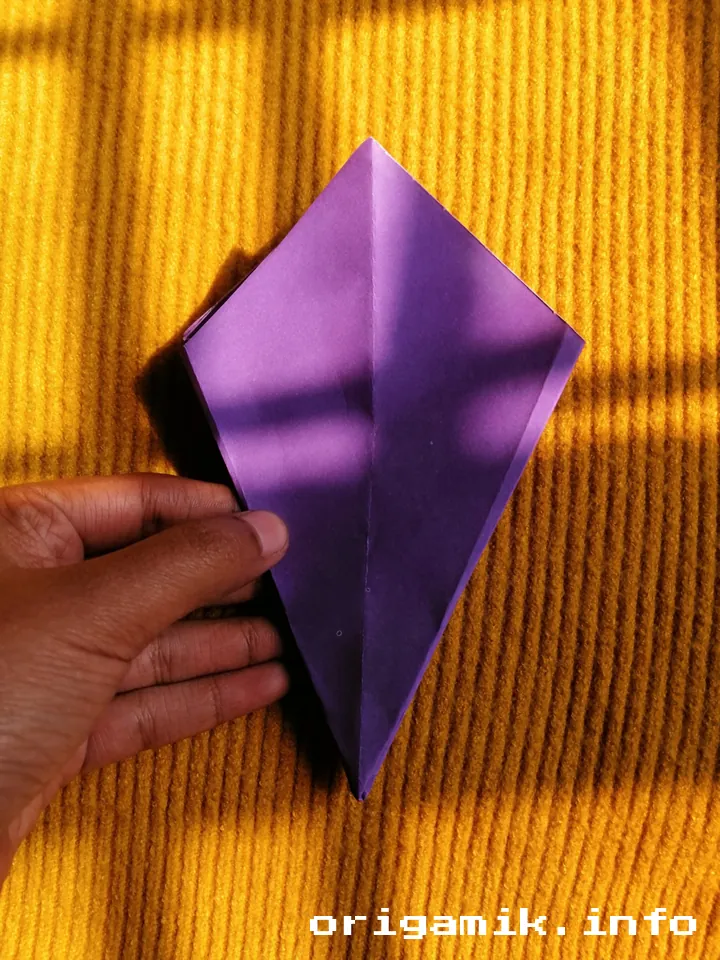
- Fold the paper horizontally and vertically.
- Unfold it and turn it over.
- Fold and unfold the diagonals.
- Push the folds inward to form a waterbomb base.
- Fold the corners upward and repeat on the back.
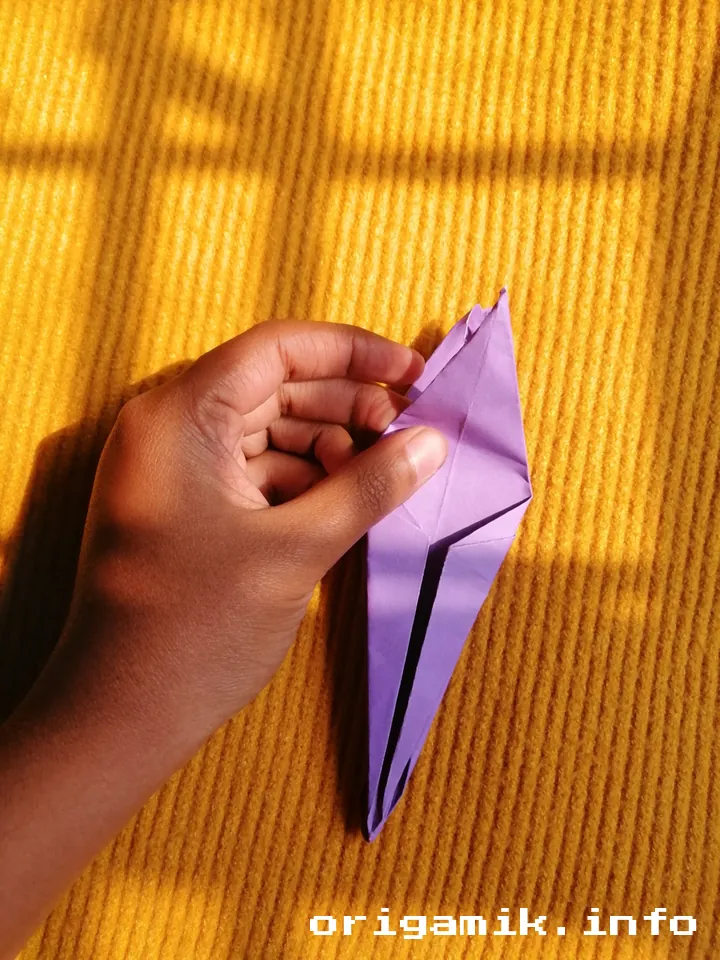
Step 3: Creating the Inner Layers

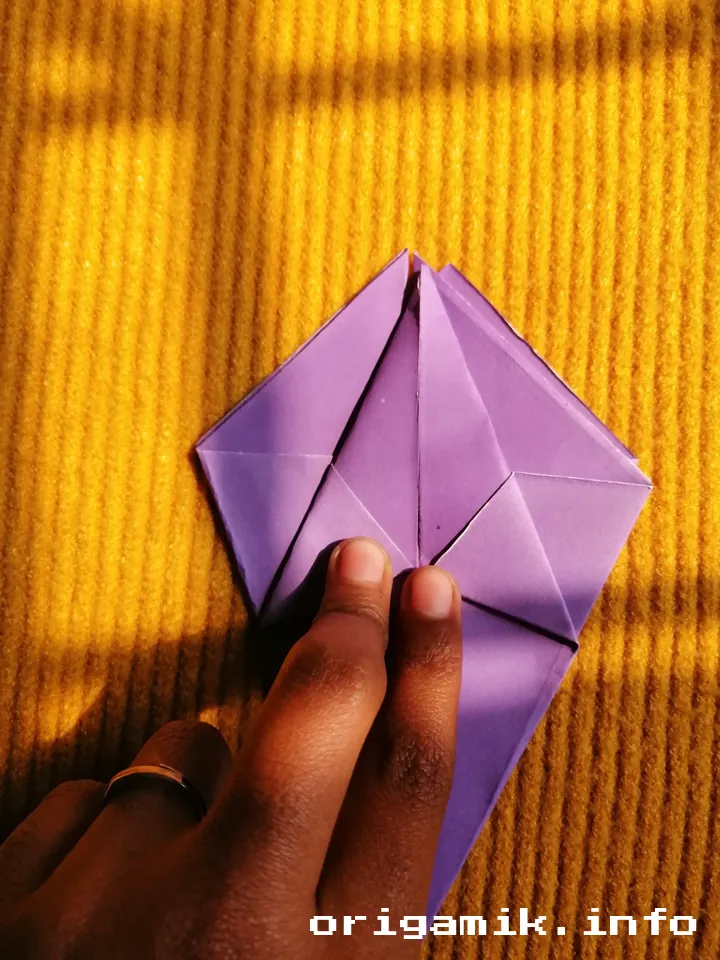


- Fold a layer to the left in the front and to the right behind.
- Fold the middle point, unfold, then fold it to the bottom edge.
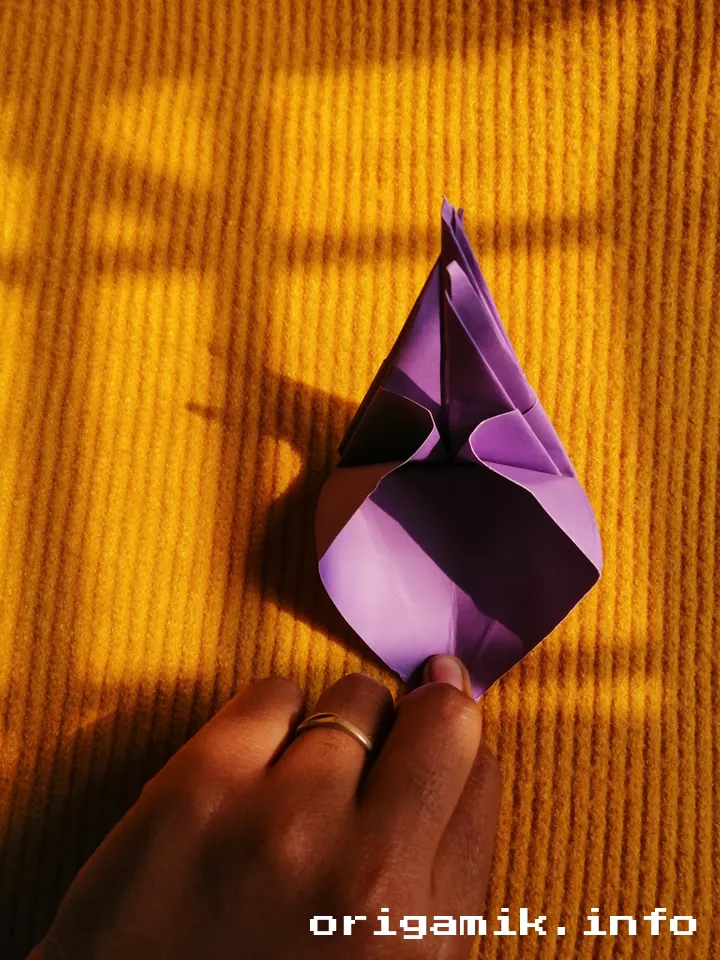
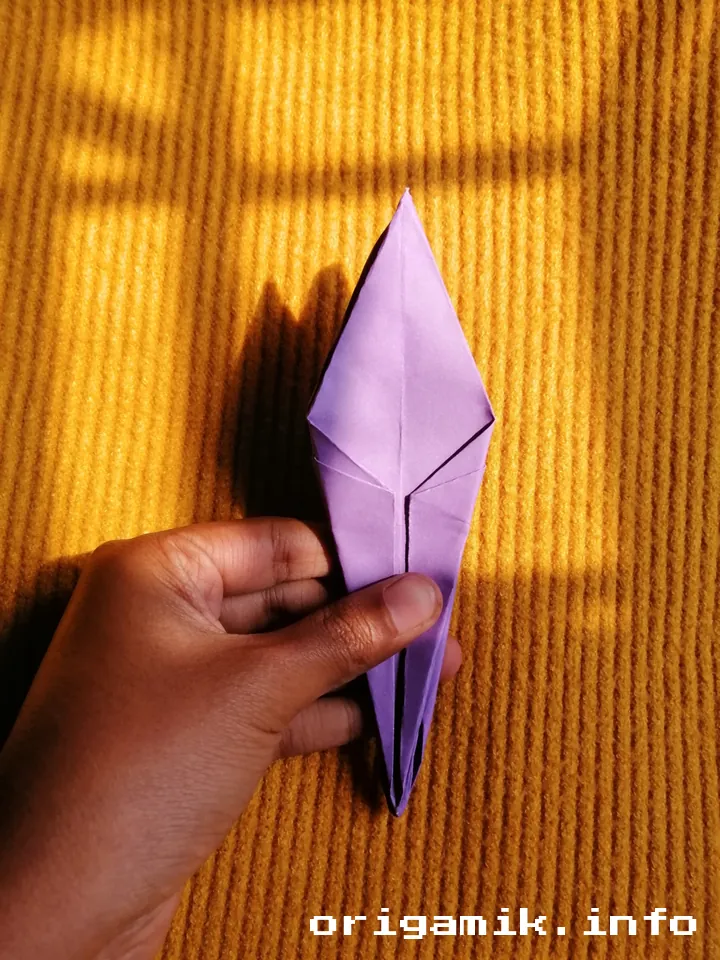
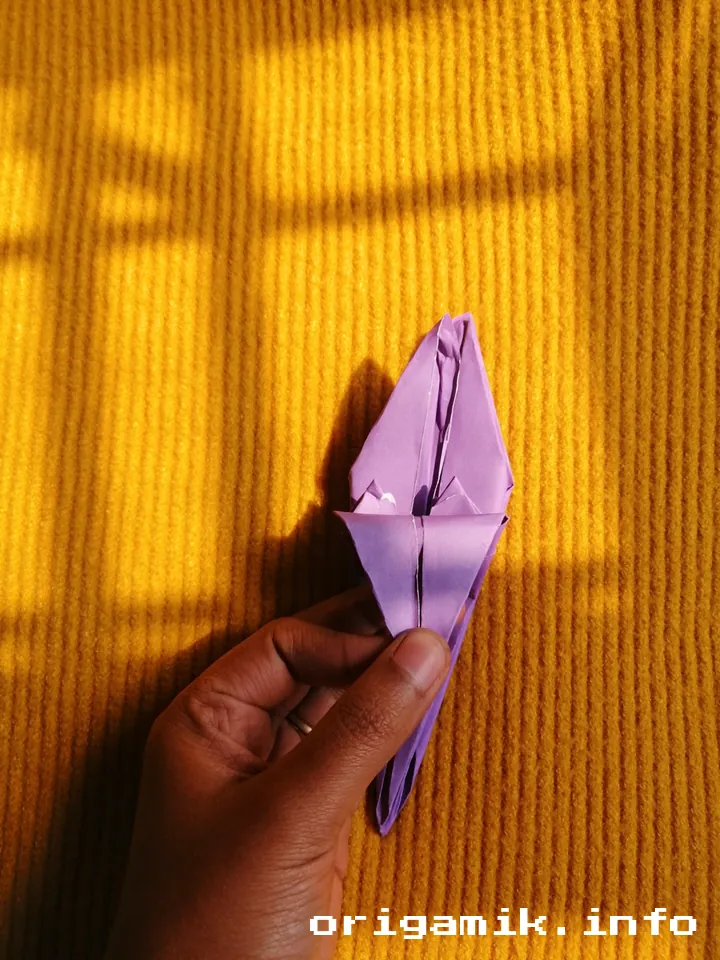
Step 4: Shaping the Lily


- Unfold the backside slightly.
- Fold a layer to the middle point.
Step 5: Forming the Petals
- Carefully peel each petal down.
Step 6: Enjoy Your Lily!
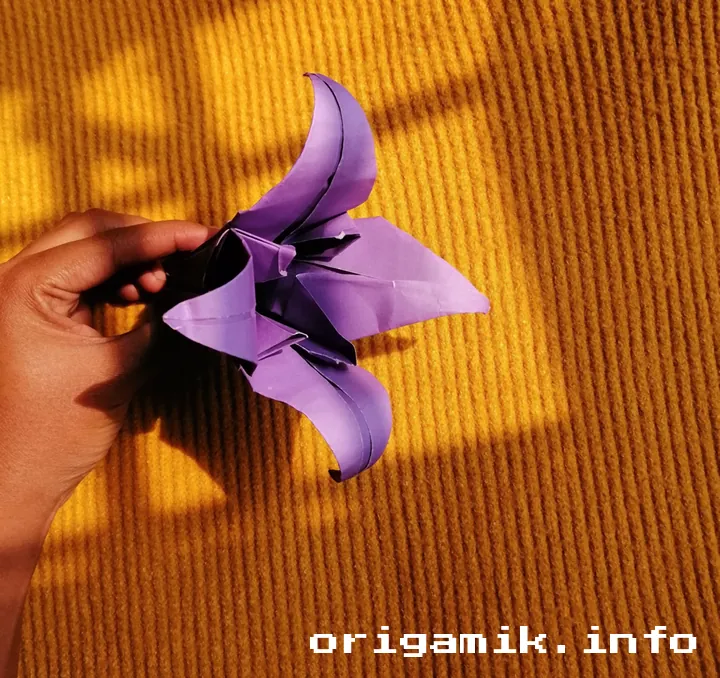
- Congratulations! Your Origami Lily flower is ready.
Tips for Success
Want to make your Lily flower look even better? Here are some expert tips:
- Use crisp, thin paper for clean folds.
- Practice on scrap paper before using decorative paper.
- Take your time—precision is key to a perfect flower.
- Press each fold firmly to maintain the shape.
Common Mistakes and How to Avoid Them
Even seasoned origami artists make mistakes. Here’s how to avoid common pitfalls:
| Mistake | Solution |
| Paper tears | Use smoother, high-quality paper. |
| Misaligned folds | Align edges carefully before creasing. |
| Petals don’t open well | Loosen folds slightly before shaping. |
Similar Variations You Can Try
If you enjoyed making the Origami Lily flower, try these variations:
- Origami Rose – A slightly more complex but elegant flower.
- Origami Tulip – A simpler version great for beginners.
- 3D Paper Flowers – Combine multiple lilies for a bouquet.
FAQs
1. Can I use printer paper?
Yes, but thinner origami paper works best for delicate folds.
2. How long does it take to make?
About 10-15 minutes with practice.
3. What’s the best paper size for beginners?
A 15×15 cm square is ideal for starters.
Conclusion
Now you know how to make a Lily flower using simple origami techniques! With patience and practice, you’ll create a beautiful paper Origami Lily flower every time. Keep folding and have fun!
Looking for more origami ideas? Let me know in the comments, and I’ll guide you through your next paper-folding adventure!