

Ever wanted to create something that feels like it holds a little magic? The easy Origami magic box is just that—a mesmerizing paper craft that folds into a delightful container.
Follow my simple magic box step-by-step guide, and you’ll master this enchanting creation in no time. No glue, no tape, just a single piece of paper and a bit of patience.
By the end of this, you’ll have a foldable masterpiece that can store small treasures, serve as a surprise gift box, or simply impress your friends. Let’s get started!
What Is an Origami Magic Box?
The Origami magic box is a fascinating paper-folding project where a flat square transforms into a three-dimensional container. Unlike a regular box, this one feels almost mystical due to its clever folding pattern.
Why is it called a “magic box”?
- No cuts, no glue — Just paper folding does all the work.
- Looks complex but is easy — Even beginners can master it.
- Folds flat and pops up — Almost like an optical illusion!
This isn’t just another origami project; it’s a fun, functional piece of art that brings joy and creativity.
Materials Needed
Before we dive into the Origami magic box instructions, let’s gather everything you need. Here’s a handy table to make things easier:
| Material | Details | Alternatives |
|---|---|---|
| Paper Size | 15″ x 15″ square paper | Any square paper |
| Paper Type | Origami paper, craft paper | Recycled paper, newspaper |
| Optional Tools | Bone folder (for sharp folds) | Ruler or fingernail |
Now that we have our materials, let’s begin folding!
How to Make a Magic Box: Step-by-Step Guide
Here’s the simple magic box step-by-step process to follow:
Step 1: Start with a Square
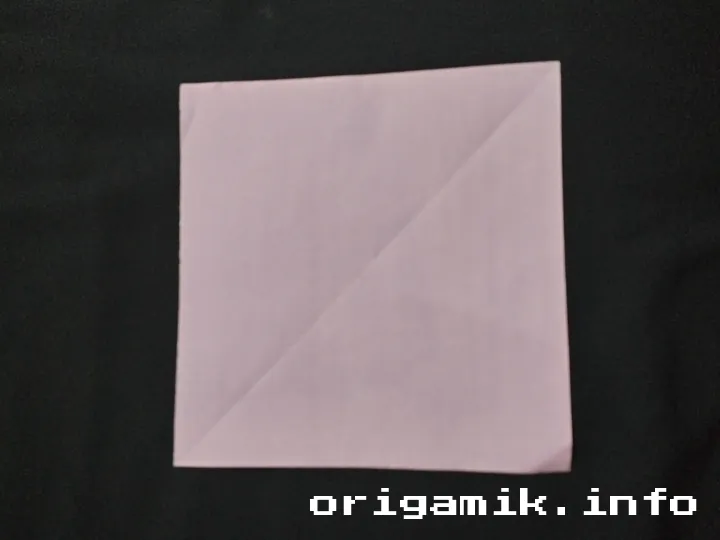
- Take your 15” x 15” square sheet of paper.
- Place it on a flat surface, pattern-side down if using colored paper.
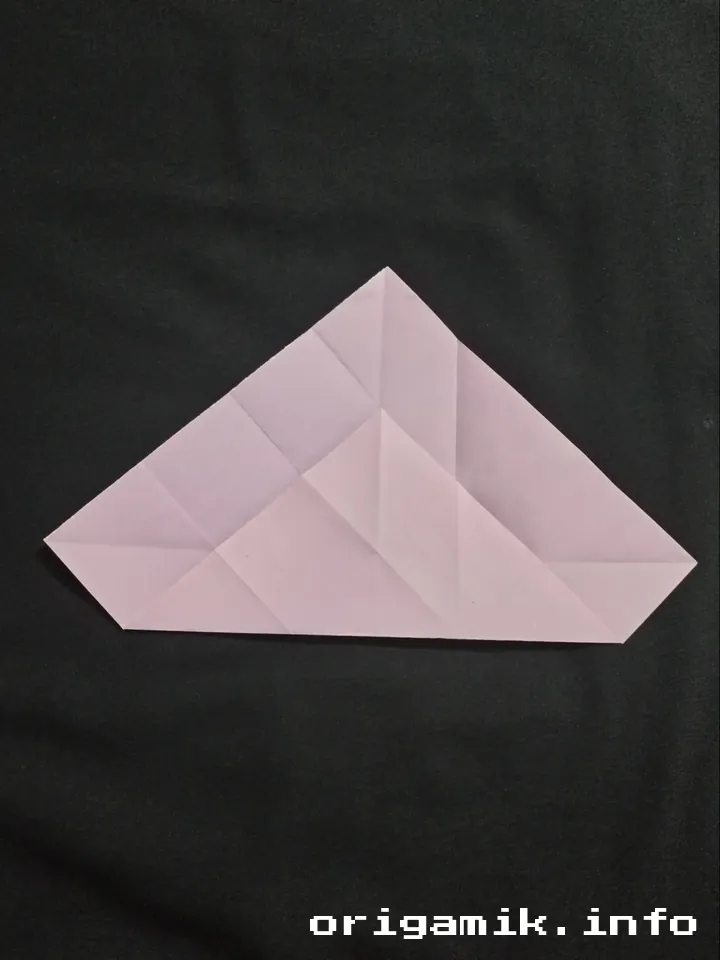
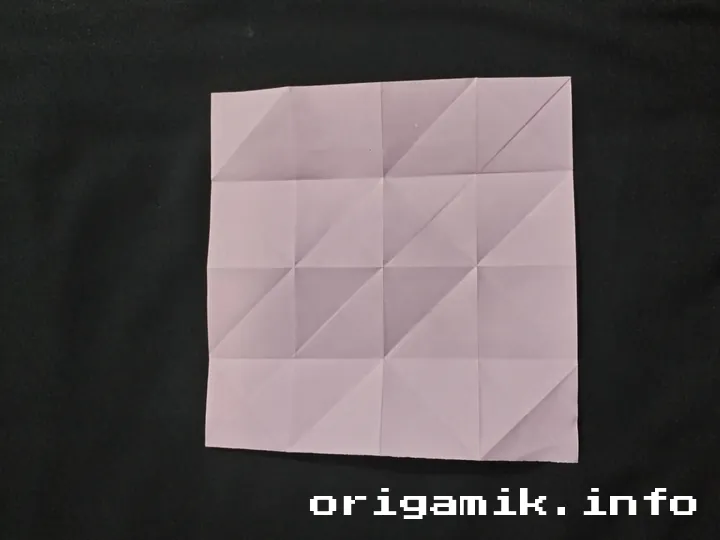
Step 2: Make an X Crease
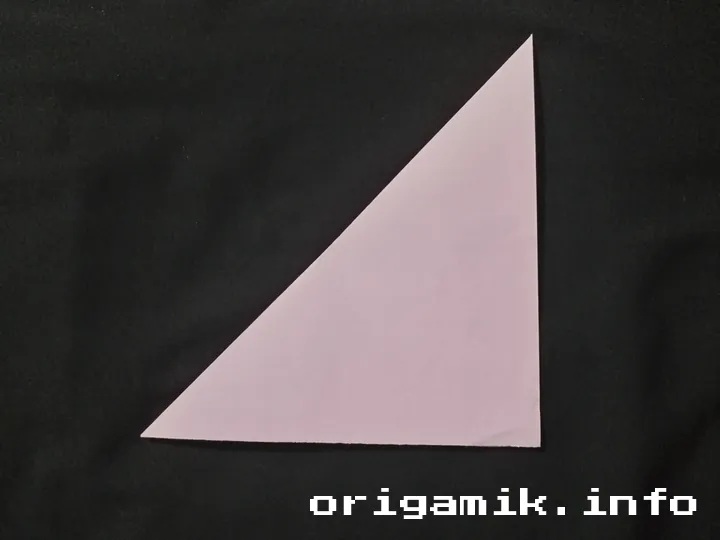
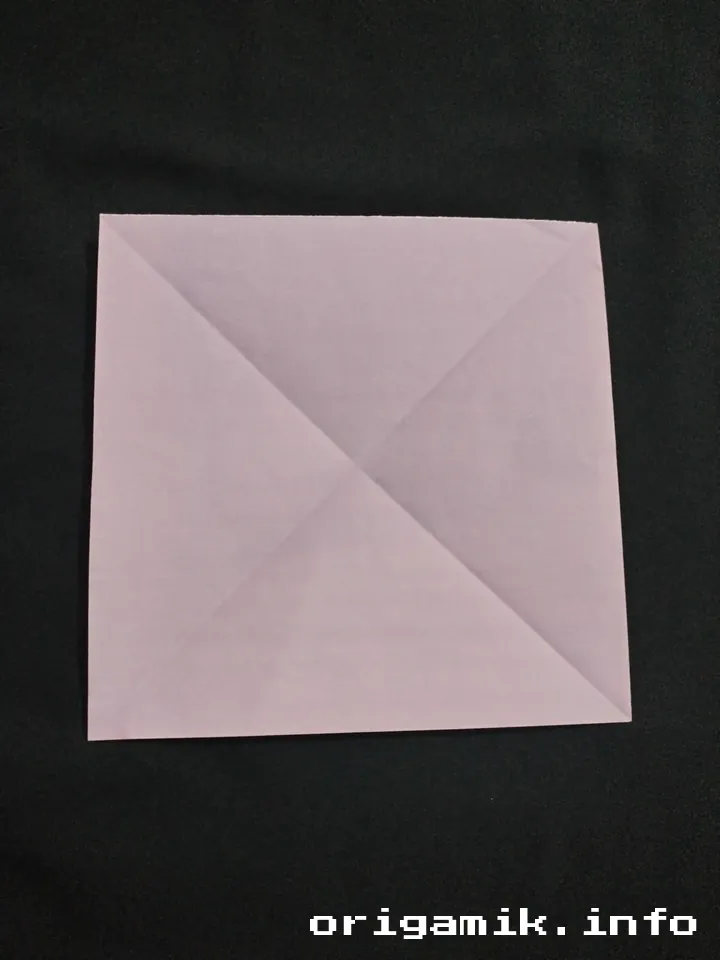
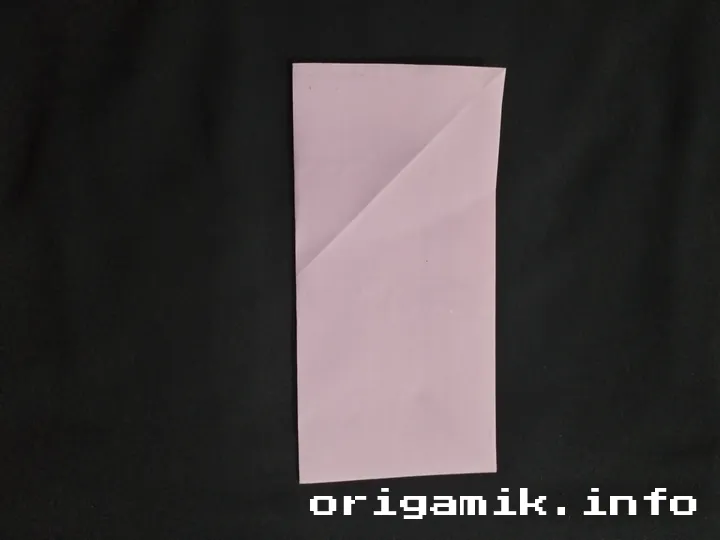
- Fold the paper diagonally to form a triangle.
- Unfold and repeat with the other diagonal.
- Open it up to see an “X” crease in the center.
Step 3: Vertical and Horizontal Folds
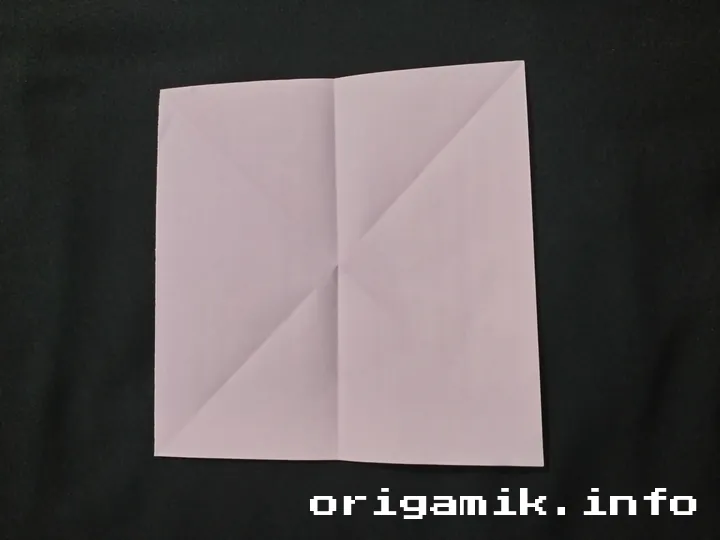
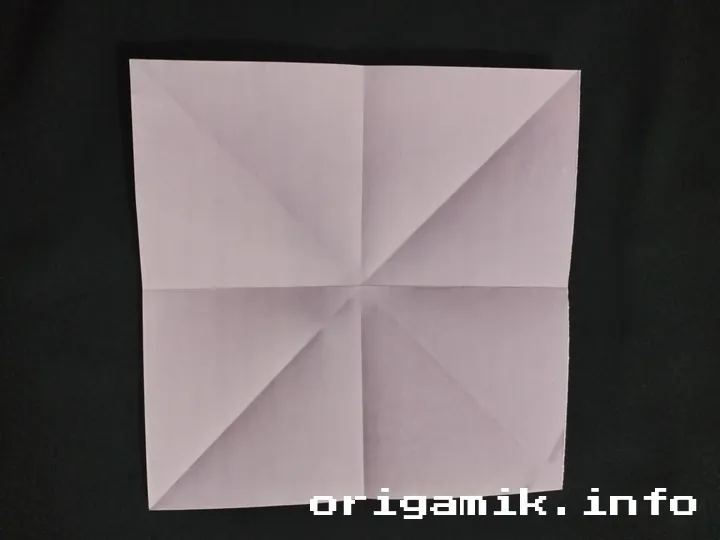
- Fold the paper in half vertically and unfold.
- Fold it in half horizontally and unfold.
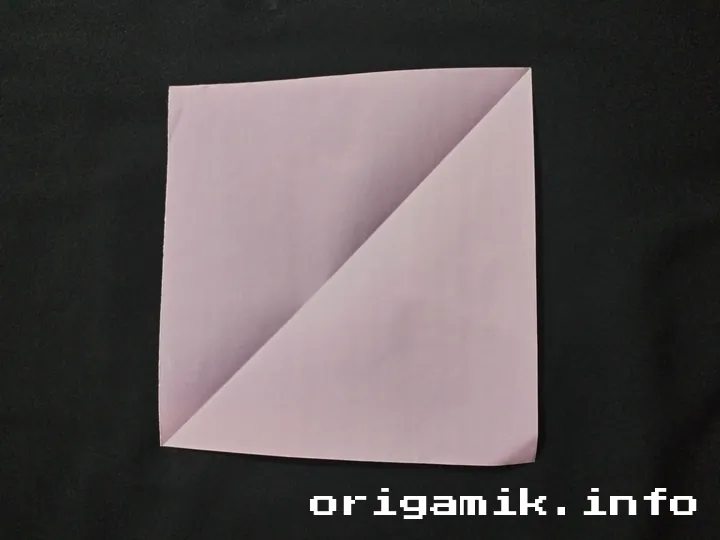
Step 4: Side Folds
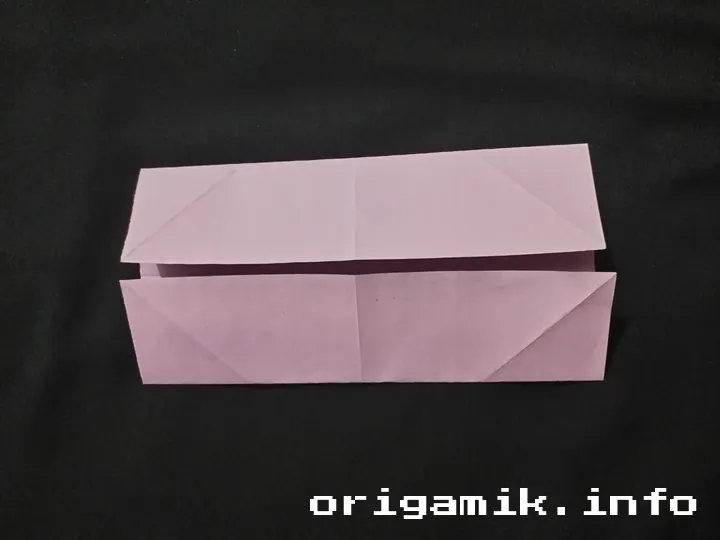
- Bring both sides to the middle fold, then unfold.
- Repeat this step for the opposite sides.
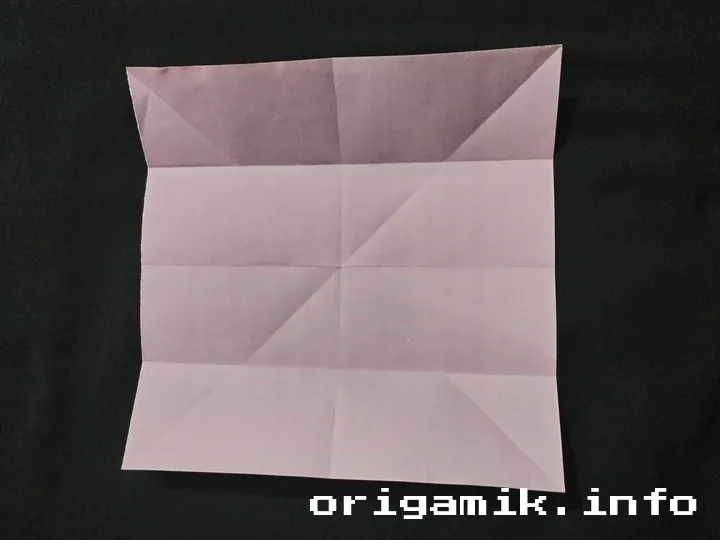
Step 5: More Creases for the Structure
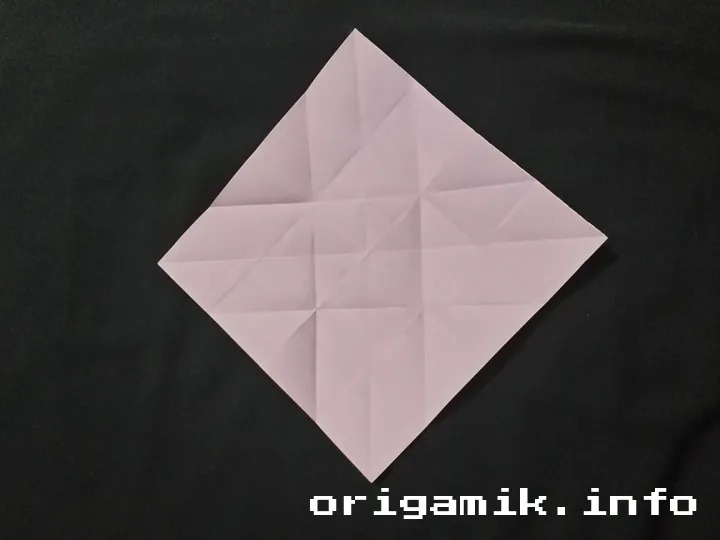
- Fold all four sides towards the center, then unfold.
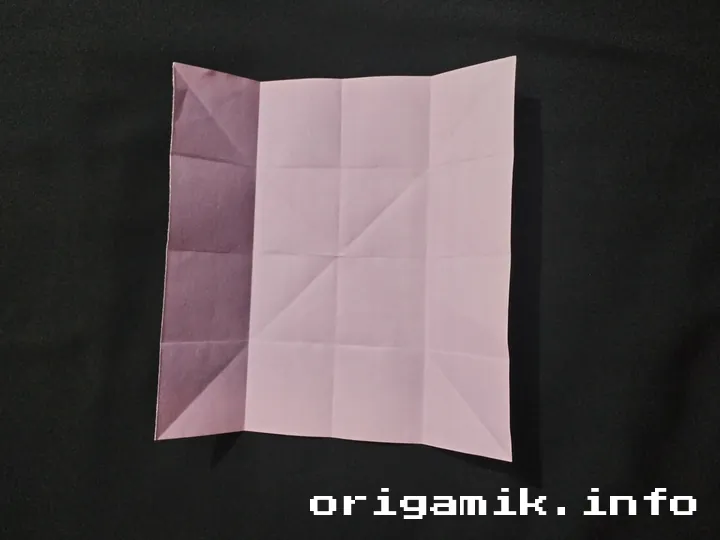
Step 6: The Square Fold
- Flip the paper over and fold it around the square shape.
- Unfold it again; this strengthens the base.
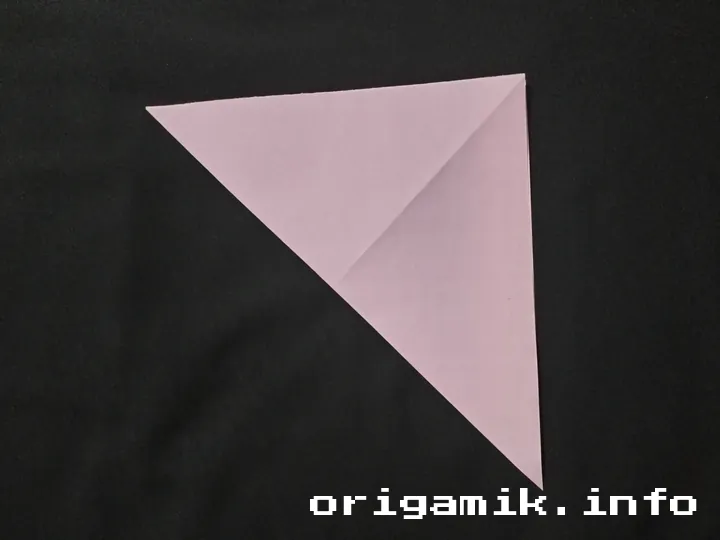
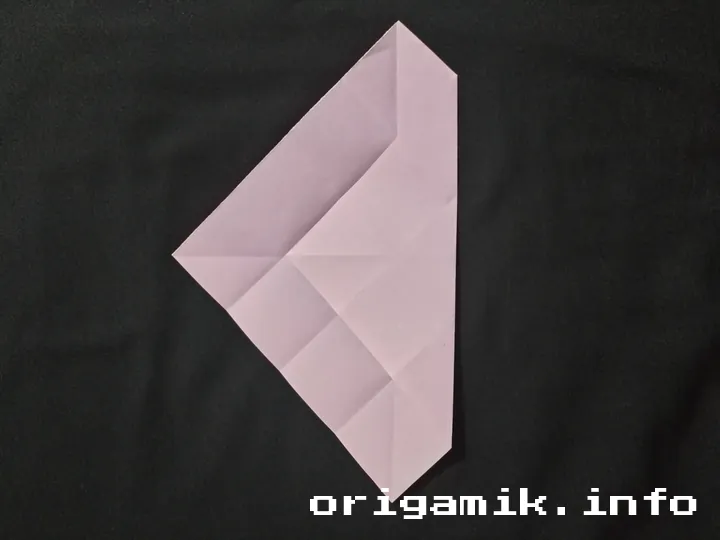
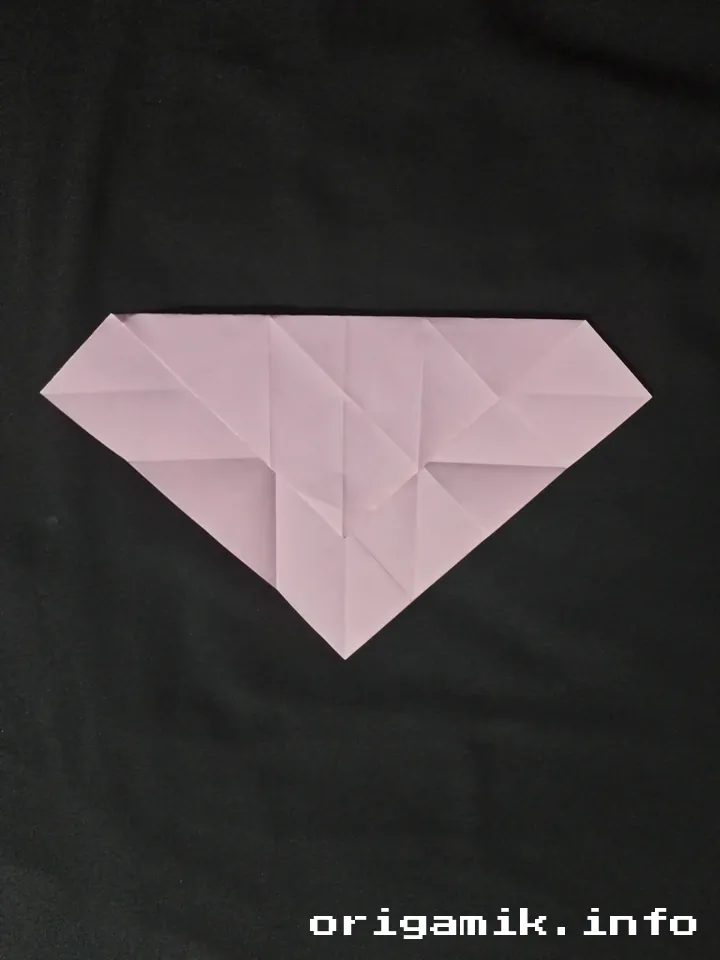
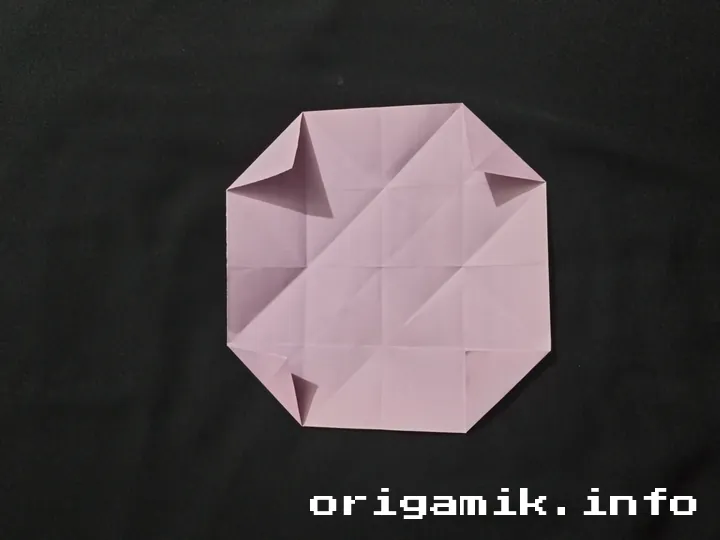
Step 7: The Magic Corners
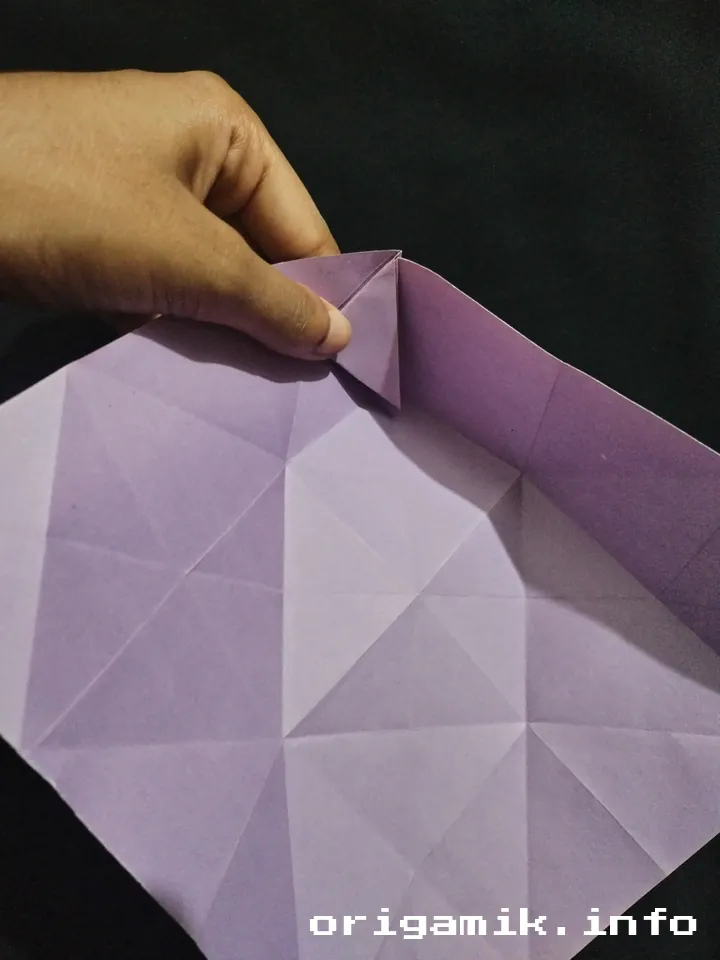
- Fold all four corners towards the center as shown in diagrams (or imagine an envelope shape).
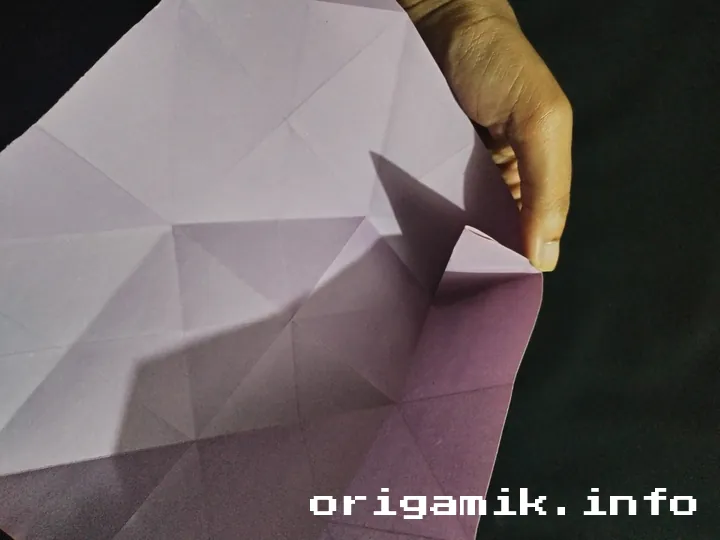
Step 8: The Final Fold
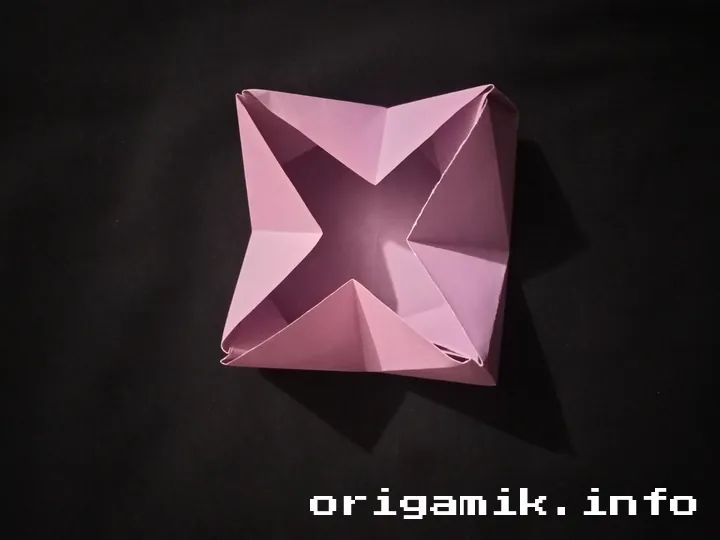
- Fold the paper from the middle and bring all pieces together.
- This will create the easy Origami magic box structure.
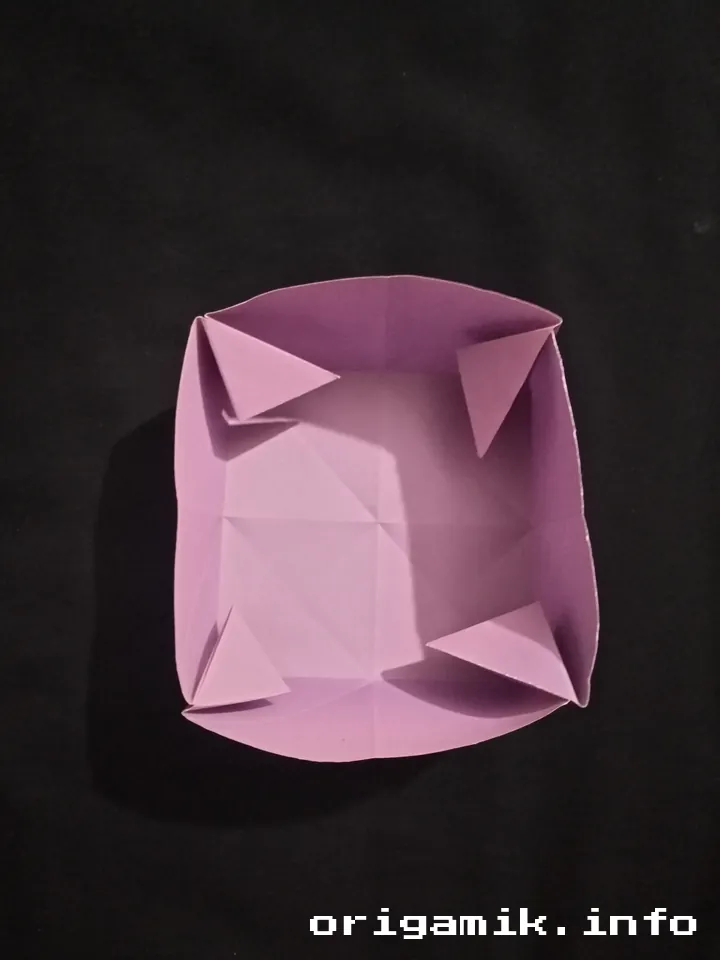
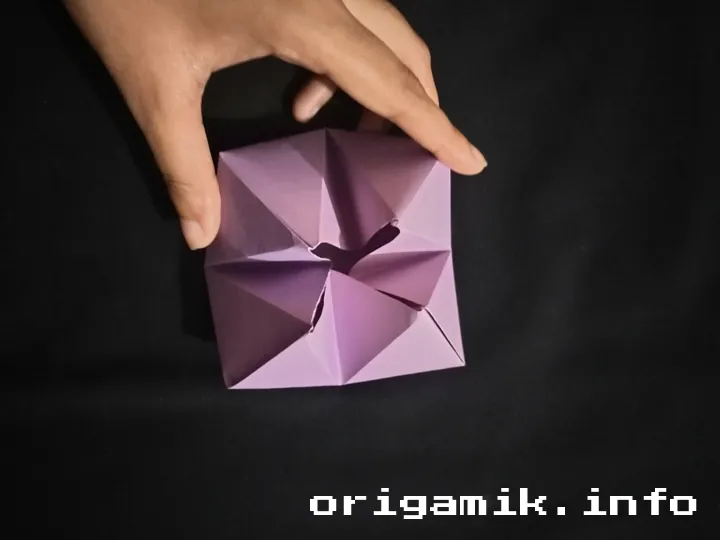
Step 9: Your Magic Box is Ready!
- Open it up and marvel at the perfect little box you’ve created!
Tips for Success
Want your magic box to look flawless? Keep these tips in mind:
- Use crisp folds: A bone folder or ruler helps keep the edges sharp.
- Choose the right paper: Thin paper is easier for beginners, but thicker paper makes a sturdier box.
- Patience is key: Don’t rush the folds; precision matters!
- Practice on scrap paper: Before using fancy paper, practice with plain sheets.
Common Mistakes and How to Avoid Them
Even the best origami artists make mistakes. Here are some common errors and fixes:
| Mistake | How to Fix It |
| Uneven edges | Align carefully before folding |
| Paper tearing | Use lighter pressure or thicker paper |
| Box doesn’t hold shape | Re-fold and press firmly |
| Crooked folds | Use a ruler for guidance |
Similar Variations You Can Try
Once you master this simple magic box step by step, try these fun variations:
- Lid Version — Fold another box slightly bigger to create a cover.
- Double-Layered Box — Use two sheets of paper for a stronger structure.
- Decorative Magic Box — Add stickers, markers, or patterns.
The possibilities are endless!
FAQs
How long does it take to make an Origami magic box?
If you’re a beginner, expect 15-20 minutes. With practice, you can fold one in under 10 minutes.
Can I use rectangular paper?
No, it must be a perfect square, or the folds won’t align correctly.
What can I store in my magic box?
Small jewelry, candies, tiny notes, or even origami surprises!
Final Thoughts
Making an Origami magic box isn’t just about folding paper; it’s about experiencing the joy of creativity. Whether you’re crafting for fun, gifting someone, or simply challenging yourself, this project is a rewarding journey.
So, grab your paper and start folding! And remember, the more you practice, the more magical your boxes will become.