
Origami is pure magic. One moment, you’re holding a simple square sheet of paper. The next, you’ve crafted something mesmerizing.
Today, I’ll guide you through making an easy Origami 8 Pointed Star. It’s simple, fun, and incredibly rewarding.
Follow along, and by the end, you’ll have a stunning star ready to impress!
What is an Origami 8 Pointed Star?
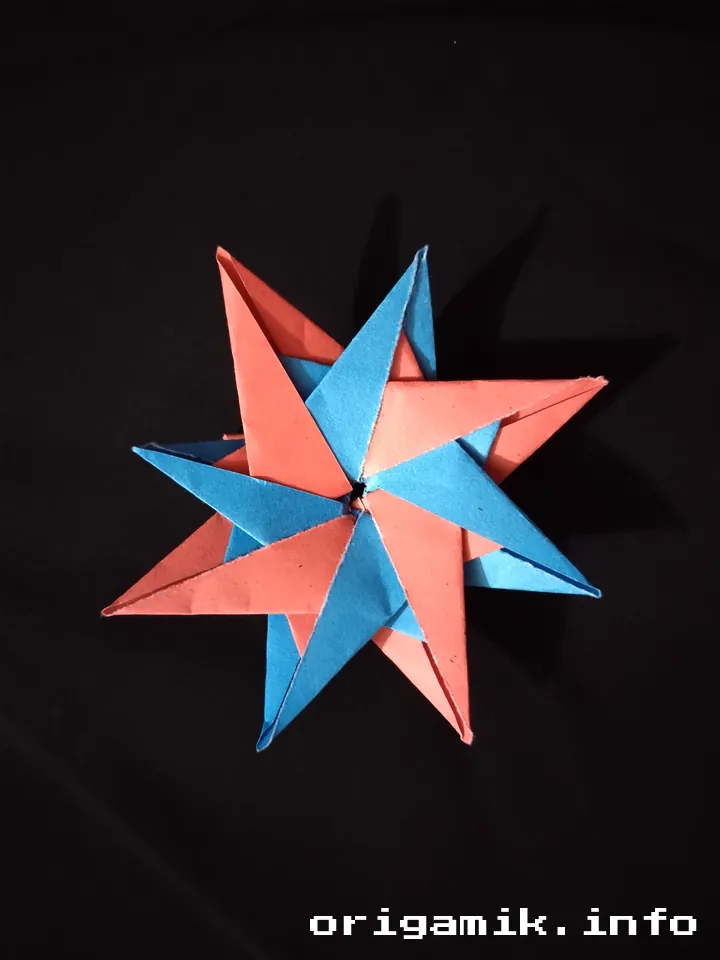
The Origami 8 Pointed Star is a beautiful modular origami piece made from eight separate folded papers. When assembled, it forms a symmetrical star with sharp, striking points.
It’s a fantastic beginner-friendly project, yet still satisfying for experienced paper folders. Whether you’re making it for decoration, meditation, or just fun, this simple 8 Pointed Star box step by step guide will help you every fold of the way!
Materials Needed
Before we dive into the folding process, let’s gather everything you need.
| Item | Description |
|---|---|
| Paper | 8 square sheets (6″ x 6″) |
| Surface | A clean, flat table for precise folds |
| Patience | Essential for getting crisp folds and a clean design |
| Good Lighting | Helps in seeing folds clearly and aligning edges perfectly |
Now that we’re ready, let’s get folding!
How to Make 8 Pointed Star – Step by Step Guide
Step 1: Prepare Your Paper
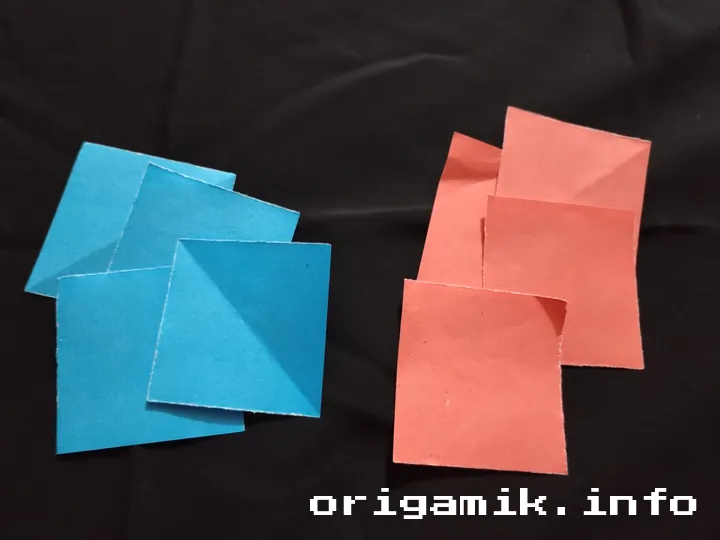
- Choose 8 square papers of equal size (6″ x 6″).
- If you want a colorful star, mix and match different paper colors.
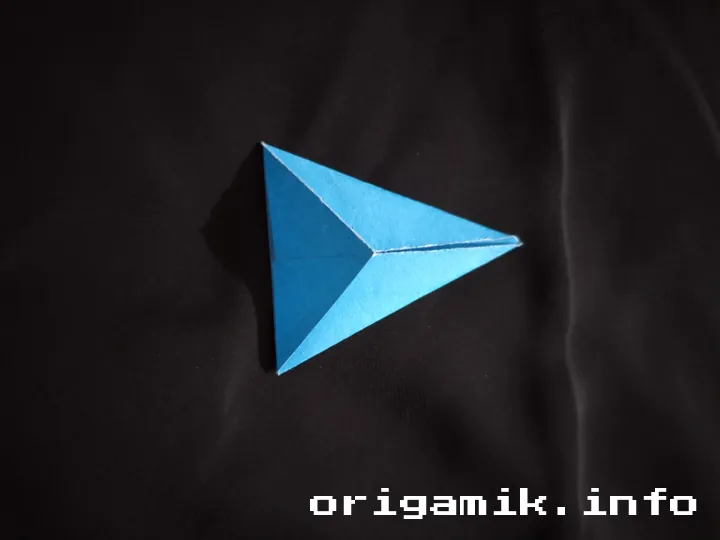
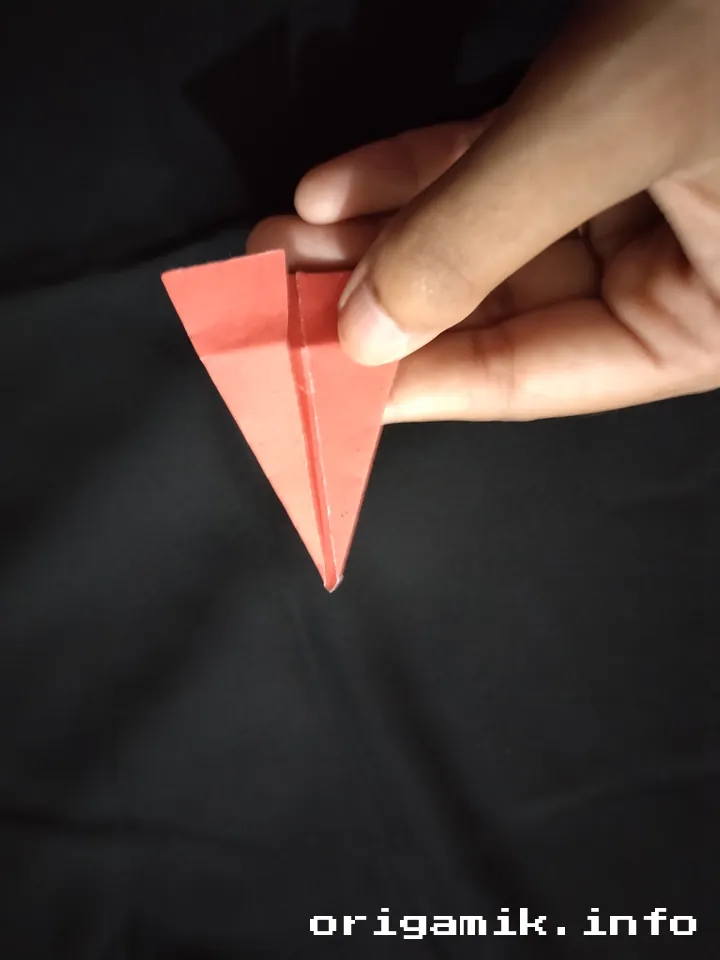
Step 2: Fold into a Triangle

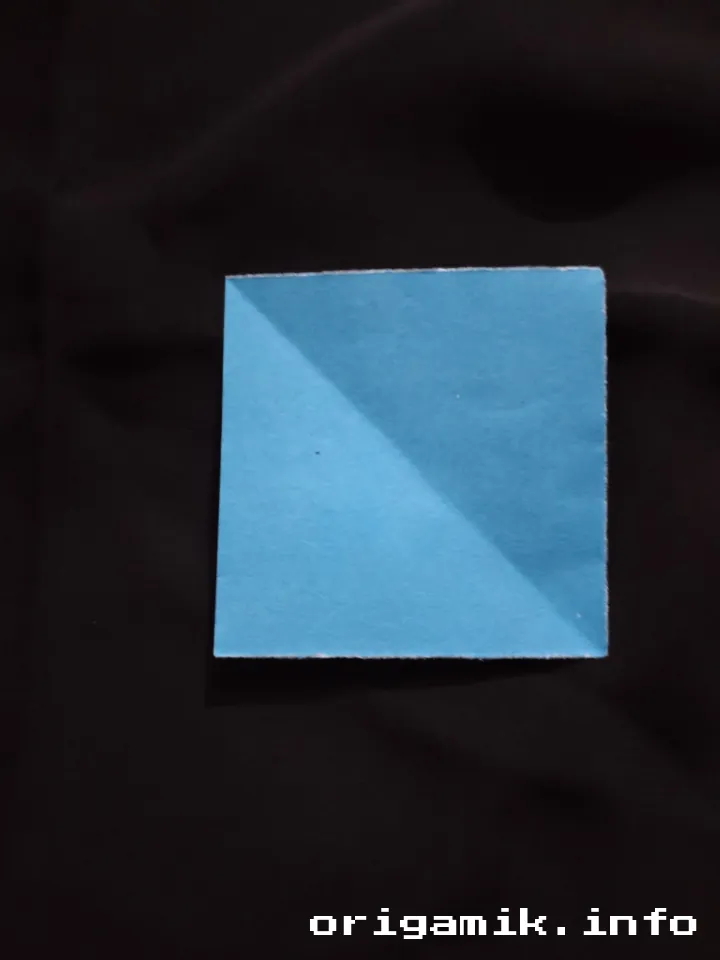
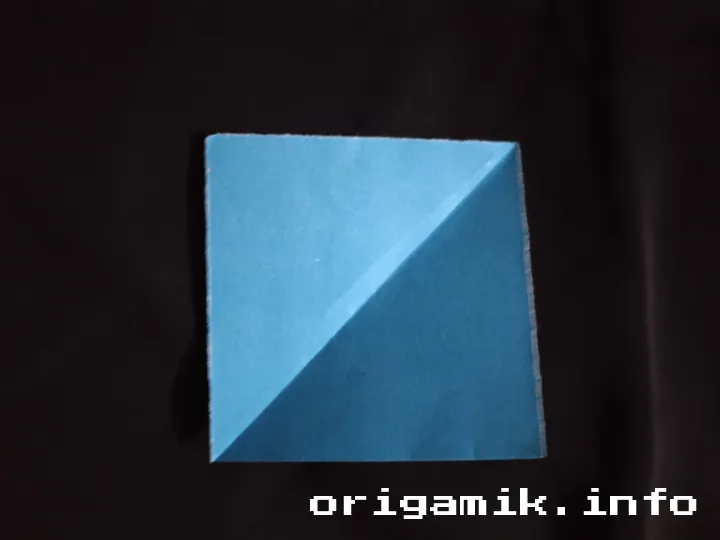
- Take one paper.
- Fold it diagonally into a triangle.
- Unfold it back to the square shape. This creates a center crease.
Step 3: Create the Base Folds
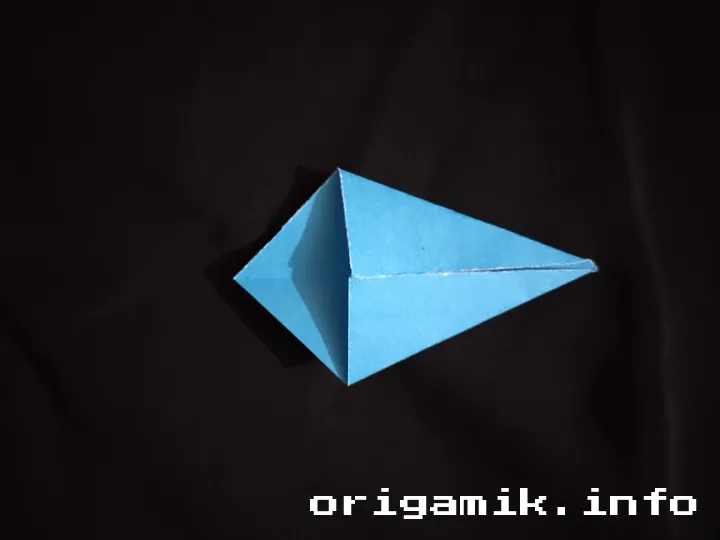
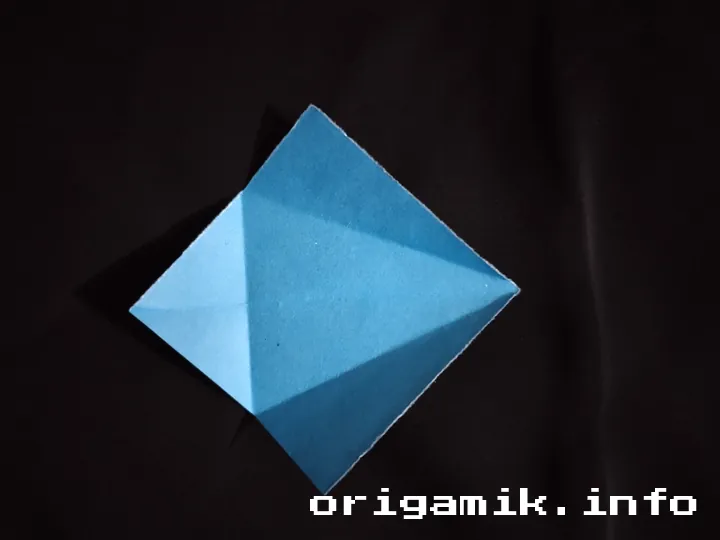
- Bring both corners along the center line.
- Fold the lower part upward and crease it well.
- Unfold everything again.
Step 4: Refold for Structure

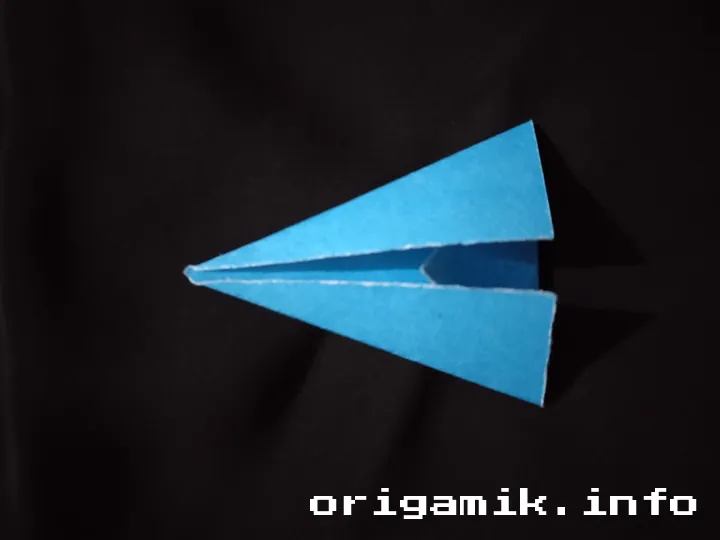
- Fold the lower part first, then refold the side corners.
- This helps create a firm structure for the star’s points.
Step 5: Final Folding for Each Unit
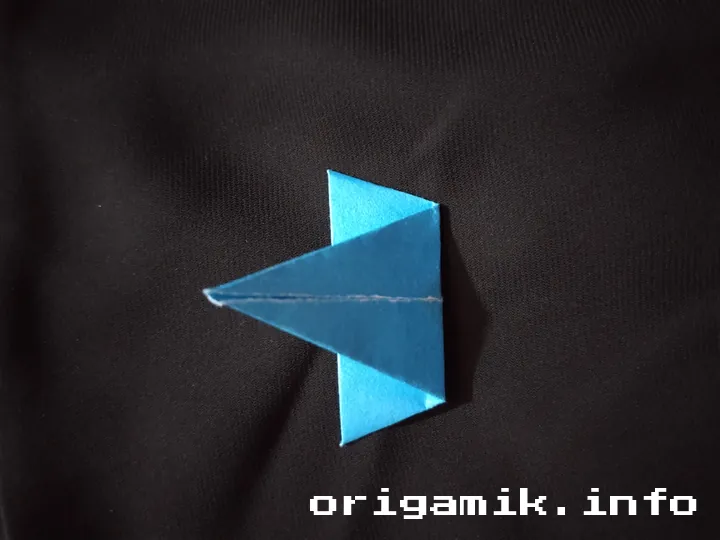
- Fold the bottom 1/3 of the structure inwards.
- Repeat this process for all eight pieces.
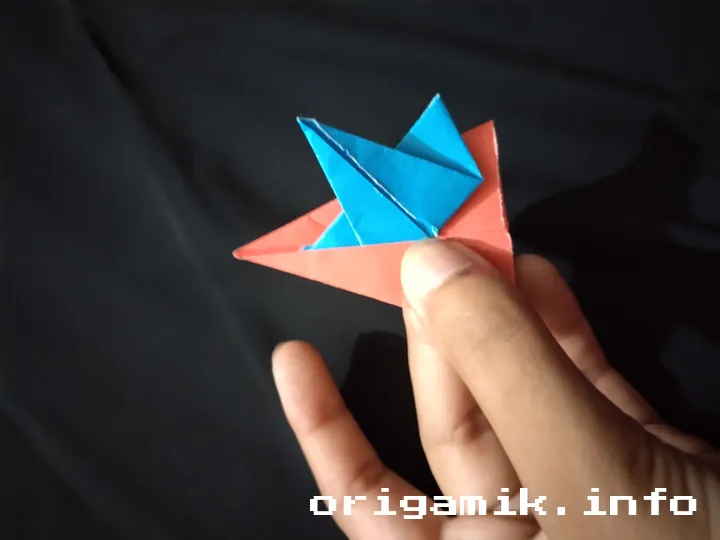
Step 6: Start Connecting the Pieces
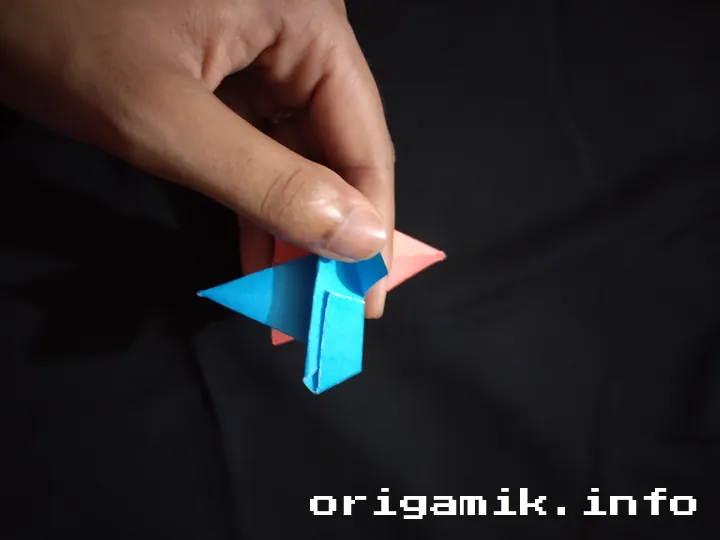
- Take one folded unit and open it slightly.
- Take another folded unit and insert it through the left part of the first one.
Step 7: Secure the Connections
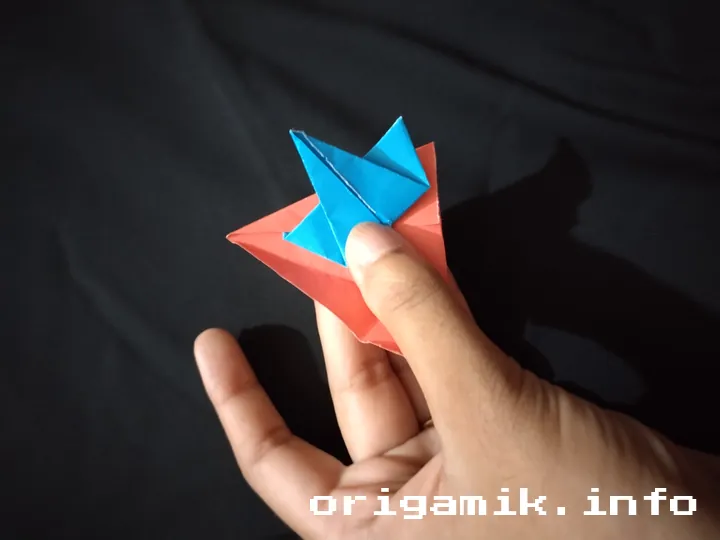
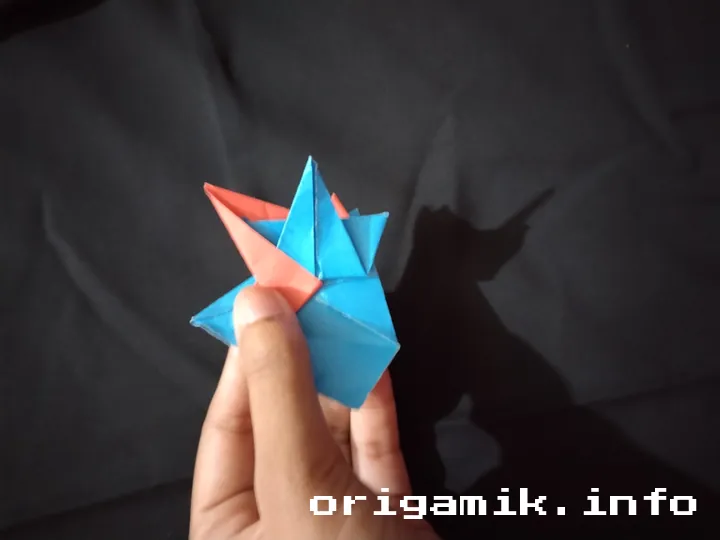
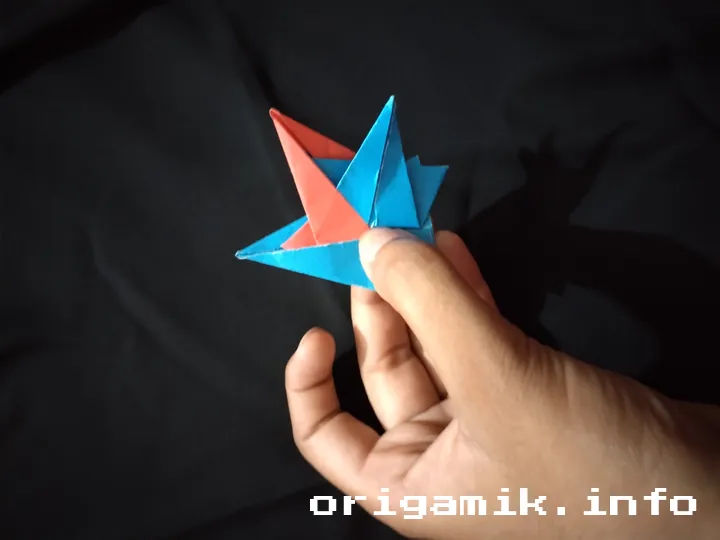
- Unfold the left flap of the first unit.
- Tuck it inside the top part of the second unit.
- Fold the left part back down to lock it in place.
- Repeat this process until all eight pieces are connected.
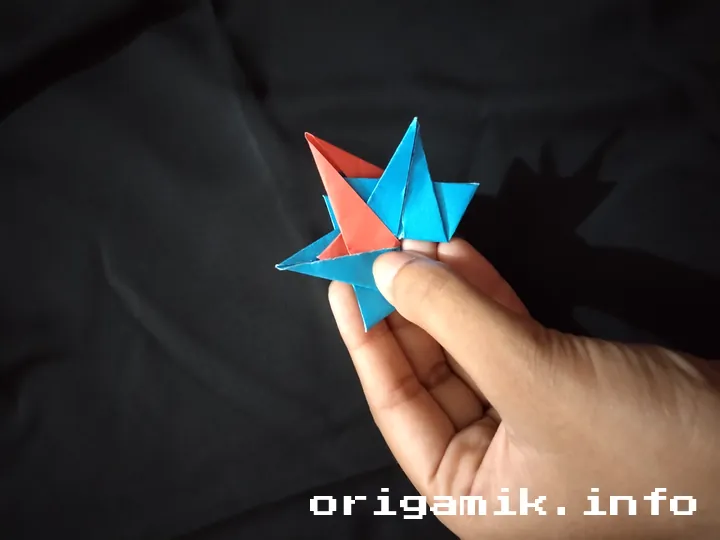
Step 8: Final Adjustments
- Check all connections to ensure a firm and stable shape.
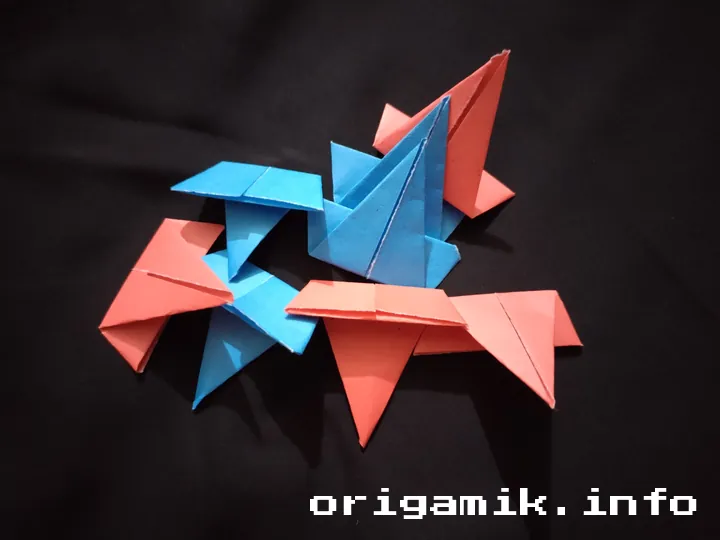
- Your Origami 8 Pointed Star is now complete!
Tips for Success
- Use crisp, quality paper for better structure.
- Fold precisely to ensure all parts fit perfectly.
- Be patient—rushing can lead to loose or uneven folds.
- Experiment with colors to create vibrant star variations.
Common Mistakes and How to Avoid Them
| Mistake | How to Fix It |
| Uneven folds | Use a ruler or fingernail to press creases firmly. |
| Loose connections | Double-check the tucking process and fold tighter. |
| Paper tearing | Use slightly thicker origami paper. |
| Star doesn’t hold shape | Ensure all eight pieces are correctly interlocked. |
Similar Variations You Can Try
Looking for more fun origami projects? Here are some similar stars you can fold:
- Origami 16-Point Star – A more intricate version with double the points.
- Origami Ninja Star – A classic throwable star design.
- Origami Lucky Star – A cute, puffy 3D star.
Each of these stars builds on the skills you learned here, so try them out!
FAQs
Q: Is this easy for beginners?
Yes! This easy Origami 8 Pointed Star is perfect for beginners as long as you follow the steps carefully.
Q: Can I use larger paper sizes?
Absolutely! Just ensure all eight papers are the same size.
Q: How long does it take to complete?
On average, it takes 15–20 minutes to finish your star.
Conclusion
Creating an Origami 8 Pointed Star is a satisfying journey into paper folding. With each precise fold, you bring art and geometry to life.
Now that you know how to make an 8 Pointed Star, try experimenting with colors and papers. Happy folding!