

Origami is more than just folding paper—it’s a magical process of turning a simple sheet into something beautiful. Today, we’ll create an easy Origami Daisy that’s both elegant and fun.
If you’ve ever wondered how to make a Daisy with nothing but paper, you’re in the right place. This guide breaks it down into Simple Daisy step-by-step instructions so anyone can follow along.
Grab your paper, find a comfy spot, and let’s dive into the enchanting world of origami!
What is an Origami Daisy?
An Origami Daisy is a delicate, paper-crafted flower inspired by the natural beauty of real daisies. It’s a great beginner-friendly project that looks stunning in bouquets, decorations, or handmade gifts.
Why Make an Origami Daisy?
- It’s a relaxing and creative activity.
- Perfect for decorations, gifts, or school projects.
- Requires only one square sheet of paper.
- No glue or complex tools—just simple folds and cuts.
Let’s get started with everything you need!
Materials Needed
Before we begin, here’s a list of materials required:
| Item | Details | Purpose |
|---|---|---|
| Paper | 6″ × 6″ square origami paper | The base for folding |
| Scissors | Small, sharp scissors | For precise cuts |
| Flat Surface | A clean, hard table | Ensures smooth folds |
| Patience | A bit of time and focus | Makes the process enjoyable |
Simple Daisy Step by Step Instructions
Follow these Origami Daisy instructions carefully:
Step 1: Prepare Your Paper
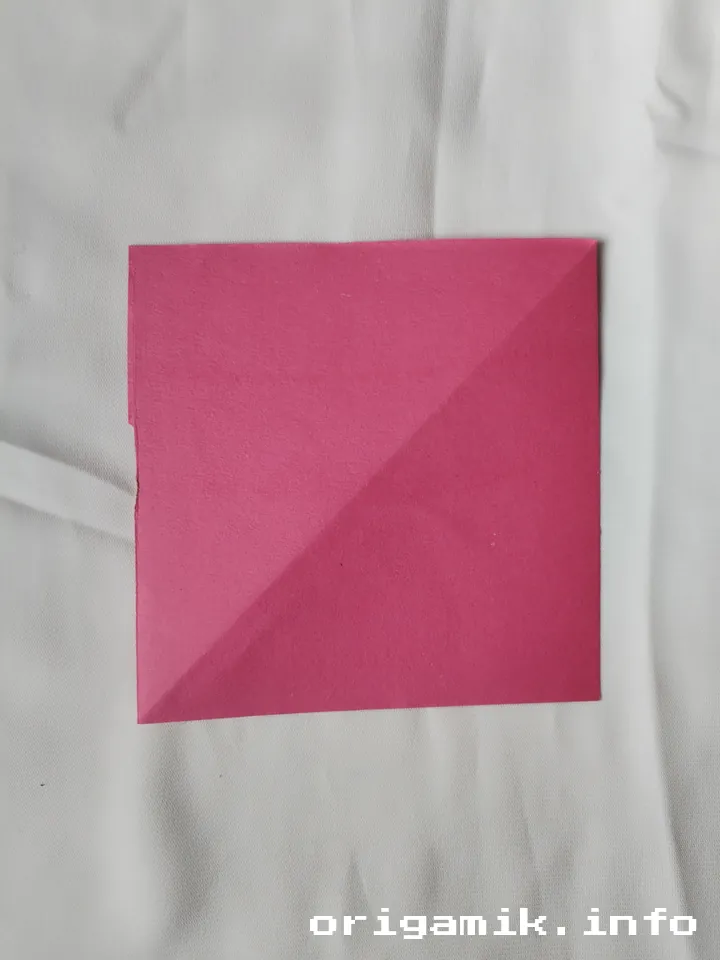
- Take a 6″ × 6″ square sheet of origami paper.
- Ensure it’s clean and flat.
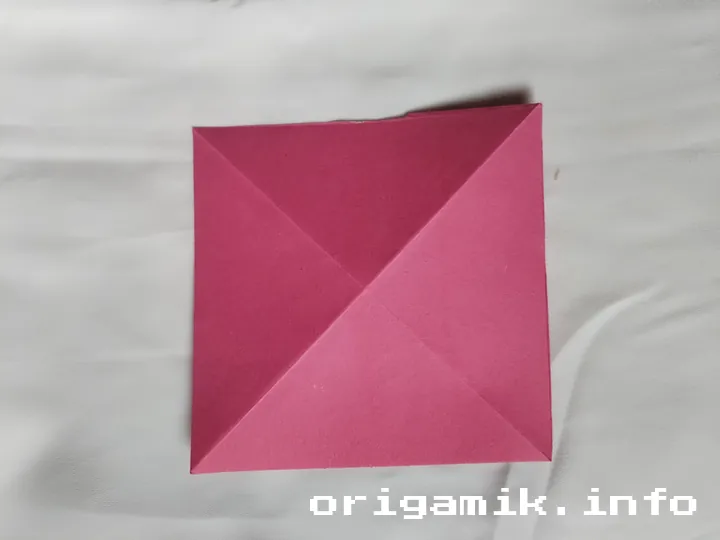
Step 2: Fold and Unfold the Corners


- Fold the top left corner to the bottom right corner.
- Unfold it back.
- Fold the top right corner to the bottom left corner.
- Unfold again. You should now see an X crease on the paper.
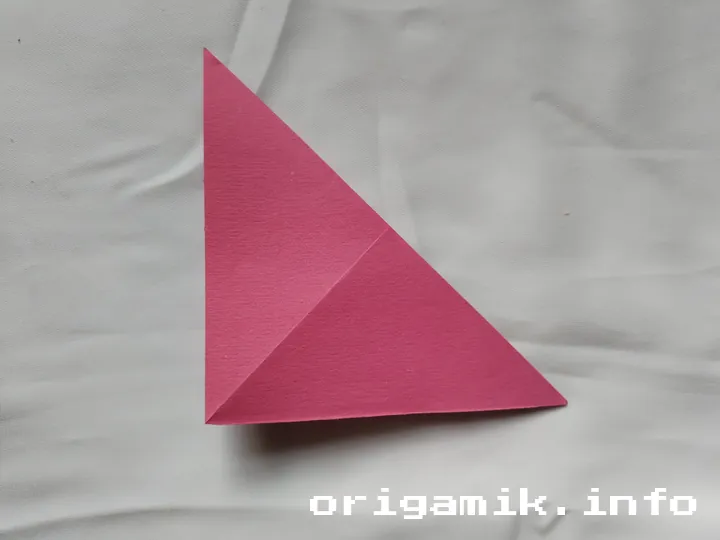
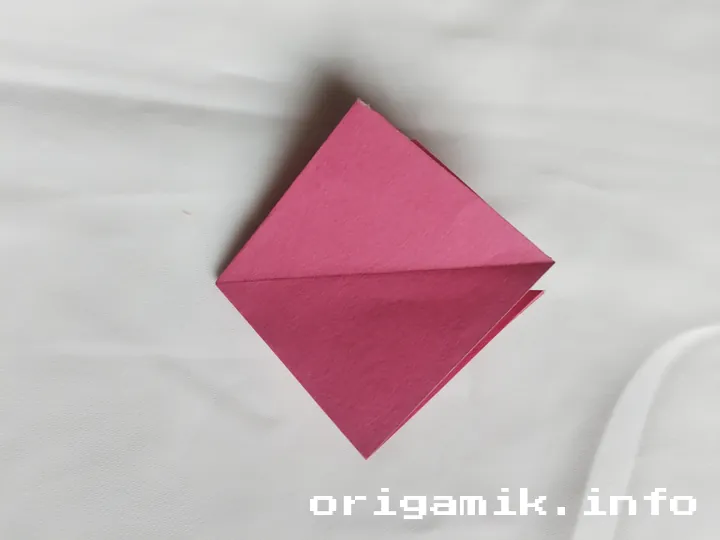
Step 3: Create a Grid Fold
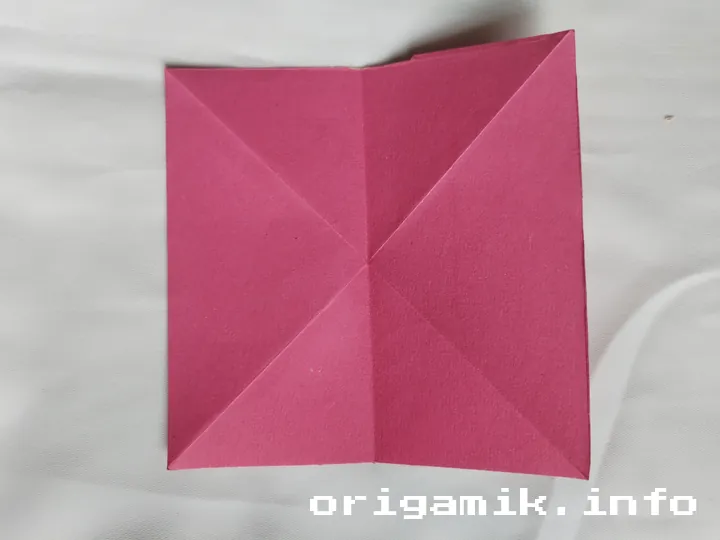

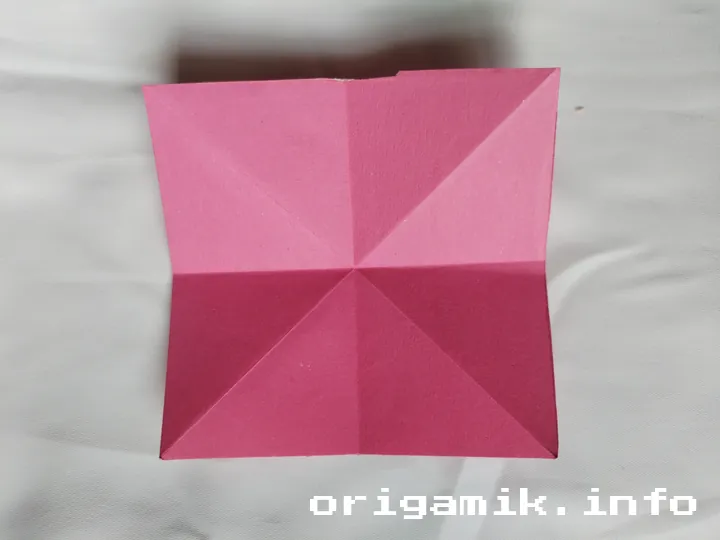
- Flip the paper upside down.
- Fold it vertically in half, crease well, then unfold.
- Fold it horizontally in half, crease well, then unfold.
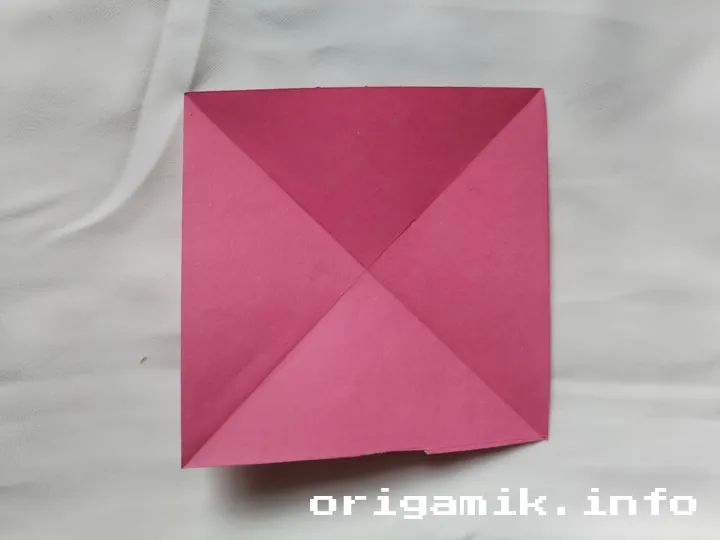
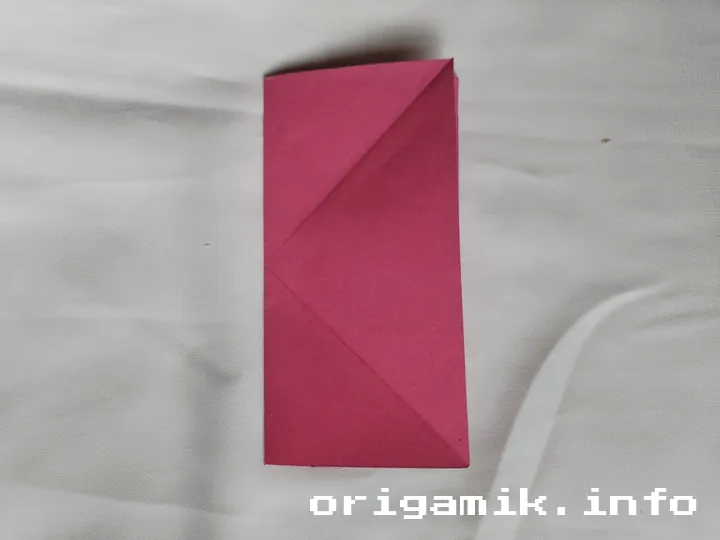
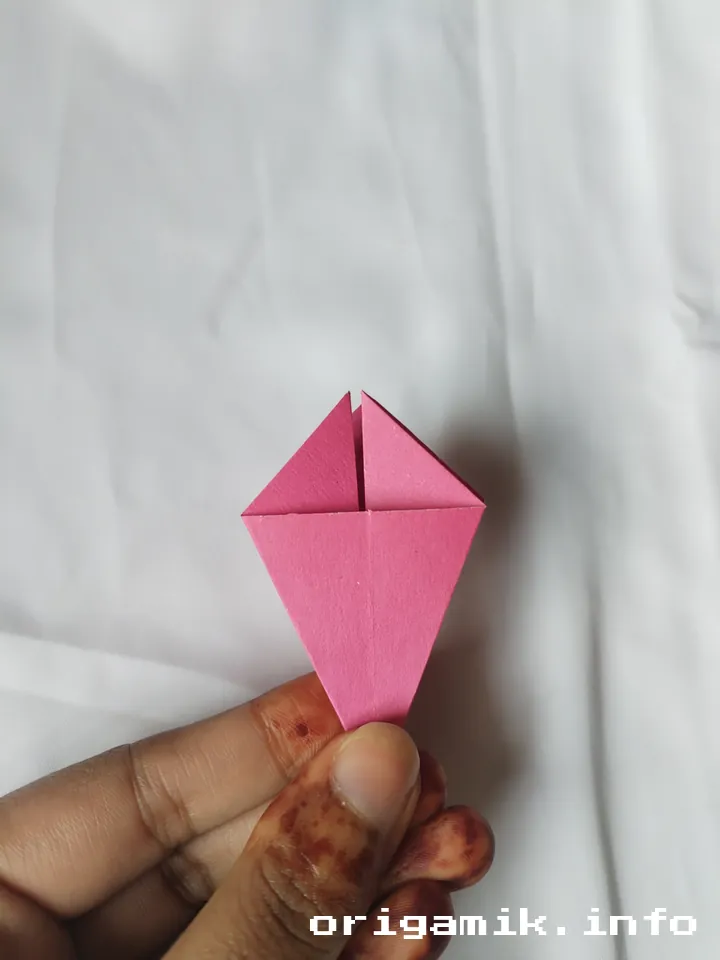
Step 4: Shape the Base of the Daisy
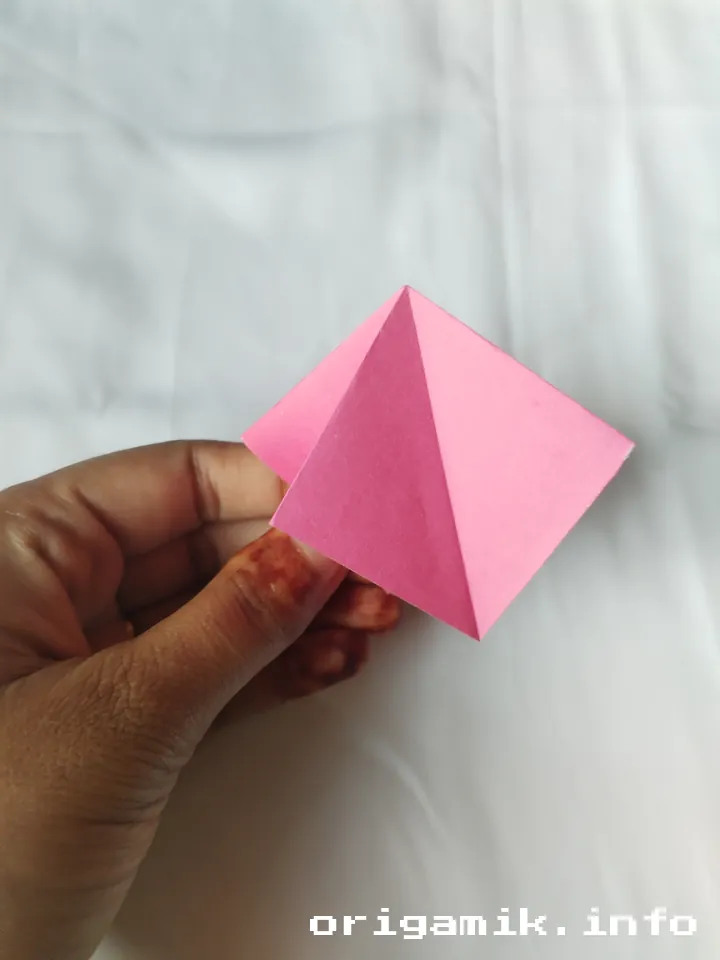
- Fold both sides of the paper inward, aligning with the middle crease.
- Press the folds firmly to create a clean edge.
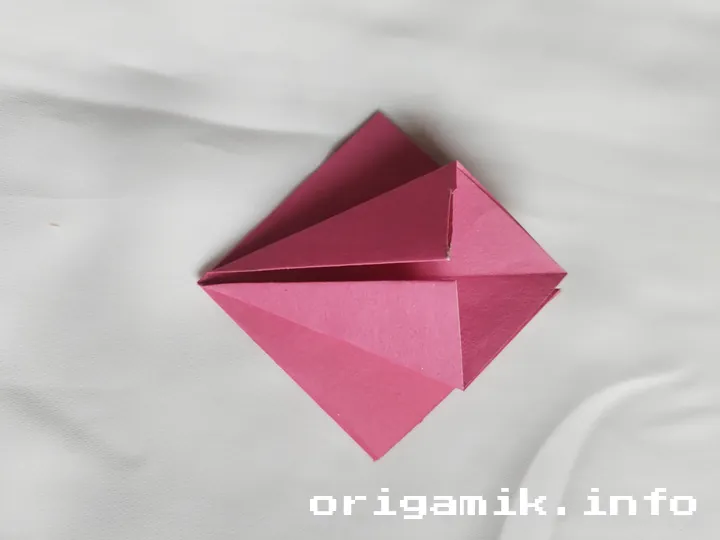
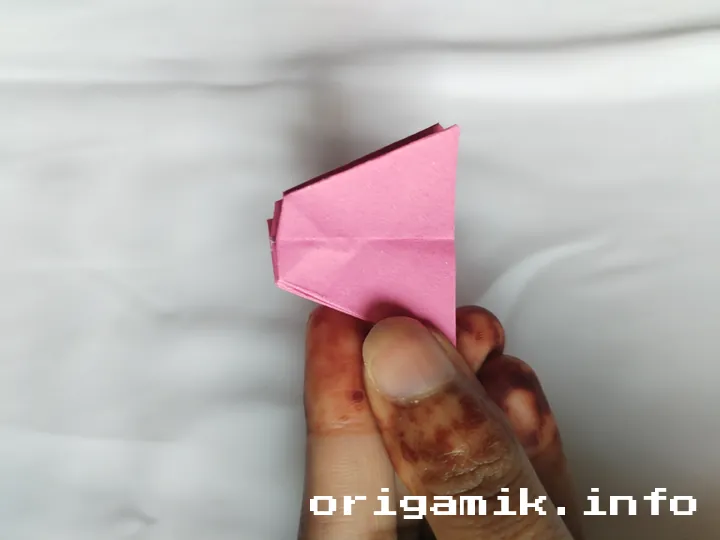
Step 5: Form the Inner Folds
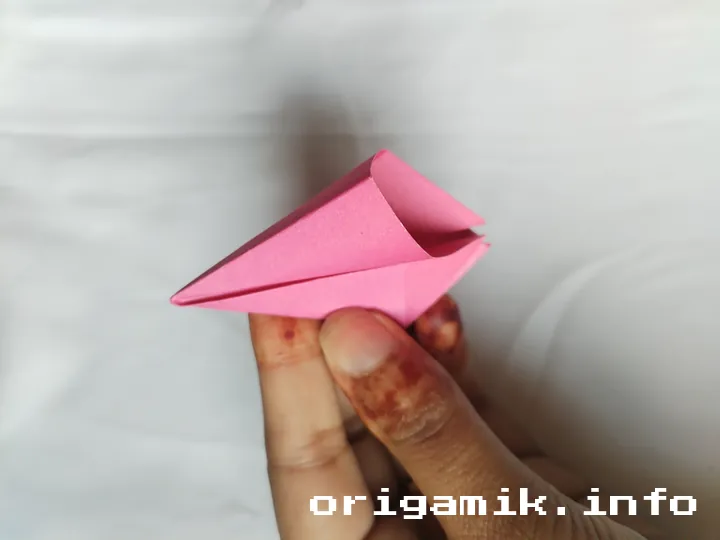
- Open one side slightly and fold inward, creating a pointed shape.
- Repeat this process on all sides.
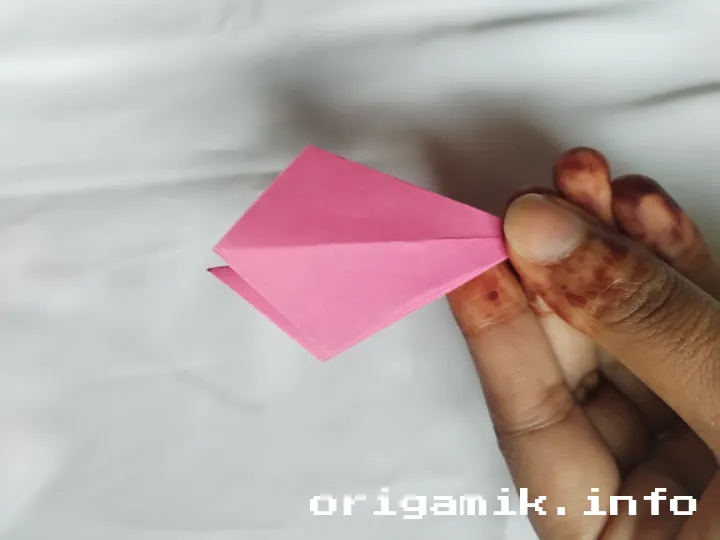
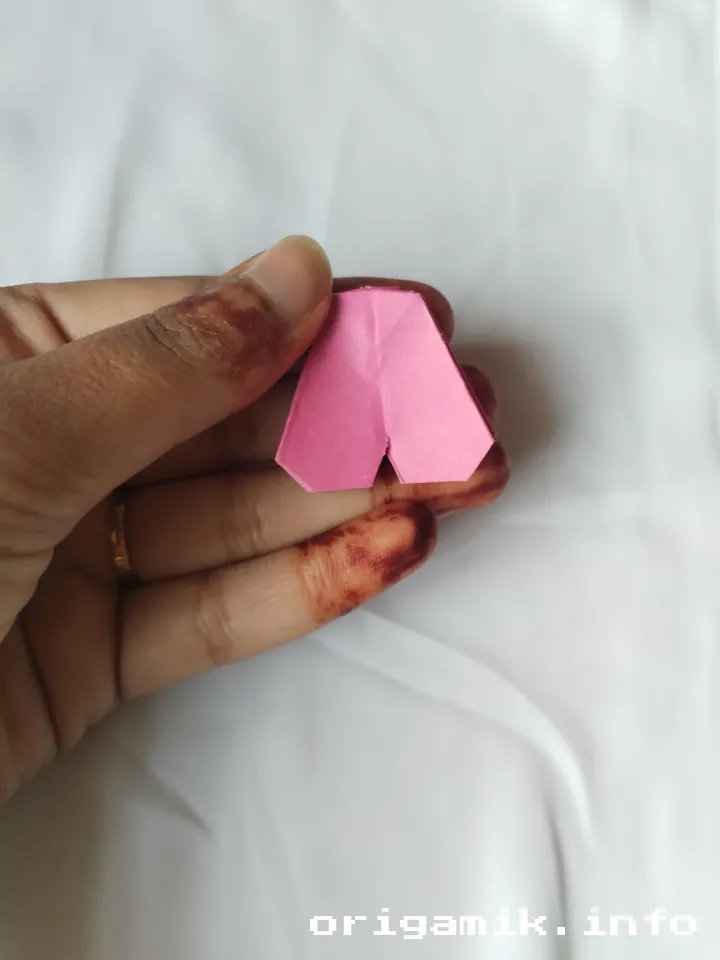
Step 6: Trim and Refine the Shape
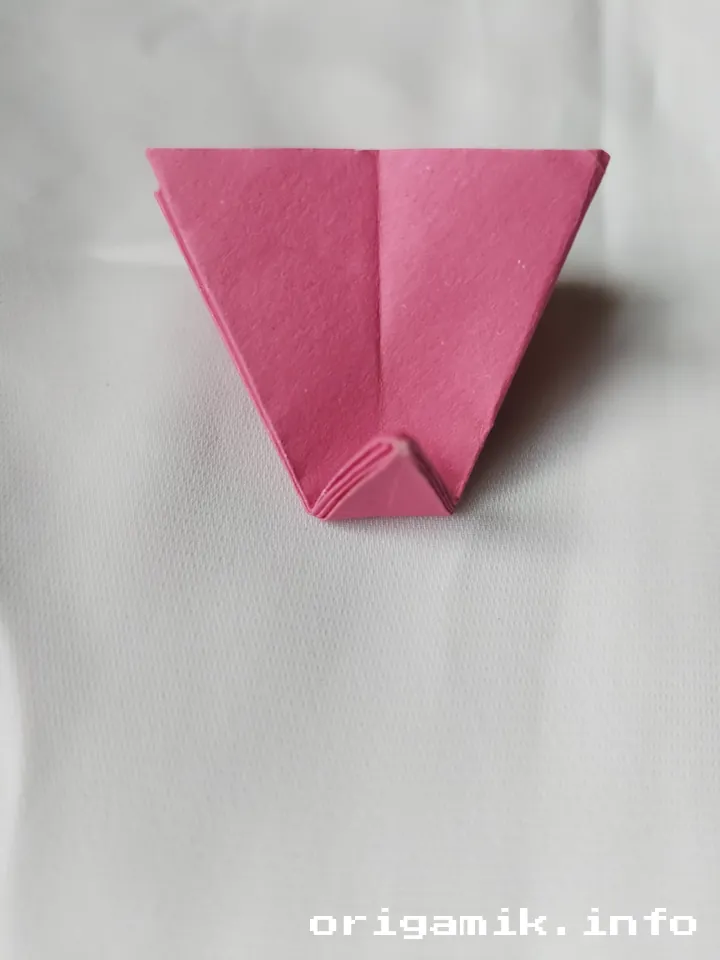
- Cut off the excess paper at the top.
- Fold the bottom part upwards and crease it well.
- Unfold to leave a crease.
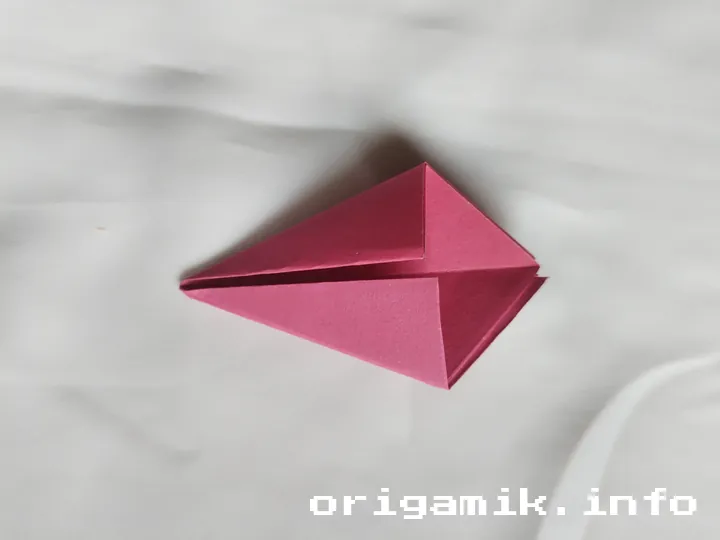
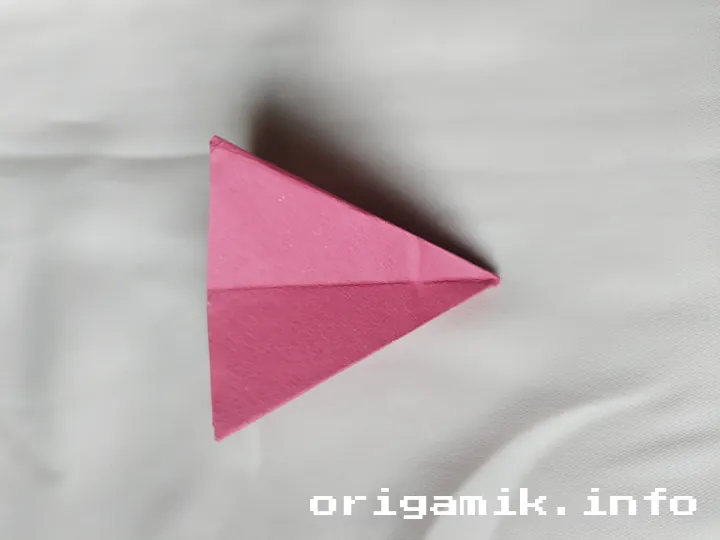
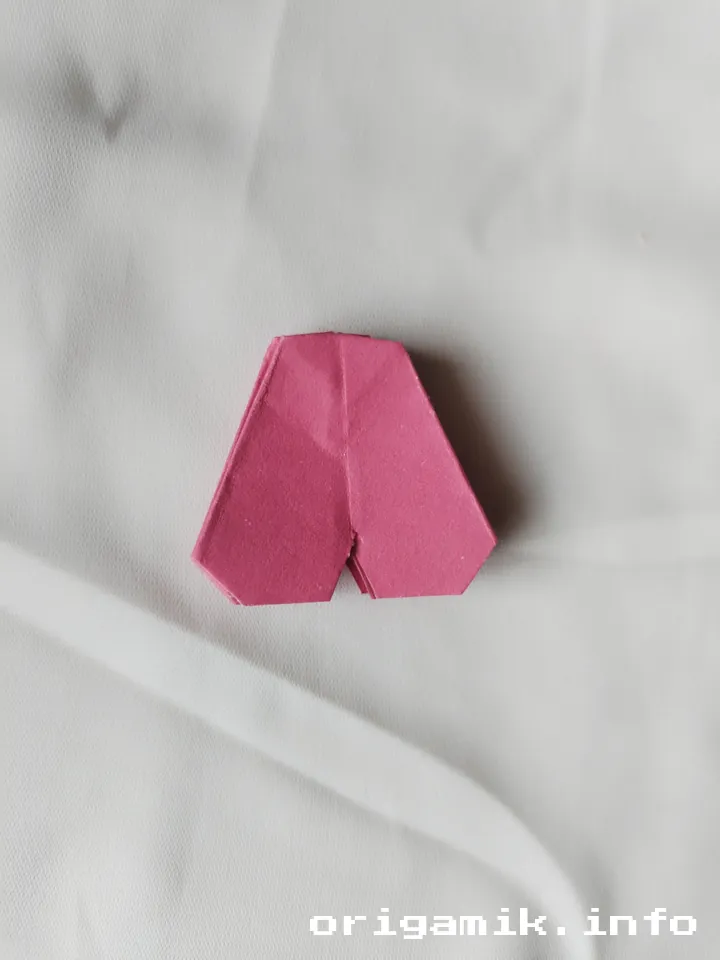
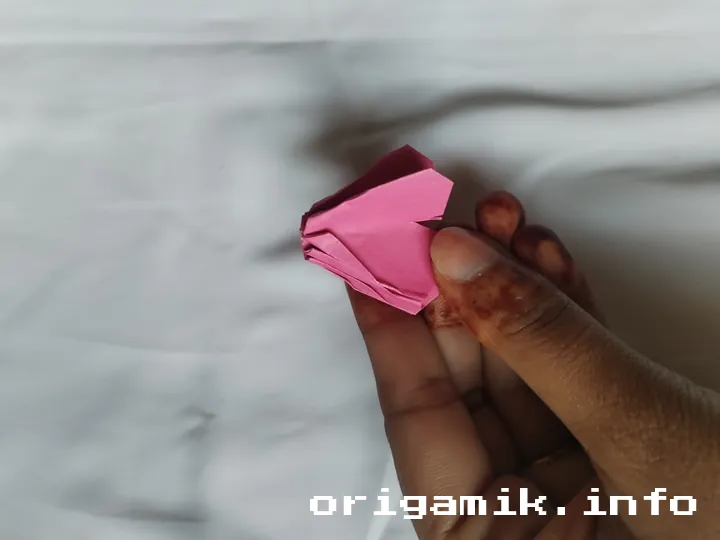
Step 7: Secure the Shape


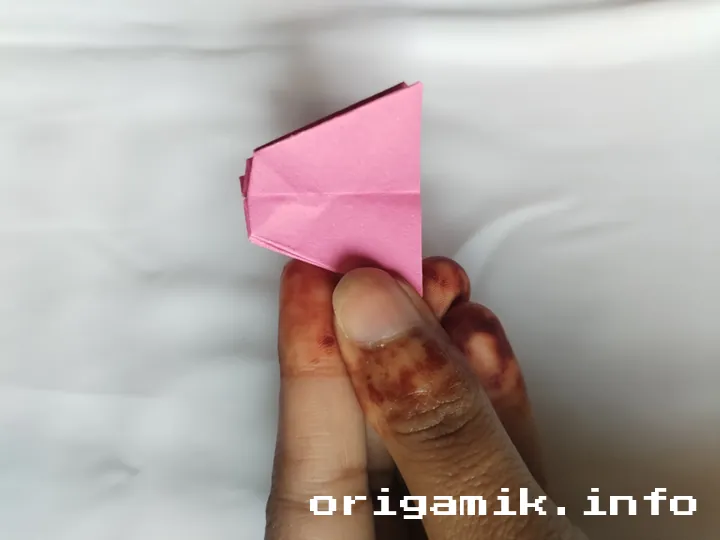
- Tuck the folded part inside and press down to secure it.
- Ensure all folds are neatly aligned.
Step 8: Shape the Petals
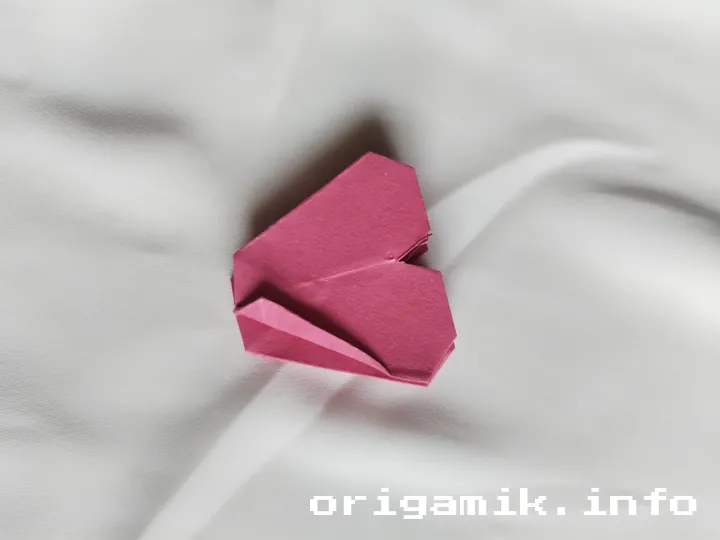
- Cut two small slits on each side and one in the middle.
- Fold each section outward to create daisy-like petals.
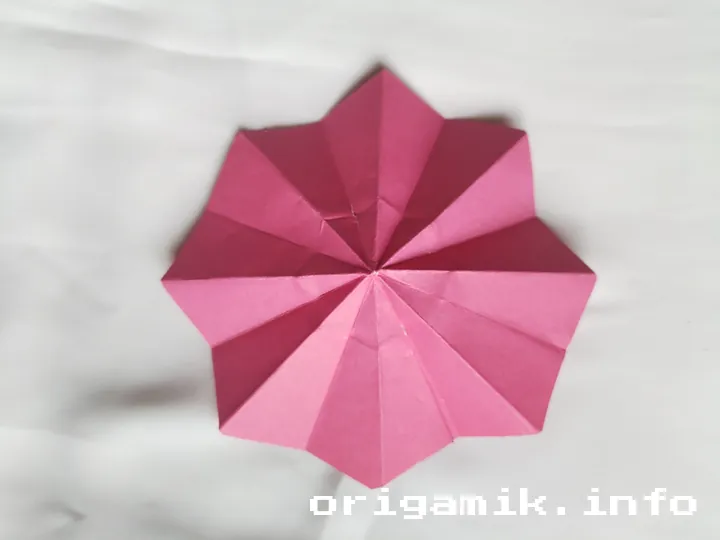
Step 9: Open the Flower
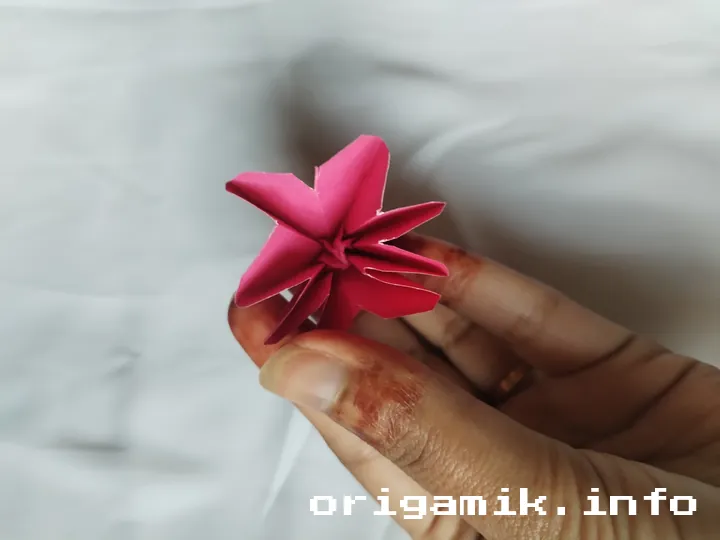
- Carefully spread out the petals from the top.
- Adjust them to give the daisy a natural, even shape.
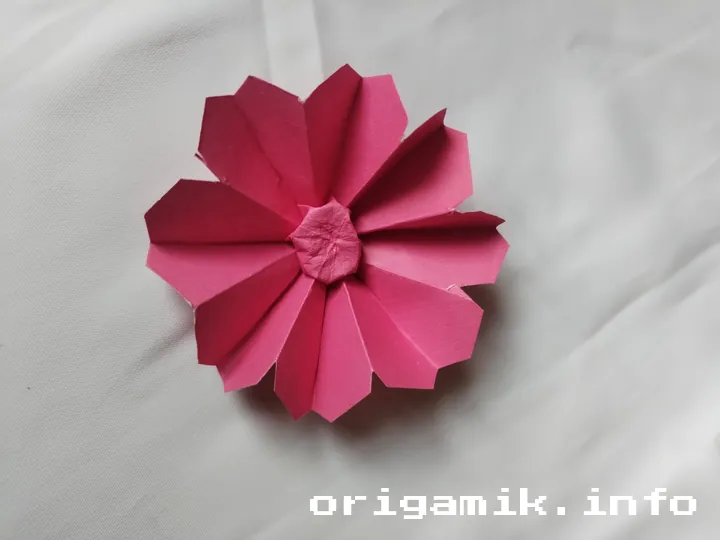
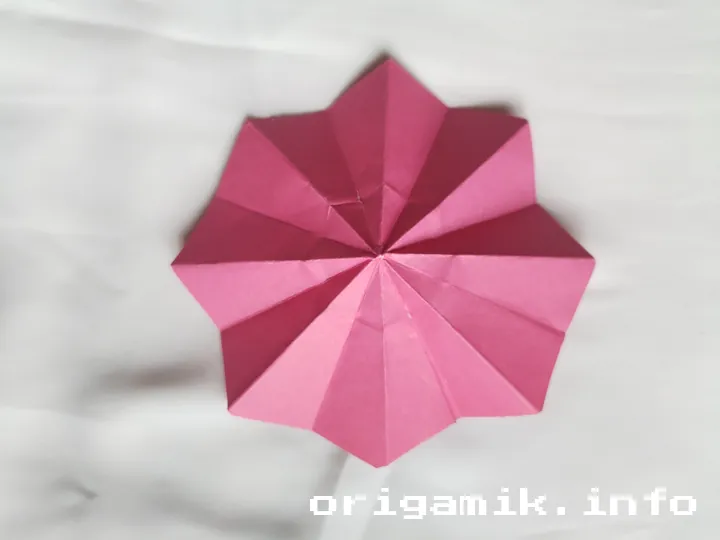
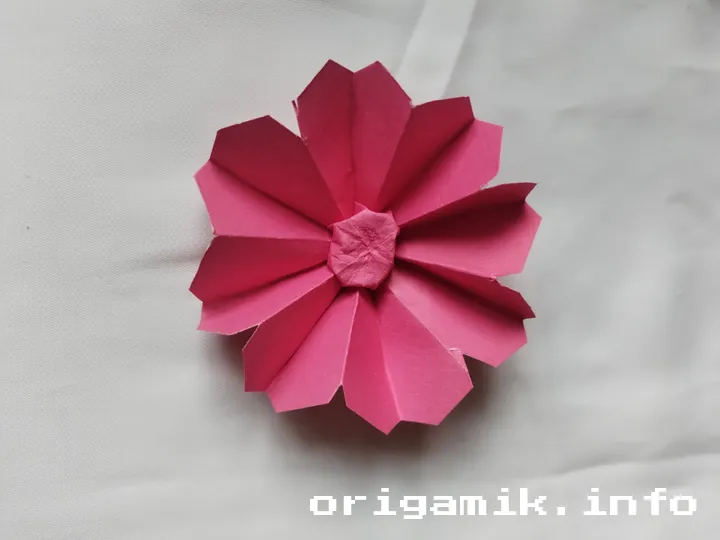
Step 10: Admire Your Origami Daisy!
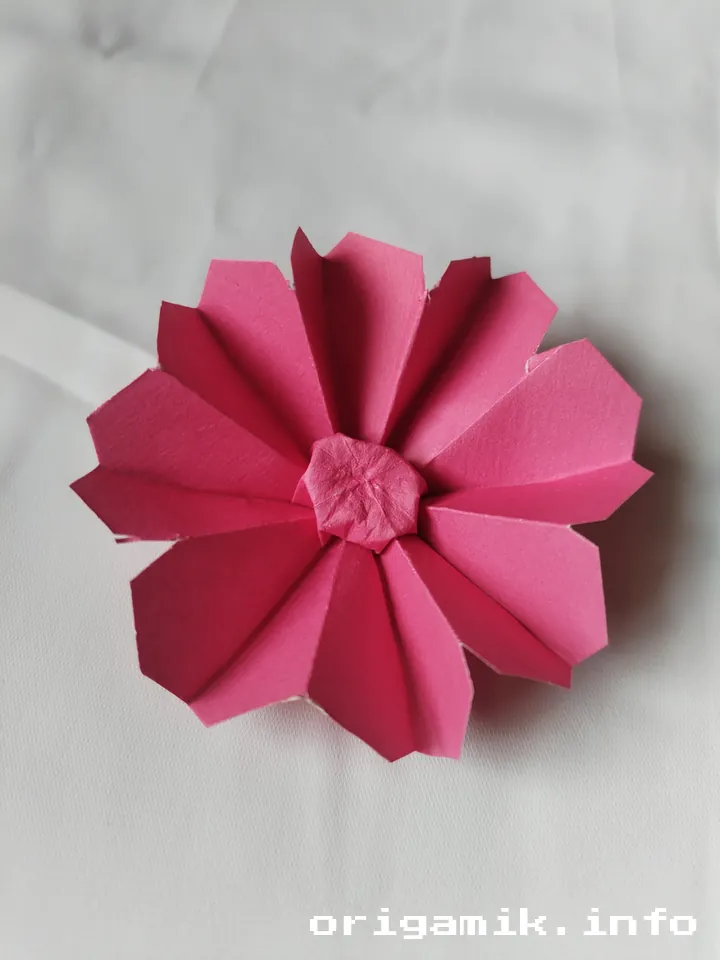
- Your beautiful Origami Daisy is done.
- Display it, use it in crafts, or gift it to someone special!
Tips for Success
- Use thin origami paper for smoother folds.
- Fold precisely along the creases for the best results.
- Take your time—origami is about patience and precision.
- If your first attempt isn’t perfect, try again!
Common Mistakes and How to Avoid Them
| Mistake | How to Fix It |
| Paper tears during folds | Use smoother, thinner paper. Fold gently. |
| Uneven petals | Measure and cut carefully. |
| Creases don’t hold well | Press down firmly on each fold. |
| Petals look uneven | Adjust them slowly for symmetry. |
Similar Variations You Can Try
Want to experiment further? Try these variations:
- Origami Sunflower – Similar technique but with more pointed petals.
- Origami Lotus – Requires additional folds for a layered effect.
- Origami Tulip – A great way to add variety to your paper flower collection.
FAQs
How long does it take to make an Origami Daisy?
For beginners, it may take about 10–15 minutes. With practice, you can complete one in under 5 minutes.
Can I use regular printer paper?
Yes, but origami paper is better because it folds more smoothly.
What size paper works best?
A 6″ × 6″ square is ideal, but you can experiment with larger sizes for bigger flowers.
Conclusion
Making an easy Origami Daisy is a rewarding and fun experience. Whether you’re a beginner or an experienced paper artist, this Simple Daisy step-by-step guide ensures you create a beautiful daisy effortlessly.
Now that you know how to make a Daisy, why not try different colors and sizes? Happy folding!