

Origami has a magical way of turning a simple sheet of paper into something extraordinary. The Origami day lily is one of those creations that feels almost like bringing nature to life.
If you’ve ever wanted to create a delicate paper flower, this guide is for you. I’ll walk you through simple day lily step-by-step instructions, ensuring you enjoy every fold.
By the end, you’ll have a stunning Origami day lily to admire, gift, or use as decoration. Ready to get started? Let’s fold!
What Is an Origami Day Lily?
The Origami day lily is a beautiful paper flower inspired by the real-life day lily, known for its elegance and delicate petals. In Japanese culture, origami symbolizes patience, creativity, and mindfulness.
Creating this flower is both relaxing and rewarding. It’s perfect for beginners who want to practice folds and symmetry while also being an enjoyable challenge for experienced paper artists.
With just a square sheet of paper and some patience, you can craft a realistic and graceful Origami day lily that looks almost like a freshly bloomed flower.
Materials Needed
Before we begin, gather everything you need. The right materials make the process easier and ensure a polished final result.
| Material | Description | Recommended Size |
|---|---|---|
| Origami Paper | Lightweight, square-shaped paper for easy folds | 9″ × 9″ |
| Flat Surface | A clean, smooth workspace to fold neatly | Any table |
| Bone Folder | Helps create crisp folds (optional) | Small |
| Tweezers | Useful for delicate adjustments (optional) | Medium |
Now that we have everything ready, let’s dive into the Origami day lily instructions step by step.
How to Make a Day Lily: Step-by-Step Instructions
Step 1: Prepare Your Paper
- Start with a 9″ × 9″ square sheet of origami paper.
- Place it on a flat surface with the colored side facing up (if applicable).
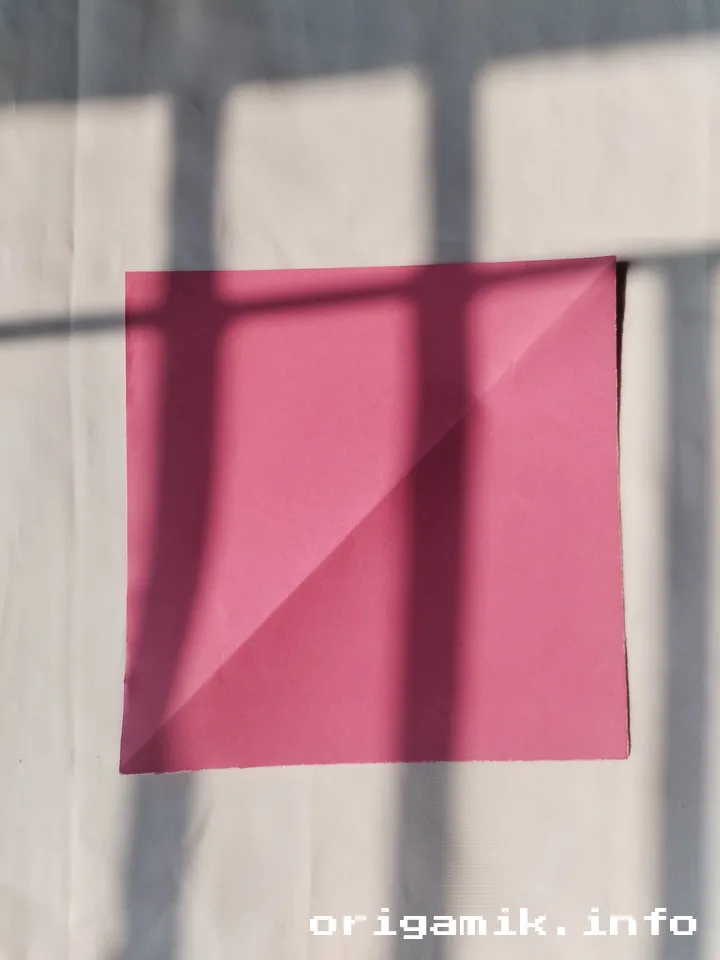
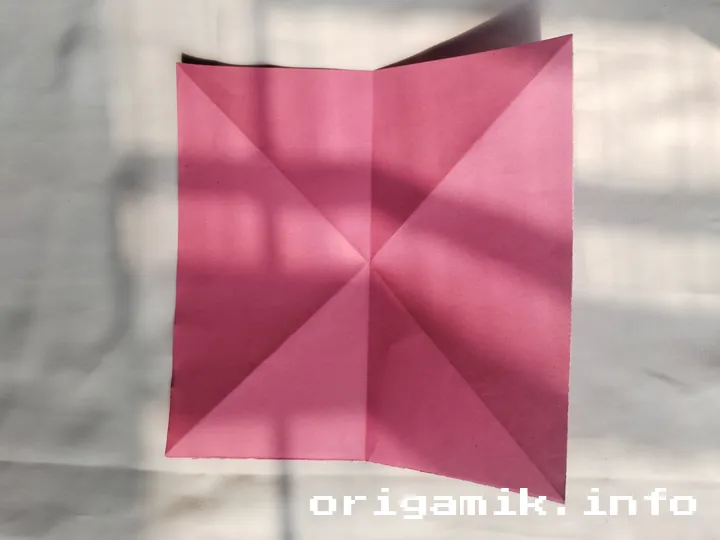
Step 2: Make Diagonal Folds

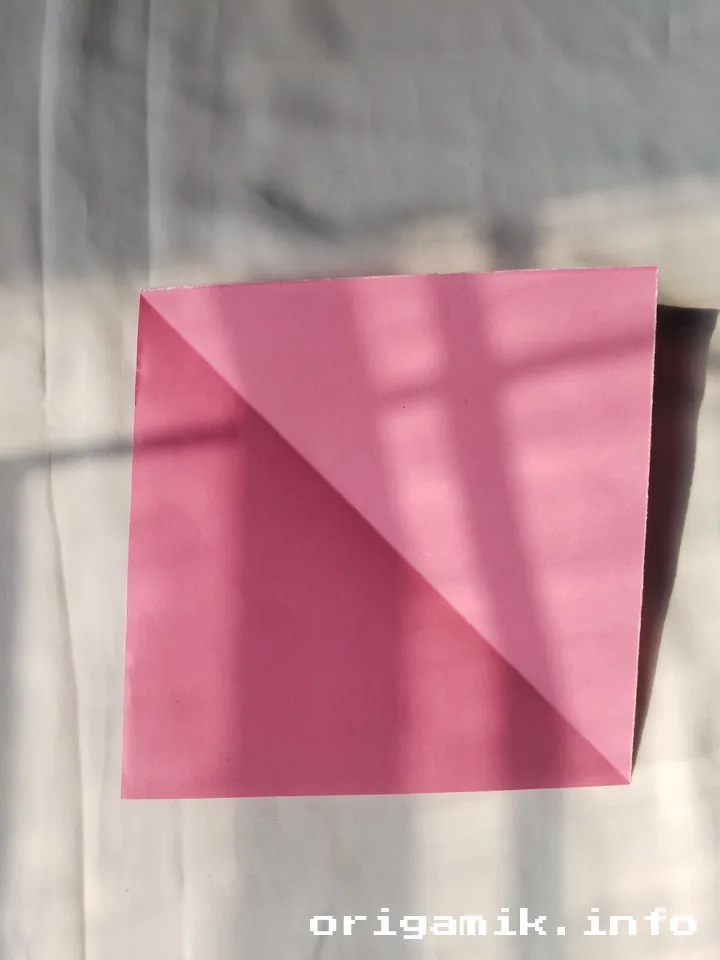

- Fold the paper diagonally from one corner to the opposite corner. Unfold.
- Repeat with the other two corners. Unfold again.
- Turn the paper upside down.
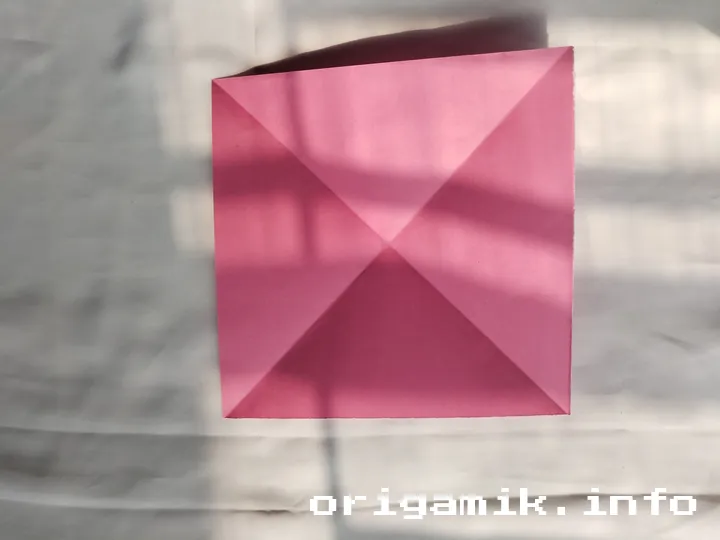
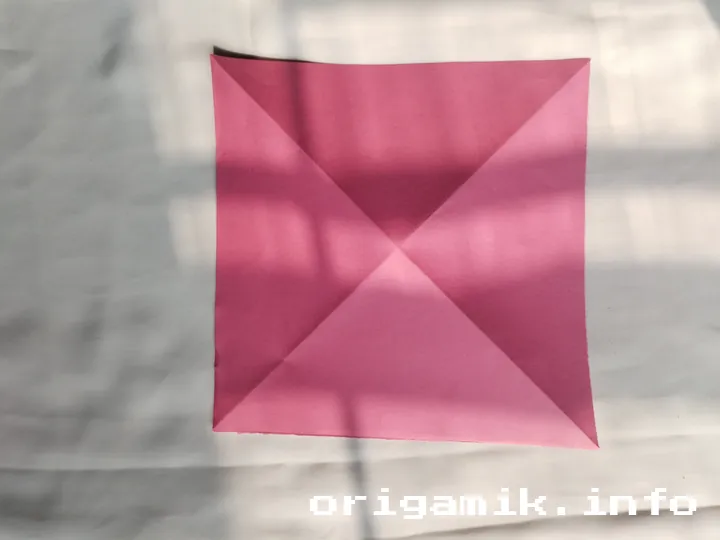
Step 3: Make Vertical and Horizontal Folds
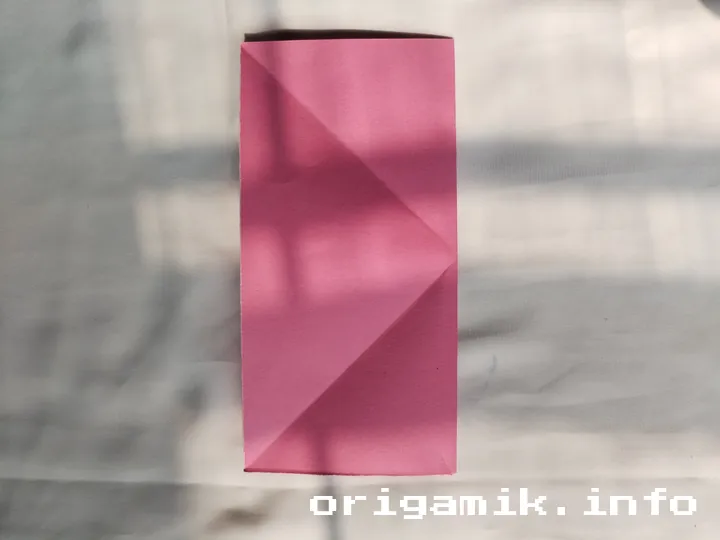
- Fold the paper vertically in half, then unfold.
- Fold it horizontally in half, then unfold.
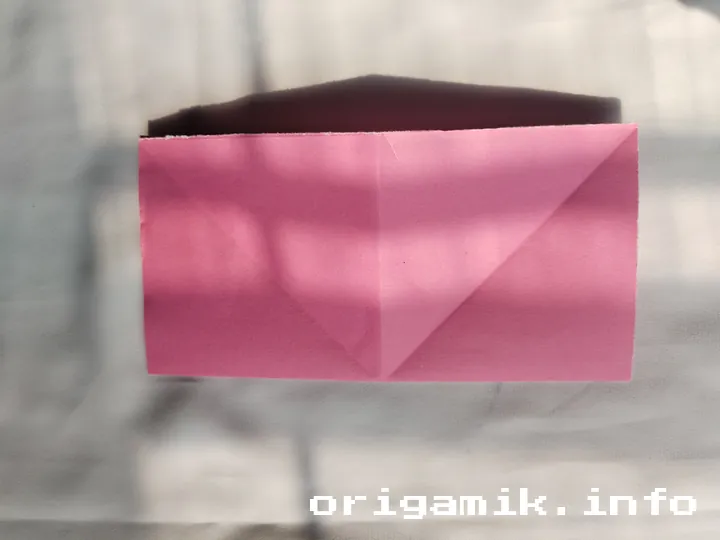
Step 4: Form the Base Shape
- Fold the paper along the creases to form a triangular base.
- Bring the corners together, aligning the edges carefully.
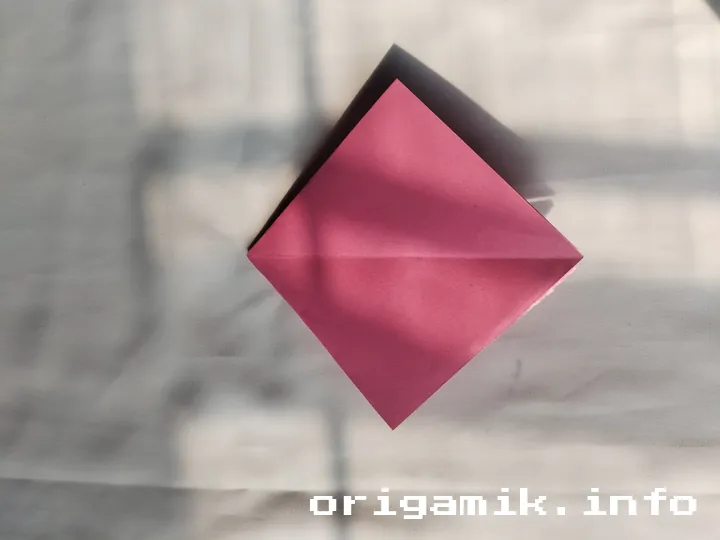
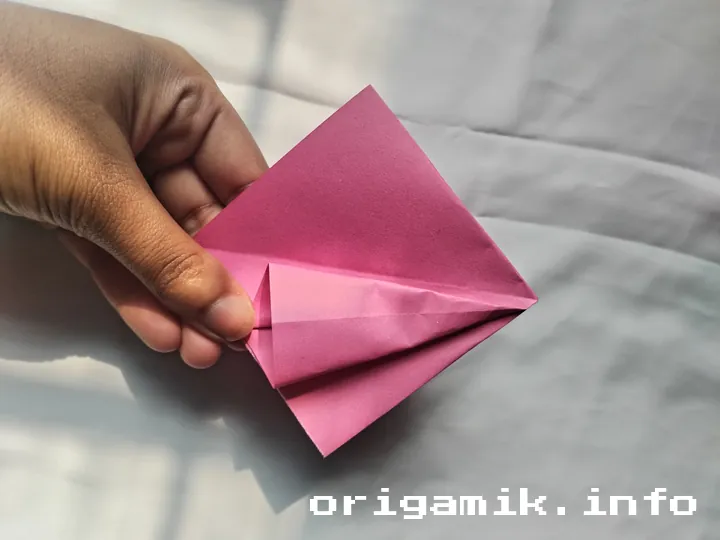
Step 5: Shape the Petals
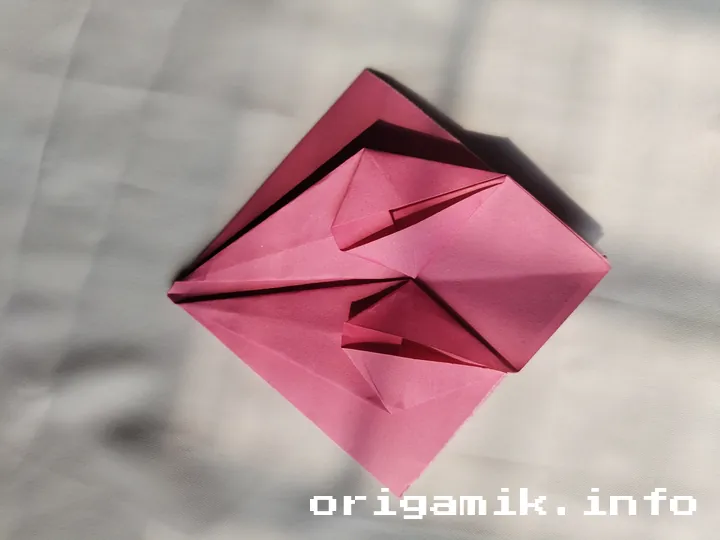
- Fold both corners of the triangular base inward. Unfold.
- Refold the corners into a sharper point, creating the petal structure.
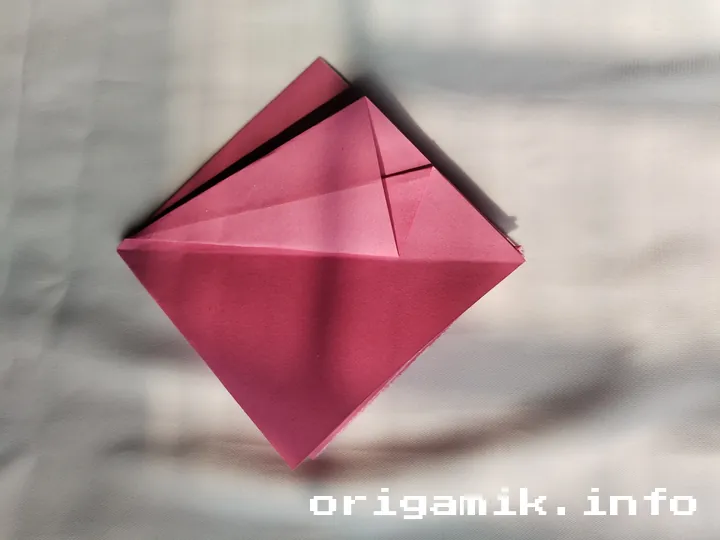
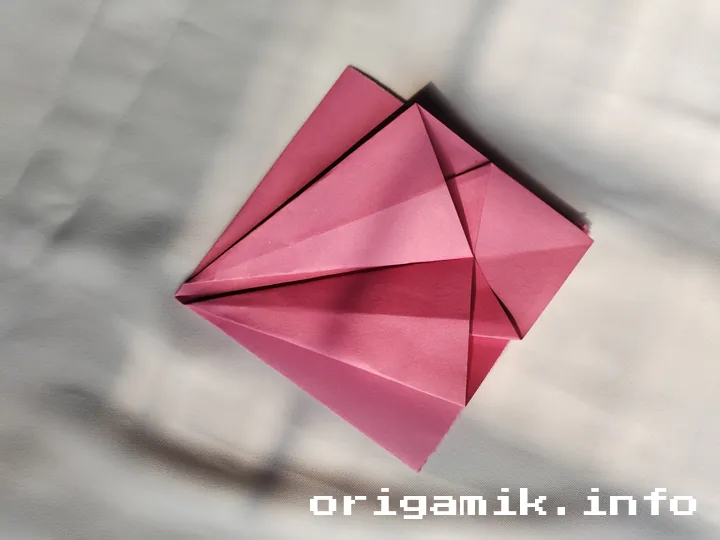
Step 6: Final Adjustments

- Fold both sides equally to refine the shape.
- Flip the paper over and fold along the center line between the two corners.
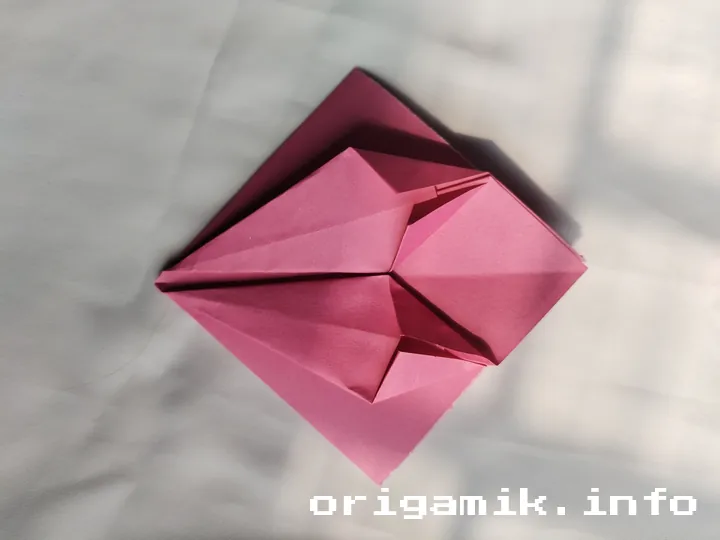
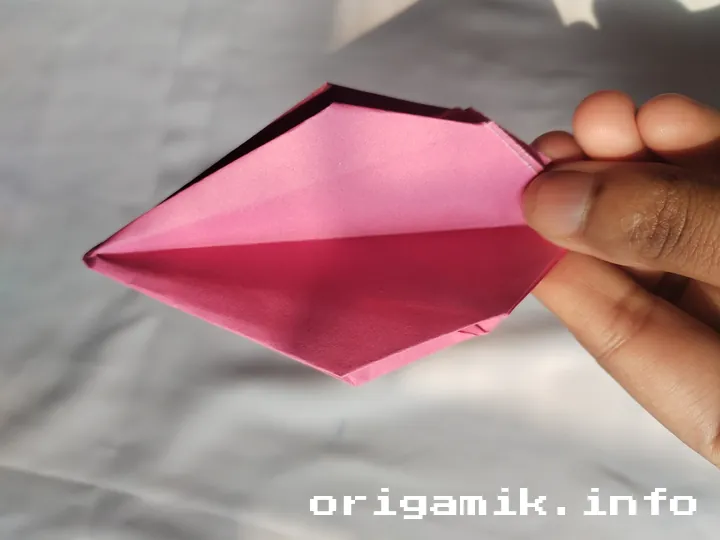
Step 7: Open the Petals

- Carefully pull apart the layers to reveal the petals.
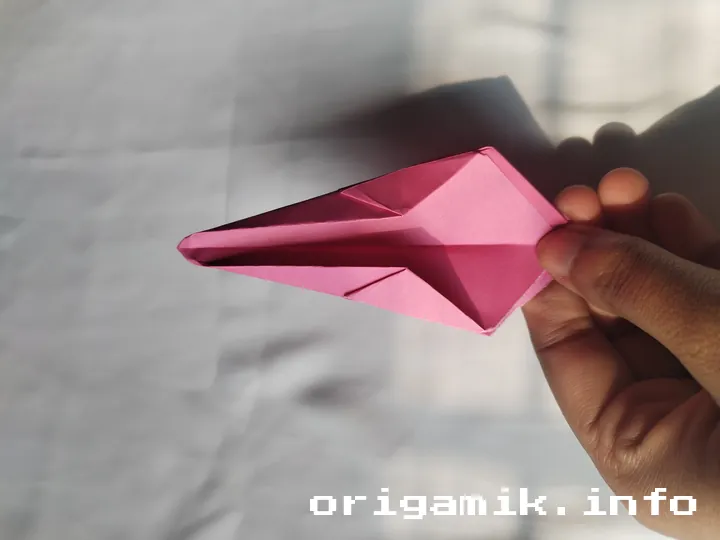
- Adjust the petals gently to shape them into a blooming Origami day lily.
And there you have it! A stunning Origami day lily made entirely from paper.
Tips for Success
Want to make your day lily perfect? Here are a few tips:
- Use crisp paper – It makes folds cleaner and helps maintain structure.
- Press firmly on each fold to ensure sharp creases.
- Be patient – Take your time to align edges correctly for a neat final look.
- Experiment with colors – Try different shades for a more artistic effect.
Common Mistakes and How to Avoid Them
Even experienced folders can make mistakes. Here’s how to avoid the most common ones:
| Mistake | How to Avoid It |
| Paper tearing | Use light but firm pressure when folding |
| Uneven folds | Always align corners and edges carefully before pressing down |
| Weak structure | Use high-quality origami paper to keep the shape intact |
Similar Variations You Can Try
Once you master the Origami day lily, you can explore similar flower designs:
- Origami Tulip – A simple, elegant flower with a bold look.
- Origami Rose – More advanced but perfect for romantic decorations.
- Origami Lotus – Great for mindfulness and meditative folding sessions.
Each of these variations helps improve your skills while adding to your origami collection.
FAQs
Q: How long does it take to make an Origami day lily?
A: It depends on experience. Beginners may take 15–20 minutes, while experienced folders can complete it in under 10 minutes.
Q: Can I use printer paper instead of origami paper?
A: Yes, but origami paper is easier to fold and holds its shape better.
Q: What if my folds aren’t perfect?
A: That’s okay! Keep practicing, and your skills will improve over time.
Conclusion
Folding an easy Origami day lily is a fun and rewarding experience. With these simple day lily step-by-step instructions, anyone can create a beautiful paper flower.
Now that you know how to make a day lily, why not try different colors or experiment with variations? Happy folding!