


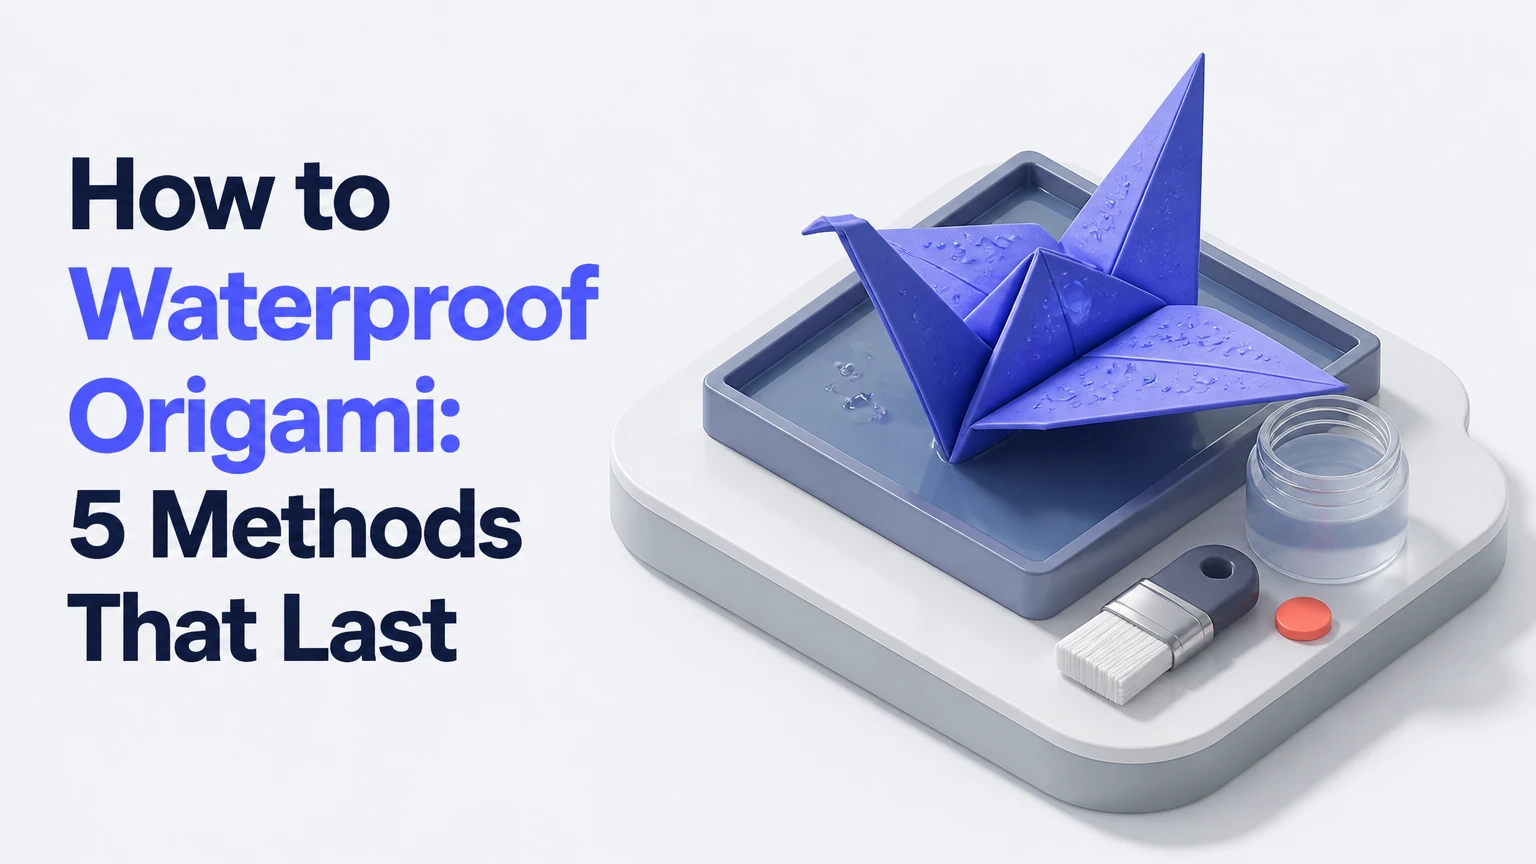
To waterproof origami, first choose a water-resistant substrate or seal a completely dry folded model with several thin coats of acrylic, outdoor medium, wax, or epoxy. For most decorative models, a clear acrylic spray offers the best balance of detail, weight, and cost. No paper coating makes a delicate model permanently indestructible, so match the treatment to its expected moisture and handling.
Key Facts at a Glance
- Standard cellulose origami paper becomes weaker and changes dimension when water penetrates its fiber network.
- Clear acrylic spray usually needs 2-4 light coats, applied 20-30 cm from the model.
- A water-resistant finish protects against splashes and humidity, while true submersion requires synthetic paper, wax, or a fully cured resin shell.
- Mod Podge Outdoor and acrylic mediums form protective films, but water-based products can warp unsealed paper during the first coat.
- Wax resists water effectively but adds weight, translucency, heat sensitivity, and a permanent surface feel.
- Flexible origami hinges need a flexible coating; rigid resin can crack when the model is repeatedly opened or bent.
What Does Waterproofing Origami Actually Mean?
Waterproofing origami means reducing water entry into the paper and protecting the folded structure from fiber swelling, staining, and loss of stiffness. For ordinary craft projects, the realistic goal is water resistance against humidity, brief splashes, and occasional damp handling rather than guaranteed survival under prolonged immersion.
Paper contains cellulose fibers with microscopic spaces that hold air and readily accept water. When those fibers swell, valley folds can open, edges can curl, and layered sections can separate. A coating changes the exposure pattern in one of two ways: a film-forming product closes pores with a polymer layer, while a water repellent lowers surface wetting so droplets bead and move away.
The phrase waterproof origami therefore needs an exposure limit. A sealed flower displayed indoors has different requirements from an origami boat, a lampshade near a sink, or earrings exposed to sweat. Test the finished piece under the same moisture conditions you expect in use.
Water Resistance Versus Waterproofing
| Exposure condition | Suitable protection | Typical survival target | Main failure risk |
|---|---|---|---|
| Humid room | Acrylic spray, 2 coats | 6-24 months indoors | Paper slowly softens |
| Occasional splash | Acrylic spray, 3-4 coats | 10-30 seconds of wet contact | Unsealed folds absorb water |
| Covered outdoor display | Outdoor acrylic or medium | 1-8 weeks, seasonal variability | UV, condensation, wind |
| Repeated handling with damp hands | Synthetic paper or flexible acrylic | 100+ handling cycles, typical | Abrasion at fold ridges |
| Brief immersion | Wax, resin, or synthetic paper | 1-5 minutes, model dependent | Open seams and pinholes |
| Permanent outdoor exposure | Synthetic sheet plus sealed joins | Not guaranteed for paper folds | UV degradation and thermal movement |
These durations are practical targets, not laboratory ratings. Product labels, paper weight, pigment, humidity, and exposed edge length change the result. A coating that beads water can still allow liquid through a cut edge or a pinhole in a hollow model.
Which Waterproofing Method Fits Your Origami?
For most finished paper sculptures, choose thin acrylic spray. Choose synthetic paper when the model will get repeatedly wet, outdoor decoration when flexibility and UV exposure matter, wax for a translucent tactile surface, and epoxy resin for small rigid objects such as pendants.
| Method | Typical US cost | Dry or cure time | Finish and weight | Best exposure |
|---|---|---|---|---|
| Clear acrylic spray | $7-$15 per 10-12 oz can | 15-30 minutes between coats; 24 hours practical cure | Matte, satin, or gloss; low added weight | Splashes and indoor humidity |
| Outdoor acrylic medium | $9-$14 per 8-16 oz bottle | 1-2 hours between coats; 48-72 hours full cure | Satin or gloss; moderate added weight | Covered decor and rigid forms |
| Fabric water repellent | $8-$18 per 10-16 oz can | 1-4 hours drying; 24 hours cure | Low visual change; limited hardening | Light splash protection |
| Beeswax or paraffin | $5-$12 per pound | 5-20 minutes cooling; 24 hours stabilization | Translucent, heavier, waxy or satin | Rustic objects and rigid folds |
| Two-part epoxy resin | $20-$40 per kit | 8-12 hours tack-free; 24-72 hours cure | Thick, glossy, heavy shell | Jewelry and rigid miniatures |
| Polypropylene or Yupo sheet | $15-$30 per pack | No coating cure | Plastic-like; springy folds | Repeated wet use and boats |
Synthetic paper often gives the most reliable water performance because polypropylene does not absorb water like cellulose paper. It is also harder to crease cleanly, and some complex models spring open because the sheet retains flexibility. Tyvek behaves differently from smooth polypropylene: it is tear resistant and water resistant, but its fibrous texture and soft creases do not suit every traditional model.
Is Acrylic Spray the Best General Choice?
Clear acrylic spray is the best general choice for a dry, decorative origami model because it adds a thin polymer film without filling small folds as quickly as brush-on products. Use a compatible clear coat in matte, satin, or gloss, and spray outdoors or in a properly ventilated workspace according to the product safety label.
Aerosol spray is less likely than a wet brush to push a delicate crease out of alignment. The trade-off is incomplete coverage on undersides and inside cavities. Rotate the sculpture between passes rather than trying to flood every surface at once.
Fabric protectors can improve beading while preserving the paper appearance, but they usually provide less structural reinforcement than acrylic. A repellent treatment is therefore better for a display piece that must look untouched than for a model that needs rigid support.
When Should You Use Brush-On Medium, Wax, or Resin?
Use brush-on acrylic medium for a rigid sculpture that needs extra stiffness, wax for a saturated translucent finish, and epoxy resin for a small object that can tolerate substantial weight and gloss. None of these options is universally superior because each changes the paper differently.
| Product class | Recommended coat or layer | Added weight tendency | Detail retention | Important limitation |
|---|---|---|---|---|
| Acrylic spray | 2-4 mist coats | 1-5% of model weight | High | Overspray and ventilation |
| Outdoor acrylic medium | 2-3 thin coats | 5-20% | Medium to high | Brush marks and wet warping |
| Beeswax or paraffin | 1 immersion or 2 brushed coats | 20-80% | Medium | Heat softening and translucency |
| Epoxy resin | 1-2 mm surface shell | 50-300% | Low to medium | Runs, drips, gloss, and rigidity |
| Flexible polyurethane | 2-3 thin coats | 5-15% | Medium | Solvent odor and compatibility testing |
The weight percentages are typical workshop ranges, not product specifications. An intricate crane can double in mass under resin while a broad, single-layer ornament may gain far less. Weigh the model before and after treatment if hanging hardware, balance, or kinetic movement matters.
Plaid describes Mod Podge Outdoor as “water resistant,” not as a guarantee for permanent immersion. That wording matters. Outdoor decoupage medium can protect a sculpture from damp air and light rain, but exposed paper edges, standing water, and ultraviolet light can eventually defeat the film.
How Do You Waterproof a Finished Origami Model?
Waterproof a finished origami model in five stages: inspect and test the materials, mount the model, apply thin coats, cure it in a supported position, and perform a controlled moisture test. The whole process typically takes 30-90 minutes of active work plus 24-72 hours before dependable handling.
Before You Start
| Requirement | Typical specification | Why it matters |
|---|---|---|
| Active work time | 30-90 minutes | Covers preparation and 2-4 coats |
| Full project time | 24-72 hours | Includes coating cure |
| Difficulty | Moderate for spray; high for resin | Detail and chemical handling differ |
| Clear acrylic spray | 1 can, 10-12 oz | Usually enough for 10-30 small models |
| Synthetic brush or foam brush | 1-2 clean tools | Prevents loose bristles and marks |
| Nitrile gloves | 1 pair | Limits skin contact |
| Support material | 1 toothpick, wire, or skewer | Holds the model without crushing folds |
| Test paper and ink sample | 1 folded scrap | Reveals bleeding and solvent damage |
| Workspace | Ventilated, dust-free, 15-27°C | Improves film formation and reduces haze |
Do not seal a model that is damp, dusty, oily, or still being adjusted. Photograph complex folds first, because a coating can increase stiffness enough to make later corrections impossible.
Step 1: Test the Paper, Ink, and Coating
Fold a small scrap from the same sheet, mark it with the same pen or printer, and apply the planned product. Wait until the test piece dries before judging color, gloss, brittleness, and bleeding.
Laser toner generally tolerates light moisture better than many dye-based inkjet prints, but the paper coating and printer formulation still control the result. Water-soluble markers, some fountain pen inks, and unsealed watercolor can smear when a water-based medium touches them.
You will know the test worked when the color remains sharp, the paper does not curl sharply, and the coating dries clear rather than tacky or milky.
Common mistake: testing only the blank paper. Ink and metallic foil can react differently from the sheet.
Step 2: Finish Folding and Remove Contamination
Complete all folds before applying a post-folding sealant. Press major creases firmly, remove eraser crumbs with a clean soft brush, and allow hand oils to dry from the surface before coating.
Inspect deep pockets, closed bases, and multilayered tips. If a cavity cannot receive any coating, do not claim that the entire model is waterproof. A hidden untreated edge can wick water through the structure even when the exterior beads droplets.
Support the model through a hidden valley fold or an internal opening. A thin florist wire, bamboo skewer, or toothpick works for many sculptures, but avoid forcing a support into a load-bearing point.
You will know the model is ready when every intended crease is final and no loose dust remains.
Common mistake: holding the model directly during spraying. Fingers create uncoated shadows and can imprint soft acrylic film.
Step 3: Apply the First Thin Coat
Apply the first acrylic mist from 20-30 cm away using a sweeping motion that begins beside the model and ends beyond it. For brush-on medium, use a soft synthetic brush or foam brush and spread a thin layer from deep recesses toward exposed ridges.
Do not aim for a wet, glossy surface after the first pass. A light primer coat partially locks loose fibers and reduces the amount of liquid absorbed by the second coat. Rotate the model only after the surface is dry enough to avoid fingerprints.
| Coating type | First application | Recoat interval | Typical total coats |
|---|---|---|---|
| Clear acrylic aerosol | 2-3 passes per face | 15-30 minutes | 2-4 |
| Outdoor acrylic medium | 0.1-0.3 mm wet film | 1-2 hours | 2-3 |
| Fabric repellent | One light uniform pass | Product label, commonly 2-4 hours | 1-2 |
| Thinned acrylic medium | 1:1 medium-to-water test mix only if label permits | 1-2 hours | 2-4 |
You will know the application is controlled when the surface looks evenly damp or lightly satin, with no hanging droplets or pools in valleys.
Common mistake: applying one thick layer for speed. Thick liquid adds water or solvent faster than the paper can distribute it, causing local expansion and distortion.
Step 4: Seal the Remaining Faces and Cavities
Apply later coats after rotating the model so that the underside, folded edges, and accessible cavities receive equal coverage. Spray shallow passes from two directions, while a brush should reach recesses first and leave ridges for the final light stroke.
Keep the nozzle moving. For a brush-on product, unload excess medium on a palette before touching the model. If a pool forms, wick it away with the clean tip of a dry brush rather than dragging the paper fibers across the crease.
Flexible hinges require special care. Leave moving joints with a very thin coat, or use a flexible water-repellent product, because a hard acrylic bridge can fracture when the fold cycles repeatedly.
You will know coverage is adequate when droplets placed on exposed faces remain rounded for at least 60 seconds and no untreated matte strip appears beside a glossy or satin area.
Common mistake: sealing only the visible front. Water enters through backs, cut edges, and hollow interiors.
Step 5: Cure, Inspect, and Test Gradually
Suspend or place the model on silicone, polyethylene, or another non-stick support while it cures. Keep it away from dust, direct heat, and high humidity; use the product label as the authority when its drying instructions differ from typical workshop ranges.
Acrylic spray may feel dry in 15-30 minutes but still need about 24 hours before careful handling. Outdoor mediums commonly need 48-72 hours for their hardest practical finish. Epoxy resin may remain chemically active for 24-72 hours even when its surface no longer feels sticky.
Start testing with one droplet on a hidden area. After 60 seconds, blot without rubbing. Progress to a damp cotton swab, then a short splash only if the model passes the earlier checks.
You will know the cure is adequate when the surface is neither tacky nor soft, the odor has largely dissipated, and a hidden droplet leaves no darkening after blotting.
Common mistake: judging protection immediately after drying. Surface dryness does not prove full film formation.
How Do the Main Methods Compare?
Acrylic spray provides the strongest detail-preserving compromise, while synthetic paper provides the lowest absorption risk. Resin offers the hardest shell but changes the model most dramatically; wax gives broad coverage with heat and weight penalties.
| Decision factor | Acrylic spray | Outdoor medium | Wax | Epoxy resin | Synthetic paper |
|---|---|---|---|---|---|
| Detail loss | Low, 1-3% visual fill | Moderate, 3-10% | Moderate, softens texture | High, 5-20% shell depth | None from coating |
| Flexibility | Medium | Low to medium | Low when cool | Very low | Medium to high |
| Surface finish | Matte to gloss | Satin to gloss | Satin or translucent | High gloss | Plastic-like |
| Typical material cost | $7-$15 | $9-$14 | $5-$12 | $20-$40 | $15-$30 |
| Best model scale | 5-30 cm | 10-40 cm | 5-25 cm | 2-15 cm | 10-40 cm |
| Main safety issue | Aerosol vapors | Liquid contact | Heated wax burns | Skin and vapor exposure | Cutting and crease control |
Can You Waterproof Origami Before Folding?
You can use water-resistant or synthetic paper before folding, but do not brush a conventional water-based sealant onto a flat sheet and expect normal folding afterward. A dried film can crack at creases, increase sheet stiffness, and make precise collapse patterns less predictable.
Pre-waterproofed options include polypropylene sheets, Yupo, Tyvek, foil-backed paper, glassine, and wax paper. Foil-backed paper holds a crease well and resists water through its metal layer, but cut edges and exposed paper layers remain vulnerable. Wax paper resists moisture but is difficult to crease sharply and can split or deform near heat.
For a complex model, fold first and coat afterward. For a boat or repeatedly wet object, select a synthetic sheet and redesign the model around its springiness.
Is Wax Safe for Paper Origami?
Wax can protect paper origami effectively when the model is rigid, the translucent appearance is acceptable, and the finished object will stay below the wax’s softening temperature. Dipping saturates exposed fibers more completely than a light spray, but it also adds considerable mass and can close fine details.
Melt paraffin or beeswax using controlled indirect heat, never over an open flame, and keep the paper away from the heating vessel until the wax is stable. A practical workshop range is often around 60-75°C for common wax handling, but the specific melting point varies by formulation.
Wax is unsuitable for hot windows, lamps that generate heat, flexible toys, and models with delicate thin tips. It can also make white paper look translucent or yellow, particularly with some natural beeswax grades.
What Changes for Jewelry, Outdoor Displays, and Classrooms?
Jewelry needs a hard, sweat-resistant surface; outdoor displays need UV and condensation planning; classroom projects need low odor and simple cleanup. The same coating should not be recommended for all three situations.
| Use case | Preferred material | Application recipe | Expected limitation |
|---|---|---|---|
| Origami earrings or pendants | Thin epoxy resin or acrylic spray | 2 spray coats, or 1-2 mm resin on rigid parts | Resin increases weight |
| Covered porch sculpture | Outdoor acrylic medium | 3 thin coats on all faces; 72-hour cure | UV and rain still shorten life |
| Classroom decoration | Water-based outdoor medium | Foam brush, 2 thin coats, supervised drying | Not suitable for immersion |
| Origami boat prototype | Polypropylene or Yupo | Fold dry, reinforce joins mechanically | Spring-back and hard creasing |
| Moving modular model | Flexible repellent spray | 2 light coats, keep hinges thin | Lower structural hardening |
| Bathroom shelf ornament | Acrylic spray plus sealed base | 3 coats, raised from standing water | Condensation enters cavities |
For children, adult supervision remains necessary even with water-based products. “Non-toxic” on a craft label does not mean the wet coating belongs on skin, food-contact objects, or an unventilated room.
For earrings, seal the paper before adding findings, keep resin away from the hinge or attachment loop, and use a balance test. A coating that makes one earring twice as heavy as the other creates a practical design problem, not merely an aesthetic one.
Outdoor exposure is the hardest case. A clear coat may resist rain while ultraviolet light embrittles the paper, temperature changes open seams, and wind-driven grit abrades the finish. Use synthetic paper when replacement access is difficult.
What Causes Waterproofed Origami to Fail?
Most failures come from excess liquid, incomplete coverage, incompatible ink, insufficient cure, or a coating that does not match movement. The visible symptom usually identifies the process error.
| Symptom | Likely cause | Immediate response | Better next attempt |
|---|---|---|---|
| Warped valleys | First coat too wet | Support the fold and stop adding liquid | Use a mist coat, then longer drying |
| Milky or cloudy film | Humidity, trapped moisture, incompatible finish | Isolate in dry air; do not add heat aggressively | Coat at 15-27°C and lower humidity |
| Bleeding color | Water-soluble ink or marker | Blot without rubbing; allow to dry | Use a laser print or pigment ink test |
| Soft, hidden edges | Cavity left unsealed | Apply a small controlled coat if accessible | Plan internal access before folding |
| Cracked hinge | Rigid film on moving fold | Stop flexing the joint | Use flexible repellent or mask hinge |
| Sticky surface after 72 hours | Excess thickness, cold, expired product | Move to ventilated moderate conditions | Apply thinner coats and check product age |
| Lost fine detail | Brush pooling or resin depth | Remove only uncured excess if label permits | Choose aerosol or lower-viscosity medium |
How Do You Fix Warping?
Stop coating as soon as warping appears, place the model in its intended geometry, and let the current layer dry fully before attempting correction. Adding more wet medium usually increases the differential swelling that caused the deformation.
If a crease has shifted but the paper remains flexible, support both sides with silicone or polyethylene and gently restore the geometry after the coating becomes leathery, not liquid. Severe distortion is often irreversible because swollen fibers have dried in a new arrangement.
A practitioner rule of thumb is to make the first coat the thinnest coat. The first pass controls fiber movement; later passes add barrier thickness after the paper has stabilized.
How Do You Prevent Clouding?
Prevent clouding by coating in moderate temperature and low-to-moderate humidity, avoiding thick layers, and allowing solvent or water to escape between coats. White haze often indicates trapped moisture or an incompatible layer rather than inadequate waterproofing.
Do not use a hair dryer close to the model. Low, moving air can help only when the product label permits it, because concentrated heat softens wax, drives solvent unevenly, or permanently sets warped paper.
If the haze remains after full cure, a very light compatible clear coat may reduce the visual contrast, but it cannot restore transparency to a chemically incompatible film. Test any correction on the scrap sample first.
How Do You Keep Crisp Folds?
Keep crisp folds by selecting thin paper, applying aerosol rather than pooled brush medium, and preserving the model’s geometry during drying. Complex tessellations usually tolerate several mist coats better than one heavy acrylic layer.
Resin is a poor choice when the identity of the model depends on sharp microfolds. The resin shell rounds ridges, gathers in valleys, and adds optical highlights that can make a precise crease look soft.
Another practitioner rule is to protect the fold ridge last. A brush loaded with liquid naturally deposits excess on a raised edge, where it can bridge two faces and erase the crease. Unload the brush, then skim the ridge with the remaining film.
Can You Waterproof Origami Without Changing Its Appearance?
You can minimize visual change with a low-sheen acrylic spray or fabric repellent, but every effective treatment changes surface reflectance, texture, weight, or flexibility to some degree. A fully invisible waterproof barrier is not a realistic expectation for ordinary paper.
Choose matte spray for a natural paper appearance, satin for moderate color depth, and gloss for stronger beading and visible surface film. Photograph the untreated model under the same lighting before coating, because gloss can make colors appear darker even when the pigment itself has not changed.
For white models, test yellowing over several days. Some waxes and aging finishes alter whiteness, while resin can magnify paper fibers and create a glass-like appearance. Appearance is part of the specification, not a final surprise.
What Safety Precautions Apply?
Use aerosol sprays, solvent coatings, heated wax, and epoxy resin only with the ventilation, protective equipment, and storage instructions on their labels and Safety Data Sheets. Wear nitrile gloves, protect the work surface, keep ignition sources away from solvent vapors, and never spray near food, children, pets, or flames.
Use a respirator only when it is correctly selected and fitted for the product hazards; a simple dust mask does not filter organic solvent vapor. Dispose of resin components, solvent-soaked materials, and wax-contaminated waste according to local requirements rather than washing chemicals into a drain.
Acrylic products are not automatically harmless while wet. The finished model may be suitable for display, yet still unsuitable for food contact, skin contact, aquarium use, or a child’s mouth.
FAQ
Will hairspray waterproof origami?
Hairspray can add a temporary film, but it is a poor long-term waterproofing choice because many formulas remain brittle, tacky, or soluble under repeated moisture. Hairspray may work for a short indoor display, while clear acrylic spray provides a more predictable barrier and better finish control.
Can I use clear nail polish on origami?
Clear nail polish works only for tiny sealed areas, such as a paper jewelry tip or thread hole, and it can stain, wrinkle, or dissolve printed surfaces. The solvent odor is strong, and a thick brush stroke rounds detail. Test it on an identical scrap before using it on the finished model.
How many coats should origami receive?
Most decorative models need 2-4 thin acrylic spray coats or 2-3 thin brush-on coats. Add another coat when droplets darken the paper quickly or exposed fibers remain visibly absorbent, but stop when the surface is uniform because thickness increases warping and detail loss.
Can waterproofed origami be washed?
Waterproofed origami should not normally be washed under a tap unless it uses synthetic paper or a fully sealed rigid shell designed for that exposure. Even a coated cellulose model can admit water through seams, cut edges, pinholes, and uncoated cavities.
Does waterproofing make origami stronger?
Waterproofing can increase stiffness and abrasion resistance, but it does not restore paper fibers already torn or poorly folded. Acrylic and resin add structural support after curing, whereas water-repellent sprays may change moisture behavior without adding much strength.
The Bottom Line
To waterproof origami, fold and inspect the model first, test the paper and ink, apply 2-4 thin compatible coats, seal accessible cavities, and wait 24-72 hours before moisture testing. Use clear acrylic spray for most decorative work, synthetic paper for repeated wet exposure, wax for a translucent rigid finish, and epoxy only when added weight and gloss are acceptable. Always describe the result accurately as water resistant unless the entire model has a continuous, tested barrier.
