


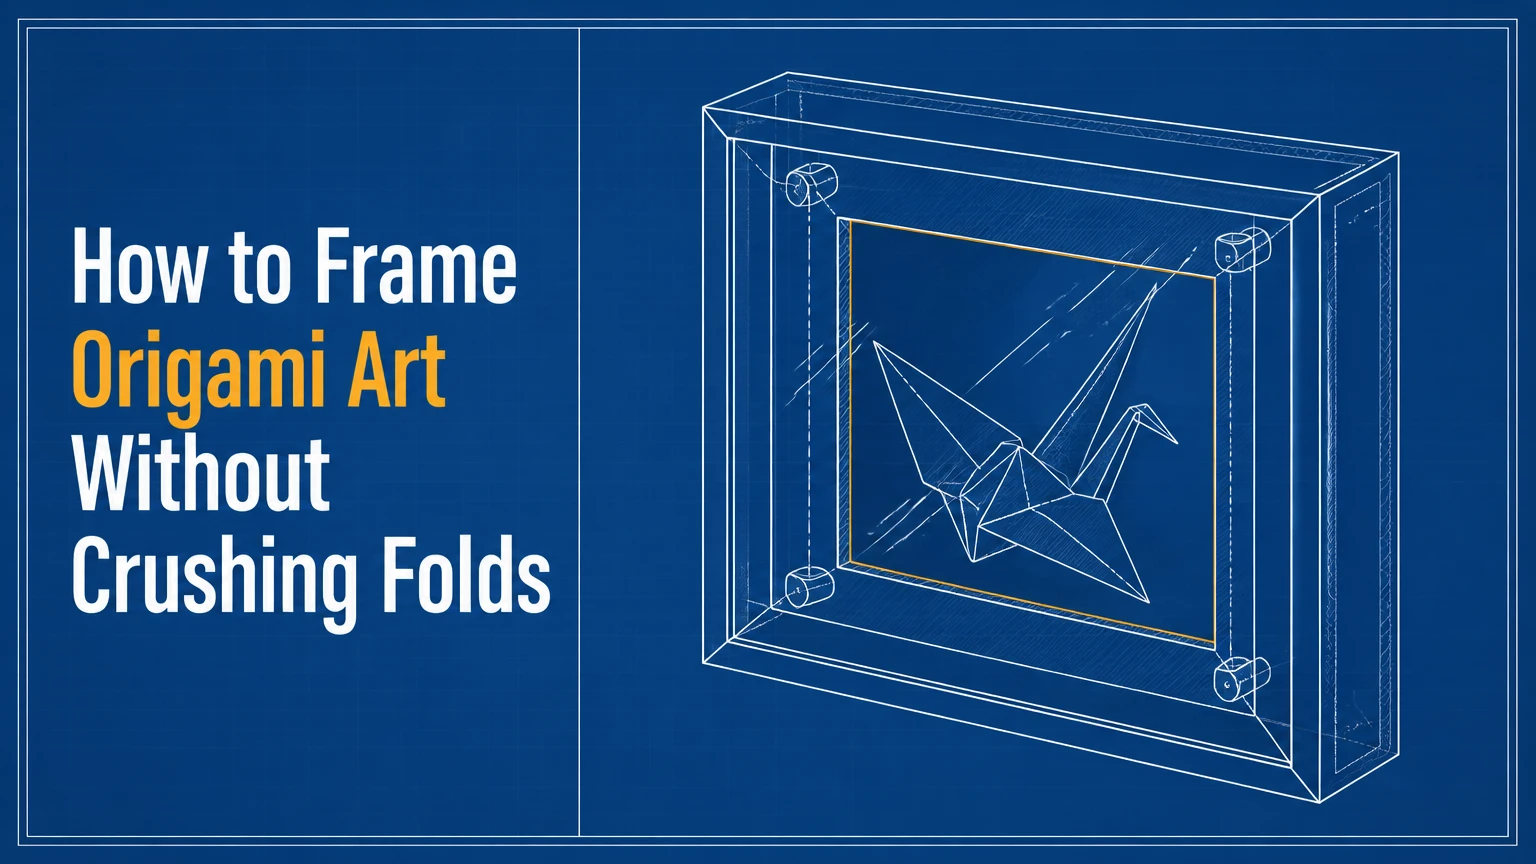
To frame origami art, mount the model to an archival backing inside a shadow box or another deep frame, then keep the glass at least 3-5 mm away from the highest fold. The safest method uses reversible thread, paper hinges, or small neutral adhesive points, with UV-filtering glazing and a rigid, acid-free support.
Key Facts at a Glance
Origami should never touch the glazing because pressure can permanently flatten or crease folded paper.
Measure the model’s maximum depth, then add at least 5 mm of clearance before selecting a frame.
A 20-30 mm deep shadow box suits many single models, while dense modular pieces may need 40-75 mm.
Archival rag matboard, acid-free foam board, and pH-neutral adhesives reduce chemical and structural damage.
Mechanical mounts are safer than permanent glue for valuable, fragile, or exhibition origami.
Typical DIY materials cost $20-$80, while custom framing commonly costs $100-$300 or more.
How to Frame Origami Art Safely
Origami framing is a controlled display system for three-dimensional folded paper, not ordinary picture framing. The backing supports the model, the spacer creates an air gap, and the glazing blocks dust while limiting handling, ultraviolet exposure, and accidental contact.
Traditional frames place flat artwork close to the glass. A framed crane, animal, flower, kusudama, or tessellation needs depth because its visual form depends on peaks, valleys, pockets, and cast shadows. The frame must therefore protect the model without changing its geometry.
Before You Start
| Requirement | Typical specification | Why it matters |
|---|---|---|
| Active work time | 45-90 minutes | Includes measuring, mounting, cleaning, and assembly |
| Adhesive curing time | 12-24 hours | Prevents a wet mount from shifting inside the frame |
| Frame depth | Model depth plus 10-15 mm | Provides clearance and a mounting layer |
| DIY material cost | $20-$80 | Covers a basic frame, board, spacers, and mount |
| Required tools | Ruler, craft knife, pencil, microfiber cloth | Supports accurate cutting and dust control |
| Minimum glazing gap | 3-5 mm | Prevents fold compression during display |
Use a frame that is larger than the model by enough to create a visual border. For a 150 mm wide origami crane, a 200 x 250 mm frame often leaves a balanced margin, although the correct size depends on the model’s silhouette and the intended mat design.
Prepare the model before preparing the frame. Photograph the front, back, and side views, record its width, height, and maximum depth, and identify areas that can tolerate a mount. Do not flatten the entire reverse side to make the object fit.
Step 1: Measure the Model and Select the Frame
Measure the origami model in its final display position, including projecting wings, tails, petals, spikes, and modular attachments. Record width, height, and depth in millimeters, because a depth error of only a few millimeters can make a frame unsafe.
Use this formula:
Minimum interior depth = maximum model depth + mounting thickness + 5 mm safety clearance.
For example, a model measuring 28 mm deep on a 3 mm backing board needs at least 36 mm of usable interior depth. A frame advertised as 36 mm deep may provide less usable space because the glass, rebate, backing, and spacer consume part of that measurement.
| Origami model | Typical depth | Suitable frame depth | Recommended mounting |
|---|---|---|---|
| Flat folded flower | 5-12 mm | 15-20 mm | Paper hinge or adhesive tabs |
| Single crane or animal | 15-30 mm | 25-40 mm | Thread, tabs, or neutral adhesive |
| Kusudama ball | 35-60 mm | 50-75 mm | Several thread supports |
| Modular installation | 50-120 mm | 75-150 mm | Custom case or acrylic box |
Choose a shadow box when the model has substantial depth or an irregular profile. Choose a shallow spaced frame only when every high point remains comfortably below the glazing.
Checkpoint: The frame’s usable depth exceeds the model depth by at least 5 mm after accounting for the backing and mount.
Common mistake: Buying a frame based on its outside depth. Measure the interior rebate depth instead.
Step 2: Prepare an Archival Backing Board
Cut a rigid, acid-free backing board to fit the frame’s interior. Conservation framers commonly use cotton-rag matboard, archival foam board, or another stable board with a neutral or slightly alkaline pH; ordinary cardboard can contain acids that accelerate paper discoloration.
A 4-ply matboard is approximately 1.4 mm thick, while an 8-ply board is approximately 3 mm thick. Foam board is often 5 mm thick and provides useful rigidity, but its exposed edges should remain behind the mat or frame rebate.
| Backing material | Typical thickness | Best use | Limitation |
|---|---|---|---|
| 4-ply rag matboard | 1.4 mm | Lightweight single models | Can flex under heavy modules |
| 8-ply rag matboard | 3.0 mm | Medium cranes and animals | Costs more than standard board |
| Archival foam board | 5.0 mm | Rigid shadow-box backing | Edges can dent during cutting |
| Corrugated plastic sheet | 3-5 mm | Temporary or humid-area display | Less traditional and may retain static |
| Ordinary cardboard | 1-3 mm | No archival display | Acid content and warping risk |
Cover the backing with archival paper only when the paper is clean, stable, and compatible with the model. White or pale boards make shadows visible, while black boards increase contrast around white origami. Dark colors can also make dust and paper fibers more noticeable.
Clean the board with a dry microfiber cloth. Do not spray cleaner onto the board, and do not use a damp cloth near an unsealed paper model.
Checkpoint: The backing board lies flat in the frame and has no loose fibers, oily marks, or raised debris.
Common mistake: Using a soft board that bends when lifted. A moving backing transfers stress to the model and can loosen mounts.
Step 3: Mount the Origami With the Lightest Reliable Support
Mount the origami model only at structurally stable points, such as a flat underside, a hidden central fold, or a reinforced modular junction. Never place adhesive on a visible ridge, thin wing edge, damp-looking fiber, or fold that must open for the model to retain its shape.
Select the mounting method according to weight, fragility, and reversibility.
| Mounting method | Typical load | Reversibility | Best application |
|---|---|---|---|
| Neutral PVA dots | Up to 20-40 g | Moderate after drying | Lightweight single models |
| Methyl cellulose or wheat starch paste | Up to 10-25 g | High when properly applied | Delicate paper and conservation work |
| Archival cotton thread | 30-150 g per support | High | Valuable or dimensional models |
| Paper flap through a slit | 20-80 g | High | Flat-backed models with hidden tabs |
| Nylon monofilament | 50-200 g per support | Moderate | Heavy modular pieces and installations |
Adhesive Mounting
Use small dots of pH-neutral PVA rather than a continuous coating. Two to four dots, each approximately 2-3 mm wide, usually provide more controlled support than a broad glue layer on a lightweight model.
Place a dot on the backing or on a removable paper tab, not directly on a visible fold whenever possible. Hold the model in position with a clean silicone tool or a folded piece of release paper for 30-60 seconds, then allow the mount to cure horizontally for 12-24 hours.
PVA is practical, but it is not automatically harmless. A liquid adhesive can migrate into absorbent washi, tissue foil, or handmade paper, and a dried adhesive spot may remain visible if the model is removed.
Thread Mounting
Thread mounting is the preferred approach for valuable models because it avoids spreading liquid into the paper. Use fine archival cotton thread in a color close to the paper, pass it through an inconspicuous structural fold, and anchor it through small holes in the backing.
Tie the thread at the rear without pulling the paper tight. The thread should restrain movement while allowing the model to retain its natural volume. Add two or more supports when the center of gravity is not directly over the base.
Flap and Slit Mounting
A flap mount works when the model has a concealed paper tab or a stable rear extension. Cut a narrow slit in the matboard, pass the tab through, and secure the tab on the reverse with archival linen tape.
Do not cut through the model itself to create a flap. That method changes the artwork and is inappropriate for collectible or signed origami.
Checkpoint: The model remains in its intended pose when the backing is tilted approximately 30 degrees, and no mount distorts a visible fold.
Common mistake: Applying a large glue patch because the first dot feels weak. Add a second discreet support or use thread instead of increasing adhesive area.
Step 4: Create the Glass Clearance
Create a continuous spacer between the glazing and the backing so that no fold can touch the glass. A spacer can be an archival plastic strip, a deep mat, or a hidden border made from acid-free foam board.
Measure the tallest point after mounting, not before. Mounting can raise a tail, wing, petal, or modular layer by several millimeters. Add 5 mm of clearance for ordinary indoor display, and use 8-10 mm when the model is irregular, fragile, or likely to shift.
Install spacers along all four sides. The spacer must touch the frame structure rather than press against the origami. If the spacer ends leave a gap, dust can enter and the glazing may flex toward the model.
| Spacer type | Typical thickness | Appearance | Practical concern |
|---|---|---|---|
| Clear acrylic spacer | 3-6 mm | Nearly invisible | Requires accurate adhesion |
| Deep paper mat | 3-8 mm | Formal border | Reduces visible artwork area |
| Foam-board perimeter | 5-20 mm | Hidden behind frame lip | Needs clean, square cuts |
| Wood liner | 10-50 mm | Traditional shadow-box look | Adds weight and visible structure |
Clean glass or acrylic on both sides before assembly. Use a lint-free cloth and a cleaner approved for the glazing material. Never use ammonia-based cleaner on acrylic, because it can damage the surface and increase the risk of clouding or fine scratches.
Acrylic is lighter and safer for large frames, but it attracts dust through static and scratches more easily. Glass provides a clearer, more rigid surface, while museum-grade glazing can reduce reflections and filter ultraviolet radiation.
Checkpoint: A ruler or strip of card passes through the planned clearance without touching any fold.
Common mistake: Measuring only the center of the model. Wings, corners, and raised modular points often become the first contact points.
Step 5: Assemble and Seal the Frame
Place the cleaned glazing into the frame, then install the spacer system without allowing adhesive or tape to enter the viewing area. Lower the mounted backing into the frame with the artwork facing upward, unless the frame design requires a controlled face-down assembly.
Secure the backing with framing points or turn buttons. Do not drive fasteners so tightly that they bow the board inward. A bowed backing can reduce the glass gap and create pressure on the model.
Seal the rear perimeter with paper framing tape when the frame will hang in a dusty area. Avoid sealing a visibly damp artwork into a closed enclosure because trapped moisture can encourage cockling, mold, or condensation.
Checkpoint: The frame can be lifted and gently tilted without a sliding model, rattling spacer, or visible contact between paper and glazing.
Common mistake: Turning the completed frame face-down on a hard table. Use a clean padded surface because projecting folds can bear the entire weight of the frame.
Which Frame Type Fits Your Origami?
A shadow box is the most versatile frame for origami because it hides mounts, accommodates depth, and protects the model behind glazing. A shallow spaced frame works for low-relief folds, while an acrylic display case suits large or heavy models that require more interior volume.
| Frame type | Usable depth | Typical DIY price | Best model |
|---|---|---|---|
| Spaced standard frame | 10-25 mm | $20-$60 | Low-relief flowers and tessellations |
| Shadow box | 20-75 mm | $30-$120 | Cranes, animals, and kusudama |
| Double-glass float frame | 10-30 mm | $60-$180 | Lightweight models with attractive reverses |
| Acrylic display case | 50-150 mm | $80-$300 | Large modular scenes and installations |
Shadow Box
Choose a shadow box for a first display, a single three-dimensional animal, or a model with hidden mounting points. The deep cavity gives the most tolerance for irregular folds, and the frame lip can conceal spacers and thread anchors.
The limitation is visual weight. A 75 mm deep box around a small crane can look bulky, and deep sidewalls can cast strong shadows that overwhelm delicate paper.
Spaced Standard Frame
Choose a spaced frame for low-profile origami that measures under approximately 15 mm deep. A deep mat creates a clean border and can make a small model appear deliberate rather than crowded.
This option is unsuitable for a model with a pronounced spherical or layered form. The mat opening also needs enough clearance that its bevel does not catch a wing or petal.
Double-Glass Float Frame
Choose a double-glass float frame when the reverse of the origami is attractive and the model weighs little. The paper appears suspended between two transparent panes, allowing the wall color to contribute to the display.
This frame is difficult to assemble safely because every thread, adhesive mark, and stray fiber may remain visible. It also offers little tolerance for deep folds.
Acrylic Display Case
Choose an acrylic case for a large modular arrangement, a dense kusudama, or a model that needs a broad base rather than a flat backing. The case provides excellent visual access and avoids the narrow rebate found in many picture frames.
Acrylic cases are not automatically archival. Look for UV-filtering acrylic, stable supports, and an enclosure that can be opened for inspection. Static dust and surface scratching remain practical disadvantages.
Which Glazing Protects Origami Best?
UV-filtering glazing protects colored origami from unnecessary light exposure, but it cannot make paper permanently fade-proof. Museum glass offers high clarity and reflection control, while UV-filtering acrylic reduces breakage risk and weight for large frames.
| Glazing | UV performance | Weight | Best use | Main drawback |
|---|---|---|---|---|
| Ordinary glass | Often under 50% UV filtering | High | Short-term budget display | Reflection and limited UV control |
| UV-filtering glass | Commonly UV-rated by product | High | Permanent indoor display | Breakage and shipping weight |
| Museum glass | Product-specific, often about 99% UV filtering | High | Valuable art in bright rooms | High price |
| Standard acrylic | Product-specific | Low | Large frames and public spaces | Scratches and static |
| UV-filtering acrylic | Product-specific | Low | Large archival displays | Can attract dust |
Keep framed origami away from direct sun, radiator heat, kitchens, bathrooms, and exterior walls with condensation risk. The Library of Congress identifies light, temperature, relative humidity, and pollutants as major preservation concerns for paper materials, so glazing is only one part of environmental control.
For ordinary home display, a stable room away from a window is more valuable than expensive glazing mounted in direct sunlight. A museum glass upgrade cannot compensate for several hours of intense sun each day.
How Much Does Origami Framing Cost?
Typical DIY origami framing costs $20-$80 for a small or medium shadow box, while professional custom framing commonly costs $100-$300 and can exceed $500 for deep cases, museum glazing, or large modular installations. Labor, glazing, frame depth, and mounting complexity create the largest price differences.
| Project type | Typical materials | Typical labor | Typical total |
|---|---|---|---|
| Small DIY crane | $20-$40 | 1-2 hours | $20-$40 |
| Medium DIY shadow box | $35-$80 | 2-3 hours including cure time | $35-$80 |
| Custom single model | $60-$150 | 1-3 weeks | $100-$300 |
| Large modular case | $150-$350 | 2-6 weeks | $300-$800+ |
Prices vary by country, city, frame size, and glazing brand. In India, a basic commercial shadow box and mounting supplies may commonly total approximately ₹800-₹3,500, while custom work may range from ₹6,000 to ₹20,000 or more.
Ask a framer for the usable interior depth, glazing type, mount method, and whether the mount can be removed without damaging the paper. A low quote that relies on hot glue or ordinary cardboard is not equivalent to archival framing.
How Do You Preserve Framed Origami?
Preserve framed origami by limiting light, keeping the paper dry and stable, and checking the mount twice a year. Maintain a gap between paper and glazing, avoid rapid humidity changes, and inspect for loose folds, yellowing, insects, condensation, or adhesive failure.
Do not hang paper art in a bathroom or above a cooking area. Do not store a framed model against a cold exterior wall if condensation is common. Keep the display out of direct sunlight, and rotate especially delicate tissue-paper pieces when a long-term exhibition is unnecessary.
Open the frame only on a clean, dry table. Photograph the model before removing it so its original position can be restored. If the paper has mold, active insect damage, severe foxing, or a valuable signature, consult a paper conservator rather than cleaning it with household products.
A conservation frame is protective, not corrective. It cannot reverse fading, repair crushed folds, or restore paper weakened by acidic backing.
Common Mistakes and How to Fix Them
The Glass Touches a Fold
Cause: The frame was selected by outside dimensions, or the highest point was not measured after mounting.
Fix: Remove the model, measure its full depth, and install a deeper spacer. Never push the fold downward to close the frame.
Hot Glue or Craft Tape Stains the Paper
Cause: Non-archival materials soften, yellow, or leave residue as temperature changes.
Fix: Stop adding heat. For valuable work, ask a paper conservator to assess removal; pulling hardened glue can tear fibers.
The Model Slides Downward
Cause: A heavy modular object is supported by too few adhesive dots, or the backing is slick.
Fix: Add concealed thread supports through stable structural folds and anchor them behind the board. Do not rely on more glue alone.
The Backing Warps
Cause: Thin board, uneven adhesive moisture, or excessive rear pressure from fasteners.
Fix: Replace the board with 5 mm archival foam board or 8-ply rag matboard, allow adhesive to dry flat, and loosen overly tight framing points.
Dust Appears Inside the Frame
Cause: The frame was assembled in a dusty area, or the rear perimeter remains open.
Fix: Disassemble on a clean surface, use a hand air blower rather than compressed air, and seal the rear with archival paper tape after confirming the artwork is dry.
Condensation Forms on the Glazing
Cause: Moisture entered a sealed frame or the display environment changes rapidly.
Fix: Move the frame to a stable room and open it only after the temperature equalizes. Persistent condensation requires professional inspection.
Variations for Difficult Origami
Delicate Tissue Foil or Unryu Paper
Use a deep mat, minimal handling, and thread or Japanese-style paper hinges where practical. Avoid wet PVA on thin fibers because liquid can create tide marks, translucency changes, or local distortion.
Heavy Modular Origami
Use a rigid backing and at least four concealed support points distributed around the center of gravity. A large kusudama may need a platform cradle or acrylic case rather than a single flat adhesive mount.
Multiple Models in One Frame
Create a measured layout before mounting. Leave at least 15-25 mm between neighboring models when their shadows or projecting folds could overlap, and use separate thread supports so one loose model cannot pull another free.
Which Mounting Method Should You Choose?
Choose neutral adhesive for a lightweight, low-value model that has a broad hidden base. Choose thread or a paper-flap mount for collectible origami, fragile paper, or any piece that may need removal later.
| Situation | Preferred mount | Avoid | Reason |
|---|---|---|---|
| Child’s lightweight kami crane | Two small PVA dots | Hot glue | Fast support with limited material |
| Signed exhibition model | Cotton thread | Permanent adhesive | Easier future removal |
| Tissue foil flower | Paper hinge or thread | Wet glue on petals | Reduces staining risk |
| Heavy kusudama | Multiple thread points | One glue patch | Distributes load |
| Transparent float frame | Nearly invisible thread | Visible tape | Preserves reverse view |
FAQ
Can I Frame Origami Without Glass?
Yes, but an open frame does not protect origami from dust, insects, handling, or airborne pollutants. Use an acrylic display case or a glazed shadow box for long-term presentation, especially when the paper is delicate, colored, or difficult to clean.
Should Origami Be Glued to a Mat?
Origami can be attached to a mat with tiny pH-neutral adhesive dots when the model is lightweight and the contact points are hidden. A thread, flap, or paper hinge is safer for valuable work because the support is more reversible and less likely to stain absorbent paper.
How Deep Should an Origami Shadow Box Be?
Choose a shadow box with usable depth equal to the model’s maximum depth plus the backing thickness plus at least 5 mm of clearance. A 30 mm model on 5 mm board therefore needs at least 40 mm of usable interior depth.
Is Glass or Acrylic Better for Origami?
Glass provides rigidity and a clearer, less static-prone surface, while acrylic weighs less and reduces breakage risk in large frames. Choose UV-filtering acrylic for oversized displays and museum or UV-filtering glass when optical clarity and scratch resistance matter most.
Can Framed Origami Hang in Direct Sunlight?
Framed origami should not hang in direct sunlight, even behind UV-filtering glazing. UV protection slows fading but does not stop visible-light damage or heat buildup. Position the frame on an interior wall and use blinds or curtains in rooms with strong daylight.
How Long Does Custom Origami Framing Take?
A local custom framer typically needs 1-3 weeks for a standard shadow box and 2-6 weeks for a large acrylic case or unusual glazing. The schedule depends on frame stock, spacer fabrication, glazing availability, and whether the mount requires conservation review.
The best way to frame origami art is to preserve the model’s depth rather than force it into a flat picture frame. Measure the highest fold, choose a rigid archival backing, use the lightest reliable mount, and maintain at least 3-5 mm of glazing clearance.
