


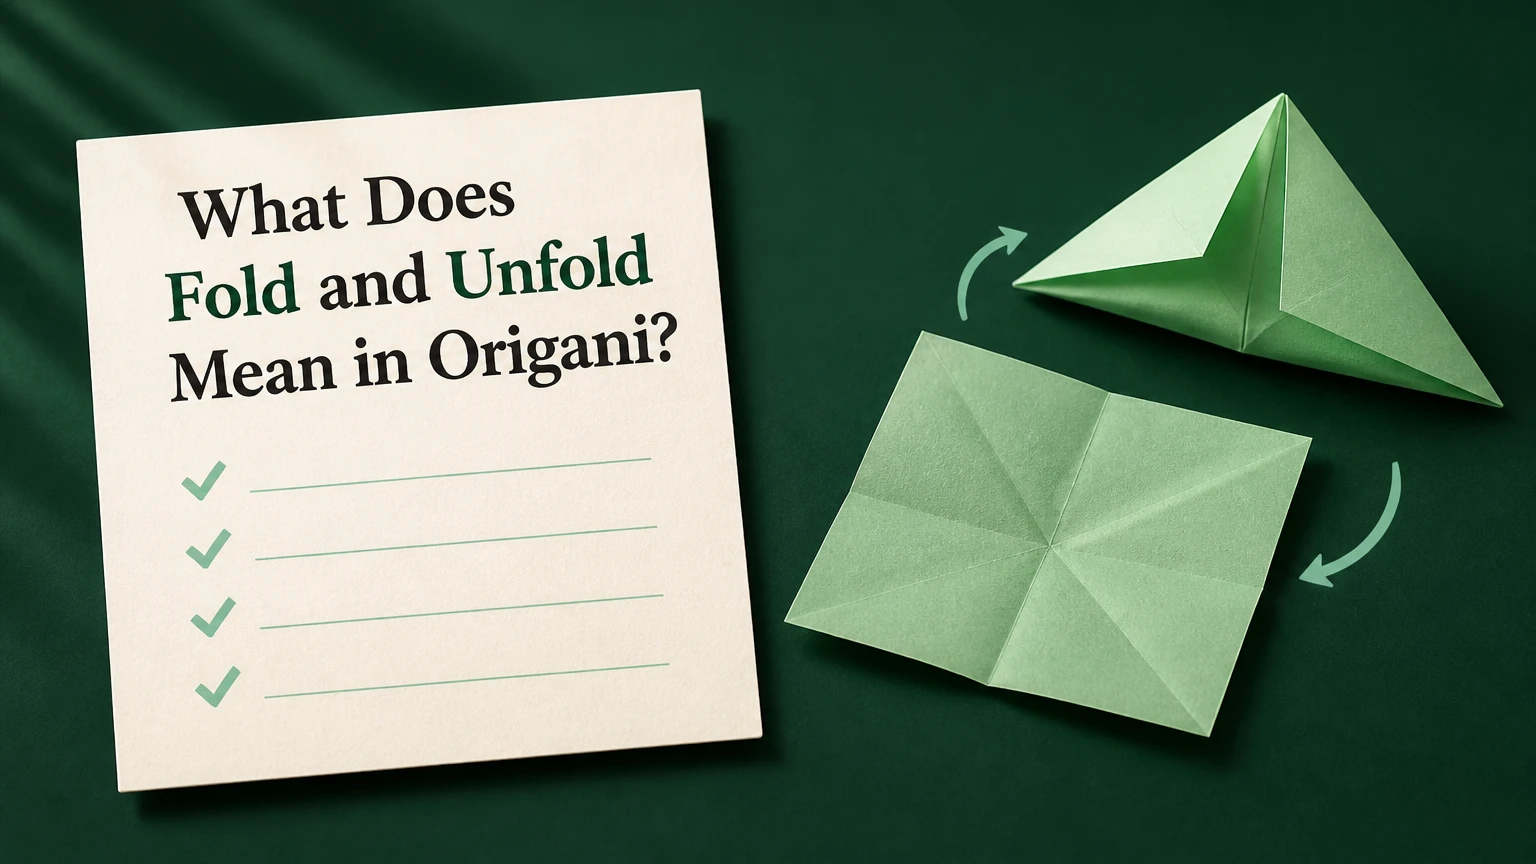
In origami, “fold and unfold” means bending the paper along a specified line, sharpening the crease, and opening the paper again. The remaining crease, called a pre-crease, becomes a guide, hinge, alignment mark, or structural boundary for later folds. It does not usually mean completing and undoing the entire model.
Key Facts at a Glance
- A fold-and-unfold instruction creates a permanent reference crease without leaving the paper in its folded position.
- Origami diagrams use valley folds and mountain folds to indicate the direction of the temporary fold.
- Pre-creases improve alignment for bases, pleats, grids, sinks, and multi-layer collapses.
- The fold line matters more than the folded shape, so edge and corner alignment must be exact.
- A fingernail is sufficient for ordinary kami paper; a bone folder is useful for thick or delicate sheets.
- Typical beginner models need 2-10 pre-creases, while tessellations can require hundreds of carefully spaced lines.
What Does Fold and Unfold Mean in Origami?
“Fold and unfold” is an instruction to make one crease and then return the paper to its previous flat or partially flat position. Origami designers use the action to transfer a location, distance, diagonal, or centerline onto the sheet before a later step needs it.
The instruction commonly appears beside a line in a diagram. The line may be solid, dashed, dotted, or marked with arrows, depending on the designer’s notation system. The fold establishes the line physically; unfolding exposes the line so the next operation can use it.
The technique is also called pre-creasing. A pre-crease differs from a final fold because the paper does not remain folded along that line. A completed fold changes the model’s current shape, whereas a pre-crease records geometry for future shaping.
What Is a Pre-Crease Used For?
A pre-crease gives the folder a reliable physical reference instead of requiring visual estimation. For example, folding a square in half and unfolding it creates a centerline that can locate a bird base, divide a flap, or position a later pleat.
Pre-creasing has four practical functions:
- Alignment: matching later edges or corners to an existing line.
- Location transfer: marking a midpoint, diagonal, grid interval, or intersection.
- Controlled collapse: telling several layers where to bend during a base or sink.
- Structural articulation: creating a hinge that allows a flap or limb to move predictably.
Origami diagrams often omit intermediate explanation because experienced folders recognize these functions. Beginners should treat every “fold and unfold” as a geometry-marking operation unless the instructions clearly say to leave the fold in place.
Why Does Origami Use Fold-and-Unfold Instructions?
Fold-and-unfold instructions use the paper’s crease memory to convert an abstract diagram into a physical coordinate system. Once a crease exists, the same point can be found again even after the paper rotates, changes orientation, or gains multiple layers.
Paper fibers and coatings do not behave like a perfectly elastic sheet. Pressure creates a narrow zone of permanent deformation, so the sheet bends more readily along that line later. The crease therefore acts like a flexible hinge, although it is not a mechanical hinge made from separate parts.
The crease has two useful properties:
| Property | What happens | Practical result | Typical use |
|---|---|---|---|
| Location memory | The line remains visible after opening | A later edge can meet it accurately | Midpoint and grid placement |
| Reduced bending resistance | Paper bends more easily at the crease | A collapse follows the intended path | Bases and sinks |
| Directional reversibility | The line can bend toward either side | Mountain or valley orientation can change | Layer inversion |
| Layer registration | Existing lines pass through stacked layers | Several flaps can align together | Pleats and compound folds |
Does Unfolding Remove the Crease?
Unfolding does not remove a properly made crease. It returns the paper to its earlier position while leaving a visible or tactile line, although thin paper may show the line more clearly from one side than the other.
A light pre-crease can be difficult to see under warm lighting, so tactile inspection matters. Run a fingertip across the suspected line, or hold the paper against a contrasting background. Do not create a second line merely because the first one is faint.
How Do You Fold and Unfold Correctly?
To fold and unfold correctly, align the specified references, set a light crease, sharpen the line without shifting the sheet, and reopen the paper along that exact crease. A beginner usually needs 10-20 seconds per simple pre-crease, while a dense grid can take 2-10 minutes.
Step 1: Identify the References
Read the diagram before moving the paper. Determine whether the instruction matches a corner to a corner, an edge to an edge, a point to a crease, or a location estimated from an existing mark.
A corner-to-corner fold should bring both corners together exactly. An edge-to-edge fold should align the complete edges, not merely one endpoint. If the instruction says “fold to the center,” use the existing center crease rather than guessing the visual center.
Step 2: Align Before Creasing
Place the target references together while keeping the paper relaxed. Hold one corner or edge with the non-dominant hand, then adjust the opposite reference until the sheet lies without a twist.
The most common beginner error occurs before pressure is applied. A sharply creased misalignment is harder to correct than a lightly creased accurate fold.
Step 3: Set a Light Trajectory
Pinch or press the midpoint of the intended fold line first. Move from the center toward both ends with light pressure, which prevents the paper from buckling or sliding.
For a diagonal on a square, check that the two corners remain directly above one another. For a midpoint fold, inspect both edges after the first light pass.
Step 4: Sharpen the Crease
Run a thumbnail, fingernail, or smooth bone folder along the line. Use the tool’s side rather than its sharp tip, and work from the center outward.
Kami paper usually needs moderate thumbnail pressure. Thick kraft, foil-backed paper, and folded double tissue may need several controlled passes instead of one forceful stroke.
Step 5: Unfold Without Dragging
Open the paper by lifting one layer from the edge, not by pulling sideways across the crease. Flatten the sheet only after the fold has fully opened.
A clean pre-crease has one continuous path. If the line appears doubled, stop and decide whether the intended line is still identifiable before continuing.
Step 6: Confirm the Checkpoint
You know the pre-crease worked when the paper opens flat enough for the next instruction and the line passes through the intended reference points. The crease may be visible on one side and raised on the other.
| Checkpoint | Correct result | Failure sign | Immediate response |
|---|---|---|---|
| Corner alignment | Two target corners coincide | One corner projects 1-2 mm | Reopen and realign |
| Edge alignment | Full edges overlap | Edges touch only at one end | Reset before sharpening |
| Crease continuity | One uninterrupted line | Broken or parallel segments | Use the clearer segment only if accurate |
| Paper flatness | Sheet lies nearly flat | Paper springs into a twist | Press lightly around, not across, the line |
| Next-step fit | Later edge meets the mark | Gap or overshoot remains | Check orientation and reference choice |
What Are Valley and Mountain Fold-and-Unfold Marks?
A valley fold-and-unfold bends the paper toward the folder so the crease resembles a valley; a mountain fold-and-unfold bends the paper away so the crease rises like a ridge. After unfolding, both actions can leave the same geometric line, but diagrams use the direction to communicate orientation.
| Fold type | Paper direction | Diagram appearance | Opened crease | Common application |
|---|---|---|---|---|
| Valley | Near edge rises toward folder | Dashed line with valley arrows in many systems | Depressed line on the folded side | Preliminary bases |
| Mountain | Paper bends away from folder | Alternating dash-dot line in many systems | Raised line on the folded side | Reverse pleats |
| Valley then reverse | First bend toward, then invert | Same geometric line, changed orientation | Ridge becomes trough | Layer reversal |
| Mountain then reverse | First bend away, then invert | Same geometric line, changed orientation | Trough becomes ridge | Collapse preparation |
Diagram conventions vary. The British Origami Society’s instructional resources distinguish mountain and valley folds through line styles and arrows, but a printed book may use a different notation key, so check that publication’s symbol legend first.
Can a Mountain Crease Become a Valley Crease?
A mountain crease can become a valley crease by turning the paper over or pinching the existing crease from the opposite side. The geometric location does not change, so making a second parallel crease is unnecessary and usually harmful.
This distinction matters during multi-layer collapses. The next step may require the paper to reverse direction along a line that was originally made as a valley fold. Reverse the existing crease rather than treating the orientation change as a new fold.
Which Origami Techniques Depend on Pre-Creasing?
Bases, pleats, blintz folds, grids, sinks, and many tessellations depend on pre-creases because these structures require several accurately related lines. The more intersections a design contains, the more valuable a complete crease map becomes.
| Technique | Pre-crease pattern | Resulting geometry | Typical model context |
|---|---|---|---|
| Half-fold | One horizontal or vertical centerline | Two equal rectangles | Preliminary square bases |
| Diagonal fold | One corner-to-corner line | Two right triangles | Waterbomb and preliminary bases |
| Blintz fold | Four corners to center | Inner square and diagonal references | Blintz base |
| Grid fold | Halves repeated to 4, 8, or 16 divisions | Regular square lattice | Animals, boxes, tessellations |
| Pleat preparation | Parallel mountain and valley lines | Accordion structure | Wings, fans, leaves |
| Radial pre-crease | Lines converge at a center | Star or circular division | Tessellations and rosettes |
A blintz pre-crease does not mean permanently folding all four corners into the center. It means creating the corner-to-center lines, opening them, and using the resulting inner square or intersections as future references.
A grid is more demanding than a single pre-crease because spacing errors accumulate. For an eighths grid, a small error at the first quarter division can make the final lines visibly uneven, especially on a 15-centimeter sheet.
What Paper and Tools Work Best?
Thin, moderately crisp paper offers the best balance for learning pre-creasing because it accepts a clear line without requiring excessive force. Standard kami, around 60-75 gsm, is suitable for basic models, while thicker or coated papers demand slower alignment and lighter repeated pressure.
| Material or tool | Typical specification | Best use | Main limitation |
|---|---|---|---|
| Kami paper | 60-75 gsm, 15 cm square | Beginner models and basic bases | Crease can weaken after repeated reworking |
| Kraft paper | 70-100 gsm, 15-20 cm square | Practice grids and geometric folds | Surface may resist smooth tool passes |
| Tant paper | 70-80 gsm, 15-20 cm square | Models needing crisp edges and color | Higher typical cost, about $0.50-$2 per sheet |
| Foil-backed paper | 40-80 gsm, laminated structure | Fine details and strong crease memory | Wrong creases remain highly visible |
| Double tissue | 20-40 gsm finished sheet | Complex figures and dense pre-creasing | Tears under concentrated pressure |
| Fingernail | No purchase required | Kami and ordinary practice paper | Can polish or dent delicate surfaces |
| Plastic folder | About $2-$8 | Repeated work on medium-weight sheets | Tip may be too sharp or rough |
| Bone folder | About $10-$35 | Thick, large, or high-value paper | Excess pressure can burnish the surface |
Prices vary by country and supplier. The figures above are typical retail ranges in the United States, not universal origami costs.
A bone folder is optional, not a requirement. The tool improves consistency on long creases, but alignment determines accuracy; a perfectly aligned crease made with a fingernail is more useful than a polished crease made with a misaligned folder.
Is Pre-Creasing Better Than Folding Directly?
Pre-creasing is better when later steps require exact intersections, multiple layers, or a collapse sequence; direct folding is better when the model needs a clean surface and the location can be established reliably during the final fold. Neither method is universally superior.
| Decision factor | Pre-creasing first | Folding directly later | Better choice |
|---|---|---|---|
| Alignment accuracy | Usually within about 0.5-1 mm with care | Often depends on visual judgment | Pre-creasing |
| Time for a simple model | Adds 30 seconds-2 minutes | Shorter initial sequence | Direct folding |
| Complex collapse | Reduces layer-searching and asymmetry | Can become difficult after layers accumulate | Pre-creasing |
| Final crease visibility | Extra lines may remain | Fewer unnecessary lines | Direct folding |
| Paper fatigue | Repeated opening increases wear | Fewer flex cycles | Direct folding |
| Thick paper handling | Creates predictable hinges | Harder to locate hidden lines | Pre-creasing |
| Beginner error recovery | Easier to inspect geometry early | Mistakes may appear late | Pre-creasing |
When Should You Avoid Extra Pre-Creases?
Avoid unnecessary pre-creases when the line will not guide a later fold, when the paper is fragile, or when the finished model must have an uncluttered surface. A pre-crease is useful only if its geometric information outweighs its visual and structural cost.
Wet-folding is a special case. Damp paper can hold sculpted curves, but repeated opening and sharpening can weaken the sheet, so dry pre-creasing and wet shaping should not be mixed casually.
How Many Creases and How Much Time Are Typical?
A simple beginner model typically uses 2-10 pre-creases and takes 30 seconds to 2 minutes for its preliminary marking. Intermediate models often use 10-40 lines and require 2-10 minutes, while dense tessellations may use 100-1,000 or more lines over 1-5 hours.
| Project level | Typical pre-crease count | Typical marking time | Suitable paper |
|---|---|---|---|
| First practice model | 2-5 | 30 seconds-1 minute | 60-75 gsm kami |
| Beginner animal | 5-15 | 1-4 minutes | Kami or 70 gsm kraft |
| Intermediate figure | 15-40 | 4-15 minutes | Tant or thin kraft |
| Box or modular unit | 8-30 per unit | 2-8 minutes per unit | Kami or Tant |
| Simple tessellation | 40-150 | 15-60 minutes | Tant or foil |
| Complex tessellation | 100-1,000+ | 1-5+ hours | Double tissue or foil |
These are practitioner ranges, not universal standards. A designer’s crease pattern, sheet size, paper humidity, and experience can change the timing substantially.
The number of creases also affects paper quality. Every open-and-close cycle rounds a fold slightly, and repeated correction can produce a fuzzy band rather than a single precise line.
What Mistakes Happen During Fold and Unfold?
The main mistakes are shifted alignment, doubled creases, excessive pressure, wrong orientation, and opening the sheet in a way that stretches the fold. Each failure has a different remedy, so refolding harder is rarely the correct first response.
| Problem | Likely cause | Visible symptom | Repair |
|---|---|---|---|
| Ghost crease | Paper shifted during sharpening | Two lines 1-3 mm apart | Keep the accurate line and avoid both if unclear |
| Torn crease | Excess force or brittle paper | Fibers split along the line | Stop, reinforce from the broad side, replace if structural |
| Wrong line | Corner or edge misread | Crease misses the intended point | Compare with diagram and restart on fresh paper |
| Wrong direction | Mountain read as valley | Collapse reverses or opens incorrectly | Invert the existing crease |
| Curved line | Paper buckled during first pass | Line bows away from target | Reset with lighter center-to-edge strokes |
| Flattened surface | Rough tool or burnishing | Glossy strip along crease | Reduce pressure and use a smooth folder |
How Do You Fix a Wrong Crease?
A wrong crease can be corrected only when the intended line remains distinguishable and the paper has not been badly weakened. Open the sheet, compare the inaccurate line with the diagram, and make the correct line with minimal pressure; do not repeatedly crease the same area.
If the error is close to the target, the new line may dominate visually, but the old line can still affect a collapse. For a structural model, starting with a fresh sheet is often faster than forcing a damaged one to behave.
One practitioner rule is especially useful: a light wrong crease is safer than a heavy uncertain crease. Set alignment first, then sharpen only after both endpoints or reference points are verified.
How Can You Practice the Technique Efficiently?
Practice fold-and-unfold actions on a 15-centimeter square using four exercises: a centerline, a diagonal, a blintz fold, and a four-by-four grid. The complete session usually takes 5-10 minutes and teaches alignment, pressure control, orientation, and crease inspection.
Use the following sequence:
- Fold the left and right edges together, then unfold.
- Fold opposite corners together, then unfold.
- Fold each corner to the center, then unfold.
- Divide each direction into halves and quarters.
- Hold the sheet to a light source and inspect whether intersections meet.
- Reverse selected mountain creases and confirm that the line stays in place.
The exercise exposes a counterintuitive truth: stronger pressure does not create greater accuracy. Accuracy comes from reference alignment; pressure only makes the chosen geometry more permanent.
For children or complete beginners, use inexpensive kami and a blunt plastic folder. For a complex animal or tessellation, practice the critical collapse on a spare sheet of the same paper before marking the final sheet.
What Does Fold and Unfold Not Mean?
“Fold and unfold” does not usually mean fold the entire model forward and backward several times, erase the crease, or leave the paper permanently folded. The instruction applies to the specific line shown in the diagram and normally ends with the sheet returned to its previous configuration.
It also does not automatically mean flatten every layer. If a diagram shows a flap folding and unfolding, preserve the model’s other existing folds and return only the instructed flap or region.
The surrounding arrows determine scope. A broad arrow spanning the whole sheet may indicate a full-sheet pre-crease, while a short arrow near one flap may apply only to that local section.
FAQ
Is Fold and Unfold the Same as Crease and Uncrease?
Fold and unfold is the action; crease and uncrease describes the result. In both cases, the paper is bent along a line and reopened, leaving a reference crease. “Pre-crease” is the most precise origami term when the line will guide later construction rather than remain as a final visible fold.
Should I Crease Both Directions?
Crease both directions only when the instructions require a line to reverse orientation or when the paper resists a later collapse. A normal pre-crease needs one accurate line, and aggressively working both directions can enlarge the crease and weaken thin paper.
Why Does My Fold and Unfold Line Look Uneven?
An uneven line usually comes from incomplete edge alignment, a buckled sheet, or pressure applied from one end without stabilizing the other. Reopen the paper, align the references again, and make a light center-to-edge pass before sharpening.
Can I Use a Ruler Instead of Folding and Unfolding?
A ruler can help draw or score a line, but ordinary origami usually relies on folding because the crease carries both location and bending memory. A drawn line may mark geometry without making the paper naturally hinge along the intended path.
Why Are My Extra Creases Visible in the Finished Model?
Extra creases remain visible when the paper has a strong crease memory, such as foil-backed sheets, or when a pre-crease lies on an exposed surface. Use direct folding for purely aesthetic areas, and reserve pre-creasing for lines that guide later geometry.
Is Fold and Unfold Necessary for Beginner Origami?
Fold and unfold is useful but not mandatory for every beginner model. Simple animals may work with direct folds, while bases with several layers become easier when centerlines, diagonals, and flap locations are pre-creased before the collapse.
The Bottom Line
In origami, what does fold and unfold mean? It means make a precise temporary fold, sharpen its crease, and open the paper so the resulting line can guide later steps. The method is called pre-creasing, and its value comes from accurate geometry rather than force.
Use a light first pass, verify corners and edges, sharpen from the center outward, and reverse an existing crease when orientation changes. Standard kami and a fingernail are enough to begin; thicker paper, complex bases, and tessellations benefit from a smooth folder and a deliberate crease map.
