

Folding paper into beautiful shapes feels magical. One moment, it’s just a flat sheet—then, with a few folds, it transforms. Today, we’re crafting something truly special.
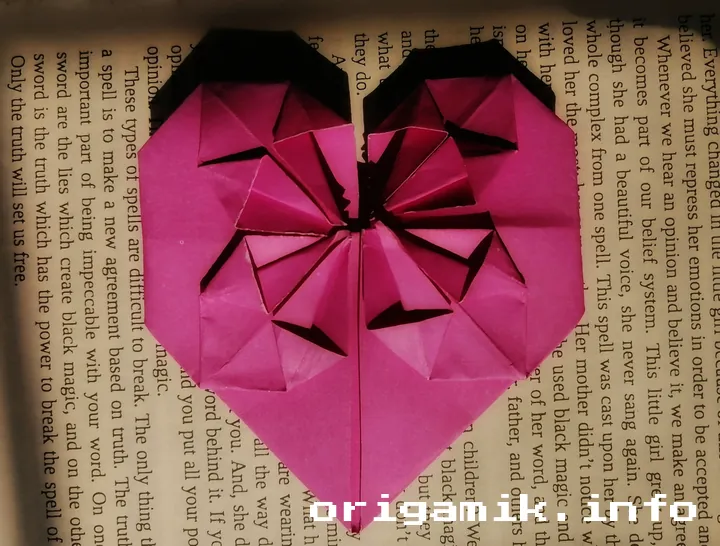
An easy Origami Heart with blossom—a delicate yet striking design. It’s perfect for gifts, decorations, or just a fun paper-folding challenge. Ready to create something amazing?
I’ll guide you step by step with clear Origami Heart with blossom instructions. By the end, you’ll have a heart-shaped masterpiece. Let’s begin!
What Is an Origami Heart with Blossom?
Origami isn’t just about folding paper—it’s about storytelling, creativity, and patience. The Origami Heart with blossom combines a classic heart shape with a blossoming floral touch. The result? A heartfelt piece of art that symbolizes love and growth.
This project is great for all skill levels. If you’re a beginner, you’ll appreciate the clear folds and satisfying outcome. If you’re experienced, you’ll enjoy the challenge of precision.
Let’s start by gathering what we need.
Materials Needed
Before we begin, here’s a breakdown of what you’ll need. Choosing the right paper makes a big difference!
| Material | Details | Alternative Options |
|---|---|---|
| Paper Size | 10″ × 5″ sheet (rectangle) | Any rectangular paper |
| Paper Type | Origami paper (thin but strong) | Printer paper, craft paper |
| Color Choice | Any color you like! Red or pink for a romantic feel. | Dual-colored paper |
| Folding Surface | Flat, clean surface for crisp folds | Table, desk, or hard book |
How to Make Heart with Blossom: Step-by-Step Guide
Let’s start folding! Follow this guide closely, and soon you’ll have a beautiful heart with a floral touch.
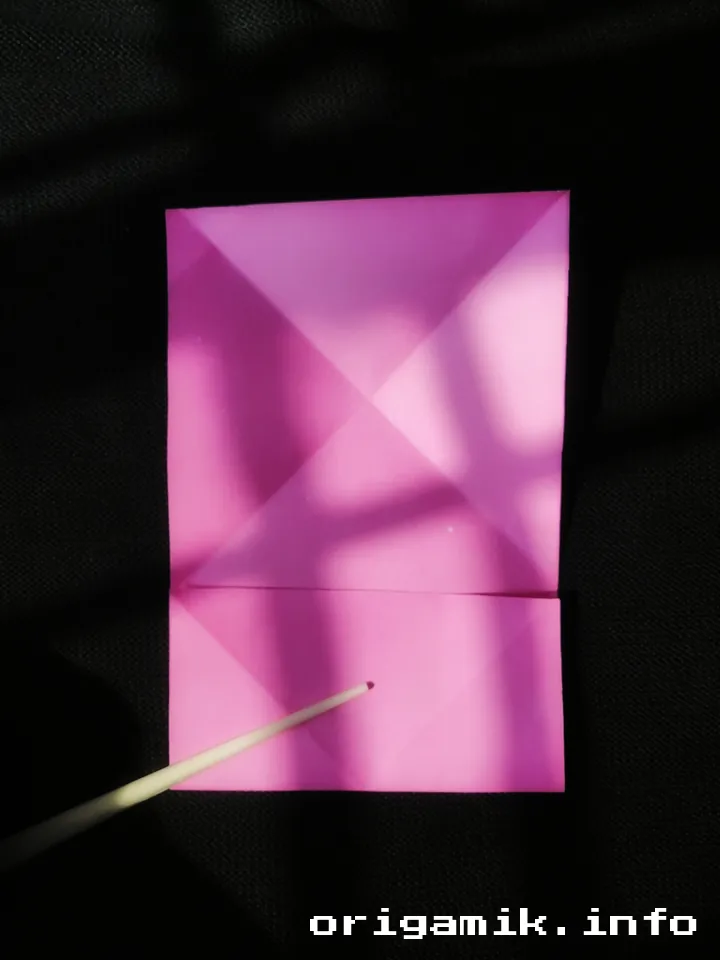
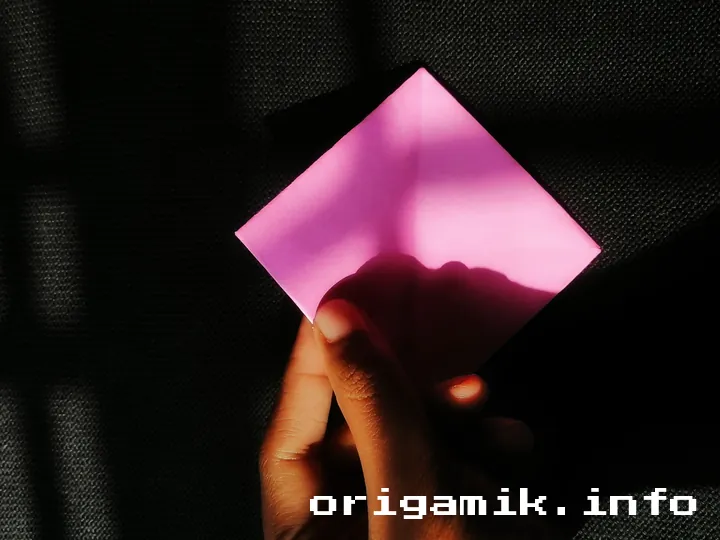
Step 1: Fold the Paper in Half
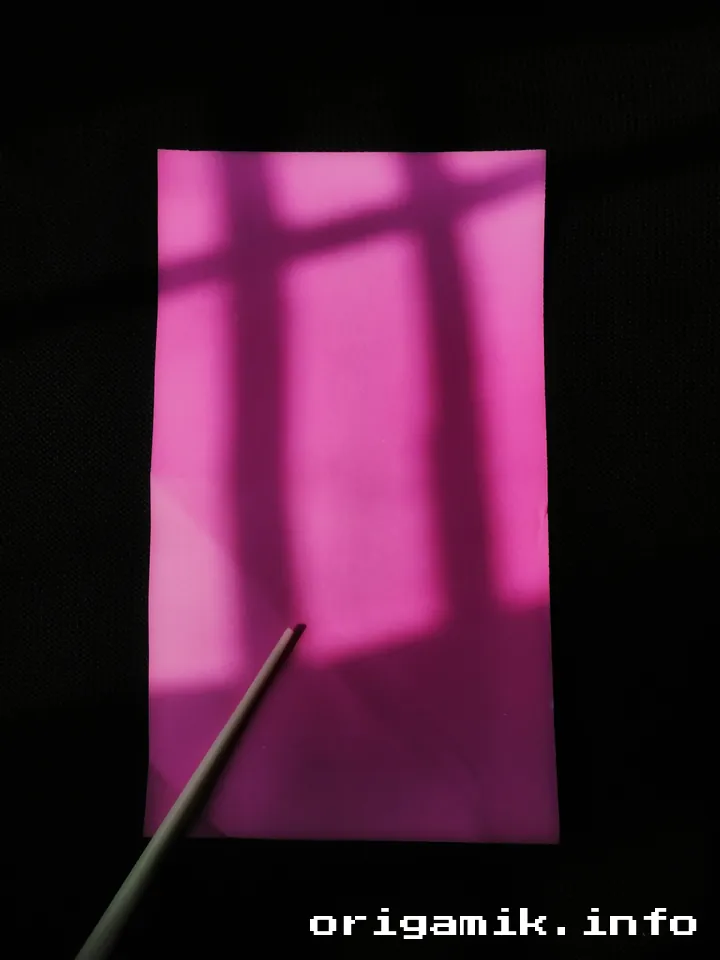
- Take your 10″ × 5″ paper and place it horizontally.
- Fold it vertically in half to mark the center.
- Unfold it. Now, fold the top and bottom edges to the center crease. Unfold again.
Step 2: Fold the Sides
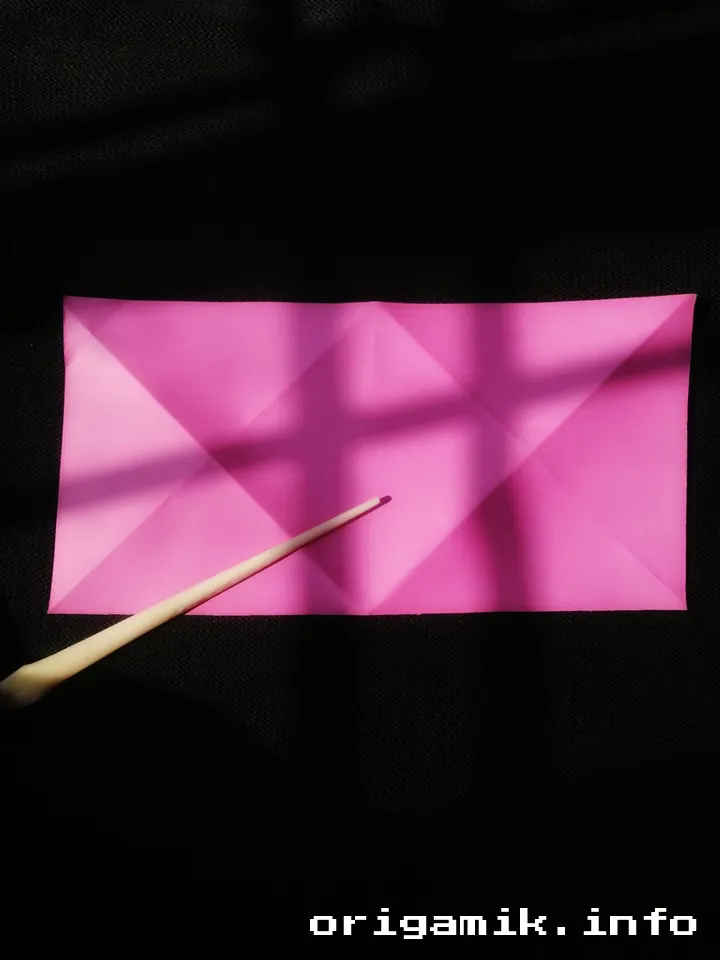
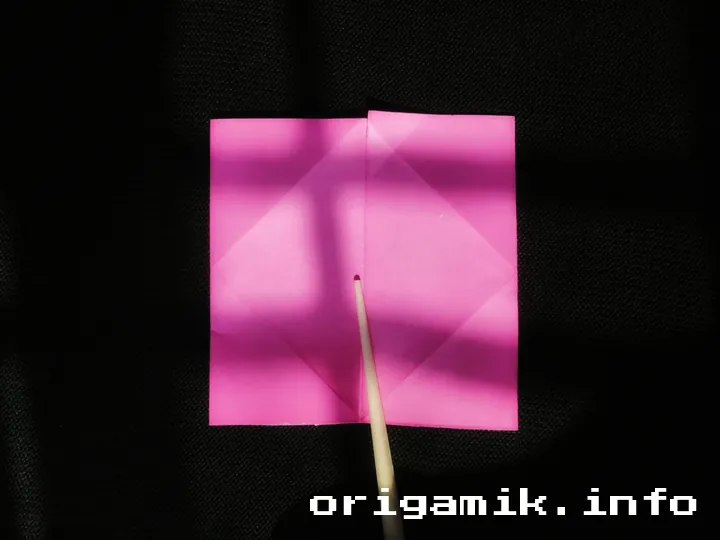
- Fold both left and right edges toward the middle.
- Unfold to reveal creases. These will guide the next folds.
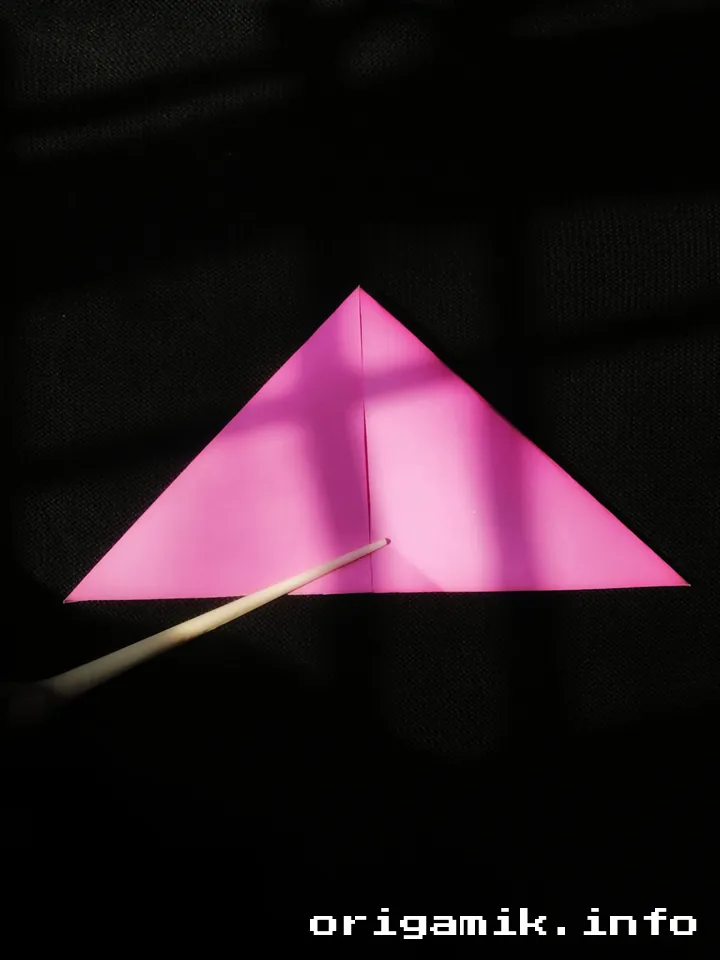
Step 3: Fold the Corners

- Take one corner and fold it diagonally toward the center.
- Repeat on the opposite side.
- These folds will help form the heart’s shape.
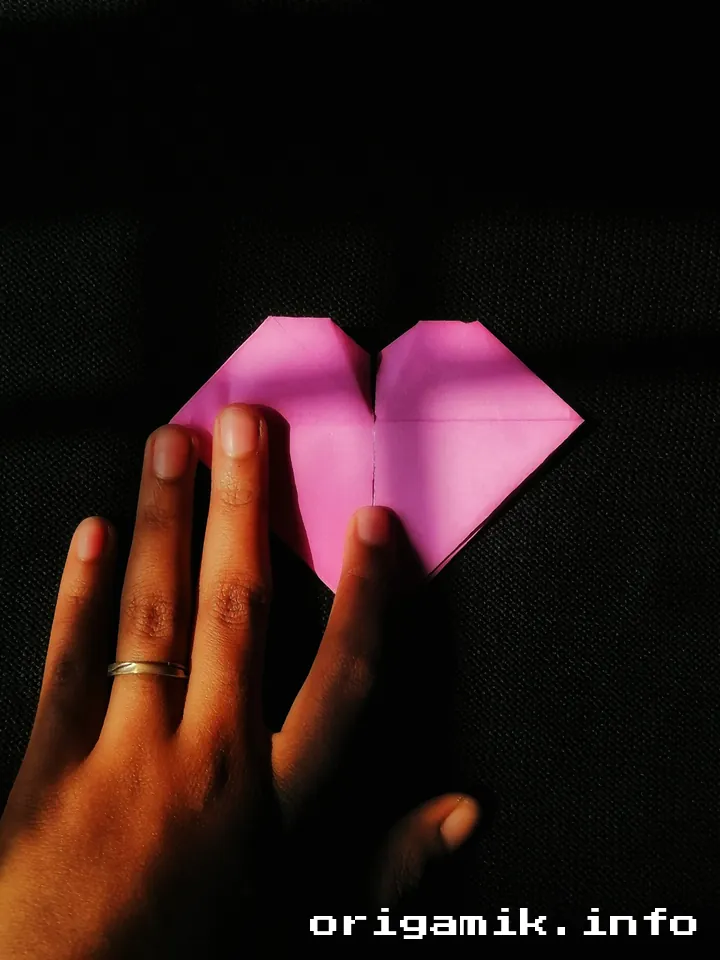
Step 4: Shape the Heart’s Top
- Fold the top two corners down so they meet the bottom crease.
- This gives the top of your heart a rounded look.
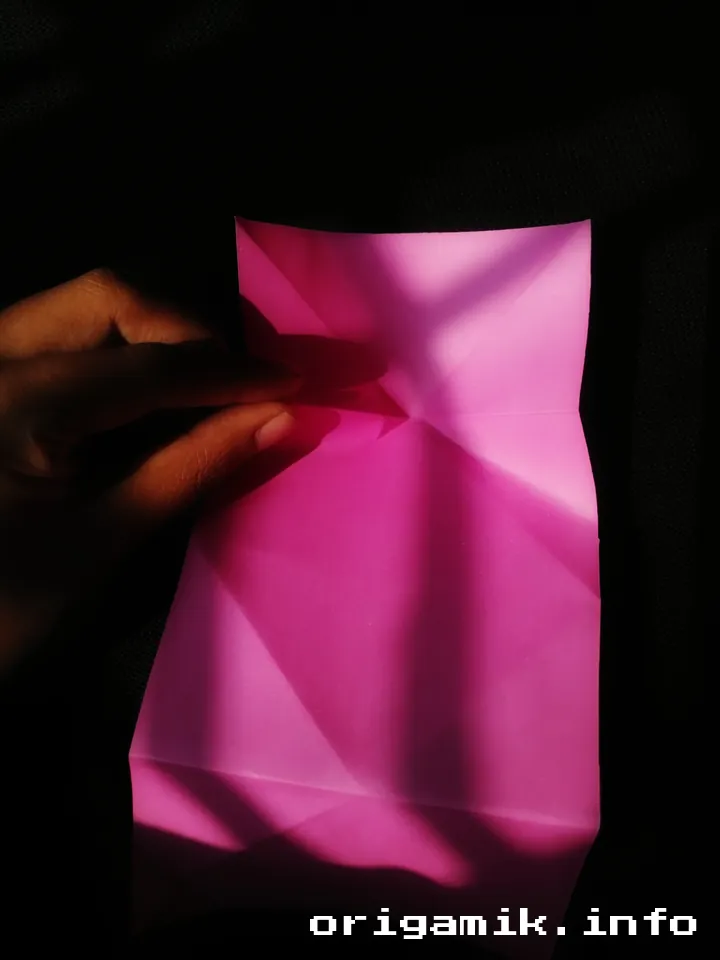
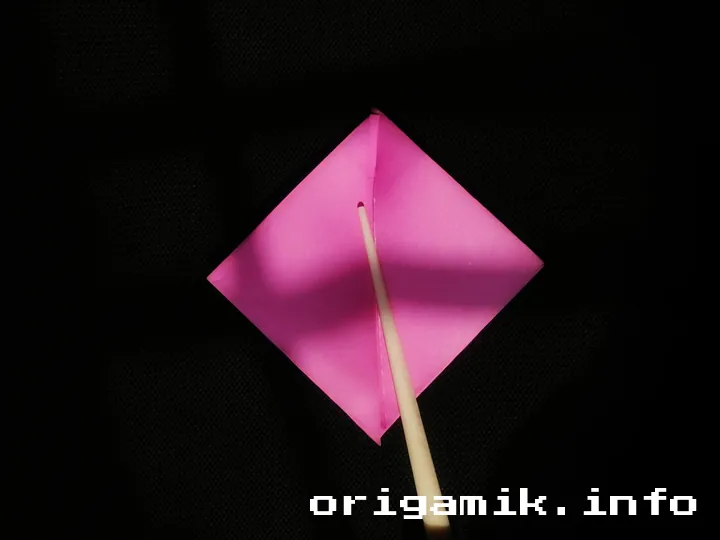
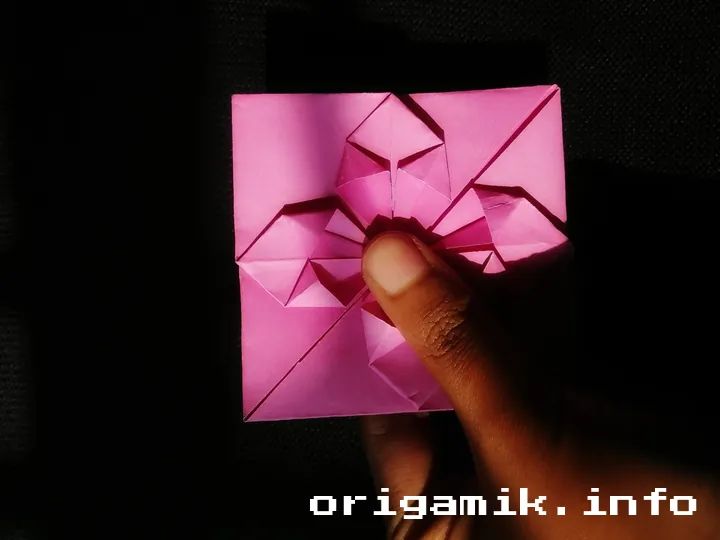
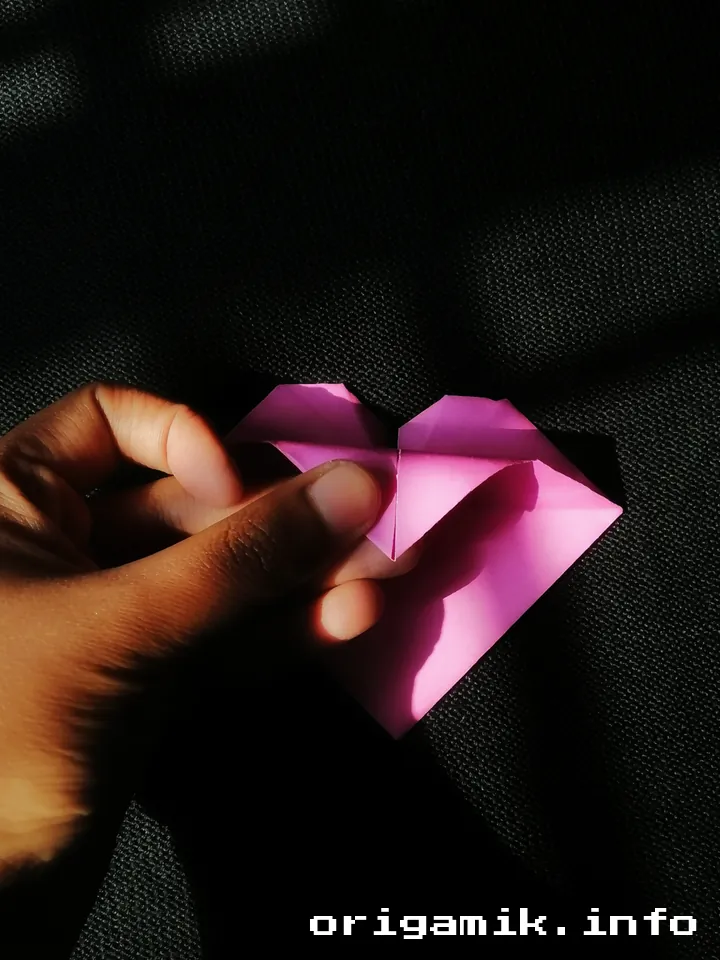
Step 5: Flatten the Corners into Squares
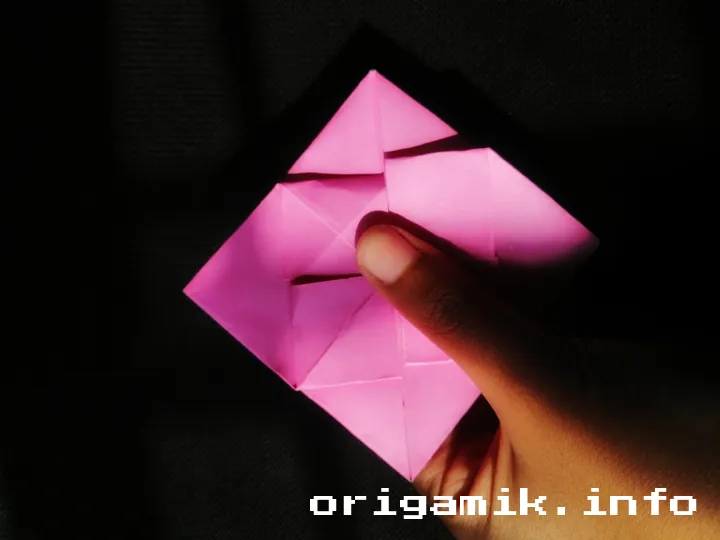
- Hold each corner and press it flat into a square shape.
- This creates a strong base for the blossom part.
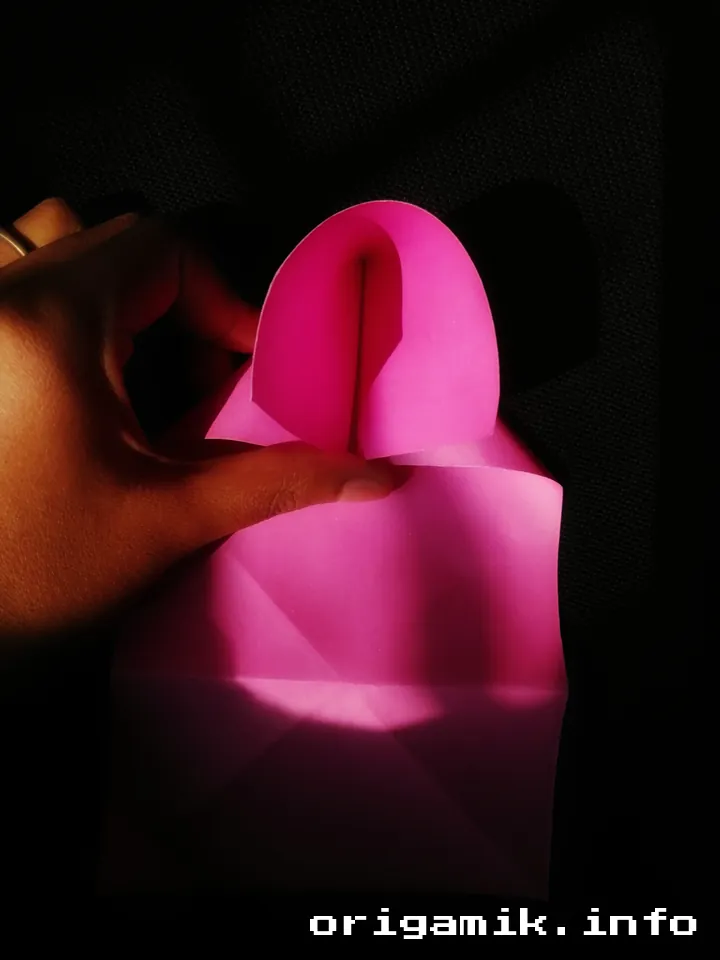
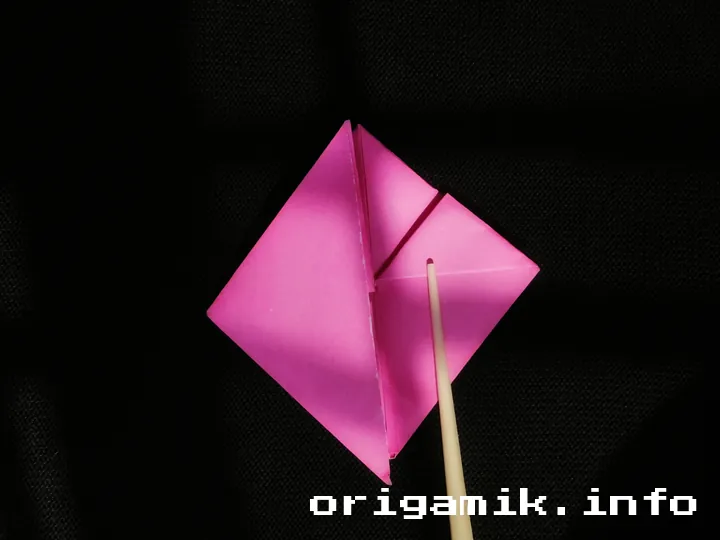
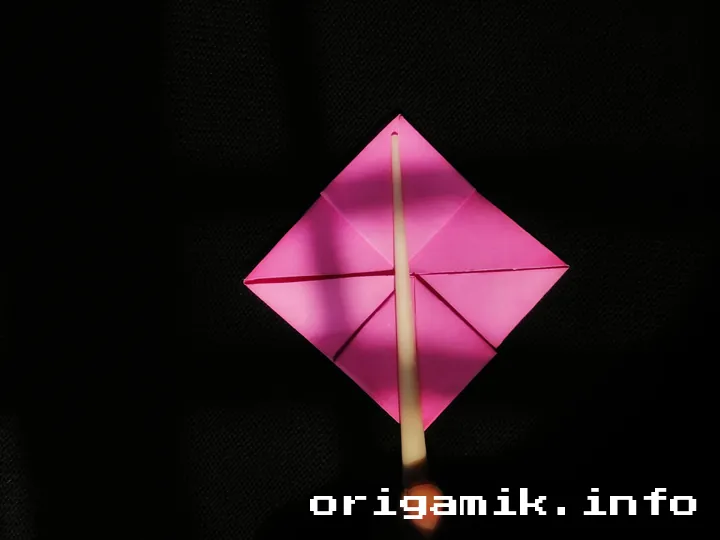
Step 6: Create the Blossom Effect
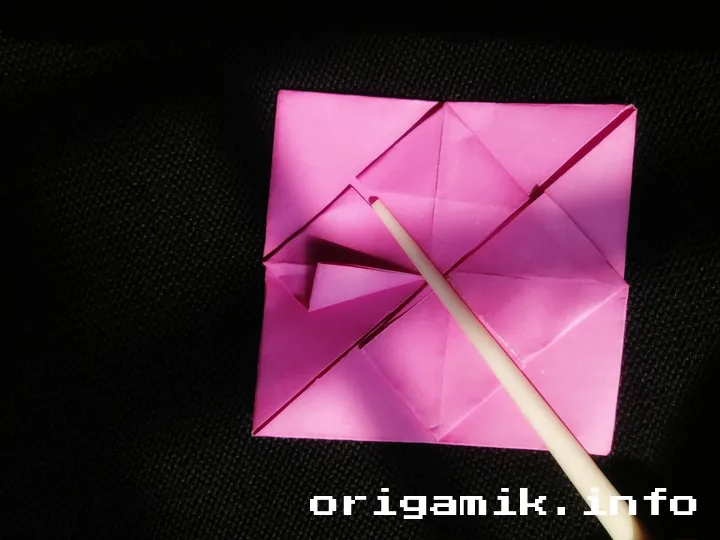
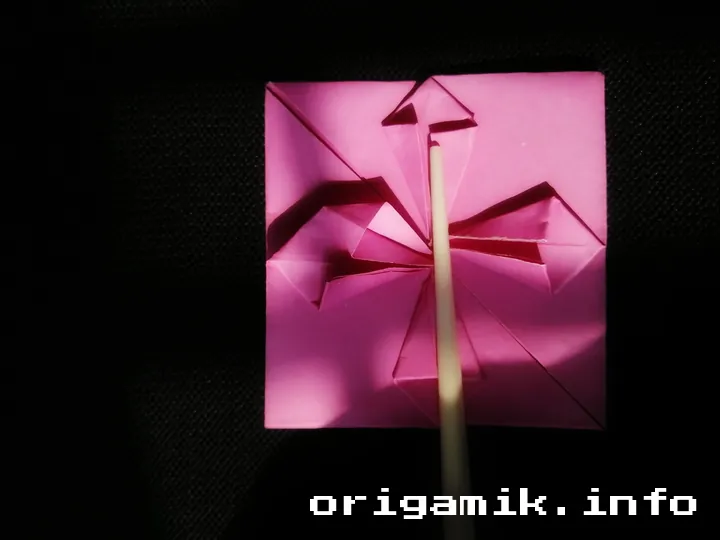
- Take each square and fold its sides inward.
- Press the top part down gently to flatten it.
- This forms the “blossom” effect inside the heart.
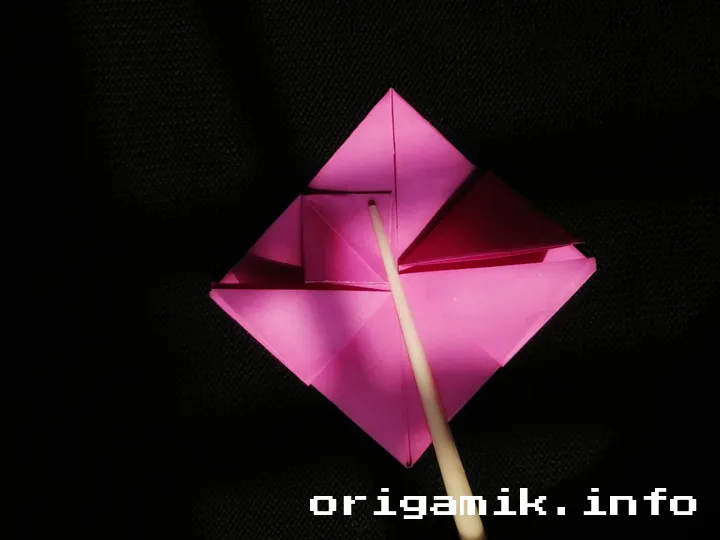
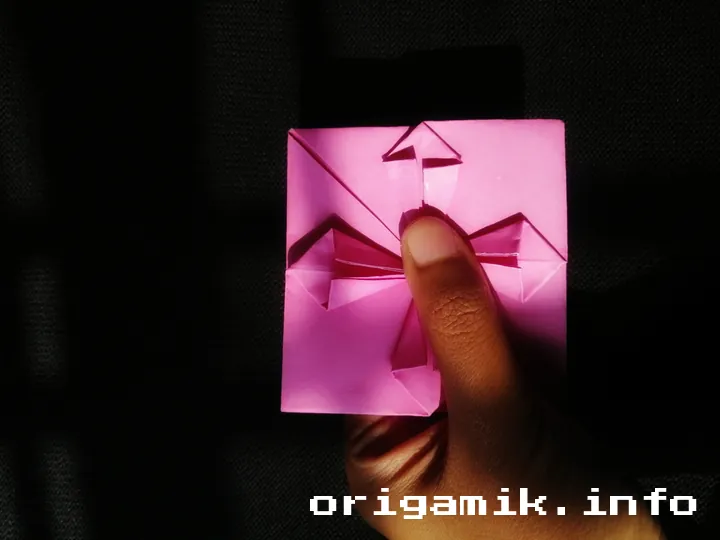
Step 7: Final Fold for the Back Side
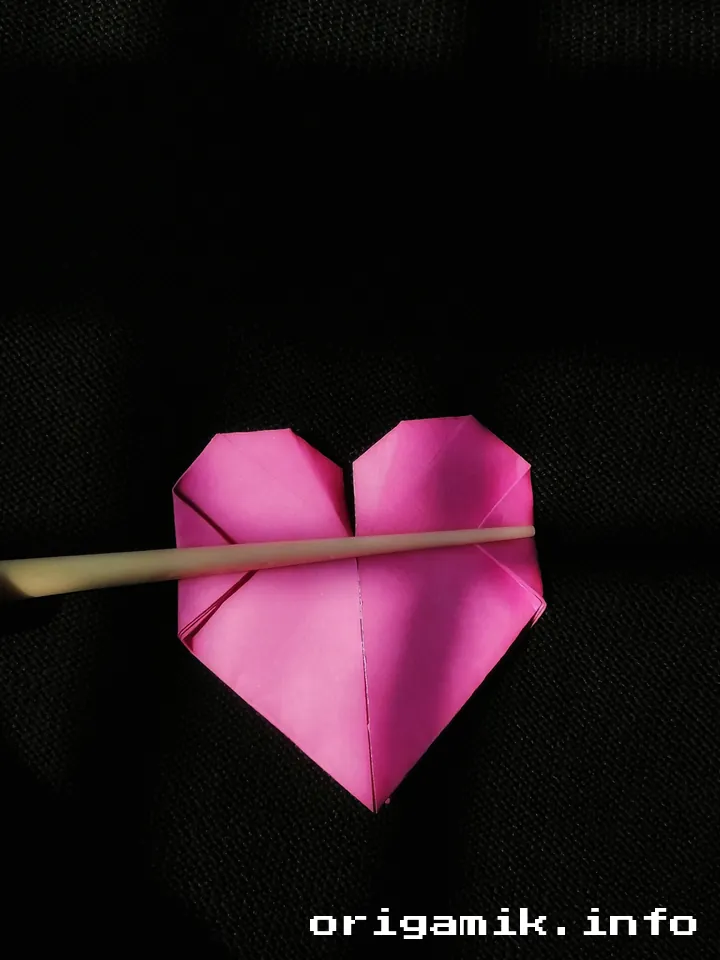
- Flip the model over.
- Fold the top tip downward to round out the heart.
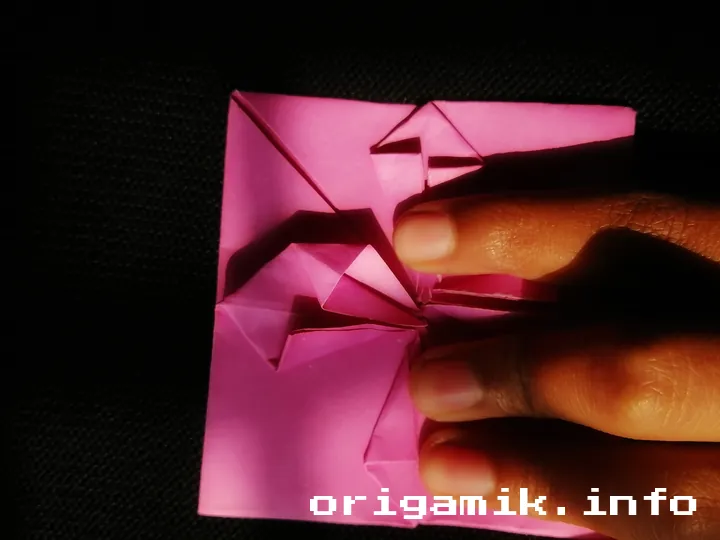
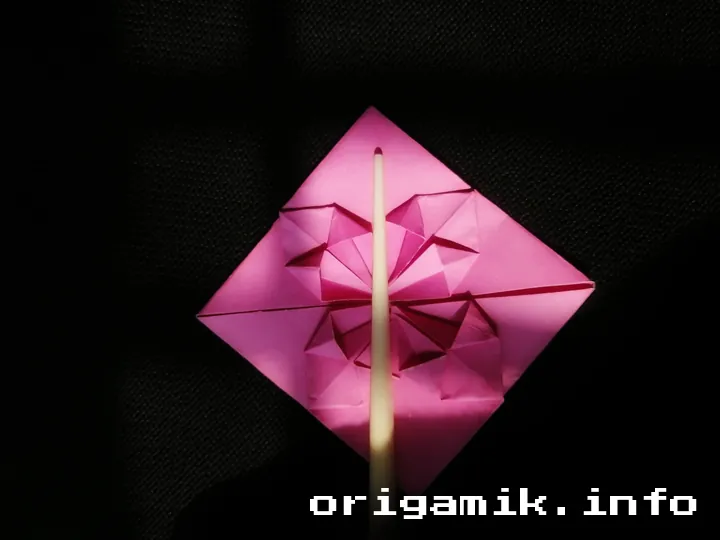
Step 8: Your Heart with Blossom is Ready!
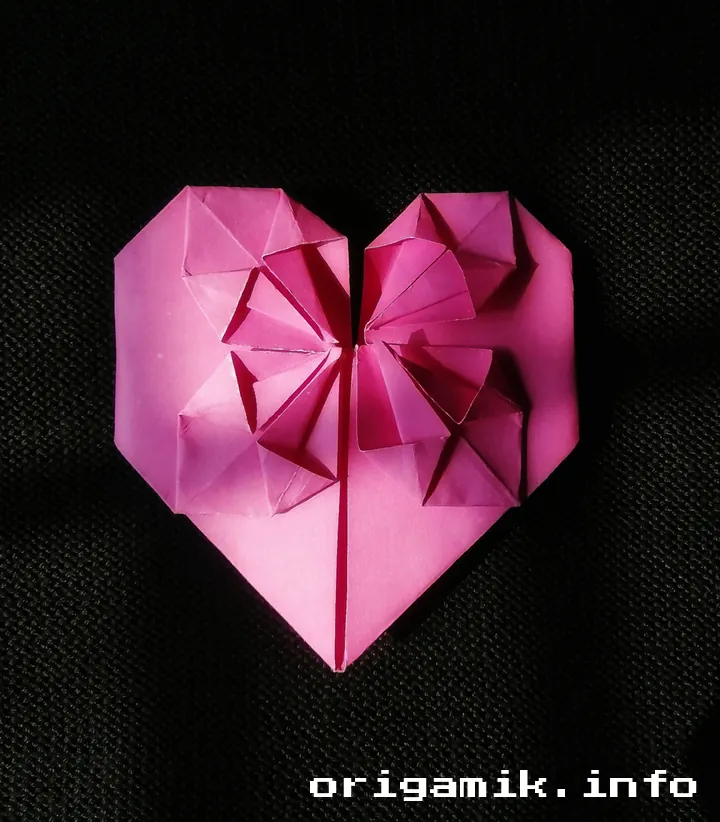

- Flip it back, smooth any rough edges, and admire your work!
Tips for Success
- Use crisp folds. Every fold should be sharp for a clean look.
- Take your time. Rushing can lead to misaligned folds.
- Choose the right paper. Thin paper is easier to fold, while thicker paper holds shape better.
- Practice. If it doesn’t turn out perfect, try again!
Common Mistakes and How to Avoid Them
Even with careful folding, mistakes can happen. Here’s how to fix them:
| Mistake | Solution |
| Paper keeps unfolding | Press folds firmly or use a heavier paper |
| Uneven heart shape | Ensure symmetrical folds from the beginning |
| Blossom doesn’t look right | Flatten the folds properly before shaping |
| Corners not sharp | Use a ruler or fingernail to sharpen folds |
Similar Variations You Can Try
Once you master this design, why not experiment with other styles? Here are a few variations:
- Heart with Double Blossom – Add another blossom fold inside.
- 3D Heart with Blossom – Use thicker paper for a pop-out effect.
- Mini Origami Heart with Blossom – Try a smaller version for decoration.
- Layered Blossom Heart – Fold multiple layers for depth.
FAQs
What’s the best paper for origami hearts?
Thin origami paper works best, but you can use printer paper if needed.
Can I use patterned paper?
Yes! Dual-colored or floral-patterned paper adds extra charm.
How do I make my folds more precise?
Use a bone folder or your fingernail to press down on each crease.
Is this origami difficult for beginners?
Not at all! The simple Heart with blossom leaf step by step guide ensures anyone can follow along.
Conclusion
Creating an easy Origami Heart with blossom is a fun and rewarding experience. Whether you’re making it for a loved one, a project, or just for fun, this delicate paper craft is sure to impress.
Follow these Origami Heart with blossom instructions carefully, and you’ll have a beautiful heart with a floral touch in no time. Happy folding!