


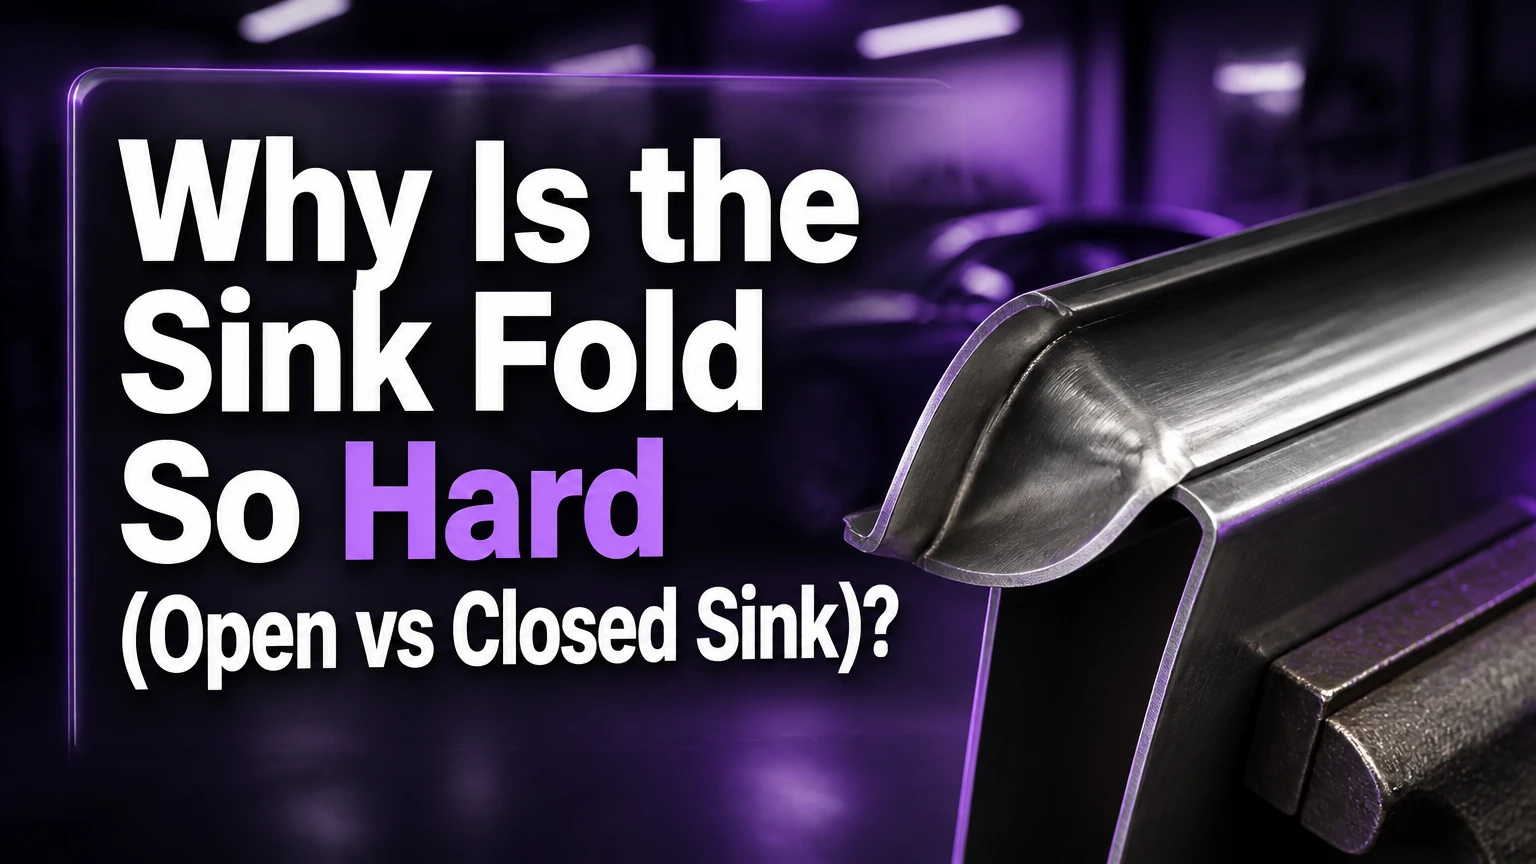
The sink fold is hard because it reverses several connected creases inside a three-dimensional origami model while paper layers resist movement and block visibility. An open sink exposes those layers and is easier to control; a closed sink keeps the layers compressed, so the folder must coordinate crease inversion largely by touch and external reference points.
Key Facts / At a Glance
An open sink spreads the model so the target point and its crease network remain visible during collapse.
A closed sink keeps surrounding layers compressed, making access and visual alignment substantially harder.
A sink fold does not break paper fibers; it redirects existing crease hinges and creates new stress at layer intersections.
Typical practice paper ranges from 25-45 GSM for thin complex work to 60-80 GSM for larger, simpler practice models.
Sharp pre-creases matter more than brute force because a sink succeeds when the crease network inverts in the intended order.
A blunt tip usually indicates poor crease preparation, excess layers, or an incorrect reference point, not insufficient pressure.
What Is a Sink Fold?
A sink fold pushes a point or flap into the body of an origami model and flattens the surrounding surfaces around the resulting inversion. The technique can hide a tip, shorten a point, reverse a corner, create a color change, or lock layers inside a model.
A normal valley fold moves paper toward the viewer or away from it along one principal hinge. A sink fold coordinates several hinges around a target region. The target point becomes an internal vertex, while the surrounding mountain and valley relationships change to accommodate the new geometry.
Origami terminology varies slightly between designers. In many instructional diagrams, “sink” means the action of pushing a pre-creased point inward. “Open sink” and “closed sink” describe access during execution, not two unrelated geometric laws.
Why does a sink fold feel three-dimensional?
A sink fold feels three-dimensional because the target point must pass through the model while connected faces rotate around multiple crease lines. The folder cannot treat each crease independently, since moving one face changes the tension and available angle of neighboring faces.
Paper also has crease memory. A well-made crease offers a predictable hinge, while a shallow or misplaced crease forces the paper to buckle beside the intended line. That buckle consumes the space needed for the sink and often produces a wrinkled apex.
The “pop” is a useful tactile event, but it should not require a sudden shove. A controlled pop occurs when the pre-creased hinges pass their stable position and settle into the inverted configuration. A violent pop often means the paper was forced before the layers were aligned.
How Do Open and Closed Sinks Work?
Open and closed sinks use the same basic inversion, but they differ in layer access, visibility, and the order in which pressure reaches the target. The open version lets the folder spread surrounding faces; the closed version preserves the model’s compact shape while the hidden point collapses inward.
Before either version, crease the target line in both directions. Fold the point forward along the indicated line, crease from the vertex toward the edges, unfold, then reverse the fold and crease again. The two-way hinge reduces resistance when the point changes polarity.
Do not rely on a general grid if the diagram identifies a specific intersection. Match the target vertex, boundary edges, and adjacent crease intersections before collapsing. A sink can look nearly correct while being structurally wrong by only a few millimeters.
Open sink: execution sequence
An open sink is usually the best starting point because the folder can inspect the interior and guide each face directly.
- Expose the target. Open the model from the side or base until the target point forms a small pyramid or pocket.
- Locate the apex. Confirm that the target vertex sits at the intersection shown in the diagram, rather than at a nearby crease.
- Reverse the hinges. Push the apex inward while guiding the surrounding faces along their pre-creases.
- Control the edges. Use thumb and forefinger pressure on opposite sides to prevent one wall from collapsing early.
- Flatten the result. Close the model only after the inverted point and boundary edges align.
- Lock the crease. Press the new edges from the center outward, avoiding sideways dragging.
You will know the open sink worked when the target point disappears cleanly, the outer boundary remains symmetrical, and no random wrinkle radiates from the apex. The common mistake is pressing the tip straight down without supporting the surrounding faces, which creates a crushed pocket instead of a geometric inversion.
Closed sink: execution sequence
A closed sink is performed while the surrounding layers remain compressed, so external landmarks must substitute for direct interior visibility.
- Pre-crease before closing. Complete both directions of the target fold while the model is still accessible.
- Reclose the model. Restore the surrounding flaps to their previous position without shifting the target vertex.
- Pin the boundaries. Hold the edges beside the sink with two fingers or small, smooth clips.
- Start the inversion gently. Press the target point inward through the outer layer, using incremental pressure rather than one deep push.
- Massage the crease path. Move along the intended edges with a fingernail or blunt tool, allowing each hinge to reverse.
- Flatten in stages. Compress the outer layers only after the hidden point has passed its inversion threshold.
The closed sink is successful when the exterior lies flat without a broad wrinkle and the model’s reference edges retain their intended positions. The common mistake is trying to locate a hidden apex with a sharp needle. A blunt skewer, rounded folder tip, or fingertip is safer because puncture tools can split thin paper at a stressed vertex.
Which Sink Fold Is Easier?
The open sink is easier for most folders because it provides direct access, visible crease alignment, and more room to correct a layer before the model locks. The closed sink is preferable when the design requires a clean exterior, hidden raw edges, or a compact internal structure.
| Criterion | Open sink | Closed sink | Practical consequence |
|---|---|---|---|
| Typical beginner difficulty | 3-5/10 | 7-9/10 | Start with open practice |
| Interior visibility | 80-100% of target area | 0-30% of target area | Closed work depends on landmarks |
| Suitable paper thickness | 25-80 GSM | 20-60 GSM | Thick paper resists hidden collapse |
| Correction time | 30-90 seconds | 2-8 minutes | Closed errors become harder to isolate |
| Exterior cleanliness | Moderate | High | Closed sinks hide internal raw edges |
| Best model scale | 15-30 cm sheet | 20-40 cm sheet for practice | Tiny closed sinks amplify alignment errors |
The difficulty ratings are practitioner estimates, not an industry standard. Model complexity, paper coating, number of layers, and crease accuracy can move either rating by several points.
When should you choose an open sink?
Choose an open sink for learning, geometric models, thick paper, and any model whose instructions allow the surrounding layers to spread. Open access is especially valuable when the target point has several adjacent creases or when the diagram sequence does not make layer order obvious.
An open sink is not always aesthetically inferior. Some designs intentionally leave a visible flap or use the exposed fold to create a color change. Its main limitation is that opening the model can temporarily distort previously shaped sections, so support the untouched areas with your fingers.
When should you choose a closed sink?
Choose a closed sink when the diagram specifically requires a locked interior, a hidden tip, or a smooth exterior with no open raw edge. Advanced animal, insect, and sculptural models often use closed sinks because the internal inversion preserves a narrow silhouette.
Closed sinks are poor choices for very stiff copy paper, brittle foil laminates, or models with inaccurate pre-creases. They are also inefficient when the design permits an open sink and the final appearance does not depend on concealment.
What Paper and Tools Make Sinking Easier?
Thin, strong paper with reliable crease memory usually makes sinking easier, but GSM alone does not predict performance. Fiber length, coating, foil stiffness, moisture, model scale, and the number of layers all affect whether a sink collapses cleanly.
| Paper type | Typical weight | Useful sink scenario | Main limitation |
|---|---|---|---|
| Kami | 60-70 GSM | Large open sinks and first practice | Weak edges can split after repeated reversals |
| Tant | 70-80 GSM | Open sinks with colored surfaces | Stiffness increases resistance in closed layers |
| Tissue foil | 20-40 GSM | Small closed sinks and layered models | Foil can crease permanently beside the target |
| Mulberry or washi | 25-45 GSM | Complex sinks with many layers | Fiber direction and uneven texture need testing |
| Double tissue | 25-40 GSM | Thin, detailed structures | Weak sizing or poor lamination causes delamination |
| Copy paper | 75-90 GSM | Large, simple open sinks | Excess thickness makes tight closed sinks bulky |
The 25-45 GSM range is a useful starting point for dense models, not a universal specification. A 35 GSM weak tissue may tear sooner than a 70 GSM strong Tant sheet, while a large open sink can work perfectly in ordinary copy paper.
Use tools to guide existing creases, not to carve new ones into a compressed model.
| Tool | Typical price | Safe function | Avoid using it for |
|---|---|---|---|
| Bone folder | $5-$15 | Sharpening accessible crease lines | Pressing directly into a thin apex |
| Fine tweezers | $8-$12 | Holding exposed layers in open sinks | Pulling hard on a locked corner |
| Rounded skewer | $1-$4 | Nudging a visible interior pocket | Puncturing a hidden vertex |
| Small binder clip | $2-$6 per pack | Temporary boundary support | Clamping delicate wet paper |
| Pencil and ruler | $1-$10 | Marking practice references | Drawing permanent lines on display paper |
A bone folder cannot fix incorrect geometry. Pre-crease first, then use the folder only where the crease is visible and supported by a firm surface.
How Much Does Sink-Fold Practice Cost and Take?
A basic practice setup typically costs $10-$30 and takes 30-90 minutes for a first open sink, while a difficult closed sink may require 2-5 hours spread across several sessions. Those are typical practice ranges, not guarantees, because a dense design can contain several consecutive sinks.
| Practice need | Typical quantity | Typical cost | Typical time |
|---|---|---|---|
| Kami practice sheets | 10-20 sheets | $3-$8 | 30-60 minutes |
| Tant practice sheets | 5-10 sheets | $5-$12 | 45-90 minutes |
| Tissue foil sheets | 3-6 sheets | $6-$15 | 1-3 hours |
| Bone folder and tweezers | 1 each | $13-$27 | Reusable |
| Small complex model | 1-3 attempts | $5-$20 in paper | 2-5 hours |
A better learning sequence uses one large open sink, one waterbomb-base sink, and one closed sink. Repeating the same collapse on scrap paper teaches more than switching immediately among unrelated animal models.
Which Sink Variations Should You Know?
A waterbomb sink changes the peak of a waterbomb base into an internal point, while a spread sink opens the layers outward after the inversion. Double and multi-sinks repeat or compound the process, so their difficulty comes from accumulated alignment errors rather than a different fundamental mechanism.
| Variation | Starting structure | Resulting action | Typical use |
|---|---|---|---|
| Open sink | Exposed point or pocket | Push point inward visibly | Beginner practice and corner reduction |
| Closed sink | Compressed point and layers | Invert point without opening model | Hidden tips and compact structures |
| Waterbomb sink | Waterbomb-base peak | Sink the peak through the base | Bird, frog, and transition sequences |
| Spread sink | Sunk point with surrounding layers | Splay layers outward | Petals, scales, and broad surfaces |
| Double sink | Previously sunk region | Sink a second connected point | Detailed limbs and compound forms |
| Multi-sink | Several related target points | Repeat controlled inversions | Insects, stars, and dense super-complex designs |
“Spread sink” is sometimes treated as a separate named technique and sometimes as a sink followed by a spread. Read the diagram’s crease pattern and layer arrows rather than assuming the label alone determines the action.
Why Do Sink Folds Fail?
Sink folds fail most often because the target vertex is wrong, the crease network is shallow, or one layer collapses before its neighbors. Paper thickness and moisture affect resistance, but force cannot compensate for a misaligned geometry.
| Failure symptom | Likely cause | First correction | Prevention |
|---|---|---|---|
| Crushed or rounded apex | Tip pushed before hinges invert | Reopen and sharpen radial creases | Pre-crease both directions |
| Tear at a corner | Stress concentrated at one vertex | Stop, flatten gently, and change paper | Use stronger paper and larger scale |
| One side becomes longer | Reference edges shifted | Compare both boundary edges | Pin the model before collapse |
| Broad random wrinkle | Wrong layer moved first | Reverse the last movement carefully | Support adjacent faces |
| Sink springs open | Paper memory or weak locking | Press new edges center outward | Use foil or stronger crease pressure |
| Hidden tip remains visible | Incomplete inversion | Reopen if possible and guide the pocket | Mark the target vertex beforehand |
How do you fix a crushed sink apex?
A crushed apex usually requires reopening the sink before the paper acquires multiple accidental creases. Lift the surrounding layers with a fingernail or rounded tool, restore the intended boundary creases, and make the inversion smaller and slower.
If the apex is permanently damaged, move the target to a larger practice model rather than repeatedly forcing the same sheet. Tape can reinforce a torn internal area in a study model, but it changes thickness and is unsuitable when the repaired section must fold again.
Why does paper tear at the sink corners?
Paper tears at sink corners because several crease lines terminate in a small area, concentrating tension where layers change direction. Repeated forward and backward creasing enlarges that stress zone, especially in weak wood-pulp paper or at sharp cut edges.
Stop immediately when a white stress line appears. Flatten the region without rubbing, then test a larger model in stronger long-fiber paper such as mulberry or washi. Do not use a sewing needle to “open” the corner, since a puncture creates a new failure point.
What should you do when the sink is asymmetric?
An asymmetric sink usually means one reference edge moved, one crease was made off-center, or the two sides contain different layer counts. Compare the target vertex to the model’s centerline and inspect whether the same colored surface appears on both sides.
Correct asymmetry before locking the final crease. In an open sink, reopen the pocket and realign the boundaries; in a closed sink, reverse only the last stage if the paper still has clean memory. Once several random wrinkles appear, restarting is usually faster than repair.
Can You Use an Alternative to a Closed Sink?
A reverse fold, outside reverse fold, or open sink can replace a closed sink only when the model’s final geometry and visible surfaces remain unchanged. Alternatives are useful for practice, but they may expose raw edges, alter layer order, or change the silhouette.
| Technique | Access level | Exterior result | Suitable replacement condition |
|---|---|---|---|
| Open sink | High | May expose layers | Design permits temporary spreading |
| Inside reverse fold | Medium | Creates a folded point | Tip direction matters more than concealment |
| Outside reverse fold | High | Leaves a visible folded flap | Exterior flap is intentional |
| Pleat collapse | High | Produces multiple flat layers | Geometry uses parallel creases |
| Closed sink | Low | Hides the internal point | Clean compact exterior is required |
An alternative is not automatically easier. A reverse fold can demand more accurate layer counting, and a pleat collapse can create more thickness than the original closed sink.
How Can You Practice Without Ruining a Model?
Practice sink folds on a 20-30 cm square with a clearly marked target vertex, using pencil dots on scrap paper before attempting a finished sheet. Large scale gives the fingers room to support adjacent layers and makes wrong movement visible earlier.
Use this progression:
- Fold and unfold the target line in both directions.
- Add two or four boundary creases around the point.
- Perform the collapse slowly while watching one face at a time.
- Repeat with the same paper after changing only the pressure order.
- Move to a closed sink after the open version stays symmetrical twice.
A useful practitioner rule is to rehearse the motion with no crease pressure first. If the paper cannot move through the intended path when the model is lightly held, extra force will usually produce a wrinkle rather than a sink.
Frequently Asked Questions
Is a sink fold harder than a reverse fold?
A sink fold is usually harder than a simple reverse fold because it coordinates several faces and often hides the moving point inside the model. A reverse fold normally pivots a flap around a clearer hinge, although multi-layer reverse folds can become equally demanding in complex designs.
Can beginners learn a closed sink first?
Beginners can learn a closed sink first, but an open sink provides better feedback and isolates fewer errors. Start with a large model, strong thin paper, and a diagram that shows the target vertex clearly; avoid tiny insects or models containing several nested sinks.
Should you wet-fold a difficult sink?
Wet-folding can reduce spring-back in some papers, but it is not a universal solution for closed sinks. Moisture softens the sheet and can blur precise micro-creases, so test a spare piece first and use only enough moisture to improve shaping without saturating the target area.
Why does a sink fold open again after completion?
A sink fold reopens when the inverted edges were not fully creased, the paper is too springy, or hidden layers remain under tension. Press each new edge from its center toward the endpoints, then hold the shape briefly before releasing the model.
Is copy paper suitable for sink-fold practice?
Copy paper is suitable for large open sinks and first geometry drills, but its typical 75-90 GSM thickness makes tight closed sinks bulky. Use a larger sheet, reduce the number of layers, and switch to Tant, tissue foil, or strong thin paper for compact designs.
How do you know which point to sink?
The correct point is identified by the diagram’s target dot, crease intersection, or boundary relationship, not by the most visually prominent corner. Confirm that the point matches adjacent edges and that the intended color or layer appears after the inversion.
The Bottom Line
The reason why is the sink fold so hard (open vs closed sink) becomes clear once the mechanism is separated from the appearance: a sink fold reverses a connected three-dimensional crease network while paper layers resist and obscure the movement. An open sink is the practical starting point because it exposes the pocket and permits correction. A closed sink is harder, but it produces a cleaner compact exterior when the model requires hidden layers.
Use sharp bidirectional pre-creases, a large test sheet, and gradual pressure. Choose paper by strength and layer thickness rather than GSM alone, and treat every sudden tear or mushy apex as evidence of a geometry or crease-order problem, not a need for more force.
