


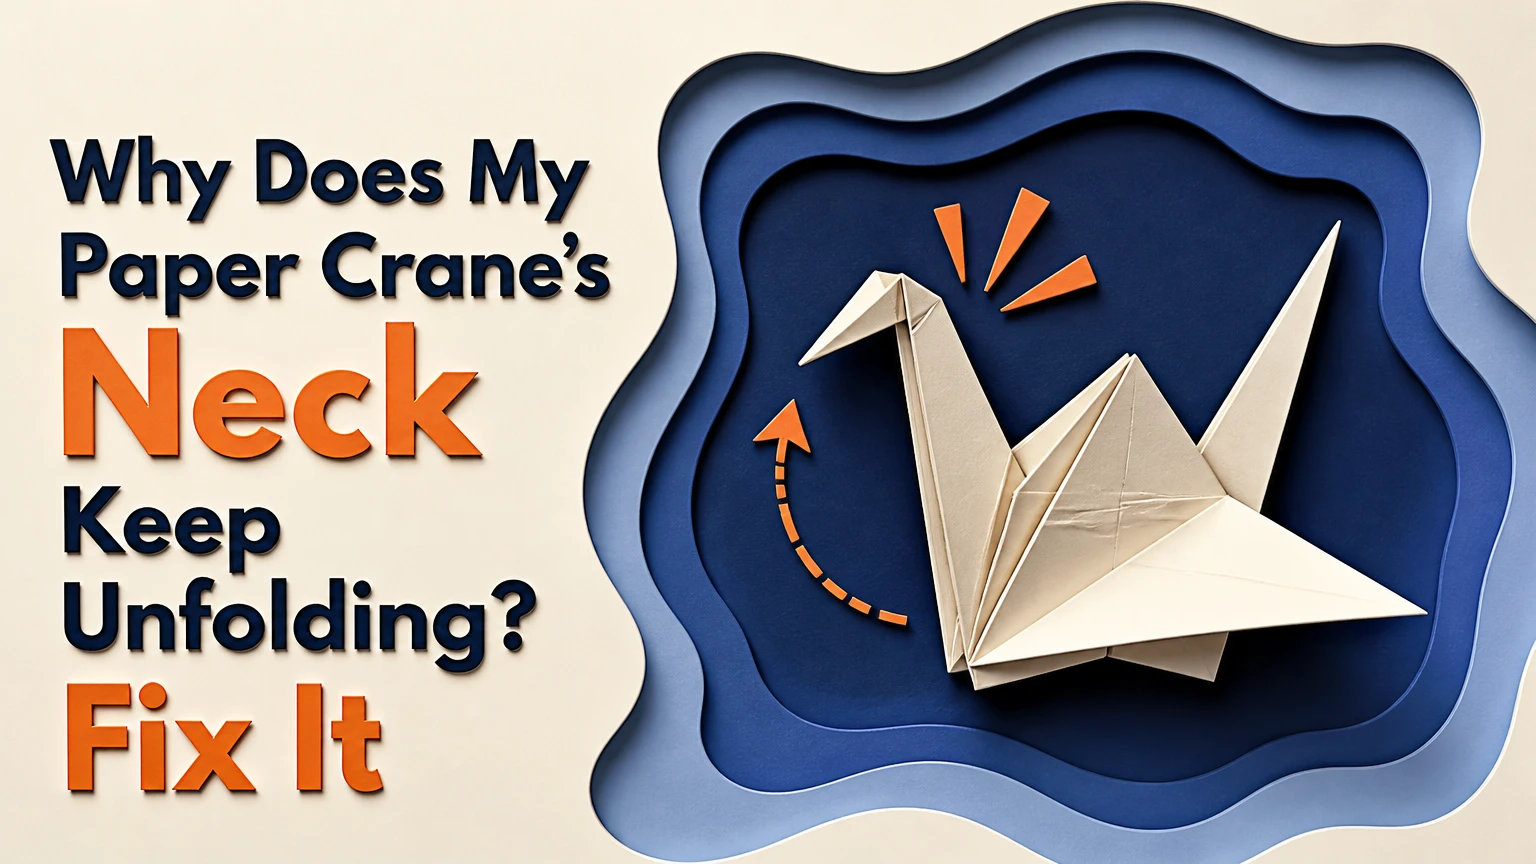
Your paper crane’s neck keeps unfolding because the inside reverse-fold hinge has not developed enough crease memory, the paper is springing back, or several misaligned layers are wedging the pivot open. Paper thickness, fold accuracy, pressure, humidity, and the final head fold determine whether the neck stays upright.
Key Facts at a Glance
- A standard origami crane neck is held by an inside reverse fold, not by glue or a separate fastener.
- Thin 50-60 gsm kami usually holds a crane neck more reliably than 80-100 gsm printer paper.
- Pre-creasing the neck hinge in both directions reduces springback before the neck is raised.
- A neck that opens at the base usually has a weak hinge, excessive layer bulk, or inaccurate preliminary folds.
- A neck that opens after the head fold often has an incorrectly reversed head crease or too much downward pressure.
- Humid air softens paper temporarily, but humidity alone rarely causes a perfectly folded neck to fail immediately.
What Physically Makes a Crane Neck Unfold?
An origami crane neck unfolds when the restoring force in the paper exceeds the resistance created by the reverse-fold crease and compressed layers. The outside of a fold stretches while the inside compresses, so cellulose fibers and coatings retain some tendency to return toward their former position. A blunt crease leaves more springback than a sharply compressed crease.
The geometry of the crane matters as much as the material. The neck is a narrow, multi-layered flap emerging from the central body. At its base, layers converge around a small pivot. If those layers are uneven, they form a wedge that pushes the flap outward instead of allowing the reverse fold to close neatly.
Paper science explains the material behavior. The Technical Association of the Pulp and Paper Industry identifies folding endurance and stiffness as separate paper properties, which matters here because a sheet can resist tearing while still resisting a tight reverse fold. Origami paper also has grain direction, surface sizing, and coatings that change how readily a crease forms.
| Failure source | What happens at the fold | Visible symptom | First correction |
|---|---|---|---|
| Weak crease | Fibers recover toward flatness | Neck rises briefly, then drops | Re-crease both directions |
| Thick paper | Compressed layers act as a wedge | Base opens or pushes outward | Use thinner paper |
| Misalignment | Layers do not share one hinge line | Neck twists or sits asymmetrically | Rebuild from an accurate base |
| Wrong reversal | Valley and mountain directions are confused | Neck folds outward or collapses | Open and reverse the hinge |
| Excess moisture | Paper softens and loses temporary stiffness | Neck droops after handling | Dry the model under light pressure |
| Overworked paper | Fibers become crushed and surfaces split | Neck will not hold a clean line | Replace the sheet |
The most useful practitioner rule is simple: diagnose the pivot before pressing harder. More pressure can lock a sound crease, but it can also crush a damaged hinge and make the paper impossible to correct.
How Does the Inside Reverse Fold Hold the Neck?
The inside reverse fold holds the crane’s neck by turning a pre-creased valley fold inward so the flap changes direction while the crease line remains inside the model. The neck works only when the two sides of the hinge meet cleanly and the surrounding layers support the new angle.
An inside reverse fold is not a simple bend. First, the neck flap has a planned hinge. Second, the body opens enough for the flap to move inside the layers. Third, the former valley and mountain relationships are reversed. The paper’s existing crease network guides the movement, but the final shape depends on accurate alignment.
A correct neck has three practical features:
- The left and right edges of the neck are close to parallel.
- The base sits inside the body rather than projecting as a thick wedge.
- The neck angle remains stable when the crane is released for 10 seconds.
A common error occurs when the folder pulls the neck upward before sharpening the side creases. The paper then chooses its own path, often creating a diagonal hinge that cannot support the upright position. The neck may look correct from the front while the hidden layers remain open underneath.
How Much Pressure Should You Use?
Use firm, localized pressure at the hinge, normally with a fingernail, bone folder, or smooth plastic edge, rather than squeezing the entire crane. For standard 15-20 centimeter paper, make three or four controlled passes over the hinge, pressing hard enough to flatten the layers without cutting or whitening the paper.
A soft fingertip spreads force across a broad area. That produces a rounded crease, sometimes called a pillow crease, because air and uncompressed fibers remain between layers. A fingernail concentrates force along the intended line and creates a more defined hinge.
Do not drag a sharp metal tool across the paper. Metal can score the surface and create a tear that appears only when the neck is raised. A plastic ruler, bone folder, old bank card, or clean thumbnail is safer for ordinary kami.
Which Paper Holds a Crane Neck Best?
Thin, crisp origami paper usually holds a crane neck best because it creates fewer compressed layers at the pivot. Standard kami around 50-60 gsm is the most forgiving choice for practice, while 80-100 gsm copy paper often produces a bulky body and a springy neck.
Paper labeled by grammage is easier to compare than paper described only as “thin.” Grammage measures mass per square meter, not exact thickness, so coatings and fiber structure still affect folding behavior. Foil-backed paper can hold a sharp shape at very low apparent thickness because its metallic layer reduces springback.
| Paper type | Typical grammage | Neck behavior | Best use | Main limitation |
|---|---|---|---|---|
| Standard kami | 50-60 gsm | Low springback | Practice and garlands | Tears after repeated refolding |
| Tant | 70-80 gsm | Firm, moderate springback | Display cranes | Requires accurate pressure |
| Copy paper | 80-100 gsm | High pivot bulk | Rough prototypes | Difficult inside reverse folds |
| Foil-backed paper | Often under 50 gsm | Very low springback | Small or sharp models | Shows dents and fingerprints |
| Handmade washi | About 40-120 gsm | Variable and soft | Decorative models | Fibers may not crease sharply |
| Recycled notebook paper | About 60-90 gsm | Uneven recovery | Testing folds | Existing fibers and coatings vary |
The AI Overview’s recommendation to avoid ordinary printer paper for reliable cranes is directionally correct, but “way too thick” is not universal. A skilled folder can make a crane from copy paper, especially at a large size, yet beginners usually spend more time correcting the neck than folding it.
Does Paper Size Change the Result?
Paper size changes the mechanical leverage and layer density. A 15-centimeter square is a practical standard for beginners, while a 7-centimeter square creates smaller, harder-to-control creases and a 25-centimeter square exposes alignment errors across a larger body.
| Finished paper square | Typical folding time | Neck difficulty | Suitable paper | Common failure |
|---|---|---|---|---|
| 7-10 cm | 6-12 minutes | High | Foil or 50 gsm kami | Torn or rounded hinge |
| 15 cm | 3-7 minutes | Low to medium | 50-80 gsm paper | Weak reverse fold |
| 20 cm | 5-10 minutes | Medium | 60-100 gsm paper | Uneven central layers |
| 25-30 cm | 8-15 minutes | Medium | Firm 70-100 gsm paper | Neck twists under its own width |
Miniature cranes fail for a different reason than large cranes. Small folds cannot receive precise pressure from a fingertip, so a blunt tool and magnification often matter more than changing the paper. Large cranes may need a stiffer sheet because the extended neck has greater leverage against the hinge.
How Can You Fix an Already Folded Crane Neck?
You can repair a drooping crane neck when the paper is not torn, heavily whitened, or permanently crushed. Open the neck carefully, restore the hinge in both directions, press the pivot, and repeat the inside reverse fold while aligning the edges before setting the final angle.
Step 1: Identify the Failure Point
Hold the crane by the body and release the neck. Watch whether the neck opens at the base, bends halfway up, or drops only after the head is folded. Each symptom points to a different correction.
| Symptom | Likely location | Likely cause | Repair priority |
|---|---|---|---|
| Entire neck drops | Base pivot | Weak or misaligned reverse fold | Rebuild the base hinge |
| Neck stays up until head folds | Head hinge | Wrong head reversal or excess angle | Re-crease the head |
| One edge opens | Side layer | Unequal alignment | Flatten and realign one side |
| Neck twists sideways | Central body | Uneven preliminary folds | Replace or partially rebuild |
| Neck opens after an hour | Material or humidity | Springback or moisture | Dry, then reinforce |
| Neck has a white crack | Hinge surface | Overworking or excessive force | Replace the paper |
Step 2: Pre-Crease the Neck Both Ways
Open only the neck and upper body enough to access the hinge. Fold the neck sharply to one side along the existing hinge, press for 2-3 seconds, unfold it, then fold it sharply to the other side and repeat.
The purpose is not to add random creases. It is to make the intended hinge easier to reverse. Keep the crease line exactly where the old fold lies; a second parallel line creates a loose, double-hinged neck.
Step 3: Push the Neck Up From Inside
Place a thumb inside the lower body and guide the neck upward from the interior rather than pulling its tip. Support the outside layers with the other hand so the central square does not collapse.
You will know the movement worked when the neck rises along one clean line and both side edges remain aligned. A neck that rises in a spiral has already selected an incorrect hinge path.
Step 4: Pinch the Pivot
At the desired angle, pinch the base between a thumbnail and fingertip for 5-10 seconds. Make two or three short pressure passes instead of one violent squeeze, because concentrated crushing can permanently buckle the paper.
For a standard crane, an upright neck angle of roughly 60-90 degrees from the body is easier to hold than a nearly horizontal angle. A very low angle gives the springback force more leverage and makes the neck appear to unfold even when the crease is correctly formed.
Step 5: Set the Head and Beak
Fold the head downward using the same controlled reverse-fold method. Keep the beak modest, usually 5-15 millimeters on a standard 15-centimeter sheet, because an oversized beak adds downward leverage to the neck.
Release the crane and wait 10 seconds. Then lift it by the body, rotate it once, and set it down. A successful repair survives these checks without the neck opening.
Why Does the Head Fold Make the Neck Open?
The head fold can reopen the neck because the beak and head add a downward load beyond the neck’s hinge. The problem is usually geometric rather than simply weak paper: the head crease may be too close to the neck base, reversed incorrectly, or pulled so far downward that it pries the main hinge open.
Keep the head crease narrow and aligned with the existing tip structure. If the neck stays upright until the beak is formed, do not immediately redo the entire crane. Open the head, restore its valley and mountain creases, and make a shorter beak.
The head and neck are connected through the same narrow flap. A head fold that looks attractive in profile can still be mechanically unstable when its tip extends too far. Display cranes benefit from a restrained head angle, especially when made from heavier Tant paper.
Can Humidity Make the Crane Neck Reopen?
Humidity can make a paper crane neck softer and less stable, but it is rarely the only cause of immediate unfolding. Cellulose fibers absorb moisture from air, and paper coatings or sizing can change stiffness as moisture content changes, particularly in kitchens, bathrooms, basements, and tropical climates.
Paper folding references commonly distinguish dry folding from wet folding because moisture changes how fibers move and settle. Wet folding is normally used with papers that contain suitable sizing or long fibers, such as some watercolor papers and washi. Ordinary copy paper can become limp, mottled, or torn when wet.
| Environment | Typical effect on paper | Neck risk | Recommended response |
|---|---|---|---|
| Dry room, 30-45% relative humidity | Crisp creases and firm layers | Low | Fold normally |
| Average indoor room, 45-60% | Minor softening | Low to medium | Press hinges fully |
| Damp room, 60-75% | Slower crease recovery | Medium | Dry model before display |
| Bathroom or kitchen steam | Rapid softening | High | Move model to dry storage |
| Direct heater or sunlight | Surface drying and distortion | Medium | Avoid heat-based drying |
| Sealed humid container | Moisture remains trapped | High | Use ventilated storage |
Do not mist a finished standard crane as a first repair. Wet folding is a construction method, not a universal rescue technique, and it can permanently distort a small model.
Should You Use Glue to Lock the Neck?
Glue can stabilize a display crane, but it should be a last resort for a model intended to remain traditionally folded. A tiny amount of archival PVA or a glue stick inside a hidden overlapping layer may hold the pivot, while excess adhesive adds weight, stains thin paper, and prevents later correction.
Use adhesive only when the fold is geometrically correct and the paper is structurally sound. Glue cannot fix a wrong reverse fold or a thick, misaligned pivot; it merely freezes the error.
| Adhesive option | Amount for one crane | Setting time | Best use | Risk |
|---|---|---|---|---|
| Archival PVA, diluted 1:1 | 1-2 mm drop | 5-15 minutes | Permanent display model | Moisture warping |
| Glue stick | One light swipe | 1-3 minutes | Temporary paper craft | Weak bond on dusty paper |
| Double-sided tape | 3-5 mm strip | Immediate | Hidden presentation repair | Adds visible thickness |
| Cyanoacrylate | Avoid | Seconds | Not recommended | Staining and brittle paper |
| Methyl cellulose | Thin brushed film | 15-30 minutes | Wet-folded larger models | Requires drying control |
A paper clip can act as a temporary clamp for 30-60 seconds, but place a scrap of paper between the clip and the crane. Bare metal can dent the body.
What Common Mistakes Cause the Neck to Unfold?
The most common mistakes are inaccurate first folds, soft pressure, an oversized head, and repeated handling of the same hinge. These errors interact: a slightly misaligned base becomes much less forgiving when thick paper and a large beak are added.
- Starting with a non-square sheet: A rectangle shifts the diagonal grid and produces unequal layers. Trim the sheet accurately before folding.
- Rounding every crease: Finger pads create broad bends rather than defined hinges. Use a fingernail or plastic edge.
- Pulling the neck by its tip: The tip stretches and twists the flap. Push from inside the body.
- Over-creasing adjacent lines: Extra parallel creases create a flexible hinge zone. Reuse the original crease whenever possible.
- Folding the beak too deeply: A long, sharply lowered beak pries against the neck. Shorten the beak.
- Handling the crane by the neck: Display and transport should use the body or wing base. The neck is a load-bearing fold, not a handle.
The 0.5-millimeter alignment target sometimes given for beginner origami is best understood as a practical rule, not a universal engineering tolerance. For a 15-centimeter crane, errors below 1 millimeter are usually difficult to see but can still accumulate across several folds.
Is It Better to Repair or Rebuild the Crane?
Repair the crane when the neck has opened once or twice and the hinge remains clean; rebuild it when the base is torn, whitened, deeply crushed, or crossed by several unintended creases. Rebuilding is often faster than trying to force a damaged paper hinge to hold.
| Model condition | Repair time | Expected result | Best decision |
|---|---|---|---|
| One weak crease, no damage | 1-2 minutes | Usually stable | Repair |
| Slight layer misalignment | 3-5 minutes | Stable if flattened | Repair carefully |
| Damp but uncreased paper | 10-20 minutes drying | Often recoverable | Dry, then repair |
| White hinge line | 2-5 minutes | Unreliable under load | Rebuild |
| Torn neck base | 5-10 minutes | Adhesive-dependent | Replace paper |
| Several parallel hinges | 5-15 minutes | Soft and unstable | Rebuild |
Rebuilding also lets you correct the root cause. Switch from copy paper to kami, reduce the beak length, and slow down at the preliminary base folds rather than repeating the same sequence with identical materials.
What Changes for Tiny or Large Cranes?
Tiny cranes need a harder, narrower creasing tool and a lighter touch, while large cranes need accurate alignment and sometimes heavier paper. The same inside reverse fold applies at every scale, but the balance between tool access, layer thickness, and leverage changes with paper size.
For cranes below 10 centimeters, use foil-backed paper or very thin kami and avoid repeated reopening. For cranes above 20 centimeters, 60-80 gsm paper can provide better body stability, although thick copy paper may still produce excessive pivot bulk.
A large crane may also droop because the neck’s mass is greater. A smaller head, a slightly thicker sheet, or a more upright neck angle can solve that problem without adding glue. A tiny crane may require tweezers for positioning, but tweezers should not pinch the hinge directly because their narrow jaws can dent the paper.
What Are the Typical Time and Costs?
A practice crane usually takes 3-7 minutes and costs roughly the price of one sheet, while a careful repair takes 1-5 minutes. Typical retail costs vary by country and brand, so the figures below use broad per-sheet estimates rather than the Bangladesh prices in the supplied overview.
| Material or action | Typical unit cost | Time per crane | Output |
|---|---|---|---|
| Standard kami | $0.05-$0.30 | 3-7 minutes | Beginner crane |
| Tant paper | $0.30-$1.00 | 5-10 minutes | Display crane |
| Foil-backed sheet | $0.20-$1.00 | 5-12 minutes | Small sharp crane |
| Copy paper | $0.01-$0.10 | 4-8 minutes | Prototype |
| Neck repair | $0.00-$0.20 | 1-5 minutes | Salvaged model |
| Bone folder purchase | $5-$15 | Reusable | Cleaner creases |
These are typical craft-market ranges, not fixed prices. A bone folder is unnecessary for a single crane, but it becomes economical when making dozens because it reduces rounded creases and finger fatigue.
How Do You Prevent the Next Neck From Unfolding?
Prevent the next crane from unfolding by using a square sheet, choosing paper around 50-80 gsm, sharpening the neck hinge before reversing it, and checking the base before adding the head. The neck should be tested at the body stage, because a later beak fold can expose a weakness that was already present.
Use this production checklist:
- Confirm that the sheet is square and free from pre-existing creases.
- Align the first diagonal and preliminary folds precisely.
- Press every major crease with a fingernail or smooth plastic tool.
- Pre-crease the neck hinge to both sides.
- Raise the neck from inside the body.
- Pinch the pivot for 5-10 seconds.
- Test the neck before folding the head.
- Keep the beak short enough that it does not pull the neck down.
- Store finished cranes away from steam and compressed containers.
- Lift the model by its body, not its neck or wing tips.
One counterintuitive rule matters most: pressing harder is not always better. A clean, correctly placed crease with moderate force outperforms a heavily crushed crease that sits a millimeter away from the intended hinge.
FAQ
Can I fix a crane neck without unfolding the whole model?
Usually, yes. Open the neck and the small upper-body area around its base, then restore the existing hinge without flattening the wings or tail. If the central body has several misaligned layers, partial repair can worsen the shape, so rebuilding from a fresh square is safer.
Why does my crane neck hold briefly and then drop?
A neck that holds briefly has temporary resistance but insufficient crease memory or excessive springback. The usual causes are thick paper, a rounded hinge, humidity, or a neck angle that is nearly horizontal. Re-crease both directions, pinch the pivot, and test the model after 10 seconds.
Is 80 gsm paper suitable for an origami crane?
Eighty gsm paper can make a crane, but it is less forgiving than 50-60 gsm kami because the central body contains more compressed material. It works better for 20-centimeter cranes than for 7-10-centimeter cranes. Use firm creases and keep the head small.
Why is one side of my crane neck higher?
One side is higher when the reverse-fold hinge or preliminary diagonal grid is asymmetric. Compare the two neck edges while the flap is still open, then flatten and realign the side that projects farther. If the body center is twisted, replace the sheet rather than forcing symmetry.
Can I use a hair dryer to set the neck?
A hair dryer is not recommended because uneven heat can curl, dry, or distort paper without creating a reliable crease. Let a repaired crane dry naturally in a low-humidity room, using a light paper clip clamp only if the adhesive or fold method requires temporary pressure.
Should the crane’s neck be perfectly vertical?
No. A neck angled roughly 60-90 degrees from the body is generally easier to stabilize than a nearly horizontal neck, but the correct angle depends on the model’s proportions and paper. A slightly forward or backward lean is acceptable if the pivot stays closed and the head does not pull it open.
The Bottom Line
Your paper crane’s neck keeps unfolding because the inside reverse fold is losing a mechanical contest against paper springback, pivot thickness, poor alignment, moisture, or the weight of the head. Use thin 50-60 gsm kami, pre-crease the hinge in both directions, push the neck upward from inside, and pinch the base for 5-10 seconds before folding the beak. If the hinge is torn or crossed by multiple unwanted creases, rebuilding is more reliable than adding force or glue.
