


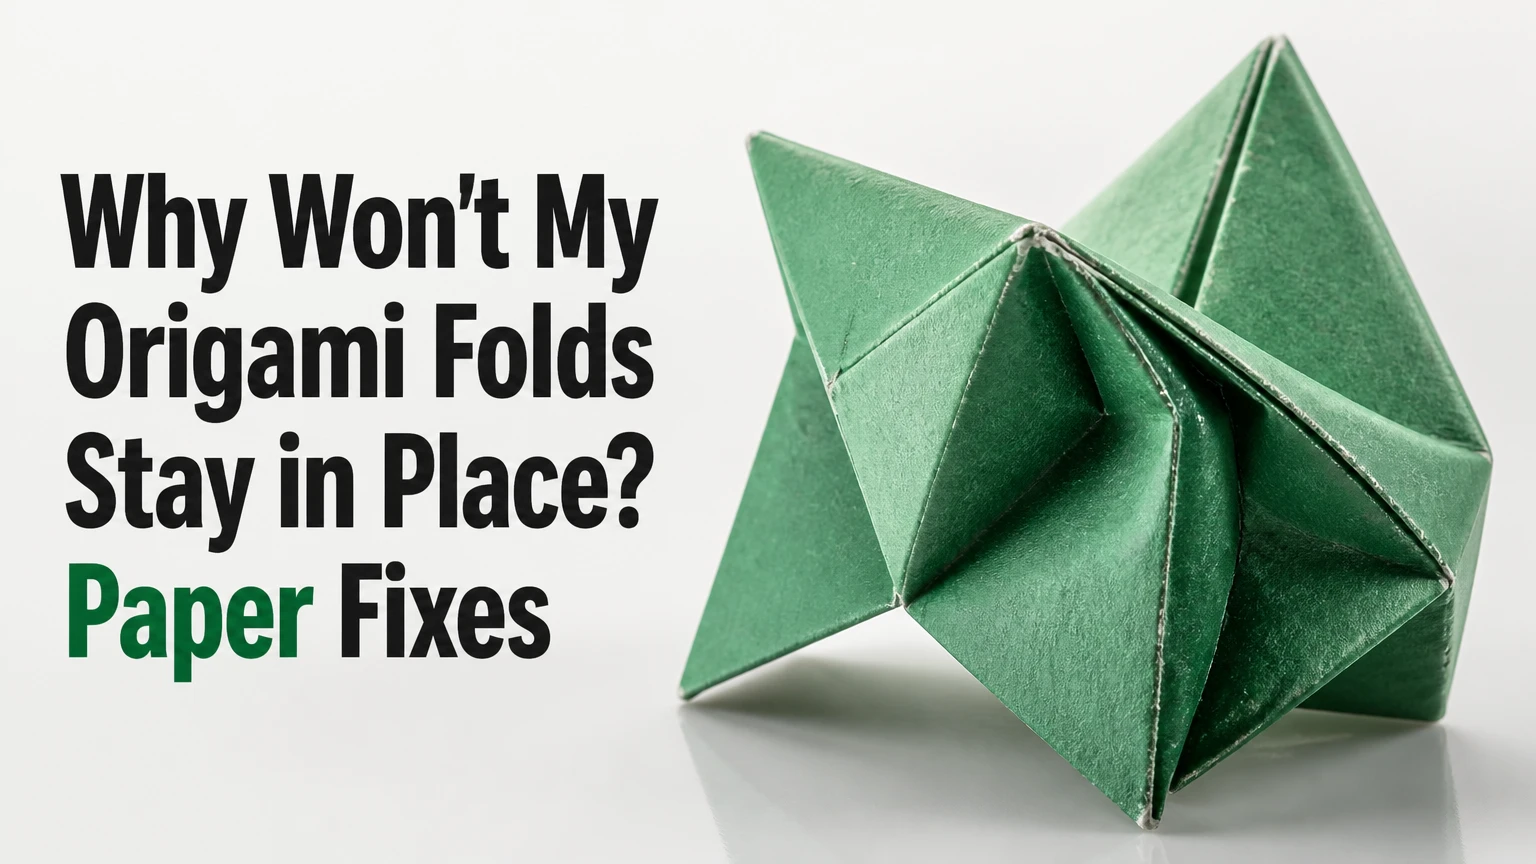
Origami folds usually fail to stay in place because the crease has not overcome the paper’s elastic recovery, the layers are too thick, or the paper is unsuitable for the model. Accurate alignment, firm progressive pressure, reverse-creasing, and a better paper choice usually solve spring-back without glue.
Key Facts at a Glance
- Paper fibers recover after bending when a crease contains too little permanent deformation.
- A sharp crease requires alignment first, then pressure from the center toward both edges.
- Tissue foil retains complex folds better than ordinary kami because its foil layer reduces elastic recovery.
- Thick paper creates cumulative layer creep, so later reference points may shift even when individual folds look accurate.
- Wet-folding can improve shaping, but excess water weakens paper and blurs small creases.
- A bone folder or smooth plastic tool improves pressure control, but a thumbnail is sufficient for most beginner models.
Why Do Origami Folds Spring Open?
Origami folds spring open because paper stores elastic energy when its fibers and coatings bend, then releases part of that energy after the folder removes pressure. A crease becomes more stable when the fold produces permanent deformation in the sheet, but excessive force can crush fibers, crack coatings, or stretch the paper instead of improving retention.
Paper is not a simple collection of cellulose fibers. Kami and printer paper also contain fillers, sizing, coatings, moisture, and sometimes several bonded layers. Those ingredients change how sharply a sheet folds and how quickly it relaxes. The common phrase “paper memory” describes recovery toward the sheet’s original flat condition, not a literal memory mechanism.
The outside of a folded sheet stretches while the inside compresses. A broad, rounded fold therefore retains more spring than a narrow crease pressed close to its final angle. A crease does not usually become permanent because a tool “breaks cellulose bonds.” A more accurate explanation is that bending creates a mixture of elastic recovery and permanent structural change through fiber displacement, compression, coating fracture, and local buckling.
Four causes account for most failures
| Cause | Visible symptom | Typical correction |
|---|---|---|
| Low crease pressure | Fold opens within seconds | Burnish from center to edge |
| Thick layered area | Model bursts open later | Pre-crease, reverse-fold, or thin the paper |
| Poor paper match | Every crease remains springy | Change to tissue foil, Tant, or thinner kami |
| Humid environment | Model softens after shaping | Dry flat, then store below approximately 60% relative humidity |
A useful practitioner rule is to diagnose the paper before blaming the folding diagram. If a simple valley fold will not remain closed after careful burnishing, a 30-step model will not compensate for the sheet’s mechanical limitations.
How Should You Make a Crease Stay?
To make an origami crease stay, align the reference points, anchor the center, press outward with increasing force, burnish the complete line, and reverse-crease only when the model permits it. The most reliable sequence takes about 5-10 seconds for a basic fold and longer for a multi-layer hinge.
Step 1: Align the edges without pressure
Place the two target edges or points together before flattening the fold. Hold the center with one fingertip, because pressing an inaccurate edge first creates a permanent error that later pressure cannot remove.
For a diagonal fold, check the opposite corners as well as the local edge. For a squash, petal, or preliminary base, confirm that all converging creases meet at one point. A one-millimeter error at the start can become several millimeters after repeated layers.
Step 2: Set the center of the crease
Pin the center or a major intersection lightly with one finger. Slide the other thumb from that anchor toward one edge, then repeat toward the other edge. This outward motion pushes slack away from the hinge instead of trapping a ripple in the middle.
You will know the alignment worked when the crease reaches both corners without a bowed section. The common mistake is dragging a thumbnail from one end to the other before the paper is anchored, which can pull the top layer out of registration.
Step 3: Burnish the entire line
Run a thumbnail, smooth plastic ruler, or bone folder along the crease using moderate pressure. Make two passes rather than one violent pass. A smooth tool should glide without cutting the surface or leaving a shiny crushed strip.
A fold that needs repeated hard scraping may already be over-compressed. Paper damage often looks like improved sharpness for a few minutes, then becomes a weak hinge that tears during shaping.
Step 4: Reverse-crease selectively
Open the fold, bend it in the opposite direction, and burnish the same line once. Reverse-creasing reduces residual spring in many valley and mountain folds, but it is unsuitable when the finished model needs a soft curved surface or an unbroken printed face.
For a box pleat, reverse-crease before assembling thick layers. For a narrow animal limb, reverse-creasing the final hinge can split the paper. The checkpoint is a fold that reaches its intended angle with light finger pressure and does not immediately reopen.
Step 5: Compress stacked layers gradually
When four or more layers meet, flatten them in stages. Press the outer layers first, then the center, and pause for several seconds before shaping. A single heavy pass can push one layer sideways, causing the “cumulative creep” that makes later points miss their targets.
Tool performance depends on surface and control
| Tool | Approximate cost | Best use | Main limitation |
|---|---|---|---|
| Thumbnail | $0 | Kami, simple bases, 1-4 layers | Can leave skin oil and uneven pressure |
| Smooth plastic ruler | $2-$8 | Long straight creases | Awkward in tiny pockets |
| Teflon bone folder | $8-$25 | Delicate surfaces and repeated burnishing | Costs more than beginner paper |
| Metal scoring tool | $3-$12 | Cardstock preparation | Can cut or over-score origami paper |
A genuine bone folder is not automatically better. A rough, sharp-edged tool can damage kami faster than a clean thumbnail, while a polished Teflon tool is valuable when tissue foil or coated paper must remain unmarked.
Which Paper Holds Origami Folds Best?
Tissue foil usually holds the sharpest complex folds, kami offers the easiest beginner handling, Tant provides stiffness for geometric work, and long-fiber Washi suits durable shaping. The best paper depends on layer count, required softness, surface finish, and whether the model needs crisp hinges or sculpted curves.
| Paper | Typical thickness or weight | Fold retention | Suitable models | Limitation |
|---|---|---|---|---|
| Kami | Approximately 60-75 gsm | Moderate | Beginner animals and bases | Weakens after repeated reverse-folds |
| Tant | Approximately 70-100 gsm | High | Modular units and geometric forms | Thick edges limit dense layers |
| Tissue foil | Often approximately 20-40 gsm equivalent | Very high | Insects, dense bases, thin appendages | Creases and wrinkles remain permanently |
| Washi | Commonly 40-100 gsm, highly variable | Moderate untreated | Sculptural and durable models | Handmade thickness is inconsistent |
| Biotope | Commonly around 30-60 gsm, product-dependent | High | Complex insects and technical designs | Availability and price vary |
The listed weights are typical ranges, not universal standards. Handmade Washi varies substantially because kozo, mitsumata, or gampi fibers, formation, sizing, and drying method alter the sheet’s behavior.
Kami
Kami is the safest starting point for a first model because it cuts cleanly, folds predictably, and costs little. Standard 15-by-15-centimeter sheets work well for models with fewer layers and broad reference points.
Kami becomes frustrating when a design repeatedly compresses the same hinge. The sheet may look crisp initially but relax when a large preliminary base is opened and reshaped. Use a fresh sheet rather than continuing with one that has already accumulated accidental creases.
Tant
Tant has more body and generally holds a geometric angle better than lightweight kami. Its stiffness helps modular stars, boxes, polyhedra, and models that depend on a flat unit edge.
Tant is less forgiving in dense animal designs. A 24-layer junction can become too thick even when the individual sheet feels manageable. Choose a smaller model or a thinner sheet when several flaps must pass through one pocket.
Tissue foil
Tissue foil combines thin paper with an aluminum foil core, so the material remains where it is bent instead of recovering like unsupported paper. The trade-off is permanence: accidental wrinkles, dents, and tool marks are difficult or impossible to remove.
Tissue foil is usually the strongest upgrade for a model that springs open despite accurate technique. It is less suitable for beginners who are still correcting alignment, because the same dead-malleability that locks a good crease also locks a bad one.
Washi and Biotope
Long-fiber Washi resists tearing and can support sculptural shaping, but untreated Washi may feel soft at the crease. Biotope and similar thin technical papers offer high strength at lower thickness, which helps complex insects and models with many layers.
Neither category guarantees sharp folds. Fiber length improves tear resistance, while sizing and thickness determine edge definition. A durable sheet can still produce a rounded crease if it is too flexible or heavily textured.
How Does Paper Weight Affect Fold Retention?
Paper weight affects fold retention through stiffness and layer buildup, but gsm alone does not predict performance. A thin tissue foil sheet can retain a crease better than heavier kami, while a strong long-fiber sheet may outlast both during repeated shaping.
| Model situation | Preferred range | Reason | Avoid |
|---|---|---|---|
| First animal model | 60-75 gsm | Easy alignment and moderate stiffness | 100 gsm printer cardstock |
| Dense insect base | 20-45 gsm tissue foil | Thin layers and low spring-back | Thick textured paper |
| Modular unit | 70-90 gsm | Structural edges and repeated handling | Very soft tissue |
| Wet-folded sculpture | 60-120 gsm | Enough body to hold a curved form | Paper that tears when damp |
The 40-60 gsm recommendation for complex models is useful when the paper is thin but strong. The 70-80 gsm recommendation for modular work is also reasonable, because units need edge strength. Neither range should override the model designer’s paper specification.
A practical layer test is more informative than the package label. Fold a 5-centimeter strip in half four times, burnish each fold, and leave it closed for five minutes. If the strip reopens substantially or cracks at the hinge, choose a different sheet before starting the full model.
Why Do Folds Shift Later in the Model?
Origami folds shift later because each layer adds thickness, and small placement errors accumulate across repeated folds. Thick paper can move a reference point by fractions of a millimeter at every layer, producing a visible mismatch near the model’s final stages.
This effect is not fixed by simply creasing harder. Excessive pressure can stretch the top layer while the lower layers remain displaced. Instead, keep layers flat, use the diagram’s landmarks rather than only outer edges, and check symmetry after every major base transformation.
Use a layer checkpoint
| Checkpoint | What to inspect | Acceptable action |
|---|---|---|
| First 4 layers | Corners and center intersection | Correct immediately |
| 5-8 layers | Pocket depth and flap width | Reopen before locking |
| 9-16 layers | Symmetry across the central axis | Compress in stages |
| More than 16 layers | Edge thickness and hinge stress | Switch to thinner paper if needed |
Experienced folders often crease slightly inside a visible target line when the final operation will add a thick layer. This is not a universal rule, because diagrams assume a particular paper thickness, but it can compensate for predictable layer buildup in dense models.
Do not force two edges together when their thickness prevents a flat fit. A narrow offset with clean topology is often more accurate than a crushed edge that bursts open later.
Can Moisture Lock an Origami Fold?
Controlled moisture can lock an origami shape by making paper temporarily pliable, then allowing the shaped fibers and sizing to dry in position. Wet-folding is useful for curved animals and sculptural forms, but it is a poor choice for tiny precision creases, inkjet prints, or paper that delaminates when wet.
Use a controlled wet-folding sequence
- Apply a barely damp sponge or fine mist to the surface. The sheet should bend more easily, not feel saturated.
- Shape broad curves with fingers, clips, or a temporary support.
- Refine major folds while the paper remains flexible.
- Leave the model undisturbed until fully dry. A typical drying period is 4-12 hours, depending on humidity, thickness, and moisture level.
- Remove supports only when the paper feels cool and firm rather than cool and damp.
Methyl cellulose, often abbreviated MC, can provide sizing and adhesive effects in advanced paper preparation, but recipes vary by concentration and paper. Allow treated paper to dry completely before folding; 4-12 hours is a typical practical window, not a guaranteed specification.
Water will not repair a badly aligned crease. It can also cause cockling, ink bleeding, edge curl, mold, and delamination. Test a spare corner first, especially with handmade Washi or printed decorative paper.
How Do You Fix an Origami Model That Keeps Opening?
Fix an opening origami model by identifying whether the failure comes from one weak hinge, a thick pocket, or global paper spring. Re-crease a local hinge first; if several unrelated folds open, rebuild the model with thinner or foil-backed paper instead of applying adhesive everywhere.
Match the repair to the symptom
| Symptom | Likely cause | Repair | Restart threshold |
|---|---|---|---|
| One flap lifts | Weak local crease | Open, align, burnish twice | Restart if fibers split |
| Several pockets open | Layer pressure | Compress and reshape sequentially | Restart above 16 crowded layers |
| Entire model relaxes | Paper spring or humidity | Change paper or dry model | Restart if no crease remains |
| Surface tears at hinge | Over-burnishing or dry paper | Stop pressure, use long-fiber sheet | Restart after visible tearing |
A tiny amount of archival PVA can stabilize a hidden junction in a display model, but glue changes the work from purely folded origami to an adhesive-assisted construction. Apply a pinhead-sized amount with a toothpick, keep it away from visible surfaces, and clamp the joint until dry.
Glue is not a substitute for correct topology. Adhesive cannot correct a misplaced flap, and excess PVA adds moisture and stiffness that may distort a thin model. For competition, traditional, or instructional work, check the rules before using it.
What Mistakes Make Creases Relax?
The most common mistakes are folding before alignment, rubbing with soft fingertips, using thick printer paper for dense designs, reopening a crease repeatedly, and storing the model in humid conditions. Each mistake changes either geometry, fiber structure, layer thickness, or moisture content.
- Fleshy folding: Finger pads spread pressure over a broad area and create rounded hinges. Use the thumbnail edge or a smooth tool for the final pass.
- Over-handling: Warm hands and skin moisture soften some papers. Handle the model by broad areas and pause between shaping operations.
- Wrong grain direction: Paper often bends more easily in one direction. Test two strips cut at right angles, then place demanding folds along the direction that gives cleaner bending.
- Premature complexity: Printer paper around 80-100 gsm may work for a simple boat but becomes unwieldy in a 50-step insect.
- Repeated reopening: Every correction adds a competing crease. Mark the intended line mentally or with a removable guide, then make one deliberate crease.
- Storage under pressure: A heavy book can flatten sculptural volume and create unintended set lines. Store finished models in a dry box with clearance.
Expert insight: grain is a handling variable
Grain direction is not always obvious in commercially cut origami squares, and many small sheets do not provide a reliable orientation. The strip test is more dependable than assuming the paper grain runs parallel to the package edge.
Expert insight: sharpness and strength conflict
The sharpest crease is not always the strongest hinge. A heavily burnished fold may become thin, polished, and brittle, especially in tissue foil or heavily sized paper. For a model requiring repeated movement, use a firm but not crushed crease.
Expert insight: a model can be correct while appearing loose
Some designs intentionally leave layers slightly mobile so shaping can occur later. Locking every fold at maximum pressure can prevent the final form from closing correctly. Follow the diagram’s sequence and distinguish a temporary pre-crease from a final structural crease.
Which Method Fits Your Experience?
Beginners should use standard kami and a thumbnail, intermediate folders should match Tant or thin technical paper to the layer count, and advanced folders should reserve tissue foil or wet-folding for models that demand permanent shaping. Skill level matters, but the model’s geometry and paper specification matter more.
| Folder profile | Paper choice | Tools | Technique | Typical model |
|---|---|---|---|---|
| Beginner | 60-75 gsm kami | Thumbnail, plastic ruler | Single crease, careful alignment | Crane, boat, simple animal |
| Intermediate | 70-90 gsm Tant | Plastic or Teflon folder | Reverse-crease and checkpoints | Modular unit, geometric box |
| Advanced dry-folding | 20-45 gsm tissue foil | Teflon folder, tweezers | Layer compression and shaping | Insect, dense animal base |
| Advanced wet-folding | 60-120 gsm strong paper | Sponge, clips, supports | Damp shaping and 4-12 hour drying | Curved mammal or bird |
Tissue foil is not ideal for learning a new diagram because mistakes remain visible. Kami is not ideal for a highly layered insect simply because it is inexpensive. Select the material that gives the model enough fold definition without exceeding its layer capacity.
What Are the Typical Costs and Timeframes?
Typical material costs range from $5-$12 for a packet of standard kami, $15-$35 for premium Washi or tissue foil, and $2-$25 for common crease tools. A simple fold takes seconds, while a complex model may require several hours of folding plus 4-12 hours of drying when moisture is used.
| Item | Typical price | Typical preparation time | Practical quantity |
|---|---|---|---|
| Kami packet | $5-$12 | 1-2 minutes per sheet | 10-50 sheets |
| Tant packet | $8-$20 | 1-3 minutes per sheet | 10-30 sheets |
| Tissue foil sheets | $15-$35 per pack or set | 3-8 minutes to cut | 5-20 sheets |
| Bone folder | $8-$25 | No setup | 1 tool |
| MC-treated paper | Material cost varies | 4-12 hours drying | 1-10 sheets |
These are typical retail and workshop ranges, not fixed global prices. Imported paper, handmade Washi, shipping, and regional craft-store pricing can change the total substantially.
Budget for failed sheets. A beginner may need two or three attempts for a complex base, while an experienced folder may still discard a sheet after an early alignment error. Reusing a badly creased sheet usually produces less reliable results than starting with fresh paper.
How Should You Store Origami After Folding?
Store origami away from direct moisture, heat, and compression, ideally in a clean box with enough clearance that points and curved flaps do not touch the lid. Relative humidity near 40-60% is a practical indoor target, while damp rooms can soften paper and cause previously set folds to relax.
Avoid bathrooms, kitchens near steam, sunny windows, and sealed plastic bags while the model is still damp. Let wet-folded work dry fully before enclosing it. For long-term display, use acid-free supports when the model’s own structure cannot carry its weight.
A model that opens only after overnight storage may have a moisture problem rather than a crease problem. Compare it in a dry room, then inspect whether the paper feels softer or more flexible than it did immediately after folding.
FAQ
Will printer paper work for origami folds?
Printer paper can work for simple models with broad folds and few layers, but ordinary 80-100 gsm sheets usually spring or bulk up in complex designs. Use printer paper for practice, then move to 60-75 gsm kami or thin tissue foil when pockets, narrow flaps, and repeated reverse-folds begin to fail.
Should I score paper before folding origami?
Scoring can help cardstock and bookbinding paper, but it is usually unnecessary for ordinary origami sheets. A scored line may cut through thin paper, expose a weak hinge, or make the result look manufactured rather than folded. Test the scoring depth on scrap before using it on a finished model.
Does pre-creasing every line prevent folds from opening?
Pre-creasing every line does not guarantee retention and can weaken a model through unnecessary competing creases. Pre-crease major structural lines, dense bases, and difficult sinks, but leave shaping folds softer when the instructions require later adjustment.
Why do my origami folds stay closed at first but open overnight?
Overnight opening usually indicates elastic recovery, humidity absorption, or stress from stacked layers. Re-burnish the affected hinge, dry the model in a stable room, and check whether unrelated folds also relaxed. If many folds open, switch to thinner paper or tissue foil rather than repairing each line separately.
Can I use hairspray to hold origami folds?
Hairspray is a poor general-purpose fix because it can stain, stiffen unevenly, attract dust, and alter the paper’s surface. A tiny amount of archival PVA inside a hidden junction is more controllable for display models, while clean folding technique is preferable for models that must remain purely folded.
Why won’t my origami folds stay in place after reverse-folding?
Reverse-folding may open because the new hinge is under tension from several layers, the original crease is too soft, or the flap was not fully pulled through the pocket. Flatten the surrounding layers first, align the hinge at its endpoints, and burnish the reverse fold once the flap reaches its final position.
The Bottom Line
The answer to “why won’t my origami folds stay in place” is usually a combination of elastic paper recovery, insufficient crease control, and excessive layer thickness. Start with accurate alignment, anchor the center, burnish outward, and reverse-crease selectively. If the entire model remains springy, change the paper: kami suits simple practice, Tant suits structural units, and tissue foil suits dense complex models.
