

Looking for a way to add charm to your reading experience? You’re in the right place. Crafting an Origami Corner Heart Bookmark is both fun and rewarding. With just a piece of paper and a few folds, you’ll create a simple yet elegant design that adds personality to your books.
What is an Origami Corner Heart Bookmark?
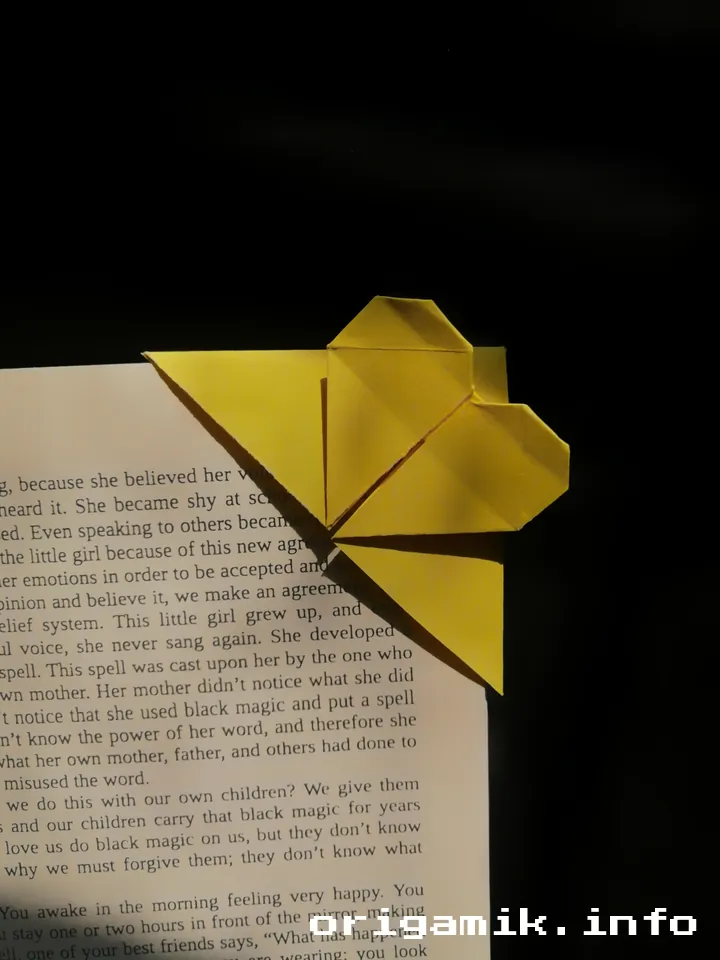
An Origami Corner Heart Bookmark is a delightful and functional piece of paper art. It slips onto the corner of your book’s pages, marking your spot with a cute heart-shaped fold. Perfect for gifting or personal use, this easy Origami bookmark combines utility with aesthetic appeal. Whether you’re a beginner or experienced, this project will inspire creativity.
Materials Needed
Here’s a detailed breakdown of what you’ll need:
| Material | Details |
|---|---|
| Paper Size | Square-shaped, 10″ × 10″ |
| Paper Type | Origami paper or lightweight craft paper |
| Tools (Optional) | Bone folder for crisp folds |
| Work Surface | Flat, clean, and clutter-free |
Why This Paper Size?
Using a 10″ × 10″ square ensures the bookmark is sturdy and easy to fold. Smaller sizes may be harder for beginners to handle.
Origami Corner Bookmark Instructions
Let’s dive into the step-by-step instructions to create your heart-shaped corner bookmark. Keep your square paper handy and follow along:
Step-by-Step Guide
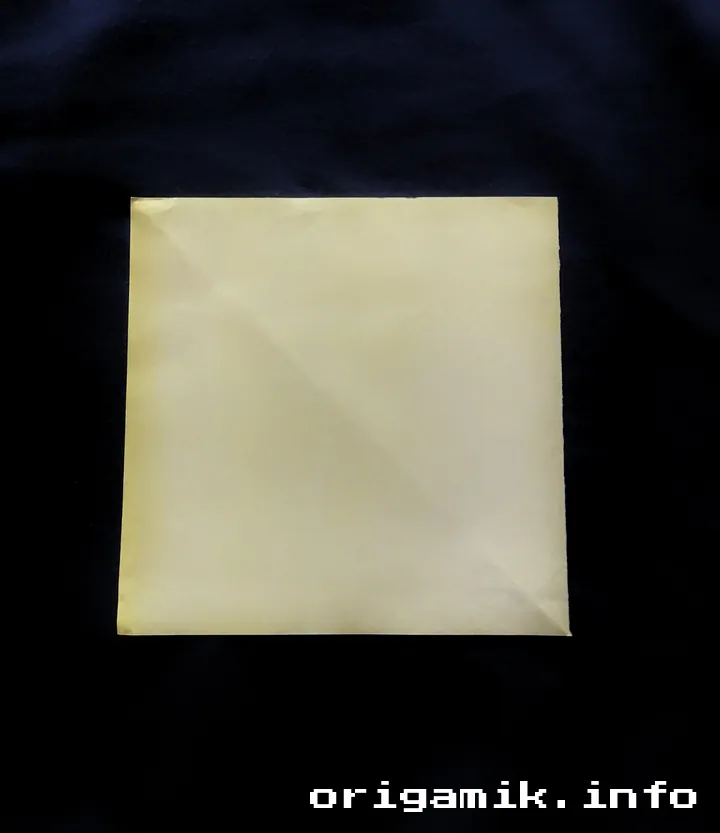
- Start with Your Square Paper
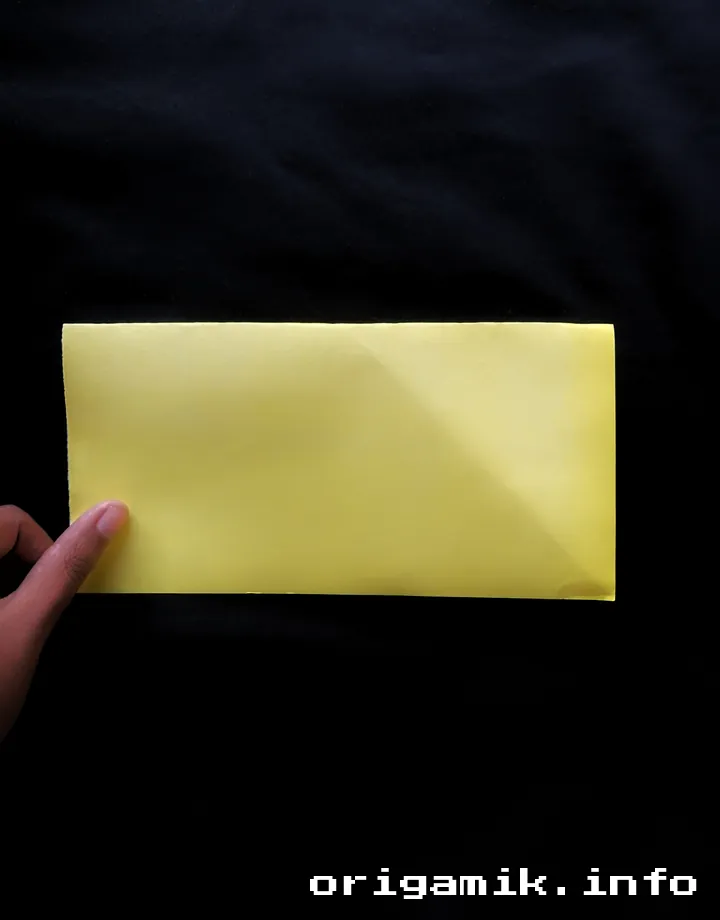
Place the 10″ × 10″ square paper on a flat surface. - Fold Side-to-Side and Top-to-Bottom
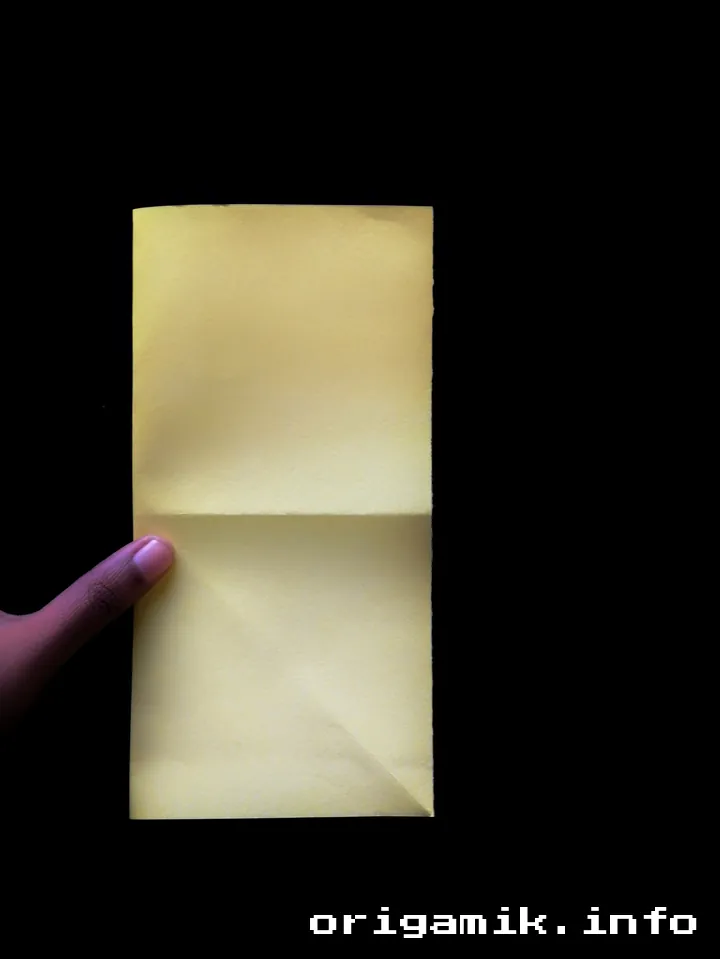
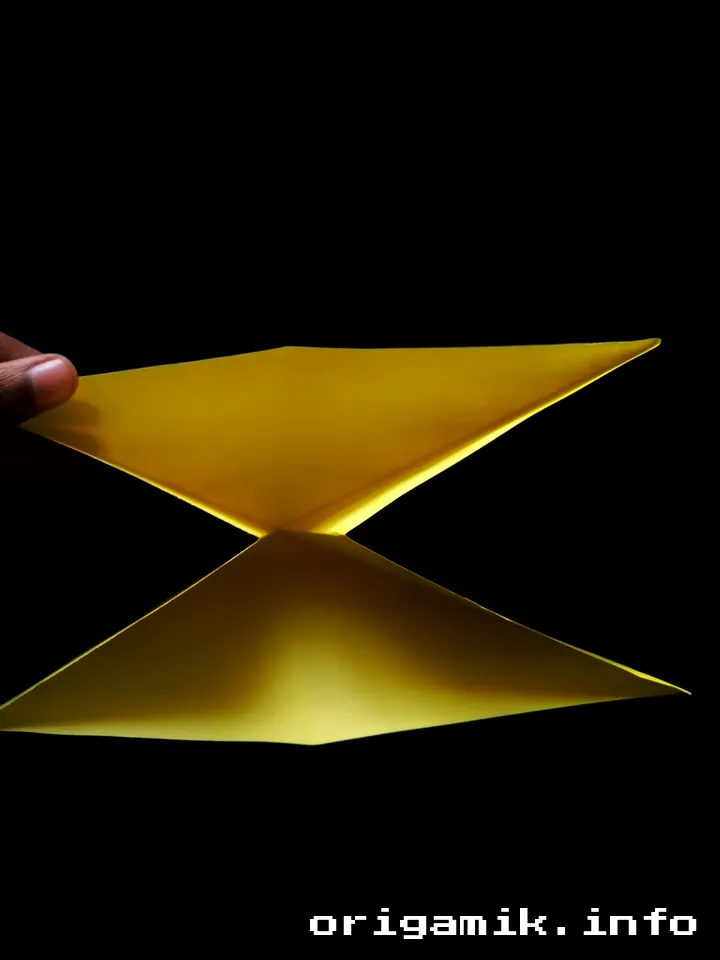
Fold the paper in half side-to-side, then unfold. Next, fold it in half top-to-bottom, then unfold again. - Diagonal Folds
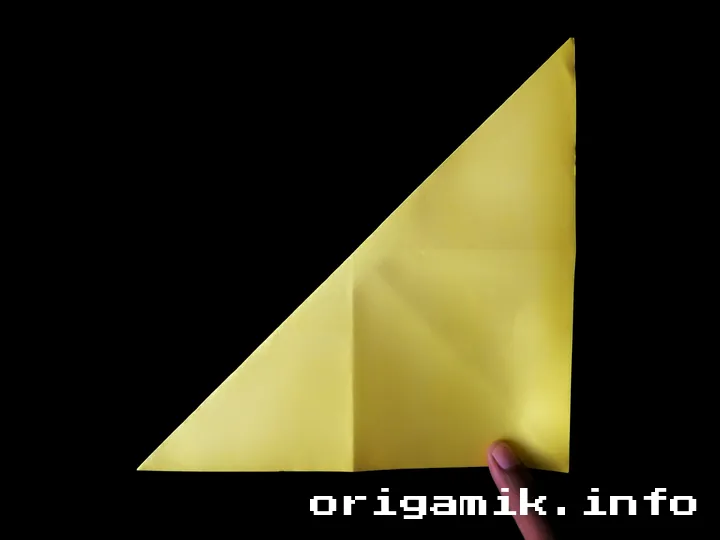
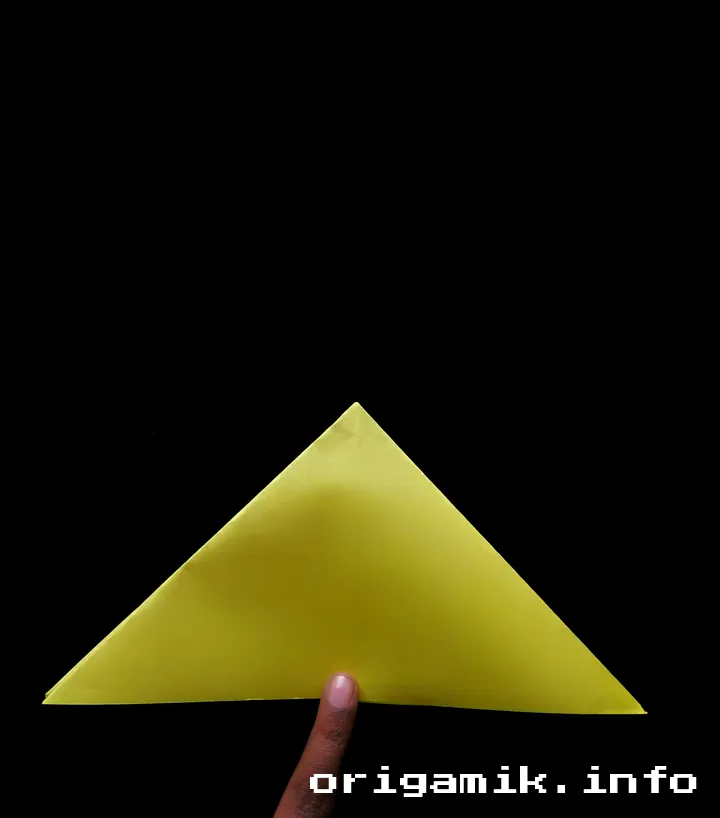
Flip the paper over. Fold one corner diagonally to the opposite corner and unfold. Repeat with the other diagonal. - Create a Triangle
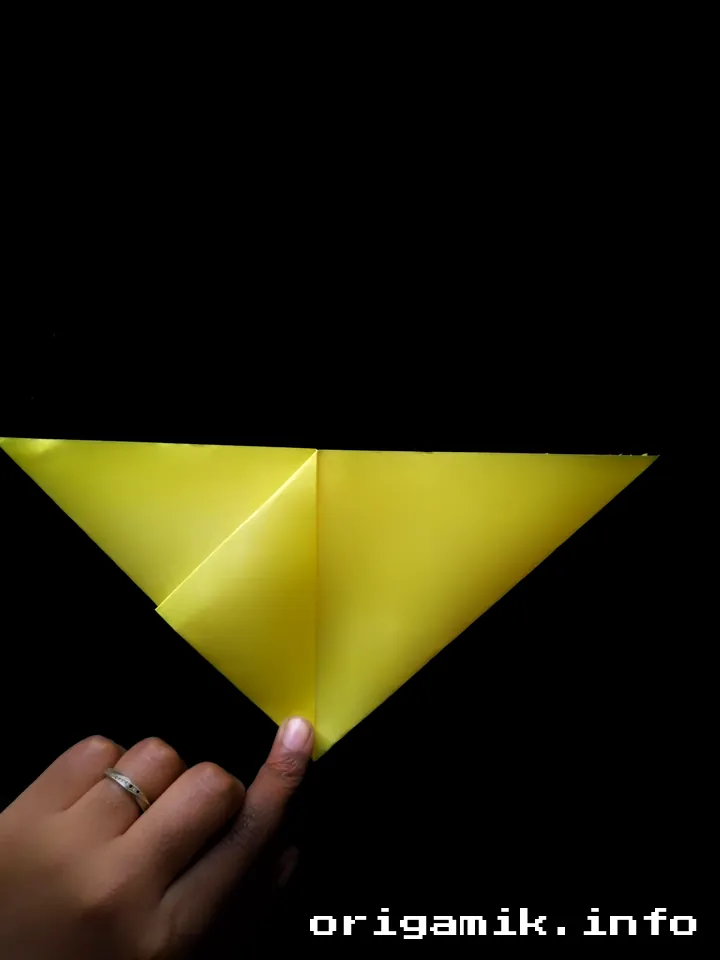
Open the paper and fold along the creases to form a triangle shape. - Fold Corners Upwards
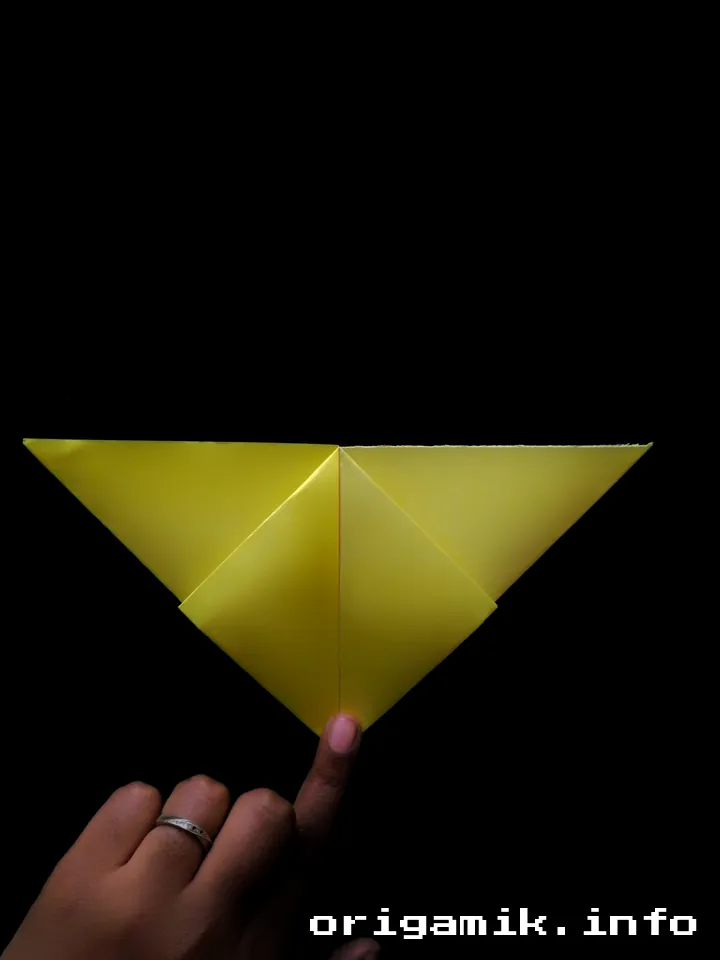
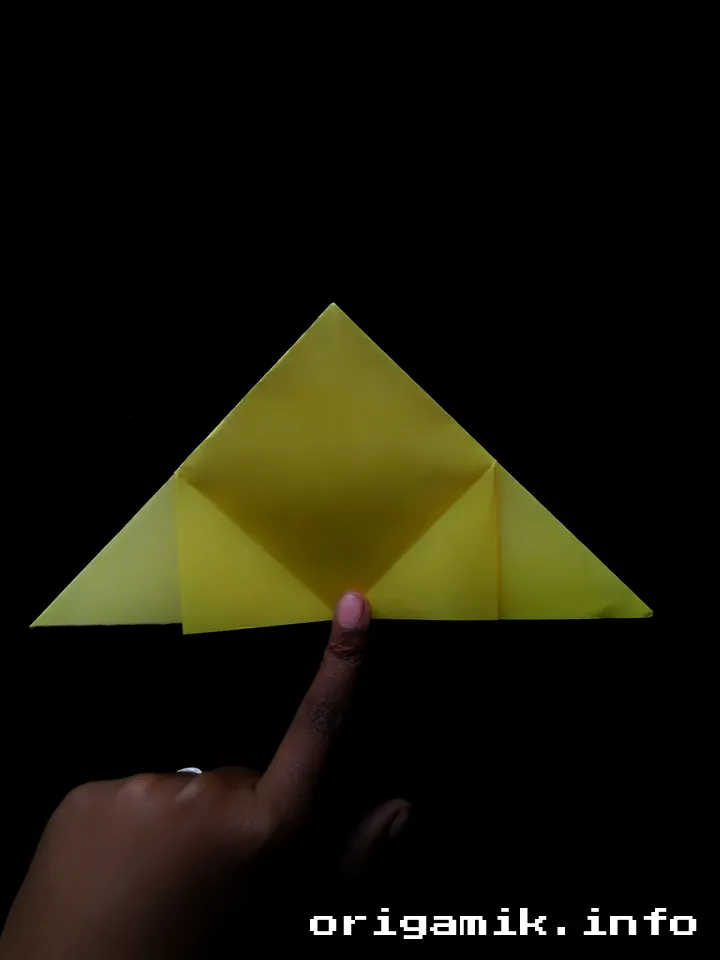
Take the left corner of the triangle and fold it to the top point. Do the same with the right corner. - Flip and Fold Downwards
Turn the paper over and fold the top point down to the bottom of the triangle. - Open and Refold
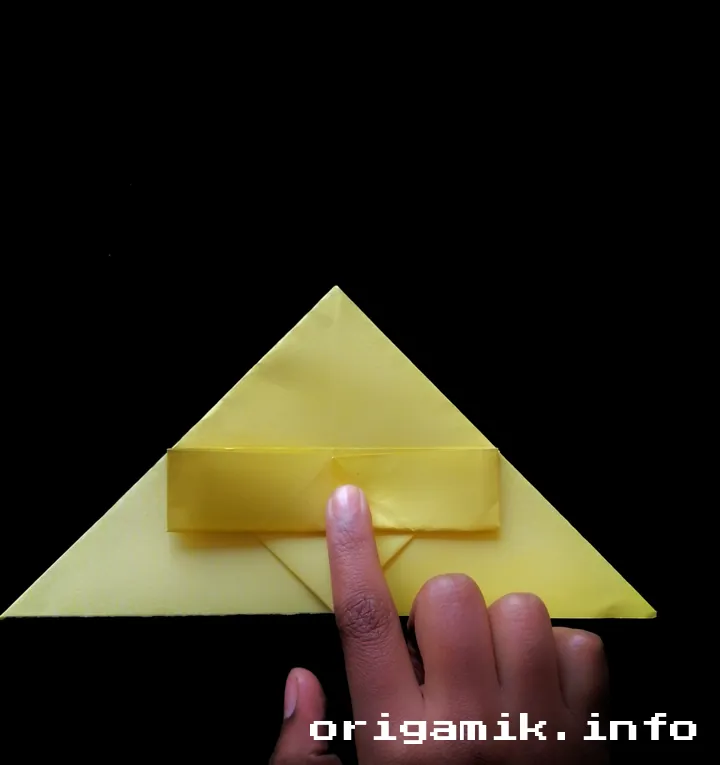
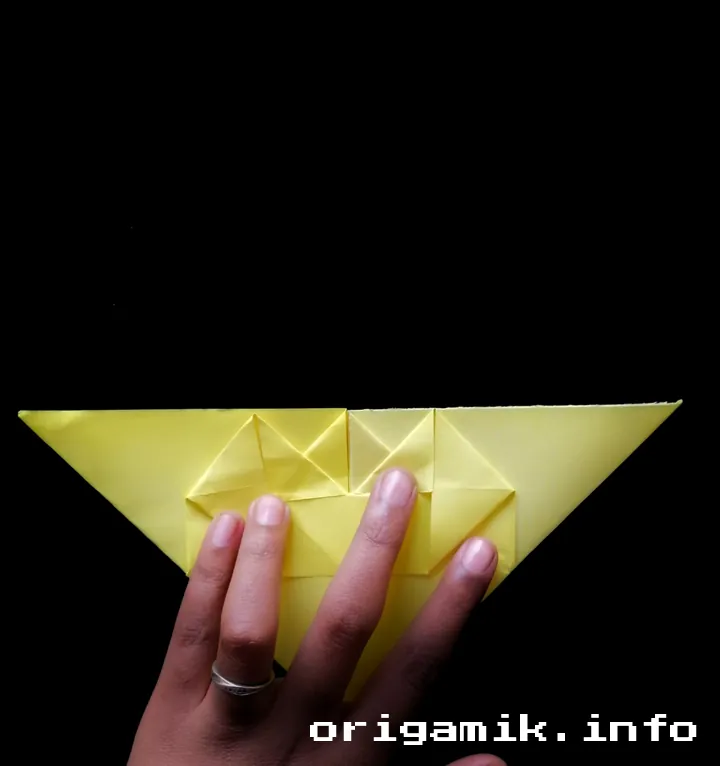
Open the first fold and refold it along the crease to create a smaller triangle, following the shape in the pictures. - Middle Folds
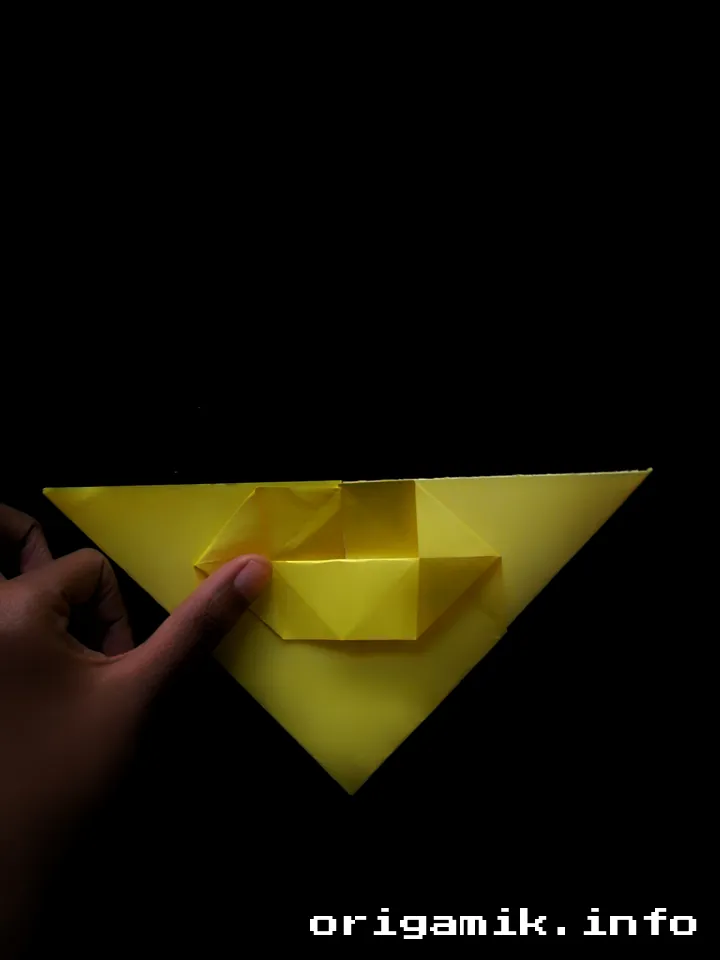
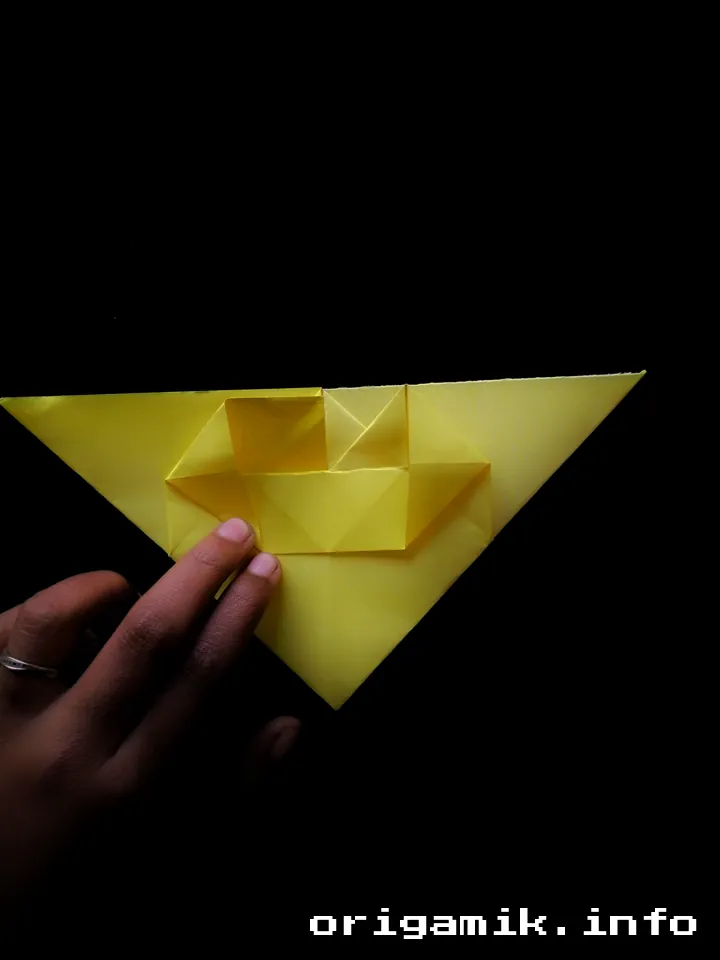
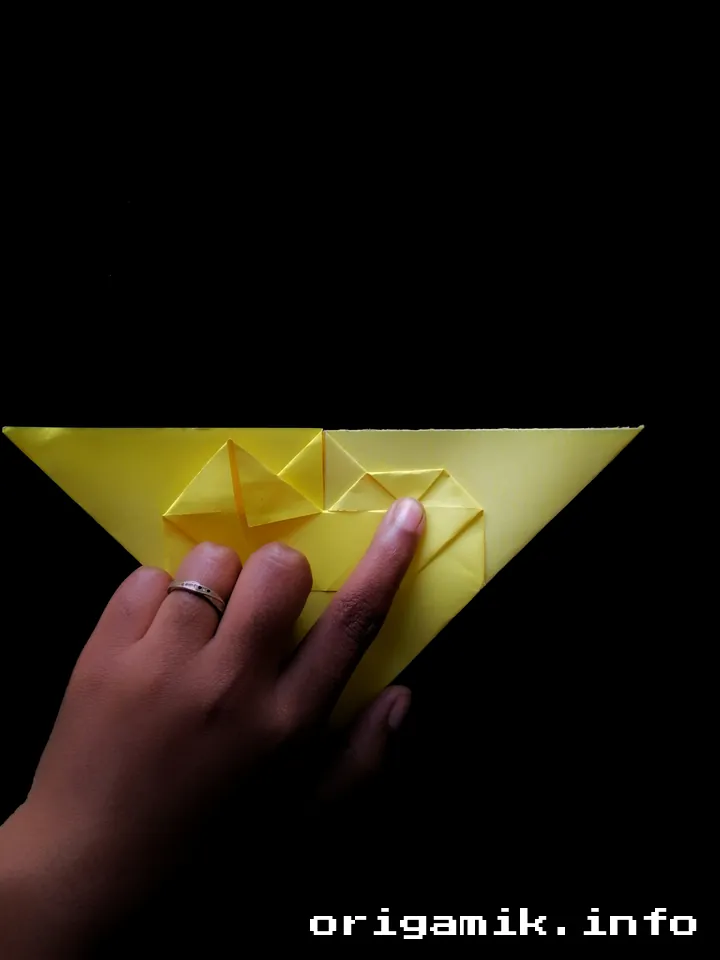
Fold the top and bottom parts towards the center line. Then, push each folded piece to the corners, repeating on the other side. - Final Folds
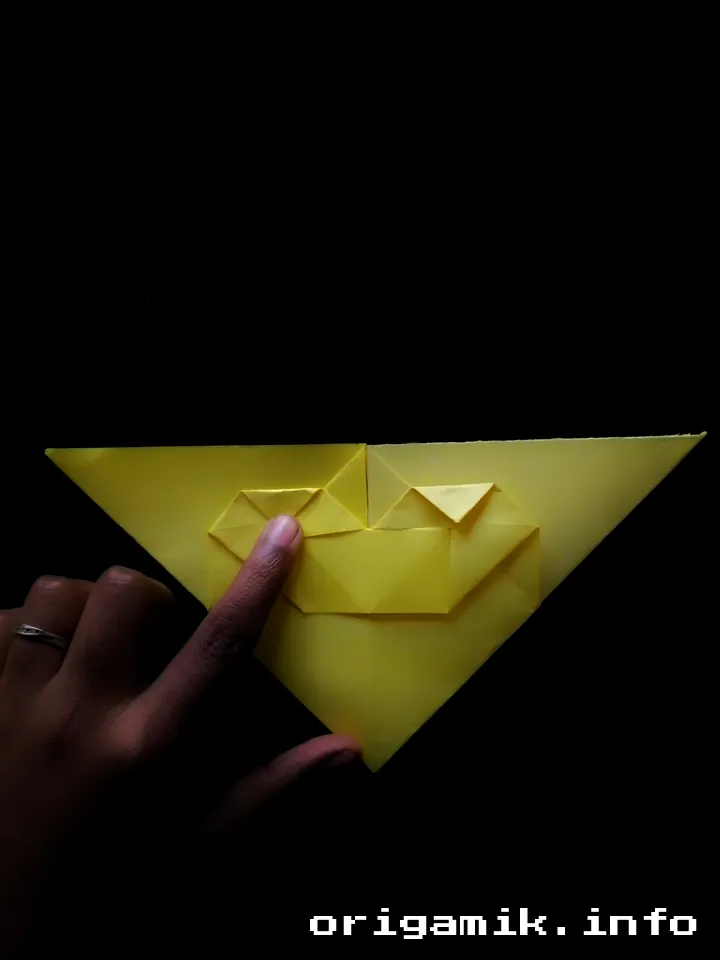
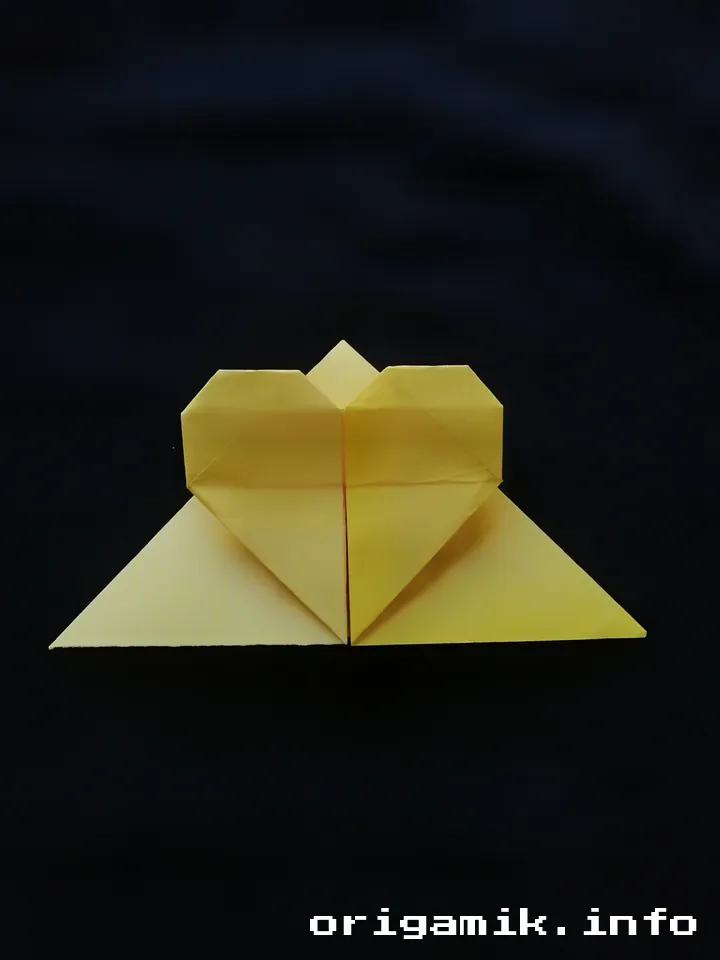
Fold the top corner to the center, then fold it backward to form the heart shape. - You’re Done!
Congratulations! Your Origami Corner Heart Bookmark is ready to use.

Tips for Success
- Use Crisp Creases: A bone folder or the edge of your nail can help achieve clean folds.
- Work on a Flat Surface: This ensures accuracy in folding.
- Choose the Right Paper: Lightweight paper works best for beginners.
- Patience is Key: If a fold doesn’t turn out perfect, don’t hesitate to start again.
Common Mistakes and How to Avoid Them
- Misaligned Folds:
- Double-check alignment before creasing.
- Tearing the Paper:
- Use paper that isn’t too thin or fragile.
- Skipping Steps:
- Follow the steps carefully to ensure the heart shape forms correctly.
- Uneven Heart Shape:
- Ensure symmetry by folding both sides equally.
Similar Variations You Can Try
Origami is all about experimenting! Here are some variations to explore:
- Simple Corner Bookmark: Skip the heart shape and create a basic triangle.
- Animal-Themed Bookmark: Add designs like ears and eyes for a playful twist.
- Layered Heart Design: Use two papers to create a layered effect.
FAQs
How long does it take to make an Origami Corner Heart Bookmark?
It usually takes 5–10 minutes, depending on your experience level.
Can I use regular printer paper?
Yes, but origami paper is easier to fold and provides cleaner results.
What if my heart doesn’t look perfect?
That’s okay! Practice makes perfect. Adjust your folds and try again.
Summary
Making an Origami Corner Heart Bookmark is a delightful experience that combines creativity with functionality. This easy Origami bookmark not only helps you mark your pages but also adds a personal touch to your reading experience. By following these simple corner bookmark step-by-step instructions, anyone can create a stunning result.
So, grab your paper, get folding, and share your creations with friends! Want more ideas? Explore other origami projects and let your creativity flow.